Home>Technology>Smart Home Devices>How To Add A Printer To Macbook Air

Smart Home Devices
How To Add A Printer To Macbook Air
Modified: February 18, 2024
Learn how to easily add a printer to your MacBook Air and streamline your smart home devices setup. Follow our step-by-step guide for seamless integration.
(Many of the links in this article redirect to a specific reviewed product. Your purchase of these products through affiliate links helps to generate commission for Storables.com, at no extra cost. Learn more)
Introduction
Welcome to the world of smart home devices, where modern technology seamlessly integrates into our daily lives to enhance convenience, efficiency, and comfort. In this comprehensive guide, we will explore the process of adding a printer to your MacBook Air, empowering you to effortlessly bridge the digital and physical realms.
As we delve into this topic, it's essential to understand that the integration of a printer into your MacBook Air's ecosystem can streamline your printing tasks, allowing you to effortlessly produce physical copies of documents, images, and other materials. This seamless connection between your MacBook Air and the printer exemplifies the synergy between technology and practicality, enabling you to harness the full potential of your devices.
Whether you're a student, a professional, or an avid home user, the ability to add a printer to your MacBook Air can significantly enhance your productivity and simplify your printing needs. By following the steps outlined in this guide, you'll gain the knowledge and confidence to seamlessly integrate your printer into your MacBook Air, unlocking a world of printing possibilities at your fingertips. So, let's embark on this enlightening journey and learn how to add a printer to your MacBook Air with ease and efficiency.
Key Takeaways:
- Check your printer’s compatibility with your MacBook Air by reviewing its specifications, verifying macOS version, and ensuring driver availability. This proactive step sets the stage for a smooth integration process.
- After adding the printer to your MacBook Air, conduct a thorough test to verify its functionality and address any potential issues. This ensures a seamless and efficient printing experience.
Read more: How To Add A Printer On Macbook
Step 1: Check Compatibility
Before embarking on the process of adding a printer to your MacBook Air, it’s crucial to ensure that the printer is compatible with your device. Compatibility is a key factor that determines the seamless integration and functionality of the printer with your MacBook Air. Here’s how you can check for compatibility:
- Printer Specifications: Start by reviewing the specifications of your printer to ascertain its compatibility with macOS, the operating system powering your MacBook Air. Check the manufacturer’s documentation or official website for detailed information regarding macOS compatibility.
- macOS Version: Verify the version of macOS running on your MacBook Air. This can be done by clicking on the Apple logo in the top-left corner of the screen, selecting “About This Mac,” and noting the macOS version. Ensure that your printer is compatible with the specific macOS version installed on your MacBook Air.
- Driver Availability: Investigate the availability of compatible drivers for your printer model on the manufacturer’s website or through the macOS driver repository. Drivers facilitate communication between the printer and your MacBook Air, so it’s essential to confirm their availability for your specific printer model and macOS version.
By conducting a thorough check of compatibility, you can preemptively address any potential issues that may arise during the printer integration process. This proactive approach ensures a smoother and more successful experience when adding the printer to your MacBook Air, setting the stage for seamless printing functionality.
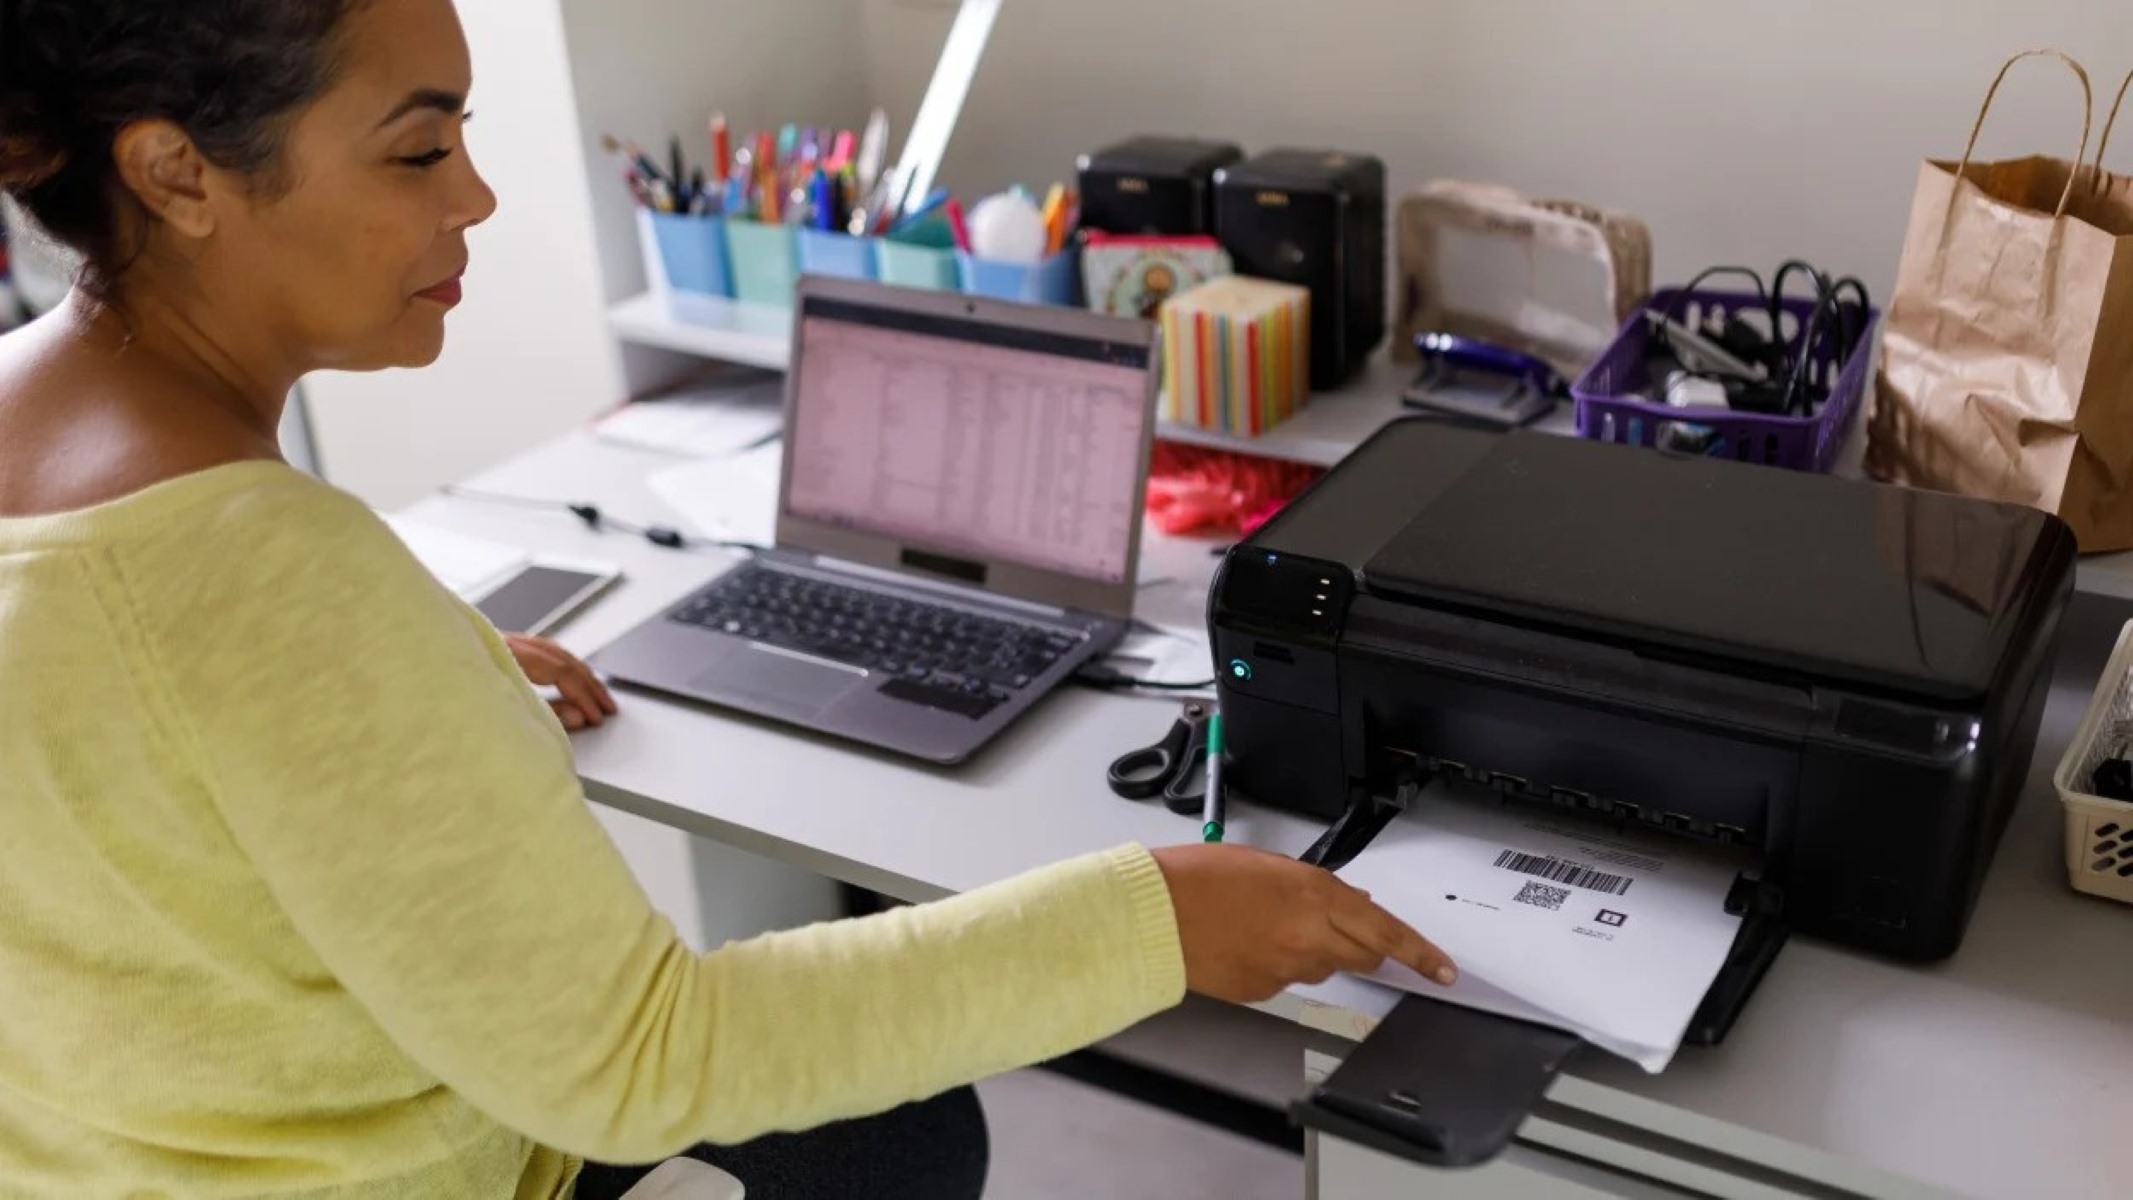
Step 2: Connect the Printer
Once you’ve confirmed the compatibility of your printer with your MacBook Air, the next step is to establish a physical connection between the two devices. This connection lays the foundation for seamless communication and interaction, enabling your MacBook Air to send print jobs to the printer. Here’s how you can connect the printer to your MacBook Air:
- Power and Network Connection: Begin by ensuring that your printer is powered on and properly connected to your local network, if it’s a network-enabled printer. If it’s a USB-connected printer, connect it to your MacBook Air using a compatible USB cable. For wireless printers, follow the manufacturer’s instructions to connect the printer to your Wi-Fi network.
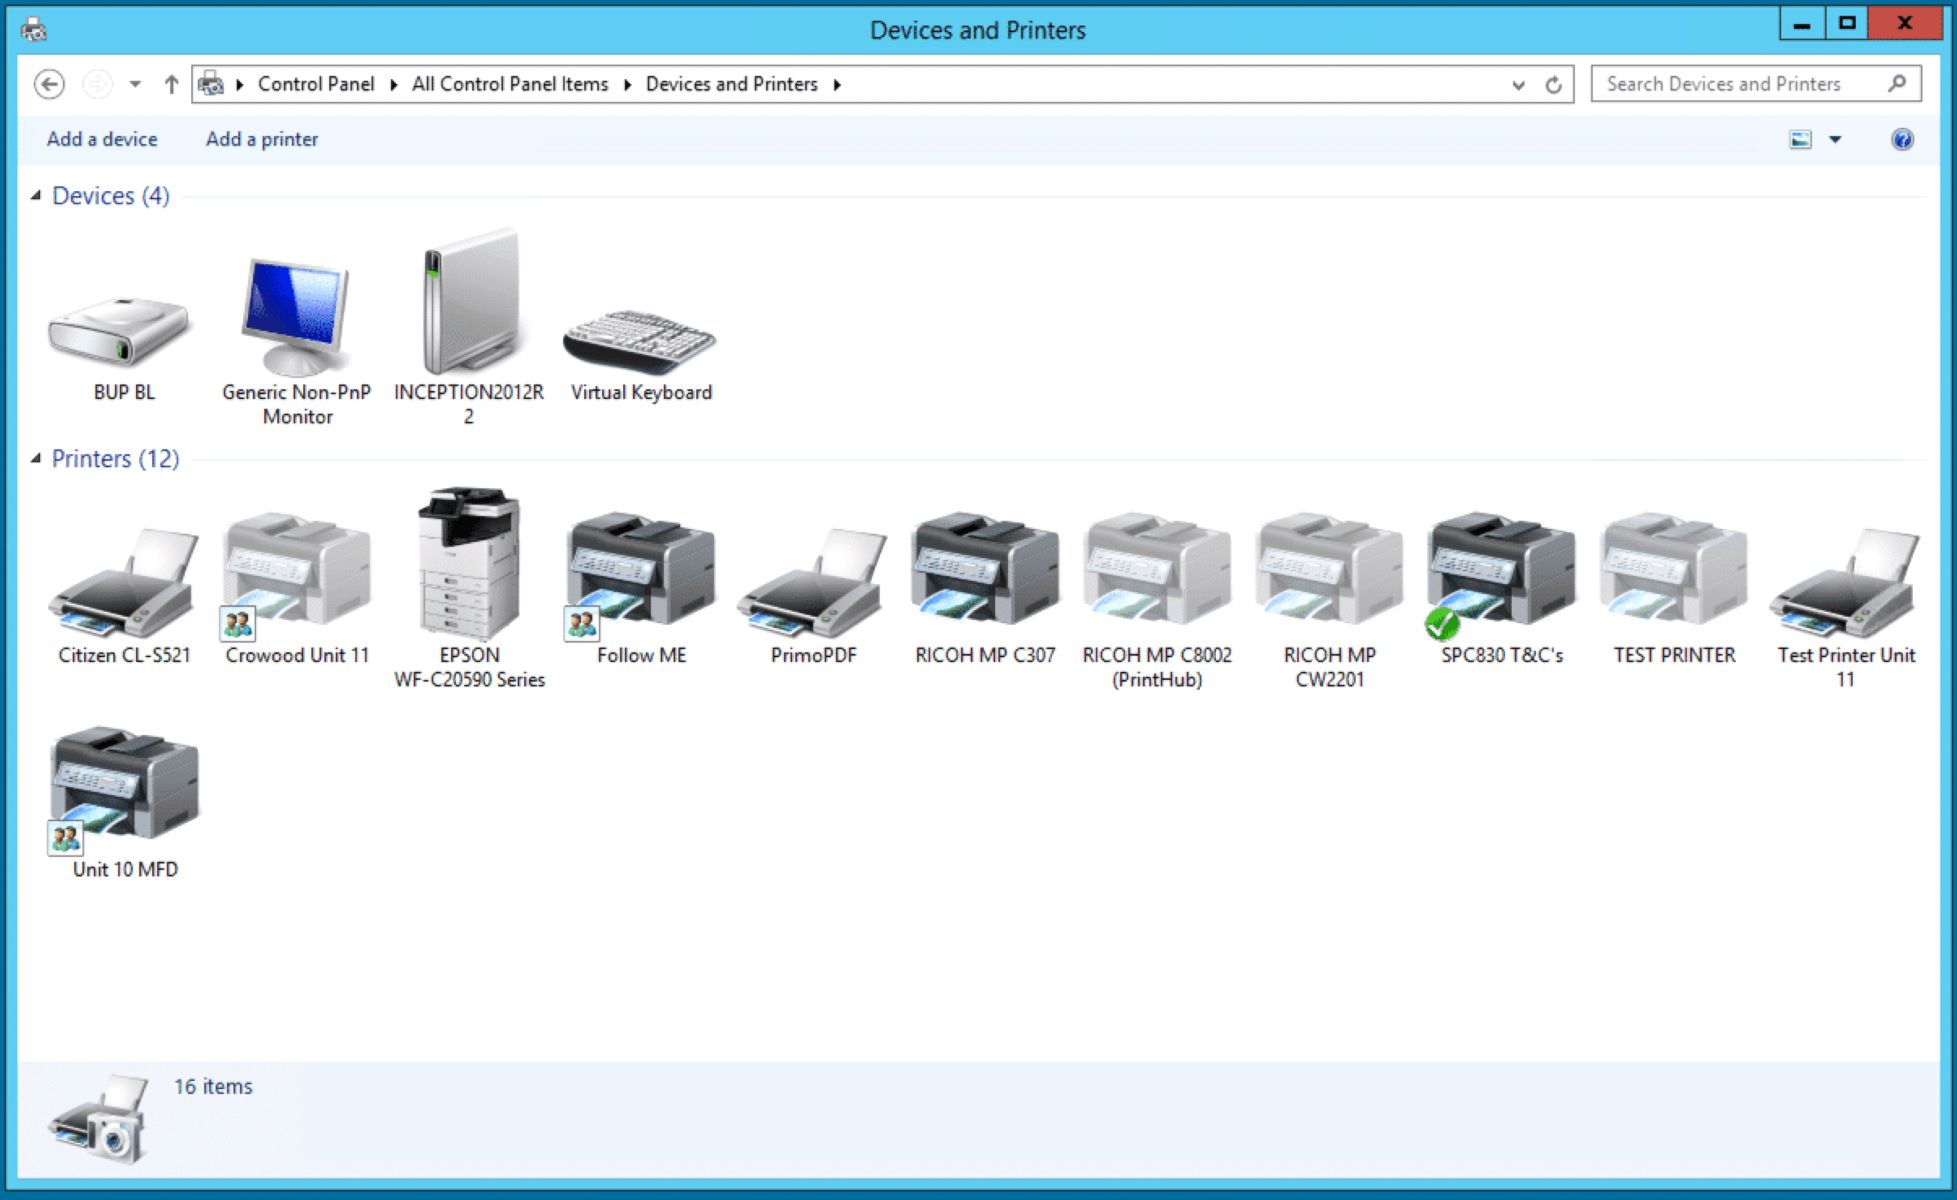
- Printer Setup on MacBook Air: Navigate to the “System Preferences” on your MacBook Air and select “Printers & Scanners.” Click the “+” button to add a new printer. Your MacBook Air will automatically search for available printers connected to the network or directly via USB.
- Printer Detection: Once the printer is detected, select it from the list of available devices. If the printer doesn’t appear automatically, you may need to install additional drivers or software provided by the printer manufacturer. Follow the on-screen prompts to complete the installation process.
- Confirmation: After the installation is complete, your printer should appear in the list of available printers in the “Printers & Scanners” section of your MacBook Air’s System Preferences. This signifies that the physical connection and initial setup have been successfully established.
By following these steps, you’ll ensure that your printer is physically connected to your MacBook Air, paving the way for seamless printing capabilities. This physical link sets the stage for the final steps of adding and testing the printer, bringing you closer to a fully integrated printing experience with your MacBook Air.
To add a printer to your MacBook Air, go to System Preferences, then select Printers & Scanners. Click the “+” button to add your printer and follow the on-screen instructions. Make sure your printer is turned on and connected to the same Wi-Fi network as your MacBook Air.
Step 3: Add the Printer
With the physical connection established, it’s time to add the printer to your MacBook Air’s list of recognized devices, enabling seamless communication and print job management. This step involves integrating the printer into your MacBook Air’s operating system, allowing you to harness its printing capabilities with ease. Here’s how you can add the printer:
- System Preferences: Access the “System Preferences” on your MacBook Air and select “Printers & Scanners.” This menu provides a centralized location for managing printing devices connected to your MacBook Air.
- Add Printer: Click the “+” button to initiate the process of adding a new printer. Your MacBook Air will search for available printers connected to the network or directly via the established physical connections.
- Printer Selection: Upon detection, select the printer you wish to add from the list of available devices. If the printer doesn’t appear automatically, you may need to install additional drivers or software provided by the printer manufacturer. Follow the on-screen prompts to complete the installation process.
- Configuration Options: Depending on the printer model and manufacturer, you may have the opportunity to configure specific printing options, such as paper size, quality settings, and other preferences. Take the time to customize these settings according to your printing needs.
- Confirmation: After the printer is successfully added, it will appear in the list of available printers in the “Printers & Scanners” section of your MacBook Air’s System Preferences. This signifies that the printer has been seamlessly integrated into your MacBook Air’s printing infrastructure.
By following these steps, you’ll effectively add the printer to your MacBook Air, enabling you to harness its printing capabilities with confidence and efficiency. This integration marks a significant milestone in the seamless convergence of your MacBook Air and the printer, setting the stage for effortless printing experiences.
Step 4: Test the Printer
After successfully adding the printer to your MacBook Air, it’s essential to conduct a test to ensure that the integration has been completed effectively and that the printer is ready to fulfill your printing needs. By testing the printer, you can verify its functionality and address any potential issues before engaging in actual printing tasks. Here’s how you can test the printer:
- Print a Test Page: In the “Printers & Scanners” section of your MacBook Air’s System Preferences, select the newly added printer and click on the “Print Test Page” option. This will initiate a test print job to verify the printer’s functionality.
- Verify Output: Once the test page is printed, carefully examine the output to ensure that the text, images, and formatting are accurately reproduced. This visual inspection allows you to confirm the printer’s ability to produce high-quality prints.
- Functional Testing: Beyond the test page, consider printing a sample document, image, or webpage to further assess the printer’s performance. This practical test provides real-world validation of the printer’s capabilities and compatibility with your MacBook Air.
- Troubleshooting: If you encounter any issues during the testing phase, such as print quality issues, connectivity problems, or error messages, refer to the printer’s documentation or the manufacturer’s support resources to troubleshoot and resolve the issues.
By conducting a thorough test of the printer, you can confidently ascertain its readiness for regular use, ensuring that it seamlessly integrates into your MacBook Air’s printing environment. This proactive approach empowers you to address any potential concerns and optimize the printer’s performance, setting the stage for a seamless and efficient printing experience.
Read more: What Printer Is Compatible With Macbook Air
Conclusion
Congratulations! By following the comprehensive steps outlined in this guide, you have successfully learned how to add a printer to your MacBook Air, unlocking a world of printing possibilities at your fingertips. The seamless integration of your printer into your MacBook Air’s ecosystem empowers you to effortlessly bridge the digital and physical realms, enabling convenient and efficient printing experiences.
As you embark on your printing journey with your newly added printer, it’s essential to remember the significance of compatibility, connectivity, and testing. By ensuring that your printer is compatible with your MacBook Air, establishing a physical connection, and conducting thorough testing, you have laid the foundation for a streamlined and reliable printing experience.
Whether you’re producing documents for work, creating vibrant images, or generating educational materials, the addition of a printer to your MacBook Air enhances your productivity and creativity. The seamless communication between your MacBook Air and the printer exemplifies the harmonious integration of technology into your daily life, simplifying your printing needs with every task.
As you continue to explore the capabilities of your printer and MacBook Air, remember that ongoing maintenance and optimization play a crucial role in sustaining a smooth printing experience. Stay informed about software updates, printer maintenance best practices, and troubleshooting resources to ensure that your printing infrastructure remains efficient and reliable.
With your newfound knowledge and confidence in adding a printer to your MacBook Air, you are well-equipped to harness the full potential of your devices, seamlessly transforming digital content into tangible prints. Embrace the convenience, creativity, and practicality that your integrated printing setup offers, and embark on a journey of seamless, efficient, and enjoyable printing experiences.
Here’s to a future filled with effortless printing and the seamless convergence of technology and practicality in your daily endeavors.
Frequently Asked Questions about How To Add A Printer To Macbook Air
Was this page helpful?
At Storables.com, we guarantee accurate and reliable information. Our content, validated by Expert Board Contributors, is crafted following stringent Editorial Policies. We're committed to providing you with well-researched, expert-backed insights for all your informational needs.


0 thoughts on “How To Add A Printer To Macbook Air”