Home>Technology>Smart Home Devices>How To Change Printer Options On IPhone

Smart Home Devices
How To Change Printer Options On IPhone
Published: January 15, 2024
Learn how to change printer options on your iPhone and connect it with other smart home devices. Follow our step-by-step guide for easy setup and customization. Improve your printing experience today!
(Many of the links in this article redirect to a specific reviewed product. Your purchase of these products through affiliate links helps to generate commission for Storables.com, at no extra cost. Learn more)
Introduction
Welcome to the digital age, where our smartphones are not just for calls and messages, but also for managing a myriad of tasks, including printing. With the advancement of technology, it’s now possible to print directly from your iPhone to a compatible printer. However, to ensure that your printed documents meet your specific requirements, it’s essential to know how to change printer options on your iPhone. This article will guide you through the process, empowering you to customize your printing preferences with ease.
Whether you need to adjust the paper size, select color or black-and-white printing, or tweak other settings, understanding how to change printer options on your iPhone can significantly enhance your printing experience. Let’s delve into the details of accessing and modifying printer options on your iPhone to make the most of this convenient functionality.
Key Takeaways:
- Customize your printing preferences directly from your iPhone by accessing and changing printer options with just a few simple taps, empowering you to tailor the output to your specific needs.
- Master the art of adjusting settings such as number of copies, paper size, color preferences, and more on your iPhone to seamlessly produce high-quality printed materials tailored to your unique requirements.
Accessing Printer Options on iPhone
Before diving into the process of changing printer options on your iPhone, it’s crucial to understand how to access these settings. Apple has streamlined the printing process by integrating it seamlessly into the operating system, making it easy to locate and utilize.
To access printer options on your iPhone, you’ll first need to ensure that your printer is compatible with AirPrint, Apple’s wireless printing technology. Once you’ve confirmed compatibility, follow these steps to access the printer options:
- Open the document, photo, or webpage you wish to print on your iPhone.
- Tap the “Share” icon, typically represented by a square with an arrow pointing upward.
- Scroll through the options and select “Print.”
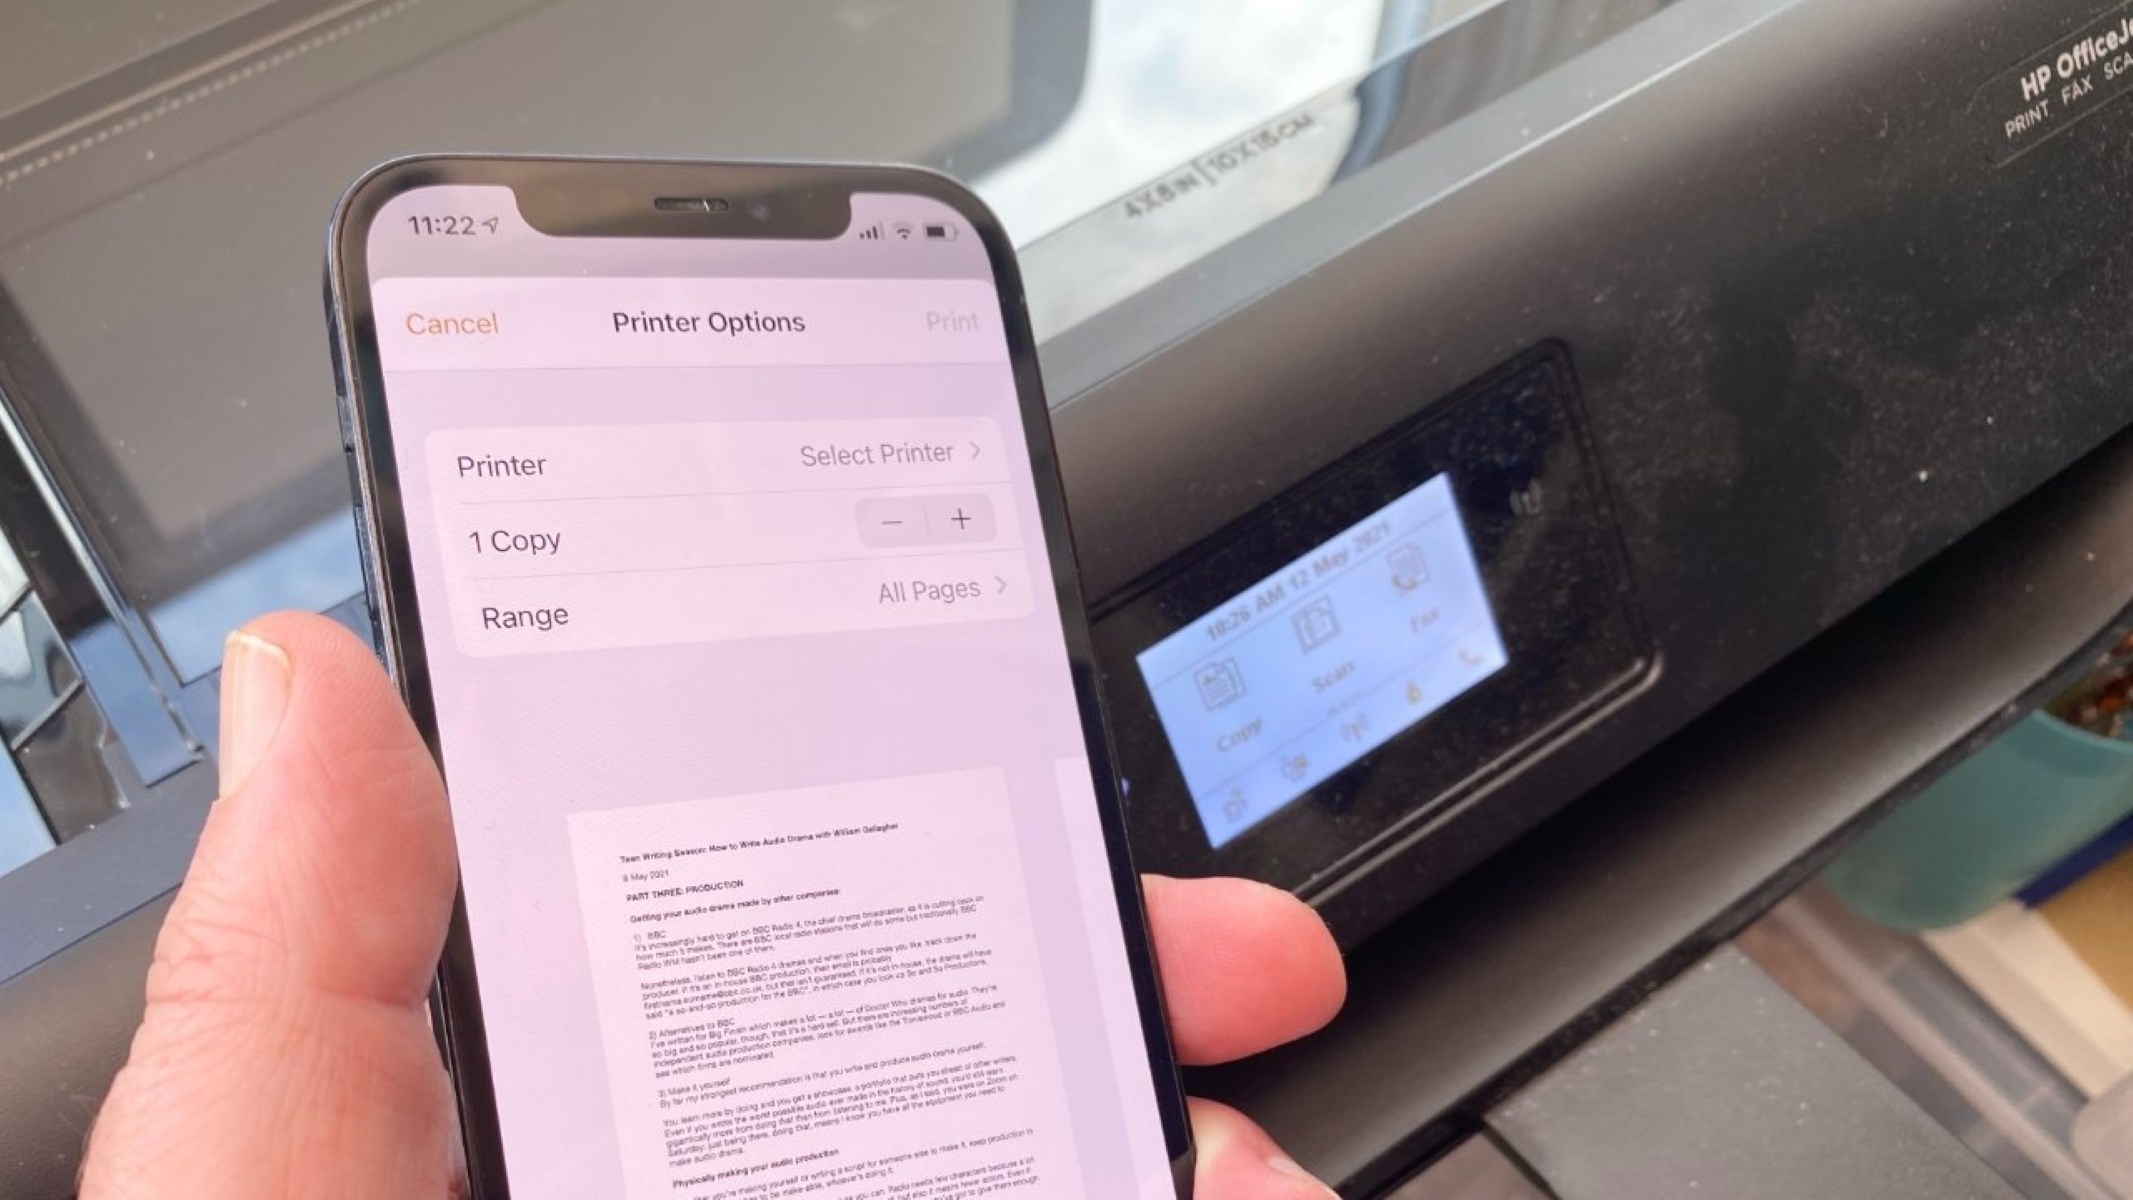
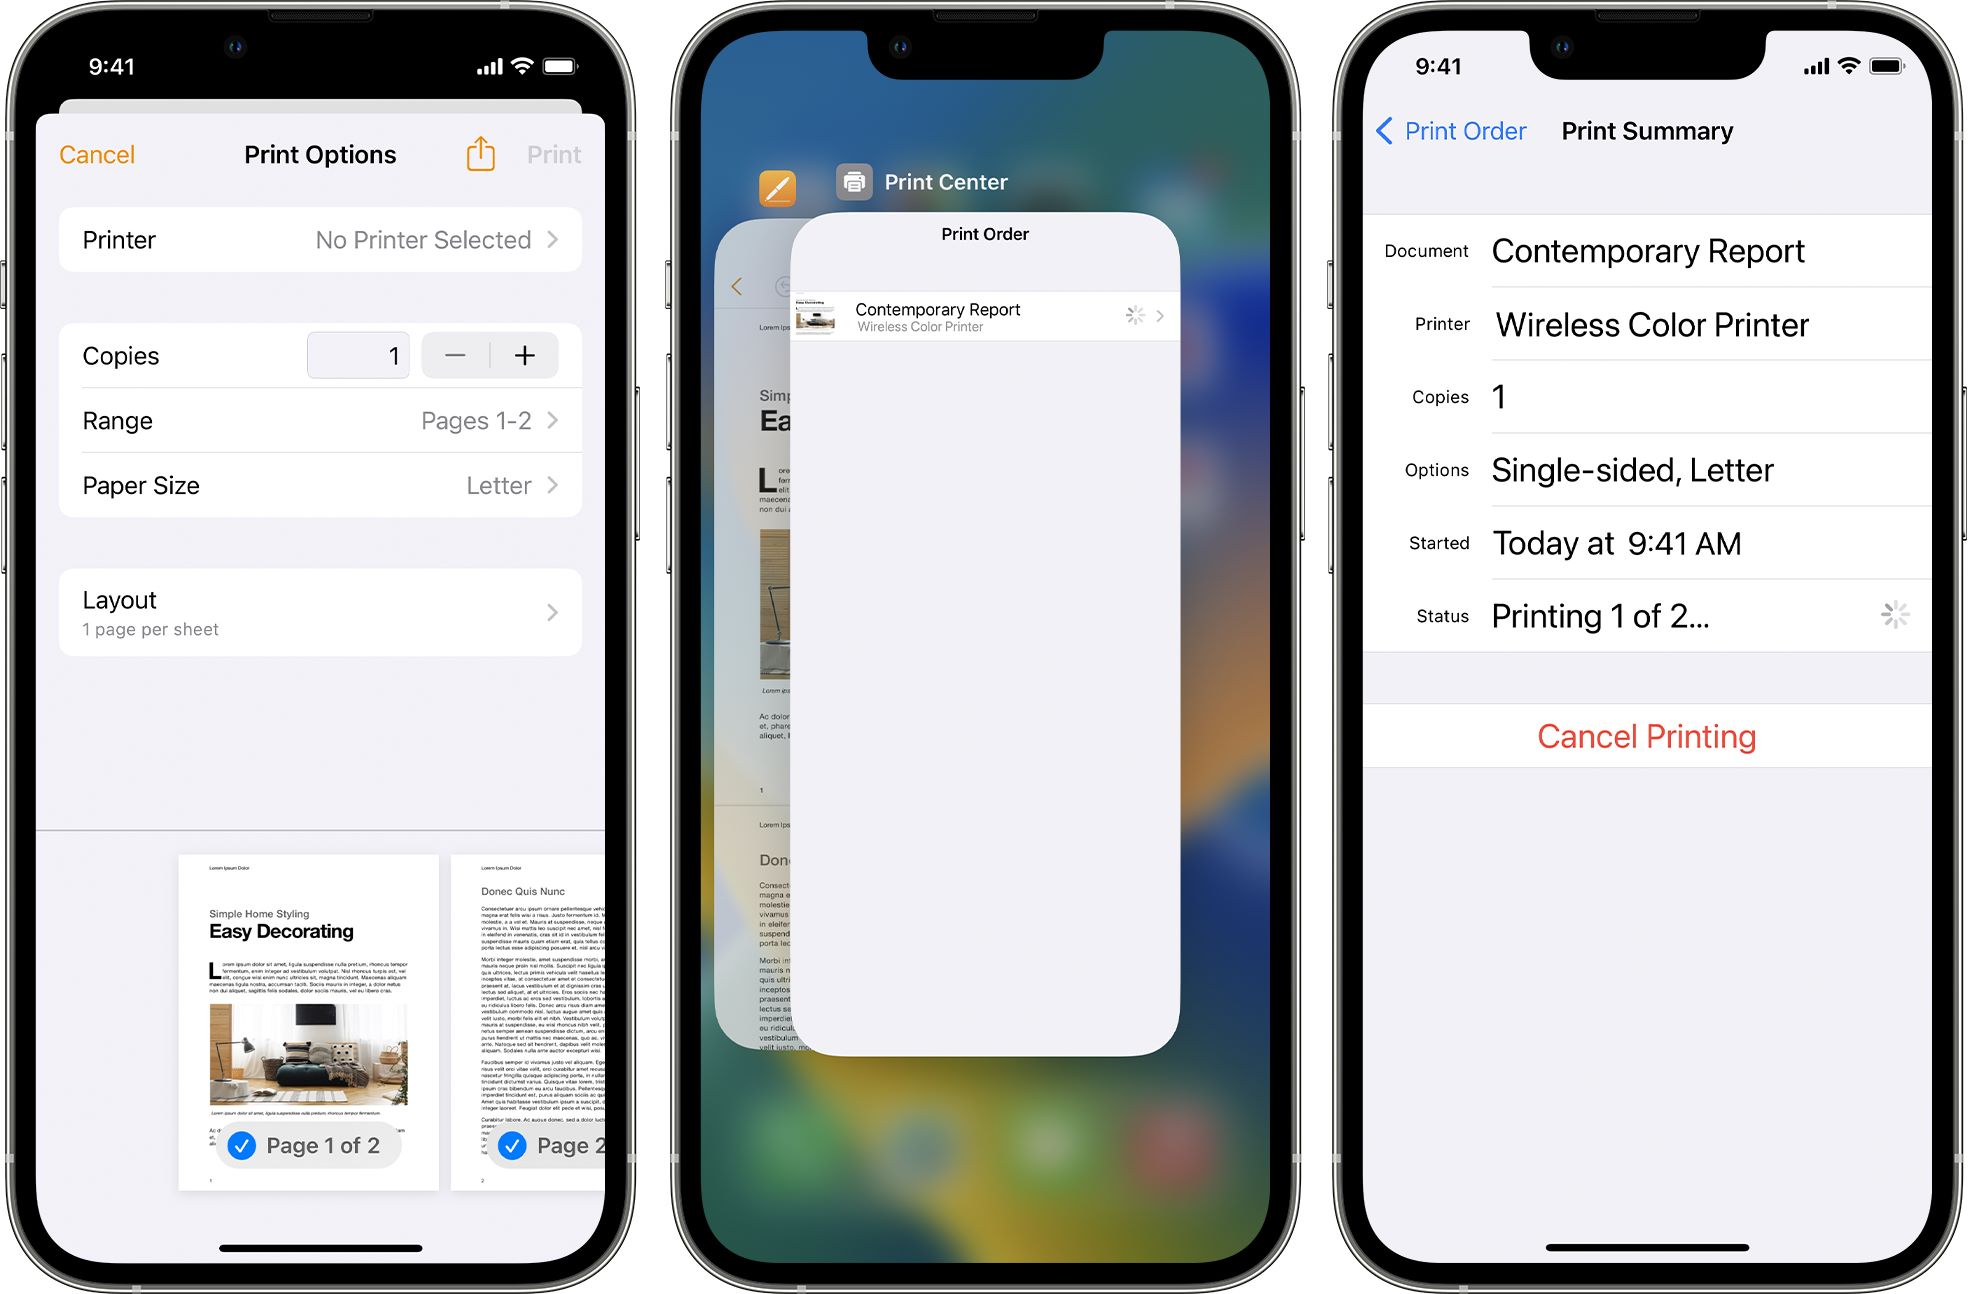
- The Printer Options screen will appear, displaying various settings that you can customize according to your preferences.
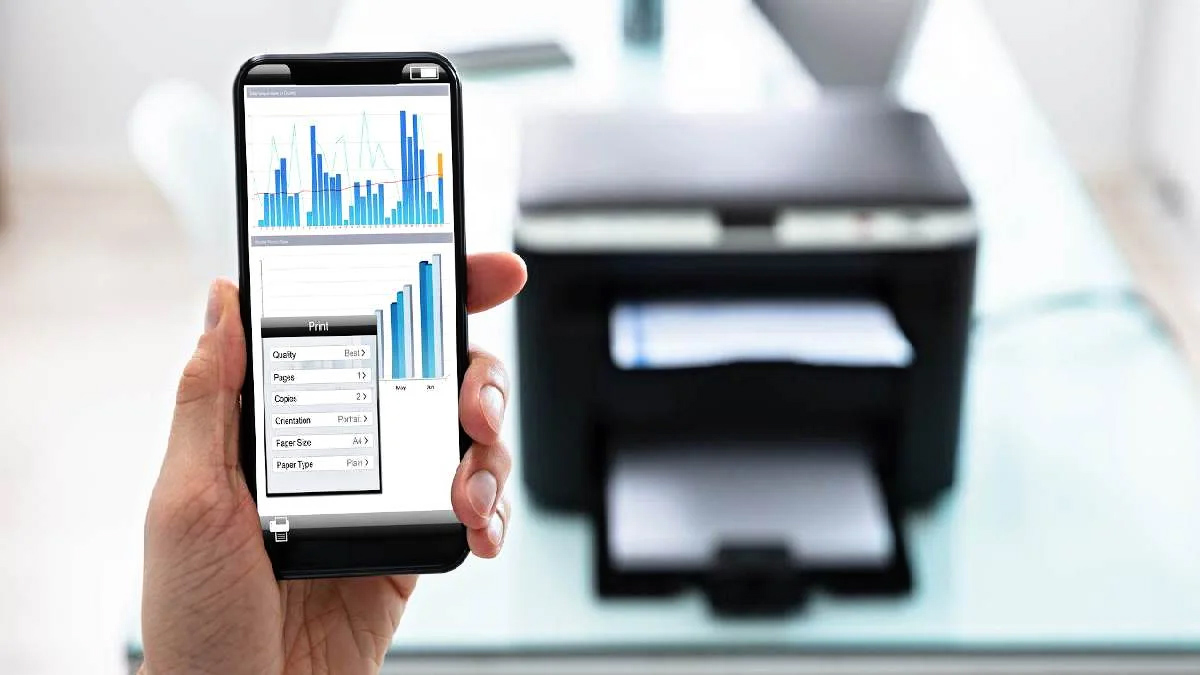
Upon accessing the Printer Options screen, you’ll have the ability to adjust settings such as the number of copies, paper size, color or black-and-white printing, and more. This intuitive interface empowers you to tailor the printing process to suit your specific needs, ensuring that the output aligns with your expectations.
Now that you know how to access the printer options on your iPhone, let’s explore the process of changing these settings to achieve your desired printing outcomes.
To change printer options on iPhone, go to the app you want to print from, tap the “Share” button, select “Print”, then choose the printer and adjust settings like color and paper size before printing.
Changing Printer Options on iPhone
Once you’ve accessed the Printer Options screen on your iPhone, you can begin customizing the settings to ensure that your printed materials meet your exact specifications. Here’s a step-by-step guide to changing printer options on your iPhone:
- Number of Copies: If you require multiple copies of the document, adjust the “Copies” setting to reflect the desired quantity.
- Paper Size: Select the appropriate paper size from the available options. Whether you need standard letter-size printing or a custom size, this setting allows you to tailor the output to your requirements.
- Color or Black-and-White Printing: Depending on your preferences and the nature of the document, you can choose between color and black-and-white printing. This option is particularly useful for conserving color ink when monochrome output suffices.
- Double-Sided Printing: If your printer supports duplex printing, toggle the “Double-Sided” option to enable or disable this feature based on your preferences and environmental considerations.
- Quality and Media: Some printers offer additional settings related to print quality and media type. If these options are available, you can fine-tune the output to achieve the desired results.
By adjusting these printer options, you can ensure that the printed materials align with your specific needs, whether you’re producing professional documents, vibrant photographs, or everyday printouts. The flexibility and control provided by these settings empower you to optimize the printing process according to your preferences.
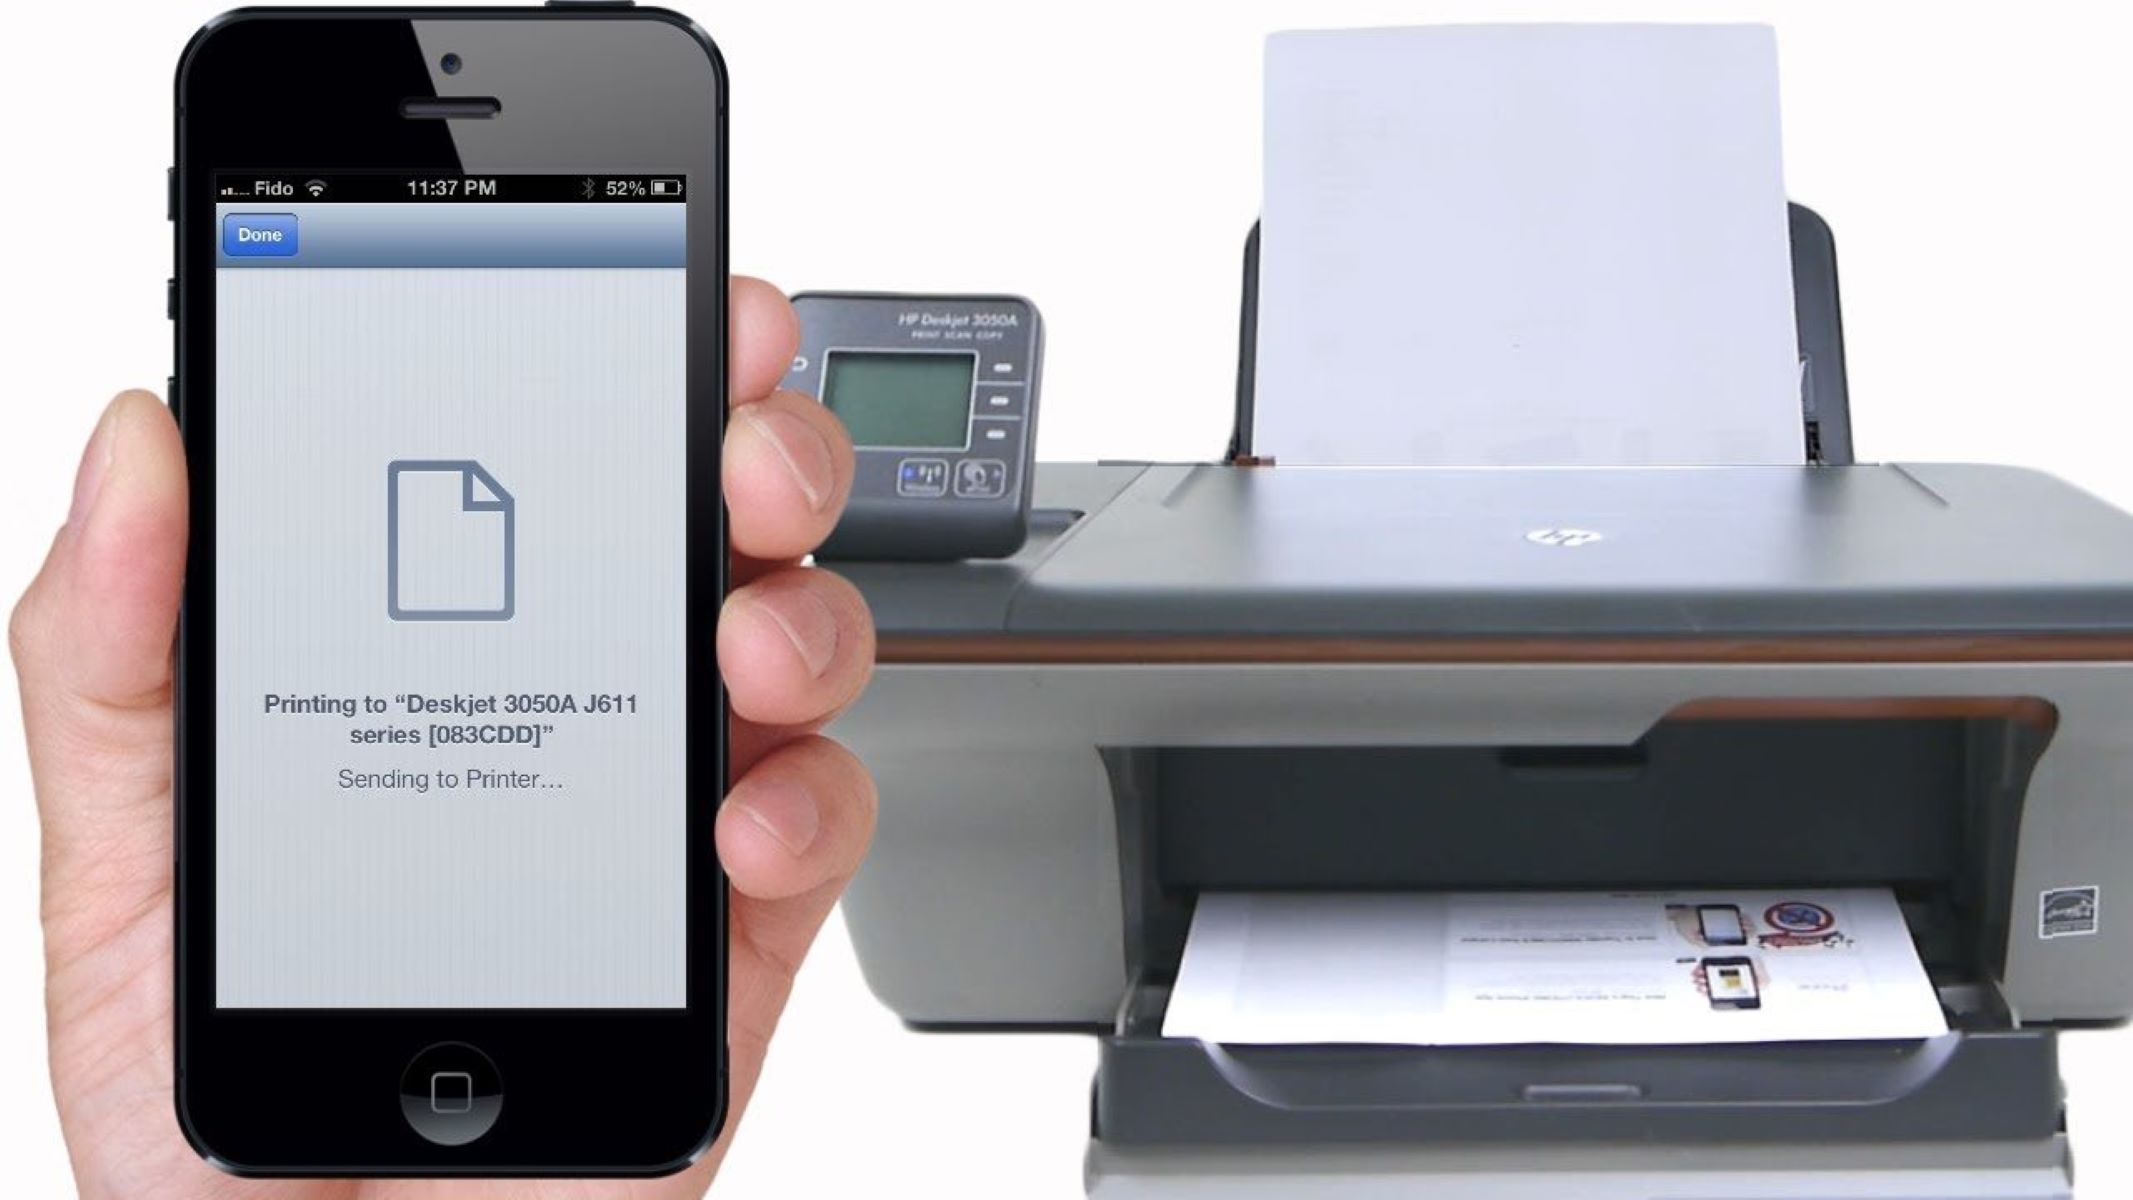
Once you’ve made the necessary adjustments to the printer options, simply tap the “Print” button to initiate the printing process. Your iPhone will communicate with the selected printer, and the customized settings will be applied to the output, resulting in a printed document that meets your exact specifications.
Now that you’re equipped with the knowledge of accessing and changing printer options on your iPhone, you can confidently navigate the printing process with precision and ease. With these capabilities at your fingertips, you can seamlessly produce high-quality printed materials tailored to your unique requirements.
Conclusion
Mastering the art of changing printer options on your iPhone opens up a world of possibilities, allowing you to personalize the printing process and achieve optimal results. By accessing the Printer Options screen through a few simple taps, you gain the power to customize settings such as the number of copies, paper size, color preferences, and more, directly from your iPhone.
Whether you’re printing documents for professional purposes, capturing cherished memories in vibrant color, or simply producing everyday printouts, the ability to adjust printer options empowers you to tailor the output to your exact specifications. This level of customization ensures that the printed materials align with your unique needs and preferences, enhancing the overall printing experience.
As technology continues to evolve, the seamless integration of printing capabilities into the iPhone ecosystem exemplifies the convenience and efficiency that modern devices offer. With just a few taps, you can access and modify printer options, transforming the way you interact with your digital and physical documents.
By familiarizing yourself with the process of changing printer options on your iPhone, you’re equipped to navigate the printing landscape with confidence and finesse. This newfound proficiency enables you to harness the full potential of your iPhone, transforming it into a versatile tool for managing your printing needs.
Whether you’re a seasoned iPhone user or just beginning to explore its capabilities, understanding how to change printer options on your device empowers you to take full control of the printing process. Embrace the flexibility, convenience, and customization that this functionality offers, and elevate your printing experience to new heights.
Armed with the knowledge and insights shared in this article, you’re well-prepared to harness the power of printer options on your iPhone, making each printing task a tailored and seamless endeavor.
Frequently Asked Questions about How To Change Printer Options On IPhone
Was this page helpful?
At Storables.com, we guarantee accurate and reliable information. Our content, validated by Expert Board Contributors, is crafted following stringent Editorial Policies. We're committed to providing you with well-researched, expert-backed insights for all your informational needs.

0 thoughts on “How To Change Printer Options On IPhone”