Home>Technology>Smart Home Devices>How To Clean A Zebra Printer
Smart Home Devices
How To Clean A Zebra Printer
Modified: August 17, 2024
Learn how to properly clean your Zebra printer to maintain its performance and longevity. Follow our step-by-step guide for smart home device maintenance.
(Many of the links in this article redirect to a specific reviewed product. Your purchase of these products through affiliate links helps to generate commission for Storables.com, at no extra cost. Learn more)
Introduction
Welcome to the comprehensive guide on how to clean a Zebra printer. Zebra printers are essential for various industries, from retail and healthcare to manufacturing and logistics. Whether you use a Zebra printer for printing barcodes, labels, or receipts, regular cleaning is crucial to maintain optimal performance and prolong the printer's lifespan. This step-by-step guide will walk you through the process of cleaning your Zebra printer, ensuring that it continues to deliver high-quality prints and reliable operation.
Proper maintenance of your Zebra printer not only enhances its longevity but also contributes to the overall efficiency of your operations. Over time, dust, debris, and residue from labels and ink can accumulate inside the printer, potentially leading to print quality issues and malfunctions. By following the instructions in this guide, you can effectively remove contaminants and maintain the printer's functionality at its best.
Cleaning your Zebra printer is a simple yet essential task that can prevent costly repairs and downtime. With the right supplies and proper technique, you can ensure that your Zebra printer consistently produces clear, accurate prints. Additionally, regular cleaning can help you avoid common issues such as streaks, smudges, and label jams, ultimately improving the overall productivity of your printing processes.
In the following steps, you will learn the necessary supplies you'll need for cleaning, how to safely power off the printer, and the proper methods for cleaning the print head assembly and interior components. By the end of this guide, you'll be equipped with the knowledge and confidence to maintain your Zebra printer in top condition, allowing you to maximize its performance and reliability.
So, let's dive into the step-by-step process of cleaning your Zebra printer and ensure that it remains a valuable asset to your business operations. Let's get started with gathering the necessary supplies for the cleaning process.
Key Takeaways:
- Regularly cleaning your Zebra printer with isopropyl alcohol, lint-free cloths, and compressed air can help maintain print quality, prevent malfunctions, and extend the printer’s lifespan, ensuring reliable performance.
- Properly powering off the printer, removing the print head assembly, and cleaning the interior components are essential steps to ensure thorough maintenance and optimal functionality of your Zebra printer.
Read more: What Is A Zebra Printer
Step 1: Gather Necessary Supplies
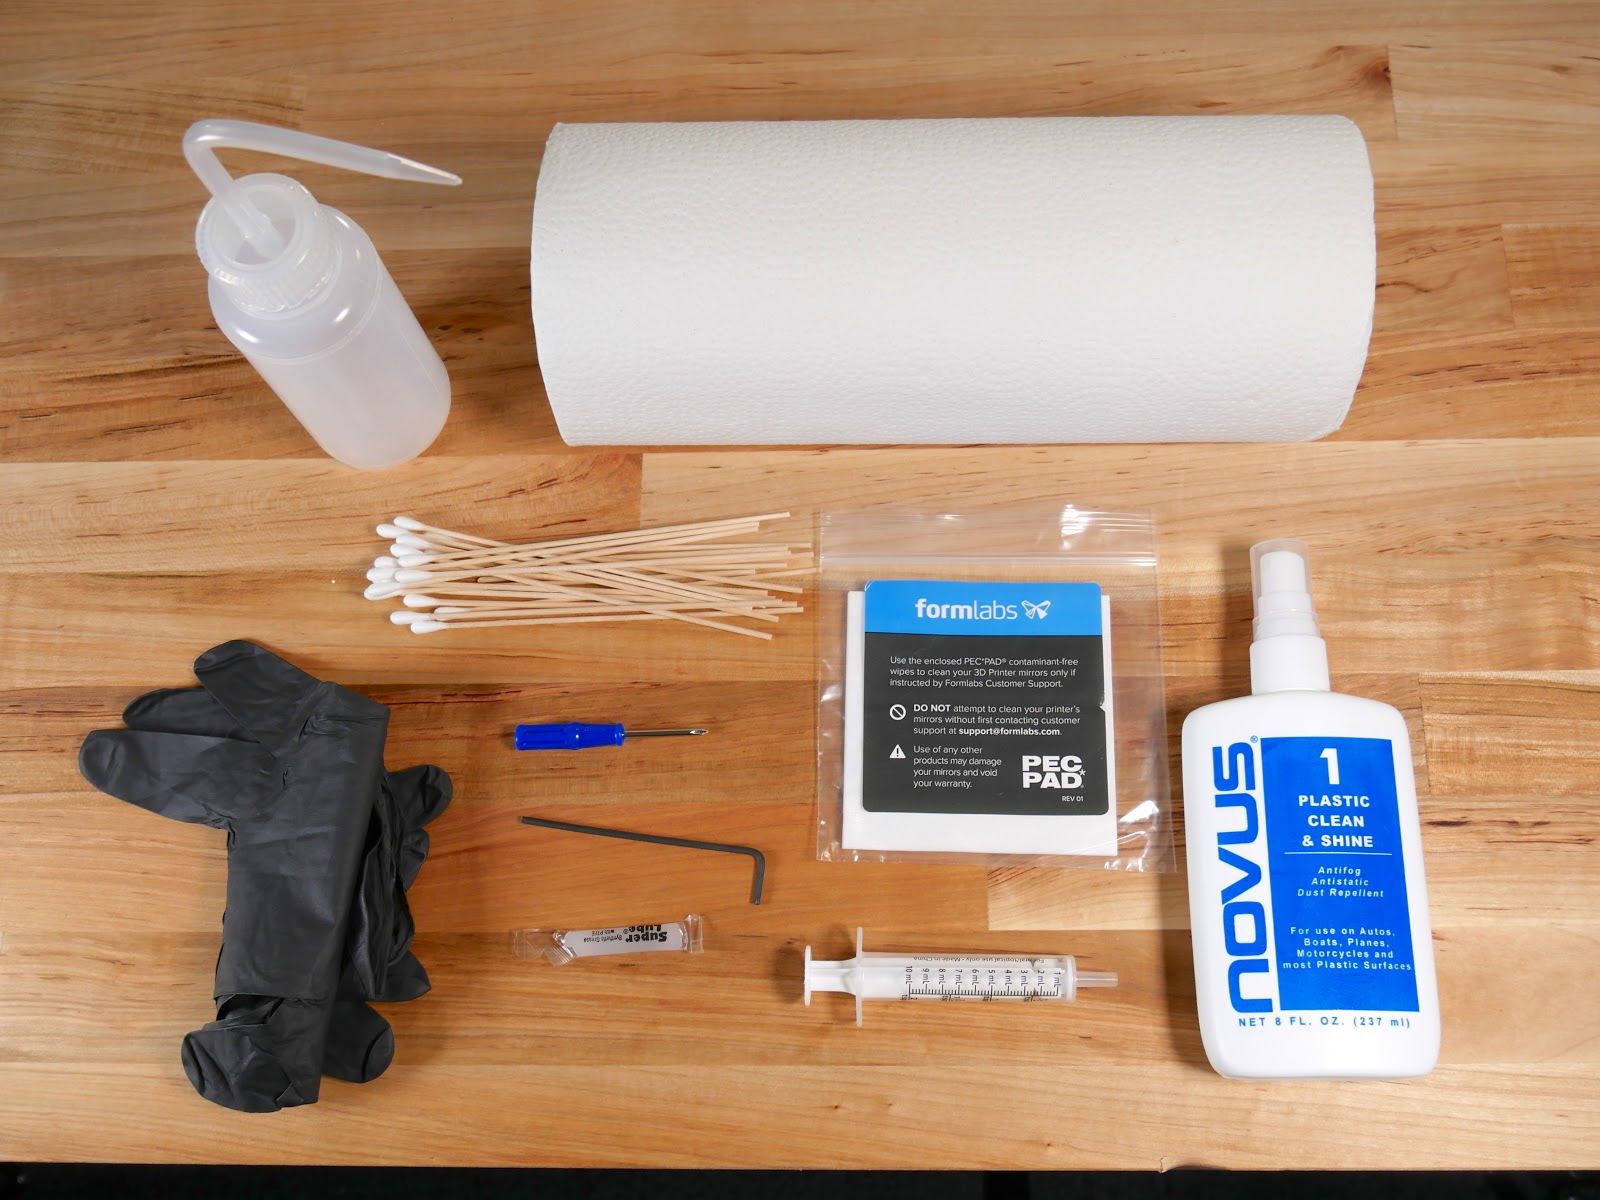
Before you begin cleaning your Zebra printer, it’s essential to gather the necessary supplies to ensure a thorough and effective cleaning process. Here’s a list of supplies you’ll need:
- Isopropyl Alcohol: This is a key cleaning agent for removing ink residue, dust, and other contaminants from the print head and interior components of the printer. Isopropyl alcohol evaporates quickly and leaves minimal residue, making it ideal for printer cleaning.
- Clean, Lint-Free Cloths: Use lint-free cloths to apply the isopropyl alcohol and gently clean the print head assembly and interior surfaces of the printer. Lint-free cloths prevent fibers from getting caught in the printer’s mechanisms and ensure a thorough cleaning without leaving behind debris.
- Cotton Swabs: These are useful for reaching small and intricate areas within the printer, such as the crevices around the print head assembly and other components. They allow for precise application of isopropyl alcohol and are effective for detailed cleaning.
- Compressed Air Canister: A canister of compressed air is handy for blowing away dust and debris from hard-to-reach areas inside the printer. It helps dislodge particles that may be obstructing the printer’s functionality.
- Printer Cleaning Cards: If your Zebra printer uses cleaning cards, ensure you have the appropriate cleaning cards designed for your specific printer model. These cards are effective for removing dirt and debris from the printer’s internal rollers and mechanisms.
By having these supplies readily available, you can proceed with confidence, knowing that you have everything necessary to clean your Zebra printer thoroughly. With the right tools at your disposal, you’ll be well-prepared to maintain your printer’s performance and ensure the longevity of its components. Now that you’ve gathered the essential supplies, it’s time to move on to the next step: powering off the printer in preparation for cleaning.
Step 2: Power Off the Printer
Before initiating the cleaning process, it’s crucial to power off your Zebra printer to ensure safety and prevent any potential damage during the cleaning procedure. Here’s how to properly power off your printer:
- Save and Close All Printing Tasks: If the printer is currently in use, complete any pending printing tasks and ensure that no documents are queued for printing. This prevents any disruption to ongoing operations and allows the printer to be safely powered off.
- Press the Power Button: Locate the power button on the printer and press it to initiate the shutdown process. Wait for the printer to completely power down before proceeding to the next step.
- Unplug the Power Cord: Once the printer has powered off, safely unplug the power cord from the electrical outlet. This step ensures that the printer is completely disconnected from the power source, minimizing the risk of electrical hazards during the cleaning process.
- Allow the Printer to Cool (If Applicable): If the printer has been in use and is warm to the touch, allow it to cool down for a few minutes before proceeding with the cleaning. This prevents accidental burns and ensures safe handling of the printer’s components.
By following these steps, you can safely power off your Zebra printer and prepare it for the upcoming cleaning procedures. Ensuring that the printer is completely powered down and disconnected from the power source is essential for the safety of both the operator and the printer itself. Now that the printer is powered off, you’re ready to move on to the next step: opening the printer cover to access the internal components.
Step 3: Open the Printer Cover
Opening the printer cover is the next step in the process of cleaning your Zebra printer. Accessing the internal components allows you to perform a thorough cleaning and maintenance routine. Here’s how to safely open the printer cover:
- Locate the Printer Cover Release: Depending on the model of your Zebra printer, the location of the cover release mechanism may vary. Refer to the printer’s user manual or documentation to identify the specific location of the cover release.
- Follow Safety Precautions: Before proceeding, ensure that the printer is powered off and unplugged from the electrical outlet. Adhering to safety precautions prevents the risk of electrical shock or other potential hazards while accessing the internal components.
- Engage the Cover Release: Using the designated method for your printer model, engage the cover release to unlock and open the printer cover. Take care to apply gentle and even pressure to avoid any damage to the cover or its hinges.
- Secure the Cover in the Open Position: If the printer cover has a locking mechanism to keep it open, engage the lock to secure the cover in the open position. This ensures that the cover remains stable and allows for unobstructed access to the interior of the printer.
By following these steps, you can safely open the printer cover and prepare to clean the internal components of your Zebra printer. Accessing the interior of the printer is essential for effectively removing dust, debris, and ink residue. With the printer cover open, you’re now ready to proceed to the next step: removing the print head assembly for thorough cleaning.
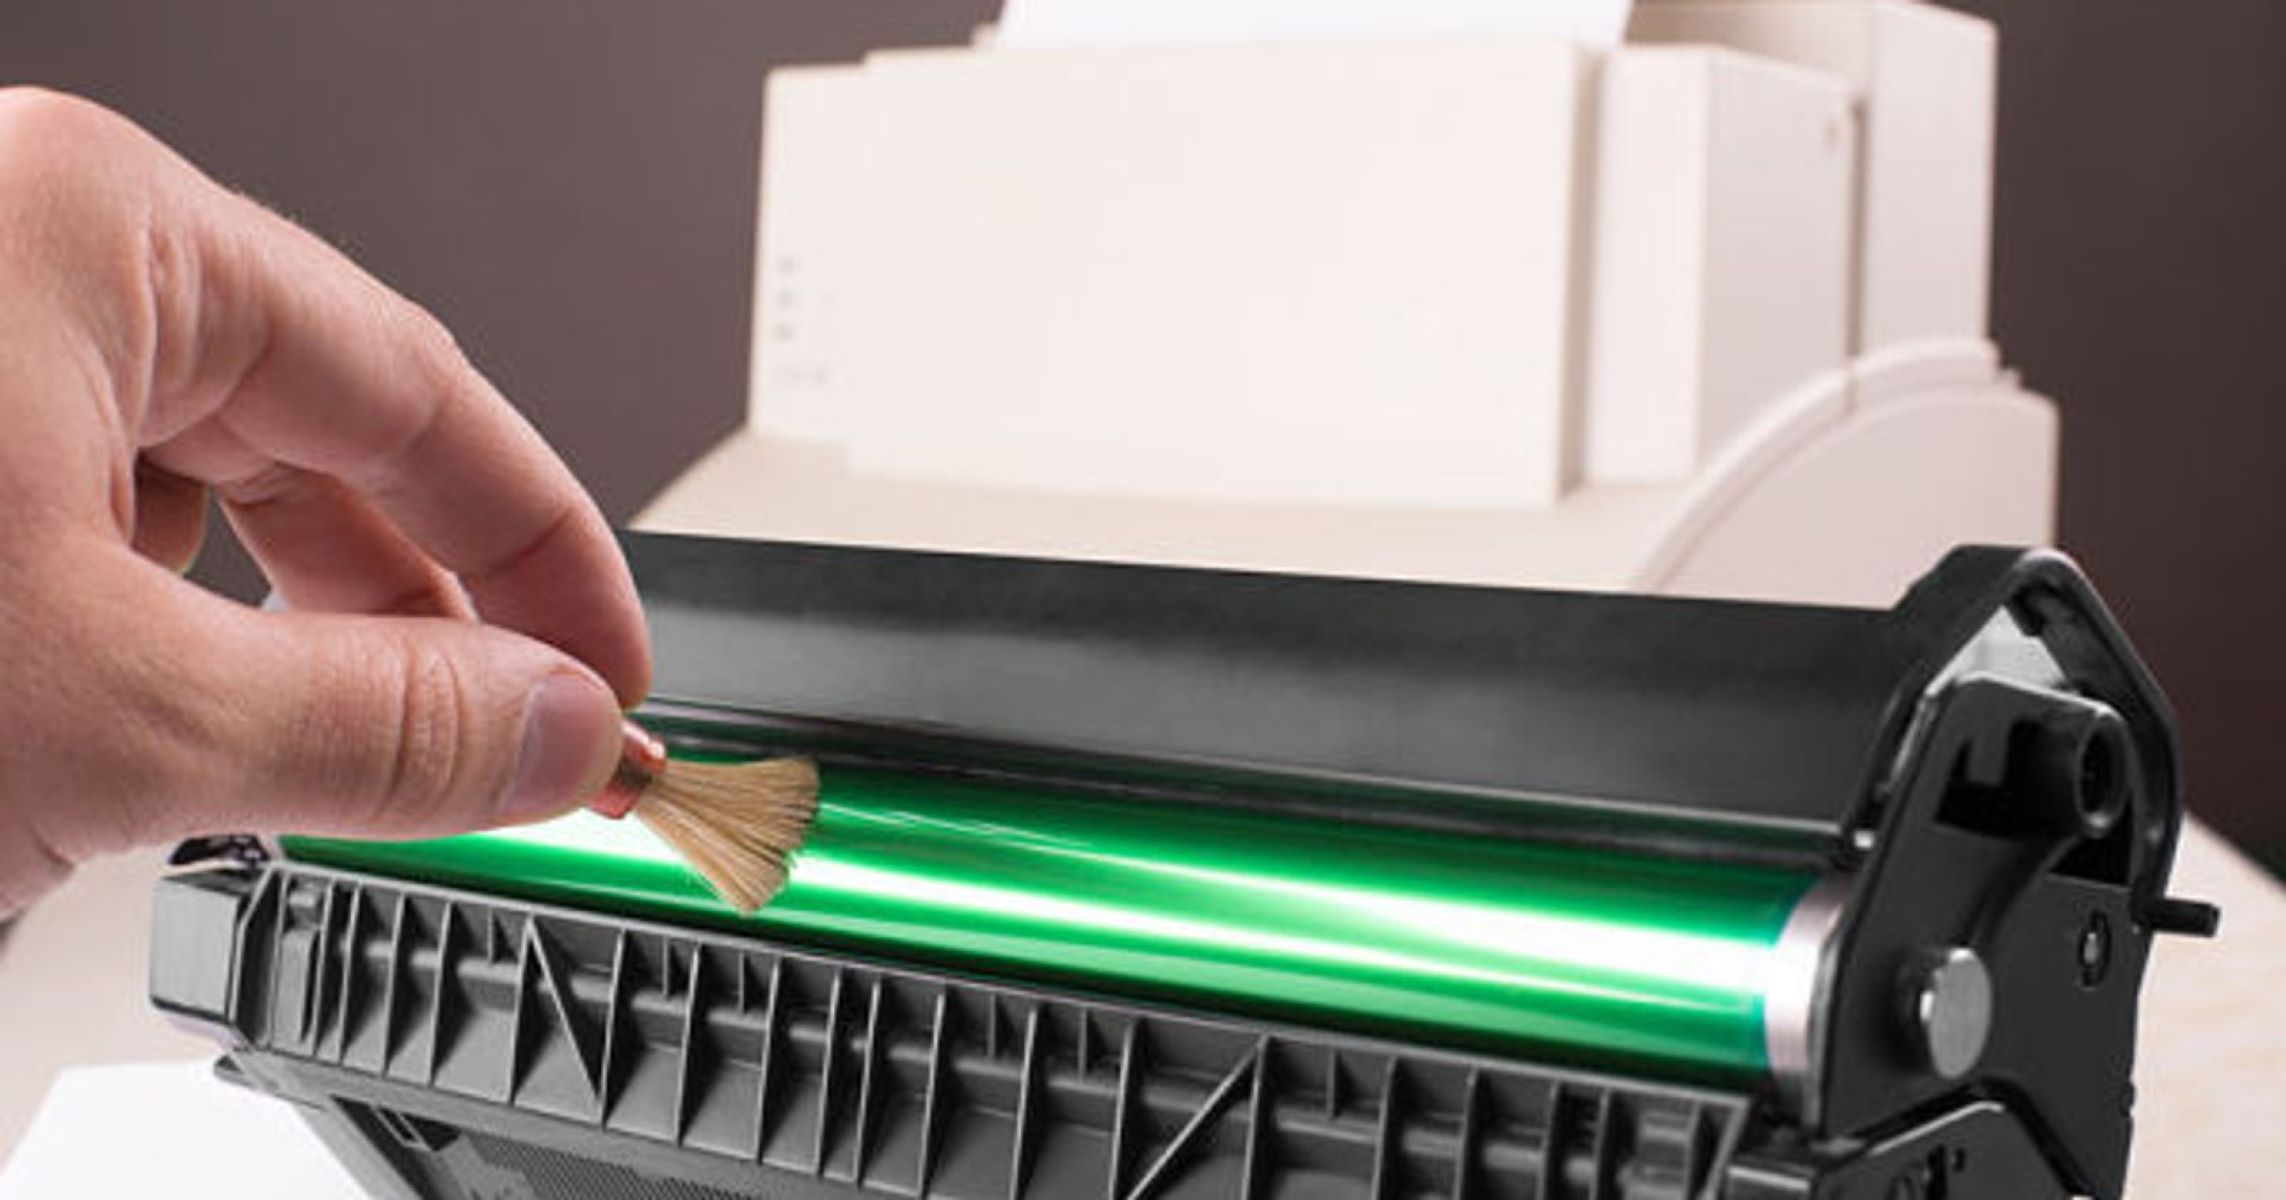
Step 4: Remove the Print Head Assembly
Removing the print head assembly is a critical step in the cleaning process, as it allows for targeted cleaning and maintenance of this essential printer component. Follow these steps to safely remove the print head assembly from your Zebra printer:
- Refer to the User Manual: Consult the user manual or documentation provided with your Zebra printer to locate specific instructions for removing the print head assembly. Different printer models may have varying methods for accessing and removing the print head assembly.
- Identify the Print Head Release: Locate the print head release mechanism, which may involve pressing a release button, unlocking a latch, or following a specific procedure outlined in the user manual. Take care to follow the manufacturer’s instructions to avoid damaging the print head assembly or other components.
- Gently Remove the Print Head Assembly: Once the release mechanism is engaged, carefully lift or slide the print head assembly out of its position within the printer. Handle the print head assembly with care to prevent any accidental damage or misalignment.
- Place the Print Head Assembly on a Clean Surface: After removing the print head assembly, place it on a clean, flat surface where you can proceed with the cleaning process. This ensures that the print head assembly is secure and stable during the cleaning procedure.
By following these steps, you can safely remove the print head assembly from your Zebra printer, setting the stage for thorough cleaning and maintenance. The print head assembly is a critical component responsible for producing high-quality prints, and proper cleaning is essential for optimal performance. With the print head assembly removed, you’re now ready to proceed to the next step: cleaning the print head assembly to remove ink residue and debris.
To clean a Zebra printer, use a soft, lint-free cloth and isopropyl alcohol to gently wipe the printhead and platen roller. Avoid using harsh chemicals or abrasive materials to prevent damage.
Read more: How To Install A Zebra Printer
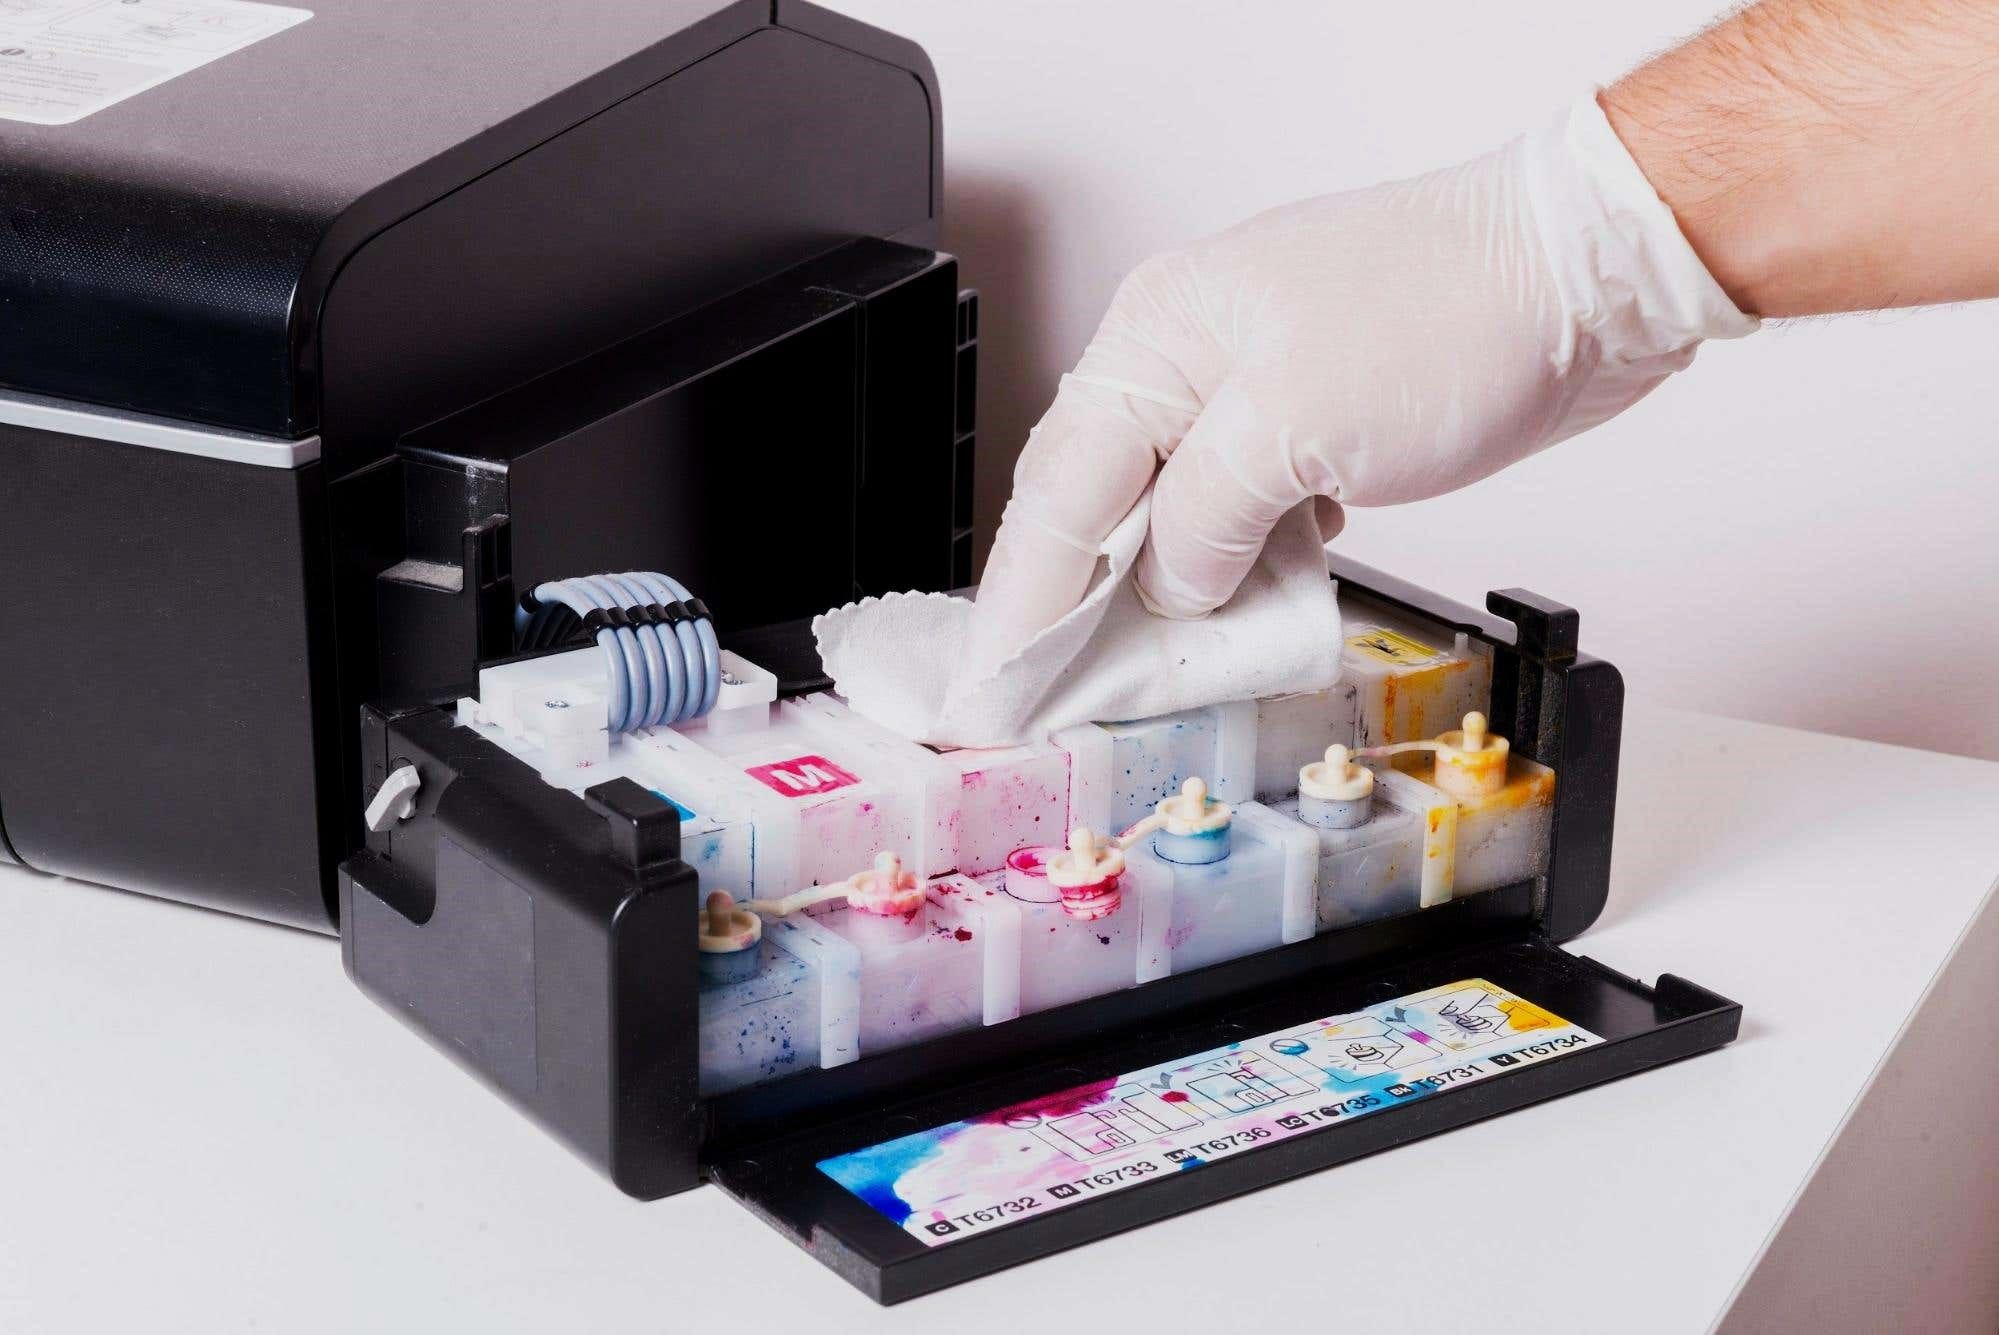
Step 5: Clean the Print Head Assembly
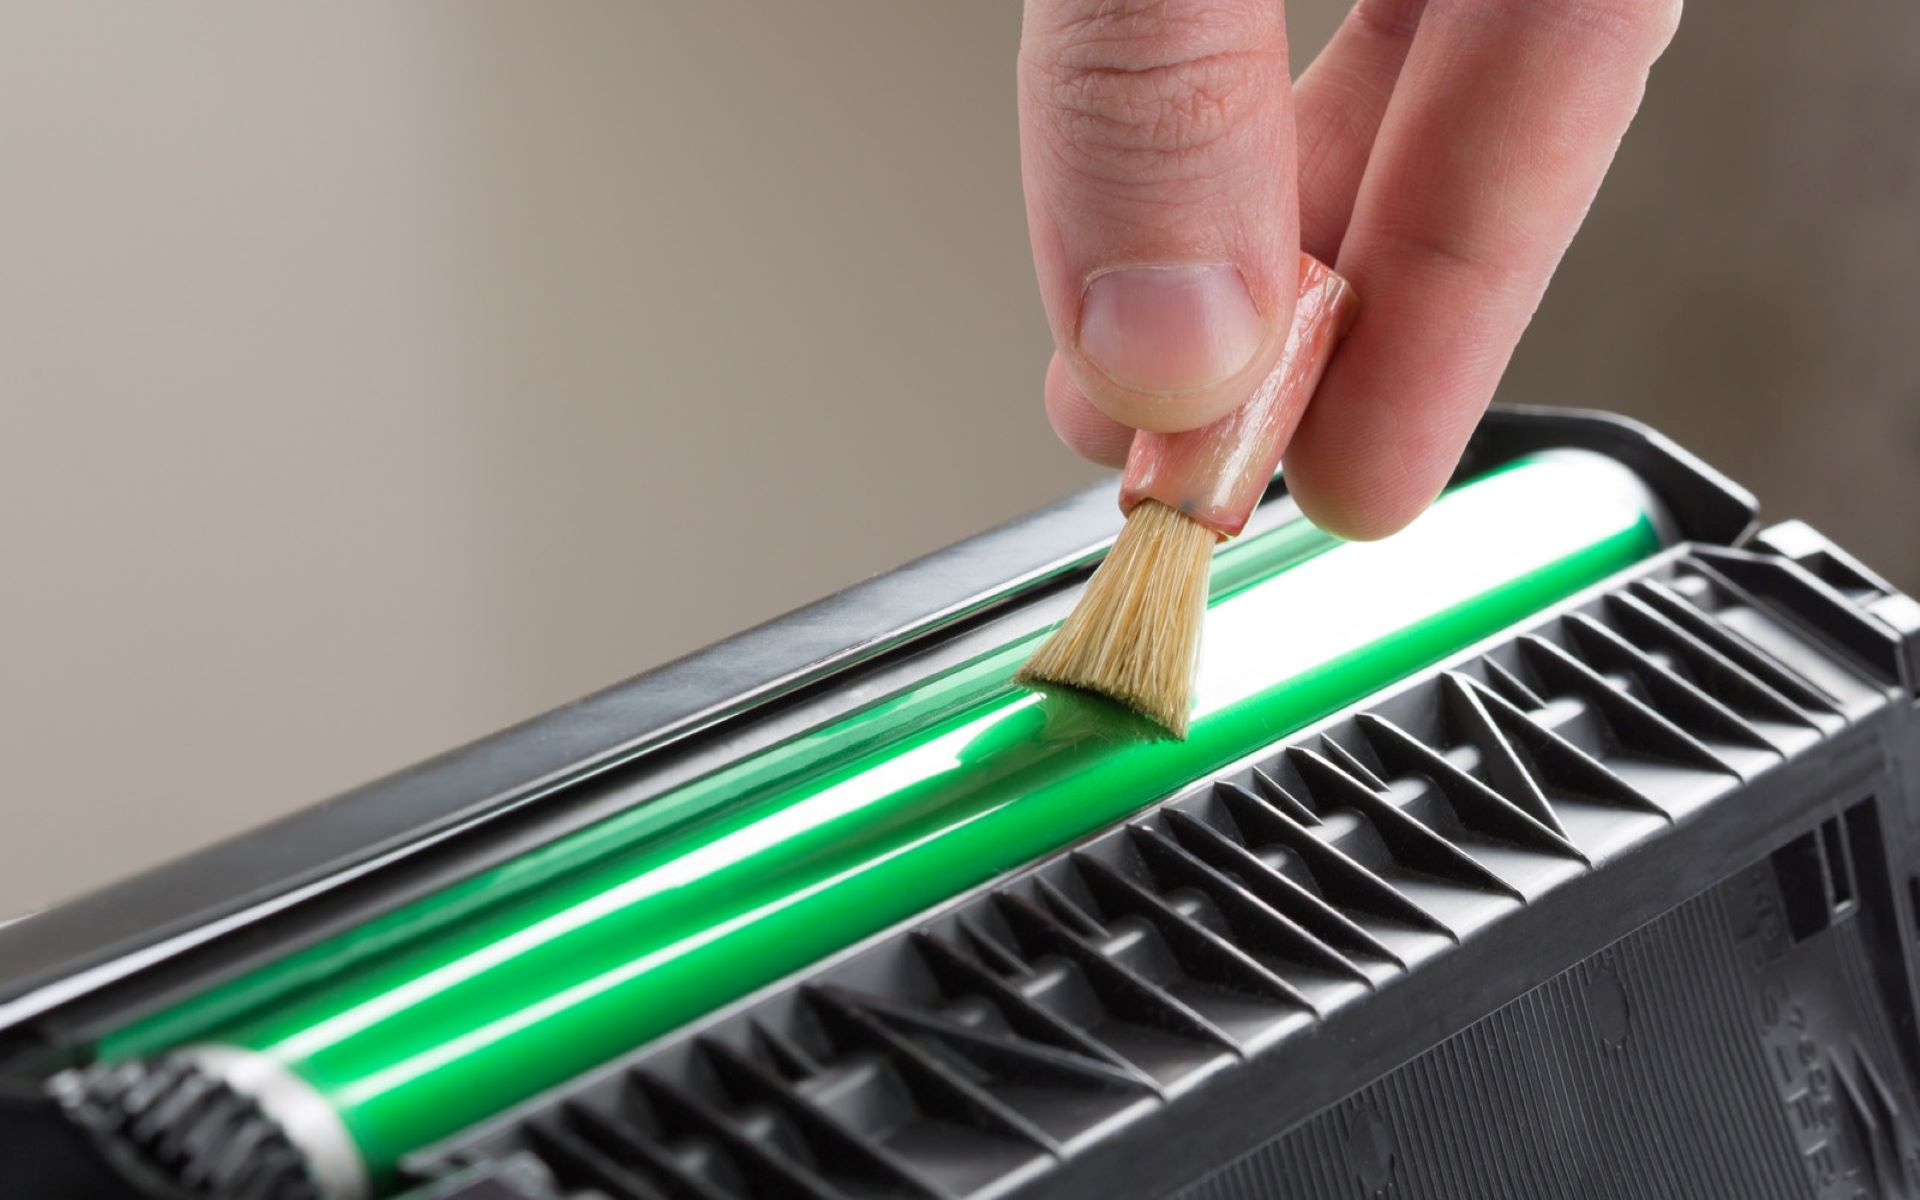
Cleaning the print head assembly is a crucial aspect of maintaining the optimal performance of your Zebra printer. The print head is responsible for transferring ink onto the media, and over time, it can accumulate ink residue and debris that may affect print quality. Here’s how to effectively clean the print head assembly:
- Inspect the Print Head Surface: Carefully examine the surface of the print head for any visible ink residue, dust, or debris. Use a flashlight if necessary to ensure thorough inspection and identify areas that require cleaning.
- Apply Isopropyl Alcohol: Moisten a clean, lint-free cloth or a cotton swab with isopropyl alcohol. Gently wipe the surface of the print head assembly to remove any accumulated ink residue. Take care to avoid excess moisture and ensure that the alcohol evaporates quickly.
- Repeat the Cleaning Process: If necessary, repeat the cleaning process to ensure that the print head assembly is free from any stubborn ink residue or contaminants. Use fresh cleaning materials as needed to maintain effectiveness.
- Clean Surrounding Components: While the print head assembly is removed, take the opportunity to clean any surrounding components, such as guide rollers and sensors, using the same cleaning methods. This ensures a comprehensive cleaning of the print head area.
- Allow the Print Head Assembly to Dry: After cleaning, allow the print head assembly to air dry completely before reinstallation. This ensures that no residual moisture is present when the print head assembly is returned to the printer.
By following these steps, you can effectively clean the print head assembly of your Zebra printer, ensuring that it remains free from ink residue and debris that may compromise print quality. Proper maintenance of the print head assembly contributes to consistent and reliable printing performance. With the print head assembly cleaned, you’re now ready to proceed to the next step: cleaning the interior of the printer to remove dust and debris.
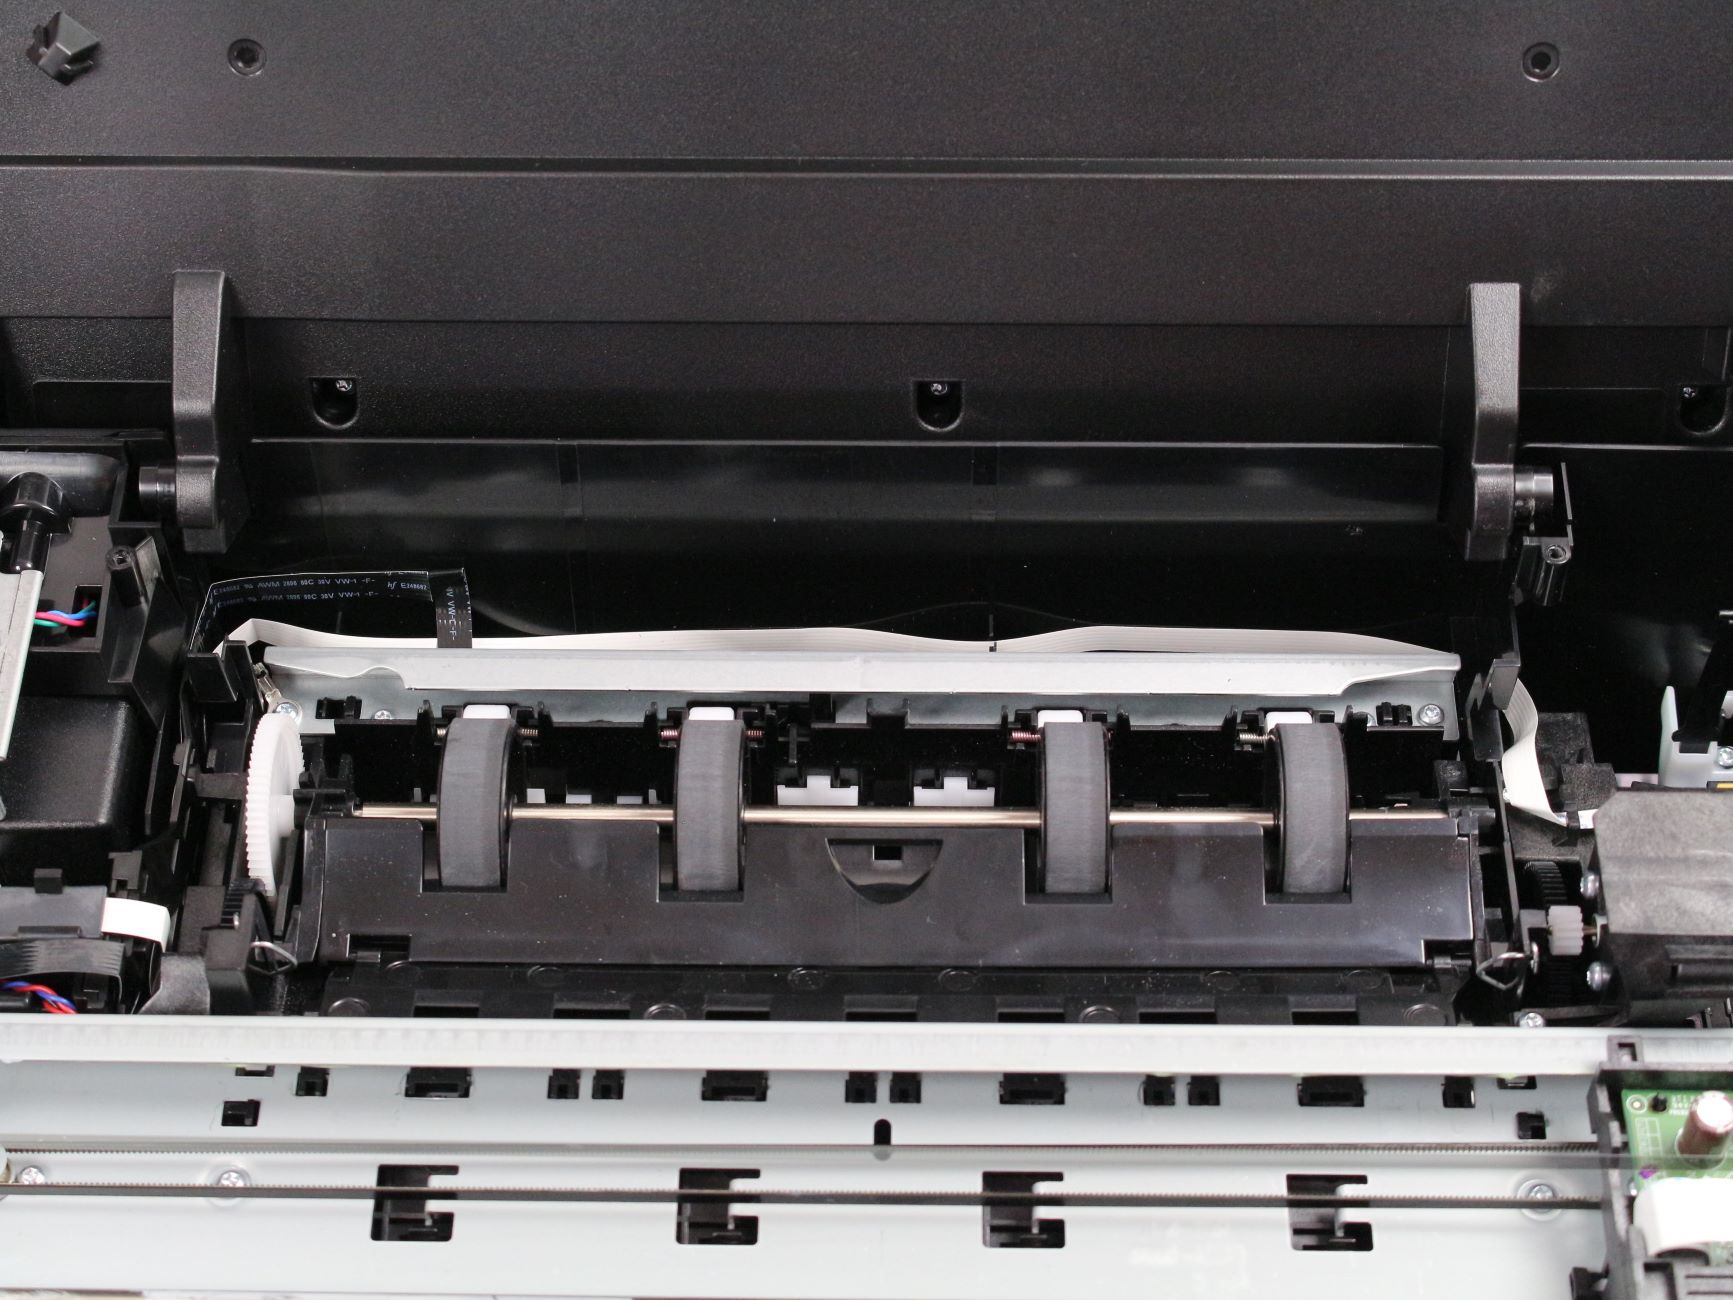
Step 6: Clean the Interior of the Printer
Cleaning the interior of your Zebra printer is essential for maintaining its overall functionality and print quality. Dust, debris, and ink residue can accumulate within the printer over time, potentially leading to print defects and operational issues. Here’s how to effectively clean the interior of your Zebra printer:
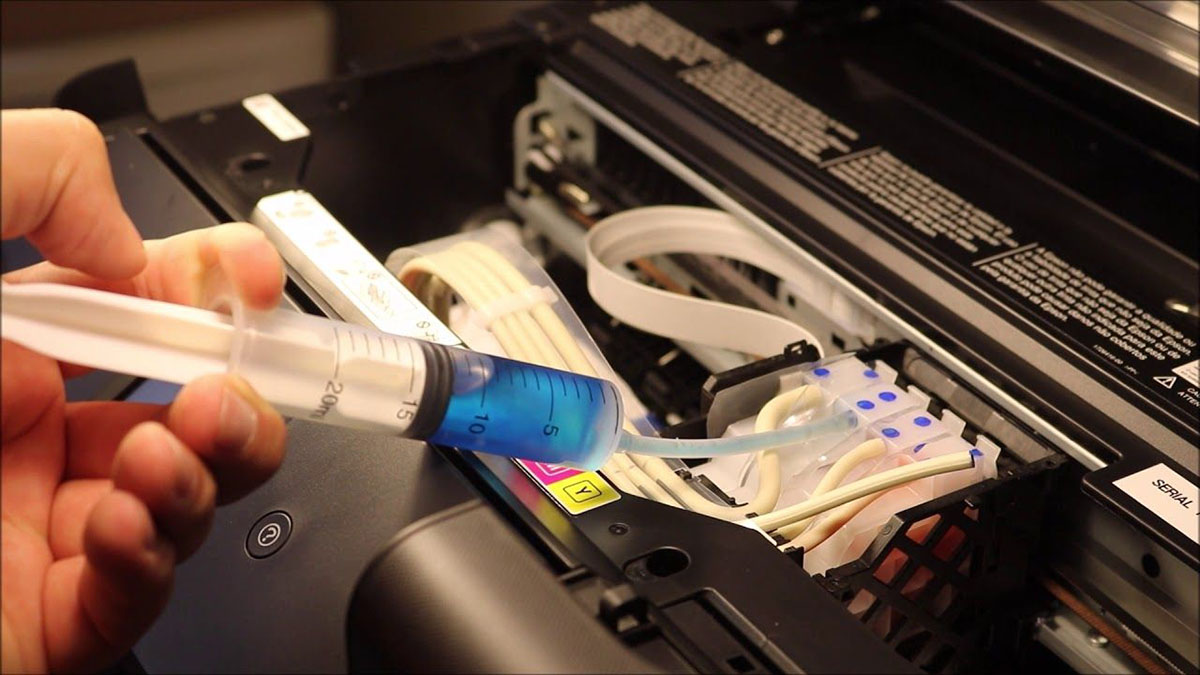
- Use Compressed Air: Begin by using a canister of compressed air to blow away dust and debris from the interior components of the printer. Direct the airflow carefully to dislodge any particles that may be obstructing the printer’s mechanisms or affecting print quality.
- Clean Internal Surfaces: Moisten a clean, lint-free cloth with isopropyl alcohol and gently wipe the internal surfaces of the printer, including the media path, rollers, and other accessible areas. This helps remove any ink residue and stubborn contaminants that may impact printing performance.
- Inspect and Clean Sensors: Carefully inspect and clean any sensors or optical components within the printer using a cotton swab moistened with isopropyl alcohol. Ensure that sensors are free from dust and debris to maintain accurate media detection and printing alignment.
- Check for Label Residue: If your printer is used for label printing, check for any adhesive residue left behind by labels. Use isopropyl alcohol and a lint-free cloth to gently remove any adhesive buildup from the printer’s interior, promoting smooth media movement and preventing label jams.
- Reassemble the Printer Components: Once the interior cleaning is complete, reassemble any components that were removed for cleaning, ensuring that they are securely positioned and aligned according to the manufacturer’s specifications.
By following these steps, you can effectively clean the interior of your Zebra printer, removing dust, debris, and ink residue that may compromise print quality and operational efficiency. Regular maintenance of the printer’s interior components contributes to consistent and reliable printing performance. With the interior cleaning completed, you’re now ready to proceed to the next step: reassembling the printer in preparation for powering it on.
Step 7: Reassemble the Printer
After completing the cleaning process, reassembling your Zebra printer is a crucial step to ensure that all components are properly positioned and secured for optimal functionality. Follow these steps to reassemble your printer after cleaning:
- Reinstall the Print Head Assembly: Carefully place the cleaned print head assembly back into its designated position within the printer, following the specific instructions provided in the user manual. Ensure that the print head assembly is securely seated and aligned according to the manufacturer’s guidelines.
- Close and Secure the Printer Cover: If the printer cover has a locking mechanism, engage the lock to secure the cover in the closed position. Take care to ensure that the cover is properly aligned and latched to prevent any potential issues during operation.
- Plug in the Power Cord: Reconnect the power cord to the electrical outlet, ensuring a secure connection. This prepares the printer for the next step of powering it on after the cleaning and reassembly process.
- Perform a Visual Inspection: Before powering on the printer, visually inspect the exterior of the printer to verify that all components are reassembled correctly and that no tools or cleaning supplies are inadvertently left inside the printer.
By following these steps, you can ensure that your Zebra printer is properly reassembled and ready for the final step of the cleaning process: powering it on to resume normal operation. Proper reassembly is essential for the printer’s functionality and ensures that all components are securely positioned. With the printer reassembled, you’re now ready to proceed to the last step: powering on the printer to complete the cleaning process.
Step 8: Power On the Printer
After completing the cleaning and reassembly process, it’s time to power on your Zebra printer to resume normal operation. Follow these steps to safely power on the printer:
- Press the Power Button: Locate the power button on the printer and press it to initiate the power-up sequence. Wait for the printer to boot up and initialize its components.
- Observe the Startup Process: As the printer powers on, observe the startup sequence to ensure that all components are functioning as expected. Listen for any unusual sounds or error indicators that may require further attention.
- Perform a Test Print: Once the printer has completed its startup process, perform a test print to verify that it is producing clear and accurate prints. Use a sample label or document to ensure that the printer is operating at its optimal performance.
- Monitor Print Quality: Inspect the test print for any issues such as streaks, smudges, or misaligned elements. If necessary, perform additional cleaning or maintenance to address any print quality issues before resuming regular printing tasks.
By following these steps, you can safely power on your Zebra printer after completing the cleaning process. Verifying the printer’s functionality and print quality ensures that it is ready to resume its essential role in your operations. With the printer powered on and verified for optimal performance, you have successfully completed the cleaning and maintenance process for your Zebra printer.
Congratulations on successfully cleaning and maintaining your Zebra printer! By following this comprehensive guide, you’ve ensured that your printer is in prime condition to deliver high-quality prints and reliable performance. Regular cleaning and maintenance are essential for maximizing the longevity and efficiency of your Zebra printer, contributing to the seamless operation of your business processes.
Remember to schedule regular cleaning and maintenance intervals to keep your Zebra printer in top condition, allowing it to continue meeting your printing needs effectively. Thank you for taking the time to care for your Zebra printer, and may it continue to support your operations with exceptional printing performance.
Read more: How To Calibrate A Zebra Printer
Conclusion
Congratulations on completing the comprehensive cleaning process for your Zebra printer. By following the step-by-step guide outlined in this article, you’ve taken proactive steps to maintain the optimal performance and longevity of your printer. Regular cleaning and maintenance are essential for ensuring that your Zebra printer continues to deliver high-quality prints and reliable operation, contributing to the efficiency of your business processes.
Remember that proper cleaning not only enhances print quality but also minimizes the risk of malfunctions and downtime, ultimately saving time and resources. By investing effort in maintaining your printer, you’re safeguarding its value as an essential asset for your operations.
Consistent care and attention to your Zebra printer can yield long-term benefits, including extended equipment lifespan and minimized operational disruptions. Regularly scheduled cleaning intervals, in addition to prompt attention to any print quality issues, will help you derive maximum value from your printer investment.
Thank you for prioritizing the maintenance of your Zebra printer. Your commitment to proper cleaning and maintenance reflects your dedication to operational excellence and the delivery of high-quality printed materials. By following best practices for printer care, you’re ensuring that your Zebra printer remains a reliable and efficient tool for your business needs.
Continue to stay informed about the specific cleaning and maintenance requirements for your Zebra printer model, and be proactive in addressing any issues that may arise. Your diligence in printer care will undoubtedly contribute to the continued success of your operations.
Thank you for investing the time and effort to maintain your Zebra printer. Your commitment to printer care is a testament to your dedication to excellence and reliability in your business operations. May your Zebra printer continue to support your endeavors with consistent and exceptional printing performance.
Frequently Asked Questions about How To Clean A Zebra Printer
Was this page helpful?
At Storables.com, we guarantee accurate and reliable information. Our content, validated by Expert Board Contributors, is crafted following stringent Editorial Policies. We're committed to providing you with well-researched, expert-backed insights for all your informational needs.

0 thoughts on “How To Clean A Zebra Printer”