Home>Technology>Smart Home Devices>How To Send G-code To A 3D Printer

Smart Home Devices
How To Send G-code To A 3D Printer
Published: January 14, 2024
Learn how to send G-code to your 3D printer and optimize your smart home devices for seamless integration. Master the process with our step-by-step guide.
(Many of the links in this article redirect to a specific reviewed product. Your purchase of these products through affiliate links helps to generate commission for Storables.com, at no extra cost. Learn more)
Introduction
As 3D printing continues to revolutionize the manufacturing and prototyping industries, the need for precise and efficient control of 3D printers becomes increasingly vital. One of the key components in this process is the execution of G-code, a language that enables users to communicate specific instructions to 3D printers. In this article, we will delve into the intricacies of sending G-code to a 3D printer, exploring the fundamental concepts, preparation techniques, and troubleshooting methods associated with this essential task.
Understanding how to effectively send G-code to a 3D printer is crucial for achieving accurate and high-quality prints. Whether you are a seasoned 3D printing enthusiast or a novice looking to explore this innovative technology, mastering the art of G-code transmission will undoubtedly enhance your printing experience. Join us as we embark on a comprehensive exploration of this fascinating subject, equipping you with the knowledge and skills necessary to navigate the intricacies of 3D printing with confidence and proficiency.
Key Takeaways:
- Sending G-code to a 3D printer is like giving it a set of special instructions to create something. It’s important to prepare the instructions carefully and troubleshoot any issues for the best results.
- By understanding G-code and how to send it to a 3D printer, you can bring your creative designs to life with precision and reliability. It’s like being a master chef with a recipe for amazing 3D prints!
Read more: How To Operate A 3D Printer
Understanding G-code
G-code serves as the primary language for instructing 3D printers on how to execute specific movements, temperatures, and other parameters necessary for producing a desired object. This machine-readable language comprises a series of alphanumeric codes that represent different commands, such as movement along the X, Y, and Z axes, extrusion of filament, and temperature regulation.
Each G-code command is preceded by the letter “G,” followed by a numerical code that corresponds to a particular action or function. For instance, “G0” typically denotes rapid movement, while “G1” signifies controlled linear movement. Additionally, “M-codes” are used to control auxiliary functions, such as activating or deactivating components like heaters and fans.
Furthermore, G-code incorporates parameters that dictate the speed, acceleration, and positioning of the 3D printer’s extruder and build platform. These parameters play a pivotal role in ensuring the accuracy and quality of the printed object, as they directly influence the printer’s performance during the printing process.
Understanding the nuances of G-code is essential for optimizing the printing process and achieving precise, consistent results. By familiarizing oneself with the various G-code commands and their corresponding functions, users can gain greater control over their 3D printing projects, thereby harnessing the full potential of this innovative technology.
Preparing G-code for 3D Printing
Before sending G-code to a 3D printer, it is crucial to ensure that the code is properly prepared to facilitate a seamless printing process. This involves generating or obtaining the G-code file, which contains a set of instructions tailored to the specific model and printing parameters. There are several key steps involved in preparing G-code for 3D printing:
- Model Slicing: The first step in preparing G-code involves slicing the 3D model into individual layers using slicing software. This software translates the 3D model into a series of 2D cross-sectional layers, allowing the printer to create the object layer by layer. During the slicing process, parameters such as layer height, infill density, and print speed are configured to optimize the printing outcome.
- Parameter Configuration: Once the model is sliced, the user must configure various printing parameters, such as nozzle temperature, bed temperature, print speed, and retraction settings. These parameters are crucial for achieving the desired print quality and structural integrity of the object.
- Generating G-code: After configuring the printing parameters, the slicing software generates the G-code file based on the specified settings. The G-code file contains a sequence of commands that instruct the 3D printer on how to execute the print, including movements, temperatures, and other operational details.
- Optimization and Validation: It is essential to review and optimize the generated G-code to ensure that it aligns with the intended printing parameters and model specifications. Additionally, validating the G-code through simulation or visualization tools can help identify potential issues and refine the printing instructions before sending them to the printer.
By meticulously preparing the G-code for 3D printing, users can tailor the printing instructions to suit the specific requirements of their models and optimize the printing process for superior results. This preparation phase lays the groundwork for a successful and efficient printing experience, setting the stage for the seamless execution of the G-code on the 3D printer.
When sending G-code to a 3D printer, make sure to use a compatible software like Cura or Simplify3D. Save the G-code file to an SD card or send it directly from the software to the printer via USB. Always double-check the G-code for any errors before starting the print.
Sending G-code to the 3D Printer
Once the G-code file is prepared, the next step involves sending the instructions to the 3D printer for execution. This process typically involves using a compatible software interface or control panel to establish communication with the printer and initiate the printing operation. Here’s a step-by-step guide to sending G-code to the 3D printer:
- Connectivity Setup: Ensure that the 3D printer is properly connected to the computer or network from which the G-code will be transmitted. This may involve using a USB cable, SD card, Wi-Fi connection, or other compatible interfaces, depending on the printer’s capabilities.
- Software Interface: Utilize a suitable software interface, such as a dedicated 3D printing slicer or control program, to load the G-code file and establish communication with the 3D printer. Many 3D printers are compatible with popular slicing software that provides a user-friendly interface for uploading and managing G-code files.
- G-code Upload: Within the software interface, locate the option to upload or send G-code to the printer. This may involve selecting the specific G-code file from the computer’s storage or directly transferring it from the slicing software to the printer’s interface.
- Printer Initialization: Once the G-code is transmitted to the printer, initialize the printing process by confirming the settings, such as print temperature, bed adhesion, and print speed, before commencing the print job. This step ensures that the printer is primed and ready to execute the G-code instructions accurately.
- Monitor and Control: Throughout the printing process, monitor the printer’s status and progress through the software interface, which may display real-time information such as layer count, estimated print time, and temperature readings. Some interfaces also offer control options to pause, resume, or cancel the print if necessary.
By following these steps, users can effectively send G-code to the 3D printer, initiating the printing process and overseeing its execution through a streamlined and user-friendly interface. This seamless integration of G-code transmission and printer control facilitates a cohesive and efficient printing experience, empowering users to bring their 3D designs to life with precision and reliability.
Troubleshooting G-code Issues
While sending G-code to a 3D printer, users may encounter various issues that can impact the printing process and the quality of the final output. Understanding common G-code-related challenges and implementing effective troubleshooting strategies is essential for optimizing the printing experience. Here are some prevalent G-code issues and their potential solutions:
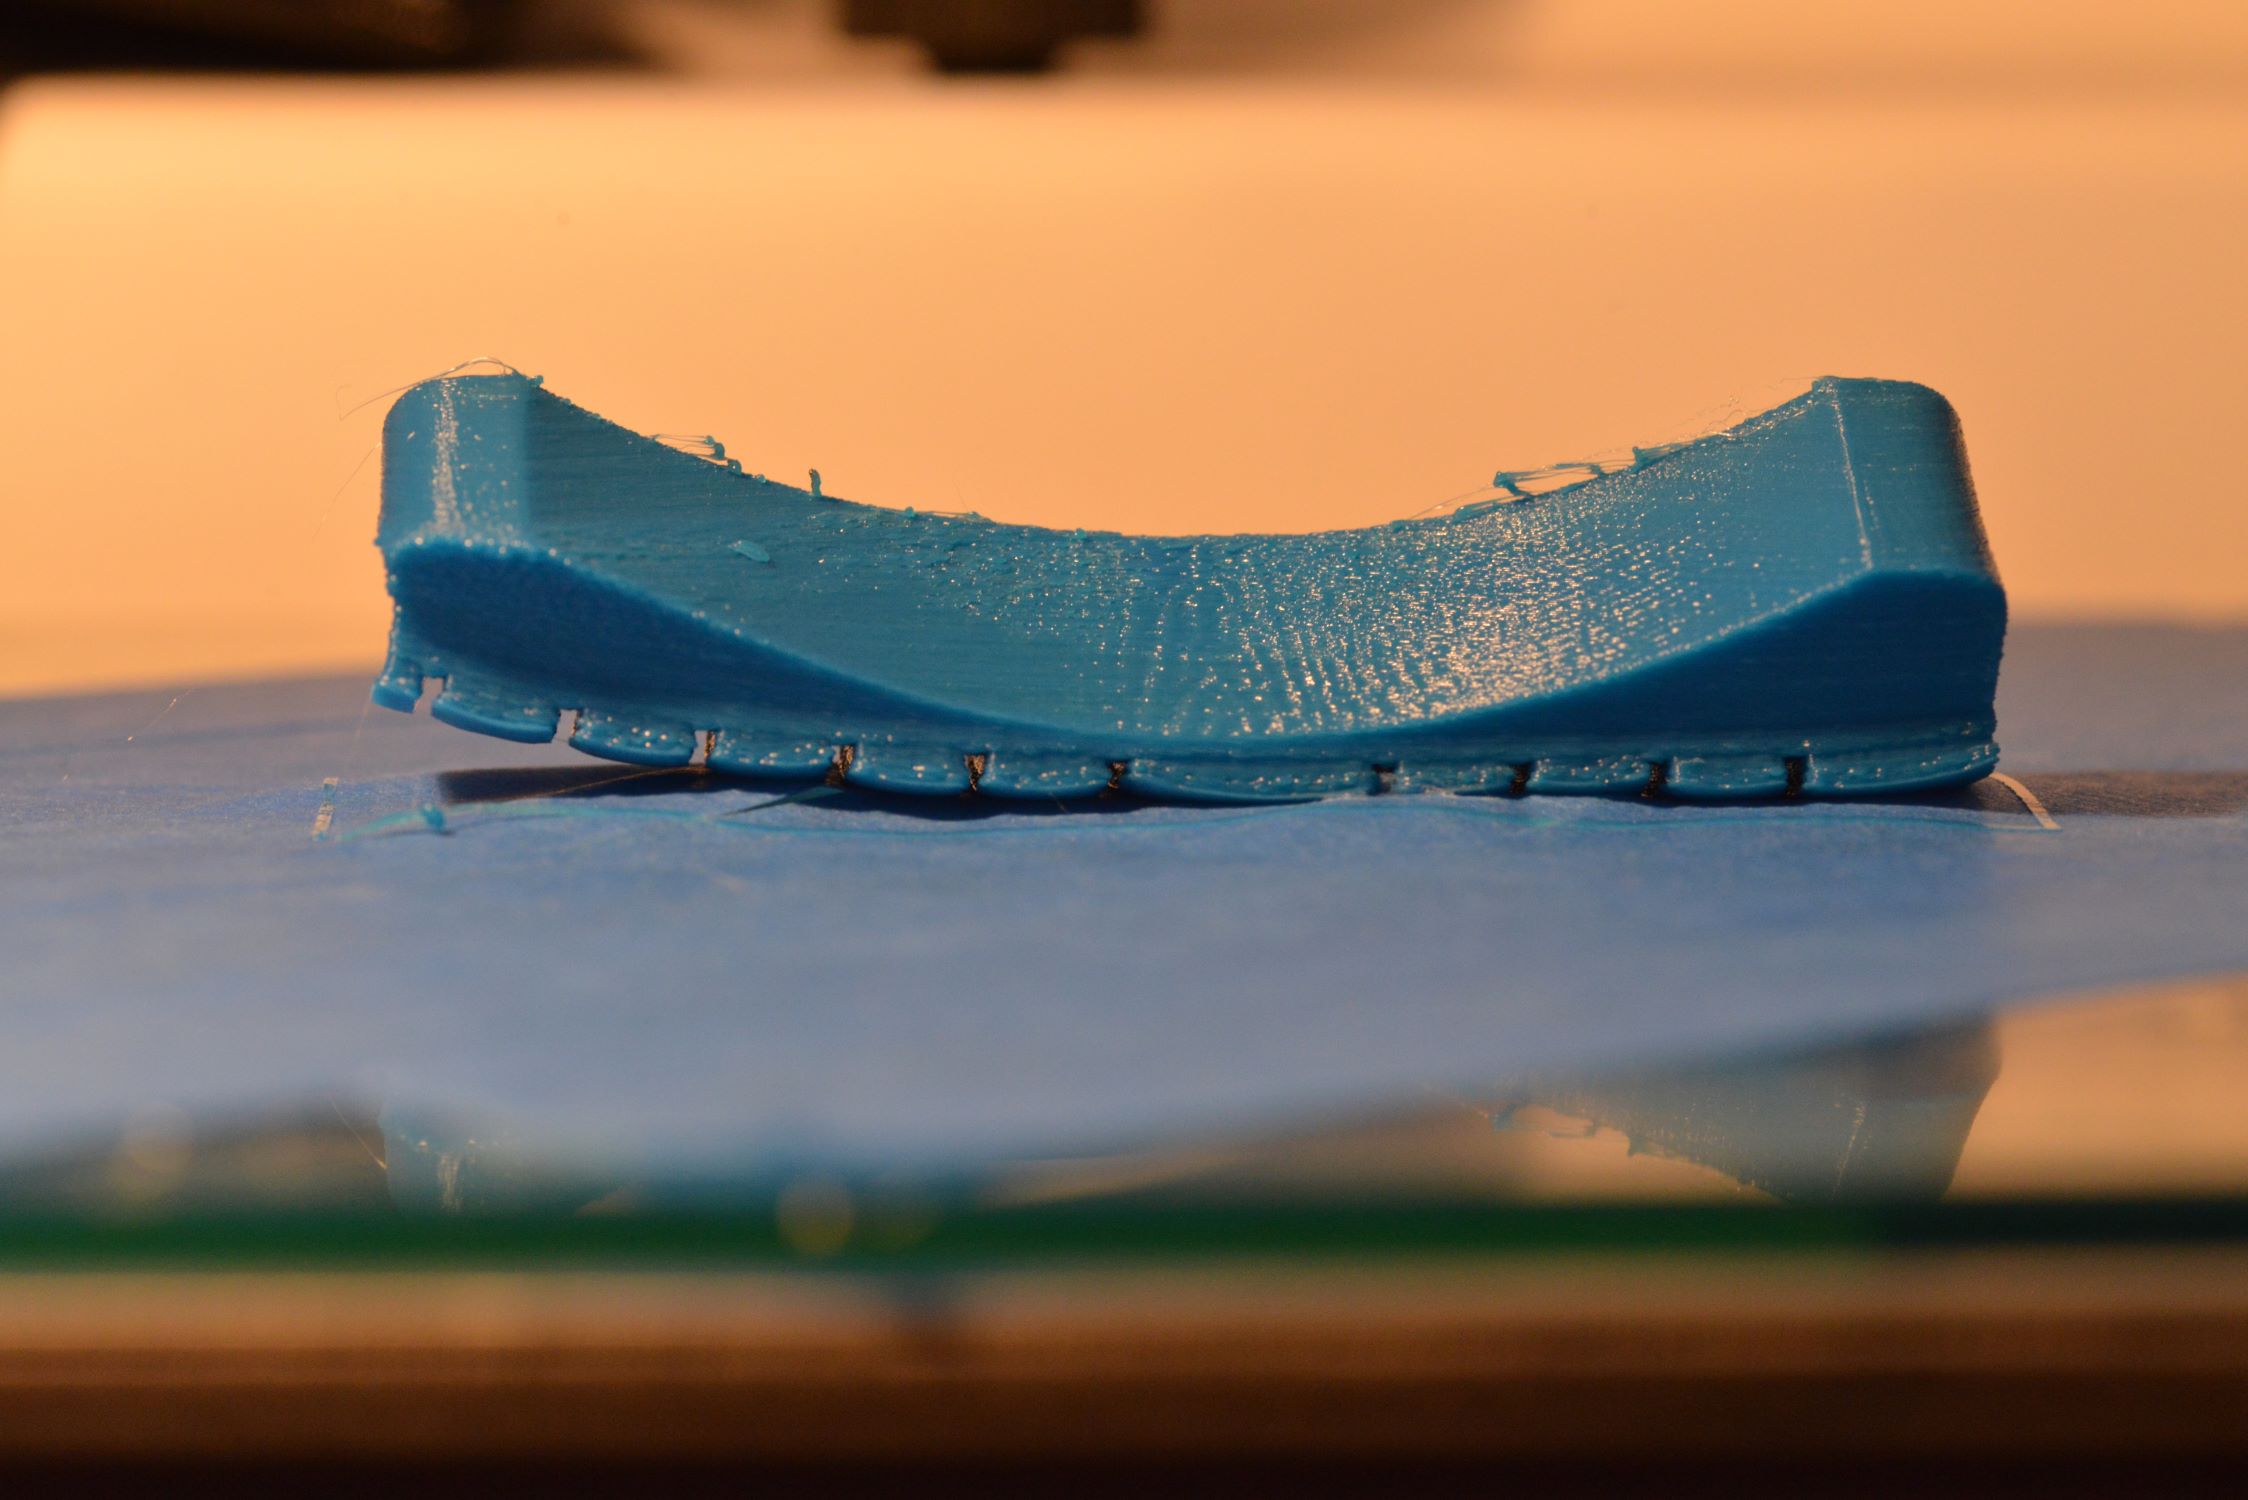
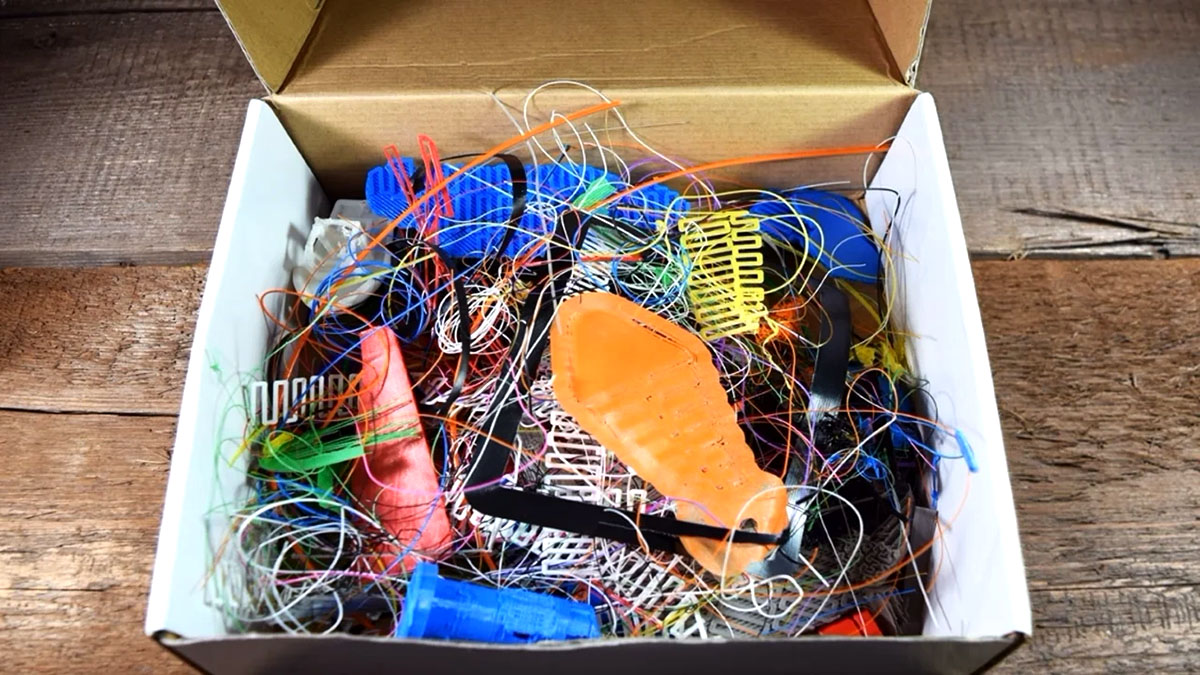
- Print Quality Deficiencies: If the printed object exhibits imperfections, such as stringing, warping, or layer misalignment, review the G-code parameters related to print speed, temperature, retraction, and cooling. Adjusting these settings in the slicing software and re-generating the G-code can help address print quality issues.
- Extrusion Problems: Inconsistent extrusion or under-extrusion may result from incorrect filament diameter settings or inadequate nozzle temperature. Verify the G-code parameters associated with filament diameter and nozzle temperature, ensuring they align with the printer’s specifications and the filament being used.
- Misaligned Prints: G-code errors or model misalignment can lead to skewed or misshapen prints. Inspect the G-code visualization in the slicing software to identify any anomalies in the print path. Adjusting the model orientation, support structures, or re-slicing the model with optimized settings can rectify misalignment issues.
- Communication Failures: If the printer fails to respond to the transmitted G-code, check the connectivity and communication settings. Ensure that the printer is properly connected to the computer or network, and verify that the selected communication interface (USB, SD card, Wi-Fi) is functional and compatible with the printer.
- Unexpected Movements: Erratic or unintended movements during printing may stem from G-code commands that conflict with the printer’s capabilities or mechanical constraints. Review the G-code commands and analyze the printer’s movement patterns to identify and rectify any conflicting instructions.
By actively troubleshooting G-code issues and iteratively refining the printing parameters, users can overcome common challenges and optimize the printing process for superior results. Additionally, leveraging community forums, online resources, and expert advice can provide valuable insights and solutions for addressing specific G-code-related issues, empowering users to elevate their 3D printing proficiency and achieve exceptional print outcomes.
Read more: How To Build A 3D Printer
Conclusion
Mastering the art of sending G-code to a 3D printer is a pivotal skill that empowers 3D printing enthusiasts and professionals to harness the full potential of this cutting-edge technology. By understanding the intricacies of G-code, meticulously preparing the printing instructions, and effectively transmitting them to the printer, users can achieve precise, high-quality prints while navigating and troubleshooting common G-code-related challenges.
As the 3D printing landscape continues to evolve, the role of G-code in driving printing precision and efficiency becomes increasingly pronounced. Through the utilization of advanced slicing software, parameter optimization, and seamless G-code transmission, users can unlock a world of creative possibilities, bringing intricate designs and functional prototypes to life with unparalleled accuracy and detail.
Furthermore, the ongoing exploration and refinement of G-code techniques contribute to the continuous advancement of 3D printing capabilities, fostering innovation and creativity across diverse industries. By honing their expertise in G-code management and troubleshooting, individuals can propel the 3D printing ecosystem forward, driving the realization of complex designs and groundbreaking applications with unwavering precision and reliability.
As we continue to embrace the transformative potential of 3D printing, the mastery of G-code transmission stands as a cornerstone of success, enabling enthusiasts and professionals alike to embark on a journey of limitless creativity and ingenuity. With a firm grasp of G-code principles and best practices, individuals can embark on a seamless and rewarding 3D printing experience, marked by exceptional print quality, operational efficiency, and the realization of visionary designs.
Ultimately, the art of sending G-code to a 3D printer transcends the realm of technical proficiency, embodying a fusion of innovation, precision, and boundless imagination. As we look to the future of 3D printing, the mastery of G-code remains a beacon of inspiration, guiding us toward new frontiers of possibility and excellence in additive manufacturing.
Frequently Asked Questions about How To Send G-code To A 3D Printer
Was this page helpful?
At Storables.com, we guarantee accurate and reliable information. Our content, validated by Expert Board Contributors, is crafted following stringent Editorial Policies. We're committed to providing you with well-researched, expert-backed insights for all your informational needs.


0 thoughts on “How To Send G-code To A 3D Printer”