Home>Technology>Smart Home Devices>How To Calibrate A Zebra Printer
Smart Home Devices
How To Calibrate A Zebra Printer
Modified: January 9, 2024
Learn how to calibrate your Zebra printer for optimal performance and print quality. Get step-by-step instructions for calibrating your Zebra printer at home. Ideal for smart home devices and more.
(Many of the links in this article redirect to a specific reviewed product. Your purchase of these products through affiliate links helps to generate commission for Storables.com, at no extra cost. Learn more)
Introduction
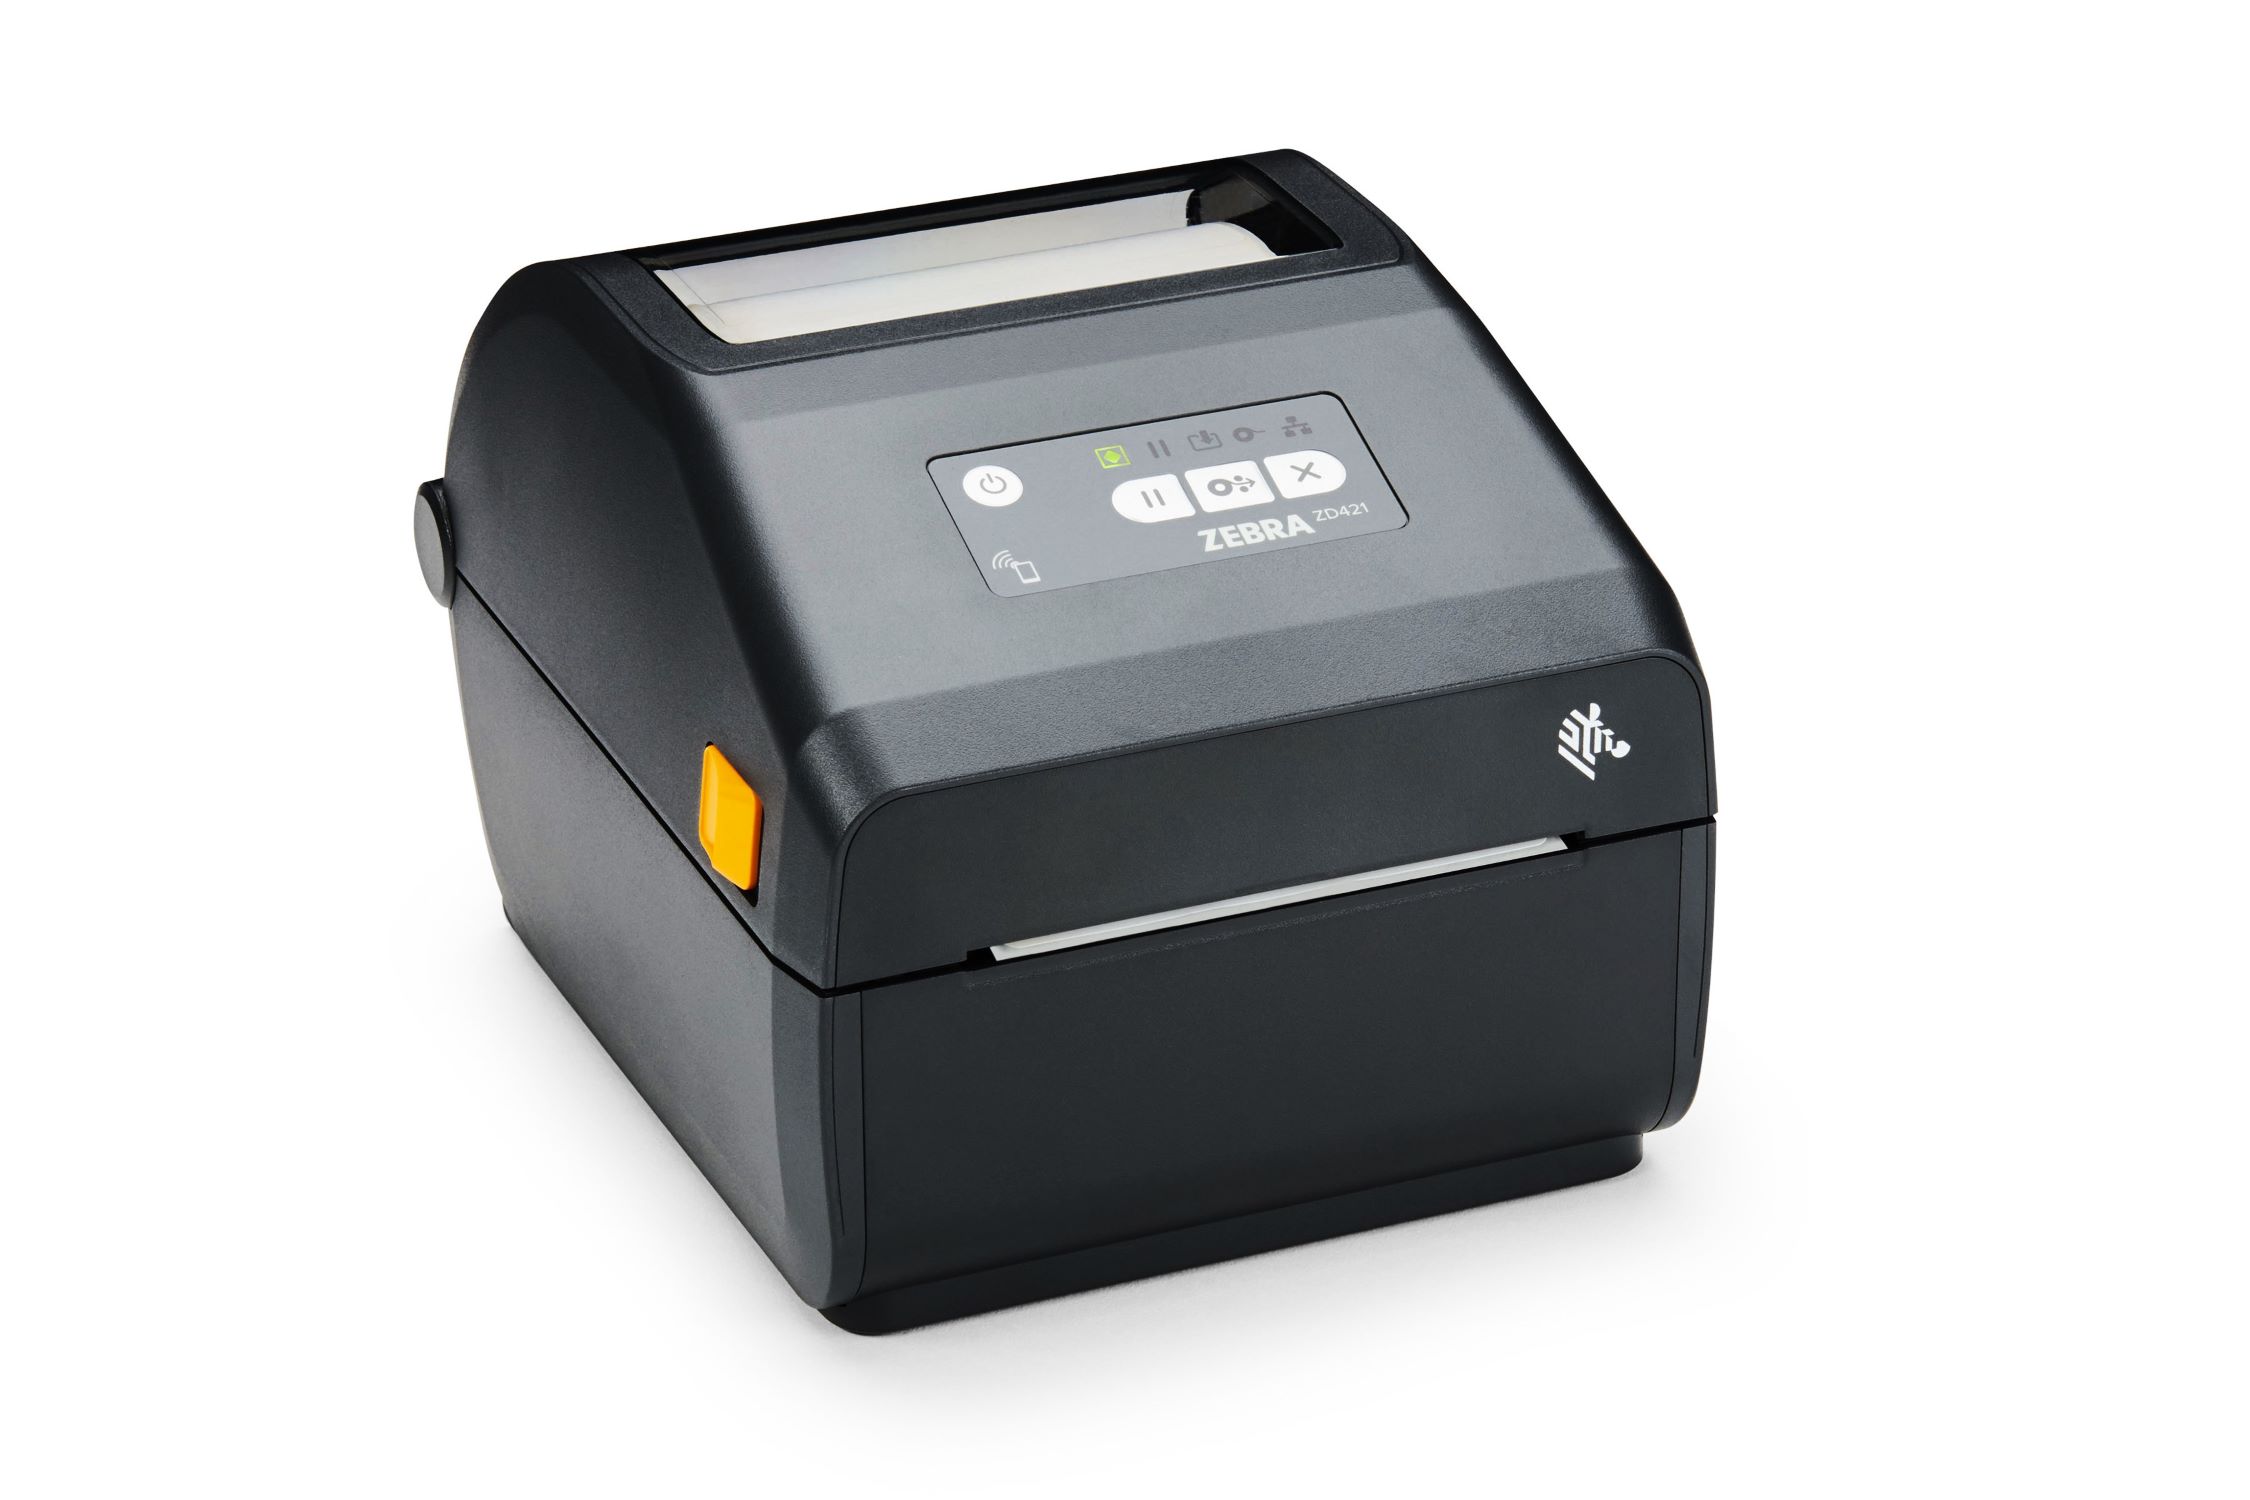
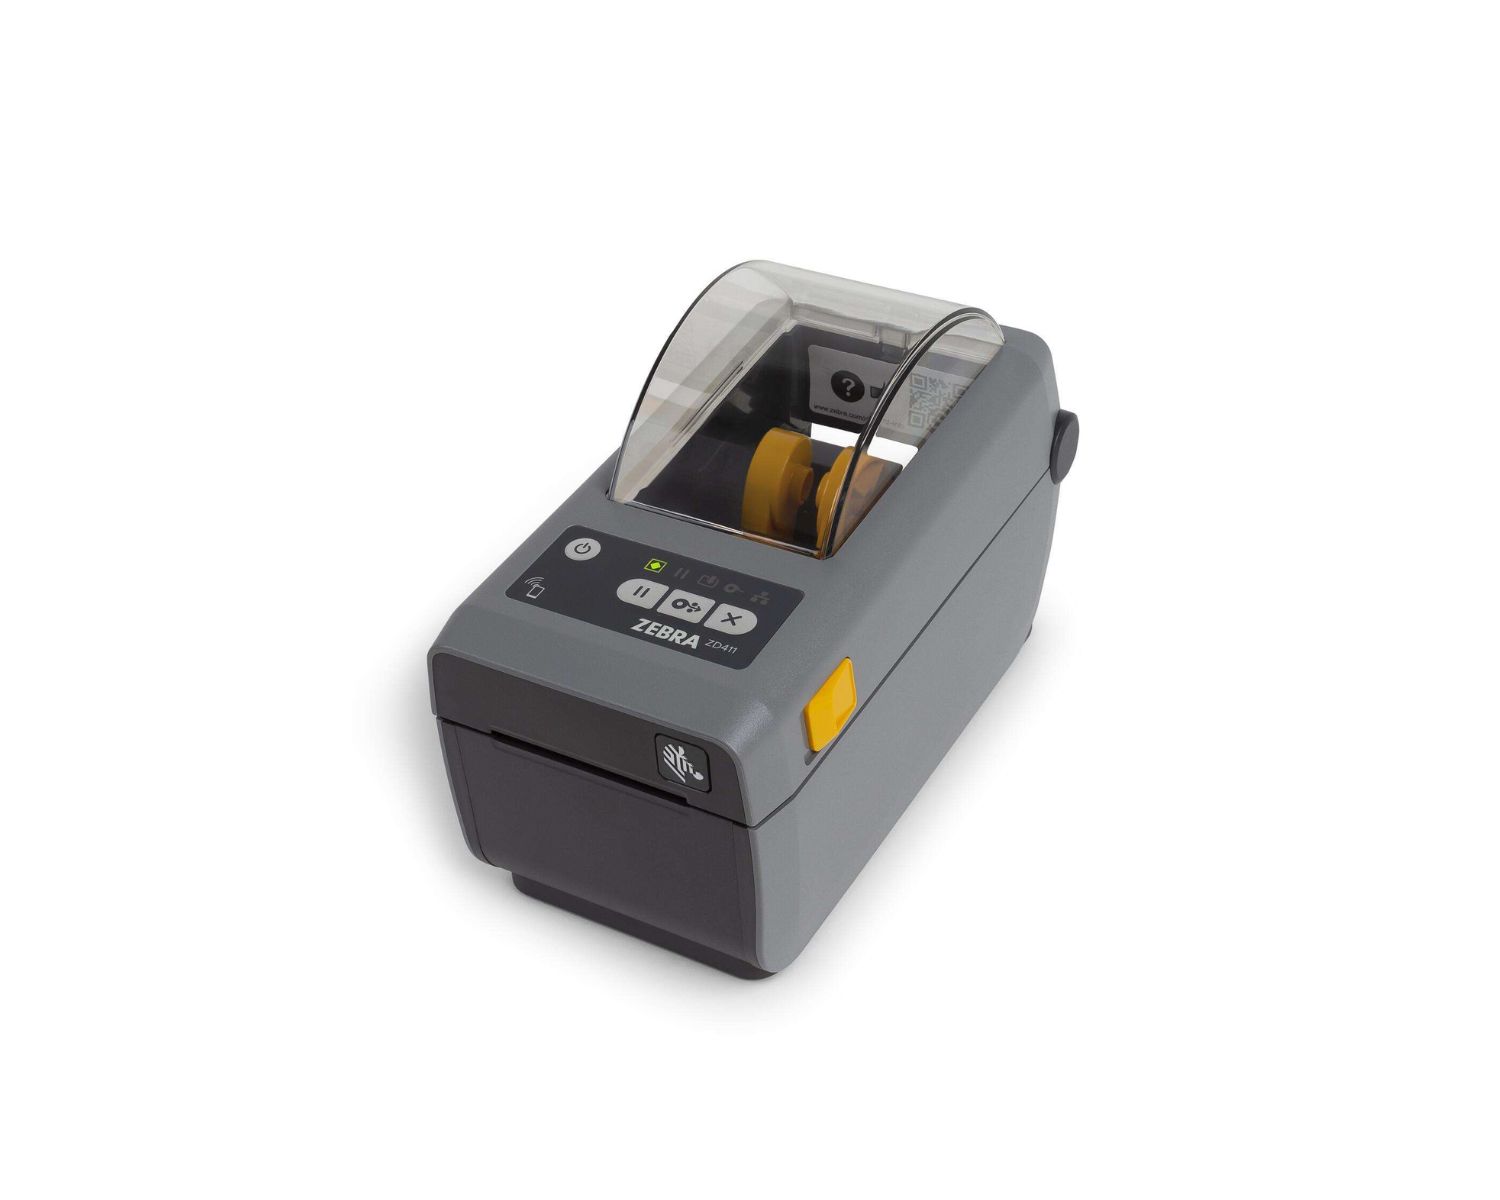
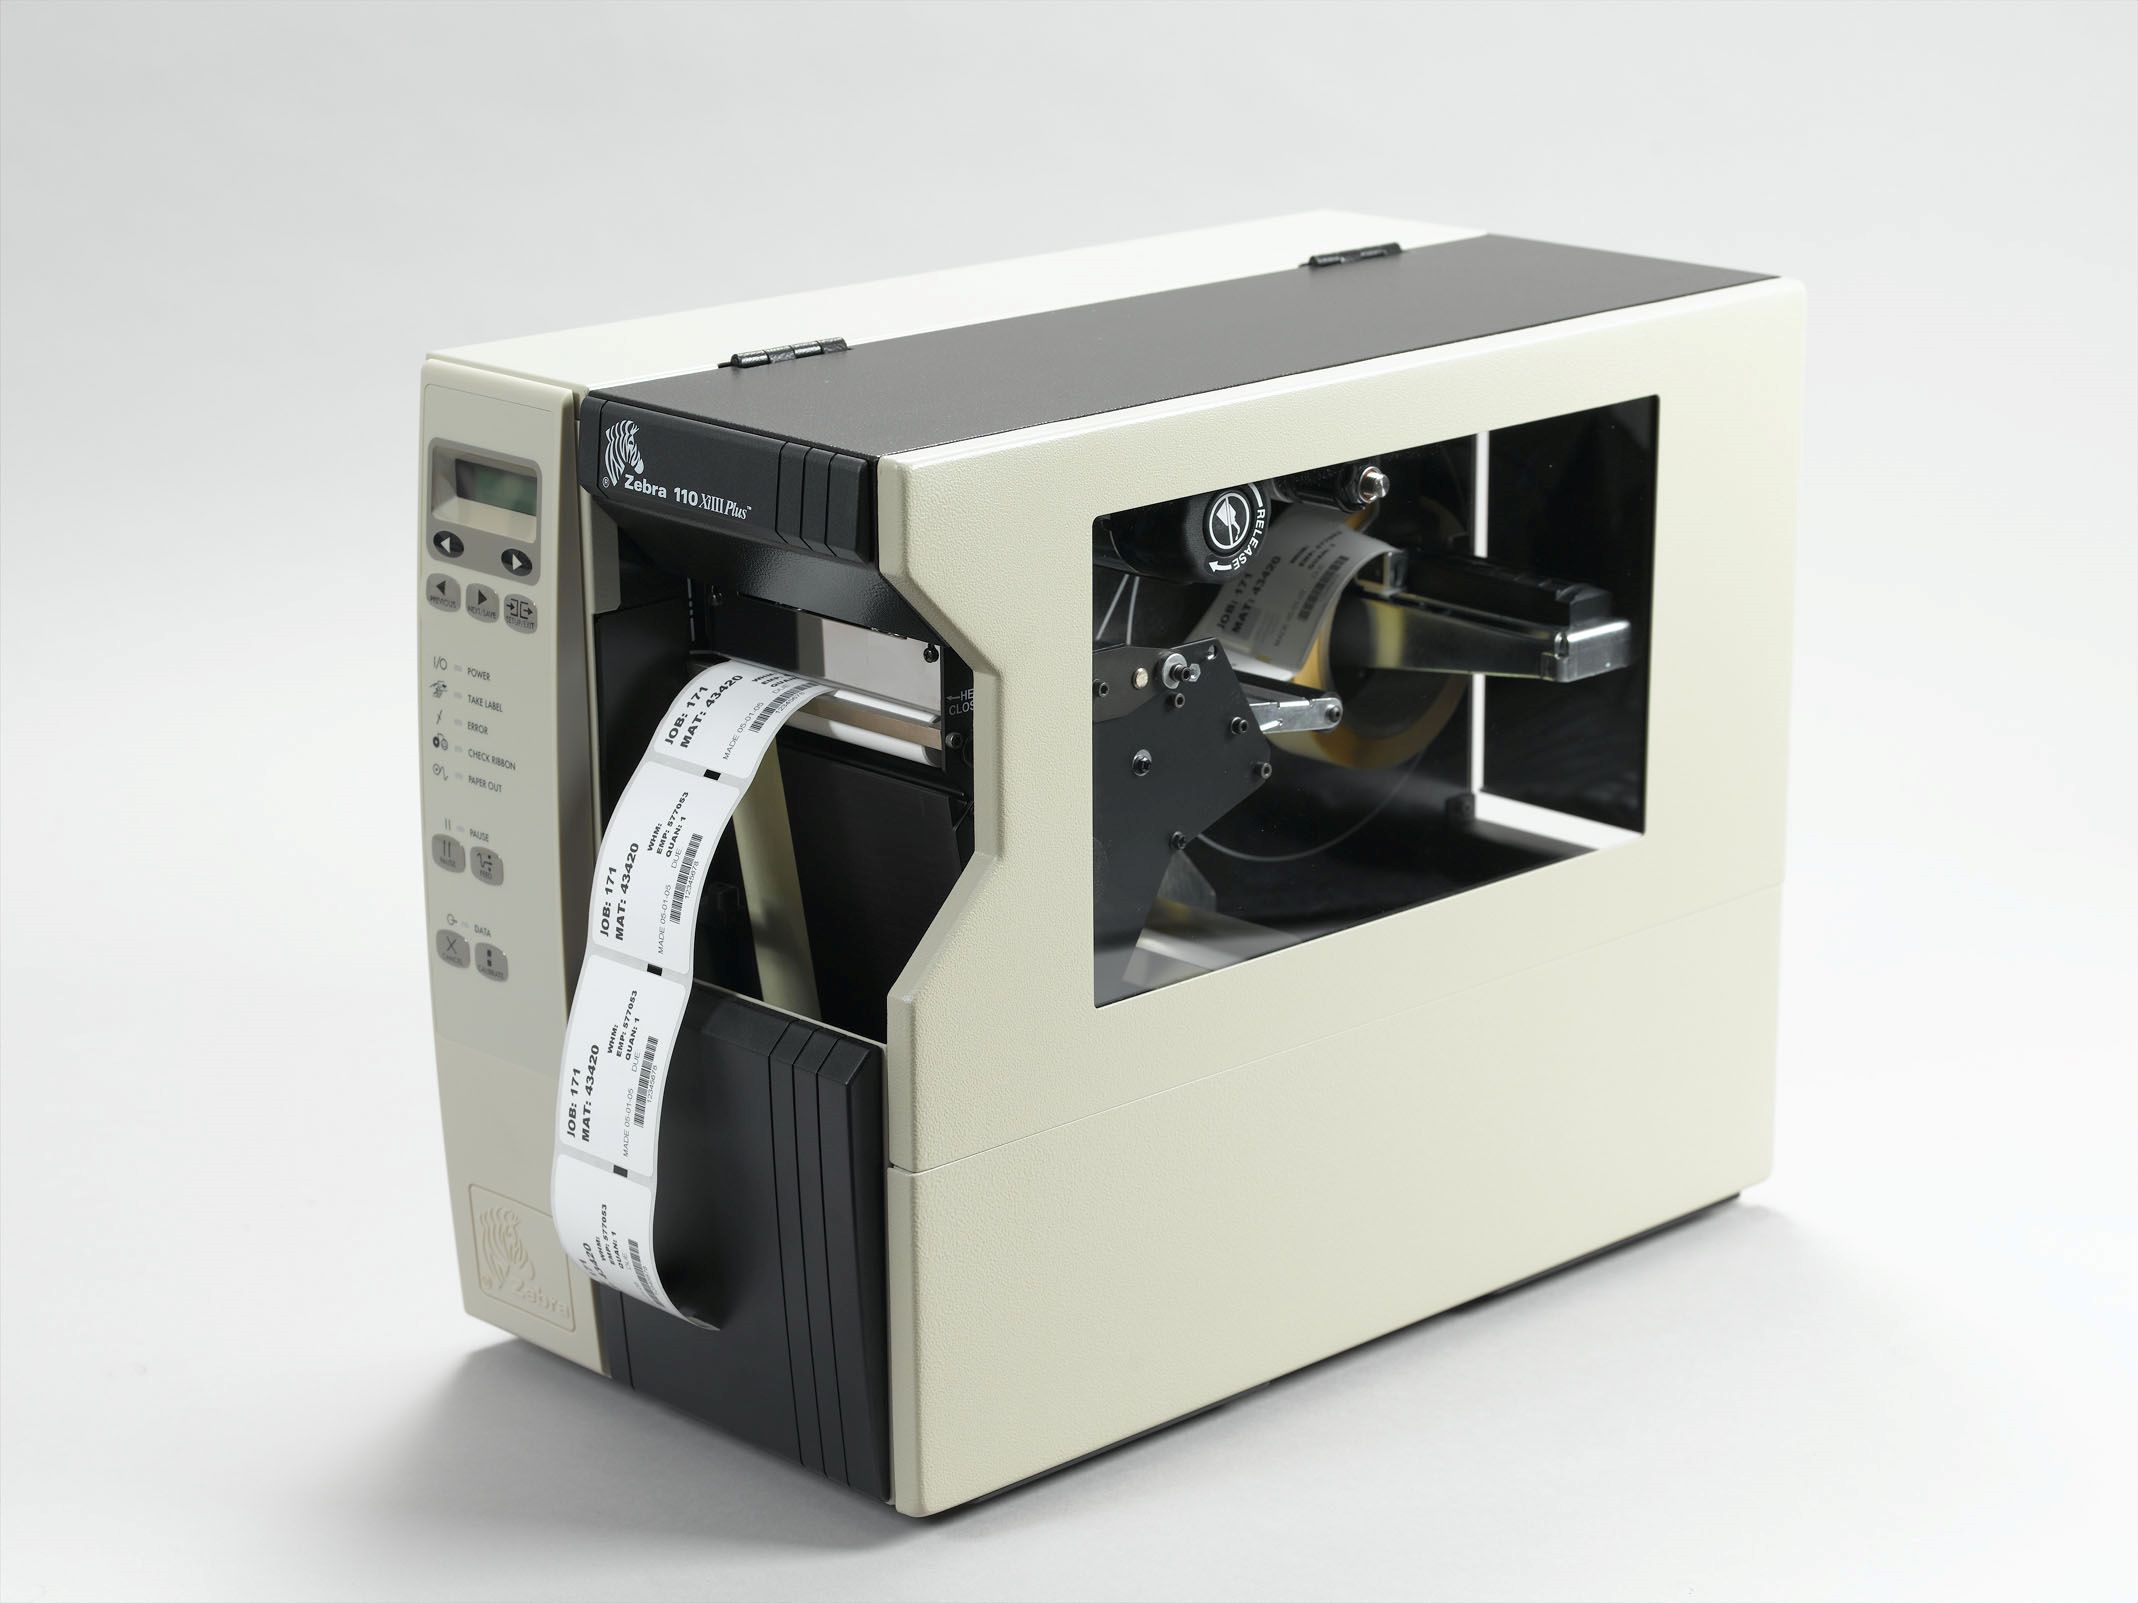
Welcome to the world of Zebra printers! These remarkable devices are renowned for their precision and efficiency in producing high-quality labels, barcodes, and receipts. Whether you're a business owner, a logistics professional, or an enthusiast looking to optimize your printing processes, understanding how to calibrate a Zebra printer is a crucial skill.
In this comprehensive guide, we will delve into the intricacies of Zebra printers, explore the importance of calibration, and provide step-by-step instructions to ensure that your printer operates at its full potential. By the end of this journey, you'll be equipped with the knowledge and confidence to optimize the performance of your Zebra printer, ultimately streamlining your operations and enhancing productivity.
So, let's embark on this enlightening exploration of Zebra printer calibration, unraveling the mysteries and intricacies behind this essential process. Whether you're a seasoned professional or a newcomer to the world of Zebra printers, there's something valuable for everyone in this guide. Let's dive in and unlock the full potential of your Zebra printer!
Key Takeaways:
- Calibrating your Zebra printer ensures top-notch print quality and smooth media handling, boosting efficiency and productivity for businesses and professionals.
- Preparing, calibrating, testing, and troubleshooting your Zebra printer optimizes its performance, setting the stage for precise and reliable printing operations.
Read more: How To Clean A Zebra Printer
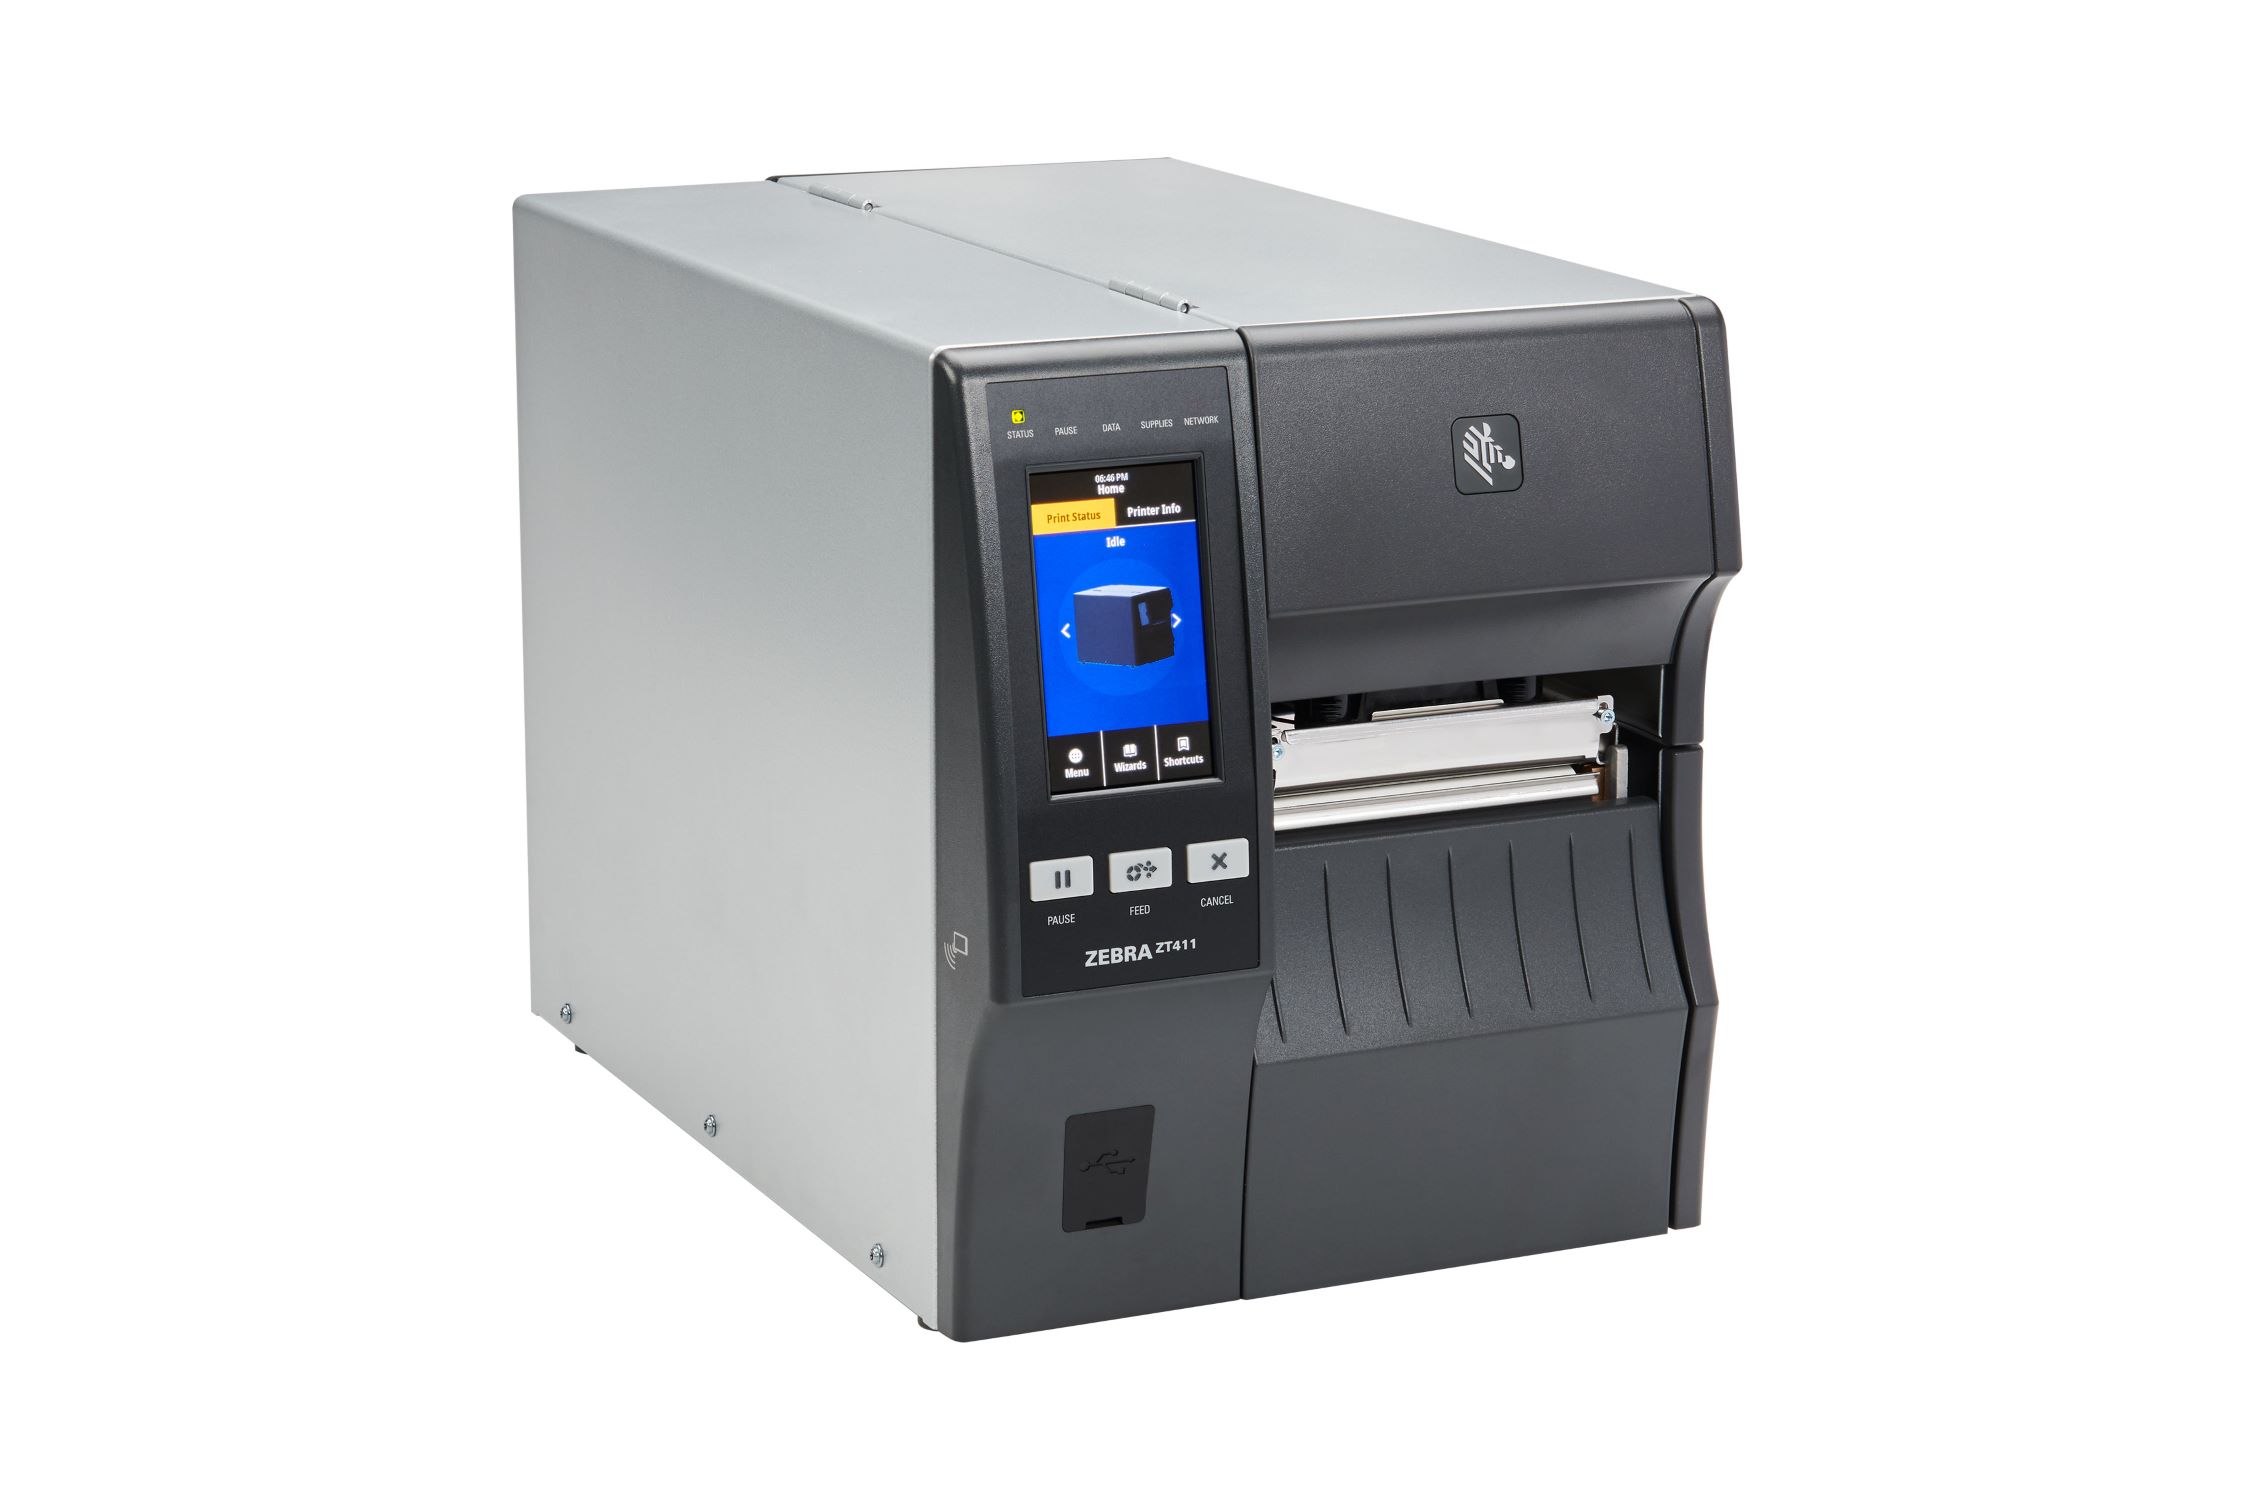
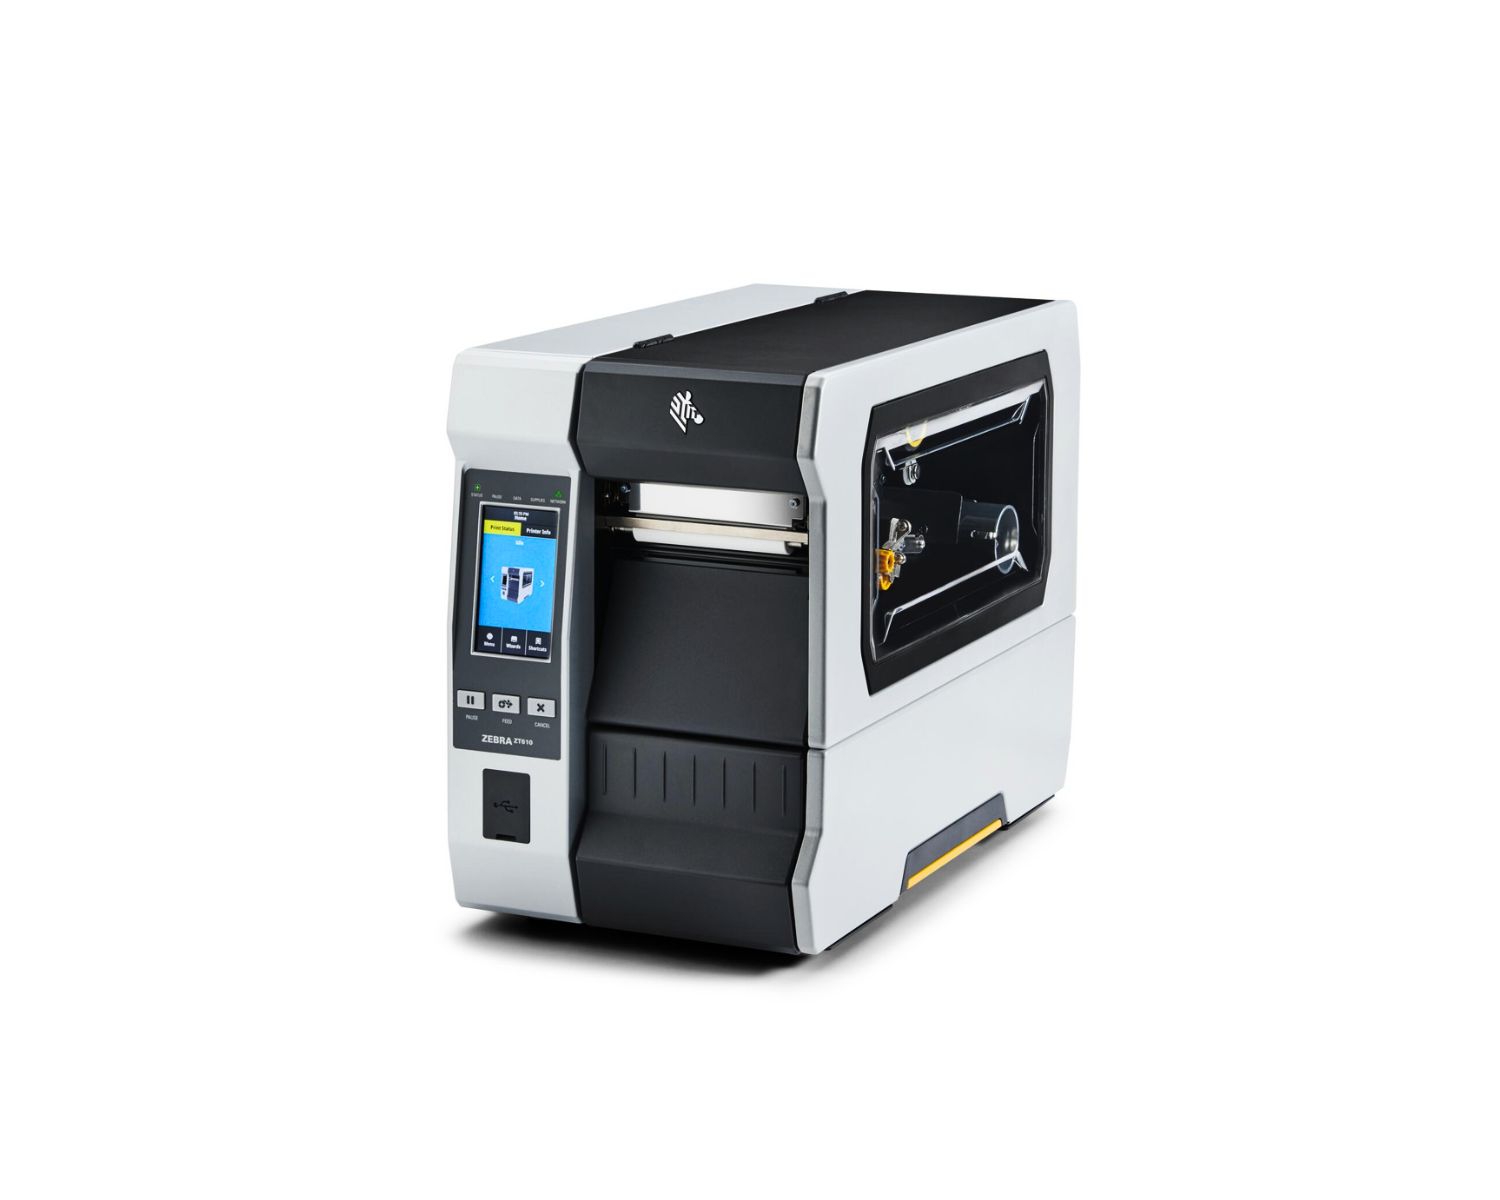
Understanding Zebra Printers
Zebra printers are renowned for their exceptional precision, reliability, and versatility. These devices are widely utilized across various industries, including retail, manufacturing, healthcare, and logistics, to efficiently generate labels, barcodes, and receipts. The seamless integration of cutting-edge technology and user-friendly design makes Zebra printers indispensable tools for businesses and professionals seeking to streamline their printing processes.
One of the key features that sets Zebra printers apart is their ability to produce high-quality, durable prints with remarkable speed and accuracy. Whether it’s producing intricate barcodes for inventory management or generating clear, legible labels for shipping and tracking purposes, Zebra printers excel in meeting diverse printing needs with consistent excellence.
Furthermore, Zebra printers are equipped with advanced connectivity options, allowing seamless integration with various devices and systems. This enables users to harness the power of these printers within complex operational environments, facilitating efficient data transfer and printing workflows.
Another distinguishing aspect of Zebra printers is their intuitive design and user-friendly interfaces. With straightforward controls and easy-to-navigate settings, users can swiftly configure the printers to suit their specific requirements, minimizing downtime and maximizing productivity.
Additionally, Zebra printers are engineered to accommodate a wide range of media types and sizes, offering unparalleled flexibility in printing applications. Whether it’s printing on labels, tags, wristbands, or receipts, these printers deliver consistent results across diverse media, ensuring adaptability in dynamic business environments.
Overall, the exceptional performance, adaptability, and user-friendly nature of Zebra printers make them indispensable assets for businesses and professionals seeking reliable, high-quality printing solutions. Understanding the capabilities and intricacies of these printers lays a solid foundation for optimizing their performance through calibration and maintenance, which we will delve into in the subsequent sections.
Preparing for Calibration
Prior to initiating the calibration process for your Zebra printer, it is essential to undertake a few preparatory steps to ensure a smooth and effective calibration experience. By meticulously preparing the printer and the necessary resources, you can optimize the calibration process and mitigate potential issues that may arise during the procedure.
1. Gather Essential Materials: Before commencing the calibration, gather the requisite materials, including a stack of high-quality label stock or receipt paper. It is imperative to utilize media that is compatible with your Zebra printer model to achieve accurate calibration results.
2. Clean the Printer: Ensure that the printer is clean and free from any debris, adhesive residue, or dust that may impede the calibration process or affect the print quality. Gently wipe the printhead and platen roller with a lint-free cloth and a mild cleaning solution, if necessary, to maintain optimal printing conditions.
3. Verify Printer Settings: Access the printer settings and verify that the configuration aligns with the media type and print quality requirements. Ensure that the print speed, darkness settings, and media type settings are appropriately configured to achieve the desired print results during calibration.
4. Perform a Test Print: Prior to calibration, conduct a test print to assess the current print quality and identify any anomalies or inconsistencies. This preliminary evaluation serves as a baseline for comparing the print quality before and after calibration, enabling you to gauge the effectiveness of the calibration process.
5. Secure Adequate Workspace: Select a well-lit and spacious workspace to carry out the calibration process. Ensure that the area is free from clutter and distractions, allowing you to focus on the calibration procedure with precision and attentiveness.
By diligently preparing for the calibration process and ensuring that the printer and associated resources are primed for optimal performance, you can set the stage for a successful calibration experience. These preparatory measures lay the groundwork for achieving accurate and consistent calibration results, ultimately enhancing the overall printing efficiency and quality of your Zebra printer.
Calibrating the Zebra Printer
Calibrating your Zebra printer is a fundamental process that ensures optimal print quality, accurate media handling, and consistent performance. By meticulously calibrating the printer, you can fine-tune its internal settings to align with the specific media type and printing requirements, ultimately enhancing the precision and clarity of the printed output.
1. Access the Printer Menu: Begin by accessing the printer’s menu interface, typically navigated through a series of button presses or via a digital display panel. Familiarize yourself with the menu options and locate the calibration settings to initiate the calibration process.
2. Initiate Media Calibration: Select the media calibration option from the printer menu to commence the calibration procedure. This prompts the printer to perform a series of adjustments to optimize media handling and print quality based on the specific media type loaded into the printer.
3. Follow On-Screen Prompts: The printer may display on-screen prompts or instructions to guide you through the calibration process. Pay close attention to these prompts and follow the specified steps to ensure that the calibration is executed accurately and comprehensively.
4. Adjust Print Settings: Upon completing the media calibration, assess the print quality and make any necessary adjustments to the print settings, such as print speed, darkness, and media type configuration. Fine-tune these settings to achieve the desired print results based on the specific requirements of your printing application.
5. Perform Sensor Calibration: In addition to media calibration, consider performing sensor calibration to optimize the printer’s sensor settings for precise media detection and positioning. This step is particularly crucial for applications that demand precise label positioning and consistent media detection.
6. Verify Calibration Results: After completing the calibration process, perform a test print to evaluate the print quality and media handling. Assess the clarity, alignment, and overall print consistency to ensure that the calibration has effectively optimized the printer’s performance.
By meticulously following these steps and adhering to the calibration procedures specified for your Zebra printer model, you can effectively fine-tune the printer’s internal settings to deliver exceptional print quality and consistent performance. Calibration serves as a cornerstone for maintaining the printer’s precision and reliability, ensuring that it meets the exacting standards of diverse printing applications.
To calibrate a Zebra printer, use the printer’s menu to find the “calibrate” option. Follow the on-screen instructions to load and adjust the label position for accurate printing.
Testing the Calibration
Following the calibration of your Zebra printer, it is imperative to conduct thorough testing to validate the effectiveness of the calibration process and ensure that the printer delivers optimal print quality and performance. Testing the calibration serves as a critical step in the optimization of the printer’s settings, allowing you to identify and address any remaining discrepancies or inconsistencies in the printed output.
1. Print Sample Labels or Receipts: Generate a series of sample labels or receipts that encapsulate the typical content and design elements utilized in your printing applications. This allows you to assess the print quality, clarity, and alignment of the output, providing valuable insights into the effectiveness of the calibration adjustments.
2. Evaluate Print Consistency: Examine the printed samples to gauge the consistency of the print quality across multiple labels or receipts. Pay attention to the uniformity of the printed content, including text, barcodes, and graphics, to ascertain whether the calibration has optimized the printer’s performance across the entire print media.
3. Assess Media Handling: Verify that the printer effectively handles the media, ensuring smooth feeding, precise positioning, and accurate print placement. Evaluate the media handling mechanisms to confirm that the calibration adjustments have facilitated seamless and reliable media processing.
4. Verify Sensor Accuracy: Test the accuracy of the printer’s sensors in detecting gaps, notches, or perforations on the media. Confirm that the sensors accurately identify the media type and facilitate precise printing, particularly in applications that demand precise label positioning and media detection.
5. Compare Before-and-After Results: Compare the test prints generated before and after the calibration process to discern the improvements in print quality, media handling, and overall performance. This comparative analysis provides valuable insights into the efficacy of the calibration adjustments and highlights the enhancements achieved through the calibration process.
6. Iterate Calibration if Necessary: If discrepancies or inconsistencies are identified during testing, consider iterating the calibration process to fine-tune the printer’s settings further. Adjust the calibration parameters based on the testing results to achieve the desired print quality and performance standards.
Thorough testing of the calibration results is instrumental in validating the efficacy of the calibration process and ensuring that the Zebra printer operates at peak performance. By meticulously evaluating the print quality, media handling, and sensor accuracy, you can confirm that the calibration has optimized the printer’s settings to deliver exceptional results across diverse printing applications.
Read more: What Is A Zebra Printer
Troubleshooting Common Calibration Issues
While the calibration of a Zebra printer is designed to optimize its performance, certain common issues may arise during or after the calibration process. By familiarizing yourself with these potential challenges and their respective troubleshooting methods, you can effectively address discrepancies and ensure that the printer consistently delivers high-quality prints and reliable performance.
1. Print Quality Anomalies: If the print quality exhibits anomalies such as smudging, streaking, or fading after calibration, consider cleaning the printhead and adjusting the print speed and darkness settings to achieve optimal print clarity and consistency.
2. Media Feeding Problems: In cases where the printer encounters issues with media feeding or alignment post-calibration, inspect the media path for obstructions, ensure that the media guides are correctly positioned, and verify that the media type settings align with the loaded media to facilitate smooth feeding and positioning.
3. Sensor Detection Errors: If the printer’s sensors exhibit inaccuracies in detecting gaps, notches, or perforations on the media, recalibrate the sensors and verify that they are clean and unobstructed. Adjust the sensor settings to enhance detection accuracy and ensure precise media handling.
4. Inconsistent Print Alignment: Should the print alignment remain inconsistent despite calibration, verify that the label or receipt layout and size settings correspond to the actual media dimensions. Adjust the label size and layout settings to achieve precise print alignment and optimize the utilization of the media.
5. Barcode and Graphic Clarity: If barcodes and graphics appear unclear or distorted after calibration, evaluate the print speed, darkness, and printhead pressure settings to enhance the clarity and precision of the printed barcodes and graphics. Fine-tune these settings to achieve optimal readability and visual integrity.
6. Validation of Calibration Results: After troubleshooting specific issues, retest the printer to validate the effectiveness of the troubleshooting measures. Conduct thorough testing to ensure that the calibration adjustments and troubleshooting efforts have rectified the identified issues and optimized the printer’s performance.
By proactively addressing common calibration issues and leveraging targeted troubleshooting strategies, you can overcome challenges that may arise during the calibration process. This proactive approach ensures that the Zebra printer consistently delivers exceptional print quality, precise media handling, and reliable performance, aligning with the exacting standards of diverse printing applications.
Conclusion
Embarking on the journey of calibrating your Zebra printer has equipped you with the knowledge and skills to optimize its performance, ensuring exceptional print quality, precise media handling, and consistent reliability. By delving into the intricacies of Zebra printers, understanding the significance of calibration, and mastering the calibration process, you have unlocked the full potential of this indispensable printing device.
Throughout this comprehensive guide, you have gained insights into the exceptional capabilities of Zebra printers, including their precision, versatility, and user-friendly design. These printers stand as invaluable assets across diverse industries, empowering businesses and professionals to streamline their printing processes and meet the exacting demands of their operational environments.
By meticulously preparing for calibration, undertaking the calibration process, testing the calibration results, and troubleshooting common calibration issues, you have honed your ability to maintain the printer at peak performance. The preparatory steps ensure that the printer and associated resources are primed for optimal calibration, while the calibration process fine-tunes the internal settings to deliver exceptional print quality and reliable performance.
Thorough testing and troubleshooting enable you to validate the effectiveness of the calibration process and address potential challenges, ensuring that the printer consistently meets the stringent standards of diverse printing applications. Your commitment to mastering the calibration process reflects your dedication to maximizing the efficiency and quality of your printing operations.
As you apply the knowledge and skills acquired in this guide to calibrate your Zebra printer, you are poised to elevate your printing processes to new heights of precision and excellence. The optimized performance of your Zebra printer will undoubtedly contribute to enhanced productivity, streamlined operations, and the seamless fulfillment of your printing requirements.
With a deep understanding of Zebra printers and the proficiency to calibrate them effectively, you are well-positioned to harness the full potential of these remarkable devices, ensuring that they remain indispensable assets in your pursuit of operational excellence and printing perfection.
So, as you embark on the calibration journey and witness the transformative impact of optimized performance, remember that the knowledge and skills you have acquired will continue to serve as invaluable resources in your ongoing quest for printing precision and reliability.
Frequently Asked Questions about How To Calibrate A Zebra Printer
Was this page helpful?
At Storables.com, we guarantee accurate and reliable information. Our content, validated by Expert Board Contributors, is crafted following stringent Editorial Policies. We're committed to providing you with well-researched, expert-backed insights for all your informational needs.


0 thoughts on “How To Calibrate A Zebra Printer”