Home>Technology>Smart Home Devices>How To Set Up Zebra Printer
Smart Home Devices
How To Set Up Zebra Printer
Modified: January 25, 2024
Learn how to set up your Zebra printer for your smart home devices with our step-by-step guide. Ensure seamless integration and smooth printing for your home automation needs.
(Many of the links in this article redirect to a specific reviewed product. Your purchase of these products through affiliate links helps to generate commission for Storables.com, at no extra cost. Learn more)
Introduction
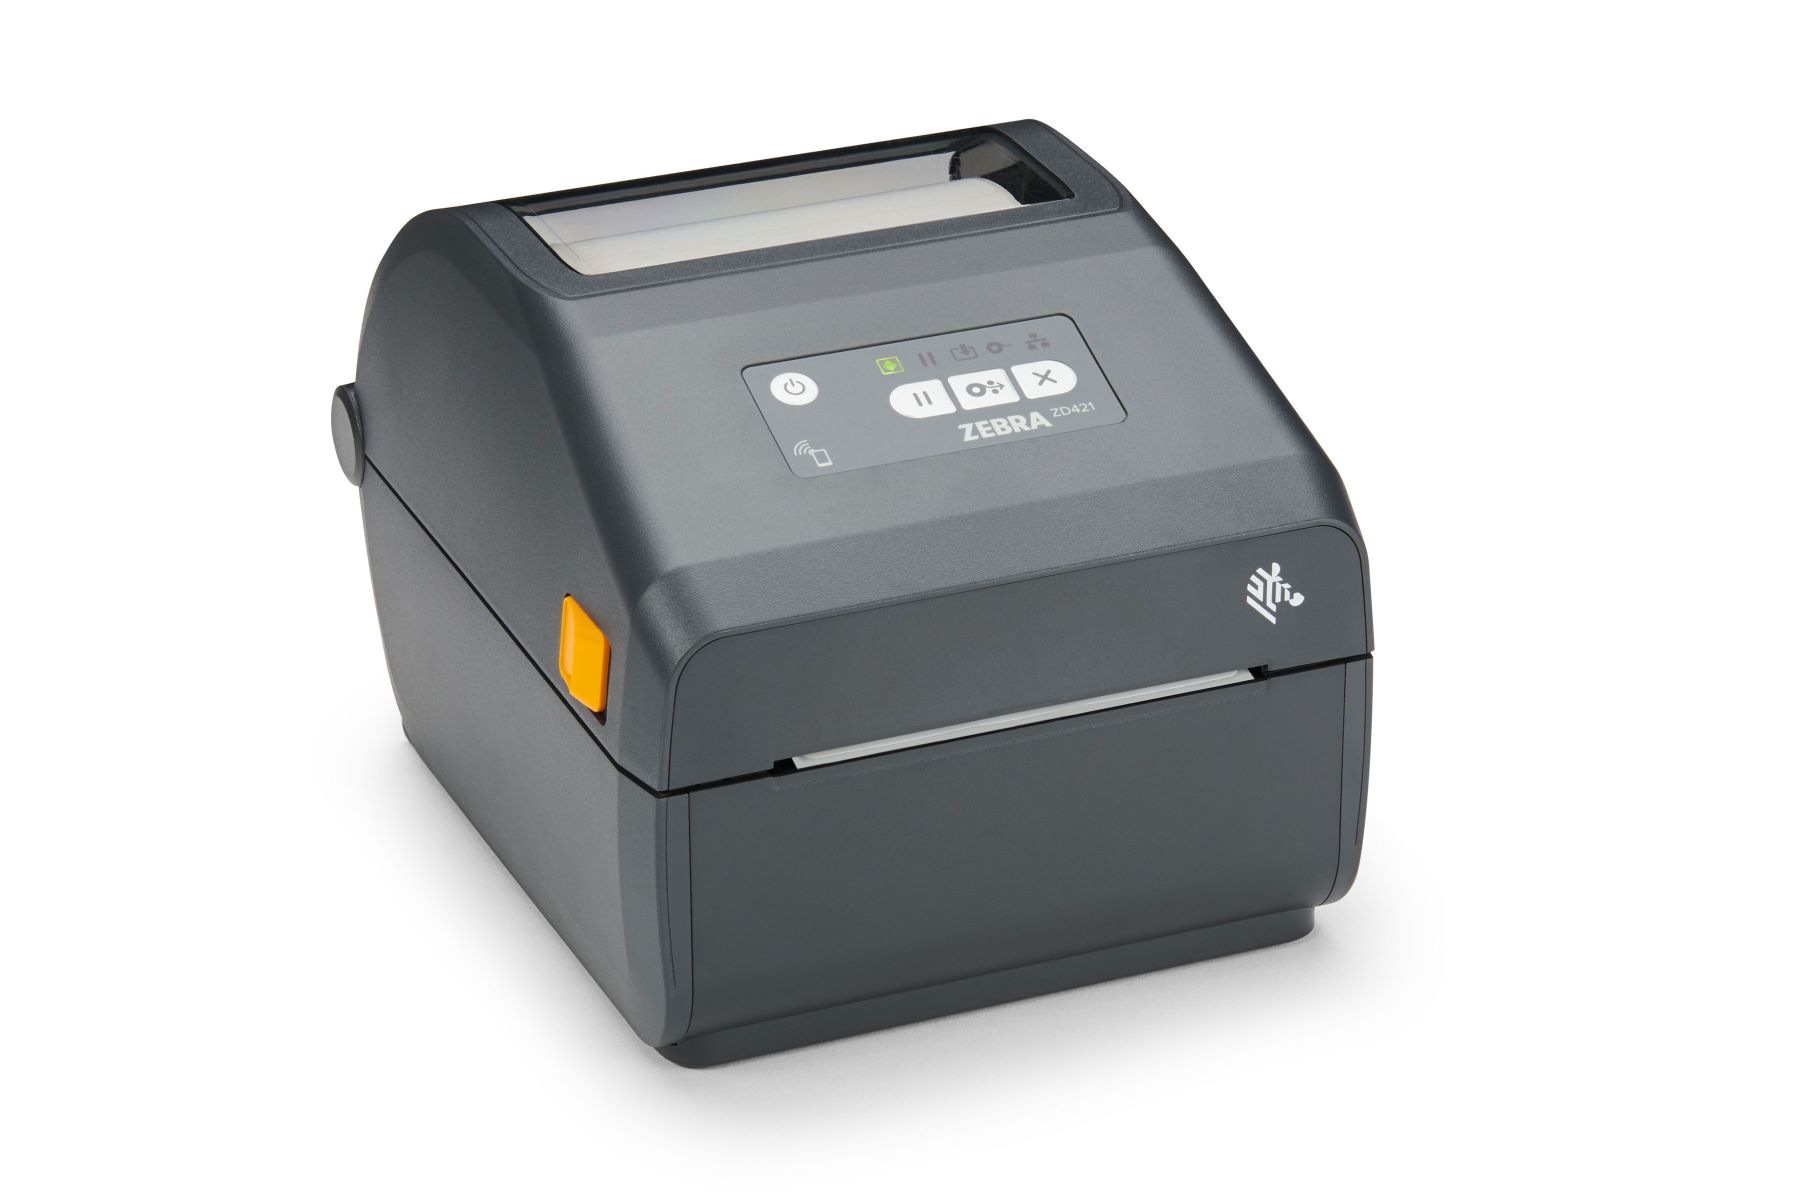
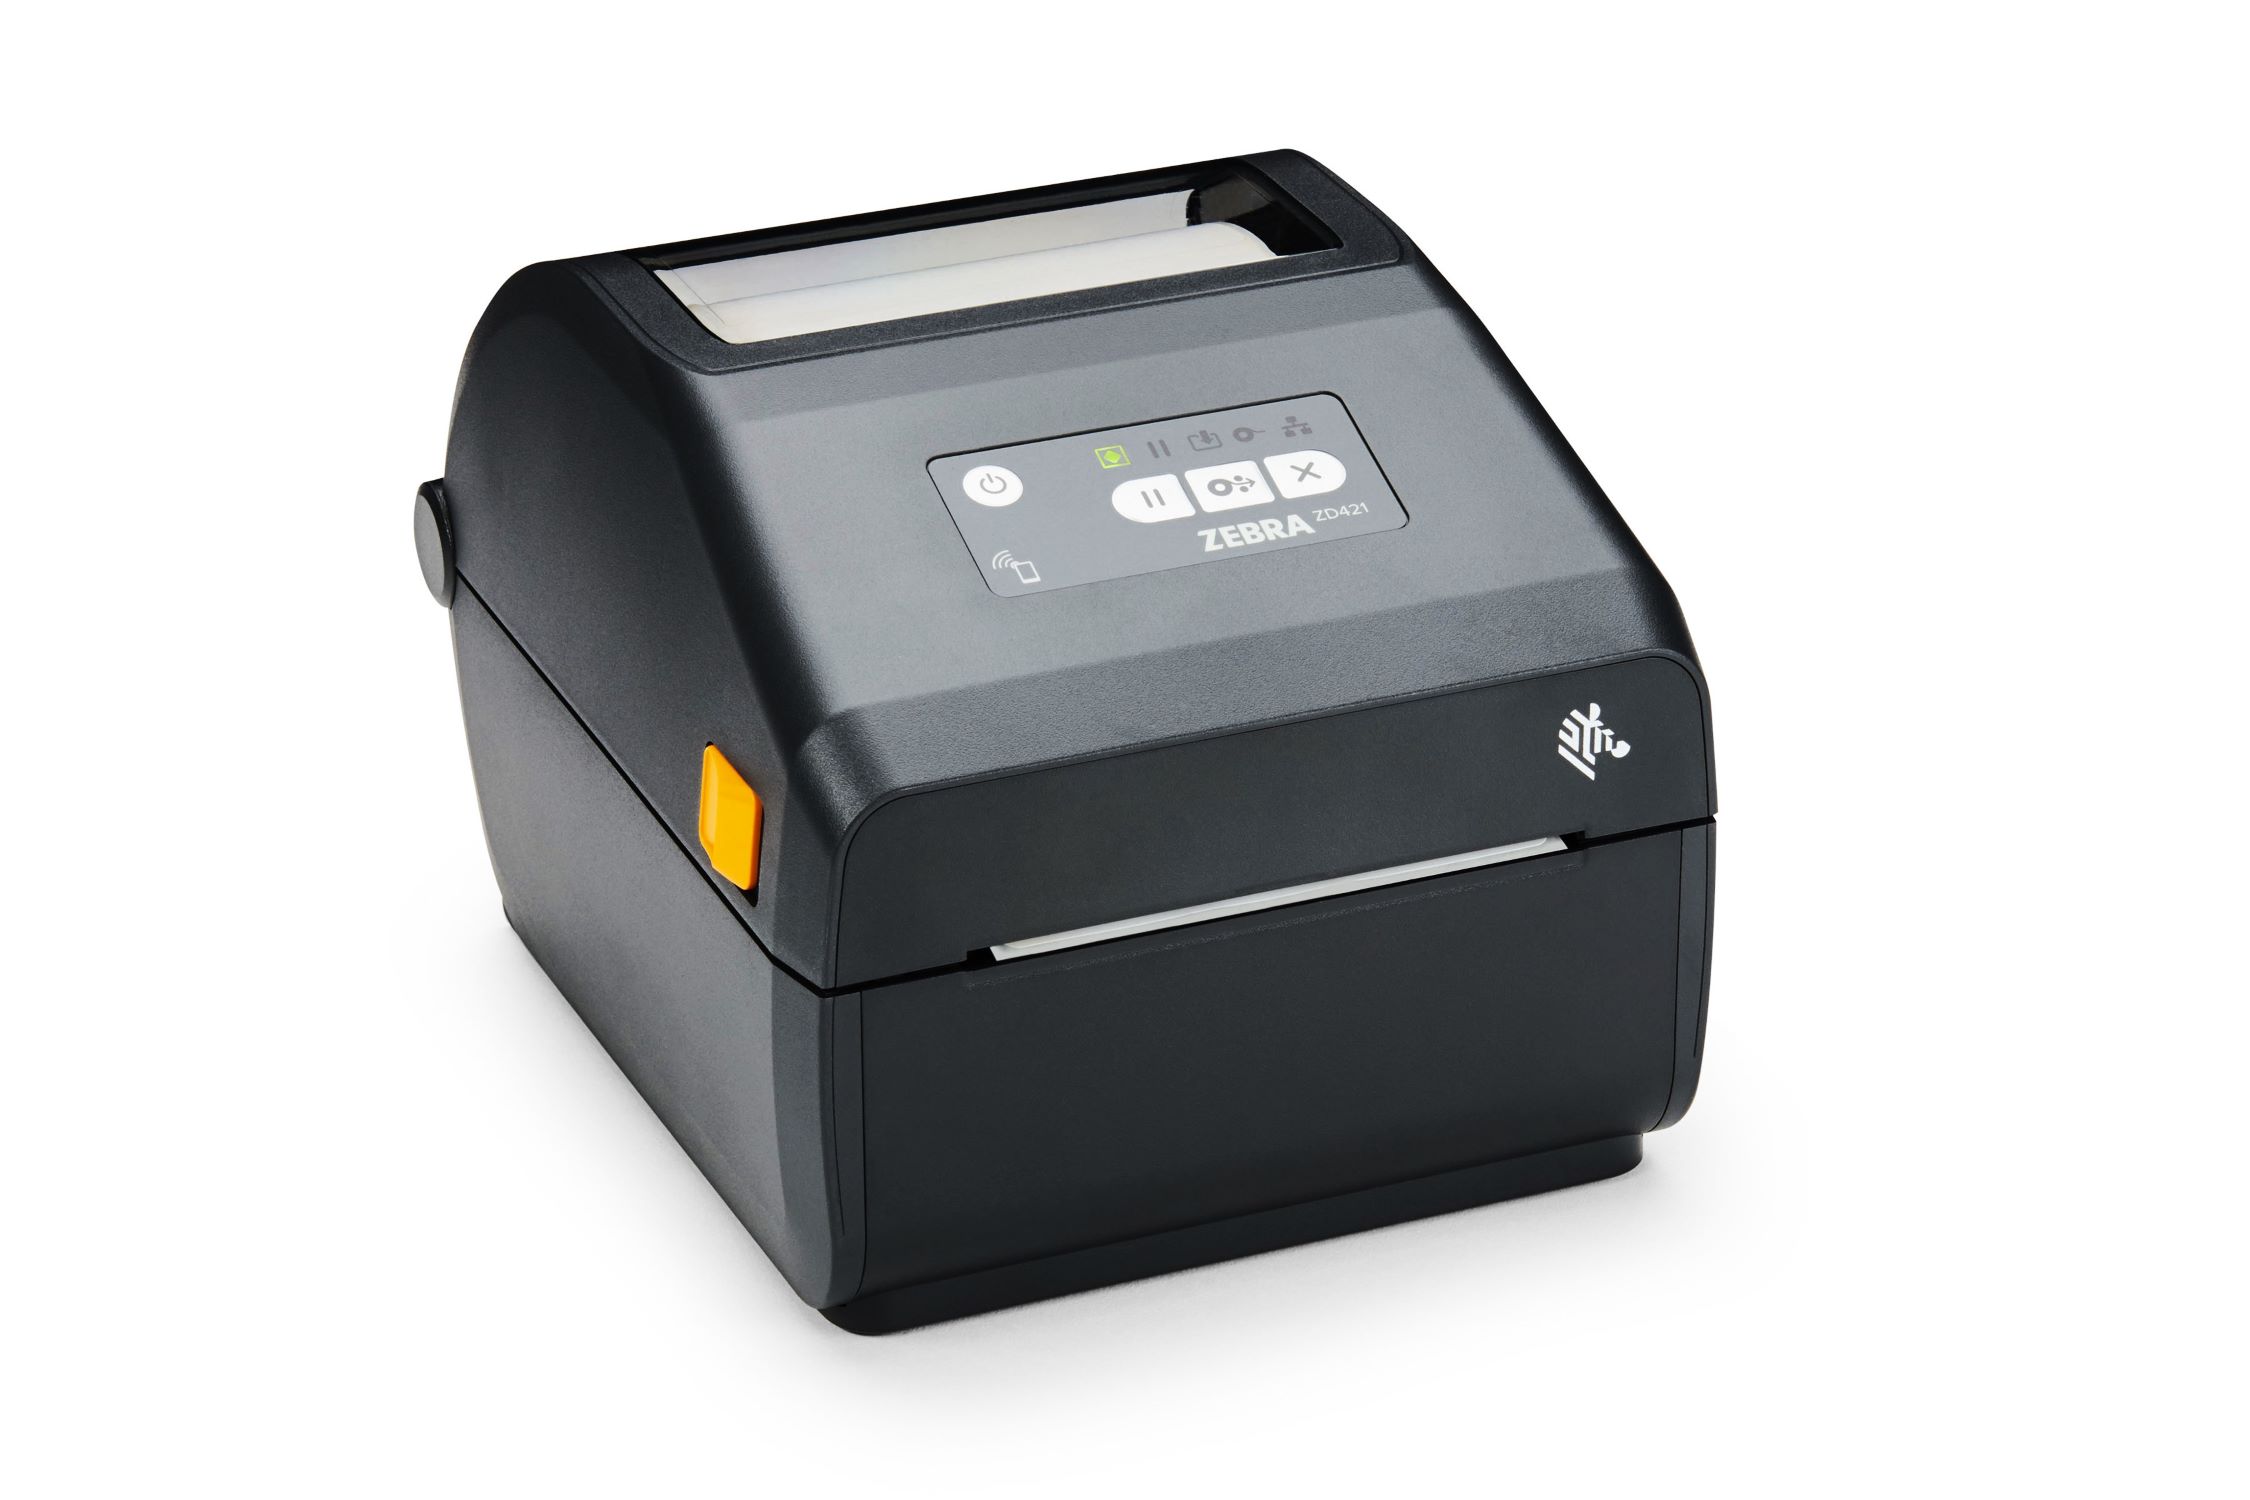
Setting up a Zebra printer is a straightforward process that allows you to seamlessly integrate this efficient printing device into your home or office environment. Zebra printers are renowned for their reliability and high-quality output, making them a popular choice for a wide range of printing needs. Whether you are looking to print shipping labels, barcodes, or receipts, a Zebra printer offers a versatile solution that can streamline your printing tasks.
In this comprehensive guide, we will walk you through the step-by-step process of setting up your Zebra printer, from unboxing and assembly to installing the necessary drivers, connecting the printer to your computer or network, configuring essential settings, and conducting a test print to ensure everything is functioning as intended. By following these instructions, you will be well-equipped to harness the full potential of your Zebra printer and leverage its capabilities to enhance your printing efficiency.
Now, let's dive into the exciting world of Zebra printers and embark on a journey to unleash the power of seamless printing with this exceptional device. Whether you are a small business owner, a logistics professional, or an individual seeking a reliable printing solution, this guide is tailored to equip you with the knowledge and skills needed to set up and optimize your Zebra printer with ease. Let's get started!
Key Takeaways:
- Setting up a Zebra printer is a simple process involving unboxing, assembling, installing drivers, connecting to a computer or network, configuring settings, and conducting a test print to ensure smooth printing operations.
- By following the step-by-step guide, you can unleash the full potential of your Zebra printer, optimize its performance, and seamlessly integrate it into your printing environment for efficient and reliable results.
Read more: How To Clean A Zebra Printer
Step 1: Unboxing and Assembling the Zebra Printer
Upon receiving your Zebra printer, the first step is to carefully unbox the device and ensure that all the necessary components are present. Typically, the package will include the Zebra printer itself, power cables, USB or Ethernet cables (depending on the model), a roll of label stock, and any additional accessories specific to your printer model.
Begin by locating the user manual or setup guide provided with the printer. This documentation will outline the assembly process and provide essential information regarding the printer’s components and functionalities. It’s crucial to familiarize yourself with this information before proceeding with the setup.
Next, carefully remove the Zebra printer from its packaging, ensuring that you handle it with care to avoid any damage. Place the printer on a stable and level surface, allowing ample space for the assembly process. If your printer model includes a printhead, take care to avoid touching it, as oils from your skin can affect its performance.
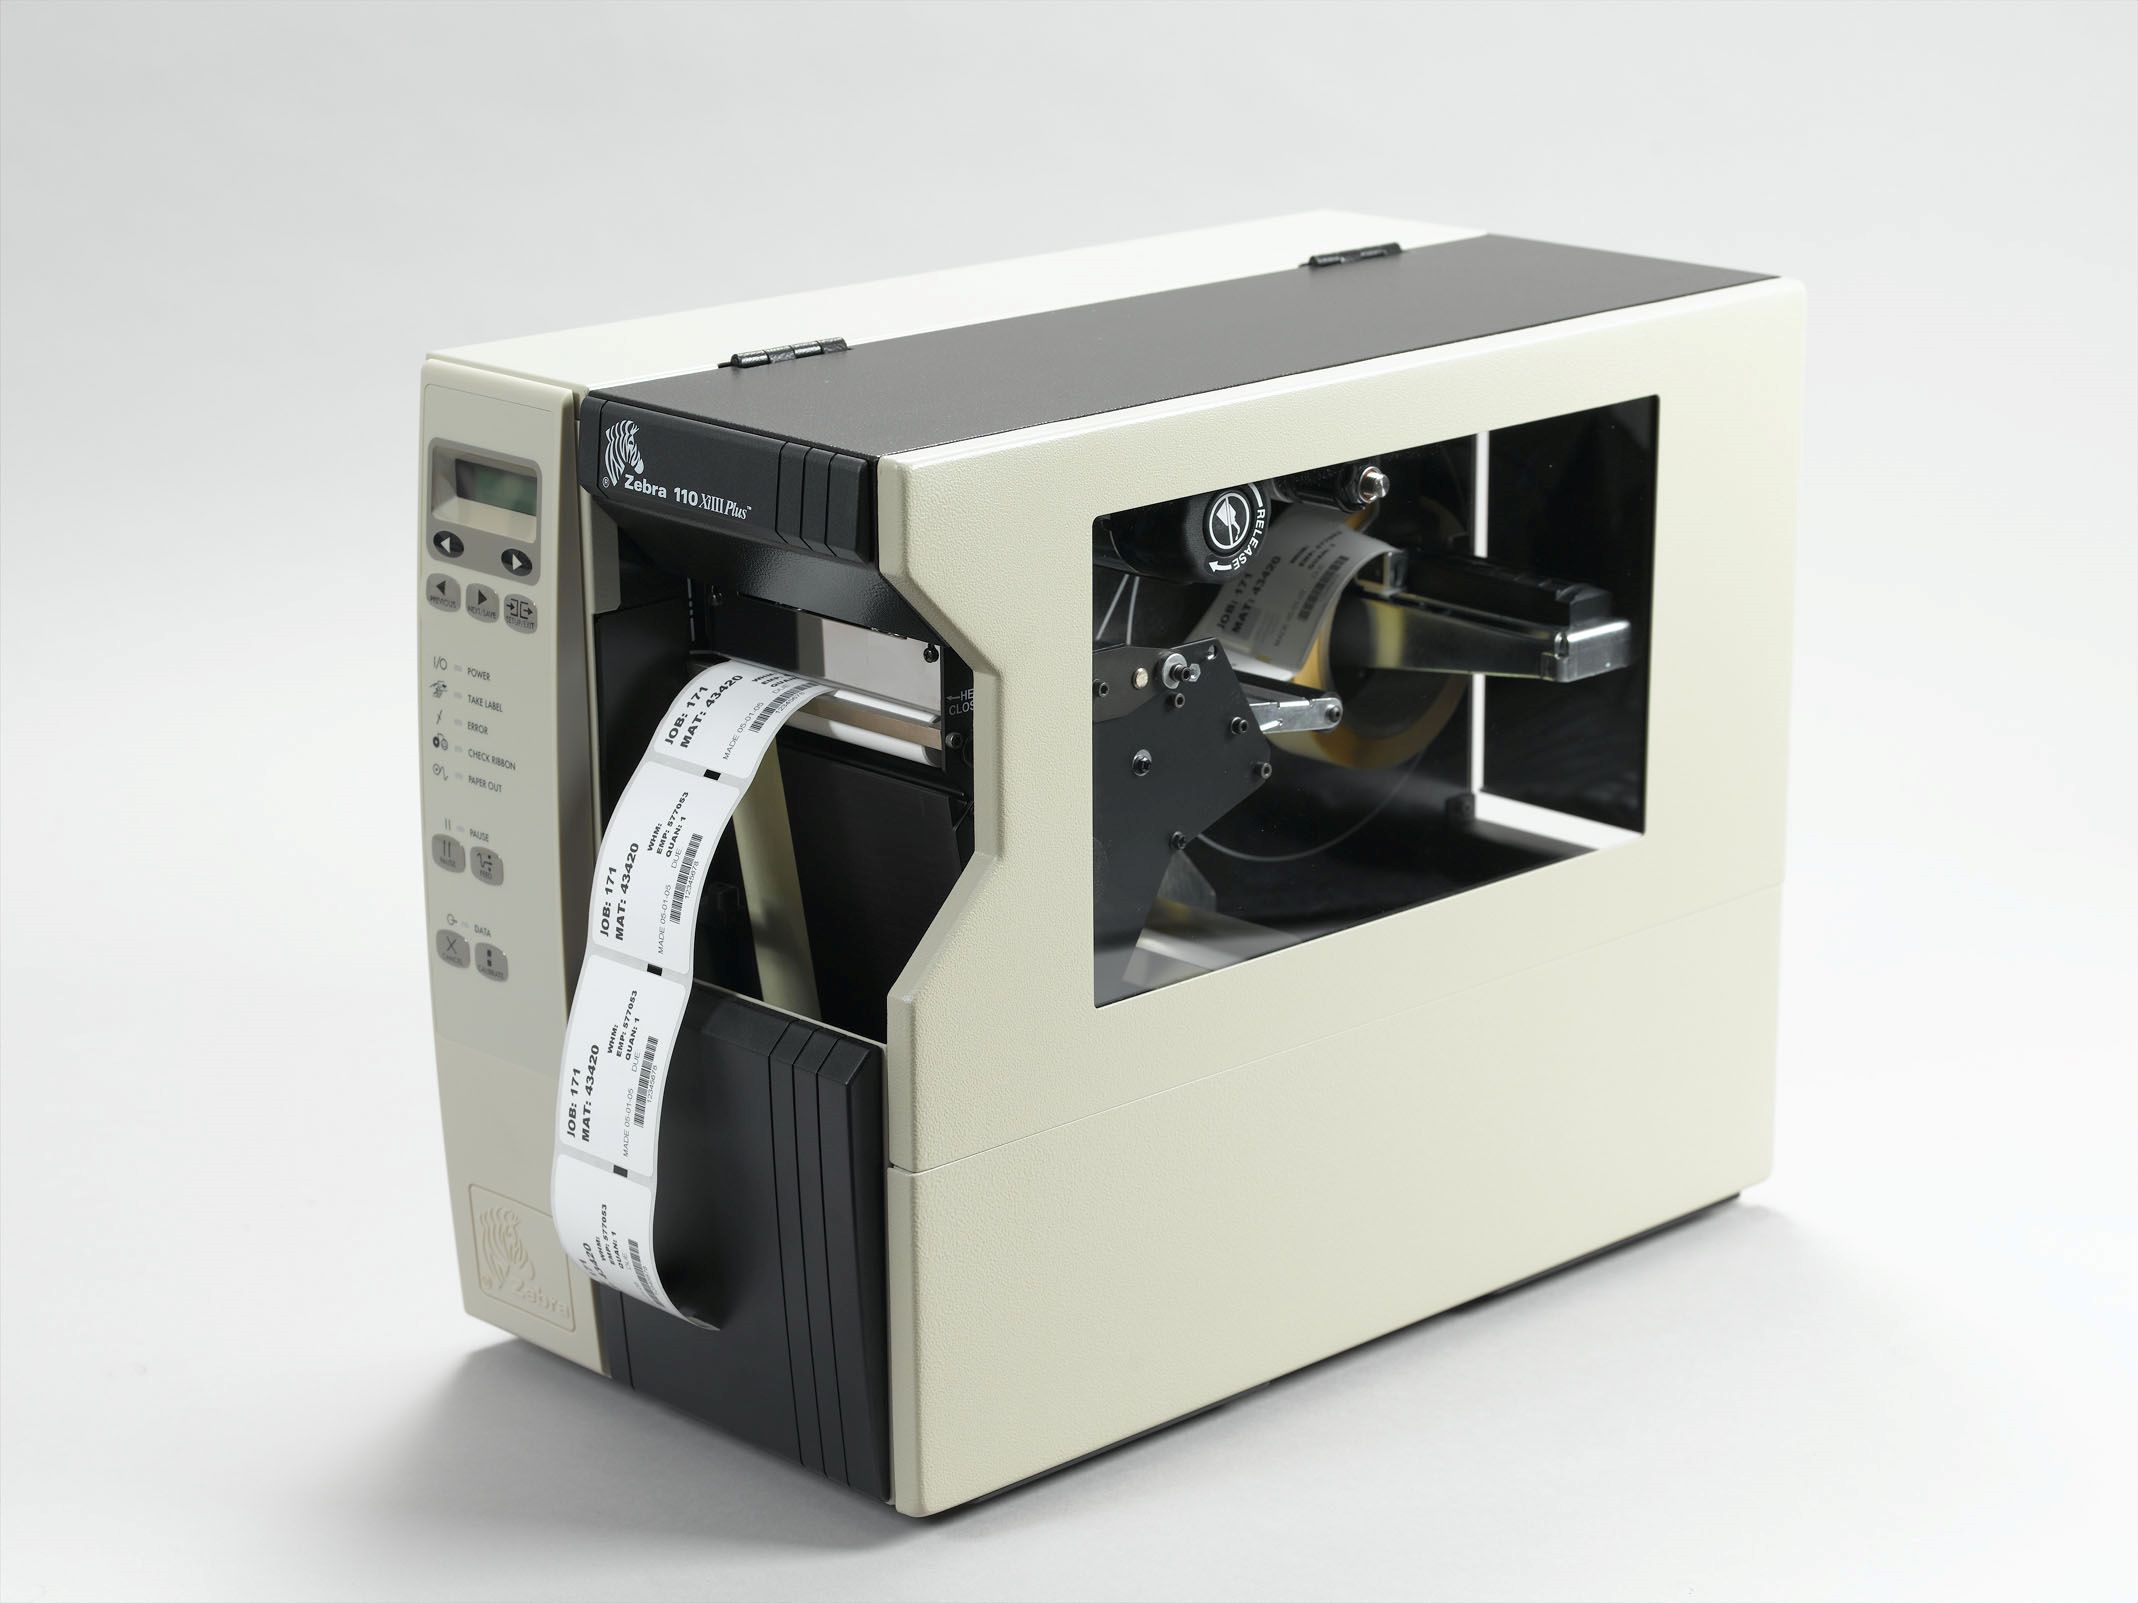
Now, it’s time to assemble the various components of the Zebra printer. Begin by opening the printer’s cover or access panel as per the instructions provided in the user manual. Install the label stock roll in the designated compartment, ensuring that it aligns properly with the printer’s feed mechanism. Depending on the model, you may need to adjust the label guides to accommodate the width of the label stock.
Once the label stock is in place, proceed to connect the power cable to the printer and a power source. If your printer model supports a network connection, you can also connect an Ethernet cable at this stage. If using a USB connection, keep the cable handy for the next step. Power on the printer and allow it to initialize, ensuring that the indicator lights confirm its readiness.
With the Zebra printer assembled and powered on, you have successfully completed the initial steps of unboxing and preparing the device for the setup process. The next phase will involve installing the necessary printer drivers to enable seamless communication between the printer and your computer or network. Let’s proceed to the next step to continue the setup process.
Step 2: Installing the Printer Driver
Before your computer or network can effectively communicate with the Zebra printer, it’s essential to install the appropriate printer driver. The printer driver serves as a bridge between your operating system and the printer, facilitating the translation of print commands into the precise instructions required by the Zebra printer to produce accurate and high-quality output.
To begin the driver installation process, ensure that your Zebra printer is powered on and connected to your computer or network as per the manufacturer’s guidelines. If you are using a direct USB connection, connect the USB cable from the printer to a USB port on your computer. For network connections, ensure that the printer is connected to the same network as your computer.
Next, navigate to the Zebra Technologies website or the official support page for your specific printer model. Locate the “Support” or “Downloads” section, where you can find the latest version of the printer driver software. It’s crucial to download the driver that corresponds to your printer model and the operating system of your computer.
Once the driver software has been downloaded, run the installation package and follow the on-screen prompts to initiate the driver installation process. During the installation, you may be prompted to specify the connection type (USB or network) and configure additional settings based on your printing requirements.
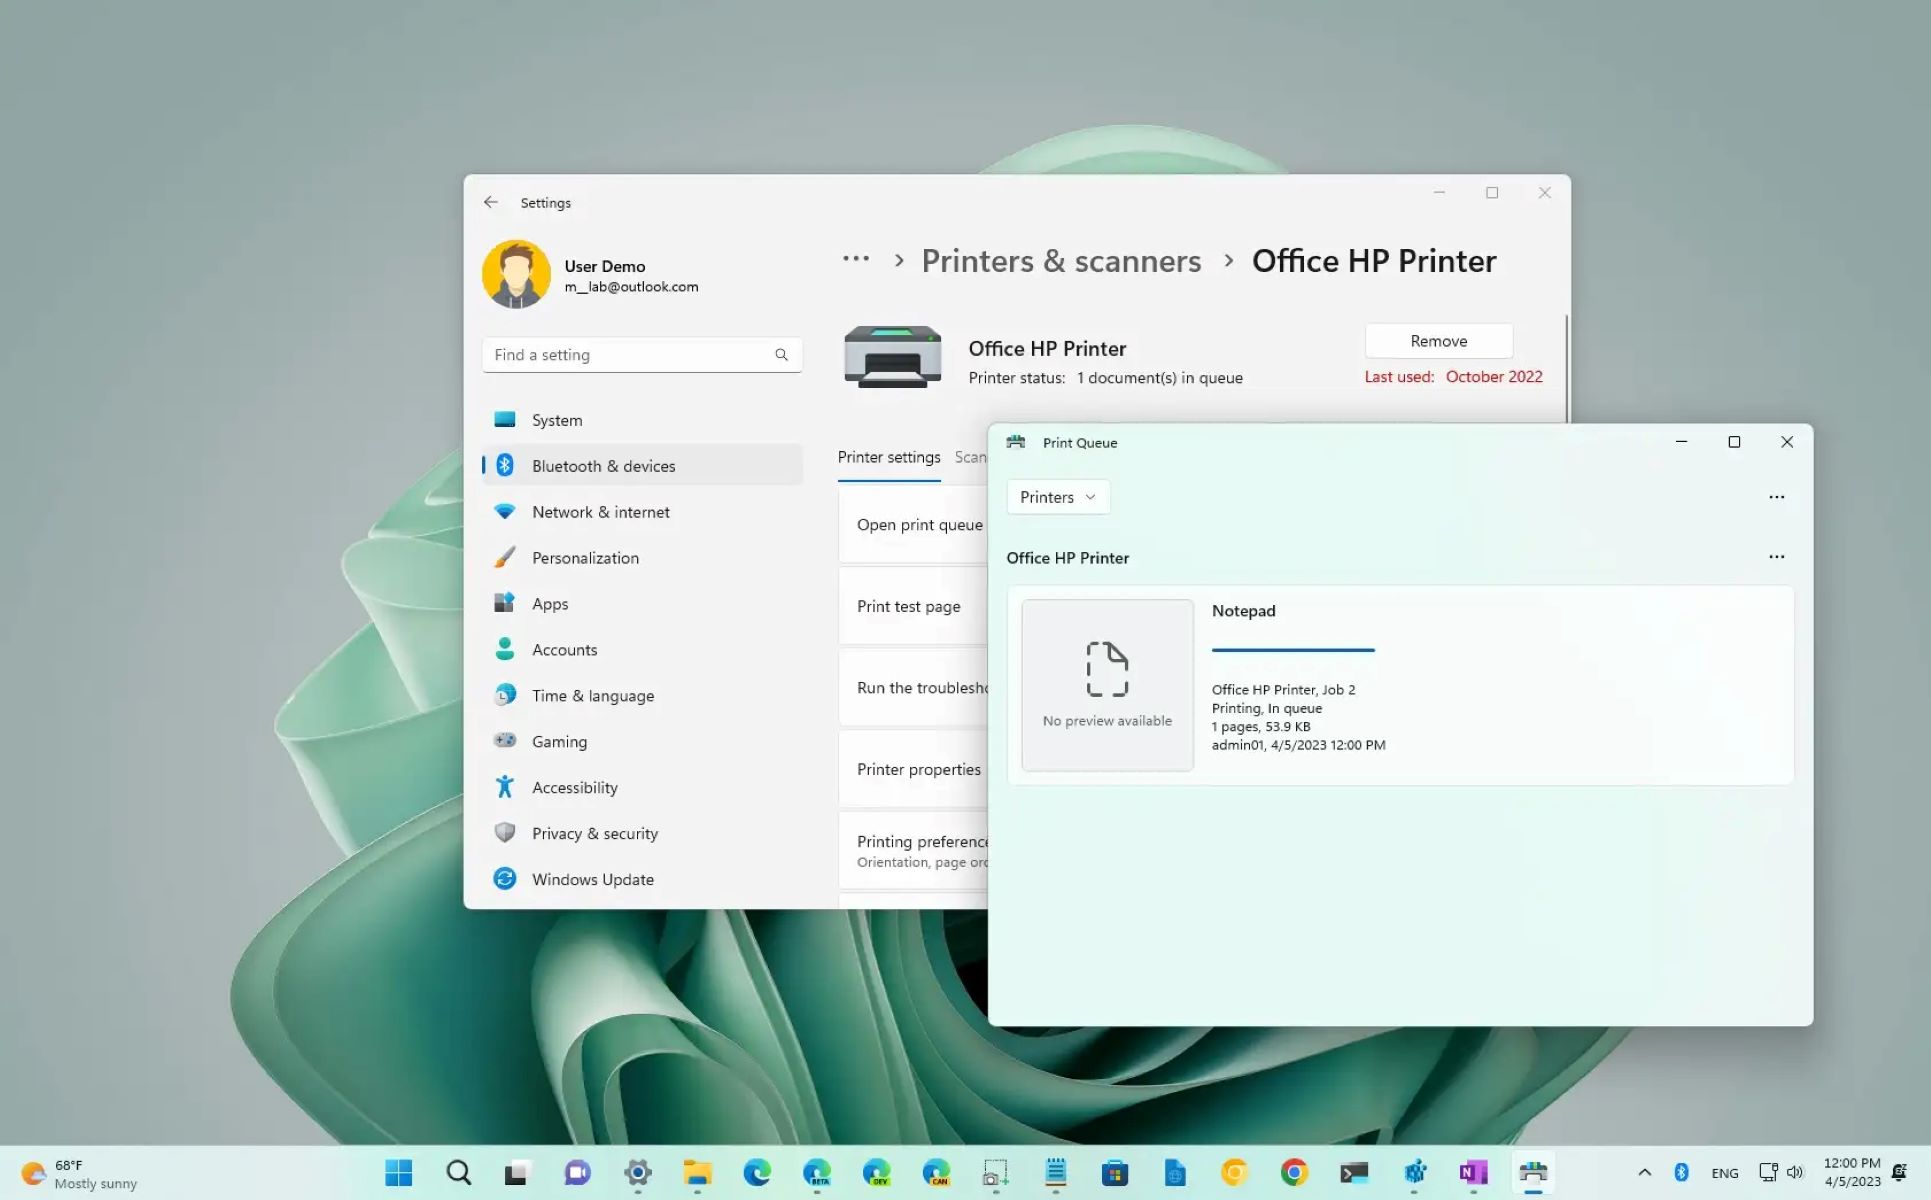
After the driver installation is complete, the printer should be recognized by your computer or network, allowing you to select it as the designated printing device. Depending on your operating system, you may need to access the “Devices and Printers” or “Printers & Scanners” settings to add the Zebra printer and set it as the default printing option.
With the printer driver successfully installed and the Zebra printer integrated into your computer or network environment, you are now ready to proceed to the next phase of the setup process. In the following step, we will guide you through the process of connecting the printer to your computer or network, establishing a seamless communication channel for efficient printing operations.
Step 3: Connecting the Printer to a Computer or Network
With the printer driver successfully installed, the next crucial step in setting up your Zebra printer involves establishing a connection between the printer and your computer or network. Depending on your specific requirements and the available connectivity options, you can choose between a direct USB connection or a network connection to integrate the Zebra printer into your printing environment.
If you opt for a direct USB connection, ensure that the Zebra printer is powered on and ready for communication. Connect the USB cable from the printer to an available USB port on your computer, allowing the operating system to detect and configure the printer for use. Once connected, the printer should appear as an available device in your computer’s list of installed printers.
For network connectivity, begin by ensuring that the Zebra printer is connected to the same network as your computer. This may involve connecting the printer to a wired Ethernet network or configuring the printer to join a wireless network, depending on the available connectivity options of your specific printer model.
Once the printer is connected to the network, you can proceed to add the printer to your computer’s list of available devices. In Windows, navigate to the “Devices and Printers” section and select “Add a printer.” Follow the on-screen prompts to locate and add the Zebra printer from the networked devices list.
If you are using a Mac, access the “System Preferences” and select “Printers & Scanners.” Click the “+” symbol to add a new printer, and the Zebra printer should appear in the list of available devices on the network. Select the printer and complete the setup process to integrate it with your Mac.
Once the Zebra printer is successfully connected to your computer or network, you have laid the foundation for seamless printing operations. In the subsequent step, we will delve into the essential process of configuring the printer settings to align with your specific printing requirements and optimize the performance of the Zebra printer.
When setting up a Zebra printer, make sure to install the correct printer drivers for your operating system. This will ensure that your computer can communicate with the printer and send print jobs successfully.
Step 4: Configuring Printer Settings
Configuring the settings of your Zebra printer is a pivotal step in optimizing its performance and ensuring that it aligns with your specific printing needs. By customizing the printer settings, you can fine-tune various parameters such as print quality, label dimensions, media type, and communication preferences to achieve precise and efficient printing results.
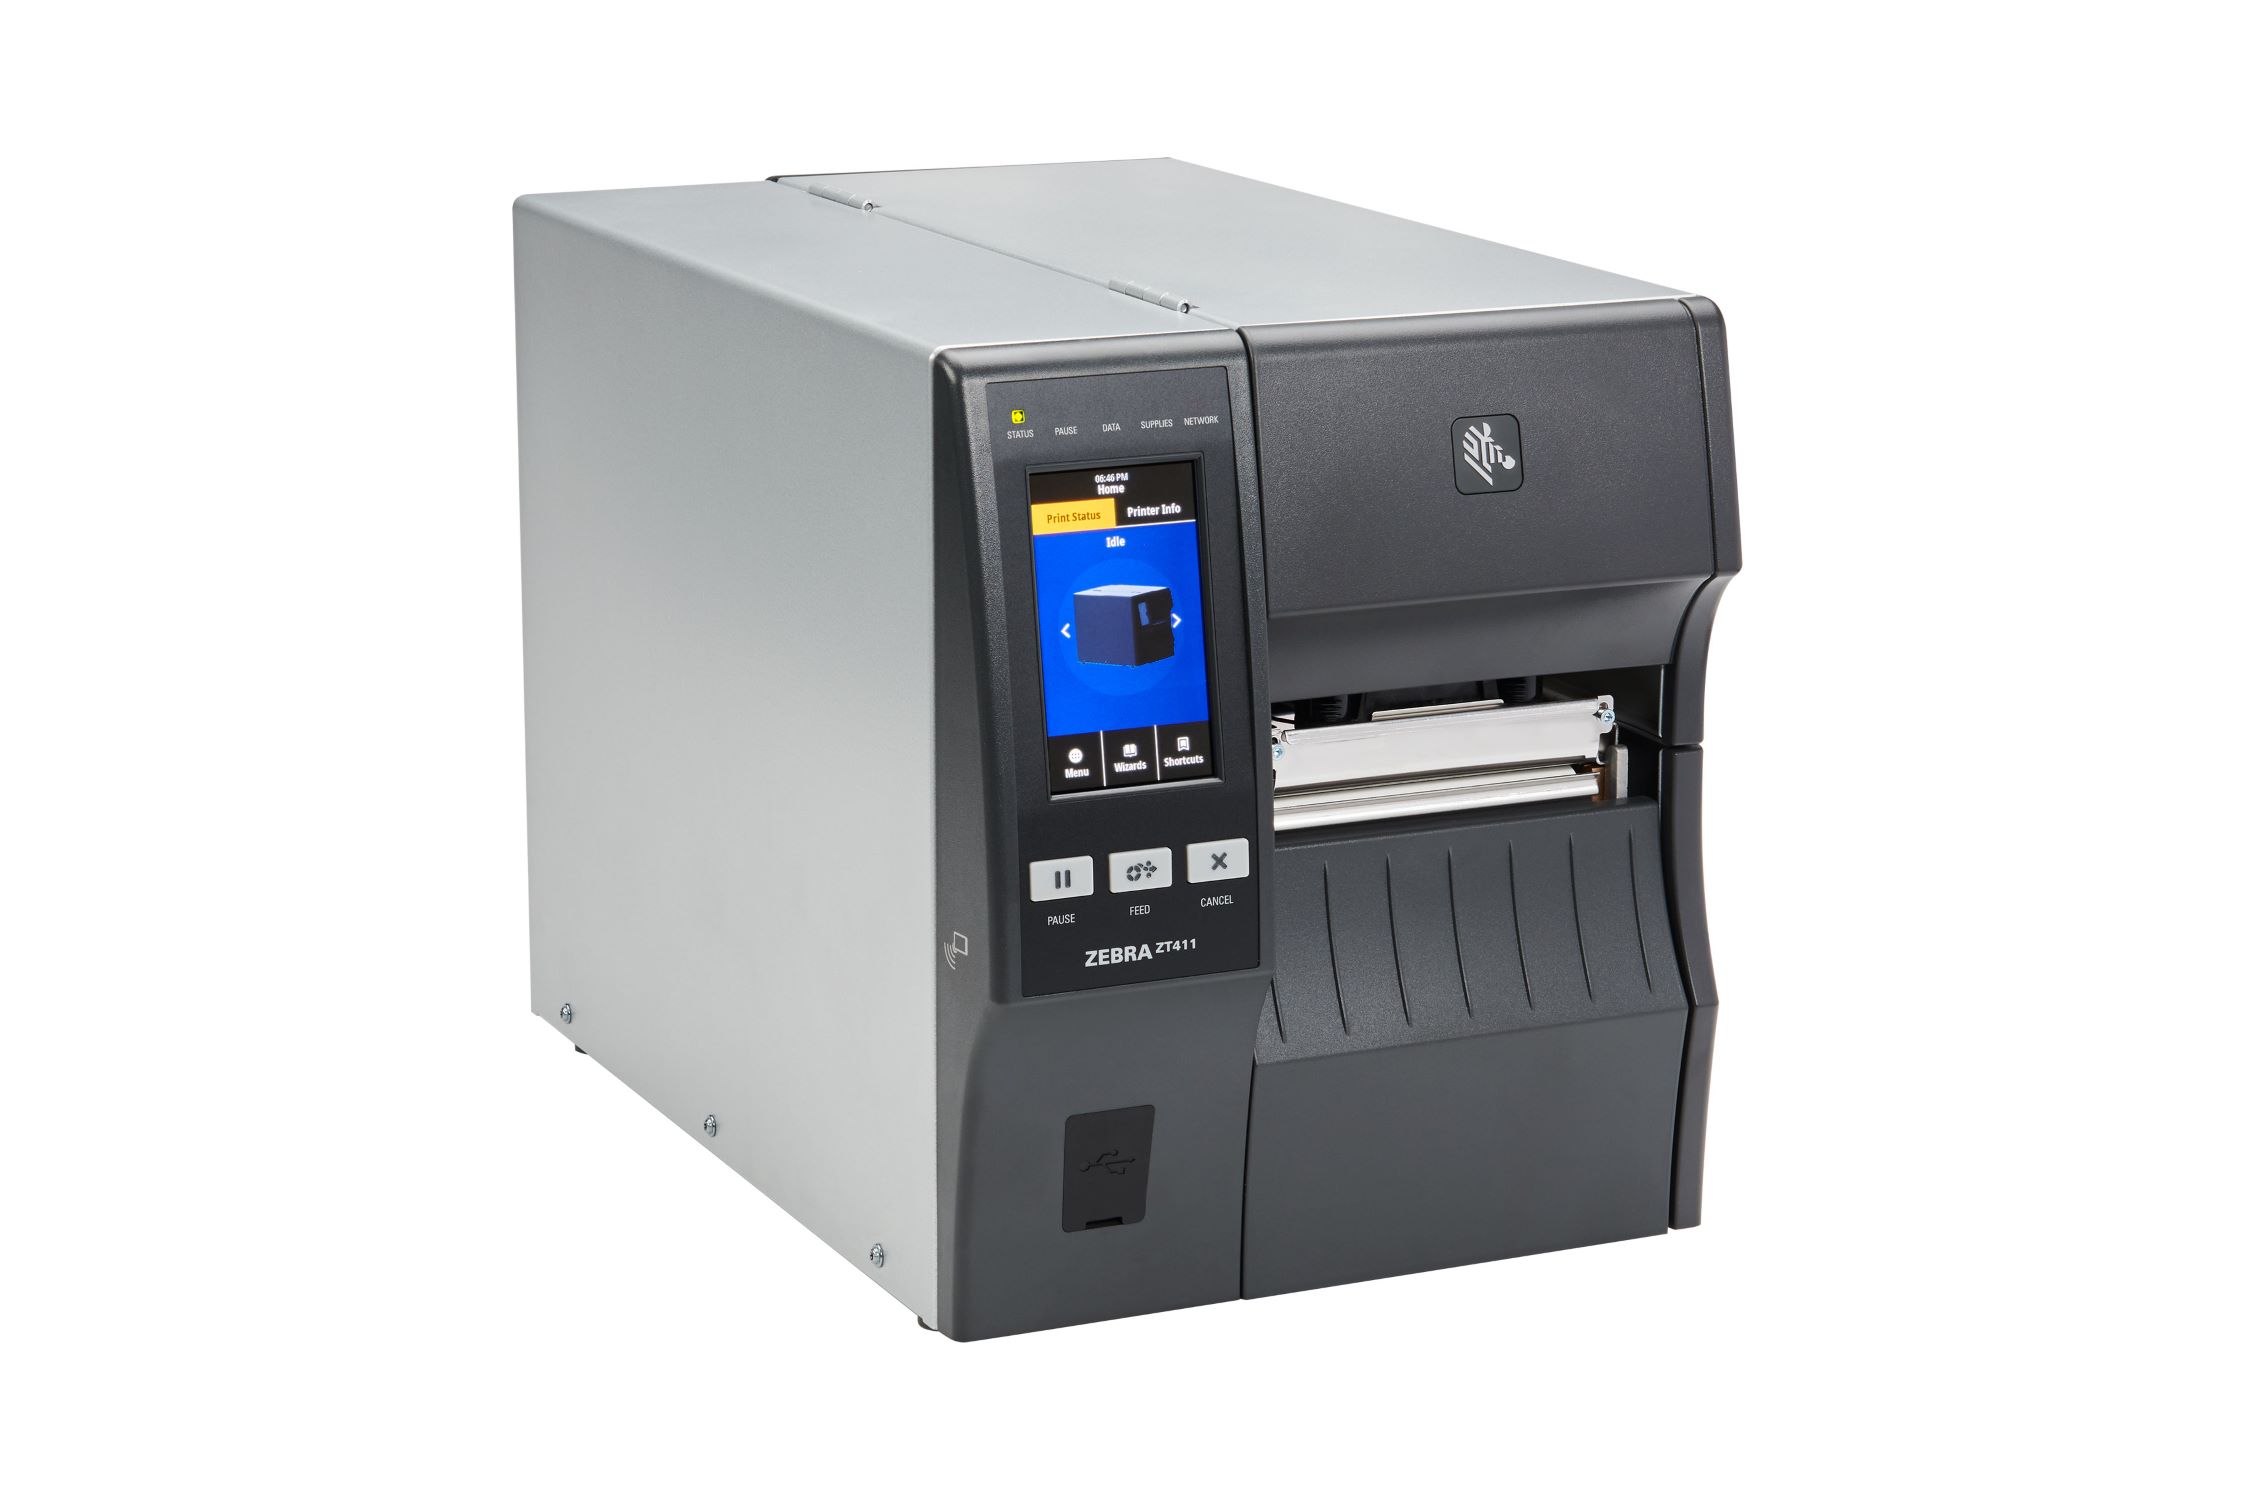
Begin by accessing the printer settings interface, which can typically be done through the printer’s control panel or a dedicated configuration software provided by Zebra. If your printer features a display panel, navigate through the menu options to access the settings related to print quality, media type, label dimensions, and communication settings. Ensure that these settings correspond to the specifications of the labels or media you intend to use with the printer.
For advanced configuration options, you may need to utilize the configuration software provided by Zebra. This software allows you to access a comprehensive range of settings, including print speed, darkness (print density), label orientation, sensor calibration, and communication protocols. Adjust these settings based on your specific printing requirements and the characteristics of the labels or media you will be using.
When configuring the communication settings, ensure that the printer is set to the appropriate connection type (USB or network) and that the communication parameters align with your computer or network environment. If using a network connection, verify that the printer’s IP address and network settings are correctly configured to facilitate seamless communication with other devices on the network.
Additionally, if your printing tasks involve barcodes or specialized label formats, you can configure the printer to optimize barcode printing and ensure that the labels are accurately positioned and aligned. This may involve adjusting the label calibration settings and configuring the printer to accommodate specific barcode symbologies and label formats.
By meticulously configuring the printer settings to suit your unique printing requirements, you can harness the full potential of your Zebra printer and ensure that it delivers consistent and accurate results across various printing tasks. With the printer settings fine-tuned to perfection, you are now ready to proceed to the final step of the setup process: conducting a test print to validate the printer’s functionality and performance.
Read more: What Is A Zebra Printer
Step 5: Testing the Printer
After completing the setup and configuration of your Zebra printer, it’s essential to conduct a test print to verify its functionality and ensure that it produces the desired output with precision and clarity. Testing the printer allows you to identify and address any potential issues before incorporating it into your regular printing workflows, ultimately ensuring a seamless and efficient printing experience.
To initiate the test print, open a document, label template, or barcode design that you intend to print using the Zebra printer. Ensure that the content is formatted according to your printing requirements, and that the label dimensions, orientation, and content placement align with the specifications of the labels or media loaded in the printer.
Select the Zebra printer as the designated printing device within your application or operating system. If using a Windows-based computer, access the “Print” dialog and verify that the Zebra printer is selected. For Mac users, ensure that the Zebra printer is chosen from the list of available printers in the print settings menu.
Before proceeding with the test print, review the printer settings and print preview to confirm that the content will be printed accurately and in the desired format. Pay attention to details such as label alignment, barcode clarity, and overall print quality to preemptively identify any potential issues that may arise during the printing process.
Initiate the test print and observe the printer’s performance as it processes and produces the output. As the printer begins the printing operation, carefully monitor the label or document as it emerges from the printer, ensuring that the content is printed accurately, the label alignment is precise, and any barcodes or graphic elements are rendered clearly and legibly.
Upon completion of the test print, inspect the output closely to assess the quality and accuracy of the printed content. Verify that the text is sharp and legible, barcodes are scannable, and that the labels are printed in the correct orientation and alignment. If any issues are identified, revisit the printer settings and document formatting to make necessary adjustments.
By conducting a thorough test print, you can validate the functionality and performance of your Zebra printer, confirming that it meets your printing requirements with precision and reliability. Any adjustments or fine-tuning needed can be addressed based on the outcome of the test print, ensuring that the printer is ready to seamlessly integrate into your printing workflows and deliver exceptional results across various printing tasks.
Conclusion
Congratulations on successfully completing the setup and optimization of your Zebra printer! By following the comprehensive steps outlined in this guide, you have equipped yourself with the knowledge and skills needed to seamlessly integrate the Zebra printer into your home or office environment, harnessing its powerful capabilities to streamline your printing operations.
Throughout the setup process, you embarked on a journey that encompassed unboxing and assembling the Zebra printer, installing the essential printer driver, establishing a connection to your computer or network, configuring the printer settings to align with your specific printing requirements, and conducting a thorough test print to validate the printer’s functionality and performance.
With the printer now fully operational and fine-tuned to perfection, you are poised to leverage its versatile capabilities across a myriad of printing tasks, including shipping label generation, barcode printing, receipt production, and much more. Whether you are a small business owner, a logistics professional, or an individual seeking a reliable printing solution, the Zebra printer stands ready to enhance your printing efficiency and deliver exceptional results.
As you continue to explore the endless possibilities offered by your Zebra printer, remember that ongoing maintenance and periodic calibration can further optimize its performance and ensure consistent output quality. Stay informed about firmware updates and advancements in printing technology to maximize the potential of your Zebra printer and stay ahead in the realm of printing innovation.
Thank you for embarking on this journey to unlock the power of seamless printing with the Zebra printer. May your printing endeavors be marked by precision, efficiency, and the seamless integration of cutting-edge technology into your daily workflows. Embrace the future of printing with confidence, knowing that your Zebra printer is a reliable ally in your quest for exceptional printing experiences.
Frequently Asked Questions about How To Set Up Zebra Printer
Was this page helpful?
At Storables.com, we guarantee accurate and reliable information. Our content, validated by Expert Board Contributors, is crafted following stringent Editorial Policies. We're committed to providing you with well-researched, expert-backed insights for all your informational needs.

0 thoughts on “How To Set Up Zebra Printer”