Home>Technology>Smart Home Devices>How To Set Up Wi-Fi To HP Printer
Smart Home Devices
How To Set Up Wi-Fi To HP Printer
Modified: August 16, 2024
Learn how to easily set up Wi-Fi for your HP printer and connect it to your smart home devices. Follow these simple steps for seamless integration. Ideal for smart home devices enthusiasts.
(Many of the links in this article redirect to a specific reviewed product. Your purchase of these products through affiliate links helps to generate commission for Storables.com, at no extra cost. Learn more)
Introduction
Welcome to the modern era of printing, where the convenience of wireless technology has revolutionized the way we interact with our printers. Setting up Wi-Fi for your HP printer opens up a world of possibilities, allowing you to print from any device connected to the same network without the hassle of cables. In this comprehensive guide, you will learn how to seamlessly integrate your HP printer into your Wi-Fi network, enabling effortless printing from your computer, smartphone, or tablet.
Whether you’re a tech-savvy enthusiast or a casual user, the process of setting up Wi-Fi for your HP printer can seem daunting at first. However, with the right guidance and a clear understanding of the steps involved, you’ll find that it’s a straightforward and rewarding experience. By the end of this guide, you’ll be empowered to harness the full potential of your HP printer, enjoying the freedom and flexibility that wireless printing offers.
So, grab your favorite beverage, settle into a comfortable chair, and let’s embark on this journey to elevate your printing experience to new heights. With a sprinkle of patience and a dash of enthusiasm, you’ll soon be marveling at the convenience and efficiency of printing over Wi-Fi with your HP printer.
Key Takeaways:
- Setting up Wi-Fi for your HP printer allows you to print wirelessly from any device on the same network, making printing convenient and hassle-free.
- By following the simple steps to connect and test your HP printer, you can enjoy the freedom of wireless printing, enhancing your productivity and creativity.
Read more: How To Hook Up My HP Printer To Wi-Fi
Step 1: Gather the Necessary Information
Before diving into the setup process, it’s essential to gather the pertinent details that will facilitate a smooth and successful integration of your HP printer into your Wi-Fi network. This step is crucial for ensuring that you have all the required information at your fingertips, minimizing potential hiccups along the way.
Here’s a checklist of the key details you’ll need:
- Wi-Fi Network Name (SSID): This is the name of your wireless network, which is essential for connecting your HP printer. You can usually find this information on the sticker of your Wi-Fi router or by accessing your router’s settings through a web browser.
- Wi-Fi Network Password: Also known as the Wi-Fi security key, this password is crucial for authenticating your HP printer onto your wireless network. Ensure that you have the correct password to avoid any connectivity issues during the setup process.
- Computer or Device Connected to the Wi-Fi Network: It’s beneficial to have a computer, smartphone, or tablet that is already connected to your Wi-Fi network. This device will be used to configure the printer settings and test the connection once the setup is complete.
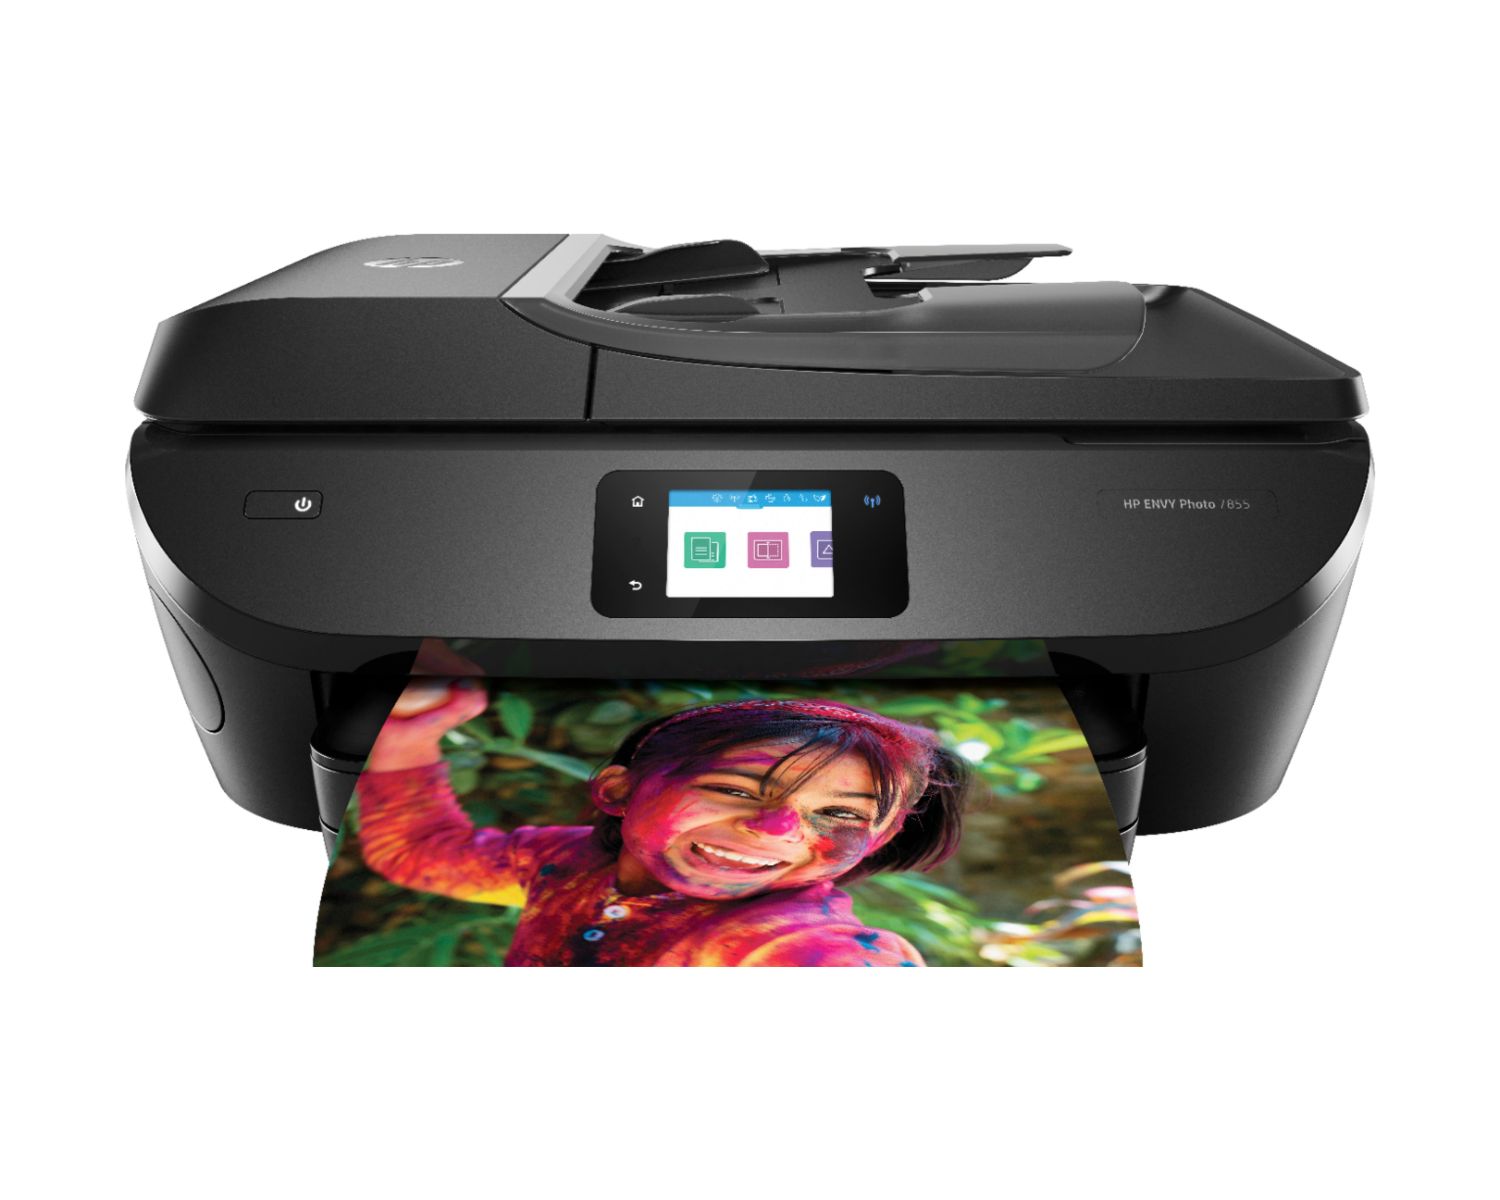
- HP Printer Model: Knowing the specific model of your HP printer is important for locating the appropriate setup instructions and software drivers on the HP website. You can usually find the model number on the front or top of the printer.
- Access to a Power Outlet: Ensure that your HP printer is located near a power outlet to provide it with the necessary electrical supply during the setup process.
By gathering these essential details and ensuring that you have everything readily available, you’ll set the stage for a seamless and efficient setup process. With these details in hand, you’re now well-equipped to move on to the next step, where you’ll connect your HP printer to your Wi-Fi network.
Step 2: Connect the Printer to Wi-Fi
Now that you have all the necessary information at your disposal, it’s time to embark on the exciting journey of connecting your HP printer to your Wi-Fi network. This step involves leveraging the intuitive controls and interfaces of your HP printer to establish a wireless connection, paving the way for seamless printing from multiple devices.
Here’s a simplified guide to help you through the process:
- Power On Your HP Printer: Ensure that your HP printer is powered on and in a ready state. If it was previously connected via a USB cable, you may need to disconnect the cable to initiate the wireless setup process.
- Access the Printer’s Control Panel: Depending on your HP printer model, navigate to the control panel or display screen, which typically provides access to the printer’s settings and wireless setup options.
- Initiate the Wireless Setup Wizard: Look for an option related to wireless or network settings on the control panel. Select the “Wireless Setup Wizard” or a similar option to begin the process of connecting your printer to your Wi-Fi network.
- Select Your Wi-Fi Network: The printer will scan for available Wi-Fi networks. Once the scan is complete, select your specific Wi-Fi network from the list of available networks displayed on the printer’s screen.
- Enter Your Wi-Fi Network Password: After selecting your Wi-Fi network, you will be prompted to enter the network password using the printer’s control panel. Carefully input the password, ensuring that uppercase and lowercase characters are entered correctly, as Wi-Fi passwords are case-sensitive.
- Complete the Connection: Once the password is entered, the printer will attempt to connect to your Wi-Fi network. If the credentials are accurate, the printer will successfully establish a wireless connection, indicating that it is now connected to your Wi-Fi network.
By following these straightforward steps, you’ll have successfully connected your HP printer to your Wi-Fi network, unlocking the convenience of wireless printing. With the wireless connection established, you’re now ready to proceed to the next step, where you’ll install the necessary software to ensure seamless communication between your devices and the printer.
When setting up Wi-Fi for your HP printer, make sure to have your network name and password handy. Follow the printer’s instructions to connect to the Wi-Fi network and download any necessary software or drivers from the HP website.
Step 3: Install the Printer Software
With your HP printer seamlessly connected to your Wi-Fi network, the next crucial step is to install the printer software on your computer or device. This software, often referred to as printer drivers or software drivers, serves as the communication bridge between your computer and the HP printer, enabling a smooth printing experience with access to advanced features.
Follow these steps to install the printer software:
- Visit the HP Support Website: Open a web browser on your computer or device and navigate to the official HP Support website. Here, you can access the latest software drivers and installation files for your specific HP printer model.
- Locate the Printer Software: Use the search or navigation tools on the HP Support website to locate the software drivers for your HP printer model. Ensure that you select the appropriate operating system version (e.g., Windows, macOS, or Linux) that corresponds to your computer or device.
- Download the Software: Once you’ve identified the correct printer software for your operating system, download the installation file to your computer. Depending on your internet connection speed, the download process should only take a few moments.
- Run the Installation File: Locate the downloaded installation file on your computer and double-click it to initiate the installation process. Follow the on-screen prompts to install the printer software, ensuring that you carefully read and accept the necessary terms and conditions.
- Complete the Installation: Once the installation process is complete, the printer software will be successfully installed on your computer, establishing a seamless connection between your device and the HP printer.
- Configure Additional Settings (Optional): Depending on your preferences and printing needs, you may have the option to configure additional settings, such as print quality, paper size, and advanced printing features, through the printer software interface on your computer.
By following these steps, you’ll have successfully installed the necessary printer software, empowering your computer or device to communicate effectively with your HP printer over the Wi-Fi network. With the software installed, you’re now equipped to move on to the final step, where you’ll test the connection and ensure that everything is functioning as intended.
Step 4: Test the Connection
As you near the culmination of the setup process, it’s time to put the newly established Wi-Fi connection to the test. By conducting a simple test, you can verify that your HP printer is seamlessly integrated into your Wi-Fi network, ensuring that you can effortlessly print from your computer, smartphone, or tablet without any hiccups.
Follow these steps to test the connection and ensure everything is functioning as intended:
- Open a Document or Image: On your computer or device, open a document, photo, or image that you’d like to print. This can be a text document, a colorful picture, or any file that you’d typically print using your HP printer.
- Access the Print Menu: Within the application you’re using, locate the print option. This is often found under the “File” menu or represented by a printer icon. Click on the print option to initiate the printing process.
- Select Your HP Printer: In the print menu, ensure that your HP printer is selected as the designated printing device. If your printer is not automatically selected, use the dropdown menu or printer selection dialog to choose your HP printer from the list of available devices.
- Adjust Print Settings (Optional): Depending on your printing preferences, you may have the option to adjust print settings such as paper size, orientation, and quality. Make any necessary adjustments to suit your specific printing requirements.
- Initiate the Print Job: Once you’ve configured the print settings, initiate the print job by clicking the “Print” button or equivalent action within the application. Your computer will send the print job to your HP printer over the Wi-Fi network.
- Verify the Printout: After initiating the print job, head over to your HP printer and ensure that it successfully receives the print command. If all goes well, the printer should spring into action, producing a high-quality printout of the document or image you selected.
By following these steps and conducting a test print, you can confirm that your HP printer is seamlessly connected to your Wi-Fi network and is ready to fulfill your printing needs. If the test print is successful, congratulations – you’ve successfully set up your HP printer for wireless printing! You can now enjoy the convenience and flexibility of printing from any device connected to your Wi-Fi network, enhancing your productivity and streamlining your printing experience.
Read more: What Is Wi-Fi Direct On A HP Printer
Conclusion
Congratulations on successfully setting up your HP printer for wireless printing! You’ve embarked on a journey that has unlocked a world of convenience and flexibility, allowing you to print seamlessly from any device connected to your Wi-Fi network. By following the steps outlined in this guide, you’ve empowered yourself to harness the full potential of your HP printer, enhancing your printing experience and streamlining your workflow.
As you bask in the satisfaction of a job well done, it’s important to reflect on the benefits you’ve gained from this endeavor. By integrating your HP printer into your Wi-Fi network, you’ve transcended the limitations of traditional wired printing, embracing a future where printing is as effortless as a few clicks or taps on your devices.
With wireless printing, you can now print from your computer, smartphone, or tablet with unparalleled ease, eliminating the need for cumbersome cables and physical proximity to the printer. Whether you’re printing documents, photos, or creative projects, the seamless connection between your devices and your HP printer ensures a smooth and efficient printing experience.
Furthermore, the setup process has equipped you with valuable insights into the technical aspects of integrating a printer into a Wi-Fi network. This newfound knowledge not only empowers you to troubleshoot potential issues in the future but also instills a sense of confidence in managing and optimizing your printing setup.
As you revel in the convenience of wireless printing, remember that this is just the beginning of your journey with your HP printer. Explore the array of features and capabilities offered by your printer, from mobile printing apps to advanced print settings, and discover how you can further personalize and enhance your printing experience.
So, take a moment to appreciate the seamless connection you’ve established between your devices and your HP printer. Embrace the freedom of wireless printing, and let it inspire you to explore new horizons in creativity, productivity, and efficiency. Your HP printer is now a seamless extension of your digital world, ready to bring your ideas to life with the simple click of a button.
With your HP printer set up for wireless printing, the possibilities are endless, and the convenience is boundless. Here’s to a future filled with effortless printing and a world of creativity at your fingertips!
Frequently Asked Questions about How To Set Up Wi-Fi To HP Printer
Was this page helpful?
At Storables.com, we guarantee accurate and reliable information. Our content, validated by Expert Board Contributors, is crafted following stringent Editorial Policies. We're committed to providing you with well-researched, expert-backed insights for all your informational needs.


0 thoughts on “How To Set Up Wi-Fi To HP Printer”