Articles
How Do I Quilt
Modified: October 18, 2024
Discover the best articles on how to quilt and learn the secrets to creating beautiful quilts. Get step-by-step instructions, tips, and expert advice. Start your quilting journey today!
(Many of the links in this article redirect to a specific reviewed product. Your purchase of these products through affiliate links helps to generate commission for Storables.com, at no extra cost. Learn more)
Introduction
Welcome to the wonderful world of quilting! Whether you are a seasoned quilter or just starting out, this comprehensive guide will walk you through the process of creating your own beautiful quilt. Quilting is a timeless craft that allows you to express your creativity while producing a functional and cherished piece of art.
In this article, we will cover everything you need to know to get started with quilting. We’ll begin by discussing the supplies you’ll need to gather, followed by tips on choosing the perfect quilt pattern. Then, we’ll dive into the step-by-step process of preparing the fabric, cutting fabric pieces, and assembling the quilt top. We’ll also explore various quilting techniques, layering the quilt, binding the quilt, and adding those finishing touches that truly make a quilt shine.
Quilting is a rewarding and fulfilling hobby that offers endless possibilities for creativity. Whether you prefer traditional patterns or want to push the boundaries with your own unique designs, quilting allows you to let your imagination soar. You’ll be amazed at the satisfaction you’ll experience when you see your finished quilt and get to wrap yourself or a loved one in the warmth and beauty it provides.
So, let’s dive in and learn how to quilt!
Key Takeaways:
- Quilting is a timeless craft that allows you to express your creativity and create cherished heirlooms. From gathering supplies to adding finishing touches, this comprehensive guide equips you with the knowledge and skills to embark on a fulfilling quilting journey.
- Embrace the art of quilting, immerse yourself in the colors and textures, and let your creativity unfold. Each quilt you create tells a story and holds a piece of your heart, leaving a lasting legacy for generations to come.
Read more: How Do I Applique On A Quilt
Gathering Supplies
Before you begin your quilting journey, it’s important to gather all the necessary supplies. Here’s a list of essential items you’ll need to have on hand:
- Fabric: Choose a variety of fabrics in different colors and patterns. Consider the quilting pattern you’ll be using to determine how much fabric you’ll need.
- Cutting Tools: Invest in a quality rotary cutter, mat, and ruler. These tools will make cutting fabric pieces much easier and more accurate.
- Sewing Machine: While you can quilt by hand, a sewing machine will make the process quicker and more efficient. Ensure your machine is in good working condition.
- Thread: Select a high-quality thread that matches your fabric colors. Polyester or cotton thread is recommended for quilting projects.
- Pins and Needles: You’ll need sharp pins for holding fabric in place and hand-sewing needles for any necessary stitching.
- Batting: Batting is the layer of material that provides the insulation and loftiness to your quilt. Choose batting that suits your desired level of warmth and comfort.
- Rulers and Templates: Quilting rulers and templates help you cut precise shapes and sizes for your quilt pieces. They are essential for accuracy in quilting.
- Iron and Ironing Board: Pressing your fabric and seams is a crucial step in achieving crisp, professional-looking quilts. Make sure you have a good-quality iron and a sturdy ironing board.
- Quilt Backing: The backing fabric is the larger piece of fabric that will be the underside of your quilt. Choose a fabric that complements the front of your quilt.
- Scissors: Keep a pair of sharp fabric scissors handy for trimming threads and cutting smaller pieces of fabric.
These are the basic supplies you’ll need to get started with quilting. As you become more experienced, you may decide to invest in additional tools and accessories to enhance your quilting process. Remember to organize your supplies in a way that is convenient and easily accessible, allowing you to focus on the joy of quilting.
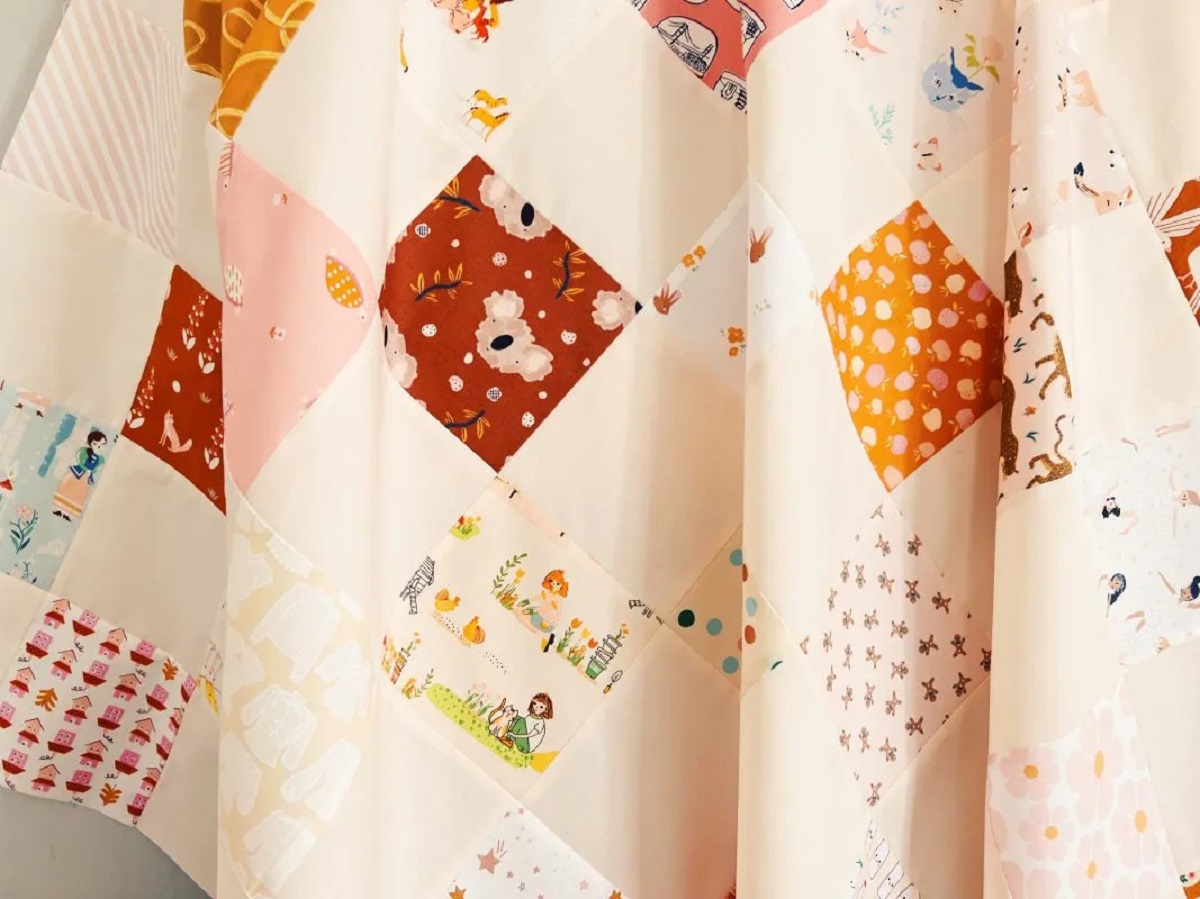
Choosing a Quilt Pattern
Once you have gathered your quilting supplies, it’s time to choose a quilt pattern. The pattern you select will determine the overall design and look of your quilt. Here are a few things to consider when choosing a quilt pattern:
- Skill Level: Consider your skill level and experience in quilting. If you are a beginner, start with simpler patterns that have fewer intricate details. As you gain more confidence and skill, you can challenge yourself with more complex designs.
- Design and Style: Think about the design and style you are drawn to. Quilting offers a vast range of options, from traditional patterns like log cabin or nine-patch to modern and abstract designs. Choose a pattern that aligns with your personal taste and aesthetic preferences.
- Size and Purpose: Determine the size and purpose of your quilt. Are you making a small lap quilt or a bed-sized quilt? Will it be primarily decorative or used for warmth? Consider the intended use of your quilt to guide your pattern choice.
- Fabric Selection: Take into account the fabrics you have gathered for your quilt. Some patterns may work better with certain types of fabrics or color schemes. Look for patterns that allow you to showcase the fabric choices you’ve made.
- Pattern Instructions: Carefully read through the instructions and requirements of the pattern before making a final decision. Ensure that you understand the steps involved and have the necessary skills and tools to complete the pattern.
Don’t be afraid to experiment and try new things with your quilt patterns. Quilting is a creative pursuit, and you can always add your own personal touch to any pattern. You can modify colors, sizes, or even combine different patterns to create a unique quilt design that reflects your individuality.
Remember, the most important thing is to choose a quilt pattern that inspires you and excites your creativity. Let your imagination guide you as you embark on this quilting adventure.
Preparing the Fabric
Before you can start cutting and assembling your quilt pieces, it’s crucial to properly prepare your fabric. Taking the time to prepare your fabric will ensure better accuracy and longevity of your quilt. Here are the steps to follow:
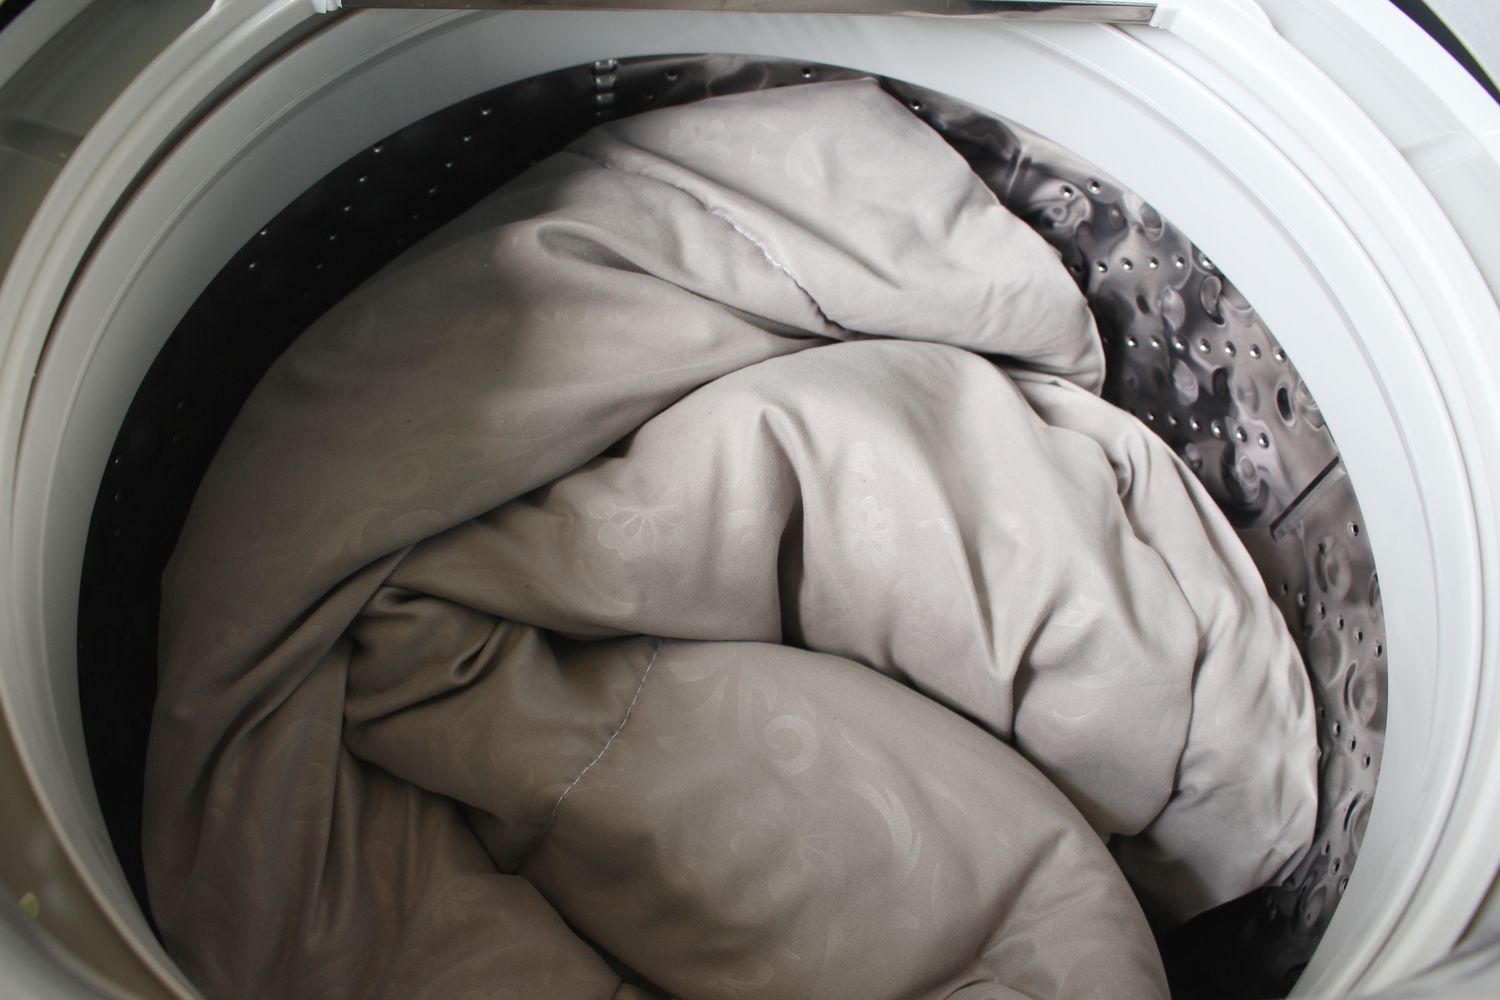
- Wash and Iron: It’s essential to wash your fabric before using it in your quilt to remove any chemicals, dyes, or shrinkage. Follow the manufacturer’s instructions for washing and drying the fabric. After washing, iron the fabric to remove any wrinkles or creases.
- Straighten the Edges: Use a rotary cutter, mat, and ruler to trim off any uneven edges of the fabric. This step will ensure that your fabric pieces are cut accurately and fit together seamlessly.
- Prewashing and Stabilizing: Consider prewashing your fabric to prevent any shrinking or color bleeding after your quilt is completed. If you choose not to prewash, be aware that different fabrics have different shrinkage rates, which may affect the overall look of your quilt. Stabilize lightweight fabrics with starch or a stabilizer to make them easier to work with.
- Organize and Label: Sort your fabric pieces by color, design, or any other categorization that works for you. This will help you easily locate the specific fabric pieces you need during the quilting process. Consider labeling the fabric pieces if you have multiple projects or patterns going on simultaneously.
- Selvage Removal: Trim off the selvage edges of the fabric before cutting your quilt pieces. The selvage is the tightly woven edge of the fabric that often contains important information, such as the manufacturer’s name and fabric color codes. Removing the selvage will help you achieve cleaner edges and prevent puckering in your quilt.
By taking the time to properly prepare your fabric, you are setting yourself up for success in the quilting process. Preparing the fabric will ensure that your quilt has a professional finish and will withstand the test of time. So, invest a little extra effort in this step, and you’ll be rewarded with a beautifully crafted quilt.
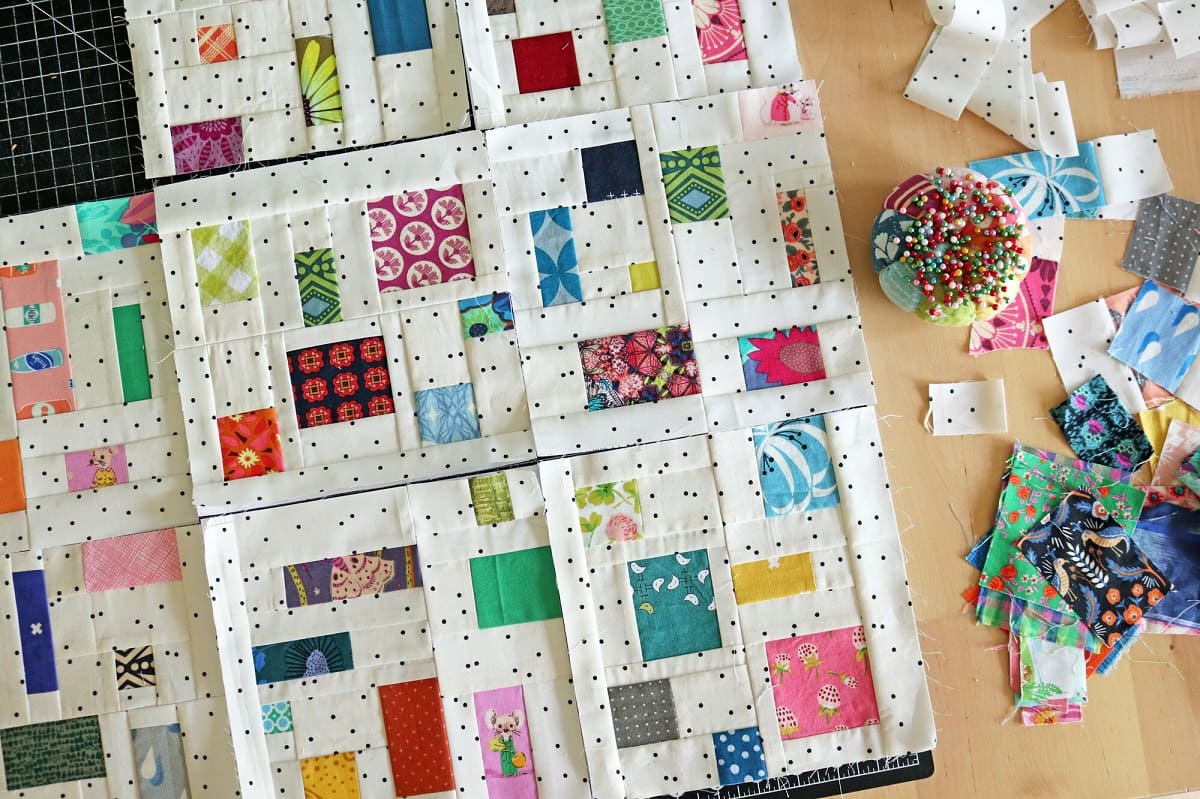
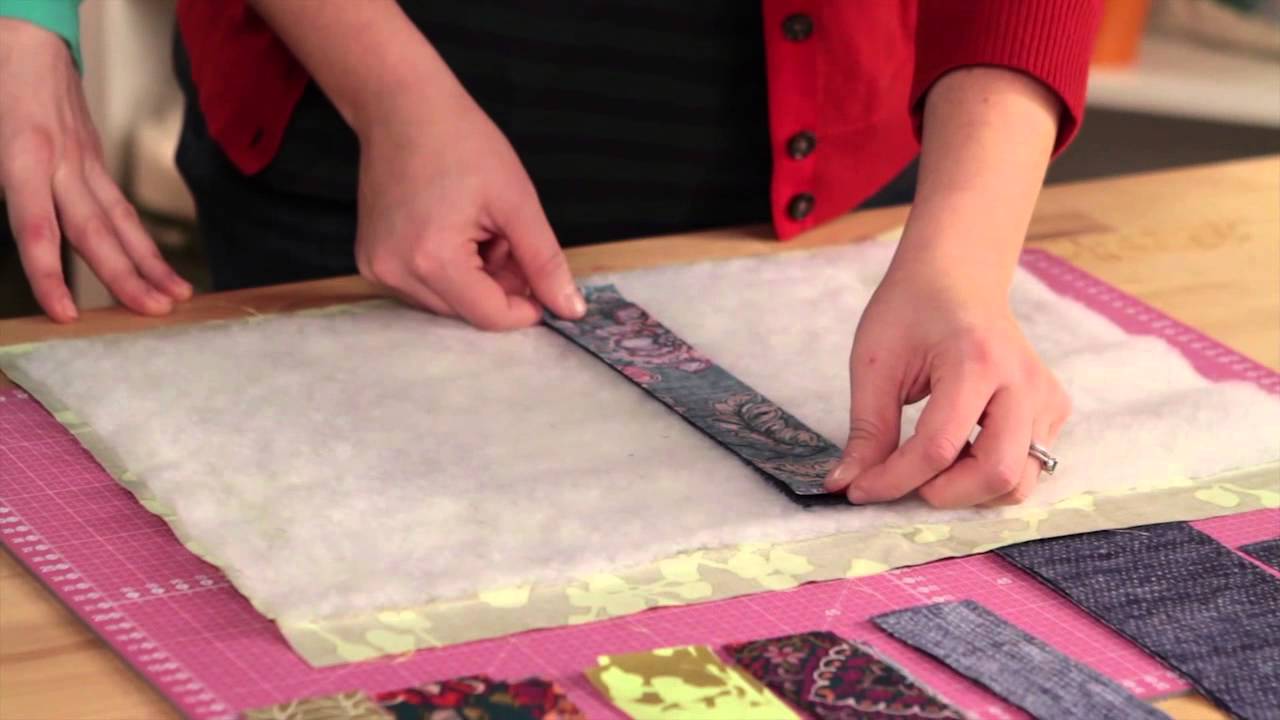
Cutting Fabric Pieces
Once your fabric is properly prepared, it’s time to start cutting the pieces that will form the foundation of your quilt. Cutting fabric pieces accurately is essential for achieving precise and well-fitted quilt blocks. Here are some tips to help you cut fabric pieces with precision:
- Measure Twice, Cut Once: Double-check your measurements before making any cuts. Use a clear ruler and a rotary cutter to ensure clean and straight lines.
- Use Templates: If your quilt pattern provides templates, use them to mark and cut your fabric pieces. Templates help maintain consistent shapes and sizes throughout your quilt.
- Consider Seam Allowance: Take into account the seam allowance specified in your pattern. Most quilting patterns recommend a ¼ inch seam allowance. Add this allowance to your measurements when cutting your fabric pieces.
- Group Similar Cuts: If your pattern requires multiple fabric pieces of the same size, stack your fabric and cut them together. This saves time and ensures uniformity in your quilt blocks.
- Label Your Pieces: As you cut your fabric pieces, label them with a removable marker or tape. This will help you stay organized and prevent confusion during the assembly process.
- Be Mindful of Directionality: If your fabric has a directional pattern, pay attention to how you position and cut your pieces. Align them in the same direction to maintain consistency in the design.
- Consider Bias Cuts: Bias cuts can add visual interest to your quilt. To cut fabric on the bias, align the fabric at a 45-degree angle to the selvage edge before cutting. This creates diagonal strips that can be incorporated into your quilt.
- Save Scraps: Don’t discard leftover fabric pieces that are too small for your current project. Keep them organized and save them for future projects, such as patchwork or appliqué.
Accurate cutting is the foundation of a well-constructed quilt. Taking the time to measure carefully, use templates, and pay attention to details will result in precise pieces that fit together seamlessly. So, pick up your rotary cutter, grab your ruler, and start cutting your fabric pieces with confidence!
Read more: How Do I Square Up A Quilt Block
Assembling the Quilt Top
Now that you have your fabric pieces cut, it’s time to start assembling the quilt top. The quilt top is the focal point of your quilt and showcases your chosen pattern and fabric combinations. Here’s a step-by-step guide to help you successfully assemble your quilt top:
- Lay Out Your Pieces: Lay out your fabric pieces on a large, flat surface to visualize the design and arrangement of your quilt. This step allows you to make any adjustments or changes before sewing the pieces together.
- Organize by Rows: Group your fabric pieces into rows, following the pattern instructions. This will make it easier to sew them together in a systematic manner.
- Start Sewing: Begin sewing the fabric pieces together row by row. Use a ¼ inch seam allowance and backstitch at the beginning and end of each seam for added durability.
- Press Seams: After sewing each row, press the seams open or to one side. Pressing the seams ensures flat and crisp quilt blocks.
- Join Rows: As you sew each row together, match the seams and pin them in place before stitching. This will help you achieve precise alignment and prevent shifting during sewing.
- Continue Sewing: Repeat the process of sewing rows together until the entire quilt top is complete. Take your time and ensure accuracy in each seam and corner.
- Trim Excess Fabric: Once your quilt top is assembled, trim any excess fabric or threads to ensure a neat and tidy finish.
Remember to take breaks and step back to look at your quilt top from a distance throughout the process. This will help you identify any irregularities or areas that may need adjustment.
Assembling the quilt top requires patience and attention to detail. Take your time and enjoy the process. This is your chance to see your hard work come together and witness the transformation of fabric pieces into a stunning quilt top.
When quilting, always start with a clean and flat surface to work on. This will ensure that your quilt comes out smooth and free from any wrinkles or bumps.
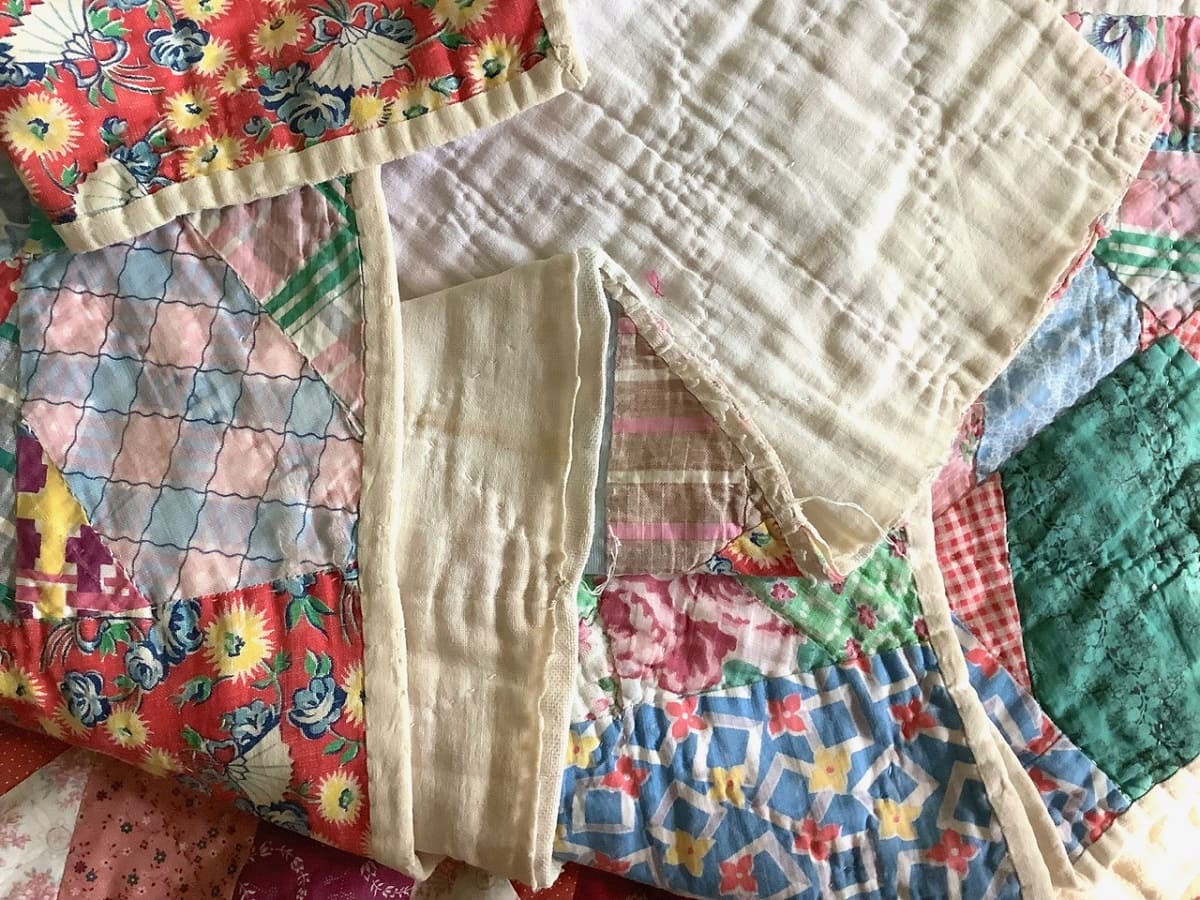
Layering the Quilt
Once you have assembled the quilt top, it’s time to move on to the next crucial step: layering the quilt. Layering involves sandwiching the quilt top, batting, and quilt backing together to prepare for the quilting process. Here’s a step-by-step guide to help you properly layer your quilt:
- Prepare the Backing: Lay your quilt backing flat on a large, clean surface, wrong side facing up. Ensure the backing is larger than your quilt top to allow for seam allowances.
- Smooth and Secure the Backing: Smooth out any wrinkles or creases on the backing fabric. Pin or tape the edges of the backing to the surface to keep it taut and prevent shifting during layering.
- Center the Batting: Place the batting on top of the backing, aligning the edges. Ensure the batting is centered and smooth. Batting provides insulation and loftiness to your quilt.
- Add the Quilt Top: Gently lay the quilt top on top of the batting, right side facing up. Align the edges and corners with the backing and batting layers.
- Smooth and Secure the Layers: Carefully smooth out any wrinkles or bubbles in the layers of the quilt. Use safety pins or basting stitches to secure the layers together, ensuring they remain flat and in place.
- Consider Quilt Basting Spray: If you prefer, you can use a quilt basting spray instead of pins or stitches to temporarily adhere the layers together. Follow the manufacturer’s instructions for best results.
Properly layering your quilt is essential to prevent shifting, bunching, or puckering during the quilting process. Take your time to ensure that all layers are smooth and well-aligned before moving on to the next step.
Remember, the layering process prepares your quilt for the final quilting stitches. So, it’s important to pay attention to the details and create a solid foundation for your quilting design.
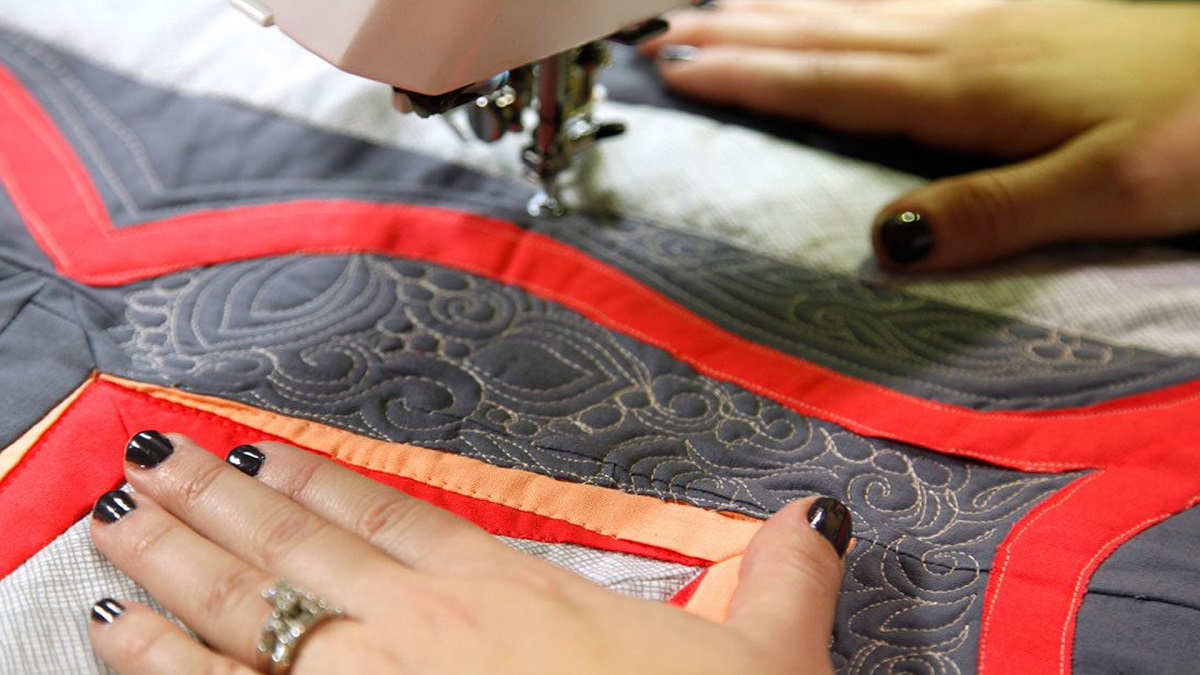
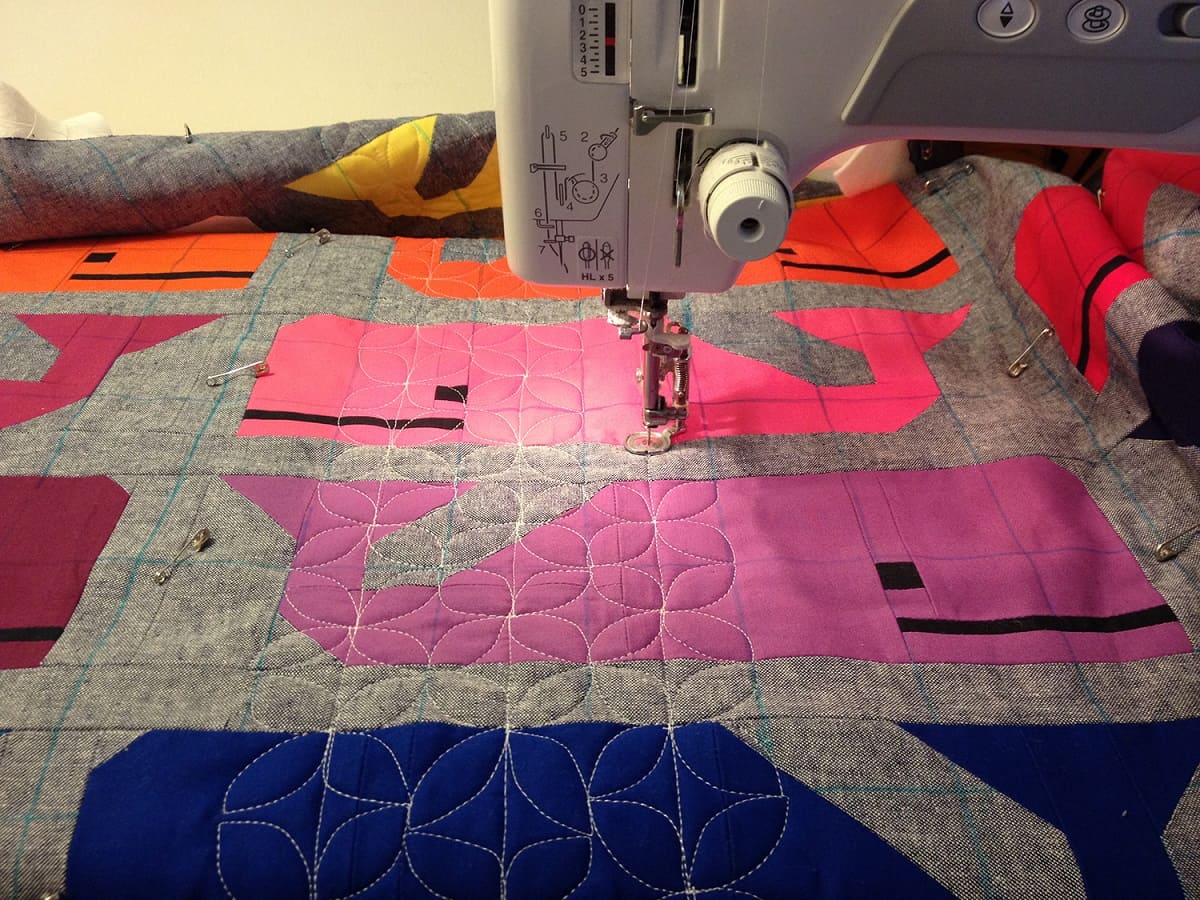
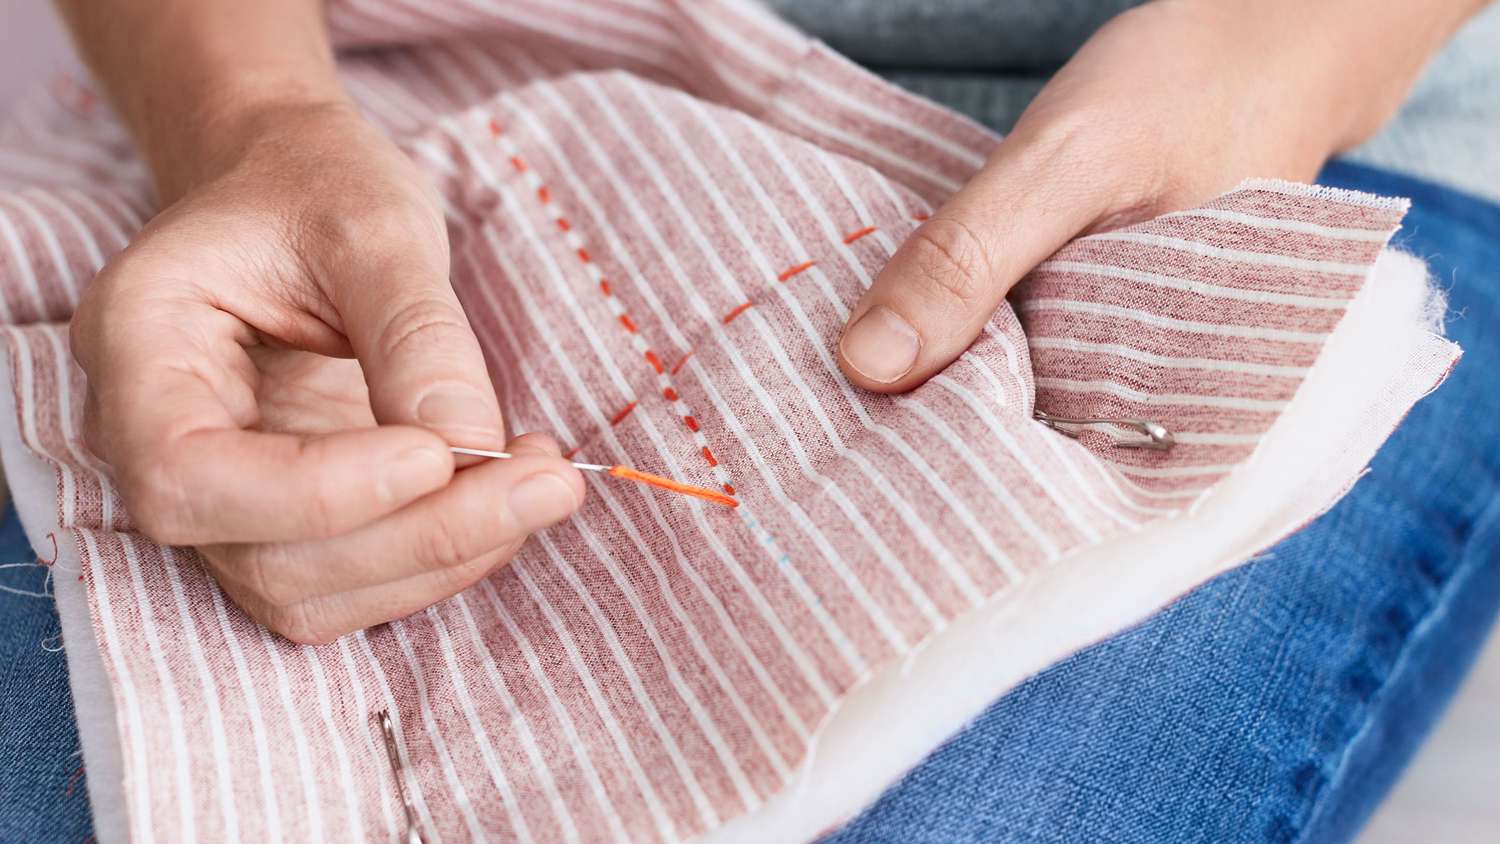
Quilting Techniques
Once your quilt layers are properly layered and secured, it’s time to explore various quilting techniques. Quilting can be done by hand or with a sewing machine, and there are several techniques to choose from. Here are a few popular quilting techniques to consider:
- Hand Quilting: Hand quilting is the traditional method of stitching quilt layers together using a needle and thread. It is a time-consuming technique that requires patience and precision. Hand quilting allows for intricate and detailed designs, and it adds a beautiful, handmade touch to your quilt.
- Machine Quilting: Machine quilting uses a sewing machine to stitch the layers together. It is a quicker method compared to hand quilting and offers a wide range of design options. You can use various quilting machine feet, such as a walking foot or a free-motion quilting foot, to create different textures and patterns.
- Straight-Line Quilting: This technique involves stitching straight lines across the quilt top, either parallel or diagonal to the pieced pattern. Straight-line quilting provides a clean and modern look to your quilt and is relatively easy to execute, making it a popular choice for beginners.
- Free-Motion Quilting: Free-motion quilting allows you to create intricate and organic designs by moving the quilt sandwich freely under the needle of your sewing machine. This technique requires practice and control over your machine’s speed but offers endless opportunities for creativity and personalization.
- Echo Quilting: Echo quilting involves stitching lines that follow the shape or outline of a specific element within the quilt, creating a series of concentric shapes. This technique adds texture and depth to your quilt and is often used in combination with other quilting techniques.
- Stitch-In-The-Ditch Quilting: Stitching in the ditch refers to quilting along the seams of the quilt blocks, following the lines where the fabric pieces are joined together. This technique helps define the quilt blocks and adds stability to your quilt.
Each quilting technique offers its own unique style and effect. Experiment with different techniques to find the one that best suits your quilting style and desired outcome. Remember to practice on scrap fabric before quilting on your actual quilt to gain confidence and refine your skills.
Quilting is a creative journey, and the quilting technique you choose will contribute to the overall beauty and character of your quilt. So, dive into these various techniques and let your imagination guide your stitches!
Binding the QuiltAfter the quilting stitches are complete, it’s time to finish your quilt by adding the binding. The binding not only provides a clean and polished edge to your quilt but also helps secure the quilt layers together. Here’s a step-by-step guide on how to bind your quilt:
- Prepare the Binding Strips: Cut fabric strips for binding, typically 2.5 inches wide. Join the strips together diagonally to create a continuous binding strip that is long enough to go around the perimeter of your quilt.
- Press the Binding: Fold the binding strip in half lengthwise and iron it to create a crisp fold. This will make it easier to attach the binding to your quilt.
- Start Binding: Begin attaching the binding to the back of your quilt. Leave a tail of binding and align the raw edges of the binding with the raw edges of the quilt. Start a few inches from one corner.
- Machine or Hand Sew: You can choose to stitch the binding to the quilt using a sewing machine or hand sew it. If using a machine, use a straight stitch to sew along the folded edge of the binding, securing it to the quilt. If hand sewing, use a blind stitch or whipstitch to attach the binding.
- Miter Corners: When you approach a corner, stop stitching a few inches away. Fold the binding up at a 45-degree angle to create a mitered corner. Then, fold it back down, aligning the raw edges with the next side of the quilt. Continue stitching from the edge, securing the mitered corner in place.
- Finish Binding: Continue sewing the binding to all sides of the quilt, mitting the corners as you go. When you reach the starting point, overlap the binding and trim off any excess. Secure the ends by folding them under and stitching them down.
- Press and Fold: Once the binding is sewn to the quilt, press it away from the quilt top and fold it over to the front. Secure the binding to the front by hand sewing or using a decorative machine stitch.
Binding your quilt requires precision and attention to detail to ensure a clean and professional finish. Take your time with this step, as it is the final touch that completes your quilt.
Consider using binding that complements the colors and design of your quilt. You can choose a matching or contrasting fabric to create a unique and eye-catching border.
Remember, binding is not only a functional element but also an opportunity to add a personal touch to your quilt. So, enjoy the binding process and take pride in the beautiful border that will showcase your quilt for years to come!
Read more: How To Do Quilt Sashing
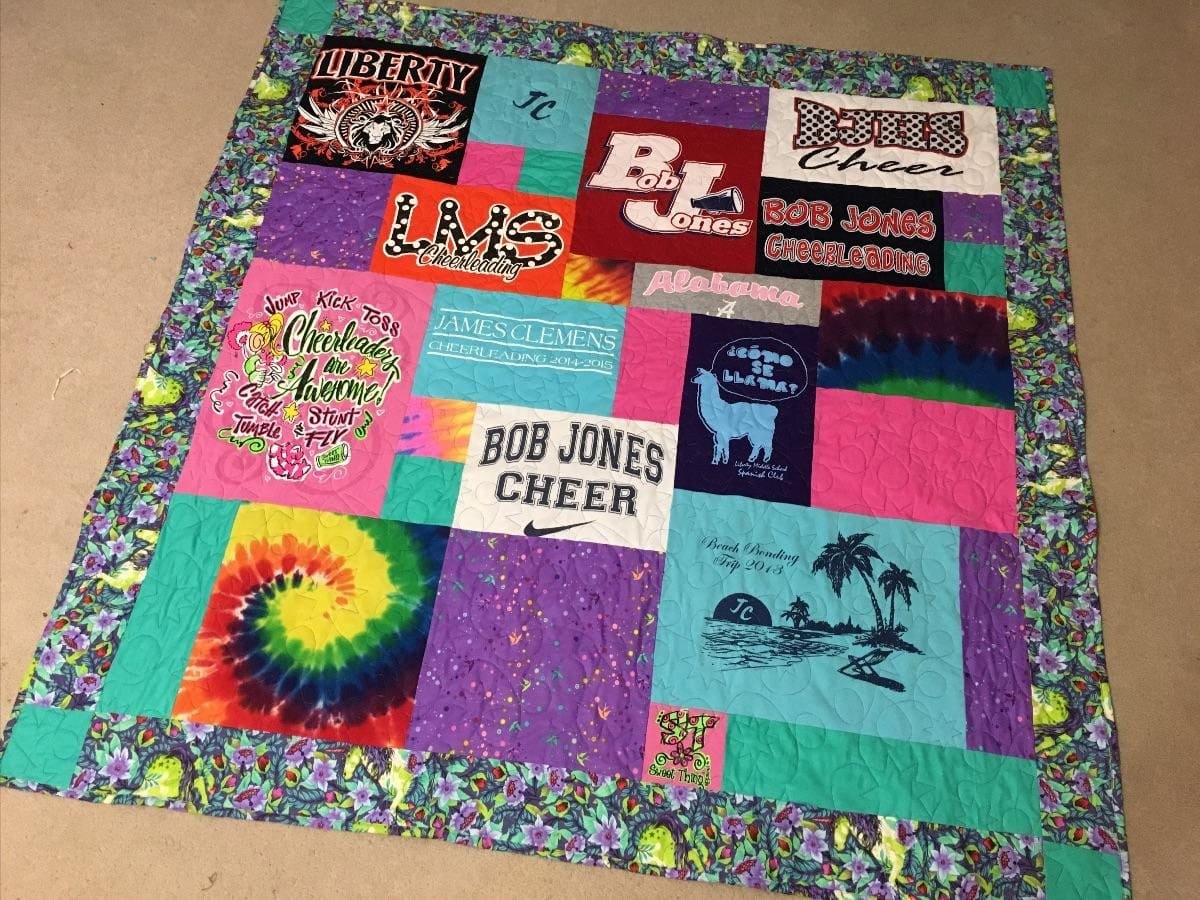
Finishing Touches
Congratulations on completing the binding of your quilt! Now it’s time for the final touches that will truly make your quilt shine. Here are some ideas for adding those special finishing touches:
- Label Your Quilt: Create a fabric label with your name, the date, and any other information you’d like to include. Sew the label onto the back of your quilt to mark it as your own and add a personal touch.
- Quilt Label Placement: Strategically place the quilt label in a bottom corner, where it will be visible but not interfere with the overall design of your quilt top.
- Quilt Care Instructions: Consider adding care instructions to your label or creating a separate card that provides guidance on how to care for and clean your quilt. This information will help ensure that your quilt remains in good condition for years to come.
- Add Embellishments: If you desire, embellish your quilt with additional decorative elements. This could include hand embroidery, appliqué, or even beading. Choose embellishments that complement your quilt design and enhance its beauty.
- Quilt Sleeves: If you intend to hang your quilt on a wall, attach a fabric sleeve to the back of the quilt. This will allow for easy installation on a rod or quilt hanger.
- Quilt Display: Consider displaying your finished quilt in a way that showcases its beauty. You can hang it on a wall, drape it over a quilt rack, or proudly display it on a bed or couch.
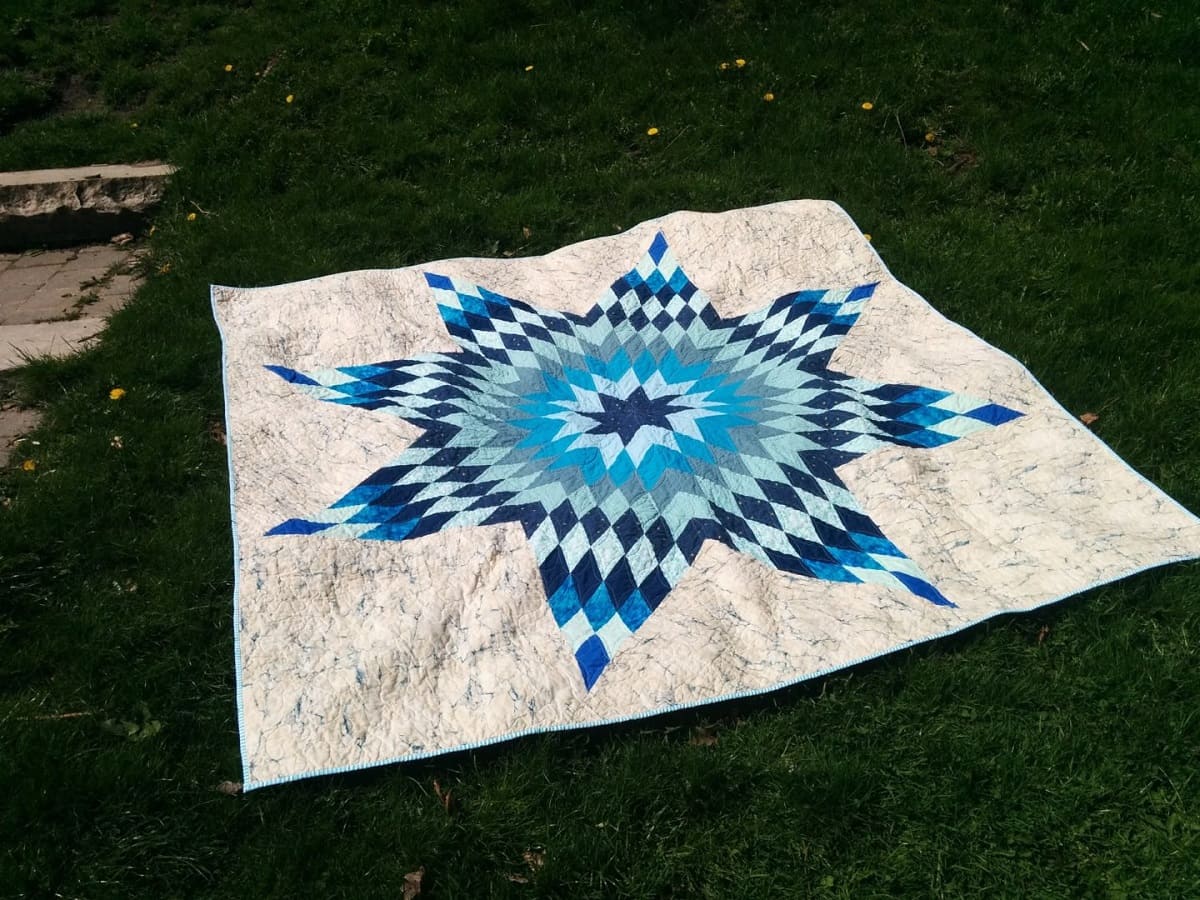
- Photograph Your Quilt: Capture the beauty of your completed quilt by taking a photograph. This will not only serve as a keepsake but also allow you to share your masterpiece with others.
- Share Your Quilt: Consider entering your quilt into a quilt show or sharing it with friends and family. Sharing your creation can bring a sense of accomplishment and joy as others appreciate your hard work and talent.
Remember, the finishing touches add that extra element of care and personalization to your quilt. Take the time to complete these steps, as they are the final steps in your quilting journey. Marvel at the quilt that you have created and take pride in the craftsmanship and artistry that went into making it.
Quilting is a labor of love, and the finishing touches are the perfect way to express your creativity and make your quilt truly your own. Enjoy the process and savor the satisfaction of completing a beautiful quilt that will be cherished for generations to come.
Conclusion
Congratulations on completing your quilting journey! Whether you are a beginner or an experienced quilter, this comprehensive guide has equipped you with the knowledge and skills to create your own beautiful quilt. You have learned how to gather the necessary supplies, choose a quilt pattern, prepare the fabric, cut the pieces, assemble the quilt top, layer the quilt, employ various quilting techniques, bind the quilt, and add those special finishing touches.
Quilting is a timeless craft that allows you to express your creativity and create cherished heirlooms. It is a journey that involves patience, precision, and a touch of artistry. Throughout this process, you have honed your skills, refined your techniques, and experienced the joy of creating something truly special.
As you continue your quilting endeavors, remember to embrace your individuality and let your creativity soar. Experiment with different patterns, techniques, and fabrics. Push the boundaries of traditional quilting and explore new and innovative designs. Above all, enjoy the process and let your passion for quilting shine through in every stitch.
Share your quilts with others, whether through quilt shows, gifts to loved ones, or simply displaying them in your home. The beauty and warmth of your quilts will brighten any space and bring joy to those who see and use them.
Quilting is more than just a hobby; it’s a way to connect with tradition, express yourself, and leave a lasting legacy. Take pride in your quilting accomplishments and continue to expand your skills and knowledge. Remember, each quilt you create tells a story and holds a piece of your heart.
So, embrace the art of quilting, immerse yourself in the colors and textures, and let your creativity unfold. Your quilts are a testament to your passion and dedication, and they will bring beauty and comfort to the world for generations to come.
Frequently Asked Questions about How Do I Quilt
Was this page helpful?
At Storables.com, we guarantee accurate and reliable information. Our content, validated by Expert Board Contributors, is crafted following stringent Editorial Policies. We're committed to providing you with well-researched, expert-backed insights for all your informational needs.


0 thoughts on “How Do I Quilt”