Home>Articles>How Do You Remove The Water Saver From Moen Banbury Showerhead
Articles
How Do You Remove The Water Saver From Moen Banbury Showerhead
Modified: October 18, 2024
Discover how to remove the water saver from your Moen Banbury showerhead with this informative article. Unlock the full potential of your shower experience.
(Many of the links in this article redirect to a specific reviewed product. Your purchase of these products through affiliate links helps to generate commission for Storables.com, at no extra cost. Learn more)
Introduction
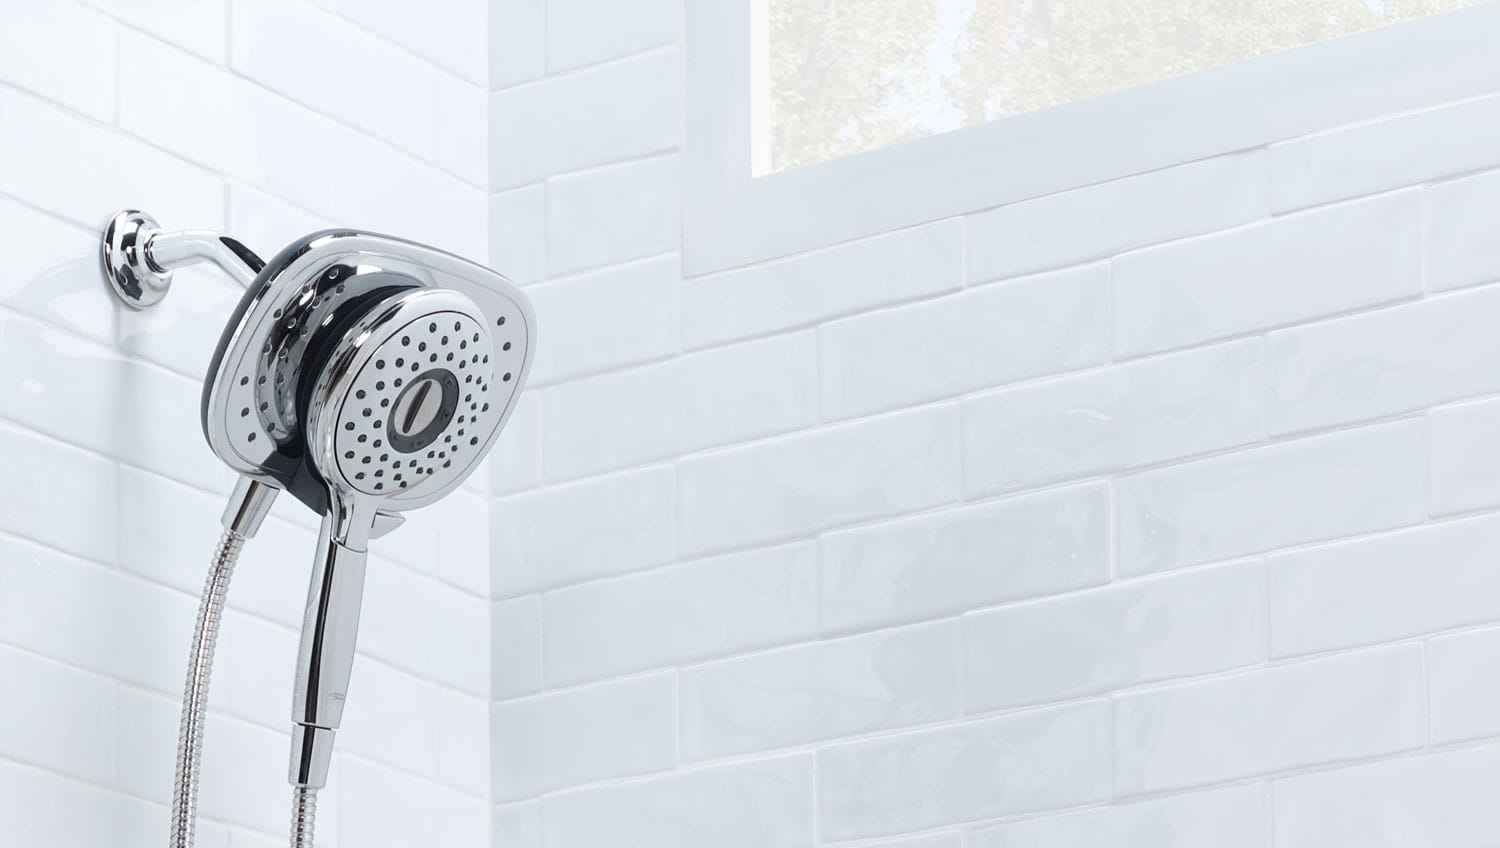
Are you tired of low water pressure and lackluster showers? Many modern showerheads come with a water saver feature designed to conserve water, but it can also restrict the water flow and diminish your shower experience. If you have a Moen Banbury showerhead and want to remove the water saver to optimize your showering experience, you have come to the right place.
In this article, we will guide you through the steps to remove the water saver from your Moen Banbury showerhead and regain that invigorating shower you have been longing for.
Before we dive into the step-by-step instructions, let’s take a moment to understand why showerheads come with water savers in the first place.
Water-saving showerheads are designed to reduce water consumption by limiting the flow rate. This is especially important in regions experiencing water scarcity or for individuals looking to reduce their environmental impact. While water-saving showerheads can be beneficial from a conservation standpoint, they may not provide the desired shower experience for everyone.
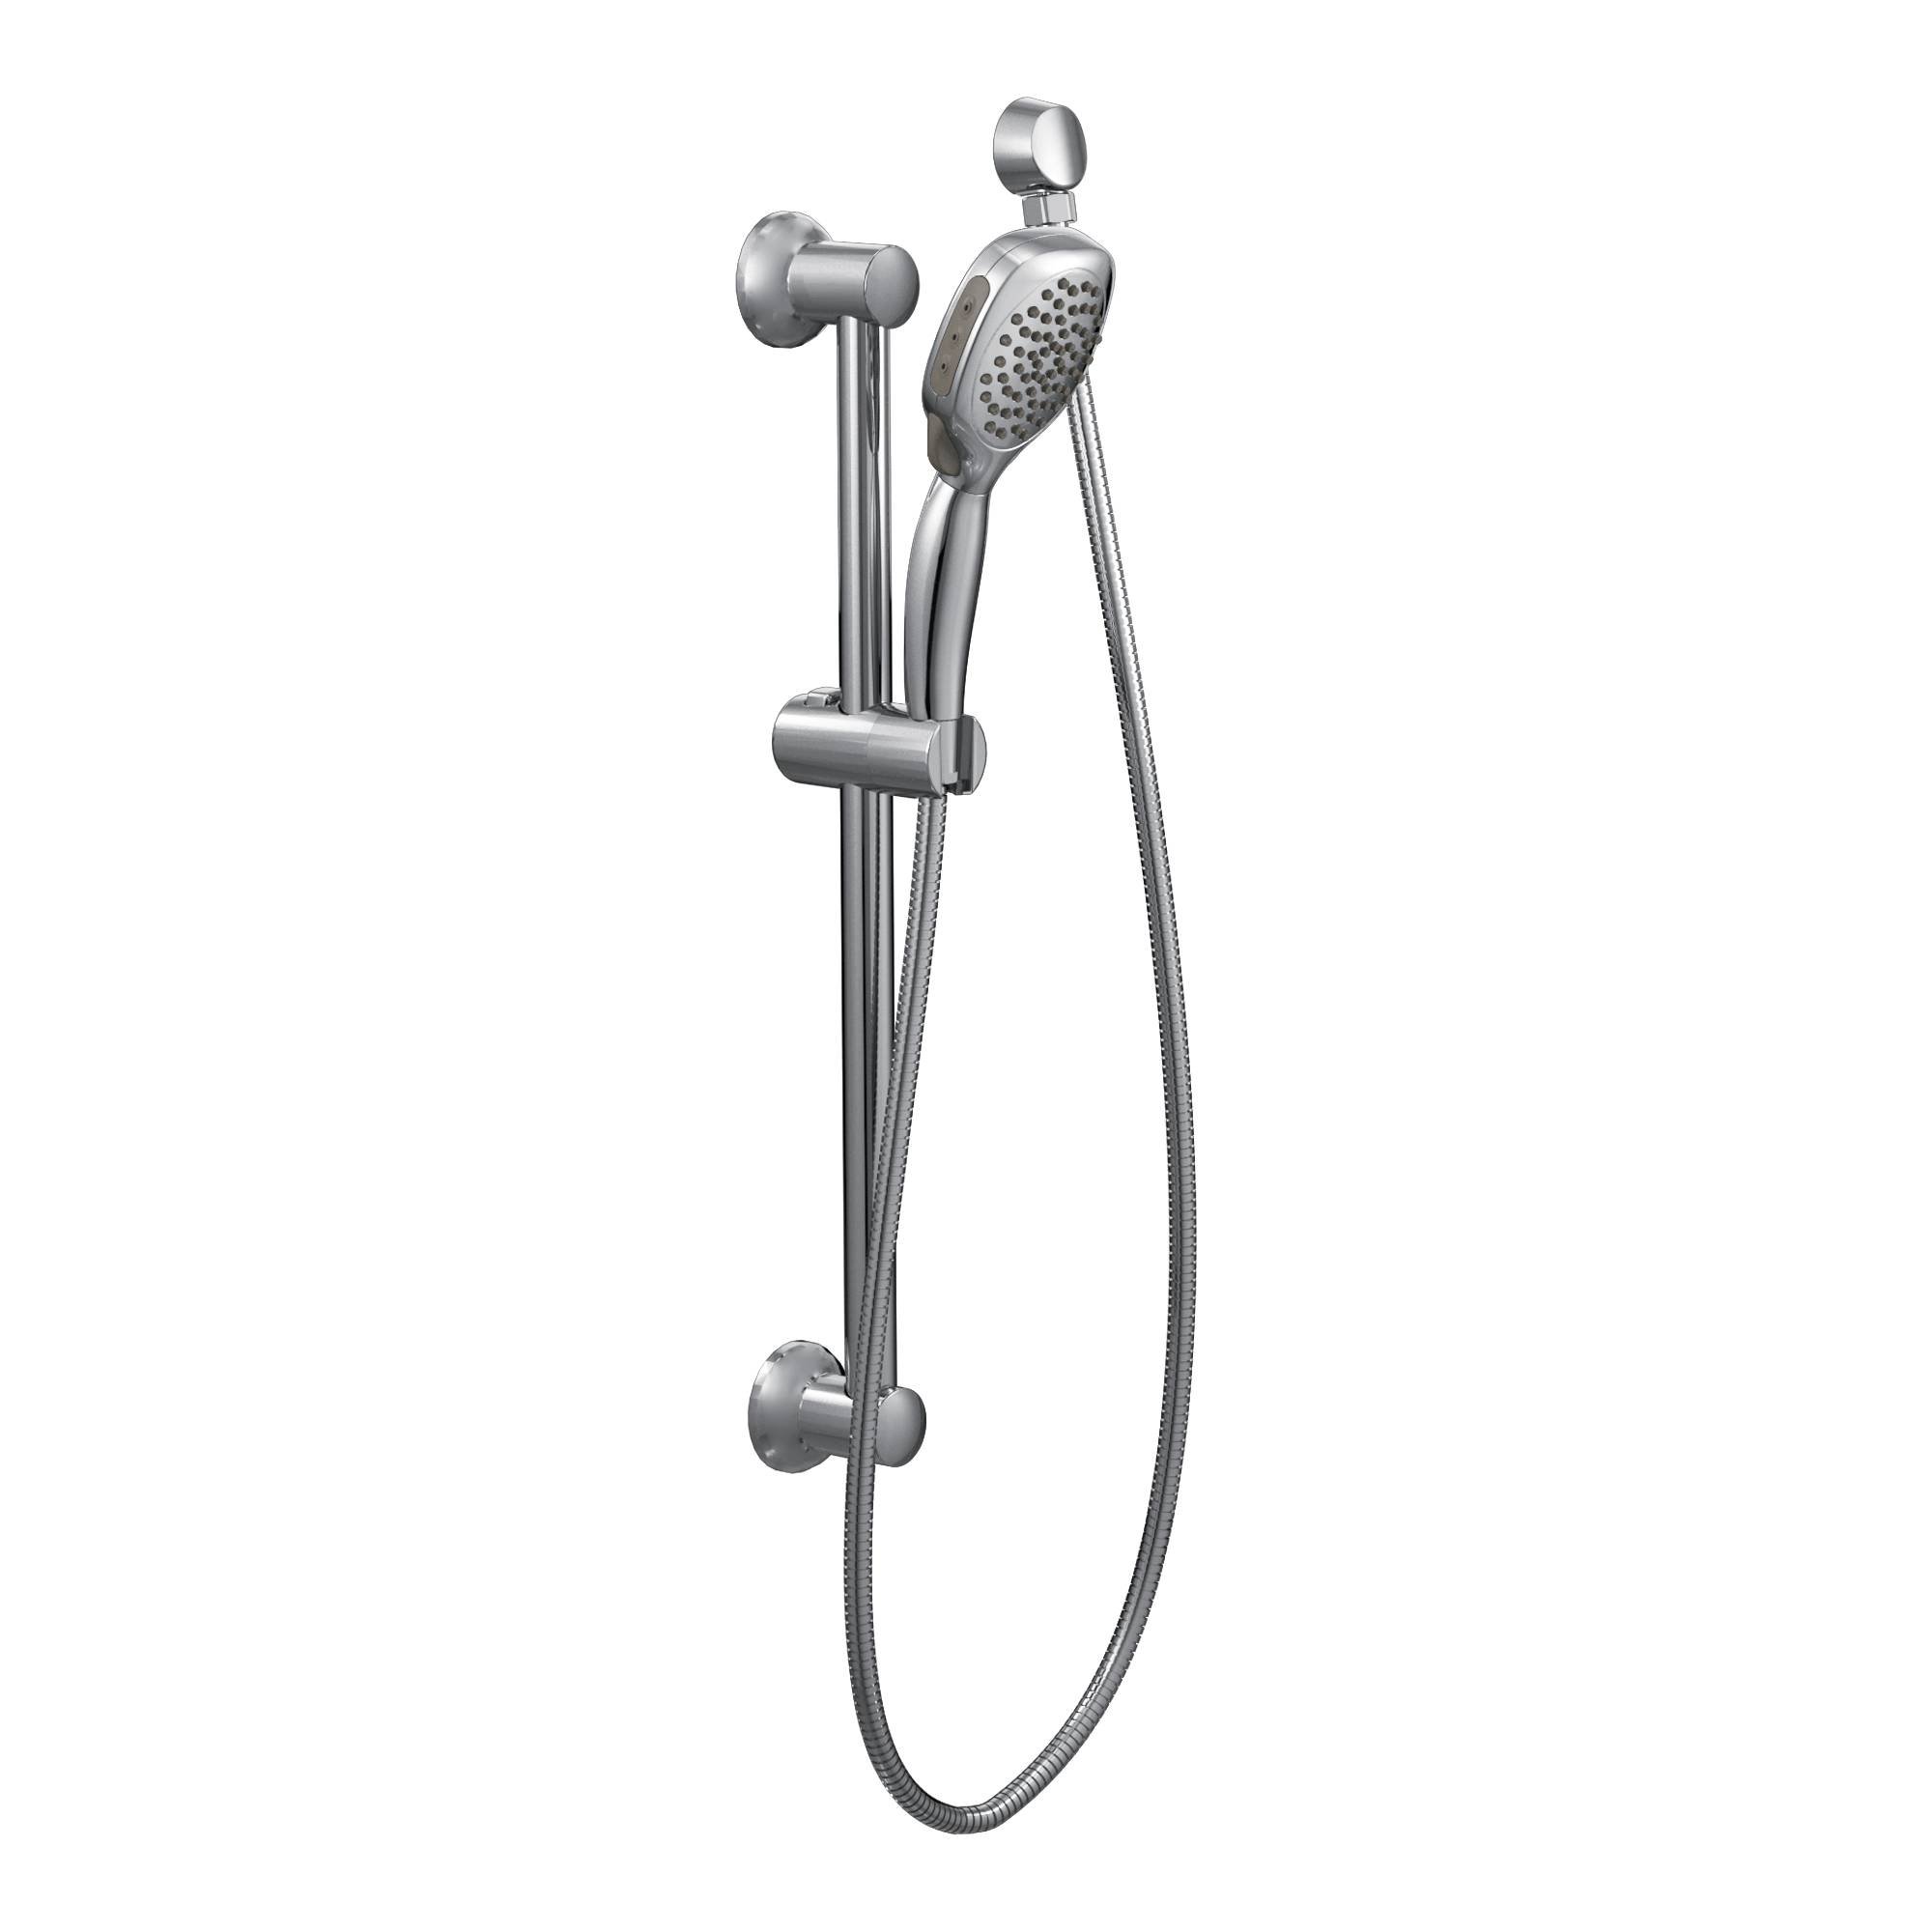
The Moen Banbury showerhead is a popular choice known for its sleek design and reliable performance. Fortunately, it is relatively simple to remove the water saver feature and optimize the water flow to suit your preferences.
Before you begin, make sure you are comfortable working with plumbing fixtures and have the necessary tools handy. Let’s gather the tools required for this task.
Key Takeaways:
- Say goodbye to low water pressure and hello to invigorating showers by removing the water saver from your Moen Banbury showerhead. Enjoy an optimized water flow for a satisfying showering experience.
- With the water saver removed, embrace revitalizing showers that rejuvenate both your body and mind. Optimize your Moen Banbury showerhead for a more satisfying and invigorating shower experience.
Step 1: Gather the necessary tools
Before you embark on the process of removing the water saver from your Moen Banbury showerhead, it is essential to gather the necessary tools. Having these tools handy will make the process smoother and more efficient. Here are the tools you will need:
- Adjustable wrench
- Pipe tape
- Needle-nose pliers
- Soft cloth or towel
Having these tools at your disposal will ensure that you can navigate each step of the process without any interruptions. Once you have gathered all the necessary tools, you are ready to move on to the next step.
Step 2: Turn off the water supply
Before you begin working on your Moen Banbury showerhead, it is important to turn off the water supply to prevent any unwanted water flow. Here’s how you can do it:
- Locate the water shut-off valve. This valve is usually located near the showerhead or in the main water supply line.
- Rotate the valve clockwise to shut off the water supply. Make sure the valve is fully closed to avoid any water leakage.
- Once the water supply is shut off, turn on the shower faucet to release any remaining water pressure. This step will help ensure a safe and hassle-free removal of the showerhead.
It is always a good practice to double-check if the water supply is completely turned off before proceeding to the next step. This will minimize the risk of any surprises during the removal process.
Now that the water supply is turned off, you can move on to the next step of removing the showerhead from your Moen Banbury.
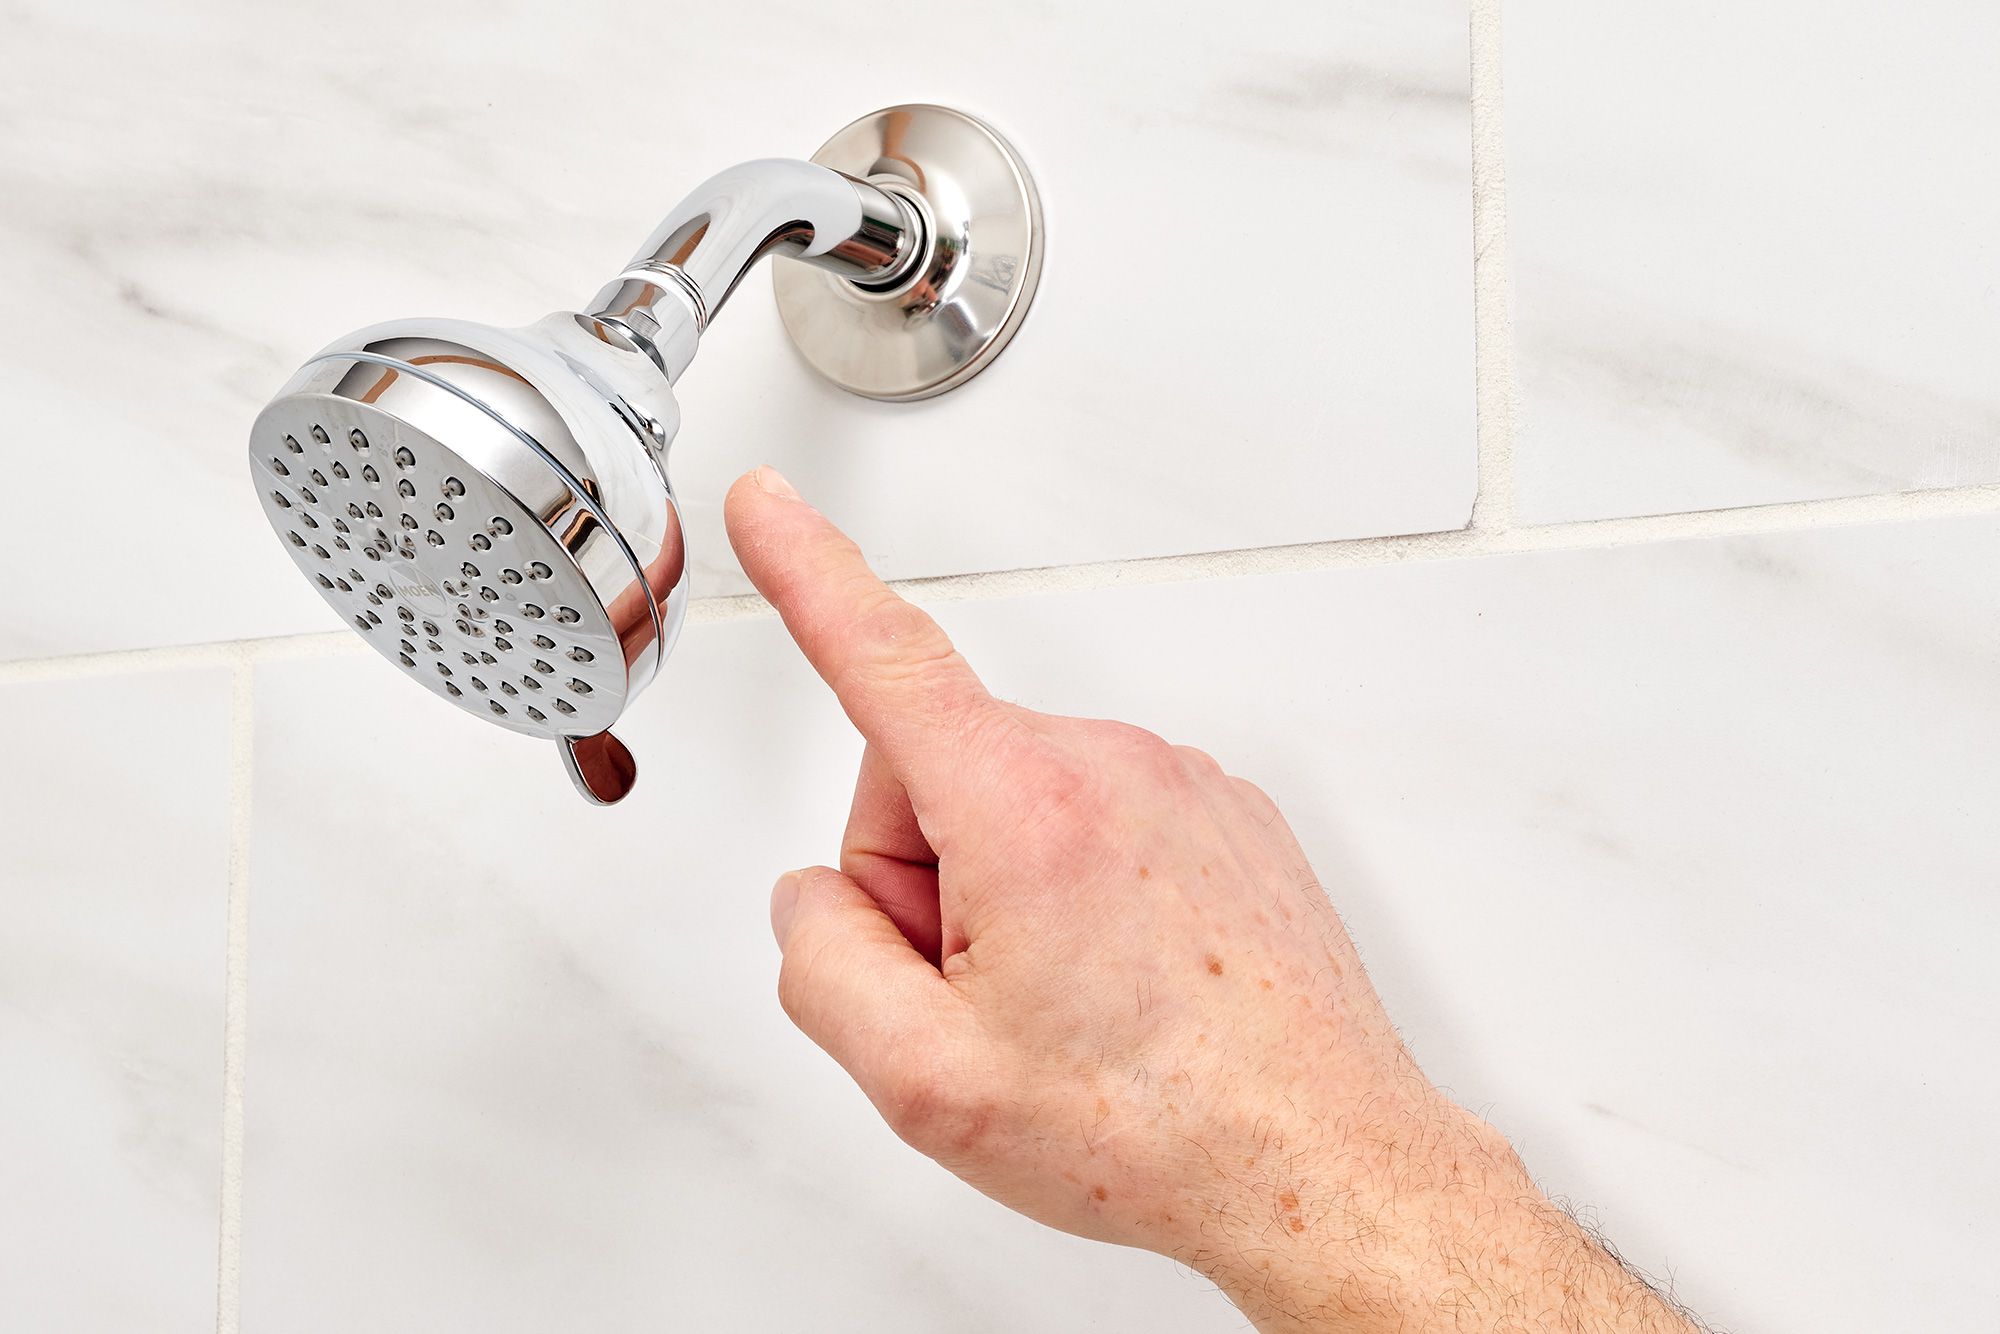
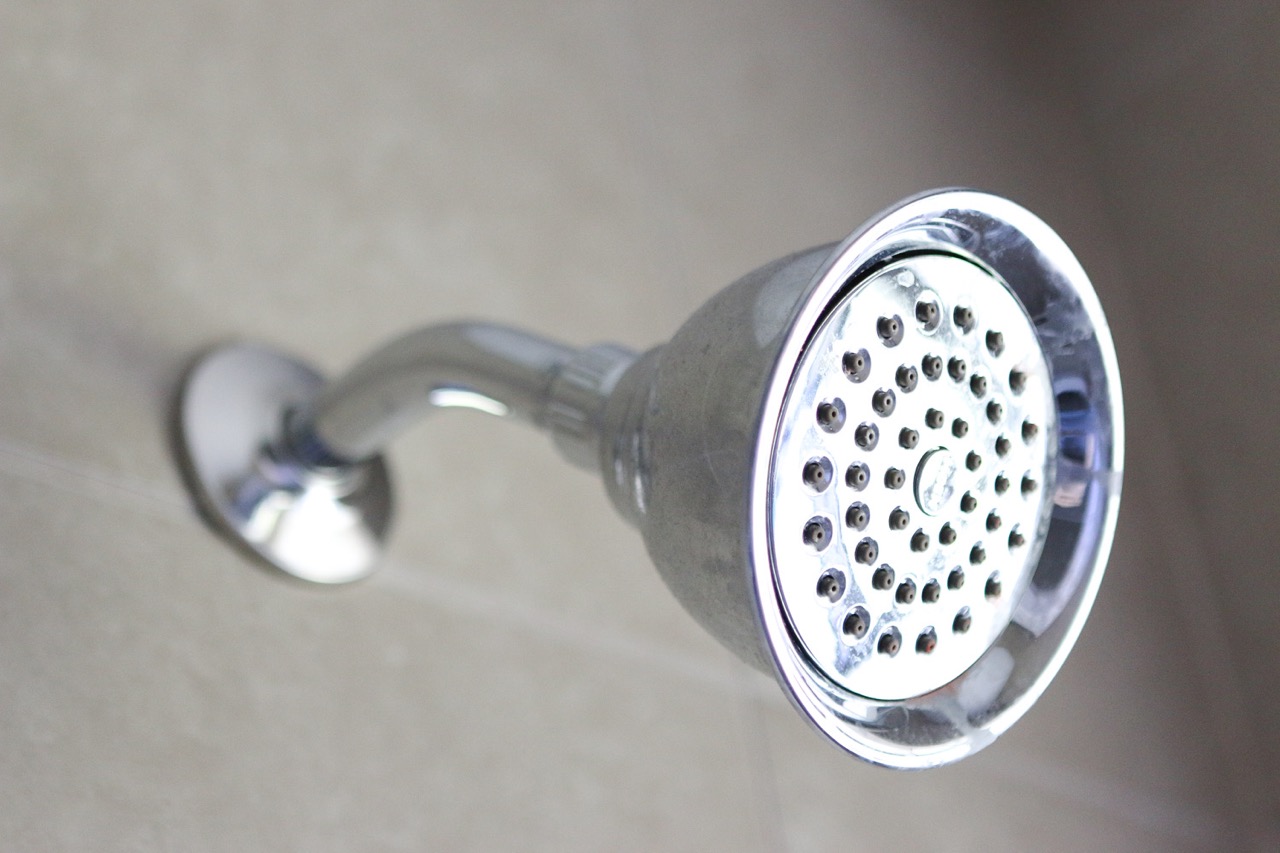
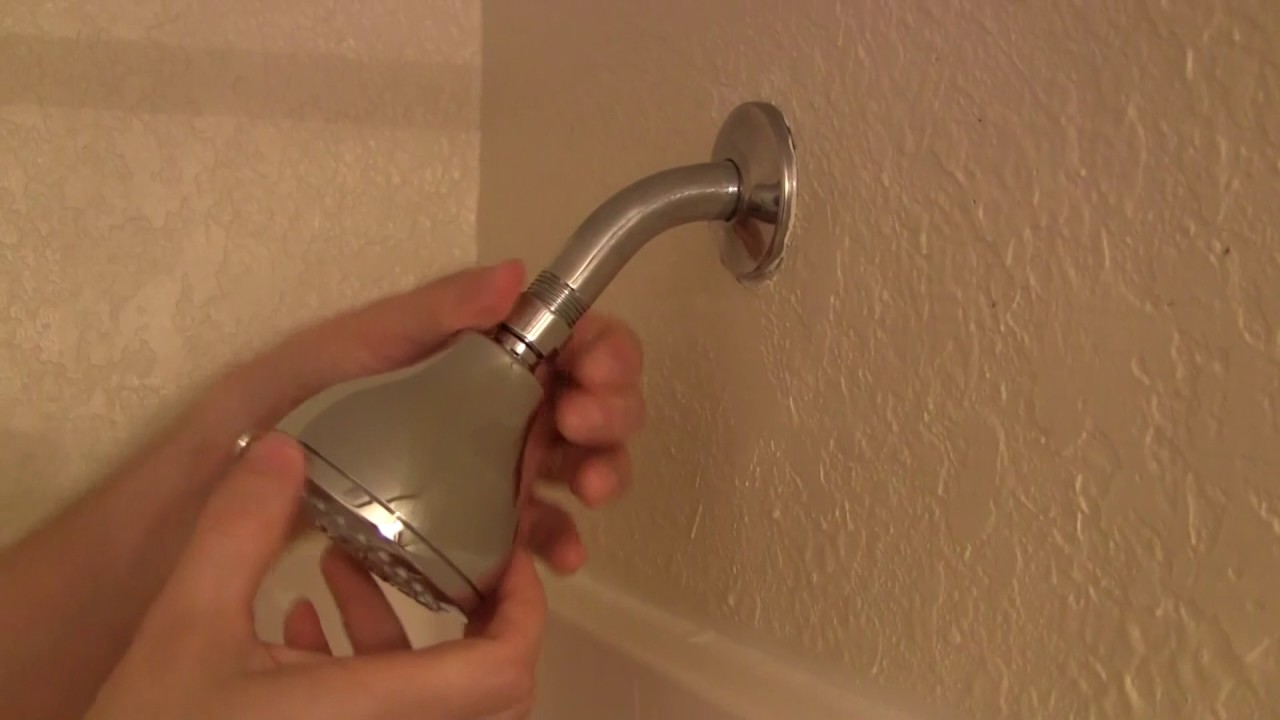
Step 3: Remove the showerhead
With the water supply turned off, you can now proceed to remove the Moen Banbury showerhead. Follow these steps:
- Use an adjustable wrench to loosen the showerhead by turning it counterclockwise. Be careful not to apply too much force, as you don’t want to damage the showerhead or the plumbing connections.
- Continue turning the showerhead until it is completely detached from the shower arm. Once it is loose, you can usually unscrew it by hand and remove it.
- Place a soft cloth or towel over the shower arm to protect it from any scratches or damage.
Removing the showerhead may require a bit of effort, especially if it has been in place for a long time. If you encounter any resistance, you can use a pair of pliers covered with a cloth to provide extra grip while loosening the showerhead.
Once you have successfully removed the showerhead, you can move on to the next step of locating and removing the water saver.
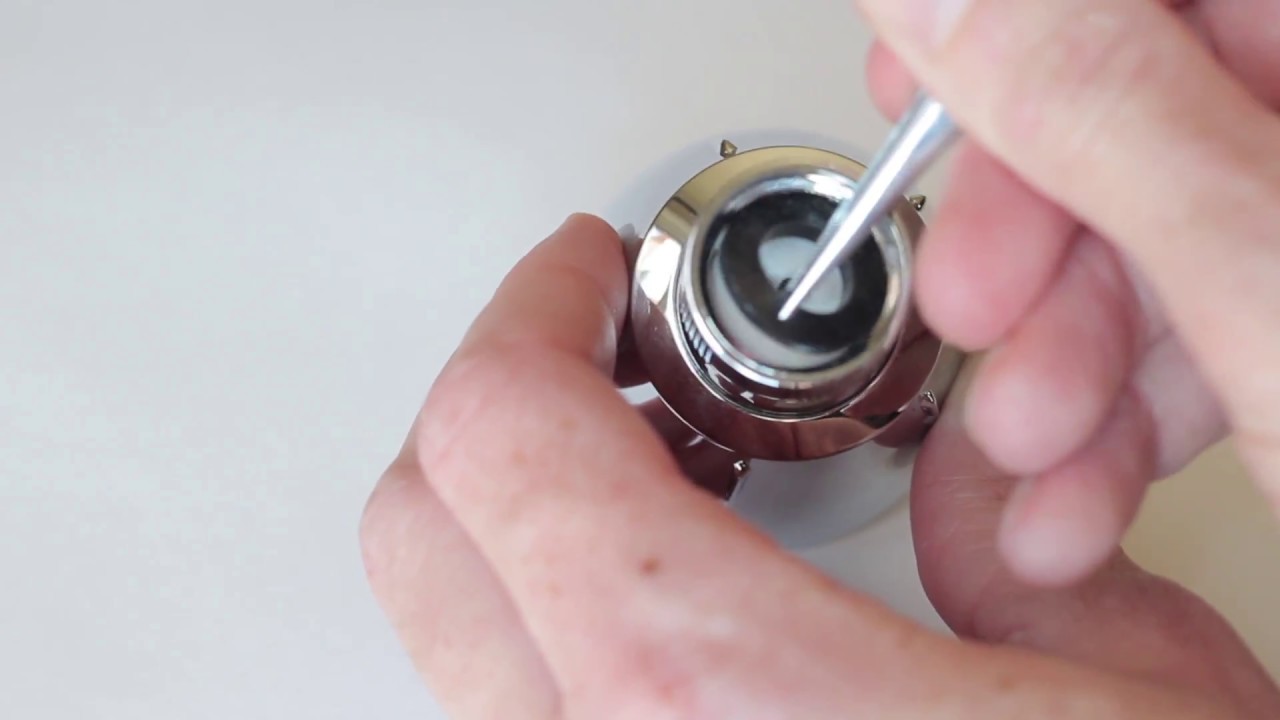
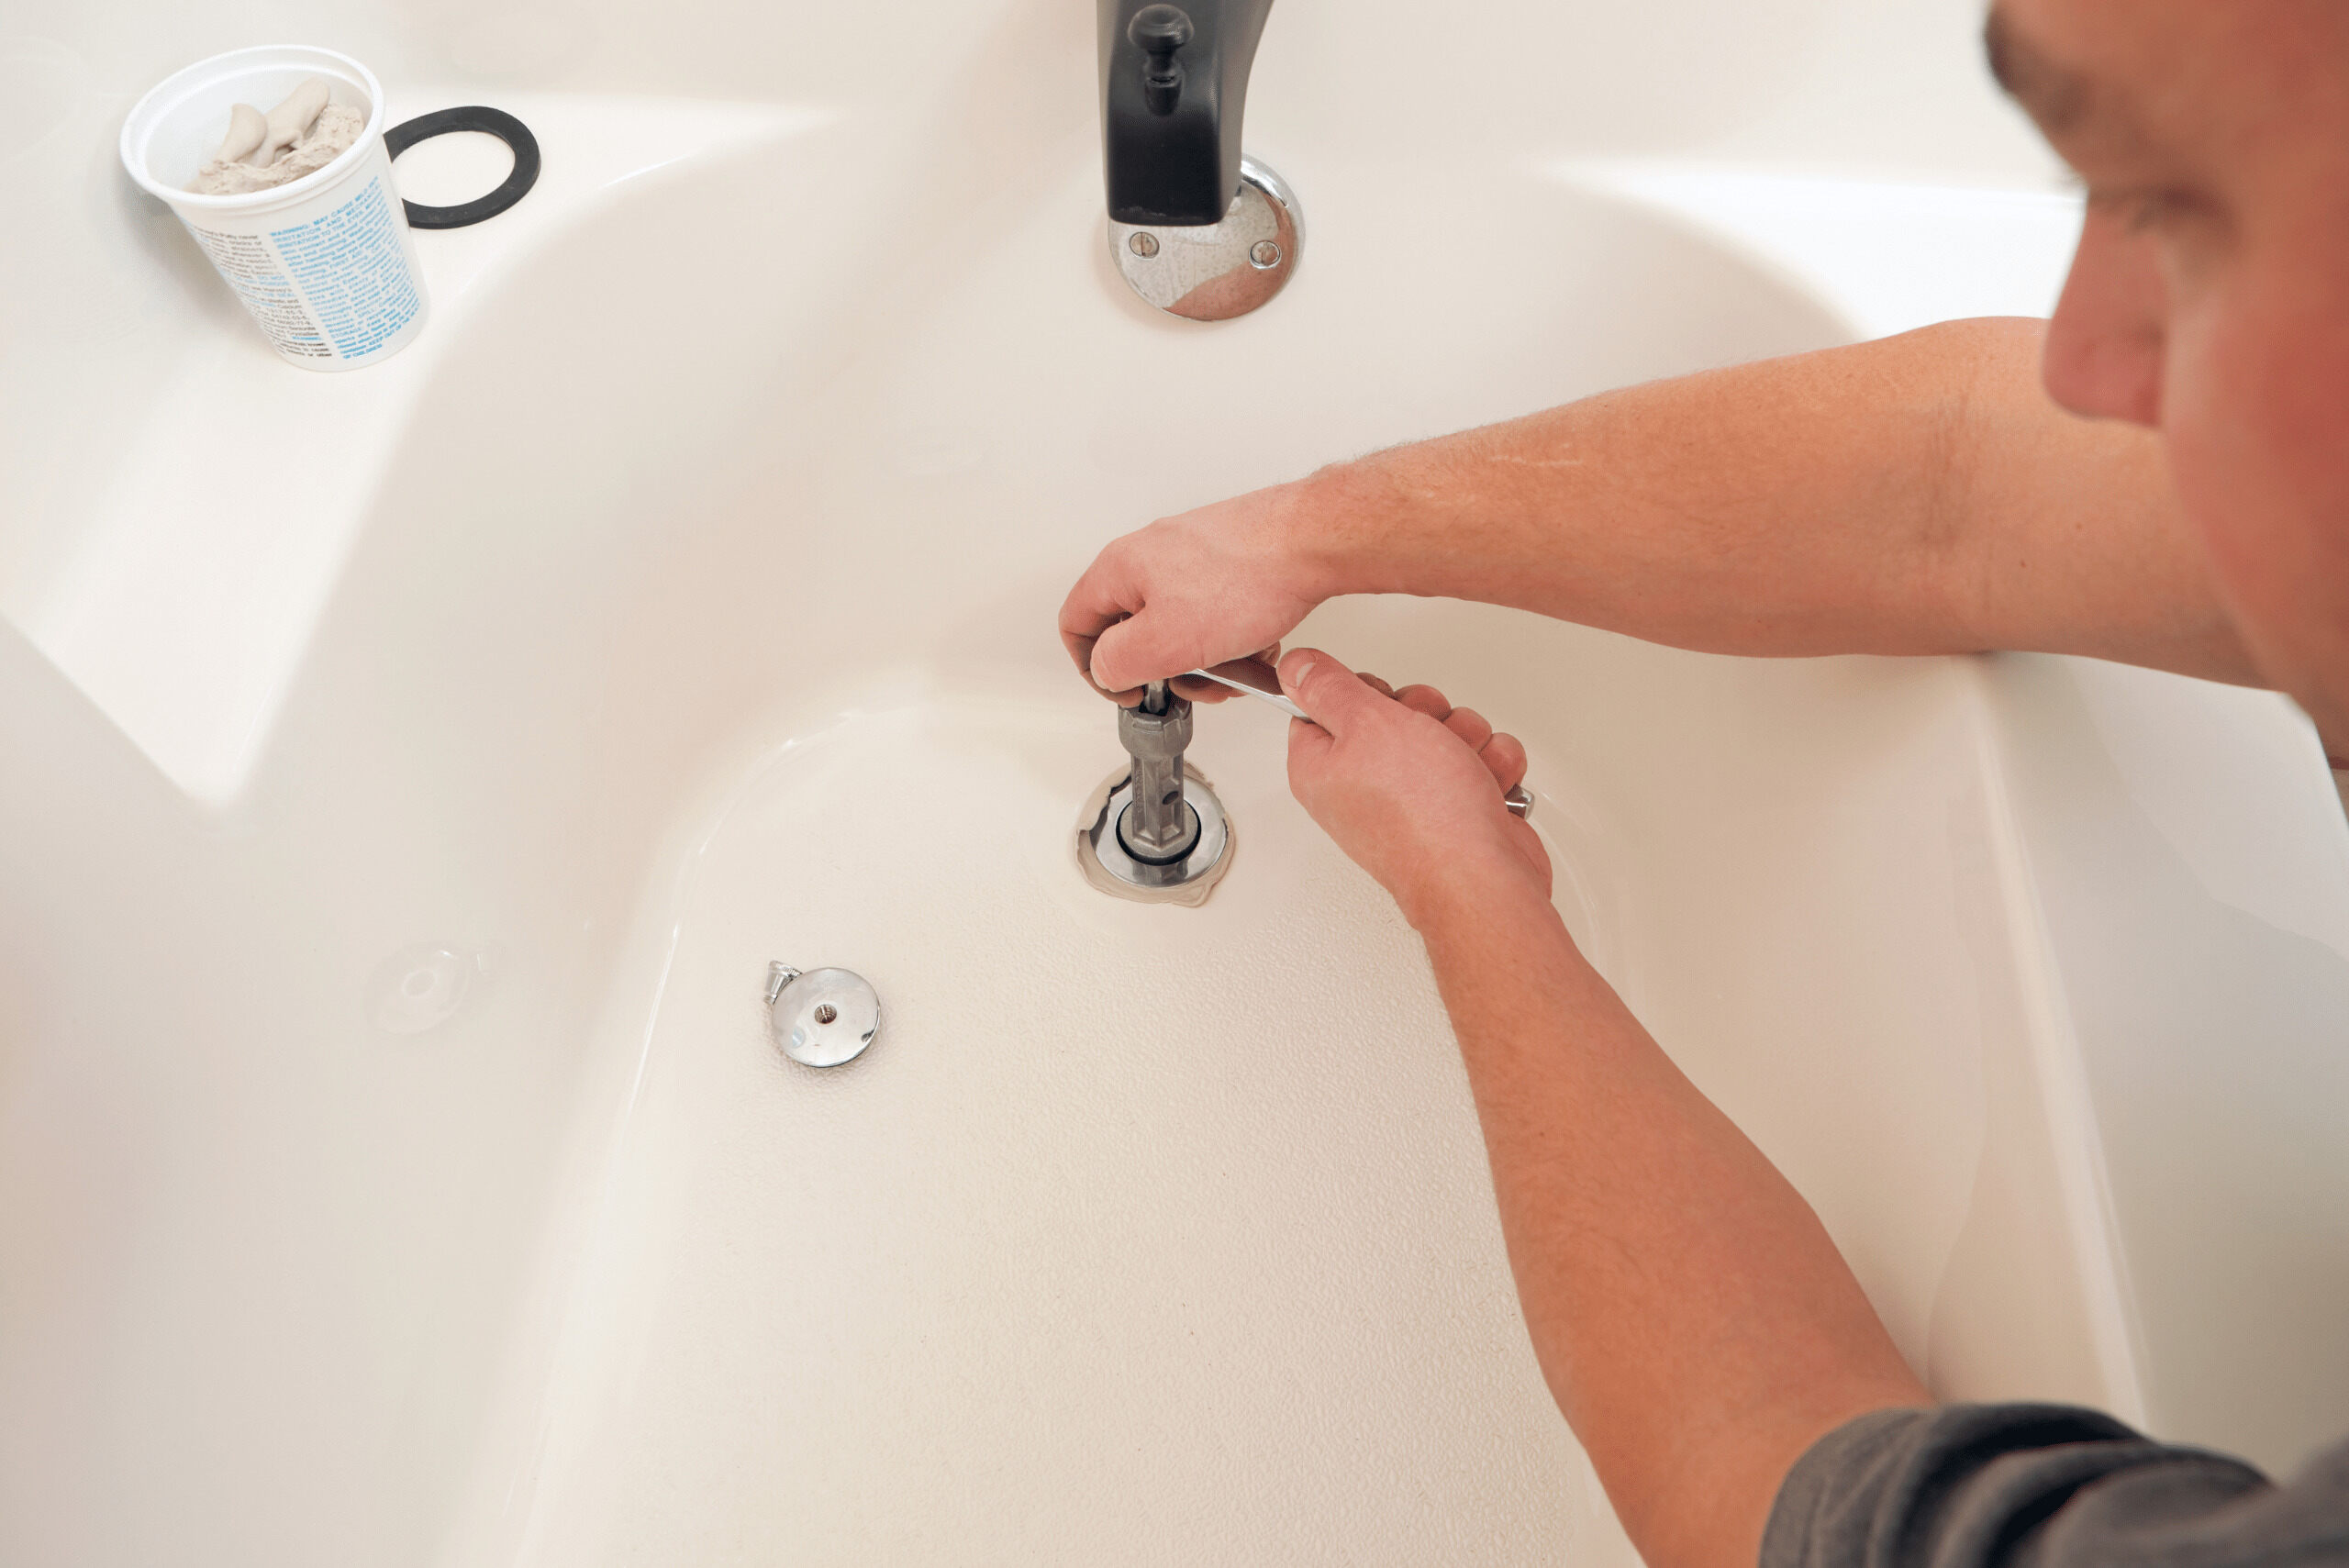
To remove the water saver from a Moen Banbury showerhead, you can use a pair of needle-nose pliers to gently twist and remove the flow restrictor located inside the showerhead. Be careful not to damage the showerhead while doing this.
Step 4: Locate and remove the water saver
Now that you have removed the Moen Banbury showerhead, it’s time to locate and remove the water saver. Follow these steps:
- Inspect the inner part of the showerhead to locate the water flow restrictor or water saver. This is usually a small plastic disc or screen that regulates the water flow.
- Using needle-nose pliers, gently grip and pull out the water flow restrictor. You may need to wiggle it a bit to loosen it from its position.
- If you encounter resistance, you can also use a screwdriver to carefully pry out the water saver.
- Once removed, take a moment to clean the showerhead of any debris or sediment that may have accumulated. This will help improve the water flow and maintain the performance of your showerhead.
Removing the water saver from your Moen Banbury showerhead will allow for a higher water flow and a more satisfying shower experience. However, it’s important to note that removing the water saver may increase water consumption. If water conservation is one of your concerns, you may want to consider other water-saving alternatives, such as low-flow showerheads or aerators.
Now that the water saver has been removed, it’s time to reassemble your showerhead and test the improved water flow.
Step 5: Reassemble the showerhead
With the water saver removed, it’s time to reassemble your Moen Banbury showerhead. Follow these steps:
- If there is any residue or debris inside the showerhead, rinse it out with water to ensure optimal water flow.
- Apply a few wraps of pipe tape to the shower arm threads. This will help create a tight and secure seal when reattaching the showerhead.
- Align the showerhead with the shower arm and hand-tighten it by turning it clockwise. Make sure it is securely fastened, but be careful not to overtighten as it may cause damage.
- Use an adjustable wrench to give the showerhead an extra quarter turn to ensure a snug fit, while being mindful of not applying too much force.
By following these steps, you have successfully reassembled your Moen Banbury showerhead. Now, it’s time to put it to the test and enjoy the improved water flow.
Step 6: Test the showerhead
After reassembling the Moen Banbury showerhead, it’s important to test it to ensure that the water flow is optimized and meets your expectations. Here’s how you can do it:
- Turn on the water supply by opening the water shut-off valve.
- Step into the shower and adjust the temperature to your liking.
- Turn on the shower and let the water flow through the newly assembled showerhead.
- Observe the water flow and pressure to see if it has improved after removing the water saver.
- Adjust the showerhead settings if necessary, such as the spray pattern or intensity, to find the optimal showering experience for you.
Take your time to fully test the showerhead and evaluate if the water flow meets your expectations. If you are satisfied with the results, then congratulations! You have successfully removed the water saver from your Moen Banbury showerhead and improved your showering experience.
However, if you find that the water flow is still inadequate or there are any issues with the showerhead, you may want to double-check the installation or consider seeking professional assistance.
Remember, removing the water saver may increase water consumption, so it’s important to use water responsibly and be mindful of your environmental impact.
With the testing complete, you can now enjoy a revitalizing and invigorating shower with your newly optimized Moen Banbury showerhead!
Conclusion
The Moen Banbury showerhead is a popular choice among homeowners, known for its sleek design and reliable performance. If you’re looking to enhance your showering experience by removing the water saver, this step-by-step guide has provided you with the necessary instructions.
By following the outlined steps, you have successfully learned how to remove the water saver from your Moen Banbury showerhead. From gathering the necessary tools to reassembling the showerhead, each step was designed to ensure a smooth and effective process.
Remember, removing the water saver from your showerhead may result in increased water consumption. It’s important to be mindful of your water usage and consider alternative water-saving options if environmental conservation is a priority for you.
With the water saver removed, you can now enjoy an optimized water flow and a more satisfying showering experience. Say goodbye to low water pressure and hello to invigorating showers that rejuvenate both your body and mind.
We hope this guide has helped you in removing the water saver from your Moen Banbury showerhead. If you have any further questions or need assistance, don’t hesitate to consult a professional plumber.
Now, go ahead and enjoy your newfound showering bliss!
Frequently Asked Questions about How Do You Remove The Water Saver From Moen Banbury Showerhead
Was this page helpful?
At Storables.com, we guarantee accurate and reliable information. Our content, validated by Expert Board Contributors, is crafted following stringent Editorial Policies. We're committed to providing you with well-researched, expert-backed insights for all your informational needs.

0 thoughts on “How Do You Remove The Water Saver From Moen Banbury Showerhead”