Home>Interior Design>How To Paint Laminate Furniture Without Sanding
Interior Design
How To Paint Laminate Furniture Without Sanding
Modified: February 24, 2024
Discover the secrets of painting laminate furniture without the hassle of sanding. Transform your interior design with these easy steps.
(Many of the links in this article redirect to a specific reviewed product. Your purchase of these products through affiliate links helps to generate commission for Storables.com, at no extra cost. Learn more)
Introduction
Painting laminate furniture without sanding is a popular method of giving new life to old and outdated pieces. Whether you want to freshen up your living space or transform a thrift store find, this technique allows you to achieve a beautiful and durable finish without the hassle of sanding. In this article, we will explore the benefits of painting laminate furniture without sanding, as well as the steps to achieve a successful result.
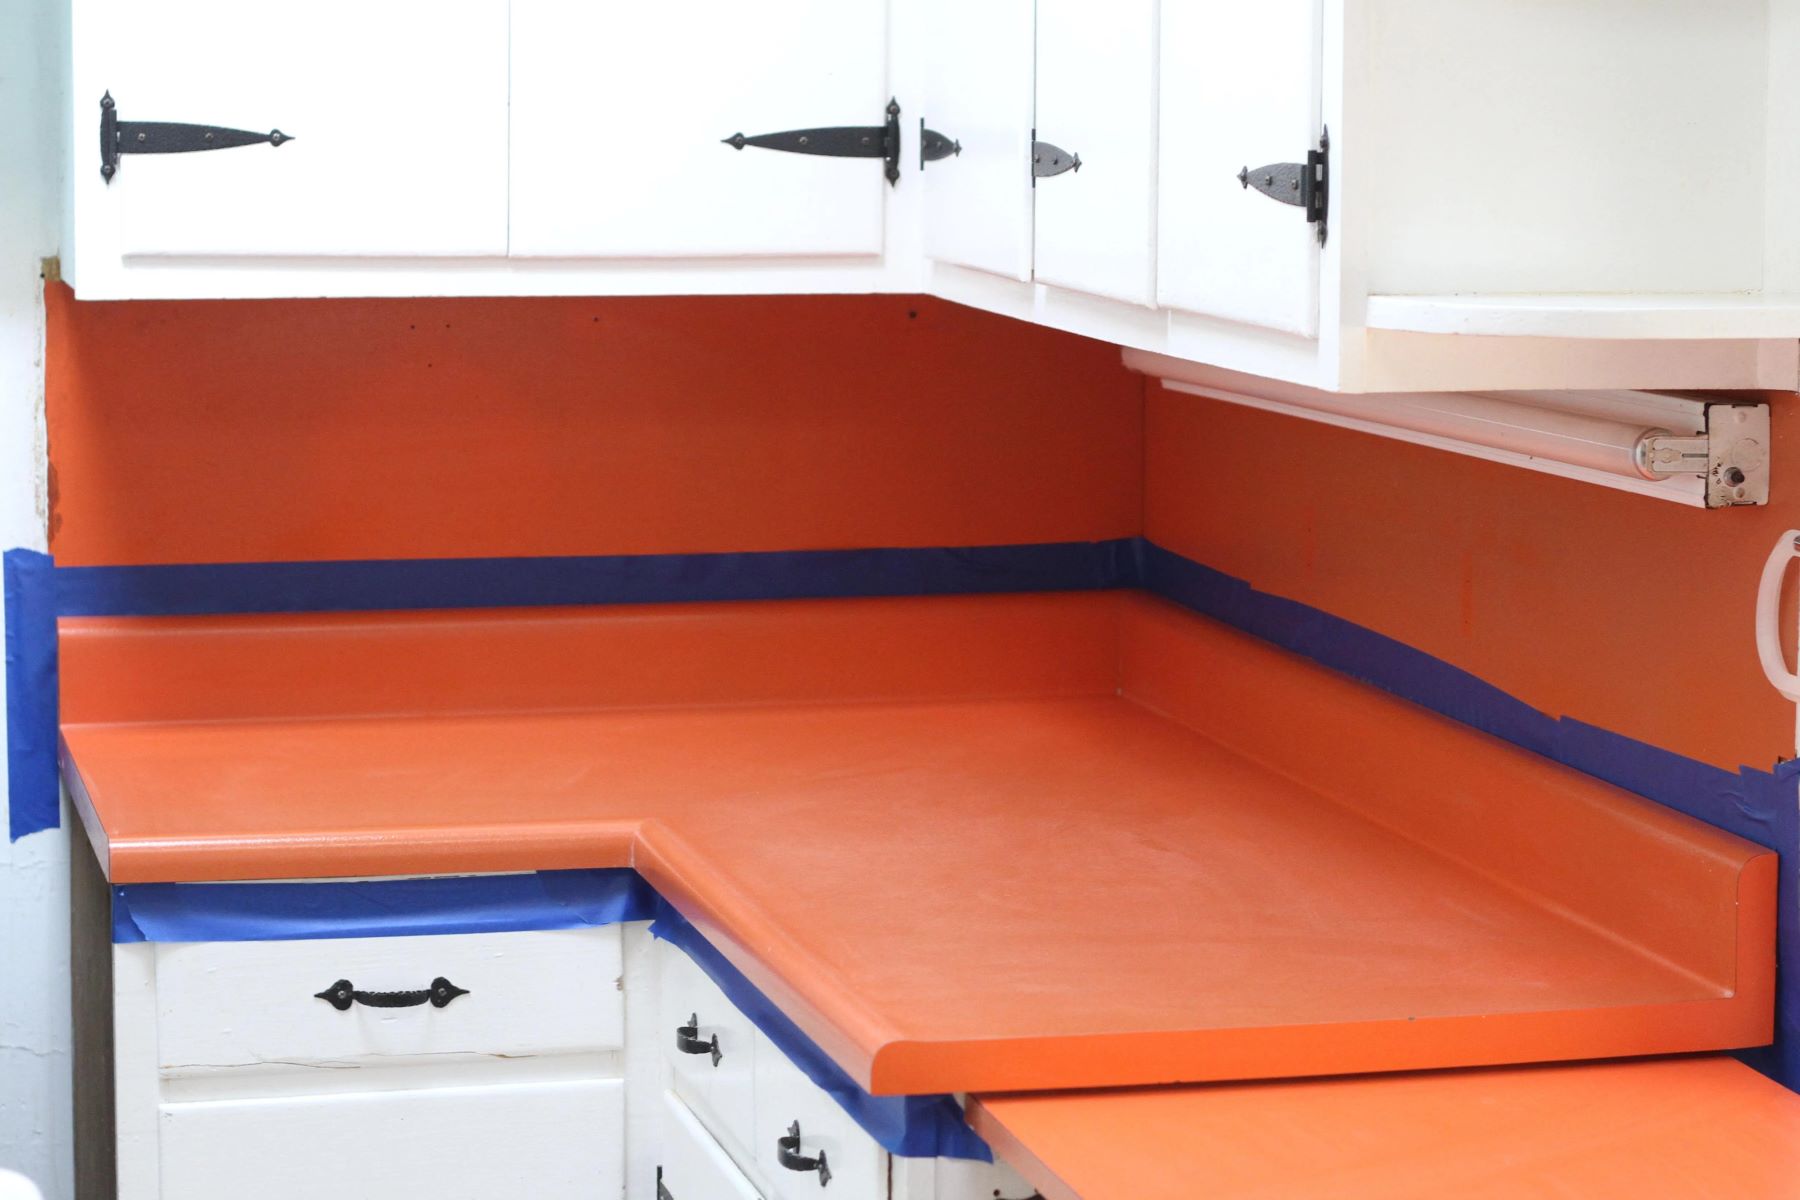
Laminate furniture is made from composite wood materials that are covered with a thin plastic or resin layer. While this finish makes the furniture more resistant to scratches and stains, it can also make it challenging to paint. Sanding is often recommended as a preparation step to roughen the surface and create a better adhesion for the paint. However, sanding can be time-consuming and messy, and it may not always be necessary.
By following the proper techniques and using the right products, you can achieve a professional-looking finish on your laminate furniture without the need for sanding. Not only does this save you time and effort, but it also opens up a world of possibilities for updating and personalizing your furniture pieces.
In the following sections, we will discuss the benefits of painting laminate furniture without sanding, how to prepare the surface effectively, choosing the right paint for the job, cleaning the furniture before painting, applying a primer, techniques for applying the paint, and tips and tricks for a smooth finish. We will also cover proper care and maintenance of painted laminate furniture to ensure its longevity.
So, if you’re ready to transform your laminate furniture into a statement piece that reflects your personal style, let’s dive into the process of painting laminate furniture without sanding.
Key Takeaways:
- Transform old laminate furniture with ease by painting without sanding. Save time, preserve the surface, and unleash your creativity for a durable and personalized finish.
- Achieve a flawless painted finish on laminate furniture with proper preparation, the right paint, and attention to detail. Care and maintenance tips ensure long-lasting beauty.
Read more: How To Paint Wood Furniture Without Sanding
Benefits of Painting Laminate Furniture Without Sanding
Painting laminate furniture without sanding offers several benefits that make it a popular choice among DIY enthusiasts and interior design lovers. Here are some of the key advantages:
- Time-saving: Sanding can be a time-consuming and labor-intensive task, especially if you have multiple pieces of furniture to paint. By skipping the sanding step, you can significantly reduce the amount of time and effort required to complete the project.
- Easier process: Sanding can be messy, with dust and debris getting everywhere. Avoiding the sanding process eliminates the need for extensive clean-up and simplifies the overall painting process.
- No damage to the laminate surface: Sanding can potentially damage the delicate laminate surface of the furniture. By painting without sanding, you can preserve the integrity and finish of the laminate, ensuring a longer lifespan for your furniture.
- Cost-effective: Sanding requires the use of sandpaper and other materials, which can add up in cost. By eliminating this step, you can save money on supplies while still achieving a professional-looking finish.
- Versatility and creativity: Painting laminate furniture without sanding opens up a world of possibilities for creativity and customization. You can choose from a wide range of colors and finishes to suit your personal style and match your existing decor.
- Long-lasting results: With the right preparation and techniques, painted laminate furniture can have a durable and long-lasting finish. By following the proper steps and using quality products, you can ensure that your painted furniture maintains its beauty and integrity for years to come.
Whether you want to revamp an old piece of furniture or give a fresh look to thrift store finds, painting laminate furniture without sanding provides numerous benefits. It saves time and effort, preserves the laminate surface, reduces costs, allows for creative expression, and produces long-lasting results. Now that you understand the advantages of this technique, let’s move on to the preparation process to ensure a successful paint job on your laminate furniture.
Preparing the Surface
Properly preparing the surface of the laminate furniture is crucial to ensure a successful and long-lasting paint job. While sanding is typically recommended to roughen the surface and improve paint adhesion, we will explore alternative methods to prepare the laminate surface without sanding. Follow these steps to get your furniture ready for painting:
- Clean the furniture: Start by wiping down the furniture with a mild detergent and warm water solution. This will remove any dirt, grease, or grime that may be on the surface. Use a soft cloth or sponge to gently clean all areas of the furniture, including the corners and edges. Rinse with clean water and allow the furniture to dry completely.
- Repair any damages: Inspect the furniture for any chips, scratches, or dents. Use a wood filler or putty knife to repair these imperfections. Follow the instructions on the product and allow it to dry thoroughly before proceeding.
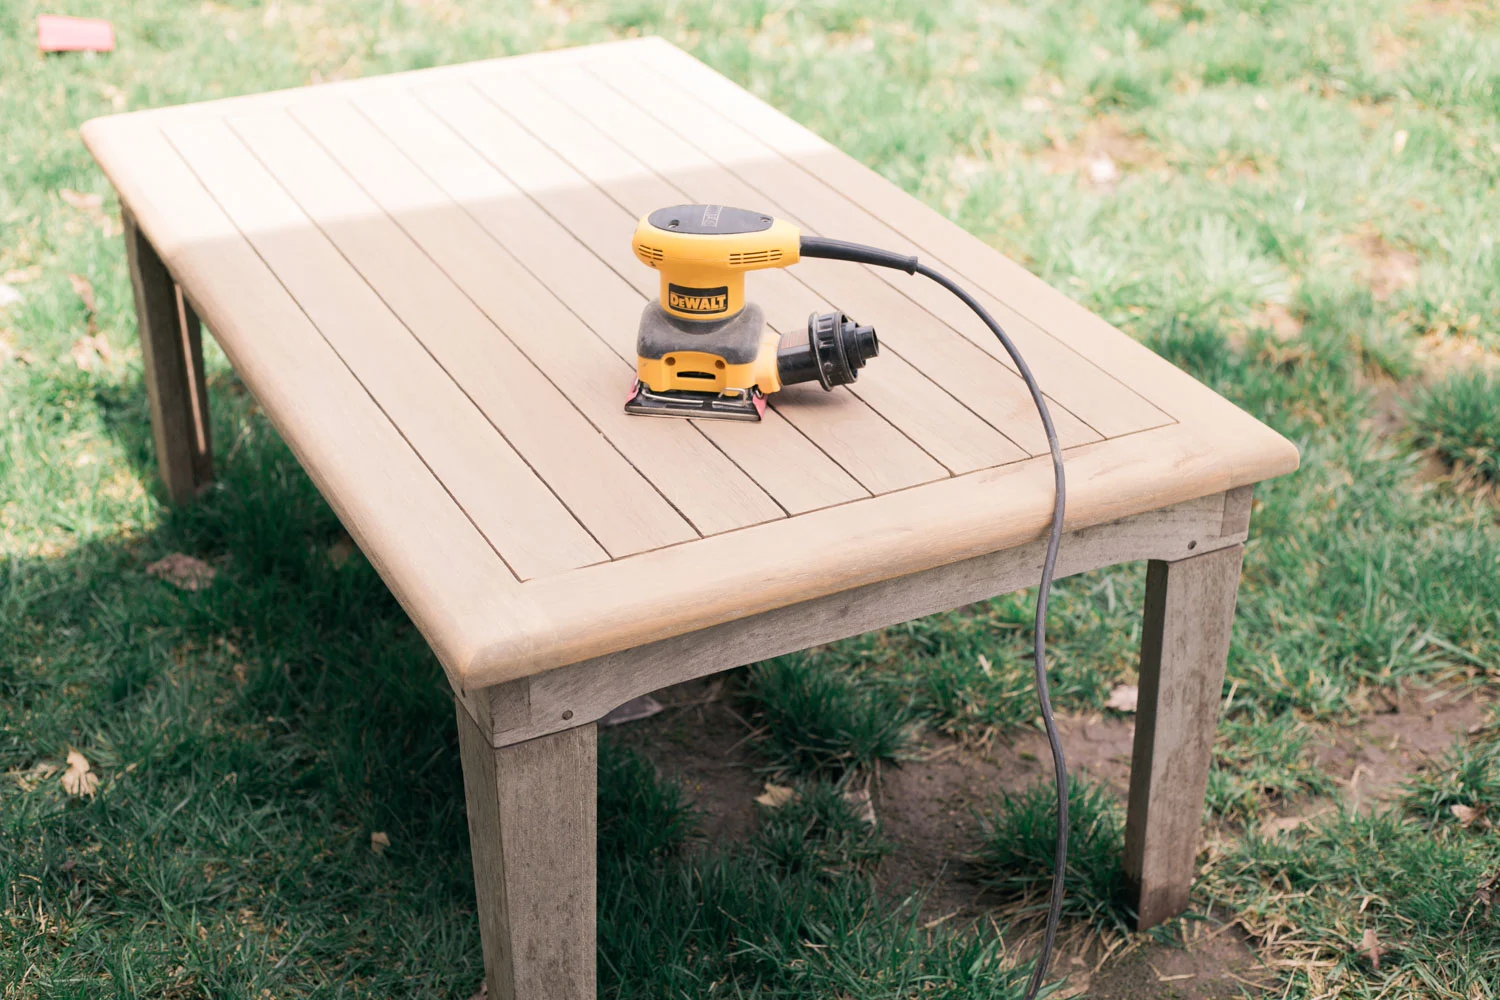
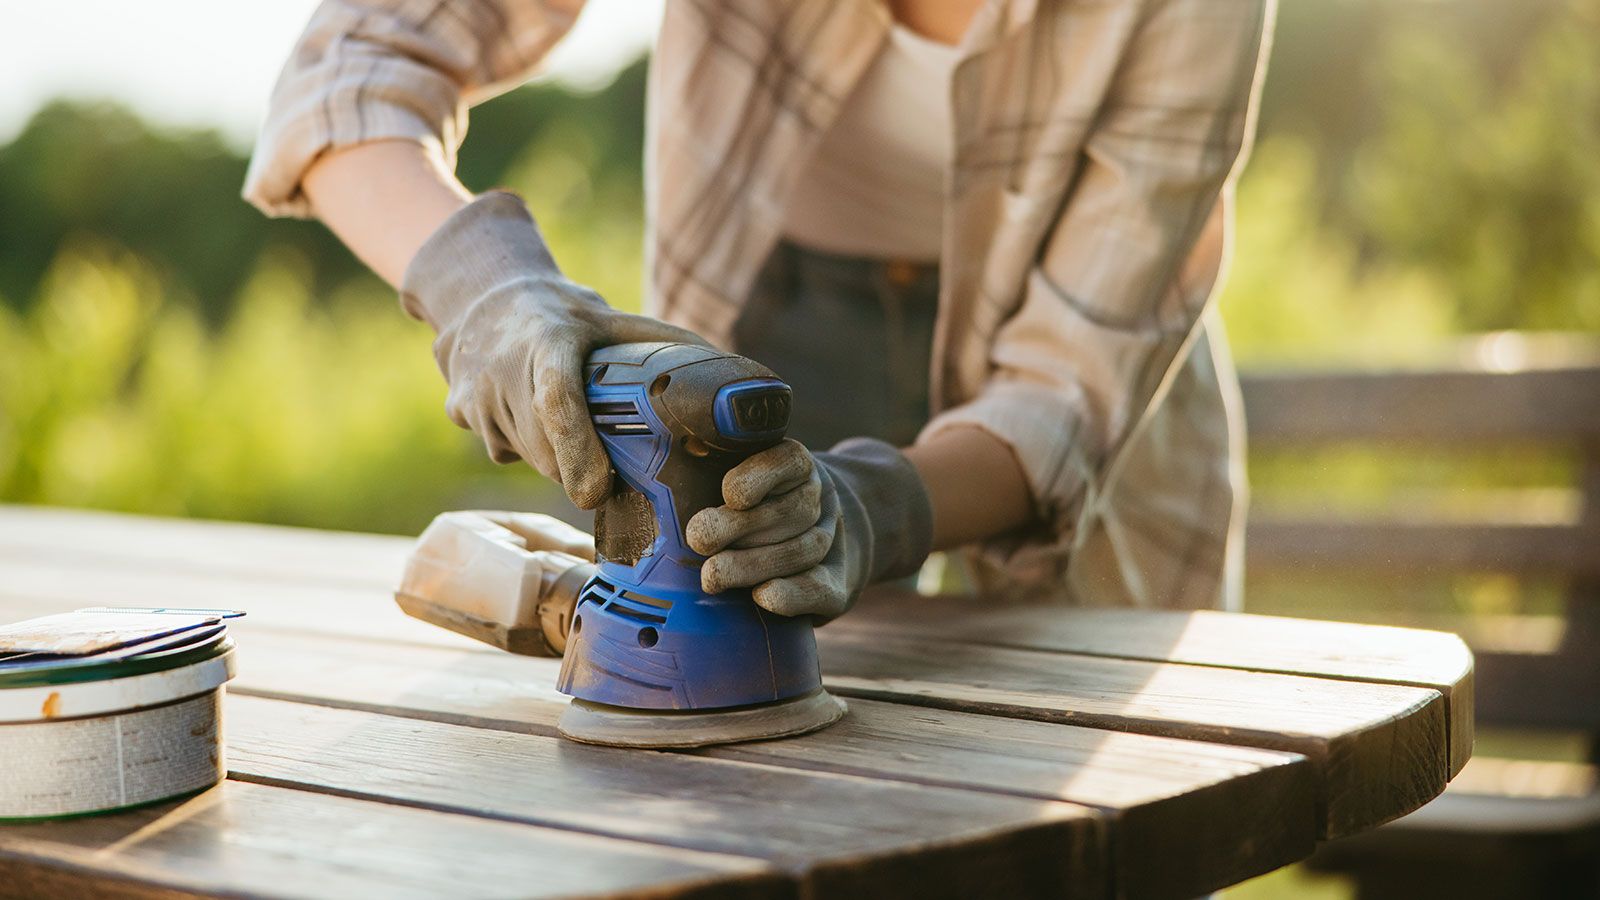
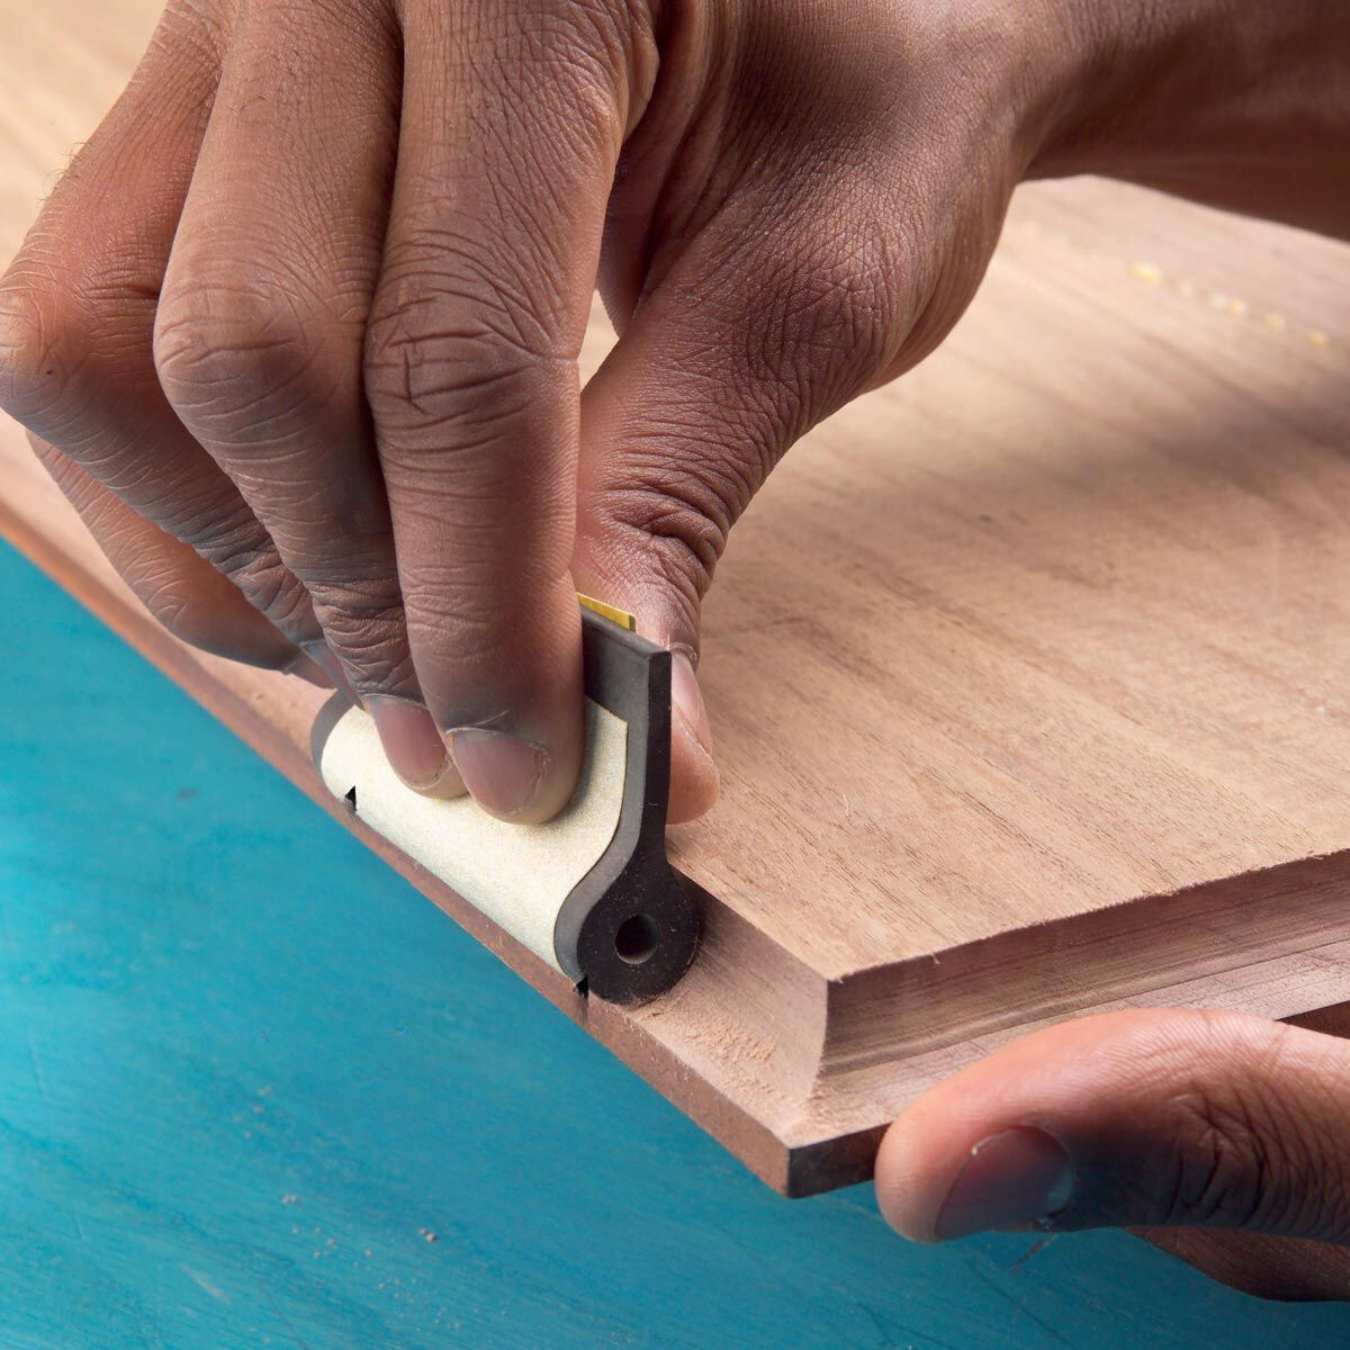
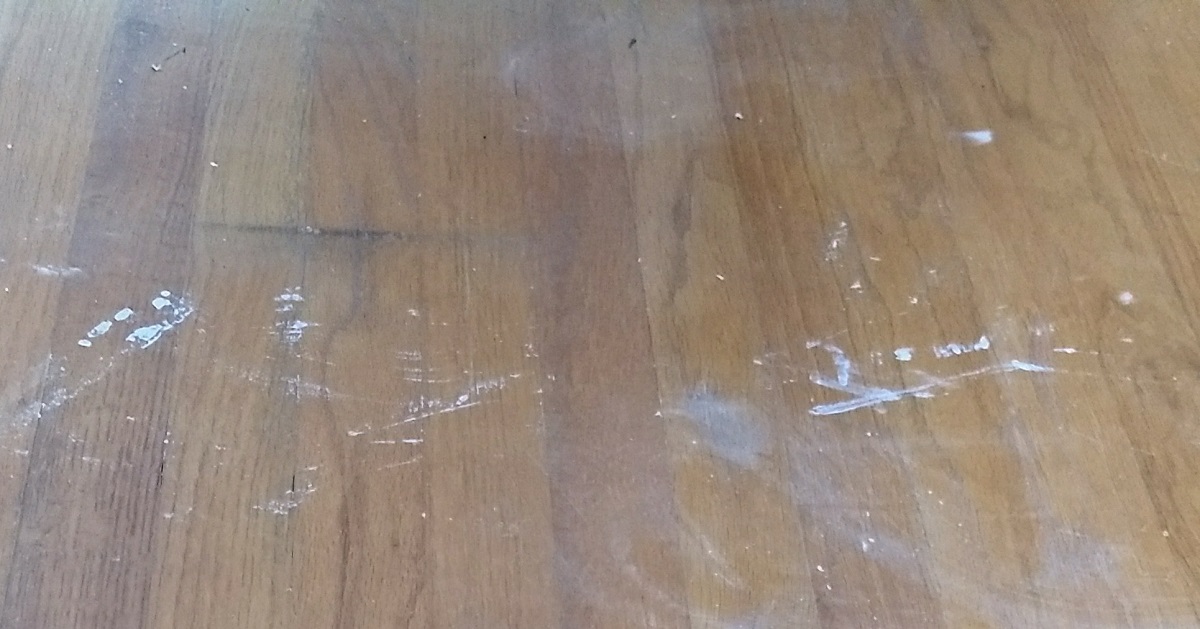
- Scuff the surface: Although we are avoiding sanding, it can still be beneficial to scuff the surface of the laminate to create better paint adhesion. You can achieve this by lightly rubbing the surface with a fine-grit sanding sponge or a scouring pad. Be gentle and use even pressure to scuff the entire surface of the furniture.
- Remove any gloss: Laminate furniture often has a glossy finish that can hinder paint adhesion. To address this, you can use a deglosser or liquid sandpaper. Apply the product according to the manufacturer’s instructions, using a clean cloth. This will help remove the gloss and create a better surface for the paint to adhere to.
- Fill in the texture: Laminate furniture may have a textured surface, which can show through the paint. To ensure a smooth finish, you can use a skim coat compound or wood filler to fill in any texture. Apply a thin layer of the product using a putty knife, and then sand it down with a fine-grit sanding sponge once it’s dry.
By following these steps, you can effectively prepare the surface of your laminate furniture without sanding. Cleaning the furniture, repairing any damages, scuffing the surface, removing the gloss, and filling in the texture will create a suitable canvas for the paint. Once the surface is properly prepared, you can move on to selecting the right paint for your project.
Choosing the Right Paint
When it comes to painting laminate furniture, selecting the right type of paint is crucial for achieving a durable and professional-looking finish. Here are some factors to consider when choosing the paint:
- Latex or acrylic: Latex or acrylic paints are commonly used for painting laminate furniture. They are water-based, easy to clean, and provide good adhesion and durability. Look for paints specifically formulated for use on furniture or surfaces with high traffic.
- Adhesion-promoting primer: Using a primer specifically designed for adhering to laminate surfaces can greatly enhance the adhesion and durability of the paint. Look for a primer labeled as “bonding” or “adhesion-promoting” to ensure optimal results.
- Satin or semi-gloss finish: Opt for a paint finish that is both durable and easy to clean, such as satin or semi-gloss. These finishes offer a slight sheen and provide better resistance to daily wear and tear.
- Premium quality paint: Invest in a high-quality paint to ensure better coverage, longer-lasting results, and a smoother finish. While it may be tempting to go for budget-friendly options, cheaper paints may require multiple coats and may not hold up as well over time.
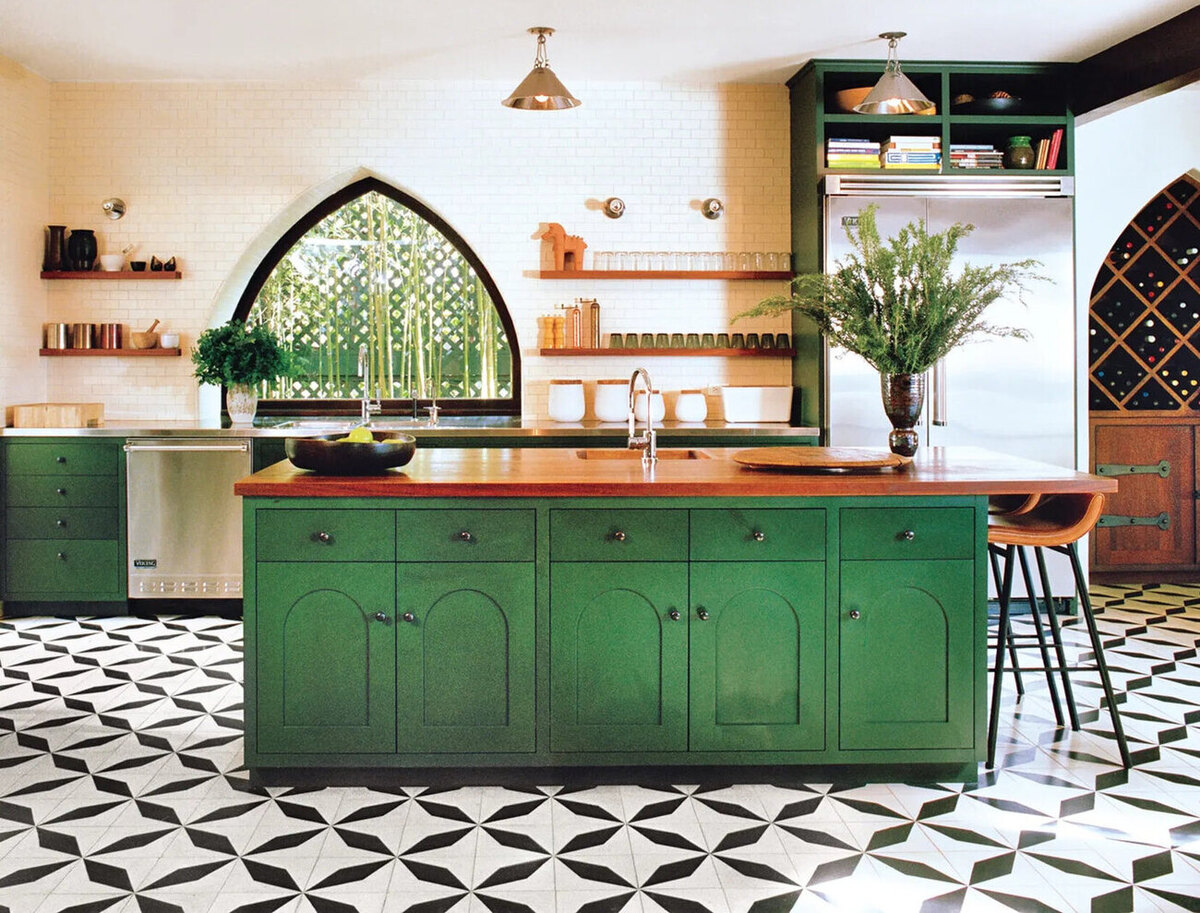
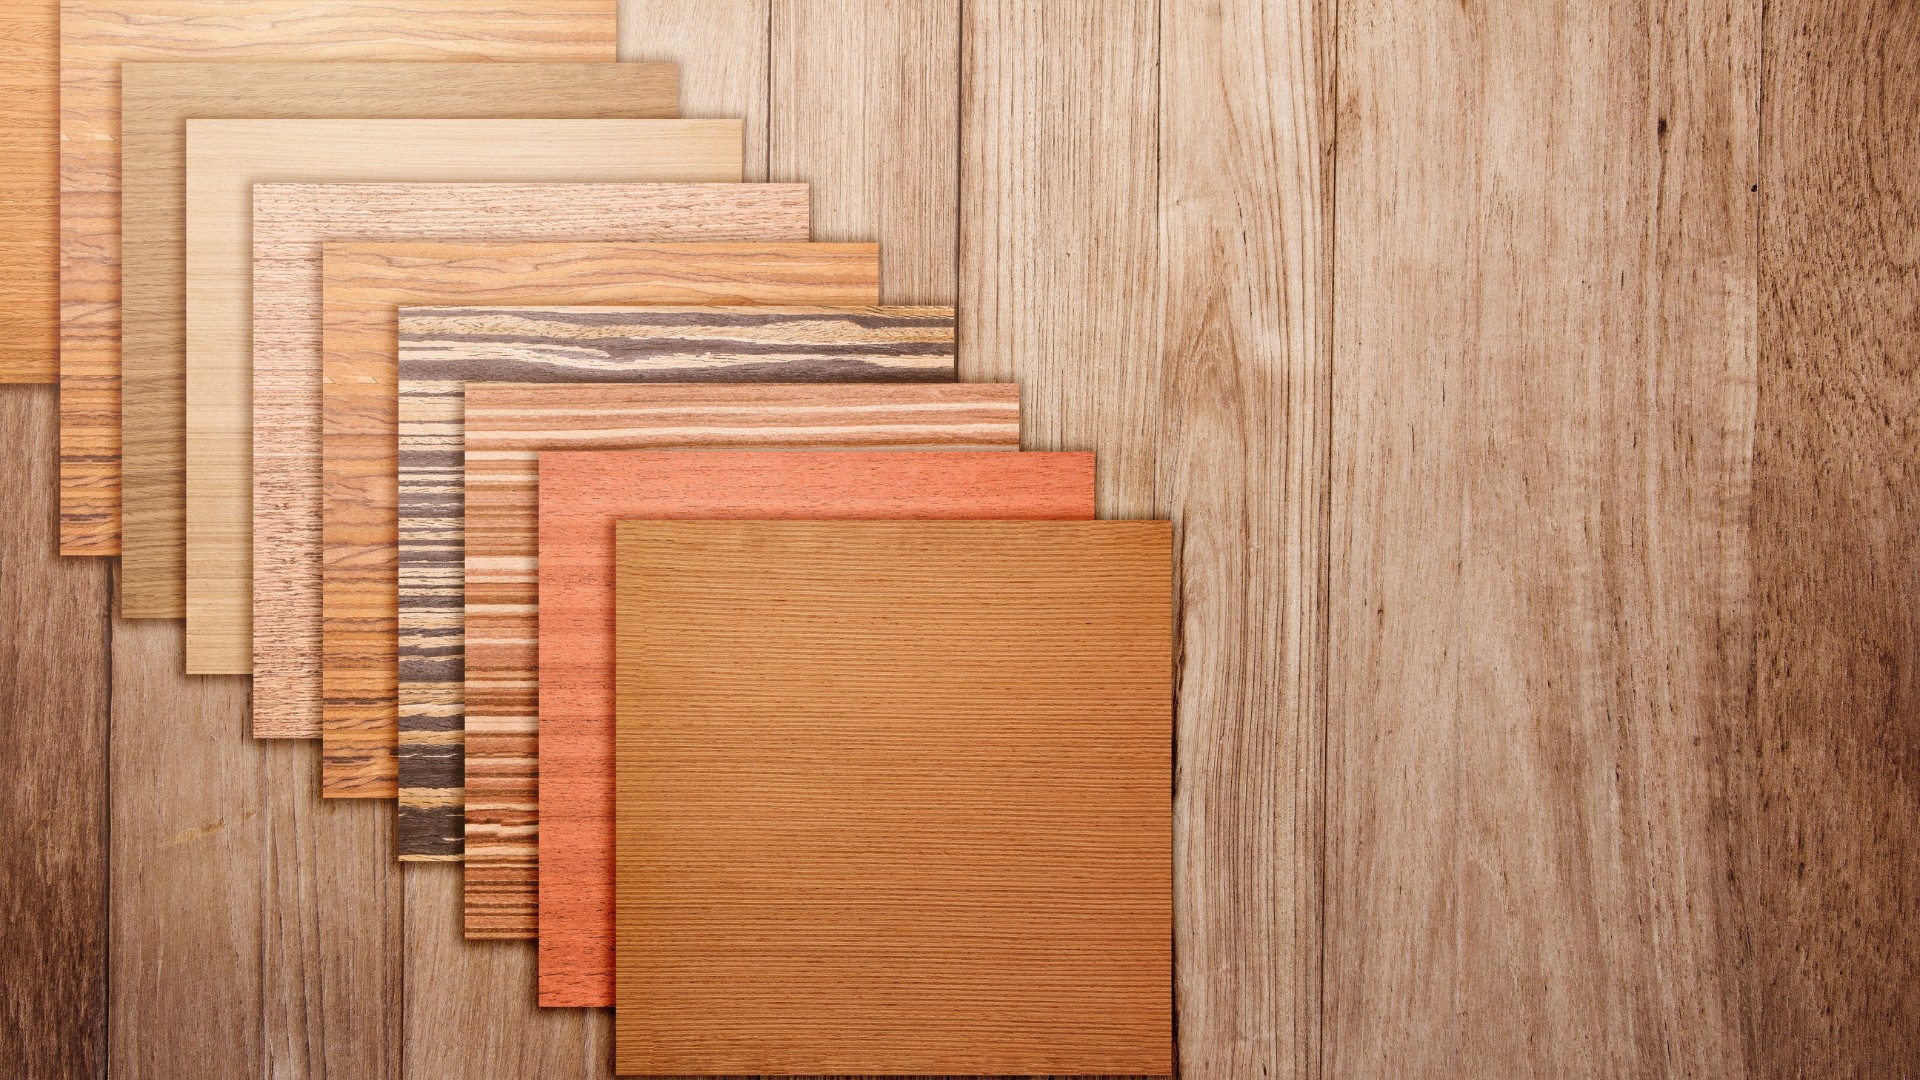
- Color choice: Consider the color scheme of your room and the style you want to achieve. Lighter colors can help brighten up a space, while darker colors can add drama and depth. Take into account the existing decor and choose a color that complements the overall aesthetic.
It’s important to note that oil-based paints are not recommended for painting laminate furniture, as they can take longer to dry, tend to have a strong odor, and may not adhere well to the laminated surface. Stick with latex or acrylic options for the best results.
Before purchasing the paint, make sure to read the manufacturer’s instructions and ensure that it is suitable for use on laminate surfaces. Some paints may require additional steps, such as priming or specific application techniques. Taking the time to choose the right paint will greatly contribute to the success and longevity of your painted laminate furniture.
Now that you have selected the perfect paint, let’s move on to the next step: cleaning the furniture before painting.
Cleaning the Furniture
Before you begin the painting process, it’s essential to thoroughly clean the laminate furniture to ensure proper adhesion and a smooth finish. Follow these steps to effectively clean your furniture:
- Remove dust and debris: Start by removing any loose dust or debris from the surface of the furniture. You can use a soft brush, a microfiber cloth, or a vacuum cleaner with a brush attachment. Pay attention to the corners, edges, and crevices of the furniture.
- Mix a cleaning solution: Prepare a cleaning solution by mixing warm water and a mild detergent or dish soap. Avoid using harsh chemicals or abrasive cleaners, as they can damage the laminate surface.
- Apply the cleaning solution: Dip a soft cloth or sponge into the cleaning solution and wring out any excess liquid. Gently wipe down the entire surface of the furniture, applying light pressure to remove dirt and grime. Be sure to clean the corners and edges as well.
- Rinse with clean water: After cleaning, rinse the furniture with clean water using a separate cloth or sponge. This will remove any soap residue and ensure a clean surface for painting.
- Dry thoroughly: Allow the furniture to air dry completely before proceeding with the painting process. You can also use a clean, absorbent cloth to speed up the drying process.
By cleaning the furniture beforehand, you remove any surface contaminants that could interfere with paint adhesion. This step also ensures that your paint adheres smoothly and provides a professional-looking finish.
It’s important to note that while cleaning the furniture is essential, you should avoid over-wetting the surface. Excessive moisture can cause warping or damage to the laminate. Use a damp cloth or sponge, rather than soaking the furniture in water.
Now that your furniture is clean and dry, it’s time to prepare the surface for painting by applying a primer. This step will further enhance paint adhesion and help achieve a flawless finish. Stay tuned for the next section on applying a primer to your laminate furniture.
You can use a high-quality bonding primer designed for slick surfaces, followed by a coat of acrylic latex paint. This will help the paint adhere to the laminate without the need for sanding.
Read more: How To Paint Dresser Without Sanding
Applying a Primer
Applying a primer to your laminate furniture is a crucial step in achieving a smooth and long-lasting paint finish. A primer helps to create a strong bond between the surface and the paint, improving adhesion and durability. Follow these steps to apply a primer to your laminate furniture:
- Select the right primer: Choose a primer specifically designed for use on laminate surfaces. Look for a primer that is labeled as “bonding” or “adhesion-promoting” to ensure optimal results. Check the product label for any specific instructions or recommendations.
- Prepare the workspace: Find a well-ventilated area to work in and cover the surrounding surfaces or floor with a drop cloth or newspaper to protect them from primer overspray or drips.
- Clean the furniture: Ensure that the furniture is clean and free of any dust or debris. You can use a soft brush or a microfiber cloth to gently remove any remaining particles.
- Stir the primer: Open the primer can and use a stir stick to thoroughly mix the primer. This will ensure that any settled pigments are evenly distributed.
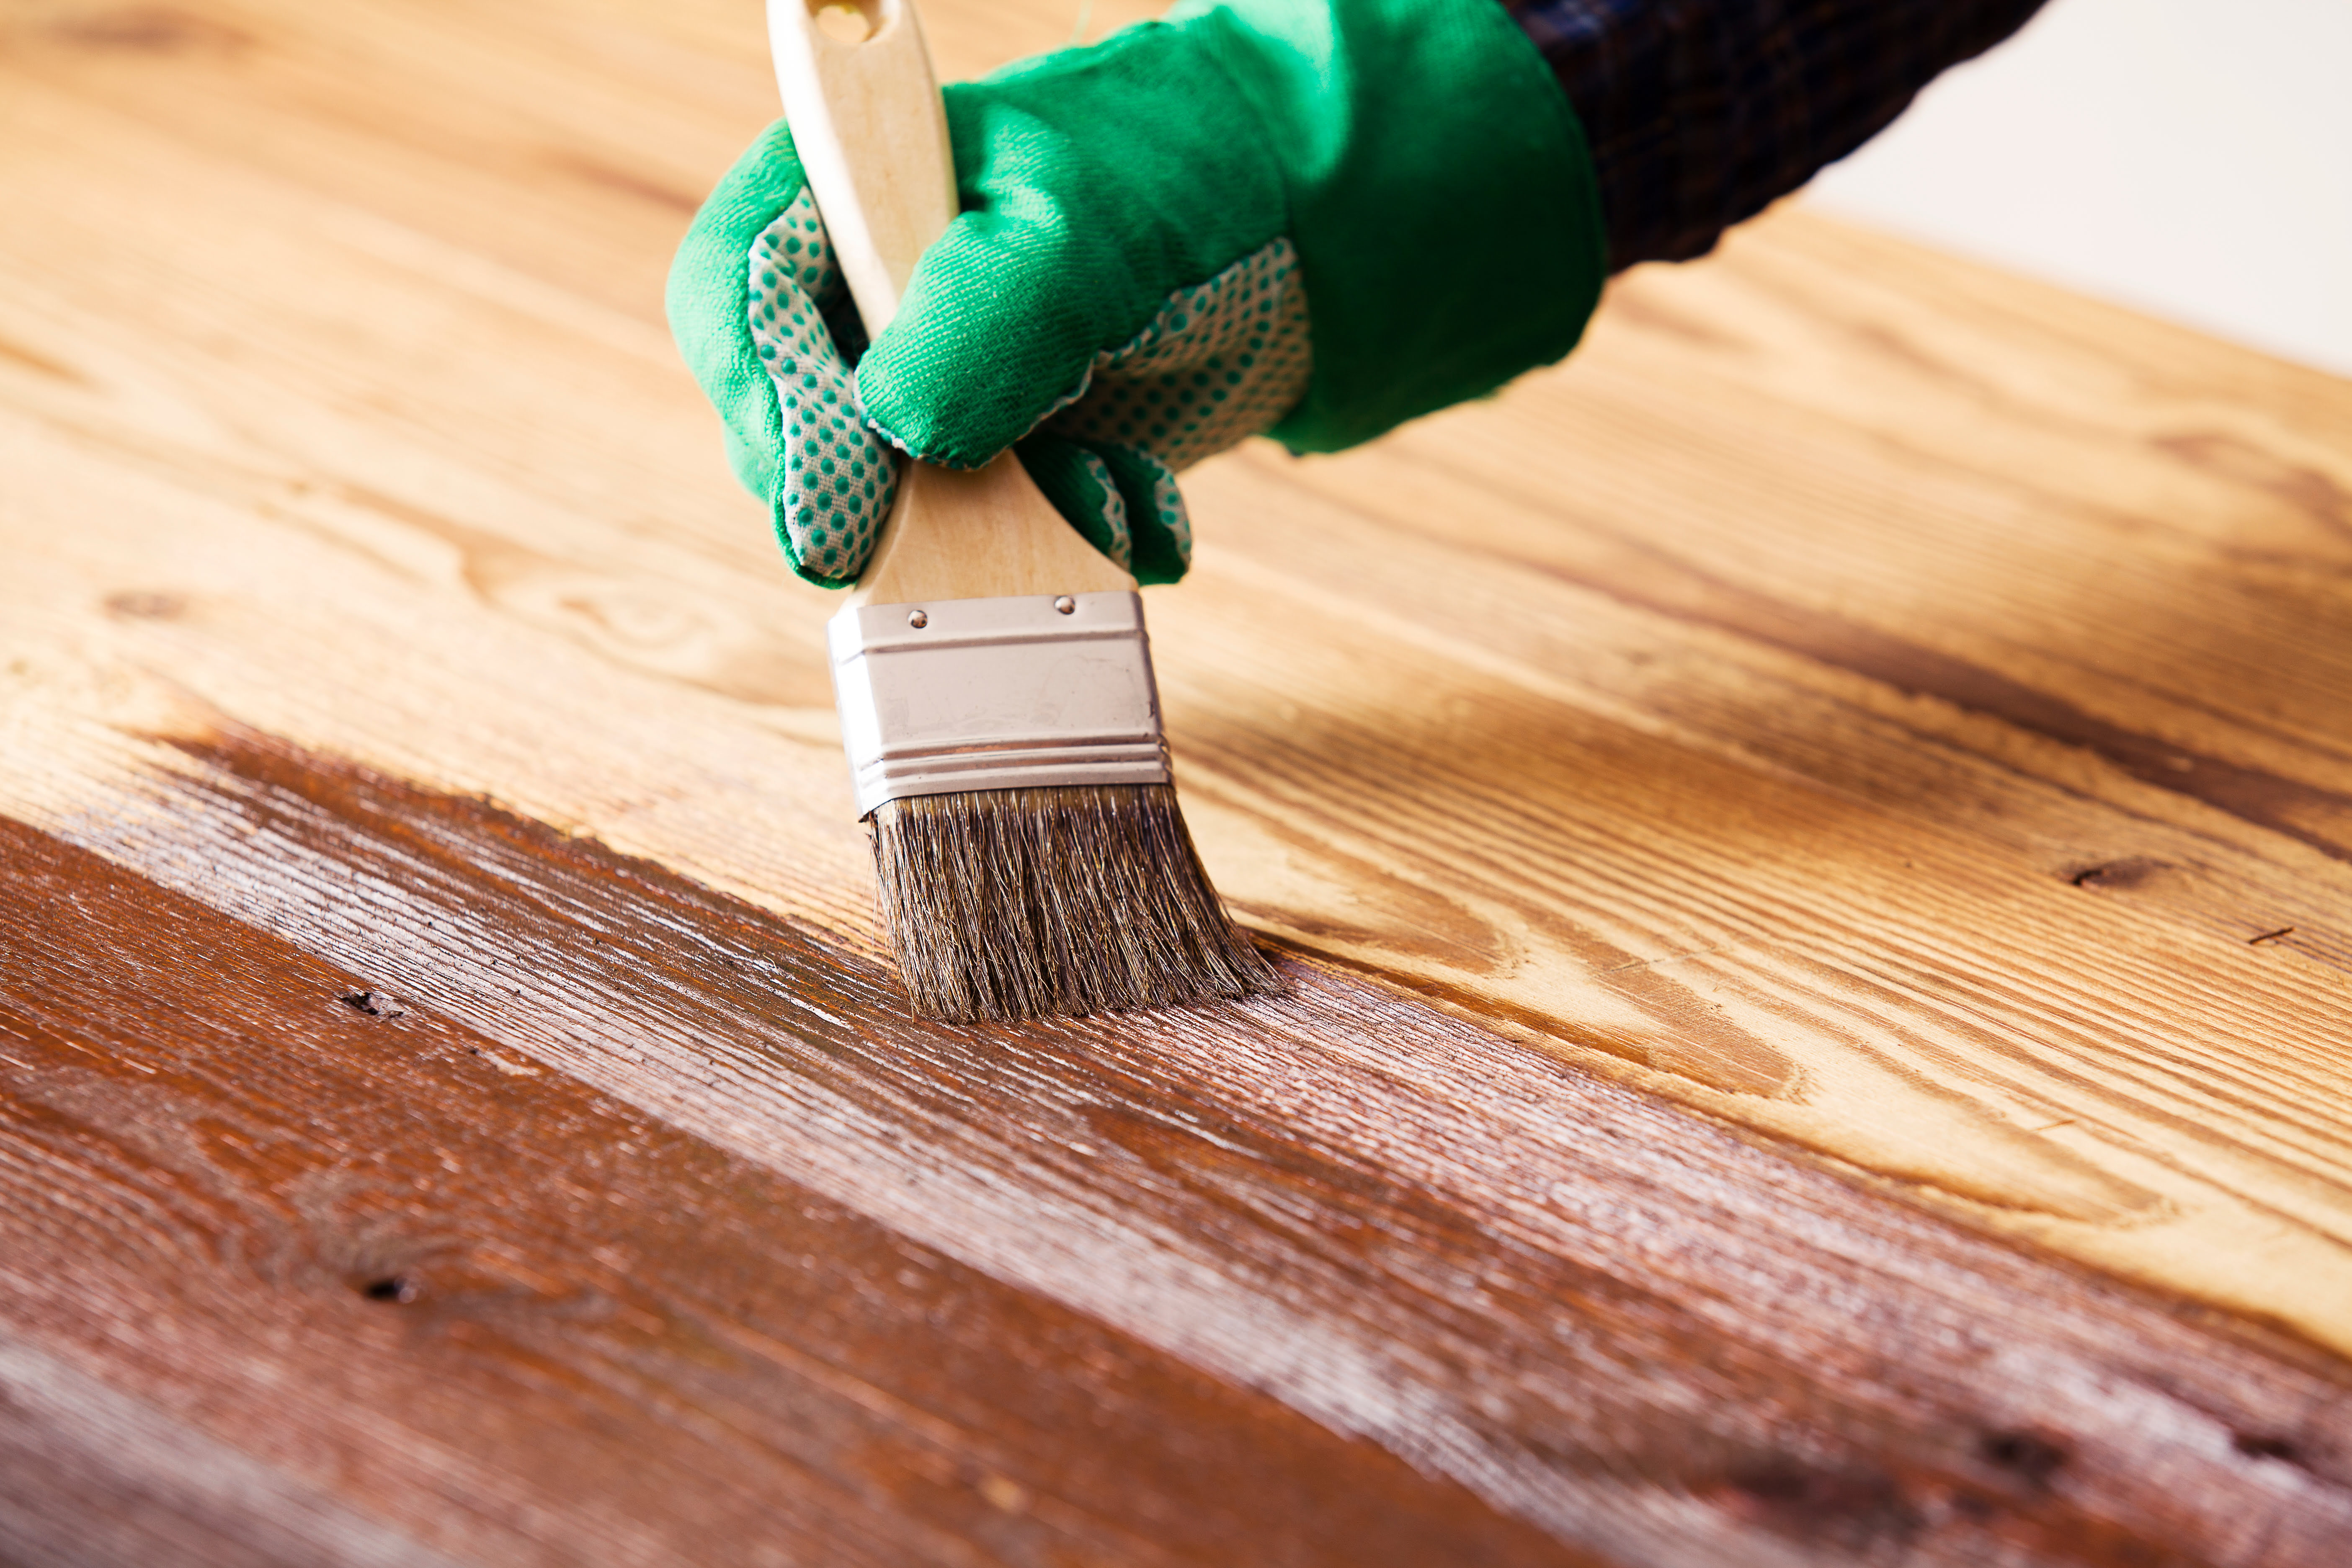
- Apply the primer: Use a high-quality synthetic brush or a foam roller to apply the primer to the furniture surface. Start with the flat areas and work your way towards the corners and edges. Apply a thin and even coat of primer, making sure to cover the entire surface. Avoid applying a thick layer, as it can lead to drips or an uneven finish.
- Allow the primer to dry: Follow the manufacturer’s instructions for the recommended drying time. This can vary depending on the type of primer used. Ensure proper ventilation during the drying process.
- Lightly sand if necessary: If you notice any imperfections or rough spots after the primer has dried, you can lightly sand the surface with a fine-grit sanding sponge. This will help to create a smoother base for the paint.
- Clean up: Clean your brushes or rollers with soap and water if using a water-based primer, or follow the instructions on the primer can for proper clean-up if using an oil-based primer.
Applying a primer not only enhances the adhesion of the paint but also helps to cover any color variations or imperfections on the laminate surface. It creates a uniform base and provides a better foundation for the paint color to adhere to.
Once the primer is dry and any necessary sanding is complete, you are ready to move on to the exciting part – applying the paint. Stay tuned for the next section on how to achieve a flawless paint finish on your laminate furniture.
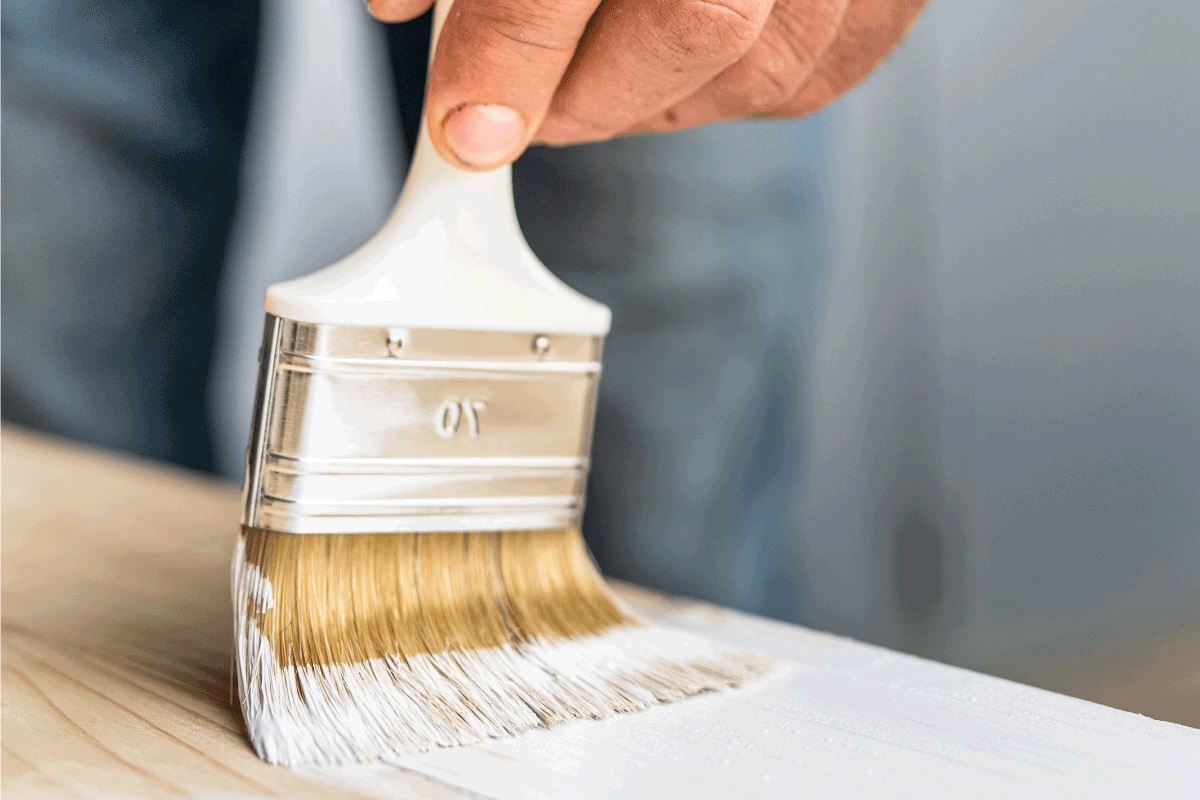
Applying the Paint
Now that you’ve properly prepared the surface and applied a primer, it’s time to apply the paint to your laminate furniture. Follow these steps to achieve a smooth and professional-looking finish:
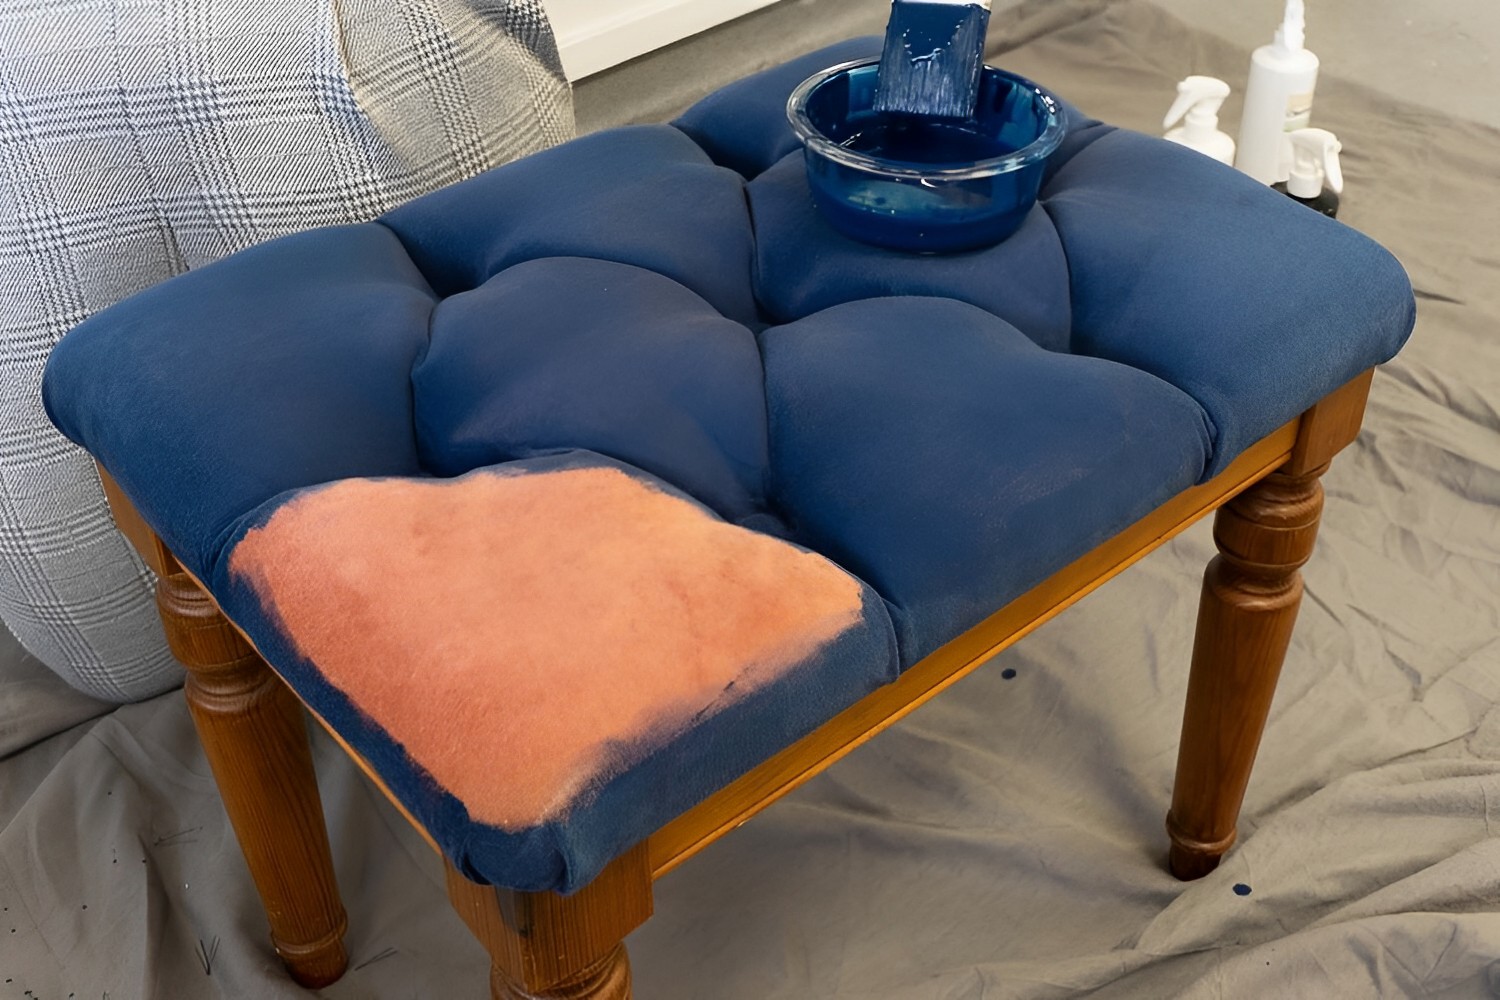
- Choose the right paint application method: Depending on the size and shape of your furniture, you can use a high-quality synthetic brush, a foam roller, or a paint sprayer. Consider the texture and desired finish of your furniture when selecting the application method.
- Stir the paint: Open the paint can and use a stir stick to thoroughly mix the paint. This will ensure that any settled pigments are evenly distributed.
- Start with small sections: Begin by painting small sections of the furniture at a time, rather than trying to cover the entire piece at once. This will help you maintain control and achieve a more even coat of paint.
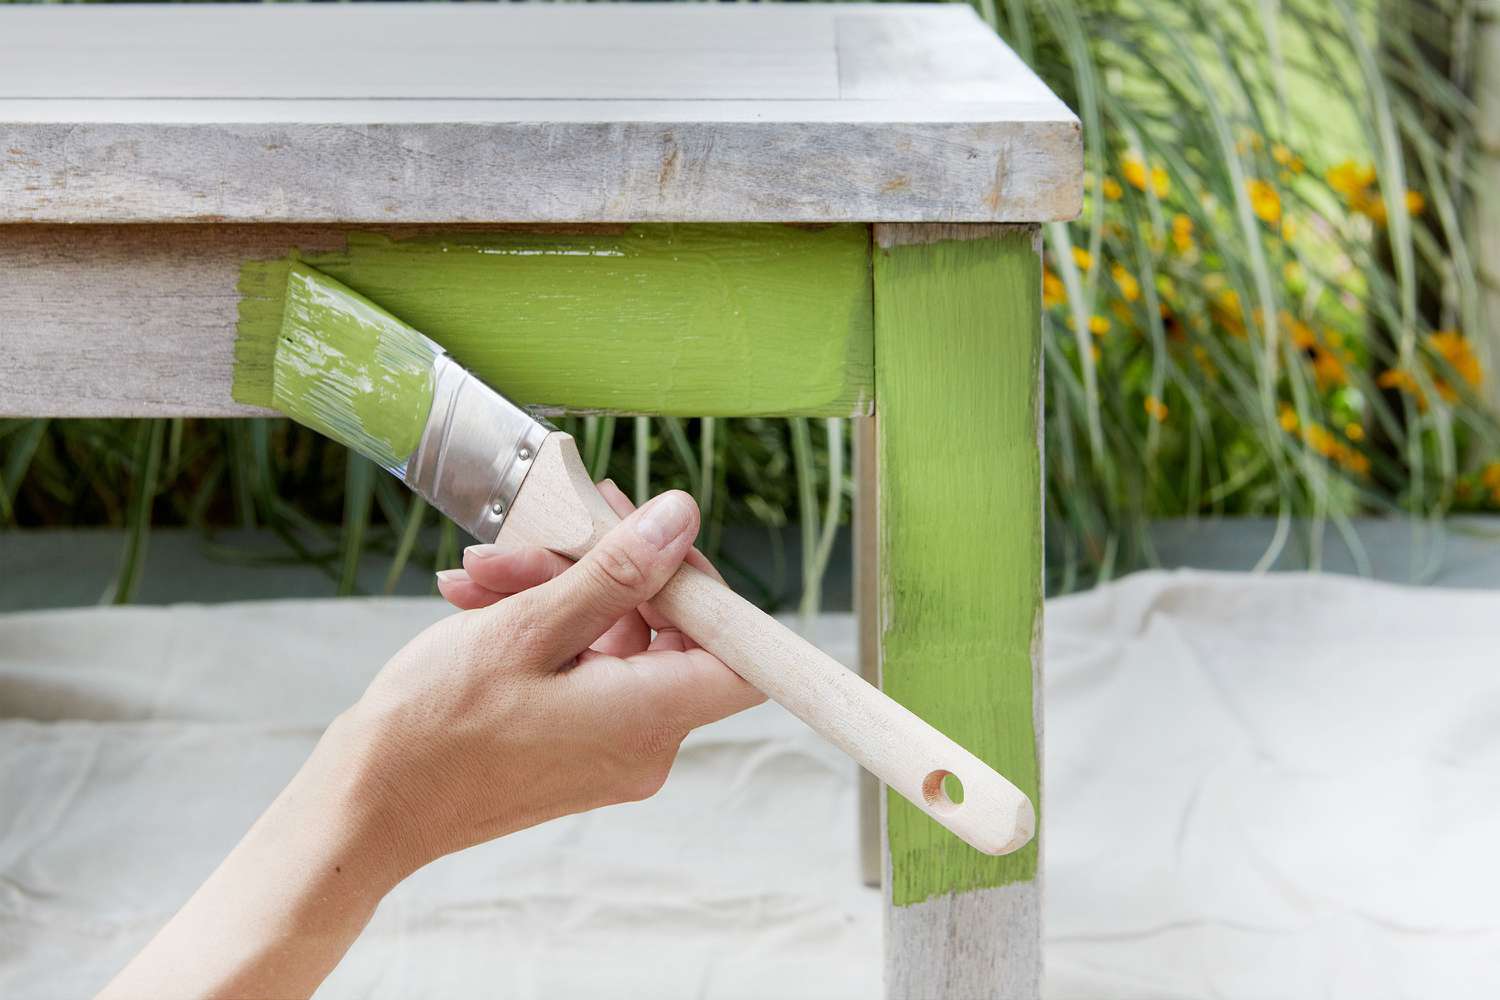
- Apply the paint: If using a brush or roller, apply a thin and even coat of paint to the furniture surface. Use smooth, overlapping strokes to ensure proper coverage. If using a paint sprayer, follow the manufacturer’s instructions for proper usage and technique.
- Allow the first coat to dry: Follow the recommended drying time specified by the paint manufacturer. Ensure proper ventilation during the drying process.
- Apply additional coats if necessary: Depending on the desired level of coverage and the opacity of the paint, you may need to apply multiple coats. Allow each coat to dry before applying the next, and lightly sand between coats if desired for a smoother finish.
- Pay attention to details: Take care when painting corners, edges, and intricate details of the furniture. Use a smaller brush or a foam brush to ensure full coverage in these areas.
- Smooth out any imperfections: If you notice any brush marks or drips, lightly sand the surface with a fine-grit sanding sponge once the paint is fully dry. This will help to create a smoother finish.
- Allow the final coat to cure: After applying the final coat of paint, allow it to cure for the recommended time specified by the paint manufacturer. This will ensure that the paint fully adheres and hardens for maximum durability.
Remember to work in a well-ventilated area and follow any safety precautions mentioned by the paint manufacturer. Additionally, consider using a paint additive or topcoat to further protect the painted surface and enhance its durability.
By following these steps and taking your time with the painting process, you can achieve a flawless and professional-looking finish on your laminate furniture. With the paint applied, it’s time to move on to some tips and tricks for a smooth finish.
Tips and Tricks for a Smooth Finish
When painting laminate furniture, there are some tips and tricks you can follow to ensure a smooth and flawless finish. Here are some helpful suggestions to enhance your painting experience:
- Work in thin, even coats: Instead of applying thick layers of paint, work in thin, even coats. This will help prevent drips, uneven coverage, and a tacky finish.
- Use long, smooth strokes: Whether using a brush, roller, or sprayer, use long and smooth strokes to apply the paint. This technique will give you better control and result in a smoother finish.
- Lightly sand between coats: If you notice any imperfections or rough areas, lightly sand between coats with a fine-grit sanding sponge. This will create a smoother surface for the next coat of paint.
- Pay attention to drying time: Follow the recommended drying time between coats and before handling the furniture. Rushing the process could result in tacky paint and compromised finish.
- Minimize brush strokes: To minimize brush strokes, consider using a high-quality synthetic brush with fine bristles. Brush in the direction of the grain and avoid overloading the brush with paint for a smoother application.
- Avoid excessive pressure: Apply gentle and even pressure when using a roller or brush. Applying excessive pressure can cause the paint to streak or leave marks on the surface.
- Consider a paint conditioner: Adding a paint conditioner or extender to your paint can help improve flow and leveling, resulting in a smoother finish. Follow the instructions on the product for proper usage.
- Maintain consistent lighting: While painting, make sure to maintain consistent lighting conditions in the room. Inconsistent lighting can make it difficult to detect imperfections or ensure an even coverage.
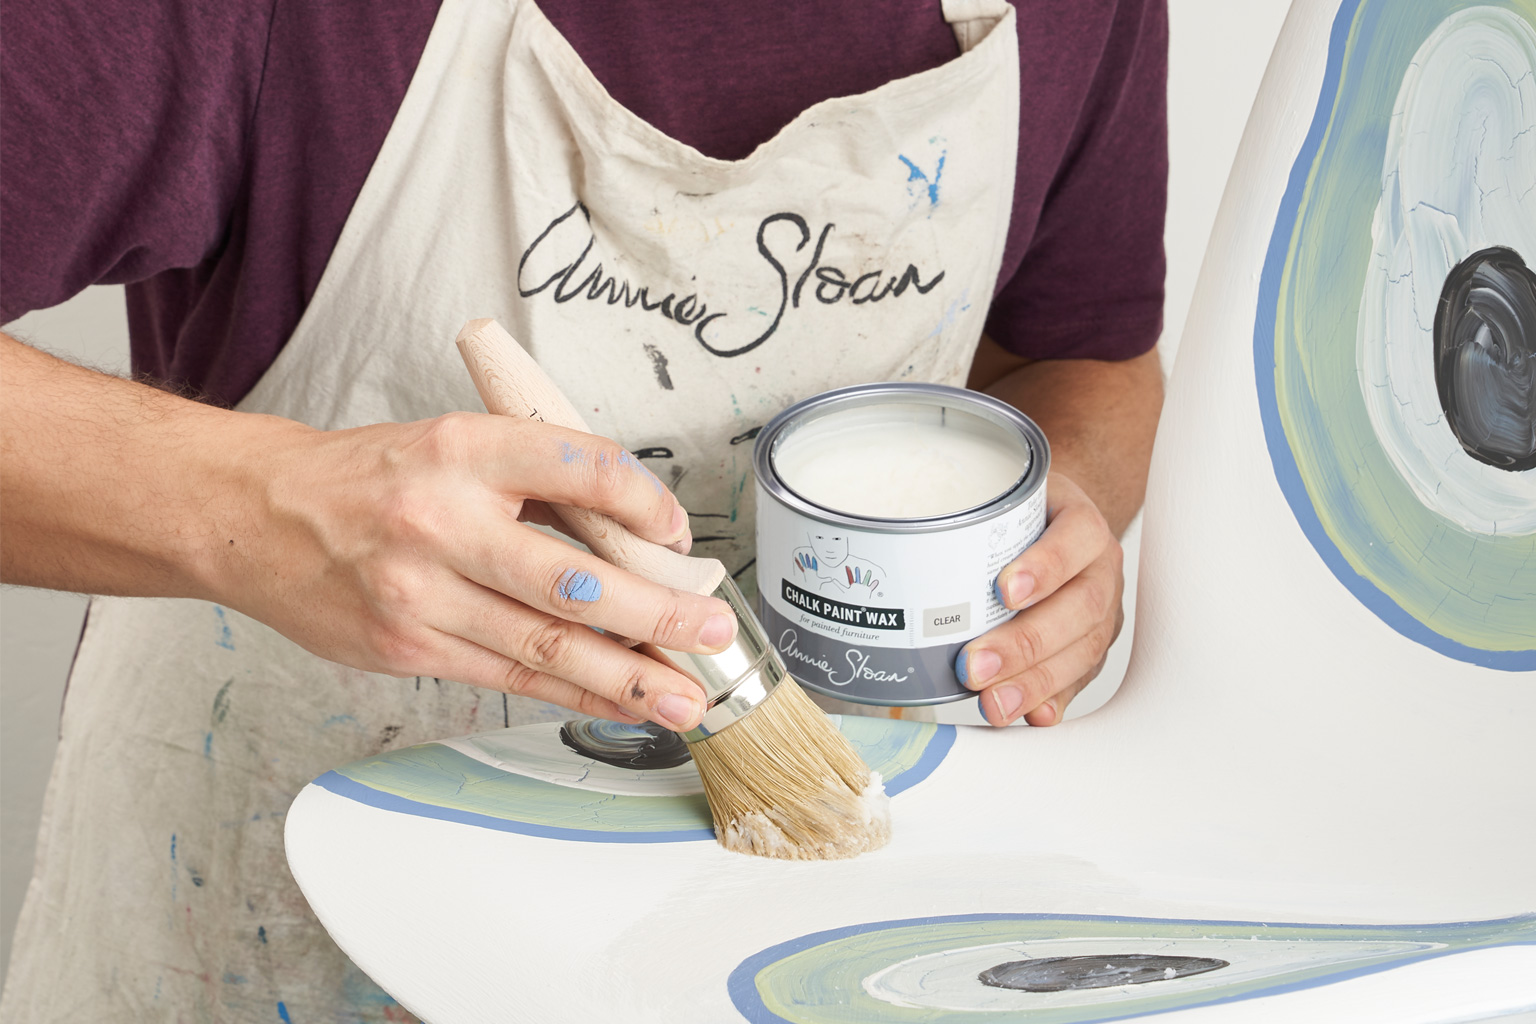
- Protect the painted surface: Once the paint has fully cured, consider applying a clear topcoat or sealant to protect the painted surface from scratches and stains. This will help preserve the longevity of your newly painted furniture.
By adopting these tips and tricks, you can achieve a smoother and more professional-looking finish on your painted laminate furniture. Remember to take your time, be patient, and maintain attention to detail throughout the painting process.
Now that you have completed the painting process, it’s important to learn how to properly care for and maintain your newly painted laminate furniture.
Caring for Painted Laminate Furniture
Proper care and maintenance are essential for preserving the beauty and longevity of your painted laminate furniture. Here are some tips to help you keep your furniture looking its best:
- Avoid harsh cleaners: When cleaning your painted laminate furniture, avoid using harsh chemical cleaners or abrasive materials. These can damage the paint finish. Instead, opt for mild soap and water, or a gentle all-purpose cleaner.
- Use coasters and placemats: To prevent damage from spills, use coasters and placemats under cups, glasses, and plates. This will help protect the painted surface from moisture and potential staining.
- Be mindful of heat and moisture: Avoid placing hot objects directly on the painted surface, as this can cause the paint to bubble or peel. Additionally, be cautious with exposing the furniture to excessive moisture, such as placing it near a bathroom or in a damp area.
- Handle with care: While painted laminate furniture can be durable, it is still susceptible to scratches and chips. Take care when moving the furniture, and avoid dragging or bumping it against rough surfaces.
- Perform regular dusting: Dust your painted laminate furniture regularly to prevent a buildup of dirt and debris. Use a soft cloth or a duster to gently wipe down the surface.
- Address spills and stains promptly: If any spills occur, clean them up immediately to prevent the paint from absorbing the liquid or staining. Blot the spill gently with a clean cloth and then clean the area with a mild soap solution.
- Touch up when necessary: Over time, your painted laminate furniture may experience small chips or scratches. Keep some leftover paint on hand for touch-ups. Apply the paint carefully to the affected area, let it dry, and then gently sand and blend it with the surrounding paint for a seamless finish.
- Follow manufacturer’s instructions: Always refer to the manufacturer’s specific care instructions for your particular type of painted laminate furniture. They may have additional recommendations or warnings to ensure the longevity of the finish.
As with any furniture, proper care and attention will help keep your painted laminate furniture looking its best for years to come. By following these tips and establishing a regular cleaning and maintenance routine, you can protect your investment and enjoy the beauty of your painted furniture for a long time.
Now that you understand how to care for your painted laminate furniture, let’s wrap up this article.
Read more: How To Paint Bathroom Vanity Without Sanding
Conclusion
Painting laminate furniture without sanding is a convenient and effective way to transform old, outdated pieces into stylish and personalized treasures. By following the proper techniques and using the right products, you can achieve a beautiful and durable finish without the hassle of sanding. Throughout this article, we explored the benefits of painting laminate furniture without sanding, as well as the step-by-step process to achieve a successful result.
We discussed how painting laminate furniture without sanding saves time and effort, while also preserving the delicate laminate surface. By choosing the right type of paint, properly cleaning the furniture, and applying a primer, you can ensure optimal adhesion and a long-lasting finish. We also shared tips and tricks for achieving a smooth and professional-looking result, as well as important care and maintenance practices to keep your painted laminate furniture in top condition.
Now that you have the knowledge and confidence to paint your own laminate furniture without sanding, it’s time to unleash your creativity and embark on your painting journey. Whether you’re updating an old piece or adding a personal touch to a thrift store find, this technique allows you to breathe new life into your home decor.
Remember to take your time, follow the steps carefully, and enjoy the process of transforming your furniture. With proper preparation, the right paint, and some creativity, you can achieve stunning results that will impress both yourself and others.
So go ahead, gather your supplies, and embark on the exciting adventure of painting laminate furniture without sanding. Your transformed pieces will not only bring joy and pride but also enhance the overall beauty and style of your home.
Frequently Asked Questions about How To Paint Laminate Furniture Without Sanding
Was this page helpful?
At Storables.com, we guarantee accurate and reliable information. Our content, validated by Expert Board Contributors, is crafted following stringent Editorial Policies. We're committed to providing you with well-researched, expert-backed insights for all your informational needs.


0 thoughts on “How To Paint Laminate Furniture Without Sanding”