Articles
How To Bind Carpet Edges As A DIY Project
Modified: August 17, 2024
Learn how to bind carpet edges with this step-by-step DIY guide. Our articles provide helpful tips and techniques for a successful carpet binding project.
(Many of the links in this article redirect to a specific reviewed product. Your purchase of these products through affiliate links helps to generate commission for Storables.com, at no extra cost. Learn more)
Introduction
When it comes to home improvement projects, there are few things as satisfying as tackling a DIY project. Not only does it give you a sense of accomplishment, but it also allows you to save money and have total control over the outcome. If you have carpets in your home that need a little sprucing up, binding the edges is a simple and effective way to give them a polished and finished look.
Carpet binding involves adding a stitched or glued edging to the raw edges of your carpet, preventing fraying and unraveling. Whether you have a worn-out carpet that needs new binding or you have recently installed carpet and want to enhance its durability and aesthetics, you can easily take on this project yourself with a few tools and materials.
In this article, we will guide you through the step-by-step process of binding carpet edges as a DIY project. With our detailed instructions and helpful tips, you’ll be able to accomplish this task effortlessly and transform the look of your carpets. So let’s gather the necessary tools and materials and get started!
Key Takeaways:
- Transform your carpets with a DIY binding project, adding durability and a polished finish while saving money and enjoying a sense of accomplishment.
- Patience and precision are key to successful carpet binding. From measuring and cutting to securing and trimming, attention to detail yields professional results.
Tools and Materials Needed
Before you begin binding your carpet edges, make sure you have the following tools and materials ready:
- Carpet binding tape: This is a fabric strip that will be used to cover the raw edges of the carpet. It is available in various colors, so choose one that complements your carpet.
- Heavy-duty scissors or carpet knife: You’ll need a sharp cutting tool to trim the carpet and the binding tape.
- Sewing machine or hot glue gun: Depending on your preference, you can use a sewing machine or a hot glue gun to secure the binding tape to the carpet edges.
- Measuring tape or ruler: Accuracy is crucial when measuring and cutting the binding tape, so make sure you have a measuring tool handy.
- Pins or clips: These will come in handy to hold the binding tape in place while you work.
- Marker or chalk: You’ll need a marker or chalk to mark the cutting lines on the binding tape.
- Iron (optional): If you’re using a fabric binding tape, you may want to use an iron to press the tape before applying it to the carpet edges.
Once you have gathered these tools and materials, you’re ready to move on to the next steps of binding your carpet edges. With proper preparation, you can ensure that your project goes smoothly and the results are professional-looking.
Step 1: Measuring and Cutting the Binding Tape
The first step in binding your carpet edges is to measure and cut the binding tape to the appropriate length. This will ensure a clean finish and a snug fit.
Here’s how to do it:
- Begin by measuring the length of one side of your carpet. Use a measuring tape or ruler and make note of the measurement.
- Take the binding tape and unroll it. Place it on a flat surface.
- Align one end of the binding tape with the edge of the carpet. Make sure it overlaps the edge by about 1 inch.
- Using a marker or chalk, mark the cutting line on the binding tape where it meets the opposite edge of the carpet. This will give you the correct length of the tape.
- Using heavy-duty scissors or a carpet knife, carefully cut along the marked line to trim the binding tape to the desired length.
- Repeat this process for each side of the carpet, measuring and cutting the binding tape accordingly.
Once you have measured and cut the binding tape for all sides of the carpet, you’re ready to move on to the next step: preparing the carpet edges for binding. This step is crucial for ensuring a secure and long-lasting binding. So let’s get started!
Step 2: Preparing the Carpet Edges
Before you can apply the binding tape, it’s important to prepare the carpet edges to ensure a clean and durable finish. Here are the steps to prepare your carpet edges for binding:
- Start by ensuring that the carpet edges are clean and free from any dirt or debris. Vacuum or sweep the edges to remove any loose particles.
- If there are any frayed or loose fibers along the edges of the carpet, trim them with a pair of scissors. This will help create a smooth surface for the binding tape to adhere to.
- Inspect the carpet edges for any unevenness or bumps. Use your hands or a carpet stretcher to smooth out any wrinkles or irregularities in the carpet.
- If the carpet has a thick pile, you may need to trim it slightly along the edges to create a flatter surface. Be careful not to cut too much; a small trim will suffice.
- If desired, you can also use a hot iron at a low setting to press the carpet edges. This will help flatten and smooth out any stubborn wrinkles or folds.
By properly preparing the carpet edges, you’ll ensure that the binding tape adheres securely and creates a professional-looking finish. Take your time with this step to achieve the best results.
Now that you have prepared the carpet edges, it’s time to move on to the next step: applying the binding tape. With the right technique, you can achieve a seamless and durable bond. Let’s continue!
When binding carpet edges as a DIY project, make sure to use a heavy-duty binding tape and a hot glue gun for a secure and professional-looking finish.
Step 3: Applying the Binding Tape
Now that you have measured, cut, and prepared the carpet edges, it’s time to apply the binding tape. This is the step where you will secure the tape to the edges, providing a clean and finished look to your carpet. Follow these steps:
- Start by aligning one end of the binding tape with the edge of the carpet. The tape should cover the raw edges of the carpet completely.
- If using a sewing machine:
- Select a thread color that matches the binding tape.
- Starting from one end, sew along the edge of the binding tape using a zigzag stitch. Make sure the stitch catches both the tape and the carpet.
- Continue sewing along the entire length of the binding tape until you reach the opposite end.
- If using a hot glue gun:
- Apply a thin and even layer of hot glue along the underside of the binding tape.
- Press the binding tape firmly onto the edge of the carpet.
- Hold it in place for a few seconds to allow the glue to set and bond.
- Repeat the above steps for the remaining sides of the carpet, ensuring that the binding tape is applied neatly and securely.
Regardless of the method you choose, it’s important to work slowly and carefully to achieve a clean and even application of the binding tape. Take your time to ensure that the tape is straight and aligned with the carpet edges.
With the binding tape now in place, the next step is to secure it to the carpet edges to ensure a long-lasting bond. In the following step, we will guide you through the process of securing the binding tape. Let’s continue!
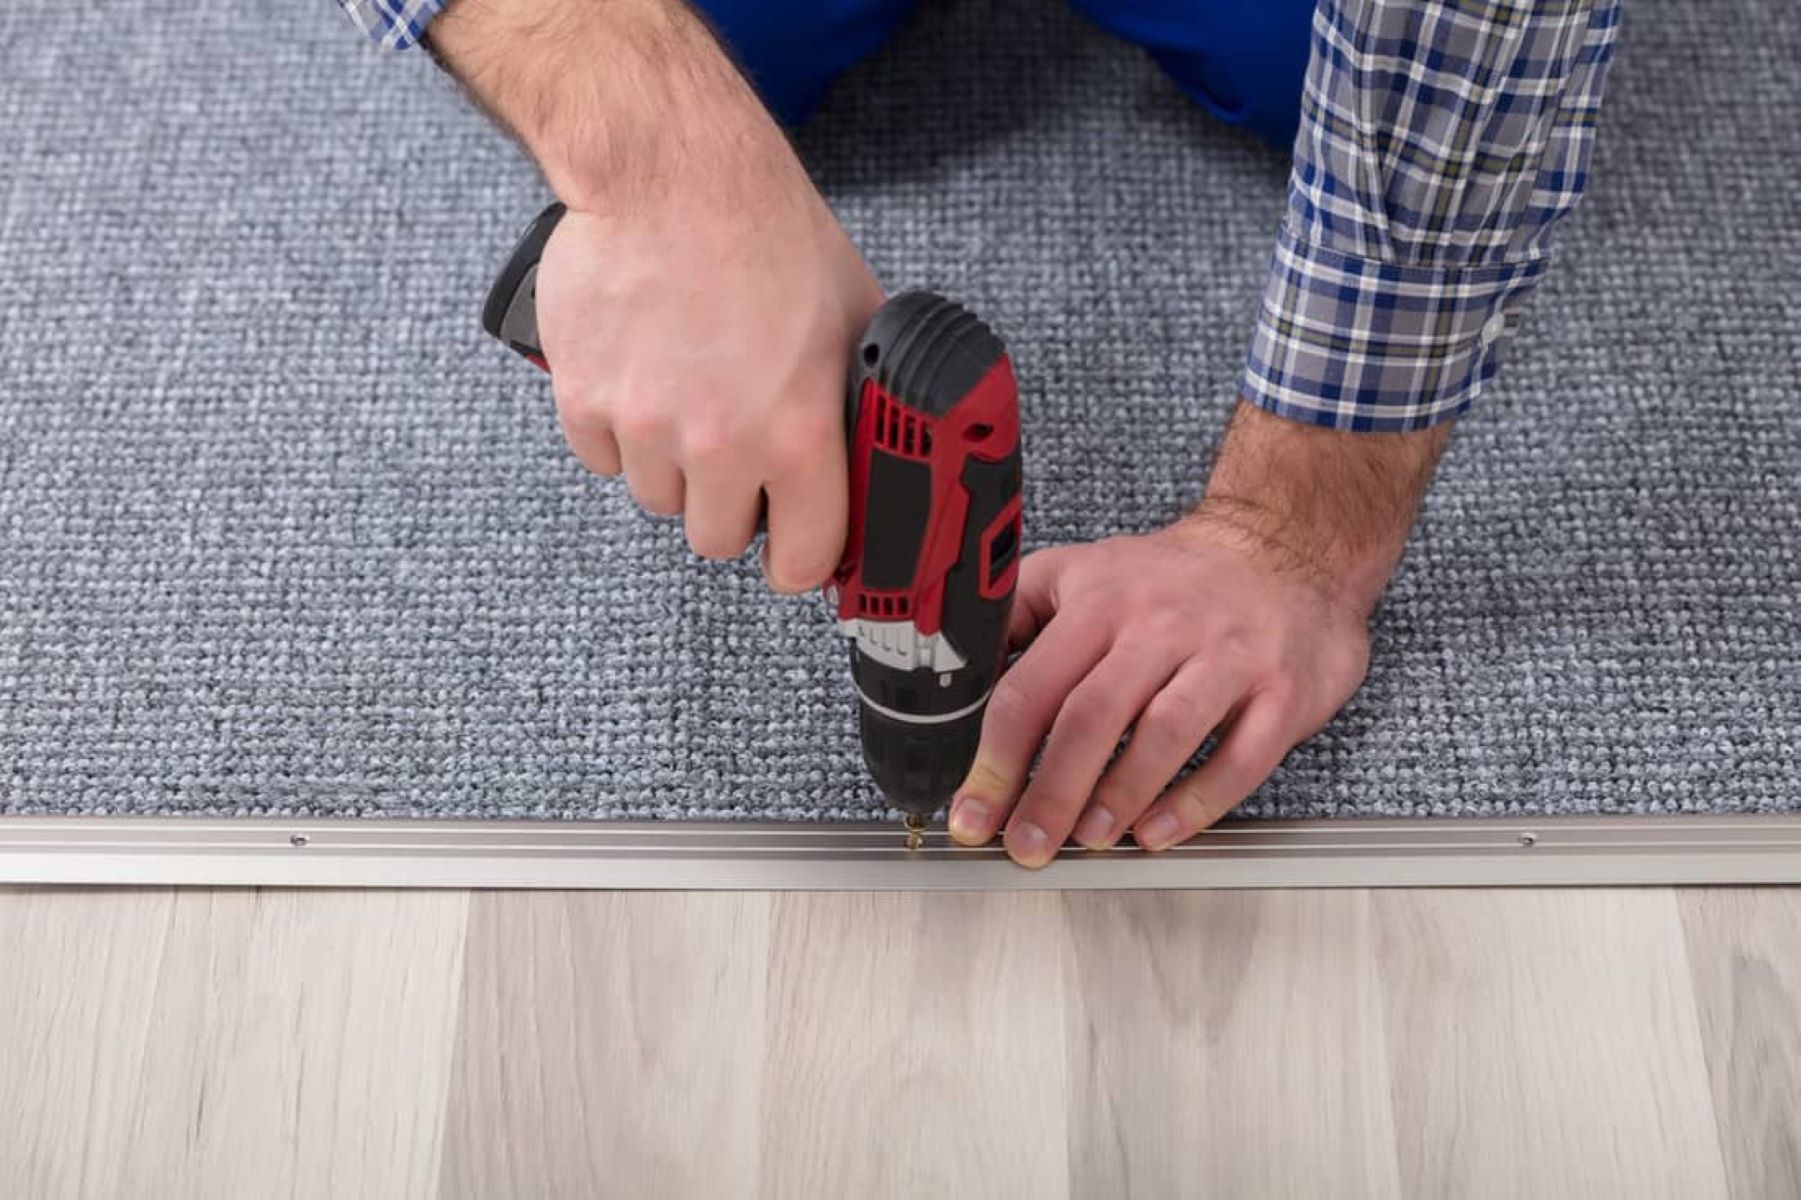
Step 4: Securing the Binding Tape
Now that you have applied the binding tape to the carpet edges, it’s time to secure it to ensure a durable and long-lasting finish. Securing the binding tape will prevent it from coming loose or unraveling over time. Follow these steps:
- If you used a sewing machine to attach the binding tape, you have already secured it with the zigzag stitches. However, to provide extra reinforcement, you can sew another row of straight stitches along the inner edge of the binding tape.
- If you used a hot glue gun to attach the binding tape, you will need to secure it by applying a thin line of hot glue along the seam where the tape meets the carpet. Be sure to press the binding tape firmly onto the carpet to create a strong bond.
- Use pins or clips to hold the binding tape in place while you secure it. This will prevent it from shifting or moving during the securing process.
- Work your way along the entire length of the binding tape, either sewing or gluing it securely to the carpet edges.
- Allow the glue to dry completely or remove the pins/clips once you have finished securing the binding tape.
By properly securing the binding tape, you’ll ensure that it stays in place, even with regular use and foot traffic. This will contribute to the longevity and durability of your carpet edges.
With the binding tape securely attached and reinforced, it’s time to move on to the final step: trimming and finishing the edges. This step will give your carpet a clean and professional appearance. Let’s proceed!
Step 5: Trimming and Finishing the Edges
The final step in binding your carpet edges is to trim and finish them for a polished and professional look. This step involves removing any excess binding tape and ensuring that the edges are neat and tidy. Follow these steps to complete the process:
- Using sharp scissors or a carpet knife, carefully trim any excess binding tape that extends beyond the edges of the carpet. Be sure to make clean and straight cuts.
- If there are any loose threads or frayed edges, trim them carefully to create a neat and tidy appearance.
- If you used a sewing machine to secure the binding tape, check for any loose threads or uneven stitches. Trim them if necessary for a cleaner finish.
- Inspect the entire perimeter of the carpet to ensure that the binding tape is securely attached and there are no gaps or loose areas. If you find any, reapply glue or sew in those areas to reinforce them.
- Once you are satisfied with the trimming and overall appearance, give the carpet edges a final press with an iron (if using fabric binding tape) to smooth out any wrinkles or creases.
By taking the time to trim and finish the edges properly, you’ll achieve a seamless and professional look for your carpet. This step adds the final touch to your DIY carpet binding project.
Congratulations! You have successfully bound the edges of your carpet as a DIY project. Take a step back and admire your work. Not only have you enhanced the appearance of your carpets, but you have also added durability and longevity to them.
Remember to clean and maintain your carpets regularly to keep them looking their best. With proper care, your newly bound carpet will continue to enhance the comfort and aesthetics of your home for years to come.
We hope this step-by-step guide has been helpful to you. Enjoy the satisfaction of a job well done!
Conclusion
Binding the edges of your carpet as a DIY project is a rewarding endeavor that can transform the look and longevity of your carpets. By following the step-by-step process outlined in this article, you can achieve professional results without the need for hiring a professional.
From measuring and cutting the binding tape to securing it to the carpet edges, each step plays a vital role in creating a clean and polished finish. Taking your time, paying attention to detail, and using the right tools and materials will ensure the success of your project.
Not only does carpet binding prevent fraying and unraveling of the carpet edges, but it also adds durability and a finished touch to your carpets. Plus, by opting for a DIY approach, you can save money and have complete control over the final outcome.
Remember, the key to a successful carpet binding project is patience and precision. Properly measuring, cutting, and attaching the binding tape, as well as securing and trimming the edges, will result in a professional-looking finish.
Once you have completed the binding process, take pride in your accomplishment. Admire the transformed look of your carpets and enjoy the added longevity they will now have.
Keep in mind, regular cleaning and maintenance of your carpets will prolong their lifespan and preserve their appearance. Vacuum regularly, spot clean as needed, and schedule professional deep cleanings to keep your carpets looking their best.
We hope this guide has empowered you to take on this DIY project with confidence and success. Embrace the opportunity to enhance your home’s aesthetics and protect your carpets for years to come.
Now, gather your tools, choose your binding tape, and get started on transforming your carpets into works of art!
Frequently Asked Questions about How To Bind Carpet Edges As A DIY Project
Was this page helpful?
At Storables.com, we guarantee accurate and reliable information. Our content, validated by Expert Board Contributors, is crafted following stringent Editorial Policies. We're committed to providing you with well-researched, expert-backed insights for all your informational needs.