Articles
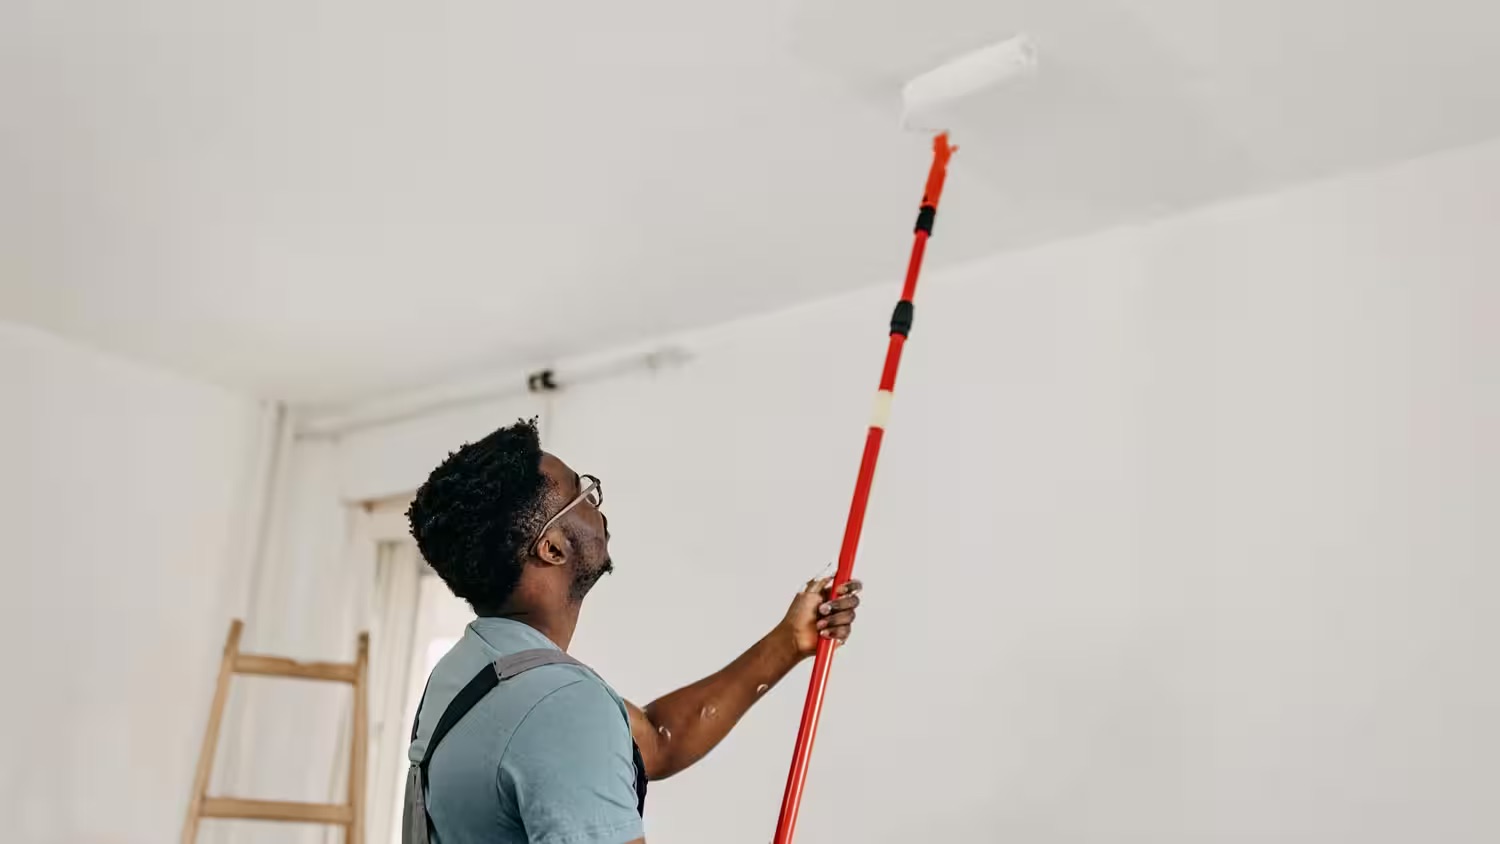
How To Blend Touch Up Paint On Ceiling
Modified: October 20, 2024
Discover effective techniques on how to blend touch up paint on your ceiling with our expert-written articles. Achieve seamless paint touch-ups effortlessly.
(Many of the links in this article redirect to a specific reviewed product. Your purchase of these products through affiliate links helps to generate commission for Storables.com, at no extra cost. Learn more)
Introduction
When it comes to home maintenance and repair, there are few things more frustrating than a ding or scratch on your beautifully painted ceiling. Luckily, touch-up paint can be a simple solution to restore the appearance of your ceiling and keep it looking flawless.
This article will guide you through the steps of how to blend touch-up paint on a ceiling, ensuring that the repaired area seamlessly matches the surrounding paint. By following these steps, you can achieve professional-looking results without the need to hire a painter.
Before you begin, it’s important to gather the necessary materials. You will need touch-up paint that matches the existing color of your ceiling, a small paintbrush or sponge, fine-grit sandpaper, a clean cloth, and some painter’s tape.
Now, let’s dive into the step-by-step process of blending touch-up paint on a ceiling.
Key Takeaways:
- Achieve professional-looking results by blending touch-up paint on your ceiling using simple steps and common materials, without the need to hire a professional painter.
- Patience and attention to detail are key in seamlessly blending touch-up paint with the surrounding area, ensuring a flawless repair and a pristine ceiling appearance.
Read more: How To Touch Up Paint On Walls
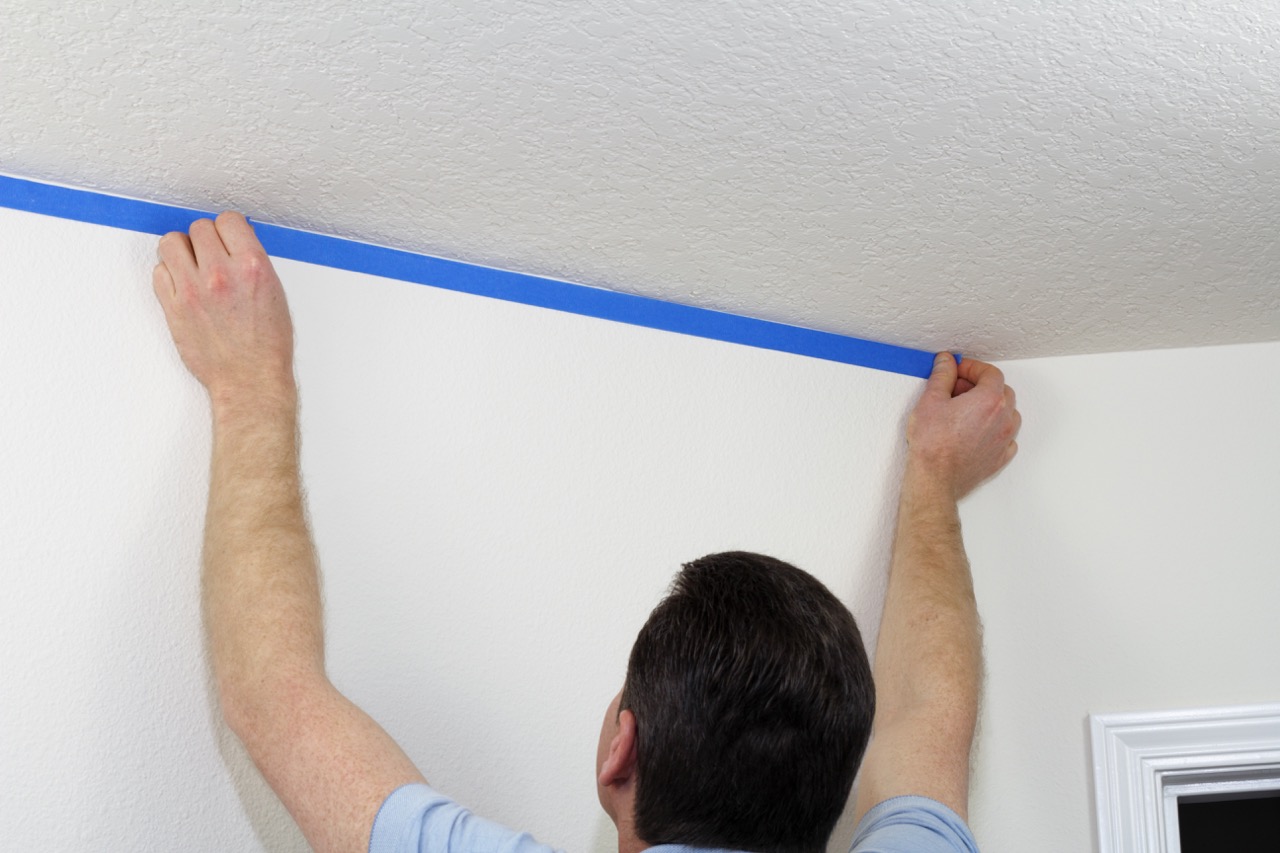
Step 1: Prepare the area
Before starting any painting project, it’s crucial to prepare the area properly. This ensures that the touch-up paint adheres well and results in a seamless blend with the surrounding paint.
Start by removing any furniture or objects from the area to create a clear and clutter-free space. Cover the floor and any remaining furniture with drop cloths or plastic sheets to protect them from accidental paint splatters or drips.
Next, use painter’s tape to mask off any adjacent surfaces that you want to protect from paint splatters. This could include walls, molding, or light fixtures. Take your time to apply the tape carefully, ensuring that it adheres well and creates a clean edge.
Lastly, open windows or use fans to ensure proper ventilation in the room. This helps to reduce fumes and speed up the drying process of the touch-up paint.
By properly preparing the area, you’ll create a clean and controlled environment for your touch-up paint application.
Step 2: Clean the surface
Before applying touch-up paint, it’s important to clean the surface of the ceiling to remove any dust, dirt, or grease that may affect paint adhesion.
Start by using a soft cloth or sponge and a mild detergent solution to gently wipe down the area around the damaged spot. Be careful not to apply excessive pressure or scrub too hard, as this can damage the existing paint.
If there are any stubborn stains or marks on the ceiling, you can use a gentle cleaning agent specifically designed for painted surfaces. Test the cleaning agent on a small, inconspicuous area first to ensure that it doesn’t cause any damage or discoloration.
Once you’ve cleaned the surface, rinse it thoroughly with clean water to remove any residue from the cleaning solution. Use a clean cloth or sponge to pat the area dry or allow it to air dry completely.
Ensuring that the surface is clean and free from debris will create a smooth foundation for the touch-up paint and help achieve a seamless blend with the surrounding paint.
Step 3: Sand the affected area
After cleaning the surface, it’s important to prepare the damaged area by gently sanding it. Sanding helps to smooth out any rough edges and create a more even surface for the touch-up paint.
Start by using fine-grit sandpaper (around 220-grit) and lightly sand the damaged area in a circular motion. Be gentle and avoid applying too much pressure, as this can damage the surrounding paint.
The goal is to feather out the edges of the damaged area so that there are no visible lines or ridges when the touch-up paint is applied. By blending the edges, you’ll create a seamless transition between the repaired area and the existing paint.
After sanding, use a clean cloth or sponge to remove any dust or debris from the surface. Ensure that the area is completely clean and smooth before proceeding to the next step.
Remember, the purpose of sanding is to create a smooth and even surface for the touch-up paint to adhere to, resulting in a seamless blend with the surrounding paint.
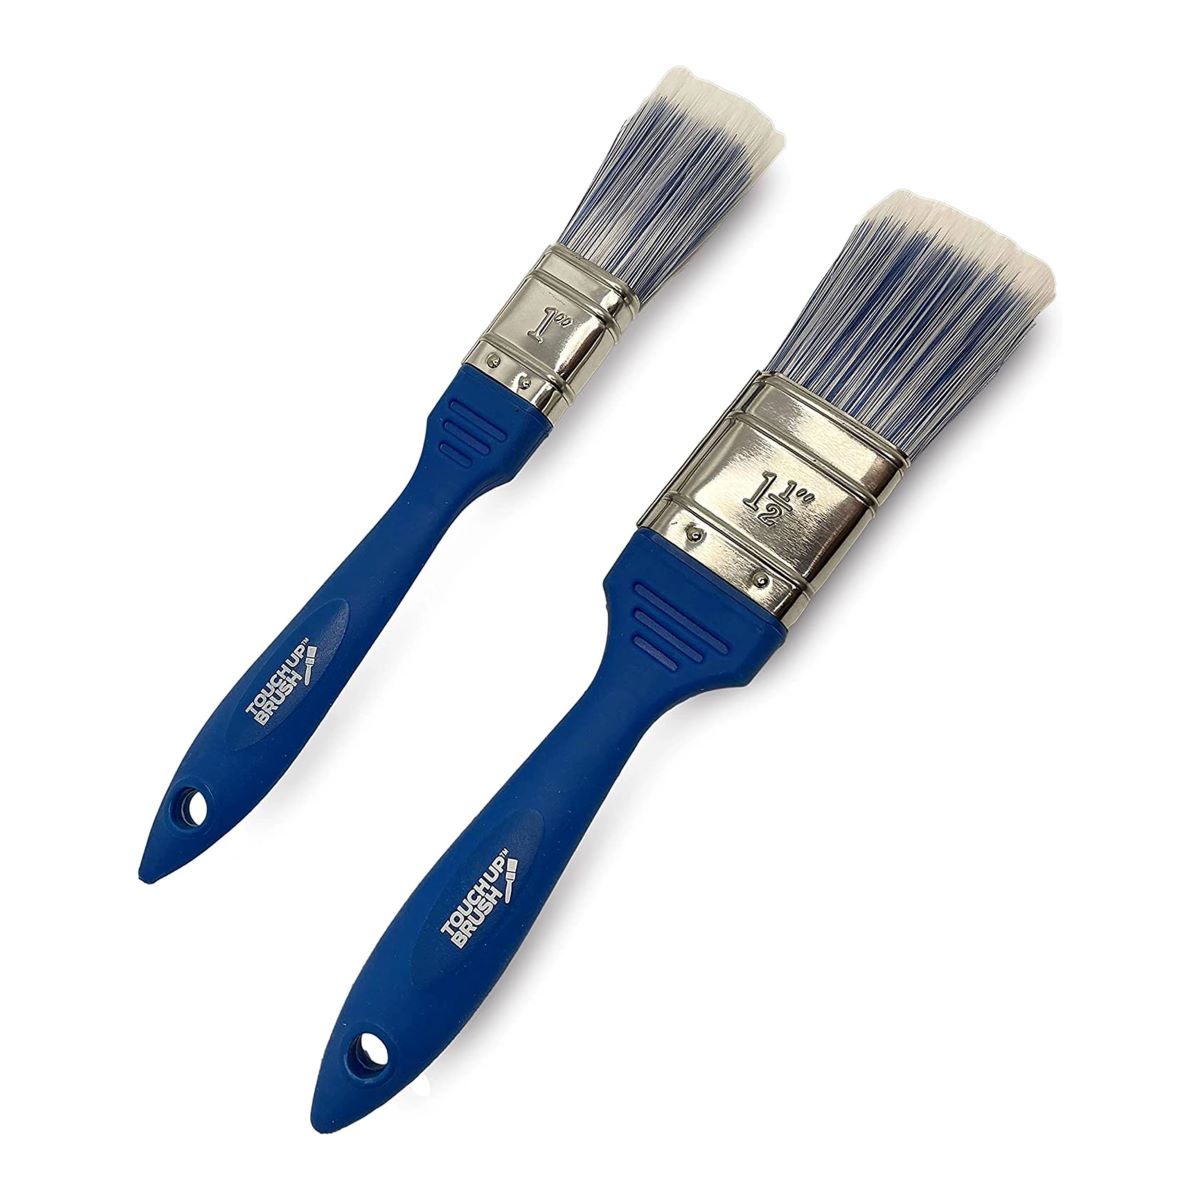
When blending touch-up paint on a ceiling, use a small brush or sponge to feather the edges of the new paint into the existing paint. This will help create a seamless transition and minimize the appearance of the touch-up area.
Step 4: Apply the touch-up paint
Now that the surface is clean and sanded, it’s time to apply the touch-up paint to the damaged area of the ceiling.
Start by stirring the touch-up paint thoroughly to ensure an even consistency. If the touch-up paint is too thick, you can add a small amount of water to thin it out, following the manufacturer’s instructions.
Using a small paintbrush or a sponge, carefully apply a thin layer of touch-up paint to the damaged area. Start from the center of the damaged spot and work your way outwards, feathering the edges as you go.
It’s important to apply several thin coats of touch-up paint rather than one thick coat. Allow each coat to dry completely before applying the next one, following the drying time specified by the manufacturer.
While applying the touch-up paint, be mindful of the texture of the surrounding ceiling. Try to mimic the texture by using the same brush strokes or sponge technique to create a cohesive and seamless finish.
If necessary, you can use a small artist’s brush or a toothpick to add finer details or texture to mimic the surrounding area.
Once you’ve applied the touch-up paint, allow it to dry completely before proceeding to the next step.
Remember, the key to achieving a seamless blend is to apply thin and multiple coats of touch-up paint, mimicking the texture and technique of the surrounding ceiling.
Read more: How To Store Touch Up Paint
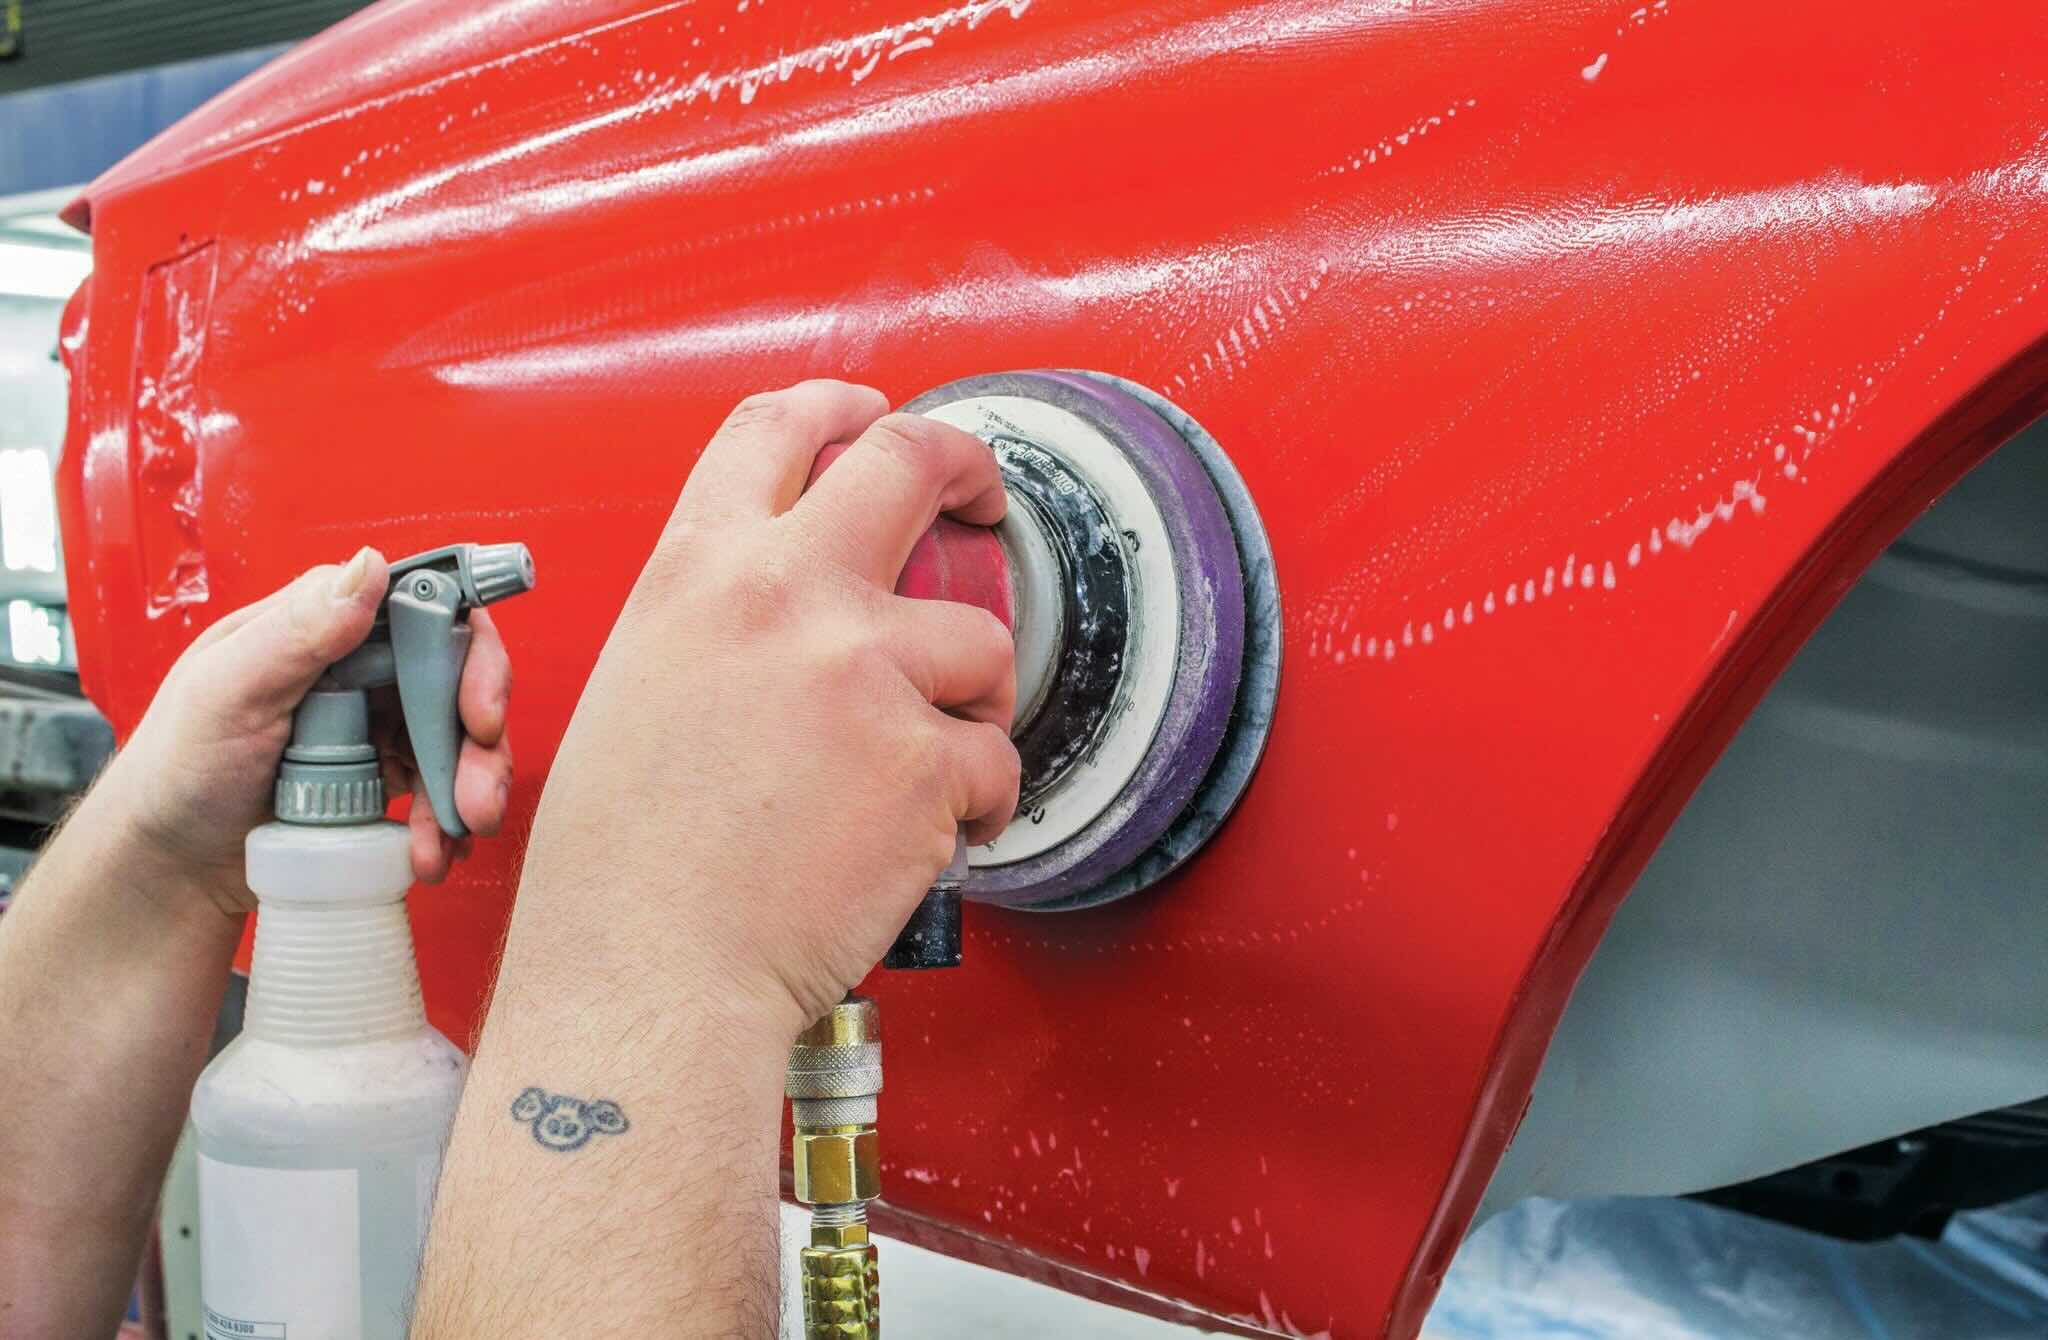
Step 5: Blend the paint
After applying the touch-up paint, it’s time to blend it with the surrounding paint to achieve a seamless finish on your ceiling.
Start by examining the repaired area to determine if there are any visible lines or inconsistencies. If you notice any, you can use a clean, damp cloth or sponge to gently blend the edges of the touch-up paint with the surrounding paint.
Using a circular motion, lightly dab or blend the paint, gradually feathering it outwards. Be careful not to apply too much pressure or scrub too hard, as this can remove the touch-up paint or damage the surrounding paint.
If necessary, you can also lightly sand the area again to further blend the paint and create a smooth transition. Remember to use a fine-grit sandpaper and be gentle during this process.
Continue to blend and assess the area until you achieve a seamless and invisible repair. Take breaks and step back to evaluate your progress from different angles and lighting conditions to ensure a consistent blend.
Once you are satisfied with the blending, step back and allow the paint to dry completely.
By blending the touch-up paint with the surrounding paint, you create a seamless repair that is virtually undetectable.
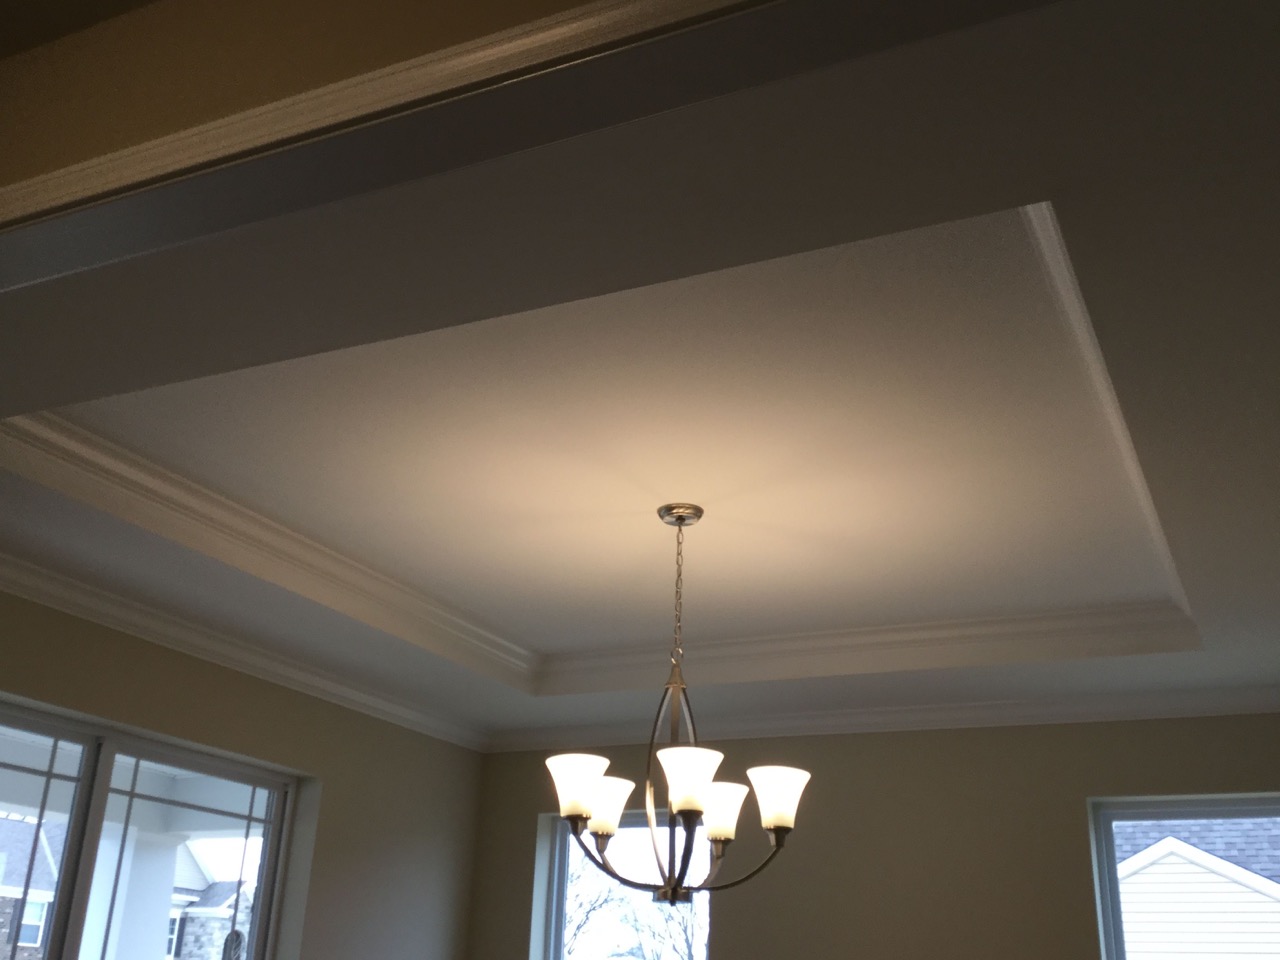
Step 6: Evaluate the results
After allowing the touch-up paint to dry completely, it’s time to step back and evaluate the results of your efforts.
Take a close look at the repaired area and compare it to the surrounding paint. Look for any visible differences in color, texture, or sheen. Pay attention to how the repaired area blends in with the rest of the ceiling.
If you notice any inconsistencies or areas that need further blending, you can repeat the previous steps of blending and assessing until you achieve the desired outcome.
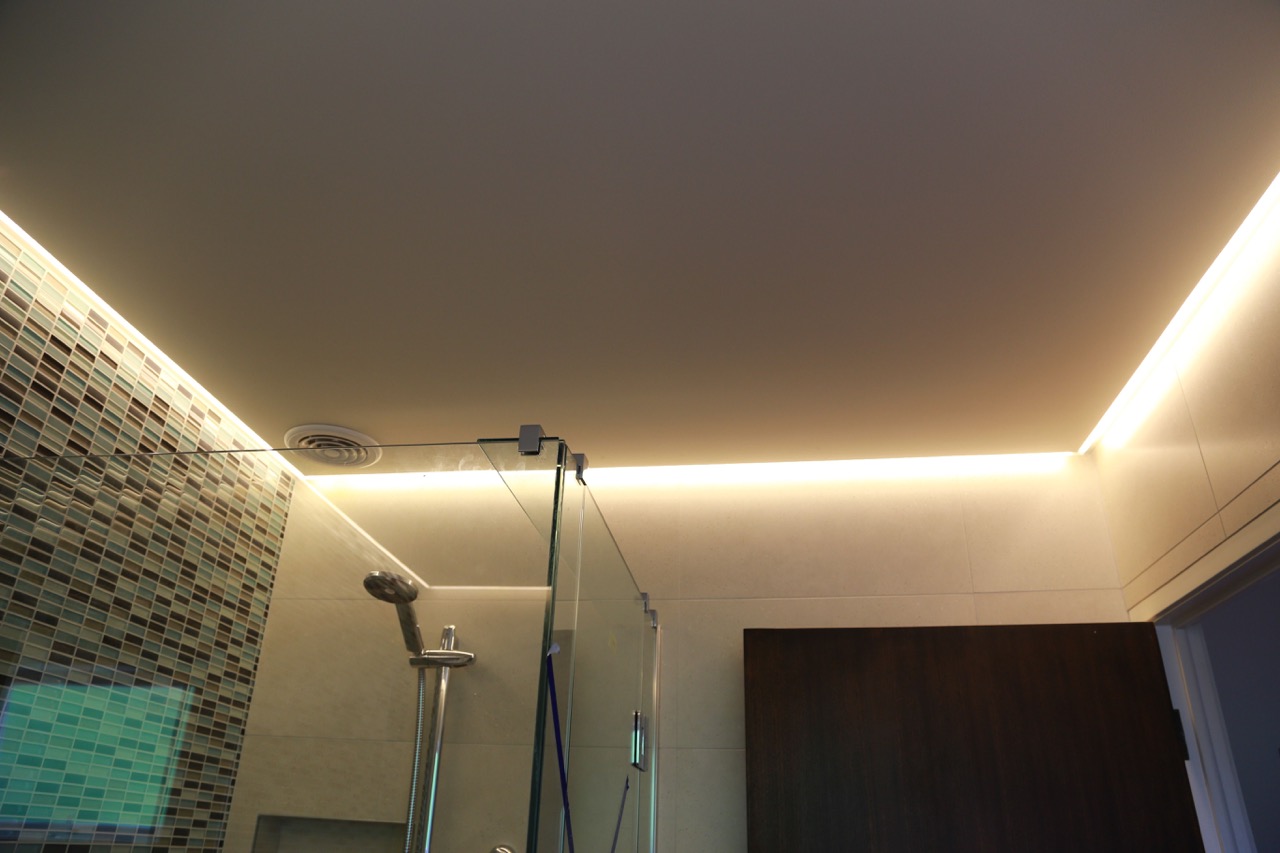
Consider viewing the repaired area from different angles and lighting conditions to ensure that it remains seamless and invisible. Natural light and different types of artificial light can sometimes reveal imperfections that may not be noticeable under normal circumstances.
If you are satisfied with the result and the repaired area blends well with the rest of the ceiling, you can proceed to remove the painter’s tape and clean up any remaining materials or drop cloths.
However, if you are not entirely happy with the outcome, you may need to consider seeking professional help or repainting the entire ceiling to achieve a more uniform finish. Consulting a paint expert can provide valuable guidance in such situations.
Remember, the goal is to achieve a seamless blend with the surrounding paint, and by carefully evaluating the results, you can ensure a successful touch-up paint job on your ceiling.
Conclusion
Touch-up paint can be a lifesaver when it comes to maintaining the appearance of your ceiling. By following the steps outlined in this article, you can blend touch-up paint seamlessly and achieve professional-looking results without the need to hire a painter.
From preparing the area and cleaning the surface to sanding the affected area and applying the touch-up paint, each step plays a critical role in ensuring a flawless repair. Blending the touch-up paint with the surrounding paint is key to achieving a seamless finish.
Remember to take your time and be patient during the process. Evaluate the results from various angles and lighting conditions to ensure a consistent blend. If needed, repeat the blending and assessment steps until you achieve the desired outcome.
It’s worth noting that sometimes, touch-up paint may not perfectly match the existing paint on your ceiling due to factors such as fading or variations in the paint batch. If the difference is noticeable, you may need to consider repainting the entire ceiling or consulting a professional for further advice.
With the right tools, materials, and attention to detail, you can successfully blend touch-up paint on your ceiling, restoring its pristine appearance and keeping your home looking its best.
So, don’t let those unsightly scratches or dings on your ceiling be a source of frustration. Follow the steps outlined in this article and confidently tackle the task of blending touch-up paint on your ceiling.
Ready to take your DIY skills further? After mastering ceiling touch-ups, why not tackle other home projects? For those looking to add a fresh spin to room aesthetics, learning about painting tips for a ceiling fan could be your next move. Not stopping there, staying on top of home maintenance is key to ensuring your living space remains in top shape. Cover all bases and keep your home looking its best!
Frequently Asked Questions about How To Blend Touch Up Paint On Ceiling
Was this page helpful?
At Storables.com, we guarantee accurate and reliable information. Our content, validated by Expert Board Contributors, is crafted following stringent Editorial Policies. We're committed to providing you with well-researched, expert-backed insights for all your informational needs.


0 thoughts on “How To Blend Touch Up Paint On Ceiling”