Articles
How To Insulate An Attic Access Door
Modified: April 22, 2024
Learn how to insulate an attic access door with these informative articles. Save energy and keep your home comfortable all year round.
(Many of the links in this article redirect to a specific reviewed product. Your purchase of these products through affiliate links helps to generate commission for Storables.com, at no extra cost. Learn more)
Introduction
Welcome to our comprehensive guide on how to insulate an attic access door! If you have an attic in your home or building, then you likely have an attic access door that allows you to enter and exit the space. Attic access doors are commonly located on the ceiling or in a hallway closet, and they provide a convenient way to access the attic for storage, maintenance, or other purposes.
However, one aspect that is often overlooked when it comes to attic access doors is insulation. Insulating your attic access door is important for several reasons. Firstly, proper insulation helps to maintain the temperature in your home, preventing heat loss in the winter and heat gain in the summer. Additionally, insulating the attic access door can help to improve the overall energy efficiency of your home, reducing utility costs and lowering your carbon footprint.
In this guide, we will walk you through the step-by-step process of insulating an attic access door. We will discuss the different types of attic access doors, explain the importance of insulation, and provide you with all the tools and materials you will need for the job. So let’s get started with this essential home improvement project and ensure that your attic access door is properly insulated!
Key Takeaways:
- Properly insulating your attic access door can significantly improve energy efficiency, reduce utility bills, and create a more comfortable living environment by preventing heat loss and air leakage.
- Choosing the right insulation materials, installing weatherstripping, and sealing gaps are essential steps to ensure the effectiveness of your attic access door insulation. Regular maintenance and periodic checks are crucial for long-term energy savings.
Read more: How To Make An Attic Access Door
Types of Attic Access Doors
Before we dive into the process of insulating an attic access door, it’s important to understand the different types of attic access doors that are commonly used in homes and buildings. Each type has its own unique features and installation requirements, so knowing which type you have is crucial for a successful insulation project.
1. Hatch-style Access Doors: This is the most common type of attic access door and is typically a simple rectangular opening in the ceiling with a hinged door. These doors are usually made of plywood or drywall and are secured with hinges and a latch. Hatch-style access doors are versatile and can be insulated using various techniques.
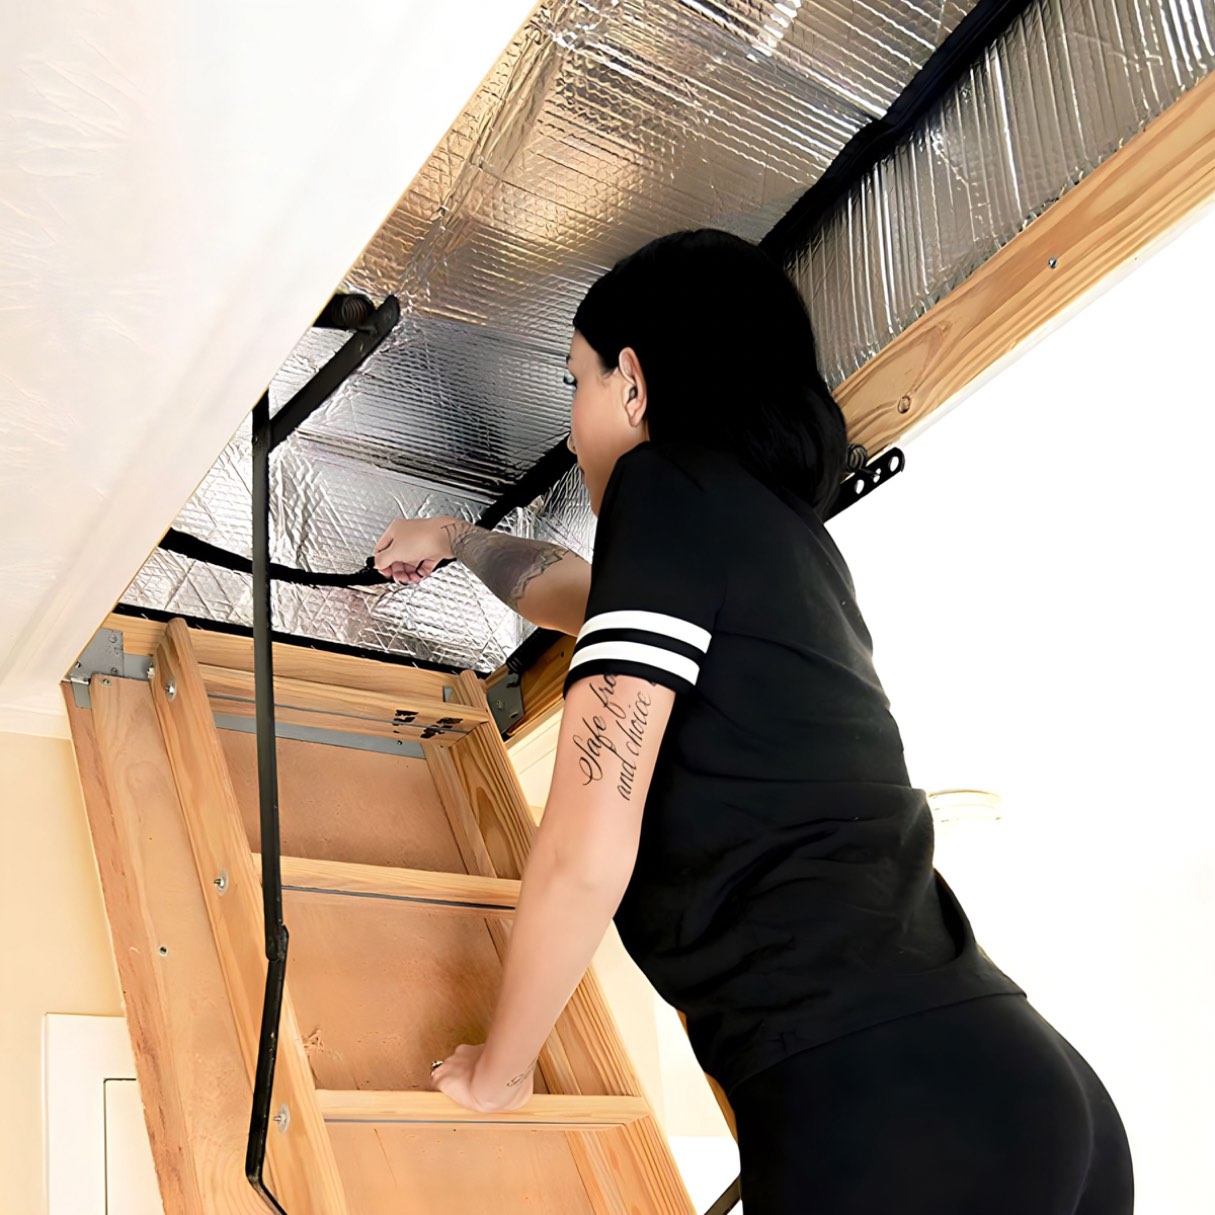
2. Pull-down Staircase Doors: Some attics have access doors that are built into a pull-down staircase. These doors are typically made of wood or metal and are attached to a folding staircase. Pulling the door downwards allows the staircase to unfold, providing easy access to the attic. When insulating this type of access door, it is important to insulate around the door and the sides of the staircase to prevent air leakage.
3. Scuttle Hole Doors: Scuttle hole doors are small, usually square-shaped access doors located in tight spaces, such as closets or hallways. These doors are typically made of plywood or drywall and are secured with hinges or screws. Insulating a scuttle hole door may require creative solutions due to the limited space available.
4. Knee-wall Doors: In some attics, there are knee walls that divide the attic into different areas. These walls often have access doors to allow entry and exit. Knee-wall doors are typically smaller and may have unique shapes or sizes, requiring custom insulation solutions.
5. Access Panels: Access panels are typically used in commercial buildings or larger residential buildings with HVAC systems or wiring that need regular maintenance. These panels are usually metal or plastic and are secured with latches or screws. When insulating an access panel, it is essential to ensure a tight seal to prevent air leakage.
Now that you are familiar with the different types of attic access doors, you can determine which type you have in your home or building. This knowledge will guide you in selecting the appropriate insulation materials and techniques for your specific attic access door.
Importance of Insulating Attic Access Doors
Insulating your attic access door is a vital aspect of maintaining a well-insulated and energy-efficient home. While many homeowners focus on insulating their walls, windows, and doors, they often overlook the attic access door. However, this small area can have a significant impact on the overall energy efficiency of your home. Here are some key reasons why insulating your attic access door is important:
1. Energy Efficiency: Uninsulated attic access doors can act as a gateway for the exchange of heat and air between your home and the attic. In the winter, warm air from your heating system can escape through the door, resulting in energy loss and higher heating bills. In the summer, hot air from the attic can seep into your living space, forcing your air conditioning system to work harder to maintain comfortable temperatures. By insulating the attic access door, you create a barrier that helps to regulate the temperature and reduce energy waste.
2. Comfort: A well-insulated attic access door can help to improve the overall comfort of your home. It helps maintain a consistent temperature throughout your living space, preventing drafts and cold spots that can make certain areas of your home uncomfortable. Whether you use your attic for storage or not, insulating the access door ensures that the temperature in the attic does not affect the rest of your home, providing a more comfortable living environment.
3. Air Quality: Attics can be dusty and contain insulation materials, debris, or even pests. A properly insulated attic access door helps create a seal that prevents dust, allergens, and pollutants from entering your living space. It also helps to keep any odors or contaminants present in the attic from circulating throughout your home, promoting better indoor air quality.
4. Reduced Noise: Insulating your attic access door can also help reduce noise transmission between the attic and the rooms below. Whether it’s footsteps, HVAC system noise, or other sounds generated in the attic, insulation acts as a sound barrier, minimizing unwanted noise disturbances in your living space.
5. Cost Savings: Insulating your attic access door can lead to long-term cost savings. By minimizing energy loss and reducing the workload on your heating and cooling systems, you can potentially lower your energy bills. Additionally, a well-insulated home is more attractive to potential buyers, increasing the resale value of your property.
In summary, insulating your attic access door offers numerous benefits, including improved energy efficiency, increased comfort, better air quality, reduced noise transmission, and potential cost savings. Investing the time and effort to properly insulate this often overlooked area will pay off in the long run, creating a more comfortable and sustainable home environment.
Tools and Materials Required
Before you begin insulating your attic access door, it’s essential to gather all the necessary tools and materials. Having everything prepared in advance will make the process smoother and more efficient. Here are the tools and materials you’ll need:
Tools:
- Measuring tape: Used to measure the dimensions of your attic access door.
- Utility knife: Needed for cutting insulation materials.
- Caulking gun: Used to apply caulking or adhesive to seal gaps and cracks.
- Screwdriver: Required for removing and installing screws, hinges, or latches.
- Paintbrush: Used for applying insulation adhesive or sealant.
- Hammer: Needed for securing nails or staples in some insulation types.
- Staple gun: Used to secure insulation materials in place.
- Safety goggles and gloves: Essential for protecting your eyes and hands while handling insulation materials.
Materials:
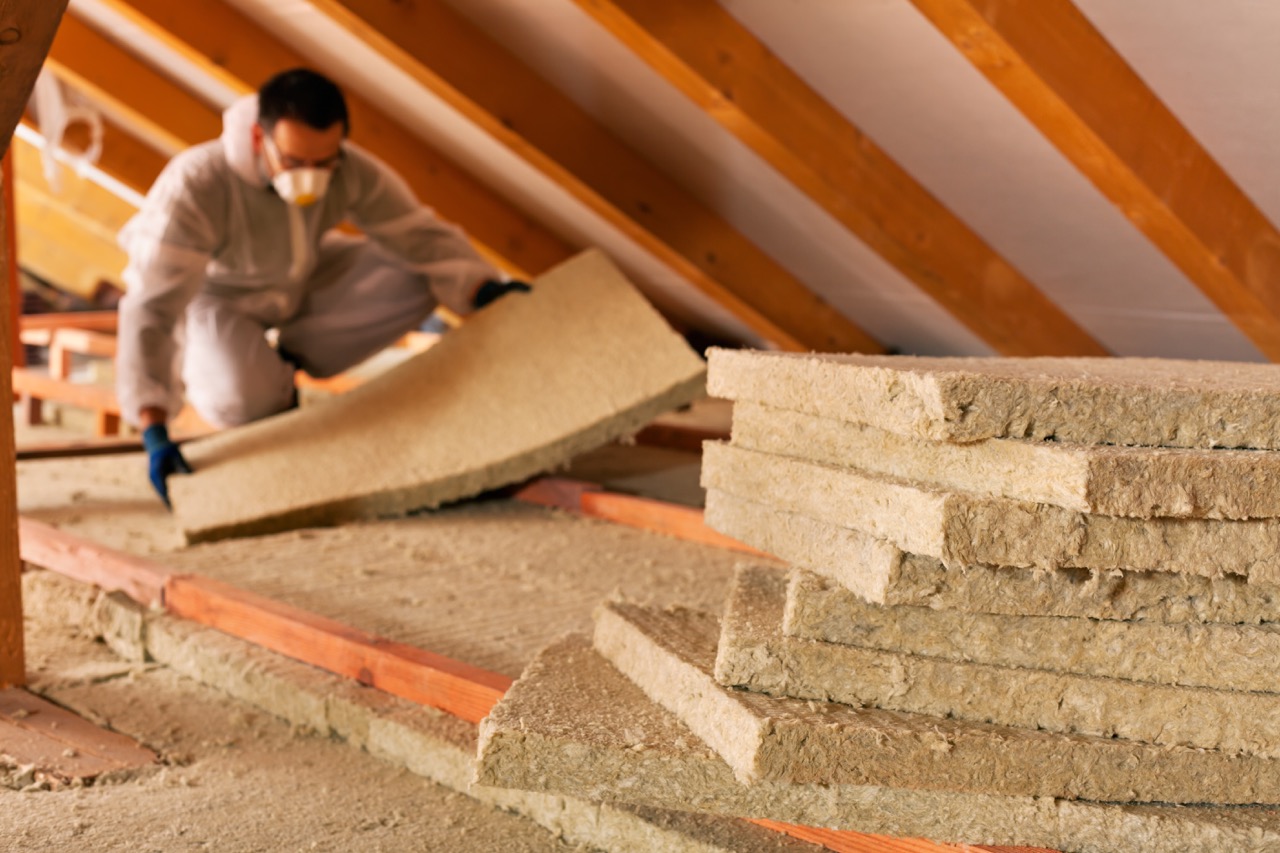
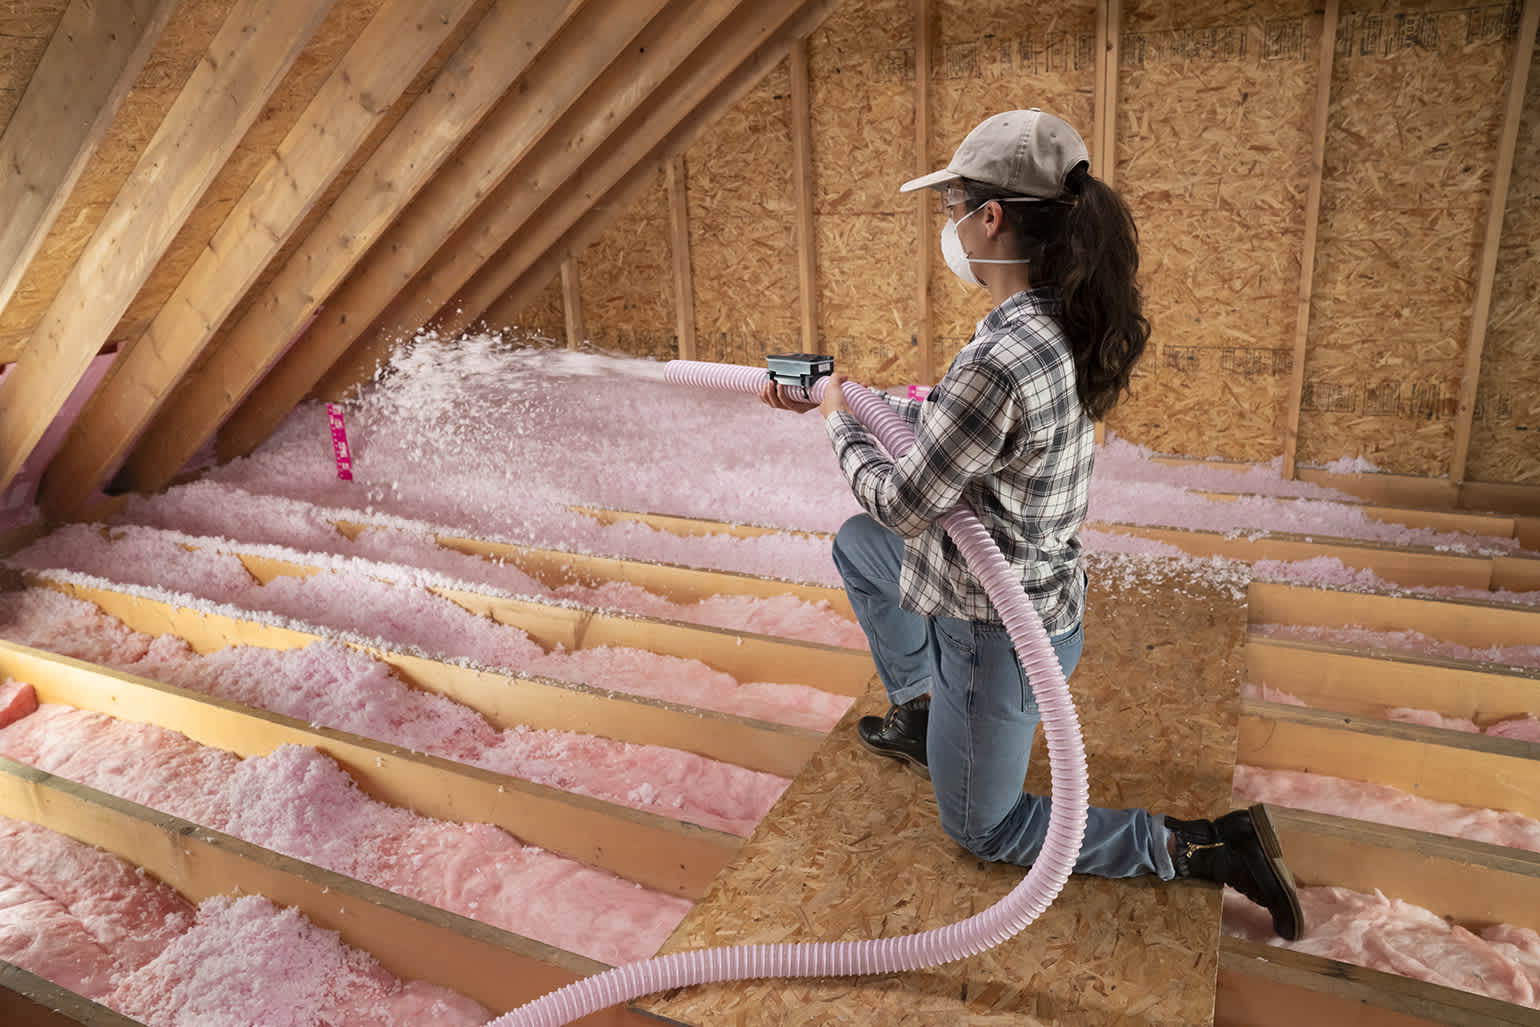
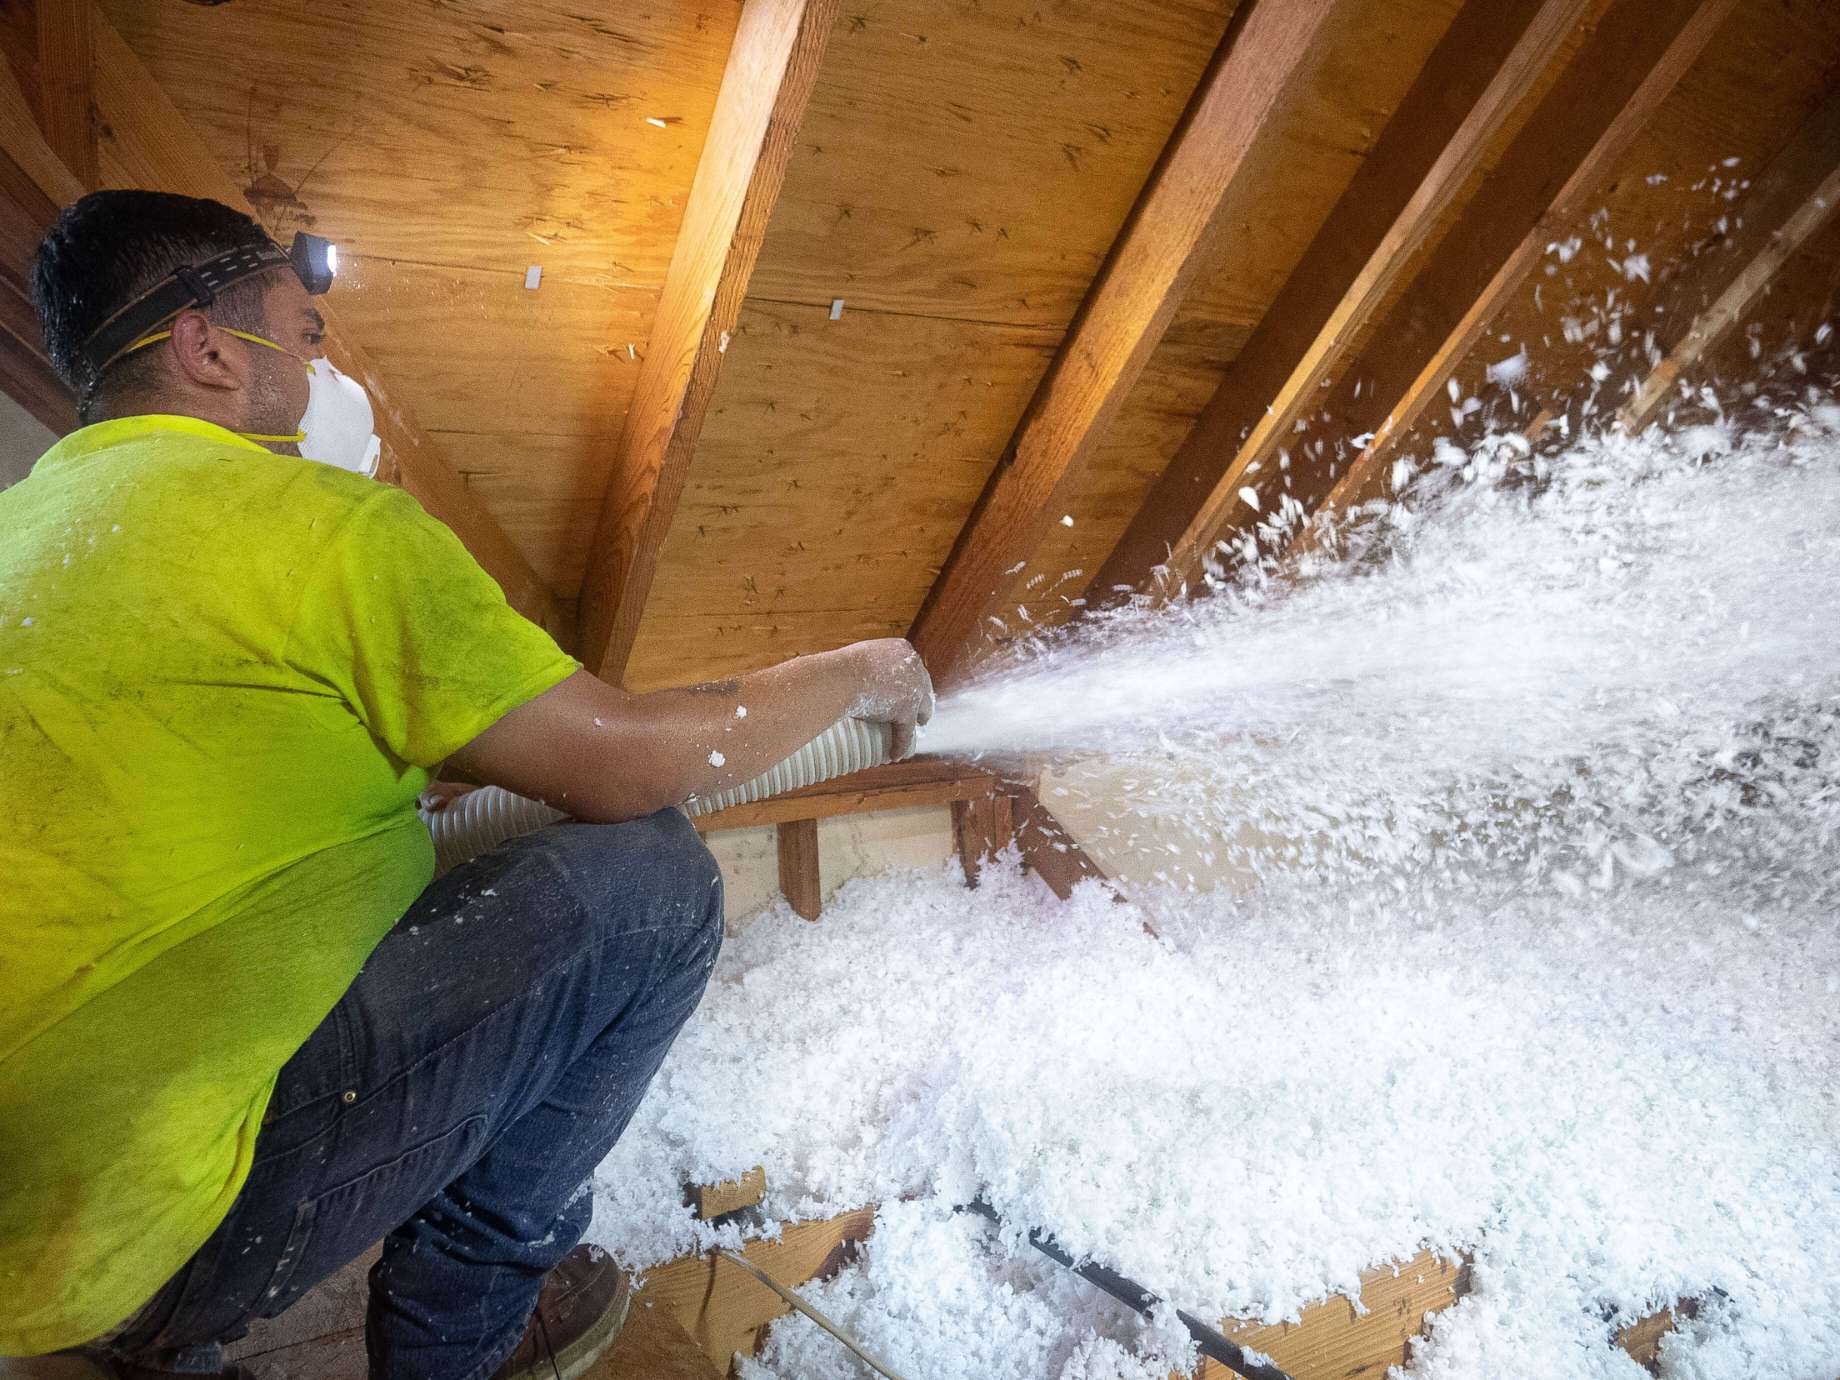
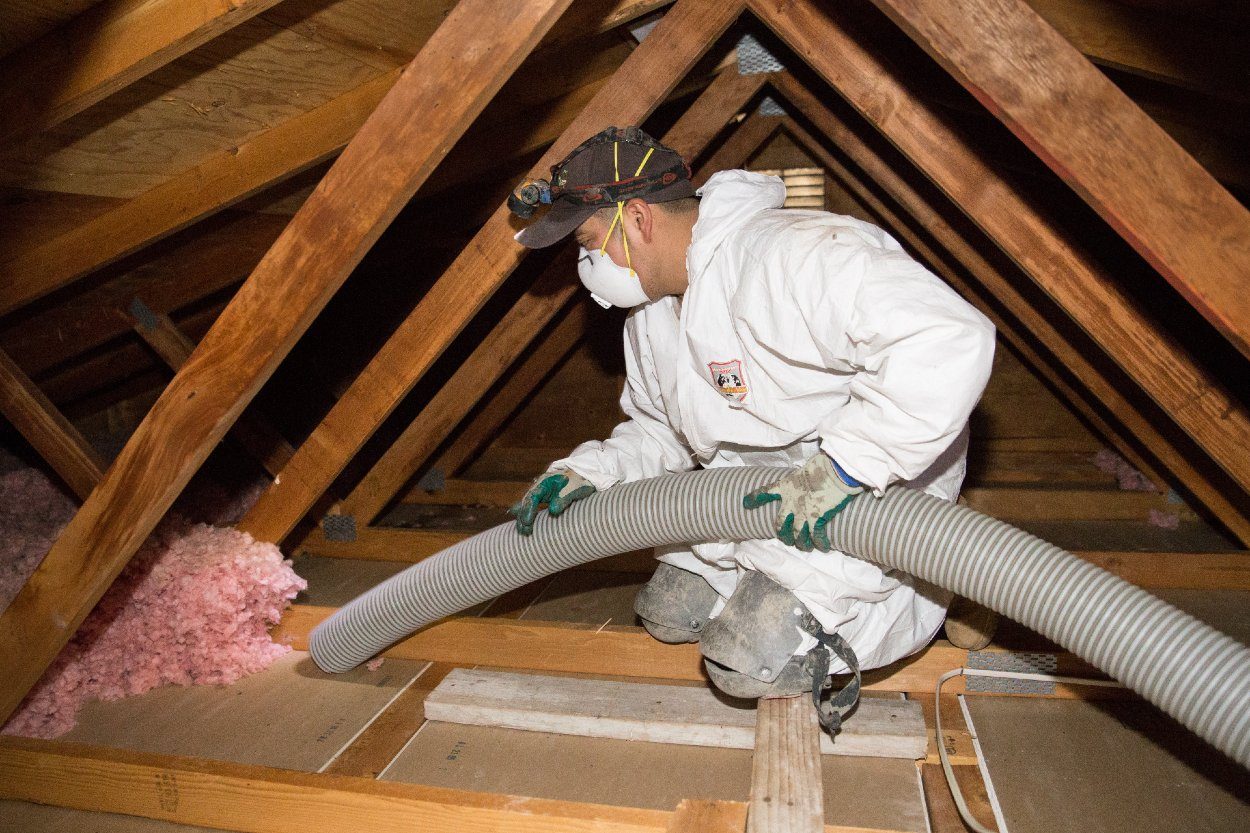
- Insulation: Choose the appropriate insulation material for your attic access door. Common options include fiberglass batts, rigid foam boards, or spray foam insulation.
- Weatherstripping: A strip of material, such as adhesive-backed foam or rubber, used to create a seal around the edges of the attic access door, preventing air leakage.
- Caulk or adhesive: Used to seal gaps, cracks, or joints around the attic access door.
- Insulation cover/blanket: An additional layer of insulation that covers the attic access door to further reduce heat transfer.
- Fasteners: Depending on the insulation material, you may need nails, screws, or staples to secure it in place.
- Fire-resistant tape: If required by local building codes, use fire-resistant tape to cover any exposed insulation edges.
It’s important to select insulation materials that are suitable for your specific attic access door and climate conditions. Consider factors such as R-value, fire safety requirements, and the presence of humidity or moisture in the attic when choosing insulation.
Before you start the insulation process, double-check that you have all the necessary tools and materials readily available. This way, you can work efficiently and avoid any unnecessary delays during the project.
Step 1: Measure the Attic Access Door
The first step in insulating your attic access door is to accurately measure its dimensions. This allows you to determine the amount of insulation material and weatherstripping needed. Follow these steps to measure your attic access door:
- Start by opening the attic access door fully and ensure it is securely in place.
- Use a measuring tape to measure the height and width of the door. Take accurate measurements from the inside edges of the door frame.
- Record the measurements, both in inches and centimeters, for reference when purchasing insulation materials and weatherstripping.
- If your attic access door has an irregular shape or features, note any additional measurements needed for custom insulation solutions.
- Double-check your measurements to ensure accuracy. Inaccurate measurements can lead to improper fitting of insulation materials and reduced insulation effectiveness.
Once you have measured your attic access door, you can proceed to the next steps of the insulation process. Having accurate measurements will help you choose the right insulation materials and ensure a proper fit, maximizing the energy efficiency of your home.
Consider using foam board insulation to cover the attic access door. Cut the foam board to fit the door, and secure it in place with adhesive or tape for an effective and affordable insulation solution.
Read more: How To Access Attic
Step 2: Install Weatherstripping
Weatherstripping is an important component of insulating your attic access door. It helps create a tight seal around the edges of the door, preventing air leakage and improving energy efficiency. Follow these steps to install weatherstripping on your attic access door:
- Start by cleaning the surface around the edges of the door to ensure it is free from dust, dirt, and debris. Use a damp cloth or mild cleaning solution if necessary.
- Cut the weatherstripping material into appropriate lengths based on the measurements of the door edges.
- Peel off the adhesive backing from the weatherstripping and carefully press it onto the door frame. Ensure that the weatherstripping is aligned with the edges of the door and firmly adheres to the surface.
- Continue applying the weatherstripping material around all sides of the attic access door, including the top and bottom edges.
- Once the weatherstripping is securely in place, close the attic access door to check for any gaps or unevenness. Make any necessary adjustments to ensure a snug fit.
- Test the seal by running a hand along the edges of the door to feel for any air leaks. If you detect any gaps or draftiness, reposition or apply additional weatherstripping as needed.
- Finally, trim any excess weatherstripping material using a utility knife, ensuring a neat and seamless appearance.
Weatherstripping creates a barrier against air infiltration and is an effective way to enhance the insulation of your attic access door. Proper installation of weatherstripping helps to reduce energy loss and improve comfort in your home.
Note that weatherstripping may need to be replaced periodically, so it’s a good idea to check its condition periodically and make any necessary repairs or replacements to maintain the door’s insulation effectiveness.
Step 3: Add Insulation to the Door
Adding insulation to your attic access door is a crucial step in improving its energy efficiency. The insulation helps to minimize heat transfer and maintain a more consistent temperature inside your home. Here’s how you can add insulation to your attic access door:
- Choose the appropriate insulation material based on your door’s dimensions and the insulation type you prefer. Common options include fiberglass batts, rigid foam boards, or spray foam insulation.
- If you’re using fiberglass batts, measure and cut the insulation to fit the dimensions of the door. Leave a small gap around the edges to ensure a snug fit.
- If you’re using rigid foam boards, measure and cut the panels to fit the dimensions of the door. Use a utility knife for precise cutting and ensure that the panels cover the entire surface of the door.
- If you’re using spray foam insulation, follow the manufacturer’s instructions for application. Apply the foam evenly onto the inside surface of the door, making sure to cover any gaps or cavities.
- Secure the insulation in place using staples, nails, or adhesive, depending on the insulation material being used. Ensure that the insulation is firmly attached and doesn’t sag or move.
- If there are any exposed edges or joints in the insulation, use fire-resistant tape to cover them, if required by local building codes. This helps to enhance the fire safety of your attic access door.
Remember to handle insulation materials with caution, wearing appropriate safety goggles and gloves to protect yourself from possible irritation or allergies. Be mindful of any wiring or fixtures around the attic access door and ensure that they are not obstructed or damaged by the insulation.
Adding insulation to the attic access door contributes to reducing energy loss and improving the overall energy efficiency of your home. It helps to create a barrier against heat transfer, maintaining a comfortable indoor environment while reducing your energy consumption.
Step 4: Seal Any Gaps
Ensuring that there are no gaps around your attic access door is essential for maximizing its insulation effectiveness. Even a small gap can lead to significant energy loss and compromise the efficiency of your insulation efforts. Follow these steps to seal any gaps around your attic access door:
- Inspect the area around the attic access door carefully. Look for any visible gaps, cracks, or openings between the doorframe and the surrounding walls or ceiling.
- Use a caulking gun to apply a bead of caulk or adhesive along the edges of the door frame where gaps are present. Smooth the caulk or adhesive with a paintbrush or a finger to ensure a tight seal.
- For larger gaps or openings, consider using expanding foam insulation. Insert the nozzle of the foam insulation canister into the gap and spray the foam evenly, filling the space. Allow the foam to expand and cure according to the manufacturer’s instructions.
- Check for any gaps or cracks in the ceiling or walls near the attic access door. Apply caulk or adhesive to seal these areas as well, ensuring a complete and airtight seal.
- Wait for the caulk, adhesive, or expanding foam insulation to dry and cure completely before moving on to the next step. Follow the recommended time frame provided by the product manufacturer.
Sealing gaps is crucial for preventing air leaks, drafts, and heat transfer around your attic access door. By eliminating these gaps, you retain the insulation’s effectiveness and maintain a more energy-efficient home.
Regularly check the sealed areas for any signs of wear or damage. If needed, reapply caulk or adhesive to maintain a tight seal, particularly in regions with extreme temperatures or high humidity that may cause the sealant to deteriorate over time.
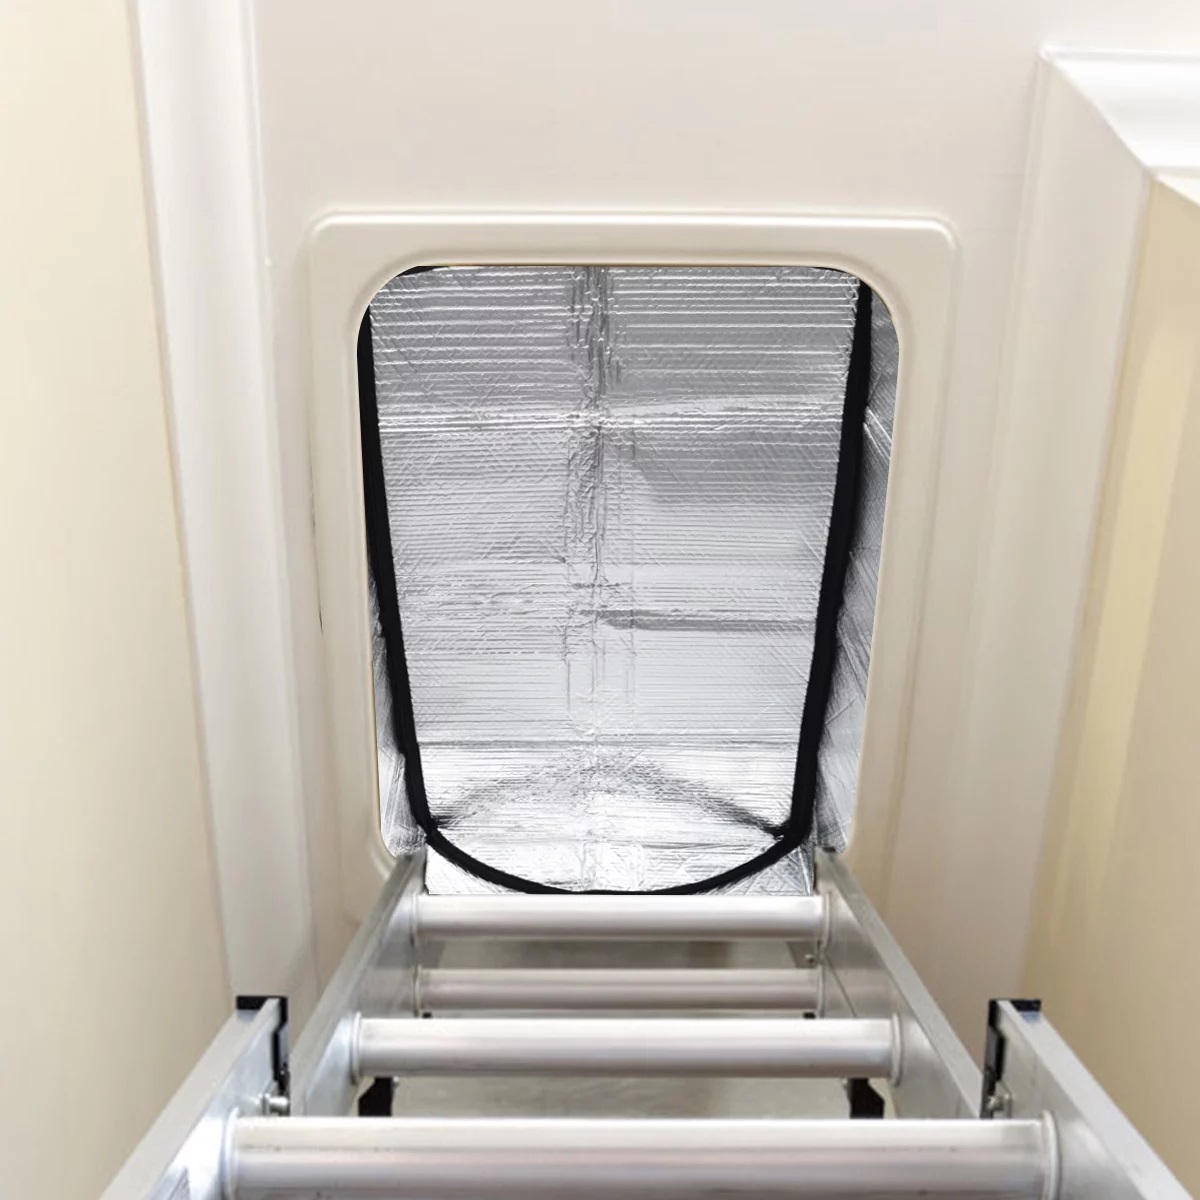
Step 5: Install a Door Cover or Blanket
Installing a door cover or blanket onto your attic access door is an additional measure to enhance its insulation and energy efficiency. The cover acts as an extra layer of insulation, minimizing heat transfer and further improving the performance of your attic access door. Follow these steps to install a door cover or blanket:
- Measure the dimensions of your attic access door, including its height and width, to ensure the cover or blanket will fit correctly.
- Select a suitable door cover or blanket material. Common options include reflective covers, insulation blankets, or even DIY solutions using insulation material and fabric.
- If you are using a premade door cover or blanket, follow the manufacturer’s instructions for installation. Some covers may feature a zipper or Velcro closures for easy access, while others may require fastening with adhesive or straps.
- If you are making a DIY door cover or blanket, cut the insulation material and fabric to match the dimensions of the attic access door. Leave some extra material for folding and securing purposes.
- Attach the insulation material to the fabric using adhesive, staples, or stitching. Ensure that the insulation layer is secure and won’t shift or bunch up.
- Place the door cover or blanket onto the attic access door and ensure that it covers the entire surface adequately.
- Secure the door cover or blanket in place using any attachment mechanisms provided or by using adhesive, straps, or other fastening methods. Ensure that it is tightly secured and won’t detach easily.
- Test the door cover or blanket by opening and closing the attic access door. Make any necessary adjustments to ensure that the cover does not hinder the door’s functionality.
A door cover or blanket provides an added layer of insulation, reducing heat loss or gain through the attic access door. It helps to maintain a more consistent indoor temperature and improve energy efficiency.
Regularly inspect the door cover or blanket for any signs of wear or damage. If needed, repair or replace it to maintain its insulation effectiveness. Additionally, if the attic access door is used frequently, ensure that the cover or blanket is easily removable to allow convenient access to the attic when needed.
Read more: How To Create An Attic Access
Conclusion
Insulating your attic access door is a crucial step in improving the energy efficiency and comfort of your home. By following the steps outlined in this guide, you can effectively insulate your attic access door and minimize heat transfer, air leakage, and energy loss. Here’s a quick recap of the key points covered:
1. Choose the right insulation materials and weatherstripping based on the type of attic access door you have.
2. Measure the attic access door dimensions accurately to ensure proper fitting of insulation materials and weatherstripping.
3. Install weatherstripping around the edges of the door to create an airtight seal.
4. Add insulation material to the door using fiberglass batts, rigid foam boards, or spray foam insulation.
5. Seal any gaps or cracks around the door frame using caulk, adhesive, or expanding foam insulation.
6. Install a door cover or blanket to provide an additional layer of insulation.
By insulating your attic access door, you can significantly reduce energy waste, lower your utility bills, and create a more comfortable living environment. Proper insulation also helps to improve indoor air quality, reduce noise transmission, and enhance the overall energy efficiency and value of your home.
Remember to periodically check the insulation, weatherstripping, and door cover or blanket for any signs of wear or damage. Replace or repair them as needed to maintain their effectiveness and ensure continued energy savings.
Now that you have the knowledge and tools to insulate your attic access door, it’s time to take action and make your home more energy-efficient. Follow these steps and enjoy the benefits of a properly insulated attic access door.
Excited about taking on more household tasks yourself? Our next guide on DIY home projects offers step-by-step insights for crafting, repairing, and enhancing every corner of your living space. Whether you're looking to install new shelves or paint a room, this resource makes starting your next project a breeze. With practical tips and easy-to-follow instructions, you'll gain the confidence to tackle more ambitious DIY endeavors that can transform your home.
Frequently Asked Questions about How To Insulate An Attic Access Door
Was this page helpful?
At Storables.com, we guarantee accurate and reliable information. Our content, validated by Expert Board Contributors, is crafted following stringent Editorial Policies. We're committed to providing you with well-researched, expert-backed insights for all your informational needs.


0 thoughts on “How To Insulate An Attic Access Door”