Articles
How To Build A Basement Door
Modified: August 27, 2024
Learn how to build a sturdy and secure basement door with step-by-step instructions and expert tips. Our articles will guide you through the process.
(Many of the links in this article redirect to a specific reviewed product. Your purchase of these products through affiliate links helps to generate commission for Storables.com, at no extra cost. Learn more)
Introduction
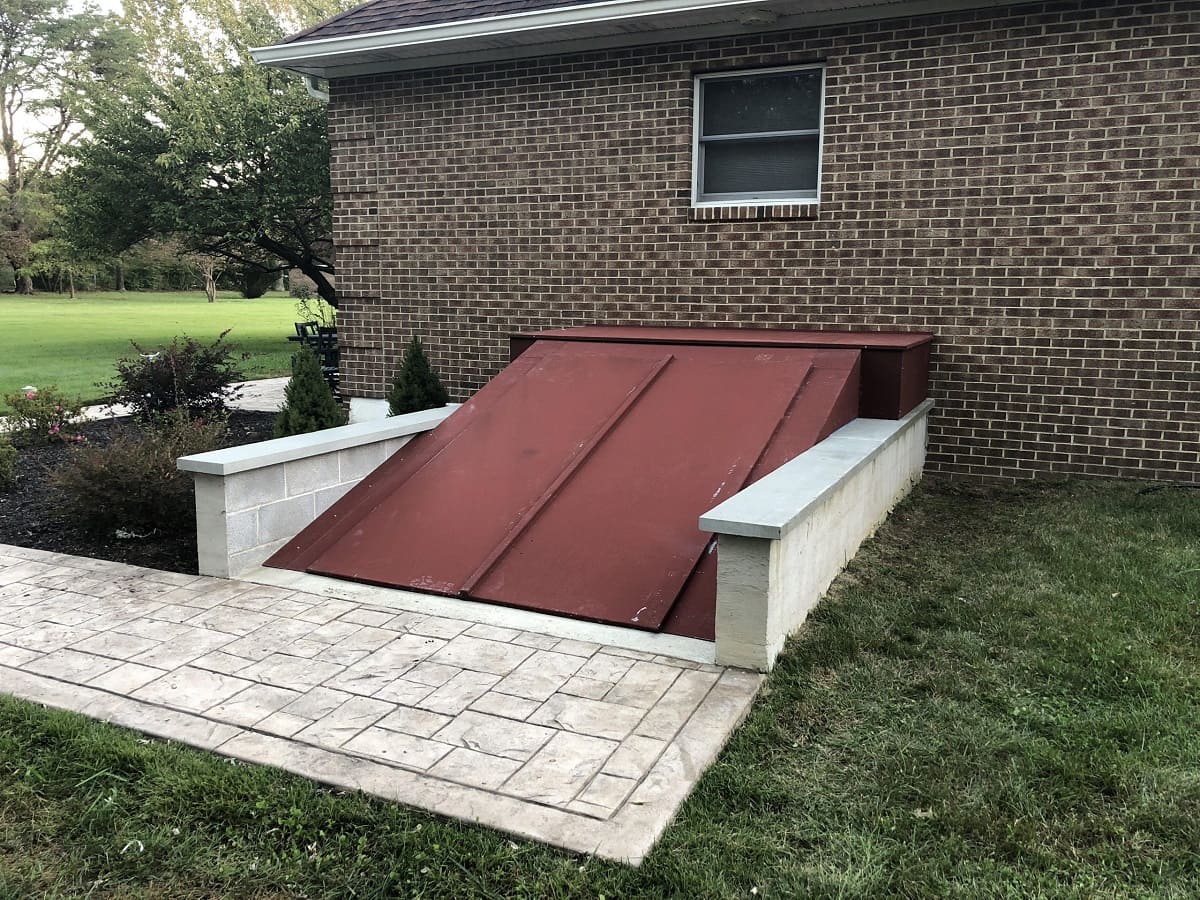
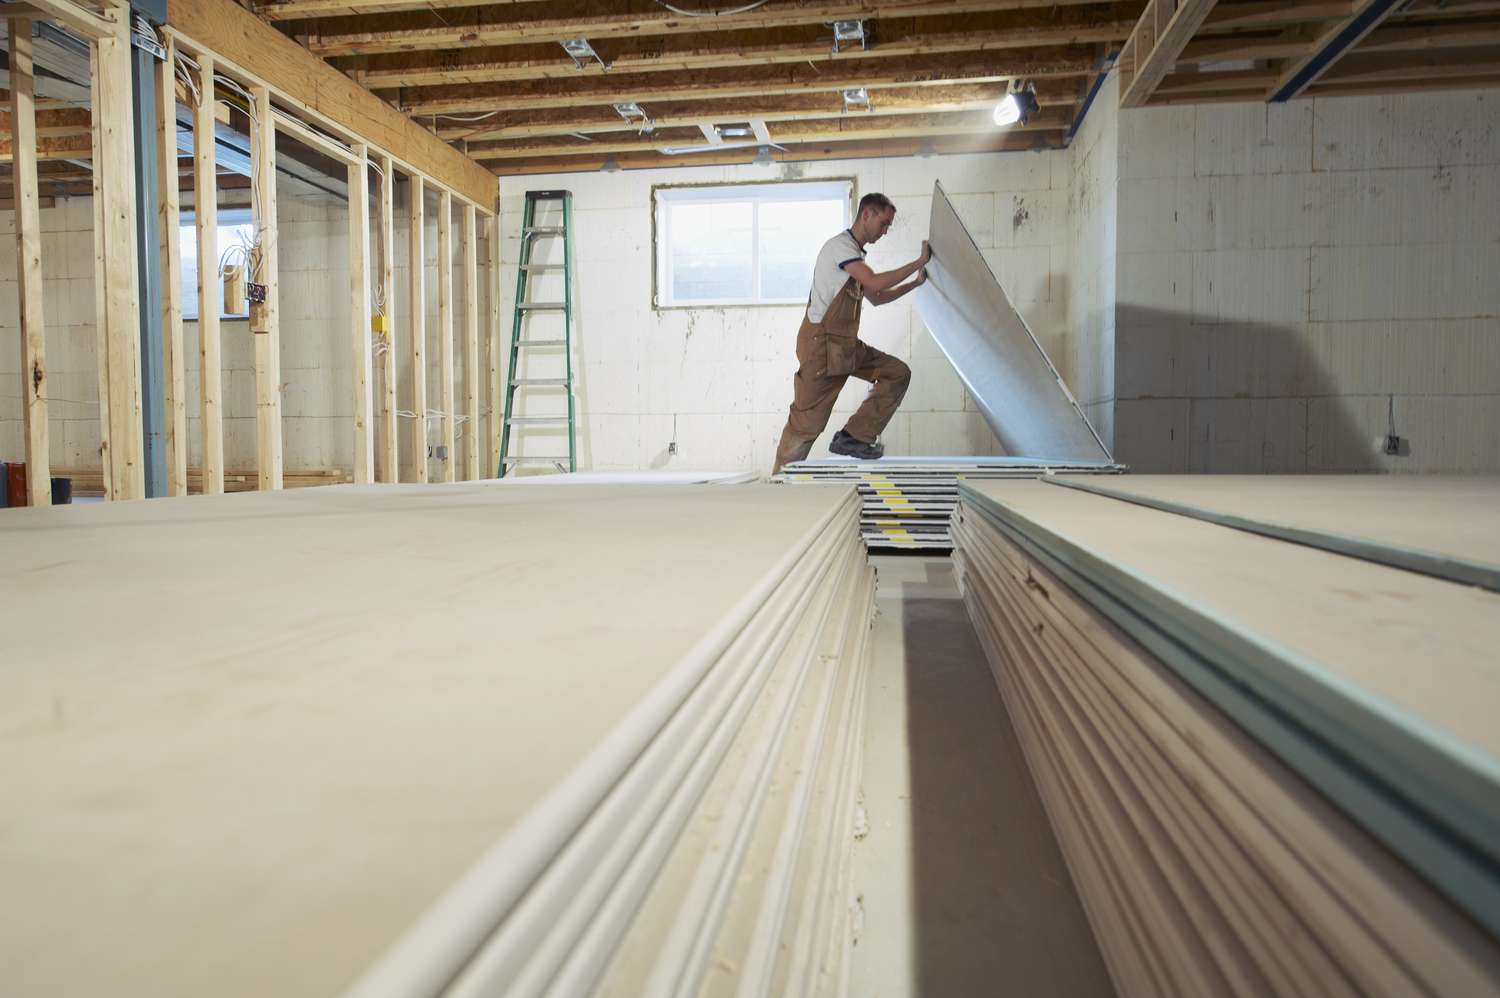
Building a basement door is a great way to enhance the functionality and aesthetics of your basement space. Whether you are creating a separate entrance or replacing an old, worn-out door, this project can provide numerous benefits. Not only will it improve the overall look of your basement, but it will also increase accessibility and potentially add value to your home.
In this article, we will guide you through the process of building a basement door step by step. From planning and measuring to hanging the door and adding finishing touches, we’ll cover everything you need to know to successfully complete this project.
Before we dive into the construction process, it is important to note that building a basement door requires basic carpentry skills and the right tools. If you are not confident in your abilities, it may be wise to seek the assistance of a professional. Now, let’s get started on creating a stylish and functional basement door!
Key Takeaways:
- Planning and precise measurements are crucial for building a basement door. Careful consideration of design, materials, and tools sets the foundation for a successful and visually appealing project.
- Hanging the door and adding finishing touches are pivotal steps in completing a basement door construction. Attention to detail, alignment, and insulation ensures a functional, energy-efficient, and aesthetically pleasing final product.
Read more: How To Build A Basement
Step 1: Planning and Measuring
Before you begin building a basement door, it’s essential to plan out the project and take accurate measurements. Planning ensures that you have a clear vision of the door design and ensures that you have all the necessary materials and tools on hand.
The first step in the planning process is to determine the purpose of your basement door. Are you looking to create a separate entrance for your basement, or do you simply want to replace an existing door? Understanding your specific needs will help you make informed decisions throughout the project.
Next, measure the dimensions of the door opening. Use a measuring tape to record the height, width, and depth of the opening. It’s crucial to be precise in your measurements to ensure a proper fit for the new door. Take note of any obstructions, such as pipes or electrical wiring, that may need special considerations during the construction process.
Once you have the measurements, you can start designing your basement door. Consider the style and materials that will complement the overall aesthetic of your basement. Whether you prefer a sleek modern design or a rustic wooden door, choose a style that aligns with your personal taste and complements the existing elements in your basement.
In addition to the door design, contemplate the type of materials you want to use. Common options include wood, metal, and fiberglass. Each material has its pros and cons, so research and choose one based on your preferences, budget, and the climate conditions of your area.
Lastly, create a detailed list of all the materials and tools you will need for the project. This includes the door slab, frame, hardware (such as hinges and handles), insulation, weatherstripping, screws, and other necessary items. Double-check your list to ensure you haven’t missed anything before moving on to the next step.
By carefully planning and measuring, you set the foundation for a successful basement door construction. It allows you to visualize the end result and ensures that you have all the necessary resources to bring your vision to life.
Step 2: Gathering Materials
With your basement door design and measurements in hand, it’s time to gather all the materials and tools you’ll need to build your door. Having everything prepared in advance will make the construction process smoother and more efficient.
The specific materials you’ll need will vary depending on your chosen door design and the type of materials you prefer. However, here are some common items you should consider including on your materials list:
- Door slab: Choose a door slab that matches the dimensions and style of your design. Consider factors such as insulation, durability, and aesthetics when selecting the door.
- Door frame: Determine whether you’ll be purchasing a pre-made door frame or building one from scratch. Make sure the frame is the right size for your door opening and matches the style of your design.
- Hardware: This includes hinges, handles, locks, and any other necessary door hardware. Choose hardware that complements your door design while providing the functionality and security you desire.
- Insulation: If you live in an area with extreme temperatures, consider adding insulation to your basement door to regulate temperature and provide energy efficiency.
- Weatherstripping: Weatherstripping is essential for creating a tight seal around your door, preventing drafts, and improving energy efficiency.
- Screws and nails: Purchase a variety of screws and nails appropriate for the materials you’ll be using. It’s always helpful to have different sizes and types available.
- Tools: You’ll need an assortment of tools to complete the project, including a measuring tape, level, saw, screwdriver, hammer, and drill. Ensure you have the necessary safety equipment, such as goggles and gloves, as well.
Once you’ve compiled your materials list, it’s time to gather everything you need. Check local home improvement stores or online suppliers for availability and pricing. It’s also a good idea to compare prices and quality to ensure you’re getting the best value for your money.
Consider creating a checklist to keep track of each item as you gather them. This will help ensure that you don’t overlook anything and have everything you need on hand when you start building your basement door.
By taking the time to gather all the necessary materials and tools beforehand, you’ll save yourself from unnecessary delays and trips to the store during the construction process. Having everything readily available will make the project more efficient and enjoyable.
Step 3: Removing Existing Door (if applicable)
If you are replacing an existing basement door, this step will guide you through the process of removing the old door. However, if you are building a new door from scratch, you can skip this step and proceed to Step 4.
Before you begin, make sure you have the necessary tools, including a screwdriver and pry bar. It’s also a good idea to have an assistant to help you with the removal process, especially if the door is heavy.
Start by examining the existing door and its surrounding frame. Look for any screws or nails that may be securing the door in place. Remove these fasteners using a screwdriver or pry bar, being careful not to damage the surrounding materials.
Next, open the door and ask your assistant to hold it while you remove the hinges. Use a screwdriver to loosen and remove the screws attaching the hinges to the frame. Make sure to support the weight of the door as you remove the hinges to prevent it from falling or causing any injuries.
Once the hinges are removed, carefully lift the door off its frame with the help of your assistant. Set it aside or dispose of it appropriately, depending on its condition.
After removing the door, inspect the frame for any damage or rot. If you notice any issues, it’s essential to address them before proceeding with the installation of the new door. Repair or replace any damaged parts to ensure a secure and sturdy foundation for your new basement door.
With the old door removed and any necessary repairs completed, you’re now ready to move on to the next step: framing the door opening.
Removing an existing basement door can be a straightforward process if done correctly. Be cautious during the removal to avoid injury or damage to the surrounding area. Remember, safety should always be a top priority.
Step 4: Framing the Door Opening
Now that you have planned, gathered the materials, and, if applicable, removed the old door, it’s time to frame the door opening for your basement door. Framing provides structural support and ensures that the door fits securely in the space.
Start by measuring the width and height of the door opening. Use these measurements to cut the top and bottom pieces of the door frame, also known as the header and sill plate. Make sure to account for the thickness of the door jamb when cutting these pieces. Use a saw to make clean and precise cuts.
Next, measure the vertical distance between the header and sill plate to determine the length of the side jambs. Cut two pieces of lumber for the side jambs accordingly. Remember to account for any additional width needed to accommodate the desired door thickness. These pieces will form the vertical sides of the door frame.
Once you have all the frame pieces cut, it’s time to install them. Starting with the top header, position it horizontally at the top of the door opening, ensuring it is level. Use a level to check its alignment and adjust as needed. Secure the header in place using screws or nails, ensuring it is firmly attached to the surrounding structure.
Next, install the side jambs vertically along the sides of the door opening, aligning them with the header and sill plate. Check their alignment with a level and adjust if necessary. Secure the side jambs in place using screws or nails, ensuring they are securely attached to the header and sill plate.
Finally, install the sill plate horizontally at the bottom of the door opening, ensuring it is level. Use a level to check its alignment and adjust as needed. Secure the sill plate in place using screws or nails, ensuring it is firmly attached to the surrounding structure.
Once all the frame pieces are securely installed, double-check their alignment and make any necessary adjustments. The door frame should be square and level to ensure the proper installation of the door.
With the door frame now in place, you are one step closer to completing your basement door project. The next step is to install the door frame, which we will explore in the following step.
When building a basement door, make sure to use pressure-treated wood to prevent rot and decay. Additionally, install weather stripping to keep out moisture and drafts.
Read more: How To Build Basement Shelves
Step 5: Installing the Door Frame
With the door opening properly framed, it’s time to install the door frame itself. The door frame provides additional support and serves as a secure anchor for the door.
Before installing the door frame, ensure that the opening is clean and free of any debris or obstructions that may interfere with the installation process.
Start by positioning the door frame within the framed opening. Ensure that it fits snugly and is level and plumb. Adjust the frame as necessary to achieve proper alignment.
Next, secure the door frame to the surrounding structure using screws or nails. Start with the top header, attaching it to the header piece of the frame. Use a level to check its alignment and adjust if needed. Then, move on to the side jambs, securing them to the corresponding pieces of the frame. Finally, secure the sill plate of the frame to the sill plate piece of the frame.
As you install the door frame, periodically check its alignment with a level to ensure that it remains plumb and level. This step is important to ensure that your door will open and close properly.
Once the door frame is securely attached and properly aligned, check the functionality of the door by opening and closing it. Make any necessary adjustments to the frame to ensure smooth operation.
After installing and testing the door frame, take the time to inspect it for any gaps or spaces between the frame and the surrounding structure. These gaps can compromise the insulation and security of your basement door. Use shims or weatherstripping to fill any gaps and ensure a tight fit.
Installing the door frame is a critical step in building your basement door. It provides stability, security, and ensures proper door operation. With the frame securely in place, you’re almost ready to hang the door!
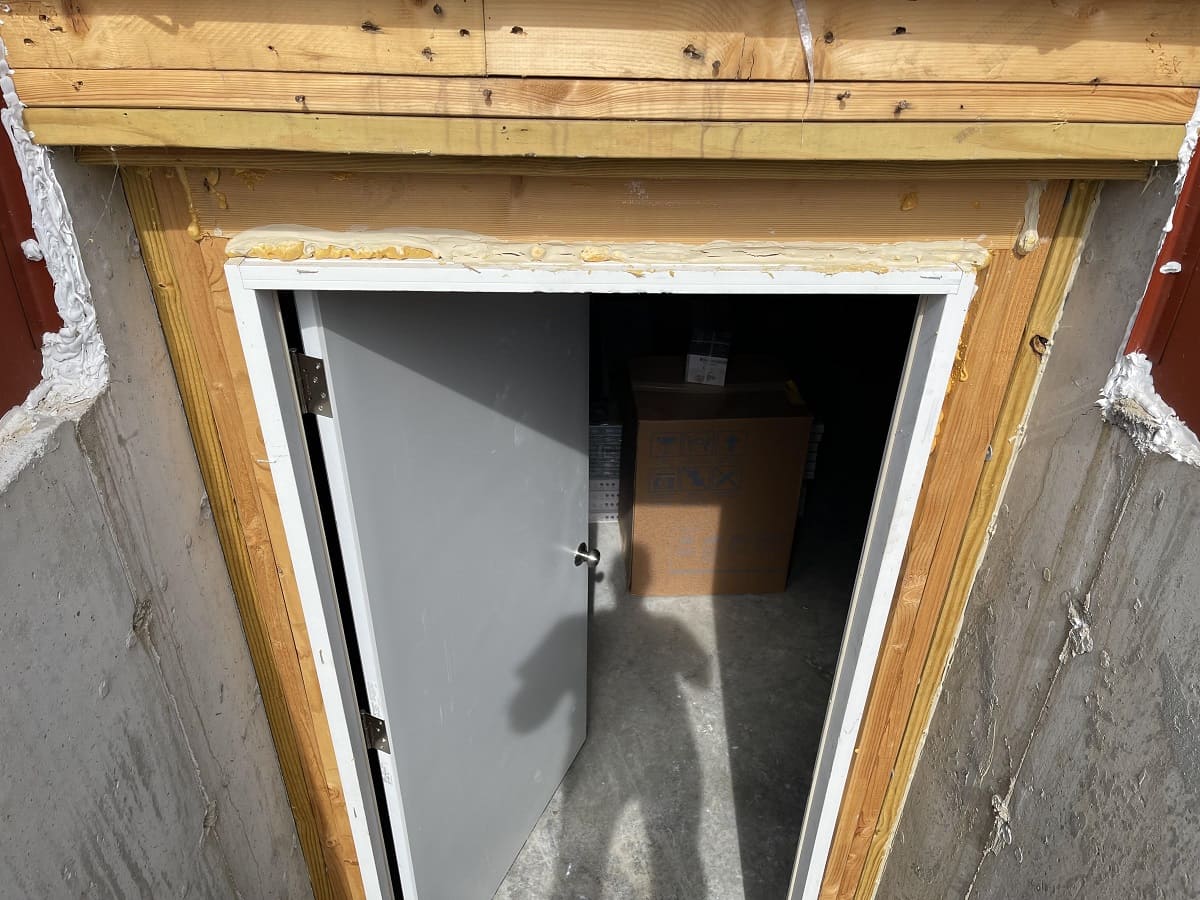
Step 6: Hanging the Door
With the door frame installed, it’s time to hang the actual door in your basement door opening. This step brings your project one step closer to completion, as the door begins to transform the space and adds both functionality and visual appeal.
Before you begin, ensure that you have the necessary tools and equipment on hand. These may include a drill, screws, screwdriver, a level, shims, and a helper to assist with the installation.
The first step is to prepare the door for installation. If your door is pre-hung, it will likely come with the hinges already attached. However, if you’ve purchased a door slab without hinges, you’ll need to mark and install them yourself.
Next, position the door within the door frame. Make sure it is centered and level. Have your helper hold the door in place while you mark the locations of the hinges on the door jamb of the frame.
Once the hinge locations are marked, remove the door from the frame and set it aside. Use a chisel or drill to create recesses or pilot holes for the hinges, following the marked locations.
Once the recesses or pilot holes are prepared, it’s time to attach the hinges to the door jamb of the frame. Align the hinges with the recesses or pilot holes and secure them in place using screws.
With the hinges securely attached to the door jamb, it’s time to reposition the door within the frame. Have your helper hold the door while you align the hinges on the door slab with the ones on the frame. Secure the hinges together using screws.
Once the door is hung, check its alignment and operation by opening and closing it. Use shims to adjust the door’s position and ensure it opens and closes smoothly. Make any necessary adjustments to the shims or hinge screws until the door is properly aligned.
With the door in place and functioning correctly, secure it further by attaching any additional hardware, such as handles, locks, or other accessories.
Finally, check the door for any gaps between the door and frame. Use weatherstripping or other insulation methods to seal these gaps, improving energy efficiency and preventing drafts.
Hanging the door is a significant milestone in completing your basement door project. With the door securely in place and functioning properly, you’re ready to move on to the final step: adding finishing touches.
Step 7: Adding Finishing Touches
Congratulations! You’re in the final step of building your basement door. Now it’s time to add the finishing touches that will enhance the functionality, aesthetics, and overall appeal of your newly installed door.
Start by inspecting the door and its surrounding areas for any rough edges or imperfections. Use sandpaper or a file to smooth out any rough surfaces, ensuring a clean and polished look.
If you haven’t already done so, paint or stain the door to your desired color or finish. Choose a high-quality paint or stain that is suitable for the material of your door. Apply multiple coats as needed, allowing each coat to dry before proceeding. This step will not only protect the door but also enhance its visual appeal.
Next, install any additional hardware or accessories that you desire. This may include a door handle, lockset, doorstop, or decorative accents. Ensure that the hardware matches your chosen door design and complements the overall style of your basement.
Consider adding weatherstripping to the door frame to improve insulation and prevent drafts. Weatherstripping can help to minimize energy loss, reduce noise, and create a tighter seal around the door, enhancing its efficiency.
Additionally, if you live in an area prone to extreme weather conditions, you may want to consider adding insulation to the door itself. Insulating the door will help regulate temperature, increase energy efficiency, and provide a more comfortable environment in your basement.
Finally, step back and admire your newly built and finished basement door. Take the time to ensure that it opens and closes smoothly and that all the hardware is functioning properly.
Remember to clean up any debris or clutter that may have accumulated during the construction process and leave your workspace neat and organized.
By adding these finishing touches, you will not only enhance the functionality and appearance of your basement door but also ensure its durability and longevity.
With your basement door completed and ready for use, you can now enjoy the benefits of easy access, improved aesthetics, and increased value that it brings to your home.
Thank you for following along with this step-by-step guide on how to build a basement door. We hope this article has provided you with valuable insights and guidance throughout the process.
ConclusionBuilding a basement door is a rewarding project that can transform the functionality and appearance of your basement space. By following the steps outlined in this article, you have learned how to plan and measure, gather materials, remove an existing door (if applicable), frame the door opening, install the door frame, hang the door, and add the finishing touches.
Throughout the process, you have honed your carpentry skills, made thoughtful design choices, and utilized the right tools to ensure a successful outcome. By incorporating your personal style and preferences into the door design, you have added a unique touch to your basement, enhancing its overall aesthetic appeal.
Moreover, by focusing on insulation, weatherstripping, and proper alignment, you have created a door that is not only visually pleasing but also energy-efficient and functional. The door provides a secure entrance to your basement, improves insulation, and helps regulate temperature and noise levels.
Remember, safety should always be a top priority when building a basement door or undertaking any construction project. If you are unsure about any step or lack the necessary skills, it is advisable to seek professional assistance to ensure the job is done correctly.
Now, enjoy the convenience of your new basement door, whether it is a separate entrance or a replacement for an old one. Make the most of your renovated space by using it for additional living areas, a home office, storage, or any other purpose that suits your needs.
We hope this step-by-step guide has empowered you to build a basement door with confidence and provided you with valuable insights and knowledge. Embrace your creativity and make the most of your basement as you continue to improve and enhance your home.
Thank you for joining us on this journey, and best of luck with your basement door construction project!
Building your own basement door is just the beginning! If you're hooked on creating and crafting, you'll love our detailed guide on what's great about tackling projects yourself. Ready to tackle more significant challenges? Check out how long it typically takes to renovate a basement. And for those with a knack for working with wood, don’t miss our list of the top new trends in woodworking for the upcoming year.
Frequently Asked Questions about How To Build A Basement Door
Was this page helpful?
At Storables.com, we guarantee accurate and reliable information. Our content, validated by Expert Board Contributors, is crafted following stringent Editorial Policies. We're committed to providing you with well-researched, expert-backed insights for all your informational needs.


0 thoughts on “How To Build A Basement Door”