Articles
How To Build A Gate For My Porch
Modified: December 7, 2023
Learn how to build a sturdy and stylish gate for your porch with our informative articles. Enhance your porch's functionality and aesthetic appeal.
(Many of the links in this article redirect to a specific reviewed product. Your purchase of these products through affiliate links helps to generate commission for Storables.com, at no extra cost. Learn more)
Introduction
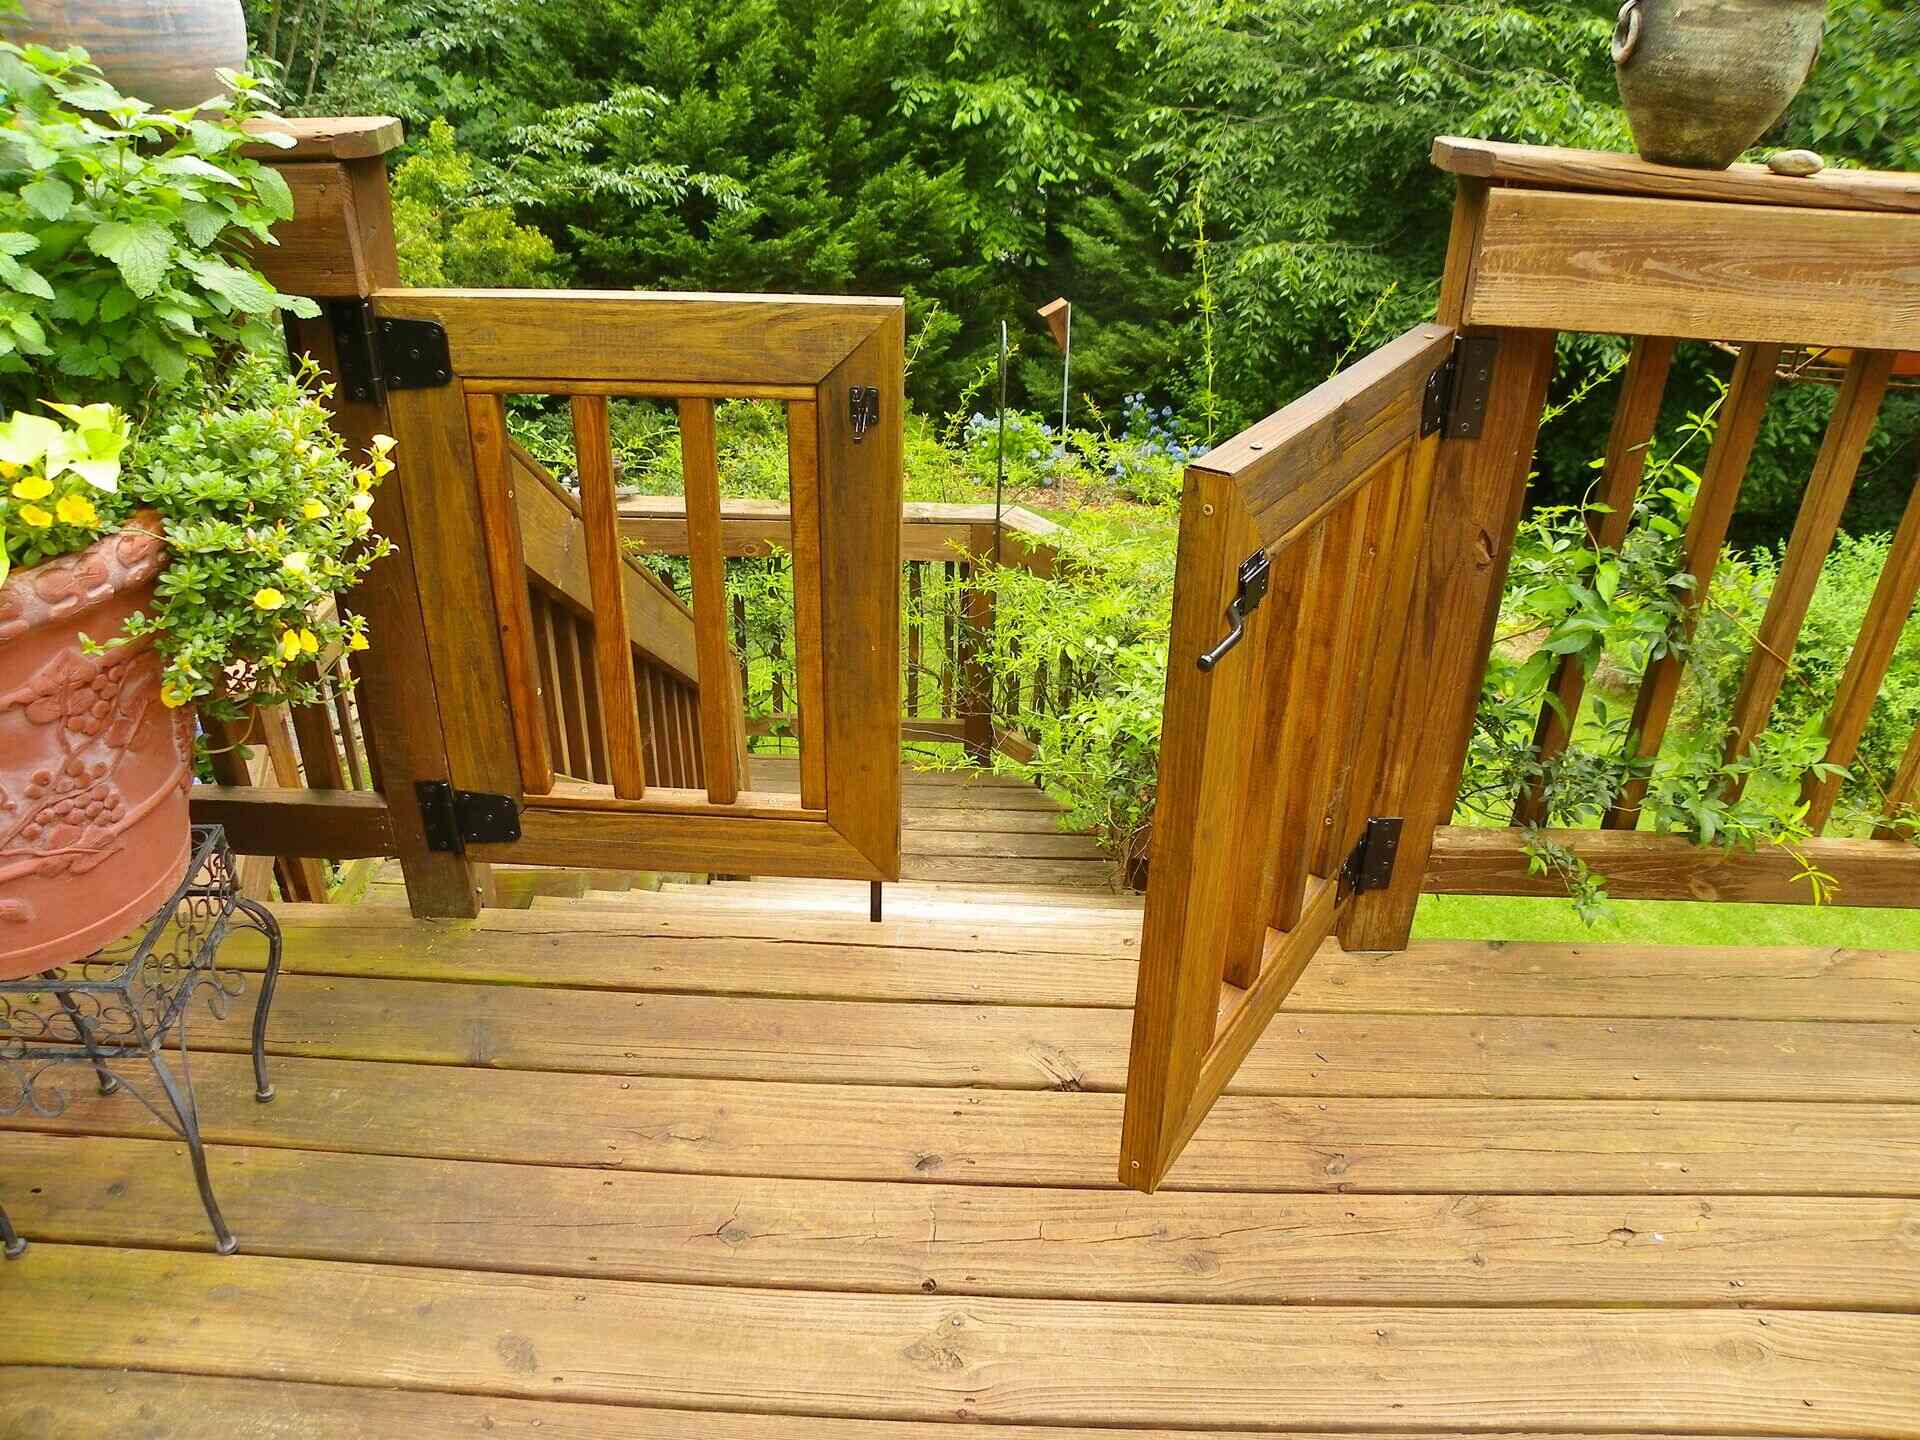
Having a gate for your porch not only adds security and privacy to your home, but it can also enhance the overall aesthetic appeal. Whether you are a seasoned DIY enthusiast or just starting out, building a gate for your porch can be a rewarding and satisfying project.
In this article, we will guide you through the step-by-step process of building a gate for your porch. We will cover everything from choosing the right materials to adding the finishing touches. By the end of this article, you will have the knowledge and confidence to create a beautiful and functional gate that perfectly suits your porch.
Before you begin the project, it’s important to carefully consider the design and functionality you want for your gate. Think about the purpose of the gate, whether it’s purely decorative or if it needs to provide security and restrict access. Additionally, take into account the style of your home and choose materials that complement the existing architecture.
To ensure a successful outcome, it’s crucial to have a good understanding of the steps involved and gather all the necessary tools and materials before you start. Taking accurate measurements is also vital to ensure that your gate fits properly and is aligned with the porch.
Whether you prefer a traditional wooden gate or a modern metal design, this article will provide you with the knowledge and confidence to build a gate that meets your preferences. So, let’s dive into the details of each step, starting with choosing the right materials for your project.
Key Takeaways:
- Building a porch gate requires careful consideration of materials, precise measurements, essential tools, and thoughtful design planning. The step-by-step process ensures a well-built, functional, and visually appealing addition to your home.
- Adding finishing touches, such as sealing, decorative elements, and regular maintenance, enhances the appearance and longevity of your porch gate. The project not only provides security but also allows for personalization and creativity in outdoor spaces.
Read more: How To Build A Vinyl Fence Gate
Choosing the Right Materials
When it comes to building a gate for your porch, choosing the right materials is essential for both durability and visual appeal. The material you select will depend on your personal preferences, the style of your home, and the level of maintenance you are willing to commit to.
Here are some popular materials commonly used for porch gate construction:
- Wood: Wood is a classic and versatile material that adds warmth and charm to any porch. Cedar, redwood, and pressure-treated pine are popular choices due to their durability and resistance to decay and rot. However, keep in mind that wood requires regular maintenance such as staining or painting to protect it from the elements.
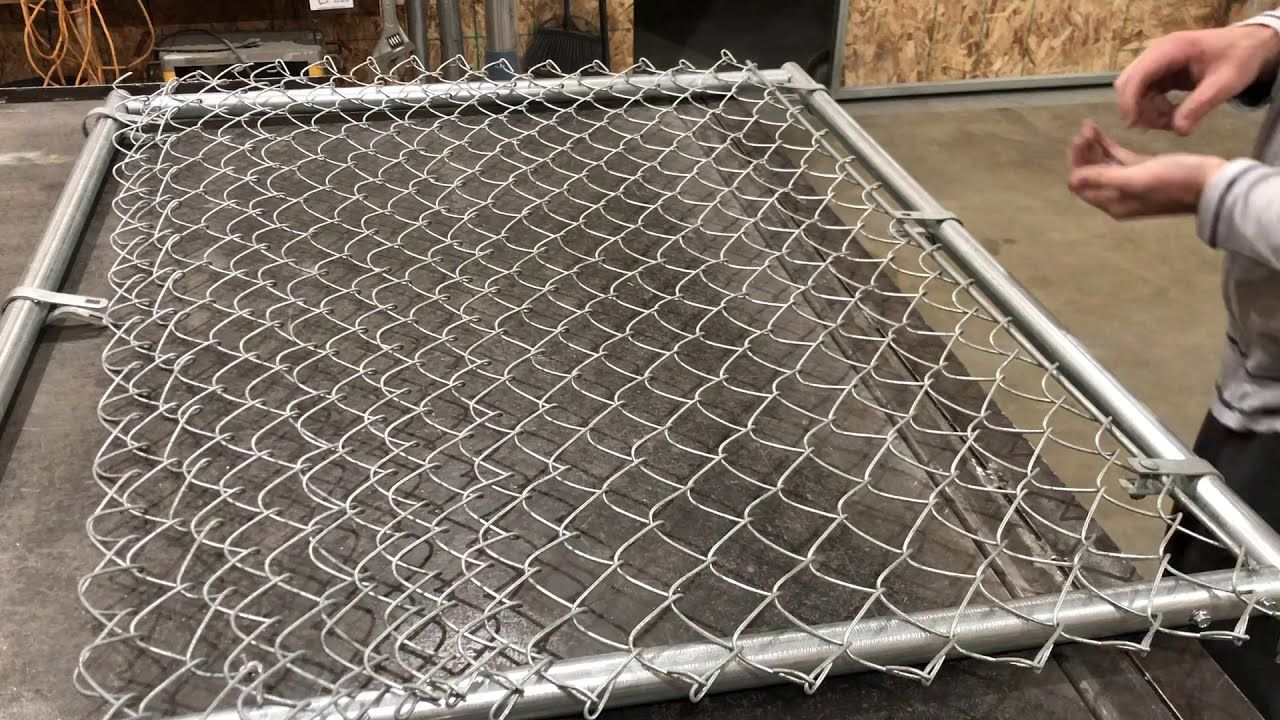
- Metal: Metal gates can provide a modern and sleek look to your porch. Options such as wrought iron, aluminum, and steel offer durability and strength. Metal gates are also low-maintenance and can withstand harsh weather conditions. However, keep in mind that certain metals, like iron, can be prone to rusting and may require periodic maintenance.
- Vinyl: Vinyl gates have gained popularity in recent years due to their low-maintenance and durability. They are available in a variety of styles and colors, making it easy to match your gate with the overall look of your porch. Vinyl gates are resistant to fading, cracking, and warping, making them an excellent choice if you prefer a hassle-free option.
- Composite materials: Composite materials, such as PVC or wood-plastic composites, offer the best of both worlds. They mimic the look of natural wood while providing the durability and low-maintenance benefits of other materials. Composite gates are resistant to rotting, splintering, and insect damage, making them a long-lasting option.
Consider your budget, desired aesthetics, and overall maintenance requirements when selecting the material for your porch gate. Take your time to research the pros and cons of each option to ensure you make an informed decision that meets your needs.
Once you have chosen the material for your gate, it’s time to move on to the next crucial step: taking accurate measurements.
Taking Accurate Measurements
Accurate measurements are crucial for building a gate that fits properly and functions smoothly. Before you start cutting any materials, take the time to carefully measure the dimensions of your porch opening.
Here are the steps to guide you in taking accurate measurements:
- Measure the width: Use a measuring tape to determine the width of your porch opening. Measure from the inside of one side post to the inside of the opposite side post. Make sure to take multiple measurements at different heights to account for any irregularities in the porch structure.
- Measure the height: Measure the height of the porch opening from the top of the threshold to the desired height of the gate. Keep in mind the purpose of the gate and any local building codes or regulations regarding gate height.
- Consider the swing direction: Decide which direction you want your gate to swing (e.g., inward or outward). This will determine how the gate attaches to the porch and where the hinges need to be placed.
- Account for hardware: Take into account the thickness of the hardware you will be using, such as hinges and latch, when measuring the width and height of the gate. This will ensure that the gate fits properly and operates smoothly.
- Add clearance: It’s important to add a small amount of clearance between the gate and the porch posts or walls to prevent any rubbing or scraping. Typically, a gap of 1/2 to 1 inch is sufficient.
Once you have taken accurate measurements, it’s a good idea to double-check your measurements before proceeding to the next steps. It’s better to spend a little extra time ensuring accuracy now than to run into issues during the construction process.
Now that you have precise measurements, you can gather the necessary tools for the project. We will discuss the essential tools in the next section.
Tools Needed for the Project
Before you embark on building a gate for your porch, it’s essential to gather the necessary tools to ensure a smooth and efficient construction process. Having the right tools at your disposal will not only make the project easier but also help you achieve professional-looking results.
Here are the essential tools you will need:
- Tape Measure: A tape measure is crucial for taking accurate measurements of your porch opening and gate components. Choose one with a sturdy metal tape for durability.
- Saw: Depending on the material you choose for your gate, you may need different types of saws. A circular saw or miter saw is ideal for cutting wooden components, while a hacksaw or reciprocating saw can be used for cutting metal or PVC.
- Drill: A power drill is necessary for drilling pilot holes and inserting screws or bolts. Look for a drill with adjustable speed settings and a variety of drill bits.
- Screwdriver: Both a manual screwdriver and a screwdriver bit for your drill will come in handy for tightening screws and installing hardware.
- Hinge and Latch Installation Kit: Depending on the type of gate and hardware you choose, you may need a specific installation kit. This kit typically includes templates and guides for accurate hinge and latch placement.
- Level: A level is essential for ensuring that your gate is straight and properly aligned. It will help you achieve a professional-looking finish.
- Pencil and Marking Tools: Pencils or other marking tools are essential for marking measurements, cutting lines, and indicating where hardware will be installed.
- Safety Gear: Don’t forget to prioritize safety by wearing protective gear such as safety glasses, gloves, and ear protection, especially when working with power tools.
Having these tools readily available before starting the project will save you time and frustration. Additionally, it’s always a good idea to have a workbench or a sturdy surface to work on and clamps to hold additional materials securely in place.
Now that you have the necessary tools, it’s time to move on to the next step: planning the design of your porch gate.
Planning the Design
Planning the design of your porch gate is an exciting step that allows you to unleash your creativity and personalize the gate to match your home’s style and your personal taste. Being thoughtful and strategic in the design process will ensure that the final result is not only visually appealing but also functional.
Here are some key factors to consider when planning the design of your porch gate:
- Style: Decide on the overall style of your gate. Consider the architectural style of your home and try to select a design that complements it. Whether you prefer a traditional, modern, rustic, or ornate style, make sure the design aligns with your personal preferences.
- Pattern or Cutout: Think about incorporating a pattern or cutout in your gate design to add visual interest. This could be a geometric shape, a decorative motif, or even your family initial. Ensure that the pattern or cutout is in proportion to the overall size of the gate and complements the surrounding porch.
- Durability and Maintenance: Consider the maintenance requirements of different design choices. For instance, a solid wood gate may require more maintenance, such as regular staining or painting, while a metal or vinyl gate may be more low-maintenance.
- Privacy: Determine the level of privacy you want your gate to provide. This will impact the design, such as the spacing between slats or the use of decorative panels. Balancing privacy with aesthetics will help you create a gate that meets your needs.
- Gate Hardware: Consider the type and style of hardware you will use, such as hinges, latch, and handles. These elements can contribute to the overall design and functionality of the gate.
- Safety: Keep safety in mind when designing your gate. Ensure that the gate is sturdy and properly installed, with no sharp edges or protruding parts that could pose a hazard.
Take time to sketch out your design ideas on paper or use design software to visualize the gate before you start construction. This will give you a clear direction and allow you to make any necessary adjustments or modifications before cutting the materials.
With a well-planned design in hand, you’re ready to move on to the next step: cutting and assembling the frame of your porch gate.
When building a gate for your porch, make sure to use durable and weather-resistant materials such as pressure-treated wood or vinyl to ensure longevity and minimal maintenance.
Read more: How To Build A Metal Gate For Driveway
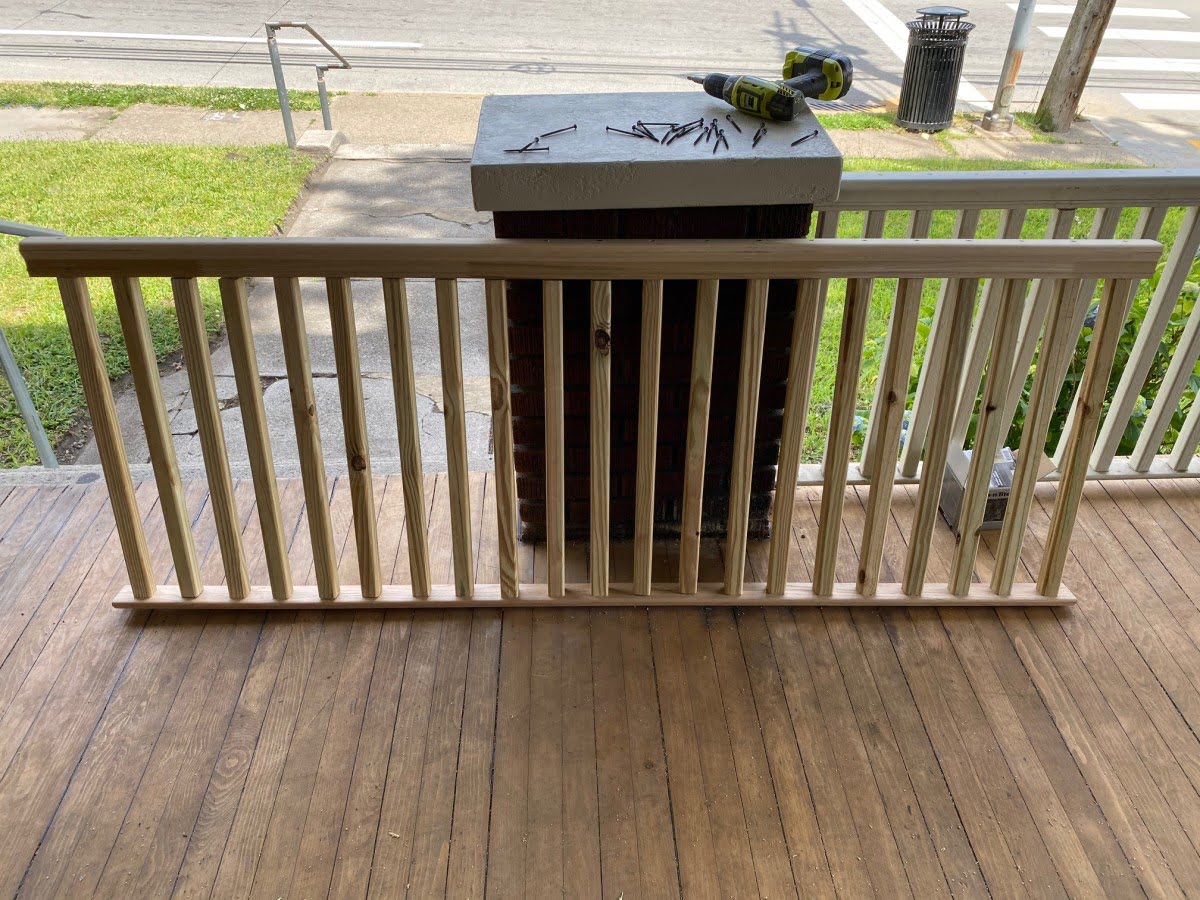
Cutting and Assembling the Frame
Now that you have your design planned out, it’s time to bring your porch gate to life by cutting and assembling the frame. This step is critical to ensure that your gate is sturdy, properly aligned, and built to last.
Here is a step-by-step guide to cutting and assembling the frame of your porch gate:
- Prepare your materials: Lay out your chosen materials, whether it’s wood, metal, or composite, and gather your measurements and design plan.
- Mark and cut the horizontal rails: Using your measurements, mark the desired length of your horizontal rails on your material. Use a saw suitable for the material to make clean and precise cuts. Remember to account for any additional length needed for joints and hardware attachment.
- Mark and cut the vertical pickets or slats: Determine the spacing you want between the pickets or slats on your gate. Mark the locations on the top and bottom rails and cut the pickets or slats to the desired height. Use a level or spacer to ensure even spacing between each picket or slat.
- Create joints and join the pieces: Depending on your design, you may need to create joints to connect the horizontal rails and vertical pickets. Common joints include miter joints, lap joints, or mortise and tenon joints. Use appropriate tools and techniques to create strong and secure joints.
- Secure the joints: Once the joints are created, use screws, nails, or appropriate fasteners to secure the joints and reinforce the frame of your gate.
- Check for squareness: Use a square or measuring tape to check that the frame is square. Adjust and make any necessary corrections before continuing.
- Attach diagonal bracing (if needed): Depending on the size and design of your gate, you may need to add diagonal bracing for added stability. Measure and cut the bracing pieces and attach them securely to the frame.
- Double-check your work: Take a moment to review your frame’s dimensions, joints, and overall sturdiness. Make any last-minute adjustments or corrections before moving on to the next step.
Remember to follow all safety guidelines while cutting and assembling the frame. Wear appropriate safety gear and use caution to avoid accidents or injuries.
With the frame of your porch gate complete, you’re ready to move on to the next step: attaching hinges and a latch.
Attaching Hinges and Latch
Attaching hinges and a latch is a crucial step in the construction process of your porch gate. These hardware components will ensure that your gate opens and closes smoothly, while also providing security and functionality. It’s important to select the right type of hinges and latch based on the weight and size of your gate.
Here is a step-by-step guide to attaching hinges and a latch to your porch gate:
- Determine the hinge placement: Measure and mark the desired location of the hinges on both the gate frame and the porch post. You’ll typically need two or three hinges, depending on the size and weight of your gate. Make sure the hinges are evenly spaced and aligned.
- Pre-drill holes: Using a drill and a appropriately-sized drill bit, pre-drill pilot holes at the marked locations for the hinges. This will help prevent the wood from splitting when you attach the screws.
- Attach the hinges to the gate frame: Align the hinges with the pre-drilled holes on the gate frame. Insert the screws into the holes and tighten them securely. Repeat this process for each hinge.
- Attach the hinges to the porch post: Hold the gate in the desired position against the porch post. Align the hinges on the gate frame with the pre-drilled holes on the porch post. Insert the screws into the holes and tighten them securely.
- Test the swinging motion: Open and close the gate a few times to ensure that it swings freely and smoothly. Make any necessary adjustments to the hinges if the gate is binding or not aligning properly.
- Install the latch: Determine the desired location for the latch on the gate frame opposite the hinges. Mark the spot and pre-drill holes for the latch components. Attach the latch securely using screws or bolts provided with the latch.
- Test the latch operation: Engage and disengage the latch to ensure it functions properly. Make any necessary adjustments to ensure a secure and reliable latch.
Ensure that the hinges and latch are securely attached to both the gate and the porch post. Check for any loose screws or bolts and tighten them as needed.
Once the hinges and latch are properly installed, your porch gate will be ready for the next step: installing it on the porch.
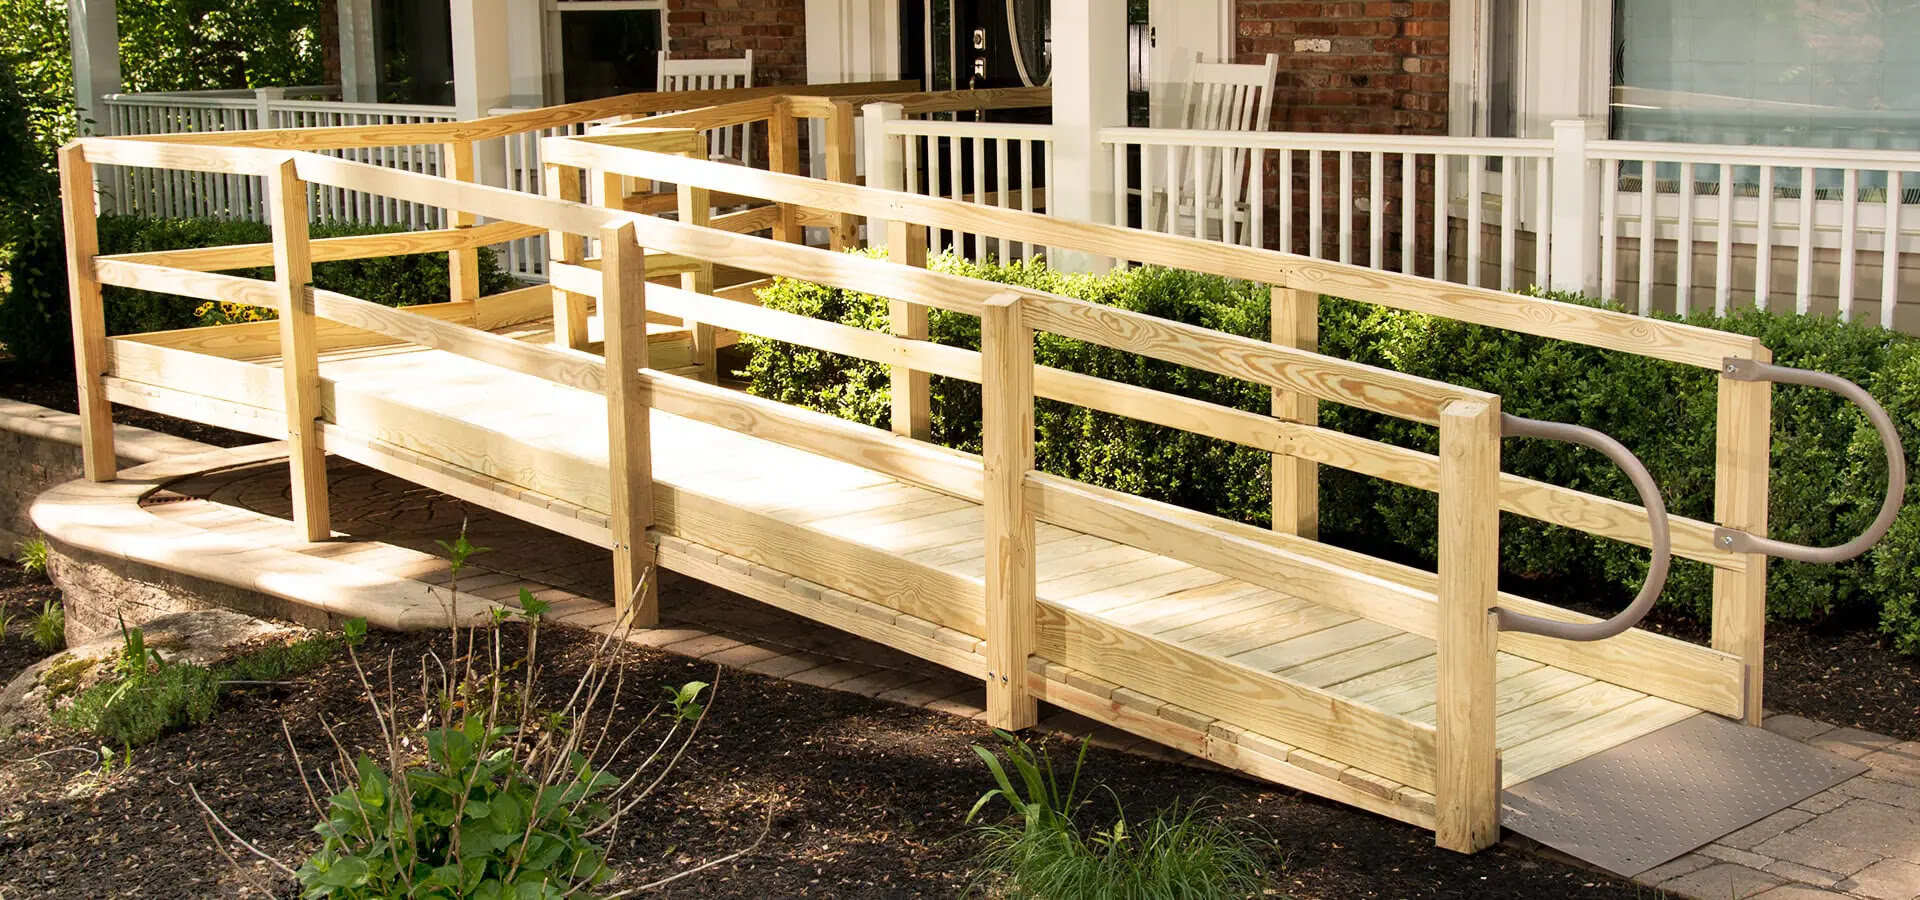
Installing the Gate on the Porch
Now that your porch gate is fully constructed and the hinges and latch are securely attached, it’s time to install the gate onto your porch. Proper installation ensures that the gate operates smoothly and securely.
Here is a step-by-step guide to installing the gate on your porch:
- Position the gate: Hold the gate in the desired position against the porch opening, ensuring it is aligned and level.
- Use shims (if needed): If the porch opening is not perfectly square or level, use shims to level the gate and ensure a proper fit.
- Mark the hinge locations: Once the gate is correctly positioned, use a pencil or marker to mark the exact location of the hinges on the porch post.
- Pre-drill hinge holes: Remove the gate from the porch opening and pre-drill the hinge holes in the marked locations on the porch post.
- Attach the gate to the porch: With the hinges on the gate frame fully open, carefully align the hinge plates with the pre-drilled holes on the porch post. Insert the screws and tighten them securely to attach the gate to the porch.
- Check the gate swing: Open and close the gate to ensure that it swings freely and smoothly. Make any necessary adjustments to the hinges or shims to ensure proper alignment and operation.
- Secure the gate: Once the gate is properly aligned and swings smoothly, secure any remaining screws or bolts to reinforce the attachment of the gate to the porch.
During the installation process, it’s important to pay attention to the alignment and levelness of the gate. Take your time to make any necessary adjustments to ensure that the gate fits properly and operates smoothly.
Once the gate is securely installed on your porch, you’re almost finished! The next step is to add the finishing touches to enhance the appearance and functionality of your gate.
Adding Finishing Touches
With your porch gate installed, it’s time to add the finishing touches to complete the project. These final details will not only enhance the appearance of your gate but also contribute to its functionality and longevity.
Here are some finishing touches to consider:
- Sealing or painting: Depending on the material of your gate, you may want to seal or paint it to protect it from the elements and enhance its durability. Choose a weather-resistant sealant or paint that complements the overall design of your porch.
- Add decorative elements: Consider adding decorative elements to your gate to give it a personal touch. This could include ornamental accents, engraved designs, or even potted plants on either side of the gate.
- Install a gate stopper: To prevent your gate from swinging too far or banging against the porch post, install a gate stopper or bumper on the inside of the gate. This will provide a cushioned stop and protect both the gate and the porch.
- Apply rust-resistant coating (if applicable): If you have chosen a metal gate, apply a rust-resistant coating to protect it from corrosion and prolong its lifespan. Follow the manufacturer’s instructions for proper application.
- Check for smooth operation: Test your gate to ensure that it opens and closes smoothly without any sticking or resistance. Make any necessary adjustments to the hinges, latch, or gate alignment if needed.
- Regular maintenance: Keep your porch gate in top condition by regularly inspecting it for any signs of damage or wear. Perform routine maintenance tasks, such as tightening screws, repainting, or resealing as needed.
By paying attention to these finishing touches, you can elevate the look and functionality of your porch gate, adding the final polish to your project.
Congratulations! You have successfully built and installed a gate for your porch. Not only has this project added security to your home, but it has also provided a personal touch that enhances the overall appearance of your porch. Enjoy your newly constructed gate and the added beauty and functionality it brings to your outdoor space.
Feel free to share your accomplishment with friends and family, and inspire others to embark on their own DIY projects. Happy gate-building!
Read also: 12 Amazing Front Porch Gate For 2025
Conclusion
Building a gate for your porch is a rewarding DIY project that combines functionality, security, and aesthetics. By following the step-by-step process outlined in this article, you have gained the knowledge and confidence to successfully construct and install a beautiful porch gate that suits your needs and style.
From choosing the right materials and taking accurate measurements to cutting and assembling the frame, attaching hinges and a latch, and finally installing the gate on your porch, each step is crucial to ensure a well-built and functional gate. Adding the finishing touches, such as sealing or painting, decorative elements, and regular maintenance, will enhance the appearance and longevity of your gate.
Remember to prioritize safety throughout the project by wearing appropriate protective gear and using tools correctly. Take your time to carefully plan the design and measurements, as well as double-check your work at each stage. It’s always better to invest a little extra time and effort in the proper execution of each step rather than rushing through the process.
Building a gate for your porch not only adds security and privacy but also enhances the overall curb appeal of your home. It’s a project that allows you to showcase your creativity and personal style, while also providing a functional component to your outdoor space.
Now that you have successfully completed your porch gate project, take the time to enjoy and appreciate your handiwork. Your porch has been transformed into a welcoming and secure space. Sit back, relax, and admire the beauty and craftsmanship of your newly constructed porch gate.
Remember to share your experience and inspire others to embark on their own DIY projects. Building a gate for your porch is a testament to your skills and creativity, and it serves as a reminder of the satisfaction that comes with accomplishing a project you put your heart into.
So, grab your tools, unleash your creativity, and embark on the journey of building a gate for your porch. Enjoy the process and the sense of accomplishment that comes with creating something beautiful and functional for your home.
Frequently Asked Questions about How To Build A Gate For My Porch
Was this page helpful?
At Storables.com, we guarantee accurate and reliable information. Our content, validated by Expert Board Contributors, is crafted following stringent Editorial Policies. We're committed to providing you with well-researched, expert-backed insights for all your informational needs.


0 thoughts on “How To Build A Gate For My Porch”