Home>Articles>How To Build A Wooden Fence Gate That Won’t Sag
Articles
How To Build A Wooden Fence Gate That Won’t Sag
Modified: May 6, 2024
Learn how to build a sturdy wooden fence gate that won't sag with our comprehensive articles. Follow our step-by-step guide for a long-lasting and secure gate.
(Many of the links in this article redirect to a specific reviewed product. Your purchase of these products through affiliate links helps to generate commission for Storables.com, at no extra cost. Learn more)
Introduction
When it comes to fencing, a gate is an essential component that not only provides access to your property but also adds to its curb appeal. However, one common issue with wooden fence gates is that they have a tendency to sag over time, which can be frustrating and compromise their functionality.
If you’re tired of dealing with a sagging fence gate and want to build a sturdy and reliable gate that will stand the test of time, you’ve come to the right place. In this guide, we will walk you through the step-by-step process of building a wooden fence gate that won’t sag.
Before we dive into the construction process, there are a few essential tools and materials that you’ll need to have on hand:
- Measuring tape
- Saw (circular saw or miter saw)
- Drill
- Screwdriver
- Wood screws
- Wood glue
- Level
- Pickets or slats
- Hinges and latch hardware
Now that you have gathered all the necessary tools and materials, let’s get started with the first step – measuring and planning.
Key Takeaways:
- Building a sturdy wooden fence gate that won’t sag requires precise measurements, accurate cuts, and strategic assembly using wood glue and screws. Proper installation of hardware and meticulous alignment are crucial for a functional and visually appealing gate.
- Constructing a reliable wooden fence gate involves a step-by-step process, from measuring and planning to adding pickets and installing hardware. Attention to detail, quality tools, and materials are essential for creating a gate that enhances both security and curb appeal.
Read more: How To Fix Sagging Fence Gate
Tools and Materials Needed
Before you begin the process of building a wooden fence gate that won’t sag, it’s important to ensure you have all the necessary tools and materials. Here’s a list of what you’ll need:
- Measuring tape: This will be crucial for accurately measuring the dimensions of your gate.
- Saw: A circular saw or miter saw will be needed to cut the wood to the desired lengths.
- Drill: You’ll need a drill to create pilot holes and for attaching the components together.
- Screwdriver: A screwdriver will be used for driving in the screws.
- Wood screws: High-quality wood screws are essential for securely fastening the various components of the gate.
- Wood glue: Using wood glue will add extra strength to the joints and help prevent sagging in the long run.
- Level: A level will ensure that your gate is properly aligned and hangs straight.
- Pickets or slats: These will form the vertical boards of your gate and can be made from various types of wood, such as cedar or pine.
- Hinges and latch hardware: You’ll need hinges to attach the gate to the fence posts and latch hardware for securing the gate in a closed position.
Having these tools and materials ready before you start the construction process will make the job much smoother and more efficient.
Once you have everything you need, you’re ready to move on to the next step – measuring and planning the dimensions of your gate.
Step 1: Measuring and Planning
The first step in building a wooden fence gate that won’t sag is accurate measuring and planning. This will ensure that your gate fits properly and functions smoothly. Here’s how to go about it:
- Measure the width of the gate opening: Use a measuring tape to determine the exact width of the area where you want to install your gate. It’s important to measure from post to post, as this will determine the size of the gate you need to build. Make sure to account for any additional clearance you desire.
- Measure the desired height of the gate: Decide how high you want your gate to be. Typically, fence gates are around 4 to 6 feet in height. Measure from the bottom of the opening to the desired height of your gate.
- Consider the swing direction: Determine whether you want your gate to swing inward or outward. This will depend on the layout of your property and personal preference. Keep in mind any obstructions such as trees or walls that may affect the swing direction.
- Sketch your gate design: Once you have all the measurements and swing direction decided, create a rough sketch of your gate design. This helps visualize the final product and ensures that you have a clear plan to follow during construction.
By taking the time to measure accurately and plan your gate design, you will avoid common issues such as a gate that is too wide or an uneven hang. With your measurements and design in hand, you’re now ready to move on to the next step – cutting the wood.
Step 2: Cutting the Wood
With your measurements and gate design in hand, it’s time to move on to the next step – cutting the wood. Precise and accurate cuts will ensure that your gate fits together seamlessly and functions properly. Here’s how to go about it:
- Gather your materials: Take out the appropriate number of pickets or slats, as well as the necessary framing boards, based on your gate design and measurements.
- Set up your saw: Whether you’re using a circular saw or a miter saw, make sure it is properly set up and adjusted. Follow the manufacturer’s instructions for safety purposes, and wear appropriate protective gear.
- Measure and mark the wood: Using your measurements from step 1 and your gate design, mark the spots where you need to make cuts on the wood. Double-check your measurements to ensure accuracy.
- Cut the pickets or slats: Carefully cut the pickets or slats for the vertical boards of your gate according to your measurements. Make sure to make straight and clean cuts.
- Cut the framing boards: Cut the framing boards for the top, bottom, and sides of your gate according to your measurements. These boards will provide support and stability to the gate.
- Double-check the wood pieces: Once all the cuts are made, double-check the wood pieces to ensure they match your measurements and design. Make any necessary adjustments if needed.
Remember to take your time and work carefully when cutting the wood. Accurate cuts will make the assembly process much easier and result in a gate that fits together perfectly. With the wood pieces cut and ready, you’re now ready to move on to the next step – assembling the frame.
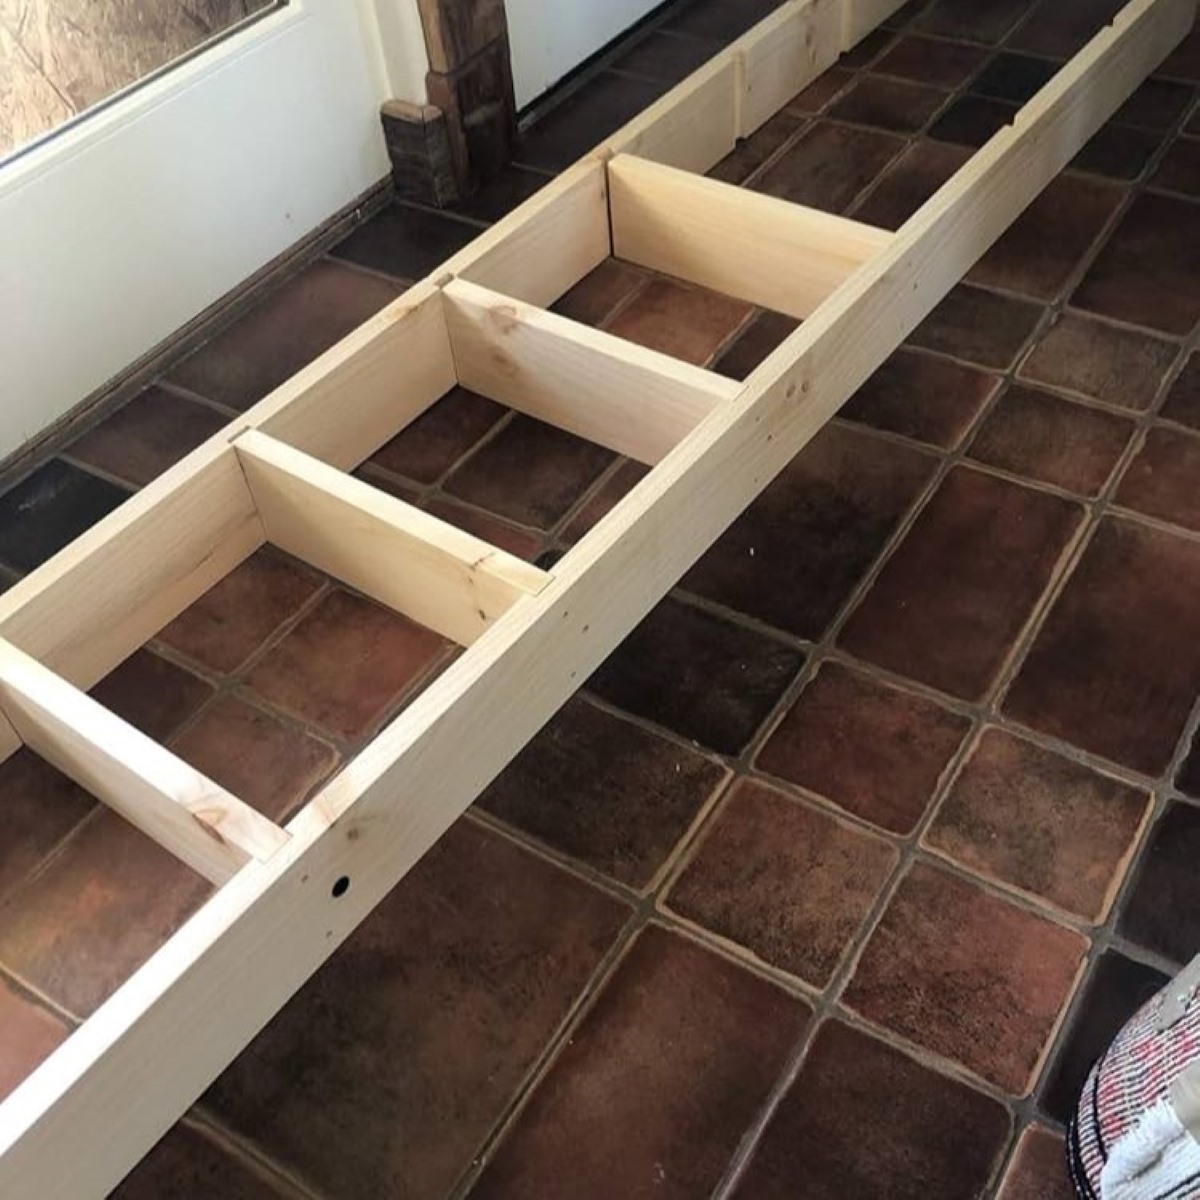
Step 3: Assembling the Frame
Now that you have the wood pieces cut to the appropriate sizes, it’s time to assemble the frame of your wooden fence gate. The frame will provide the structure and stability for the gate. Follow these steps to assemble the frame:
- Arrange the framing boards: Lay out the top, bottom, and side framing boards on a flat surface in the shape of a rectangle, following your gate design and measurements.
- Apply wood glue: Apply a generous amount of wood glue on the ends of each framing board that will be joined together. This will enhance the strength of the joints.
- Align the boards: Place the boards together, aligning the corners to form a rectangle. Make sure the boards are flush and square.
- Secure with screws: Use a drill and wood screws to secure the joints of the frame. Pre-drill pilot holes to prevent splitting the wood, and then drive the screws in. Place screws at regular intervals along the joints.
- Check for squareness: Use a carpenter’s square to check that the frame is square. Adjust if necessary by applying slight pressure and tapping the frame with a mallet or hammer.
- Allow the glue to dry: Let the wood glue dry according to the manufacturer’s instructions. This will usually take a few hours.
By assembling the frame with wood glue and screws, you’ll ensure that it is strong and stable. Take your time during this step to ensure proper alignment and secure joints. Once the glue has dried, you’re ready to move on to the next step – installing the diagonal bracing.
Read more: How To Build A Vinyl Fence Gate
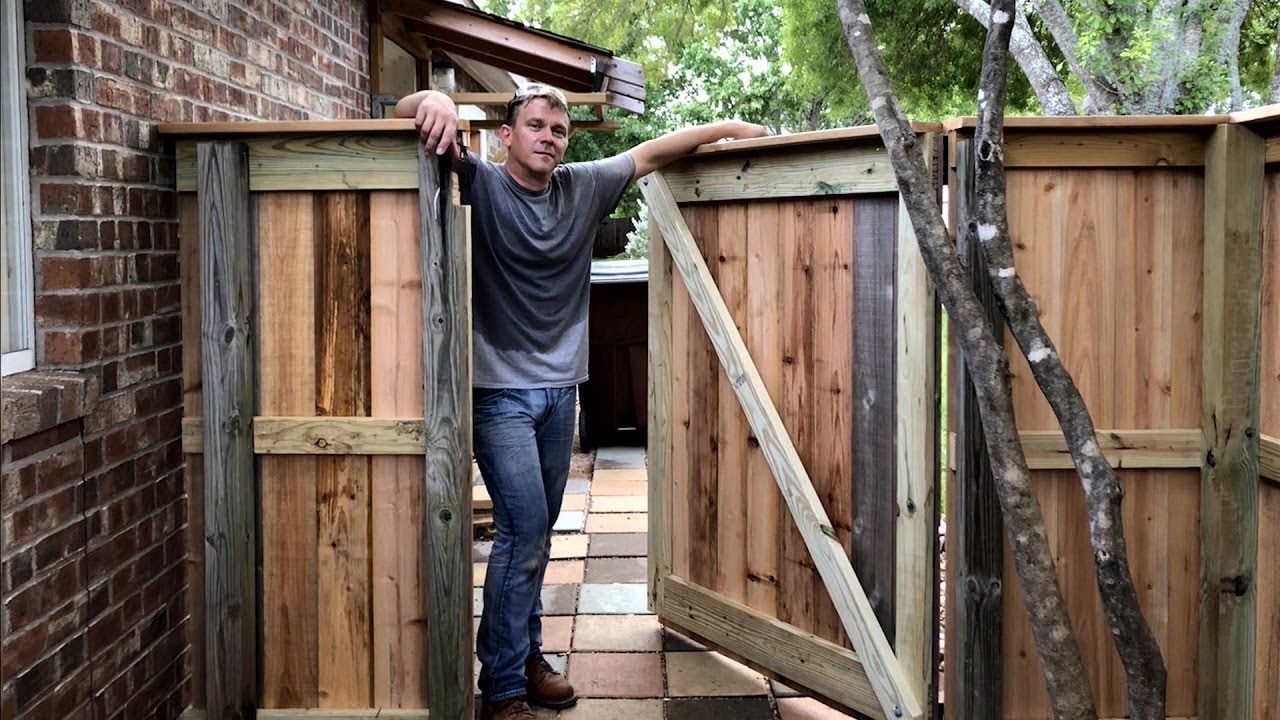
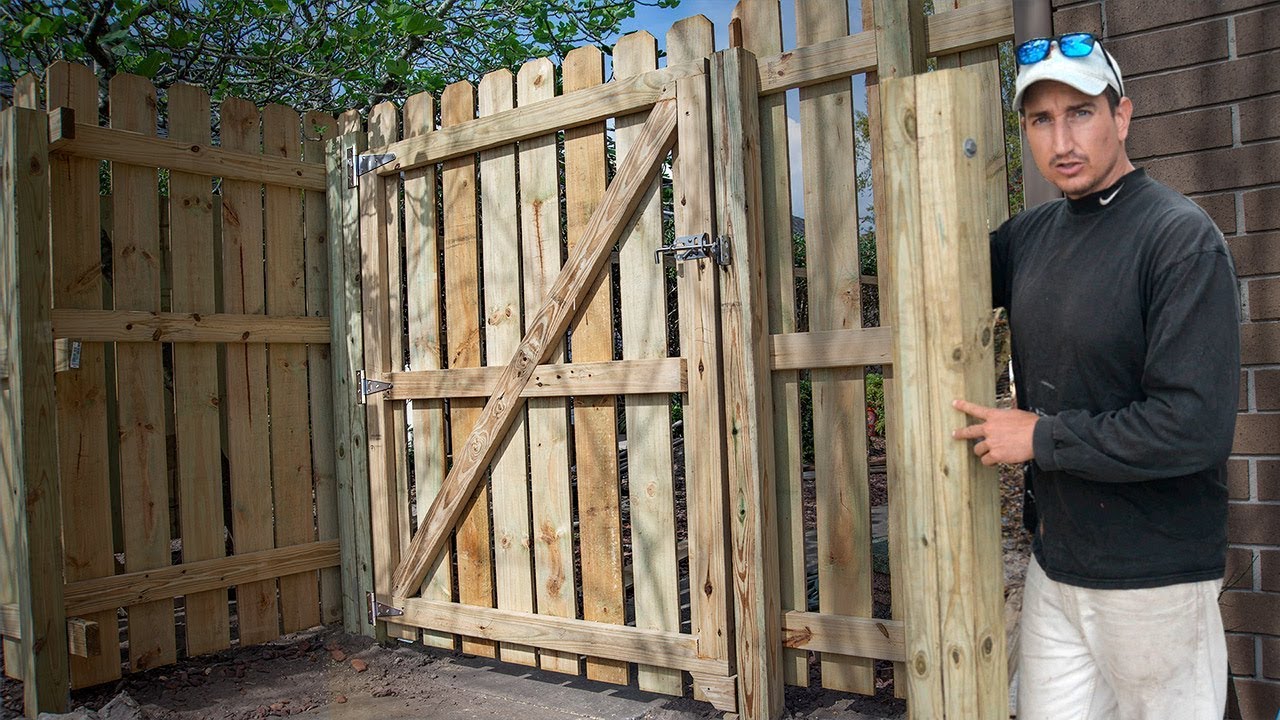
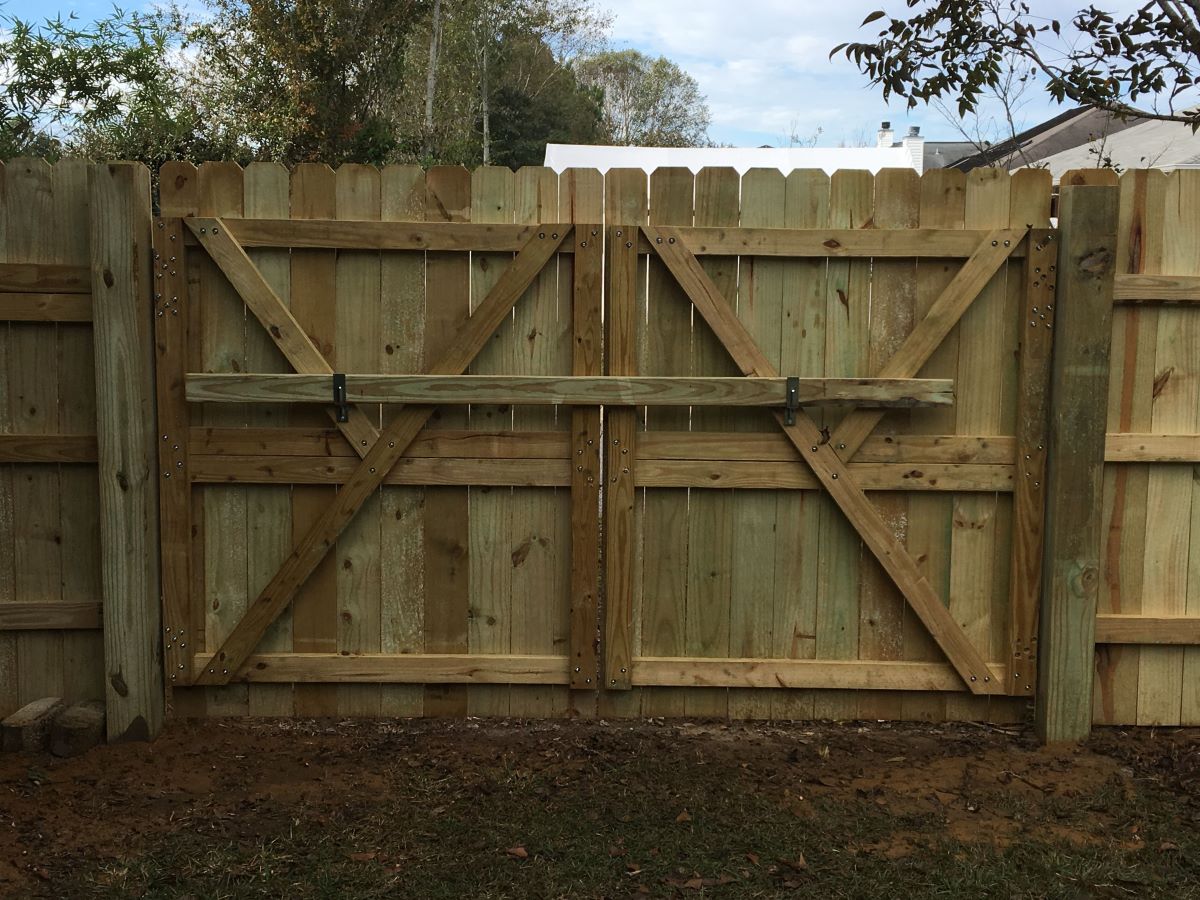
Step 4: Installing the Diagonal Bracing
Installing diagonal bracing is a crucial step in building a wooden fence gate that won’t sag. The diagonal bracing helps to reinforce the gate and prevent it from warping or sagging over time. Follow these steps to install the diagonal bracing:
- Measure and mark the diagonal bracing boards: Use a measuring tape and pencil to mark the lengths of the diagonal bracing boards. These boards should reach from one corner of the gate frame to the opposite corner.
- Cut the diagonal bracing boards: Using a saw, carefully cut the diagonal bracing boards according to your measurements. Make sure the cuts are clean and precise.
- Position the first diagonal brace: Hold one of the diagonal bracing boards against the gate frame, positioning it from the top corner to the bottom corner. Make sure it sits flush against the frame.
- Secure the brace with screws: Use a drill and wood screws to attach the diagonal bracing board to the gate frame. Drive screws at an angle, starting from the top corner and working your way down to the bottom corner. Ensure a secure and tight fit.
- Repeat for the other diagonal brace: Install the second diagonal bracing board following the same steps. Position it from the opposite top corner to the opposite bottom corner of the gate frame.
- Double-check the bracing: Once both diagonal braces are installed, double-check that they are securely fastened and provide additional stability to the gate frame.
Installing diagonal bracing will significantly strengthen your fence gate and help prevent sagging or warping. Take your time during this step to ensure accurate measurements and secure attachment. With the diagonal bracing in place, you’re ready to move on to the next step – adding the pickets or slats.
Use diagonal bracing on the back of the gate to prevent sagging. This involves attaching a diagonal piece of wood from the top corner to the bottom corner on the hinge side of the gate.
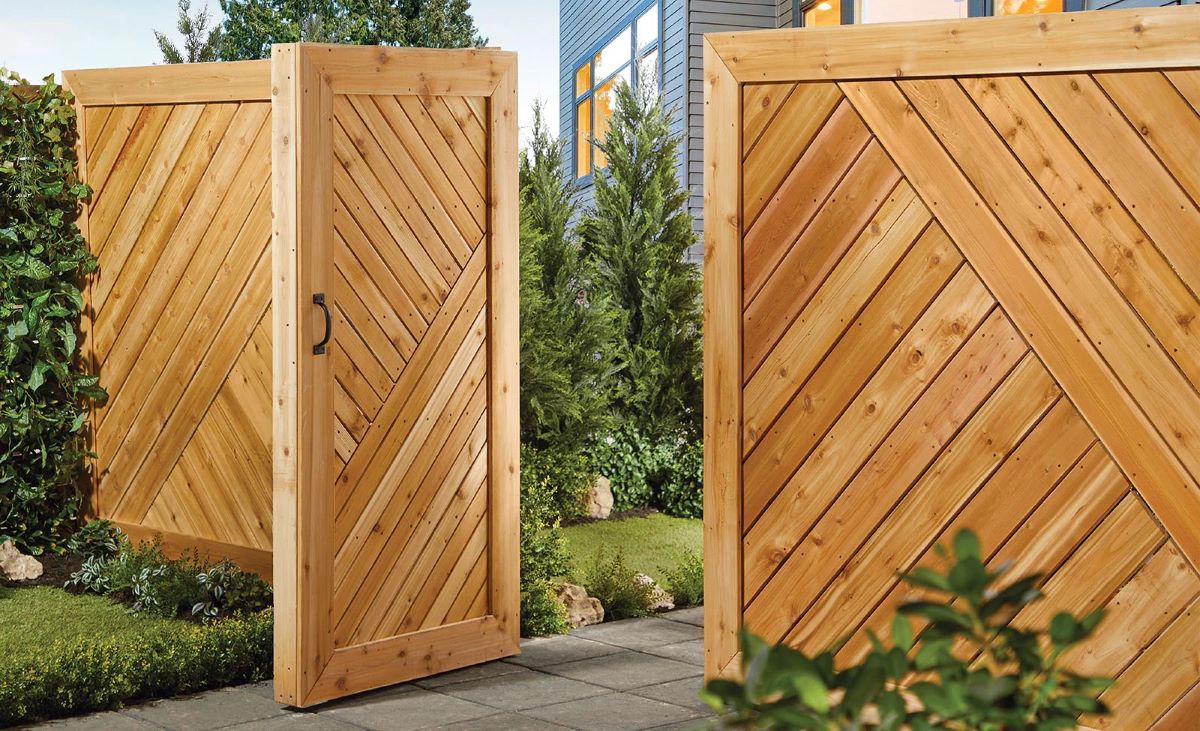
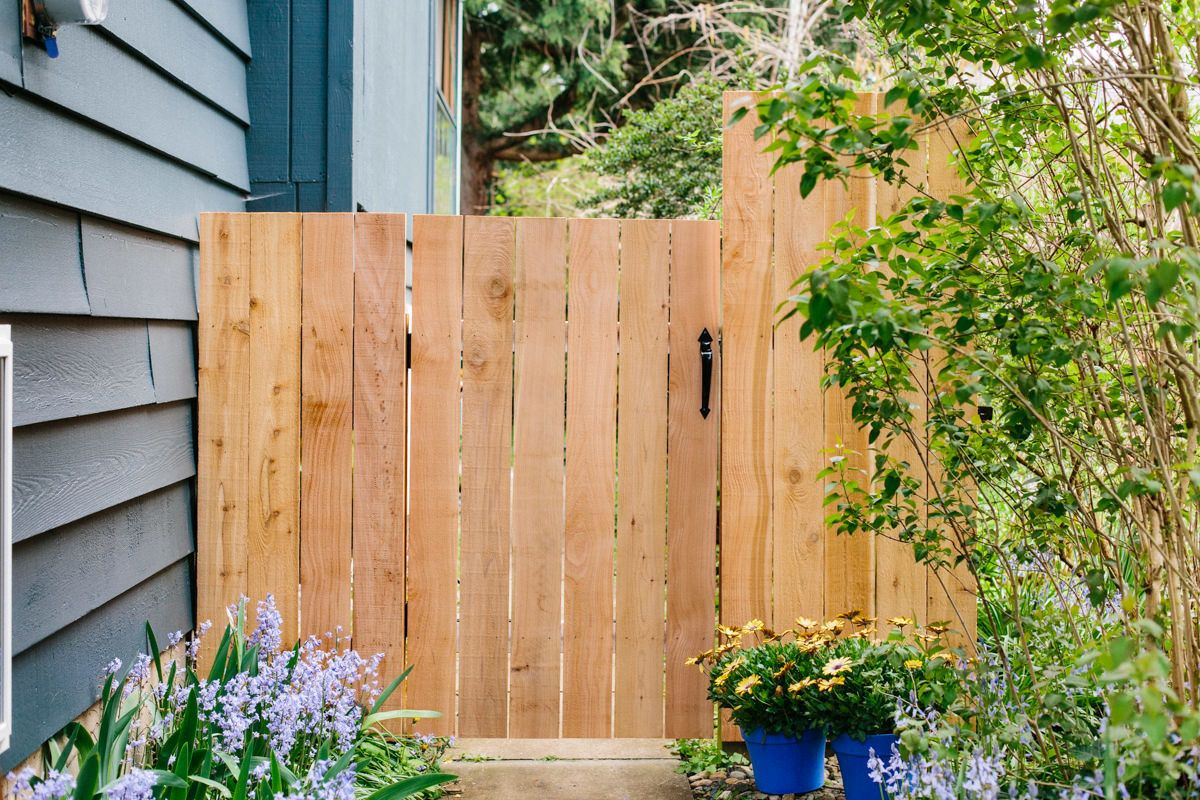
Step 5: Adding the Pickets or Slats
With the gate frame and diagonal bracing in place, it’s time to add the pickets or slats to complete the look of your wooden fence gate. The pickets or slats not only enhance the appearance but also provide privacy and security. Follow these steps to add the pickets or slats:
- Measure and mark the spacing: Determine the desired spacing between the pickets or slats. This will depend on your personal preference and the level of privacy you want. Use a measuring tape and pencil to mark the spacing along the horizontal rails of the gate frame.
- Attach the pickets or slats: Starting from one end of the gate, position a picket or slat against the frame, lining it up with the marked spacing. Use a drill and wood screws to attach the picket or slat to the horizontal rails of the gate frame. Drive screws at the top and bottom of each picket or slat for secure attachment.
- Continue adding pickets or slats: Repeat the process of attaching the pickets or slats along the entire width of the gate frame. Ensure that each picket or slat is evenly spaced and aligned with the marked spacing.
- Trim the excess: Once all pickets or slats are attached, trim any excess length if necessary. Use a saw to carefully cut off any overhanging ends of the pickets or slats.
As you add the pickets or slats, take care to maintain consistent spacing and alignment. This will result in a visually pleasing and well-constructed fence gate. With the pickets or slats in place, you’re now ready to move on to the next step – installing the hardware.
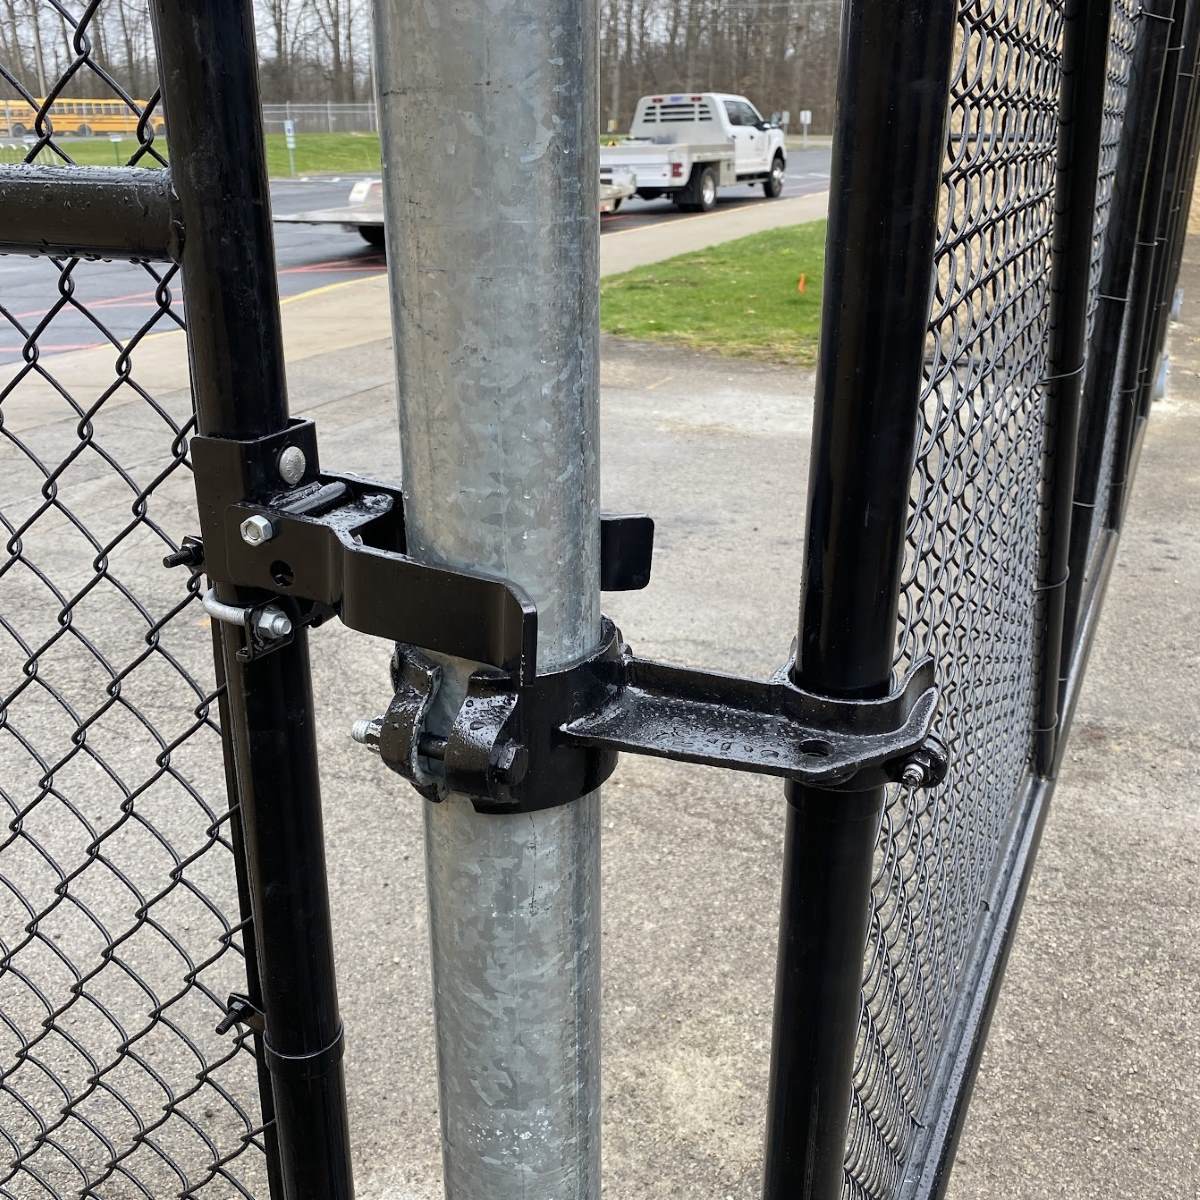
Step 6: Installing the Hardware
Installing the hardware is an essential step in completing your wooden fence gate. The hardware includes hinges for attaching the gate to the fence posts and latch hardware for securing the gate in a closed position. Follow these steps to install the hardware:
- Position the hinges: Determine the placement of the hinges on the gate and the corresponding fence post. Typically, you will need two hinges, one at the top and one at the bottom of the gate. Mark the screw holes for the hinges.
- Attach the hinges: Using a drill, attach the hinges to the gate frame and the fence post. Make sure the hinges are securely fastened and allow the gate to swing freely.
- Install the latch hardware: Determine the desired location for the latch hardware on the gate and the corresponding fence post. Mark the screw holes for the latch and receiver.
- Attach the latch hardware: Using a drill, attach the latch to the gate frame and the receiver to the fence post. Test the latch to ensure it securely holds the gate in a closed position.
- Adjust hardware alignment: Check the alignment of the hinges and latch hardware to ensure smooth operation of the gate. Make any necessary adjustments by loosening the screws and repositioning the hardware.
- Tighten all screws: Once the hardware is properly aligned, tighten all the screws to ensure everything is securely in place.
Proper installation of the hardware is crucial for the functionality and security of your fence gate. Take your time during this step to ensure accurate placement and secure attachment. With the hardware installed, you’re now ready for the next step – hanging the gate.
Step 7: Hanging the Gate
After completing the construction and installation of your wooden fence gate, it’s time to hang it in its designated opening. Hanging the gate properly will ensure that it operates smoothly and securely. Follow these steps to hang the gate:
- Position the gate: Place the gate in its desired location, aligning it with the fence posts. Enlist the help of a friend or family member to hold the gate in place.
- Place shims: Insert shims between the gate frame and the fence post to provide support and maintain an even gap between the gate and the post. This will prevent the gate from rubbing against the post.
- Check for level: Use a level to ensure that the gate is plumb and level. Adjust the shims as needed to achieve proper alignment.
- Attach the hinges: With the gate still held in place, attach the hinges to the corresponding hinge hardware on the fence post. Use a drill to secure the screws. Make sure the gate swings freely without any obstruction.
- Double-check alignment: Once the hinges are attached, double-check the alignment of the gate. Ensure that it opens and closes smoothly without any dragging or misalignment.
- Remove shims: Once you are satisfied with the alignment and operation of the gate, remove the shims from between the gate frame and the fence post.
By following these steps, you will hang your fence gate securely and ensure its proper function. Take the time to check for proper alignment and make any necessary adjustments. With the gate successfully hung, proceed to the final step – adjusting for proper alignment.
Read more: How To Build A Chain Link Fence Gate
Step 8: Adjusting for Proper Alignment
After hanging the gate, it’s important to make final adjustments for proper alignment. This step ensures that the gate operates smoothly and securely, providing both functionality and aesthetic appeal. Follow these steps to adjust your wooden fence gate:
- Check the gate swing: Open and close the gate several times to observe its swing. Pay attention to any obstructions or resistance that may be hindering its movement.
- Inspect the latch alignment: Ensure that the latch aligns properly with the latch receiver on the fence post. Adjust the position of the latch if necessary to ensure a secure closure.
- Check for gaps and spacing: Examine the gate’s edges and gaps between pickets or slats. Make sure there are no excessive gaps or misalignments. If needed, adjust the positioning of the pickets or slats for a more uniform appearance.
- Test for smooth operation: Test the gate’s motion by opening and closing it a few more times. Look for any signs of dragging or sticking, and make necessary adjustments to ensure smooth operation.
- Recheck the gate’s level: Use a level to ensure that the gate is still plumb and level. Make any adjustments to the hinge hardware or shims as needed to maintain proper alignment.
- Tighten any loose screws: Check all screws on the gate frame and hardware attachments. Tighten any loose screws to ensure the gate remains secure.
Taking the time to conduct these final adjustments will ensure that your wooden fence gate operates smoothly, aligns correctly, and provides a secure closure. Once you are satisfied with the gate’s alignment and operation, your wooden fence gate is ready to be enjoyed for years to come.
Congratulations! You have successfully built a sturdy and reliable wooden fence gate that won’t sag. Enjoy the functional and beautiful addition to your property!
Conclusion
Building a wooden fence gate that won’t sag is a rewarding project that enhances both the functionality and aesthetic appeal of your property. By following the step-by-step process outlined in this guide, you can construct a gate that stands the test of time, providing security, privacy, and curb appeal. Here’s a brief summary of the steps:
- Start by measuring and planning the dimensions of your gate, considering factors such as width, height, and swing direction.
- Cut the wood pieces accurately to ensure a seamless fit during assembly.
- Assemble the gate frame, using wood glue and screws to create a strong and stable structure.
- Install diagonal bracing to reinforce the gate and prevent sagging or warping.
- Add the pickets or slats to complete the look and functionality of the gate.
- Attach the necessary hardware, such as hinges and latch hardware, to allow proper operation.
- Hang the gate, making sure it is level and plumb, and adjusting with shims as needed.
- Make final adjustments for proper alignment, ensuring smooth operation and a secure closure.
Remember to use high-quality tools and materials, take precise measurements, and pay attention to detail throughout the construction process. This will result in a gate that not only meets your functional needs but also adds charm and value to your property.
Building a wooden fence gate requires a combination of skill, patience, and attention to detail. By following this guide and incorporating your own creative touch, you can create a gate that not only serves its purpose but also becomes a beautiful and integral part of your overall fencing system.
Take pride in your craftsmanship and enjoy the benefits of a well-built wooden fence gate that will serve you for years to come.
Now that you've mastered building a wooden fence gate that stands firm, why stop there? Dive into our exciting guide on Outdoor Projects, packed with creative DIY ideas to enhance your outdoor space. If you're looking to redefine boundaries, our Garden Fencing article offers innovative and stylish solutions to transform your garden's perimeter into a visual delight. Both guides are brimming with practical tips and inspiring designs, perfect for your next home improvement adventure.
Frequently Asked Questions about How To Build A Wooden Fence Gate That Won't Sag
Was this page helpful?
At Storables.com, we guarantee accurate and reliable information. Our content, validated by Expert Board Contributors, is crafted following stringent Editorial Policies. We're committed to providing you with well-researched, expert-backed insights for all your informational needs.

0 thoughts on “How To Build A Wooden Fence Gate That Won’t Sag”