
Articles
How To Build A Bar With Built In Kegerator
Modified: October 20, 2024
Learn how to build a bar with a built-in kegerator and create the ultimate hangout spot at home. Our articles provide step-by-step instructions and expert tips to help you get started.
(Many of the links in this article redirect to a specific reviewed product. Your purchase of these products through affiliate links helps to generate commission for Storables.com, at no extra cost. Learn more)
Introduction
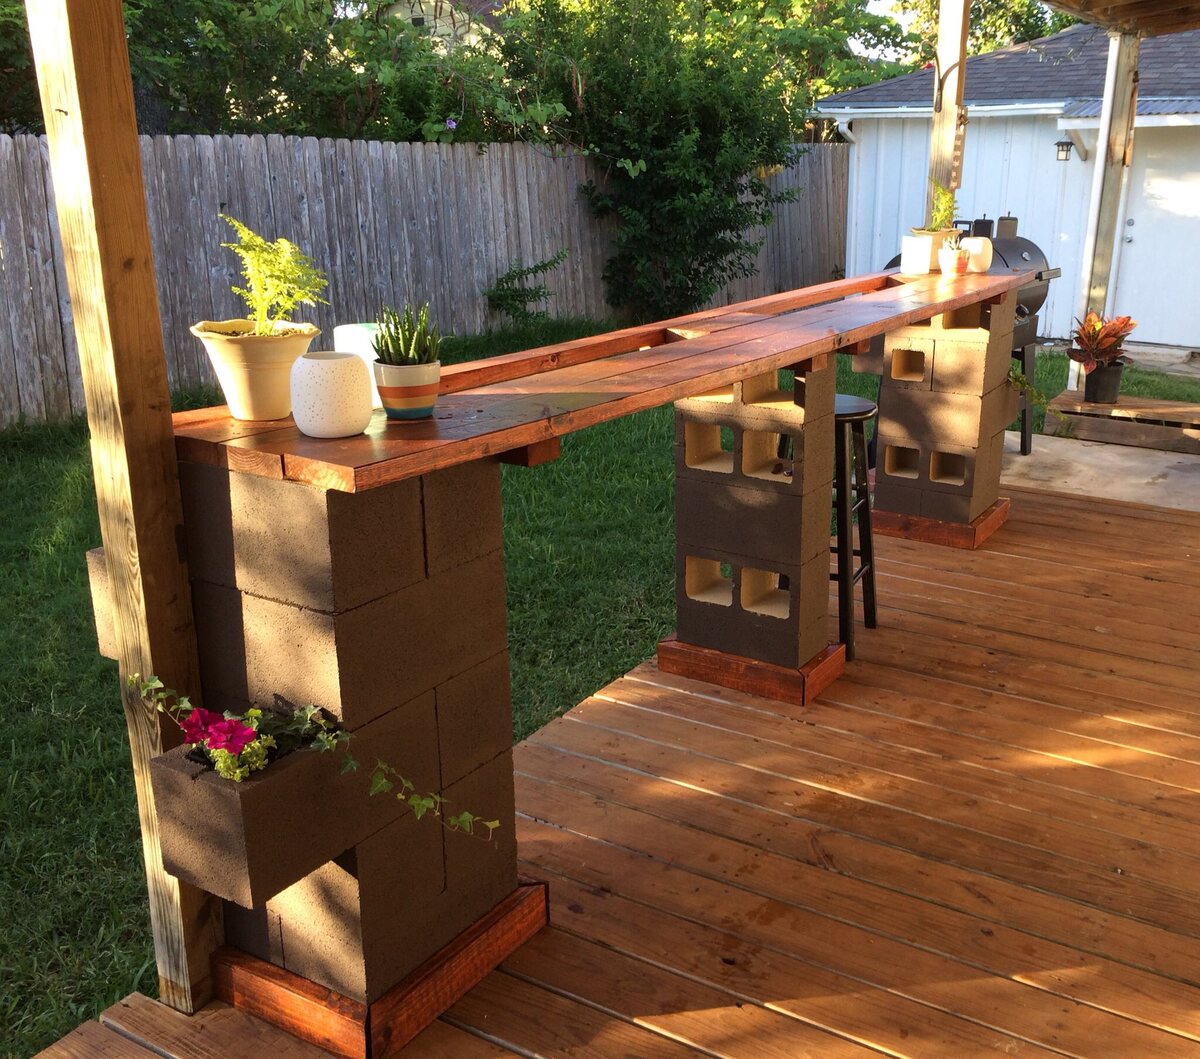
Are you a fan of hosting parties or enjoy entertaining guests at home? If so, then having your own bar with a built-in kegerator can take your hosting skills to the next level. Imagine having a dedicated space where you can serve cold and refreshing draft beer straight from the tap. Not only will it impress your friends, but it will also add a touch of sophistication and fun to your home.
In this comprehensive guide, we will walk you through the step-by-step process of building a bar with a built-in kegerator. From planning and design to the finishing touches, you will learn everything you need to know to create the perfect bar for your space and preferences.
Before we dive into the details, it’s important to note that building a bar with a built-in kegerator requires some level of woodworking skills and knowledge of basic tools. However, don’t let that discourage you if you’re a beginner. With careful planning, patience, and the right guidance, you can successfully create a bar that will impress your guests and become a centerpiece of your home.
So, let’s raise a glass as we embark on this exciting journey of building your very own bar with a built-in kegerator. Cheers!
Key Takeaways:
- Planning and Design
Careful planning and design are essential for building a bar with a built-in kegerator. Consider factors like space, layout, style, and functionality to create a personalized and functional bar that impresses guests and enhances your home’s ambiance. - Attention to Detail
From gathering materials and tools to constructing the kegerator cavity and adding finishing touches, attention to detail is crucial. Each step contributes to creating a stylish and functional bar with a built-in kegerator that reflects your personal style and meets your entertainment needs.
Read more: How To Install Kegerator In Bar
Step 1: Planning and Design
The first step in building a bar with a built-in kegerator is to plan and design your space. This is a crucial step as it will determine the size, layout, and overall functionality of your bar. Here are some key factors to consider:
- Space: Measure the area where you plan to build your bar. Consider the available space and ensure that it is suitable for accommodating your desired bar size and kegerator.
- Layout: Determine the layout of your bar. Will it be a straight bar, L-shaped bar, or U-shaped bar? Consider the flow of traffic, seating arrangements, and accessibility to the kegerator.
- Style: Decide on the style of your bar. Are you going for a modern look or a rustic theme? Consider the materials, colors, and finishes that will complement your overall home decor.
- Functionality: Think about the specific features you want to incorporate into your bar. Do you need storage for glasses, a sink, or a mini-fridge? Plan the placement of these elements to ensure convenience and practicality.
Once you have a clear vision of your bar design, it’s time to create a detailed plan. Sketch out your bar layout, including measurements and dimensions. This will serve as your blueprint throughout the building process.
Take this opportunity to research different types of kegerators available in the market. Consider factors such as size, capacity, and cooling options to choose the right kegerator that suits your needs and budget.
Furthermore, it’s a good idea to consult with a professional or seek inspiration from online resources and home improvement forums. This will provide you with valuable insights and ideas to make your bar even more amazing.
By dedicating time to planning and design, you’ll have a solid foundation for your bar-building project. So grab a pen, let your creativity flow, and turn your bar dreams into a reality!
Step 2: Choosing the Location
Choosing the right location for your bar is crucial for creating a functional and enjoyable space. Consider the following factors when determining where to build your bar:
- Accessibility: Select a location that is easily accessible to both you and your guests. It should be in a convenient area of your home, such as a basement, game room, or backyard.
- Space: Ensure that the chosen location has enough space to accommodate your desired bar size and layout. Measure the area and consider any obstacles, such as windows, doors, or existing structures, that may need to be taken into account during the construction process.
- Ventilation: If you plan to install a kegerator in your bar, it’s important to have proper ventilation to dissipate heat. Choose a location that allows for sufficient airflow to prevent the kegerator from overheating. Additionally, consider the availability of electricity outlets and the need for additional wiring.
- Aesthetics: Think about the overall aesthetics of the space. Choose a location that complements the style and ambiance you envision for your bar. Consider factors such as lighting, wall colors, and existing decor.
- Privacy: Depending on your preferences, you may want to select a location that offers privacy for your bar. Consider the proximity to other rooms and noise levels to ensure a comfortable environment.
Once you have identified a suitable location, it’s important to assess any necessary preparations or modifications needed to make the space bar-ready. This may include clearing out the area, making necessary repairs or adjustments, and ensuring proper flooring and insulation.
Remember to take into account any local building codes or regulations that may be applicable to your project. It’s essential to comply with these guidelines to ensure the safety and legality of your bar construction.
Choosing the right location is the foundation of a successful bar-building project. Take your time to evaluate different options and envision how the space will function and flow. Once you have made your decision, you can proceed to the next step of gathering materials and tools.
Step 3: Gathering Materials and Tools
Now that you have planned the design and chosen the location for your bar, it’s time to gather the necessary materials and tools to bring your vision to life. Here’s a list of items you will need:
- Lumber: Purchase quality lumber in the desired dimensions for your bar frame, bar top, and shelving. Consider using treated lumber for areas that may be exposed to moisture.
- Plywood or MDF: Choose plywood or medium-density fiberboard (MDF) for the bar surface and other flat paneling needs.
- Screws and Nails: Stock up on screws and nails of various sizes to secure the different elements of your bar.
- L-Brackets and Corner Braces: These will provide additional support and stability to the bar frame.
- Bar Top Material: Depending on your preference and budget, you can choose from materials such as granite, marble, laminate, or reclaimed wood for your bar top.
- Bar Rail: Consider adding a bar rail for comfort and style. Options include metal, wood, or PVC pipe.
- Kegerator: Depending on the size and type you’ve chosen, make sure to have the kegerator ready for installation.
- Construction Adhesive: Get a high-quality construction adhesive for securing panels and countertops.
- Tools: Some of the essential tools you’ll need include a circular saw, drill, miter saw, tape measure, level, clamps, and a hammer. Additionally, consider having safety gear such as safety glasses, gloves, and ear protection.
Make sure to create a detailed list of each item you need, including specific measurements and quantities. This will ensure that you have everything on hand to complete the project smoothly.
Before purchasing materials, it’s a good idea to compare prices from different suppliers and explore any discounts or deals available. Additionally, check online tutorials or visit home improvement stores for expert advice on choosing the right materials and tools for your specific project.
By gathering all the necessary materials and tools ahead of time, you’ll be well-prepared to move on to the next step of building the frame for your bar.
Step 4: Building the Frame
With all the materials and tools gathered, it’s time to start building the frame of your bar. The frame provides the structural support for your bar and holds all the components together. Here’s a step-by-step guide on how to build the frame:
- Measure and Mark: Use a tape measure to mark the dimensions of your bar on the floor or walls to ensure accuracy.
- Cut the Lumber: Using a circular saw or miter saw, cut the lumber according to the measurements you marked. Be precise and double-check your measurements before making any cuts.
- Assemble the Base: Start assembling the base of the bar by attaching the cut lumber pieces together using screws and L-brackets. Use a level to ensure the base is straight and level.
- Attach the Side Panels: Attach the side panels to the base, ensuring they are square and level with the floor. Use screws and corner braces to secure them.
- Add Support Beams: Place support beams between the side panels to strengthen the frame. Attach them securely using screws.
- Install Back Panel: Attach the back panel to the frame, ensuring it fits snugly and is flush with the edges.
- Secure Top Plate: Attach a top plate to the frame, creating a surface for the bar top to rest on. Use screws and construction adhesive for added stability.
- Install Shelving: If you plan to have shelves in your bar, install them securely, using screws and brackets. Ensure they are level and at the desired height.
Throughout the process, constantly check for levelness and squareness to ensure the frame is sturdy and aligned. Use clamps to hold pieces in place before securing them with screws.
Remember to follow safety guidelines when operating power tools and wear appropriate safety gear. If you’re unsure about any step, consult online resources or seek professional advice.
Once the frame is complete and secure, you’re ready to move on to the next step of installing the bar top.
When building a bar with a built-in kegerator, make sure to properly insulate the kegerator area to maintain the ideal temperature for your beer. This will help ensure that your beer stays fresh and cold for longer periods of time.
Read more: How To Build A Kegerator
Step 5: Installing the Bar Top
Now that your bar frame is solid and stable, it’s time to install the bar top. The bar top is not only a functional surface for serving drinks but also a key element in the overall aesthetic of your bar. Here’s how to install the bar top:
- Measure and Cut: Measure the dimensions of your bar frame and mark those measurements on your chosen bar top material, whether it’s granite, marble, laminate, or reclaimed wood. Use a circular saw or appropriate cutting tool to cut the material to size.
- Prepare the Surface: Ensure the top of the bar frame is clean and free from any debris. If necessary, sand down any rough edges or imperfections.
- Apply Adhesive: Apply a generous amount of construction adhesive to the top of the bar frame. Spread it evenly using a putty knife or scraper.
- Place the Bar Top: Carefully place the cut bar top material onto the adhesive, pressing down firmly to ensure proper adhesion. Use a level to check for evenness.
- Secure the Bar Top: Once the bar top is in place, use clamps to hold it securely to the frame. Allow the adhesive to dry according to the manufacturer’s instructions.
- Seal or Finish: Depending on the type of bar top material you’ve chosen, you may need to seal or finish it to protect it from spills and stains. Follow the recommended steps for sealing or finishing your specific bar top material.
During the installation process, it’s important to take precautionary measures to protect the bar top from scratches or damage. Place a soft cloth or cardboard between the clamps and the bar top to prevent any marks.
Once the bar top is securely installed and sealed, take a step back and admire your progress. The bar is now taking shape, and you’re one step closer to enjoying your favorite drinks straight from your built-in kegerator.
Next up, we’ll move on to the exciting step of constructing the cavity for the kegerator.
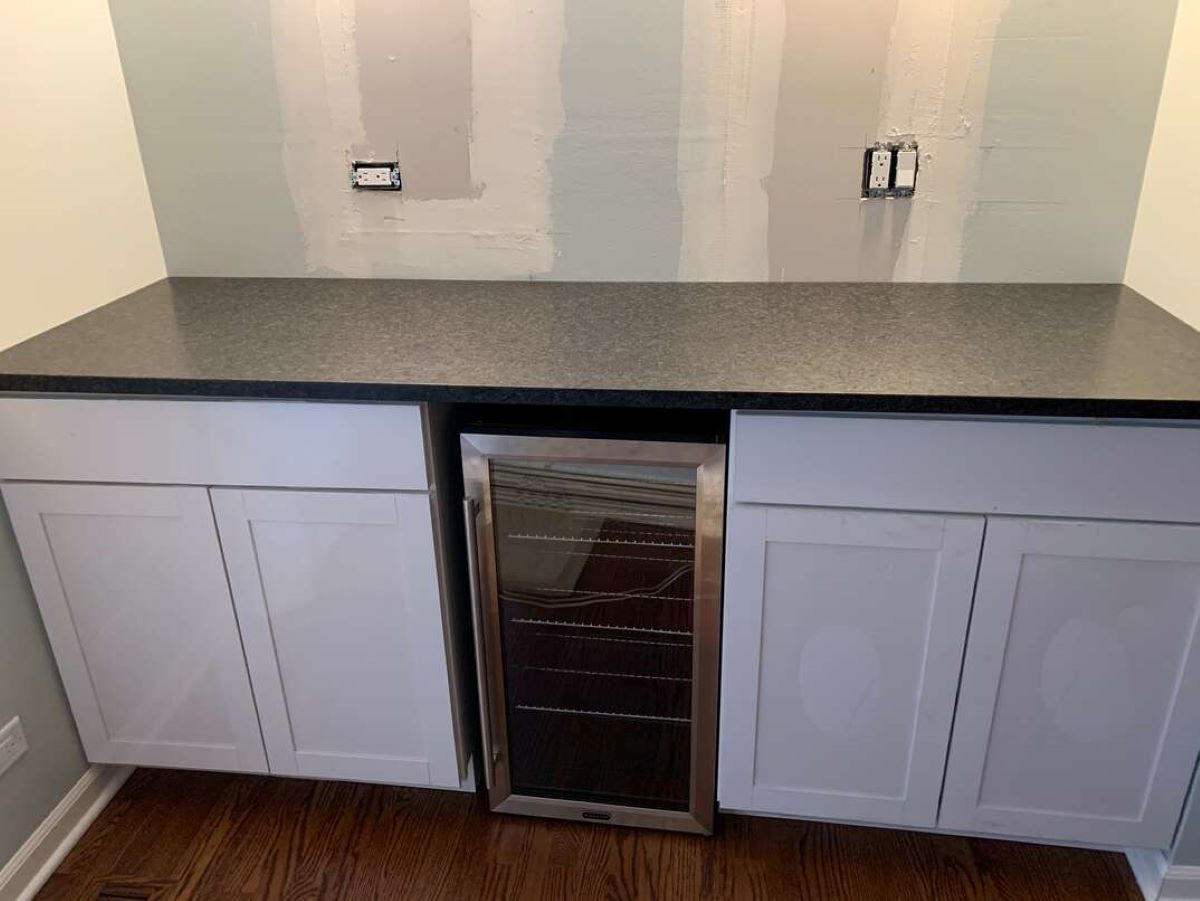
Step 6: Constructing the Kegerator Cavity
Now that your bar top is in place, it’s time to construct the cavity for your kegerator. This step is crucial as it will provide a dedicated space to house the kegerator, allowing for easy access and functionality. Follow these steps to construct the kegerator cavity:
- Measure and Mark: Measure the dimensions of your kegerator and mark those measurements on the front-facing panel of the bar frame. Ensure that the opening is large enough to accommodate the kegerator.
- Cut the Opening: Use a circular saw or jigsaw to carefully cut out the marked opening on the front-facing panel of the bar frame. Be cautious and take precise measurements to ensure a snug fit.
- Build Support Structure: To support the weight of the kegerator, install additional framing or support beams inside the cavity. Use screws and L-brackets to secure the support structure to the frame.
- Ensure Proper Ventilation: Depending on the type of kegerator you have, it’s important to ensure proper ventilation within the cavity. If the kegerator requires airflow, install vents or fans as per the manufacturer’s instructions to prevent overheating.
- Provide Easy Access: Consider adding hinges or removable panels to the front-facing opening to allow for easy access to the kegerator for maintenance and repairs.
- Finishing Touches: Once the kegerator cavity is constructed, ensure that all edges are smooth and free from any rough surfaces. Sand down any imperfections and apply paint or stain to match the overall aesthetics of your bar.
It’s important to follow the specific instructions provided by the kegerator manufacturer regarding placement, ventilation, and any additional requirements. This will ensure the proper functioning of your kegerator while maintaining the integrity of your bar construction.
With the kegerator cavity complete, you’re now ready to move on to the next step: installing the kegerator itself.
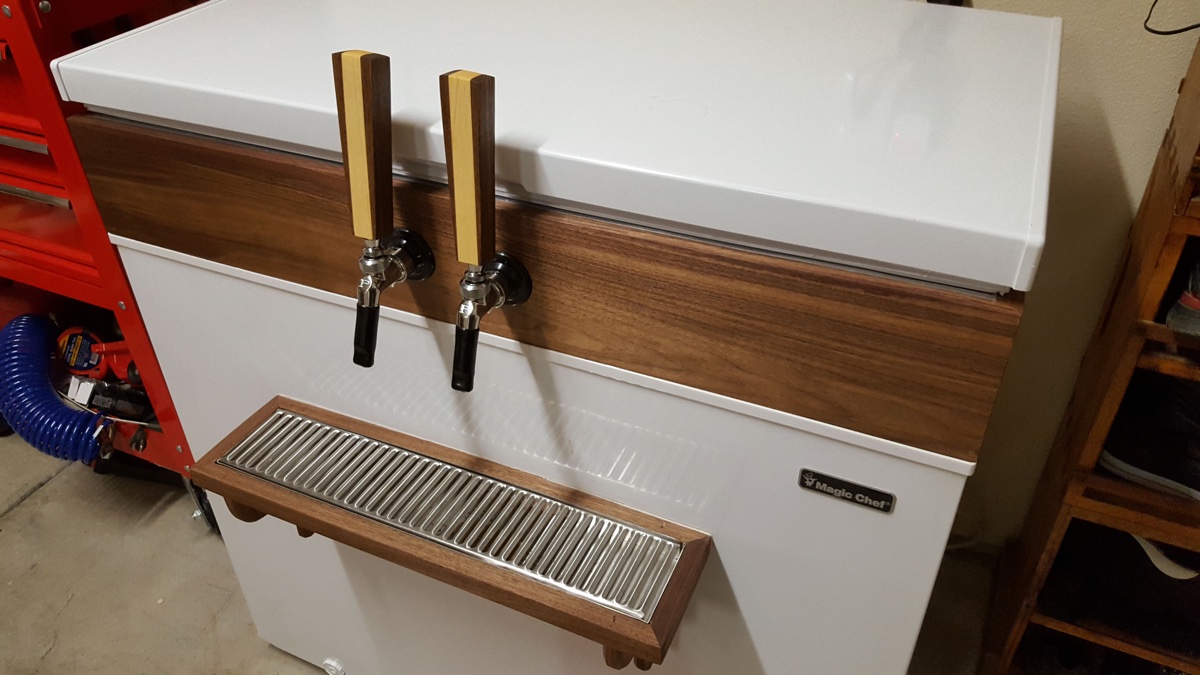
Step 7: Installing the Kegerator
With the kegerator cavity constructed, it’s time to install your kegerator into its designated space in the bar. Follow these steps to properly install the kegerator:
- Prepare the cavity: Ensure that the kegerator cavity is clean, free of debris, and properly ventilated. This includes connecting any necessary ventilation components as per the kegerator manufacturer’s instructions.
- Positioning the kegerator: Carefully place the kegerator into the cavity, ensuring that it is level and secure. If necessary, enlist the help of another person to assist in lifting and positioning the kegerator.
- Secure the kegerator: Use screws or bolts to secure the kegerator to the supportive framework or anchor it to the cavity walls as per the manufacturer’s guidelines. This will prevent any moving or shifting of the kegerator while in use.
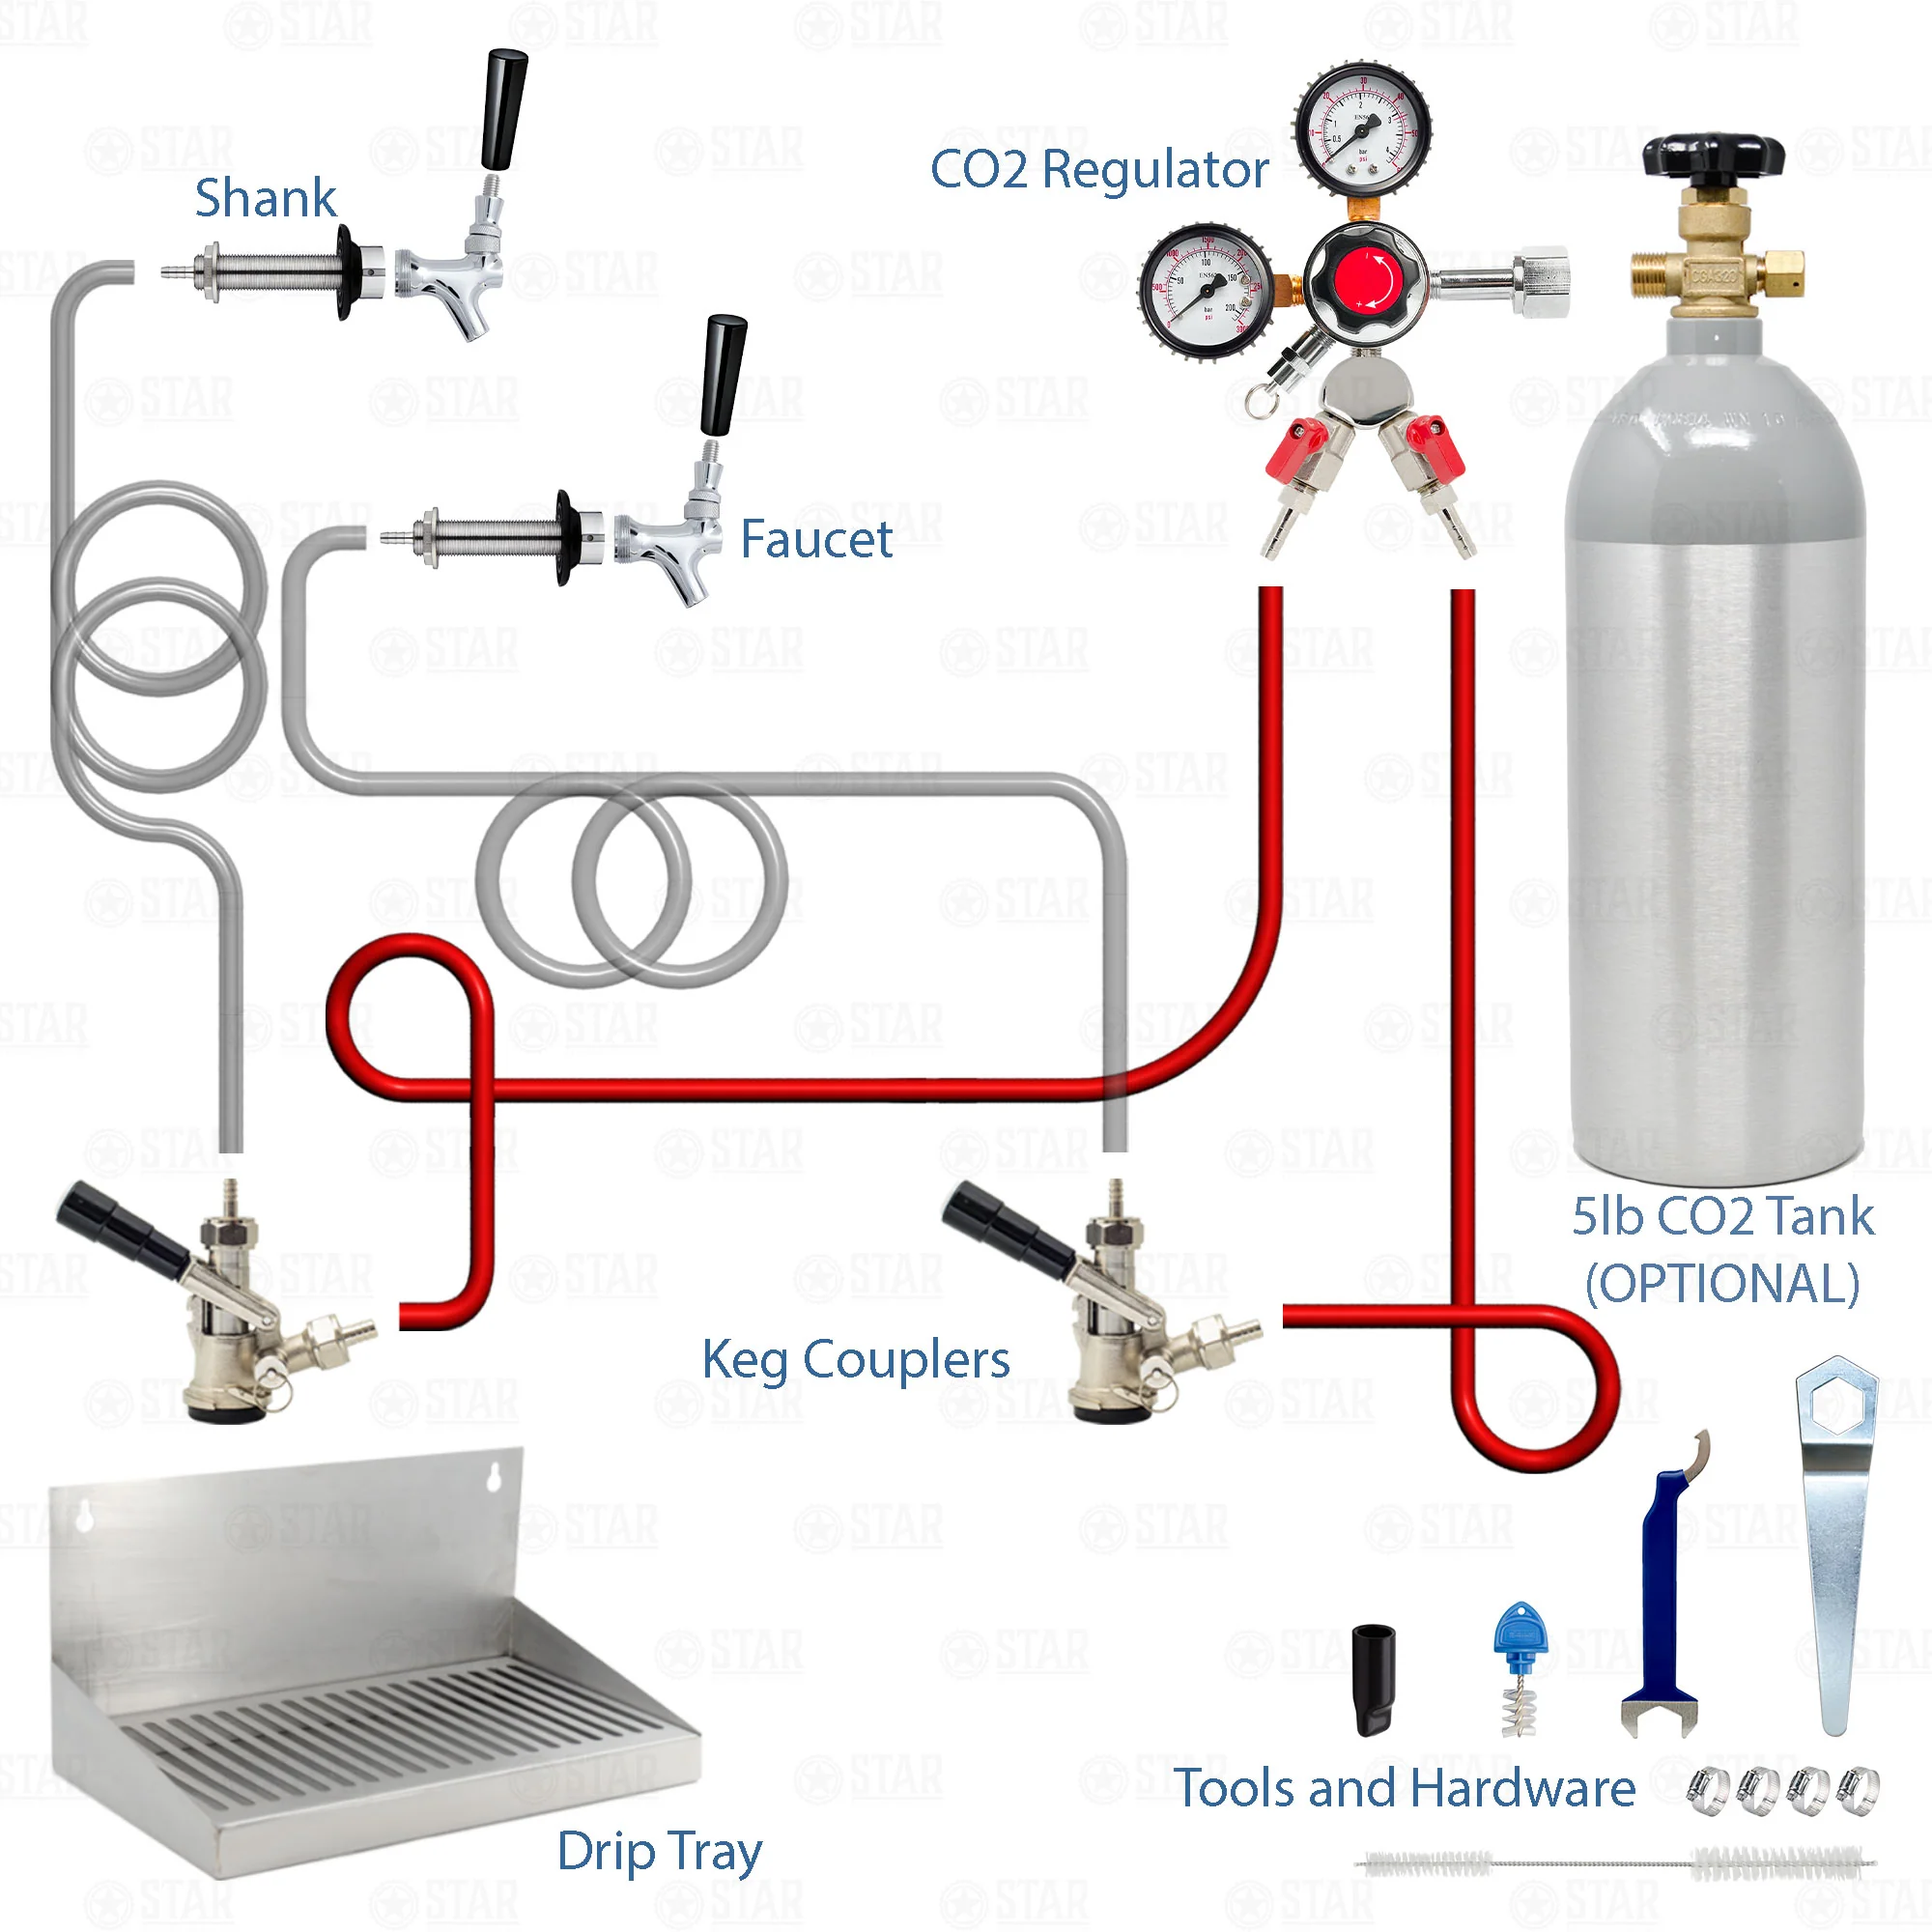
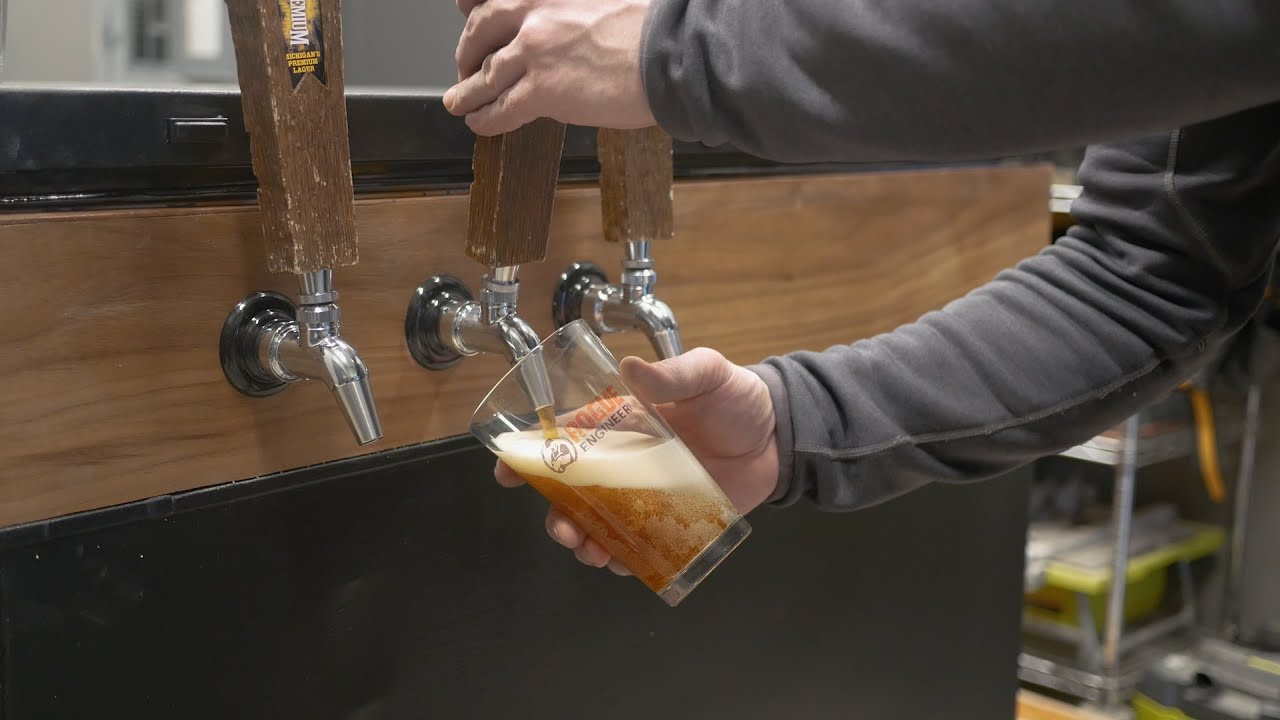
- Connect the draft lines: Follow the instructions provided with your kegerator to properly connect the draft lines. This typically involves connecting the CO2 tank, beer lines, and faucet to the kegerator. Take care to ensure all connections are securely tightened and leak-free.
- Test the kegerator: Before closing up the kegerator cavity, perform a test run to ensure that the kegerator is functioning properly. Check for any leaks, ensure proper CO2 flow, and ensure the beer is dispensed correctly from the tap.
- Complete the finishing touches: Once the kegerator is installed and tested, make any necessary adjustments or enhancements to the kegerator cavity. This may include adding insulation, soundproofing, or decorative elements to enhance the overall appearance and functionality of the bar.
It’s important to consult the manufacturer’s instructions and guidelines throughout the installation process to ensure that the kegerator is properly installed and operational. Additionally, be sure to follow any local building codes or regulations related to the installation of kegerators.
With the kegerator successfully installed, you’re ready to move on to the final step: adding the finishing touches to complete your bar with a built-in kegerator.
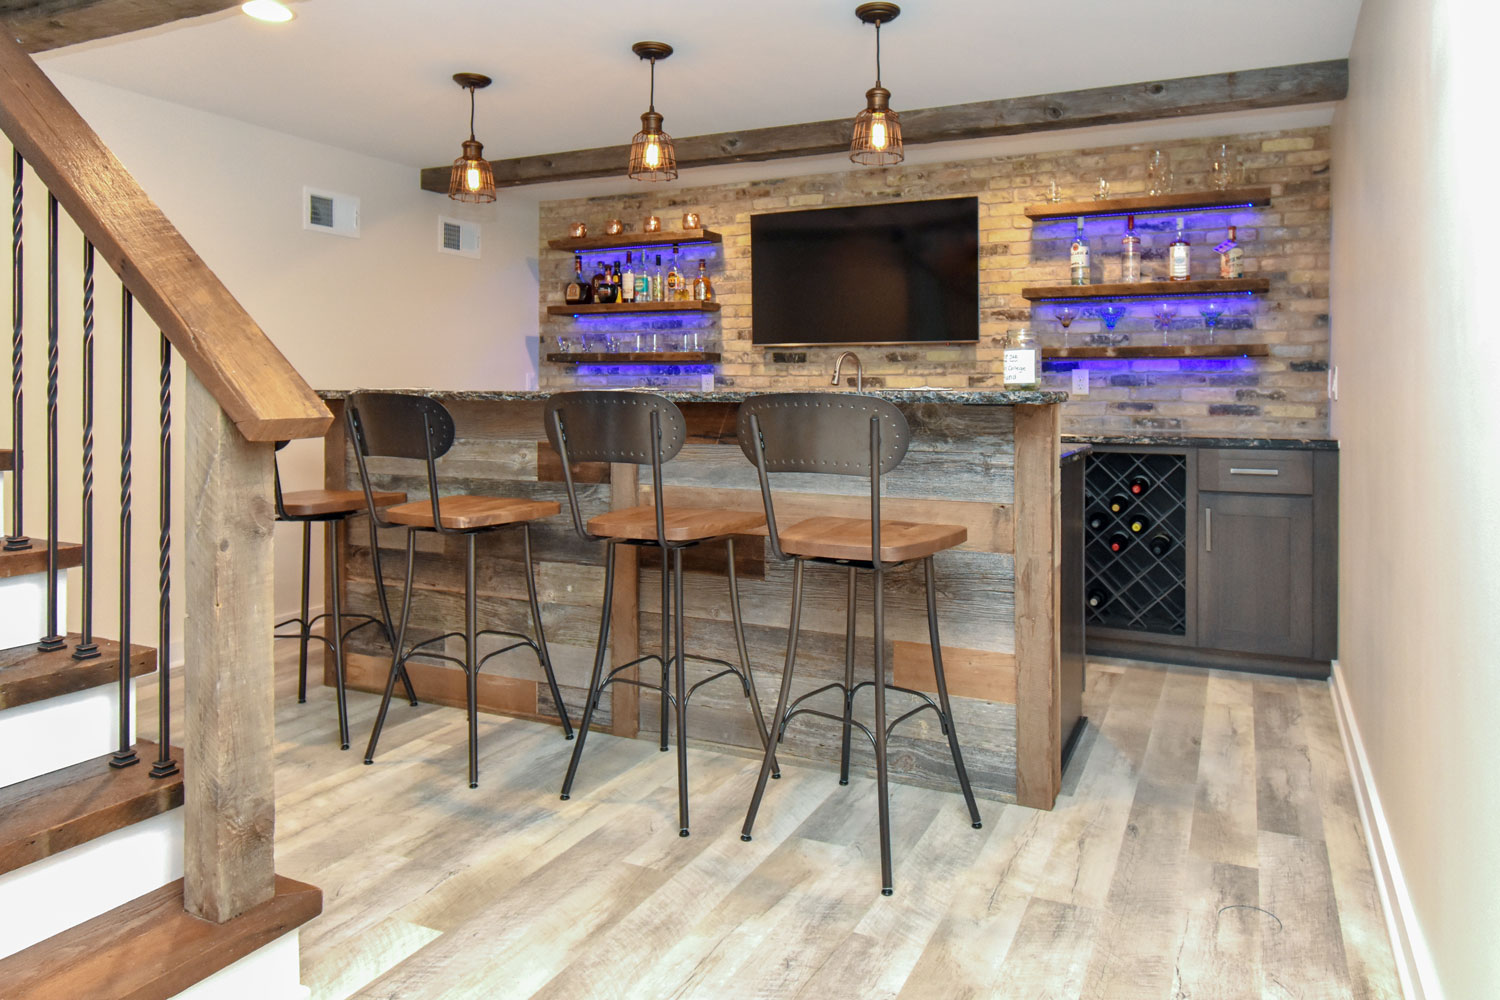
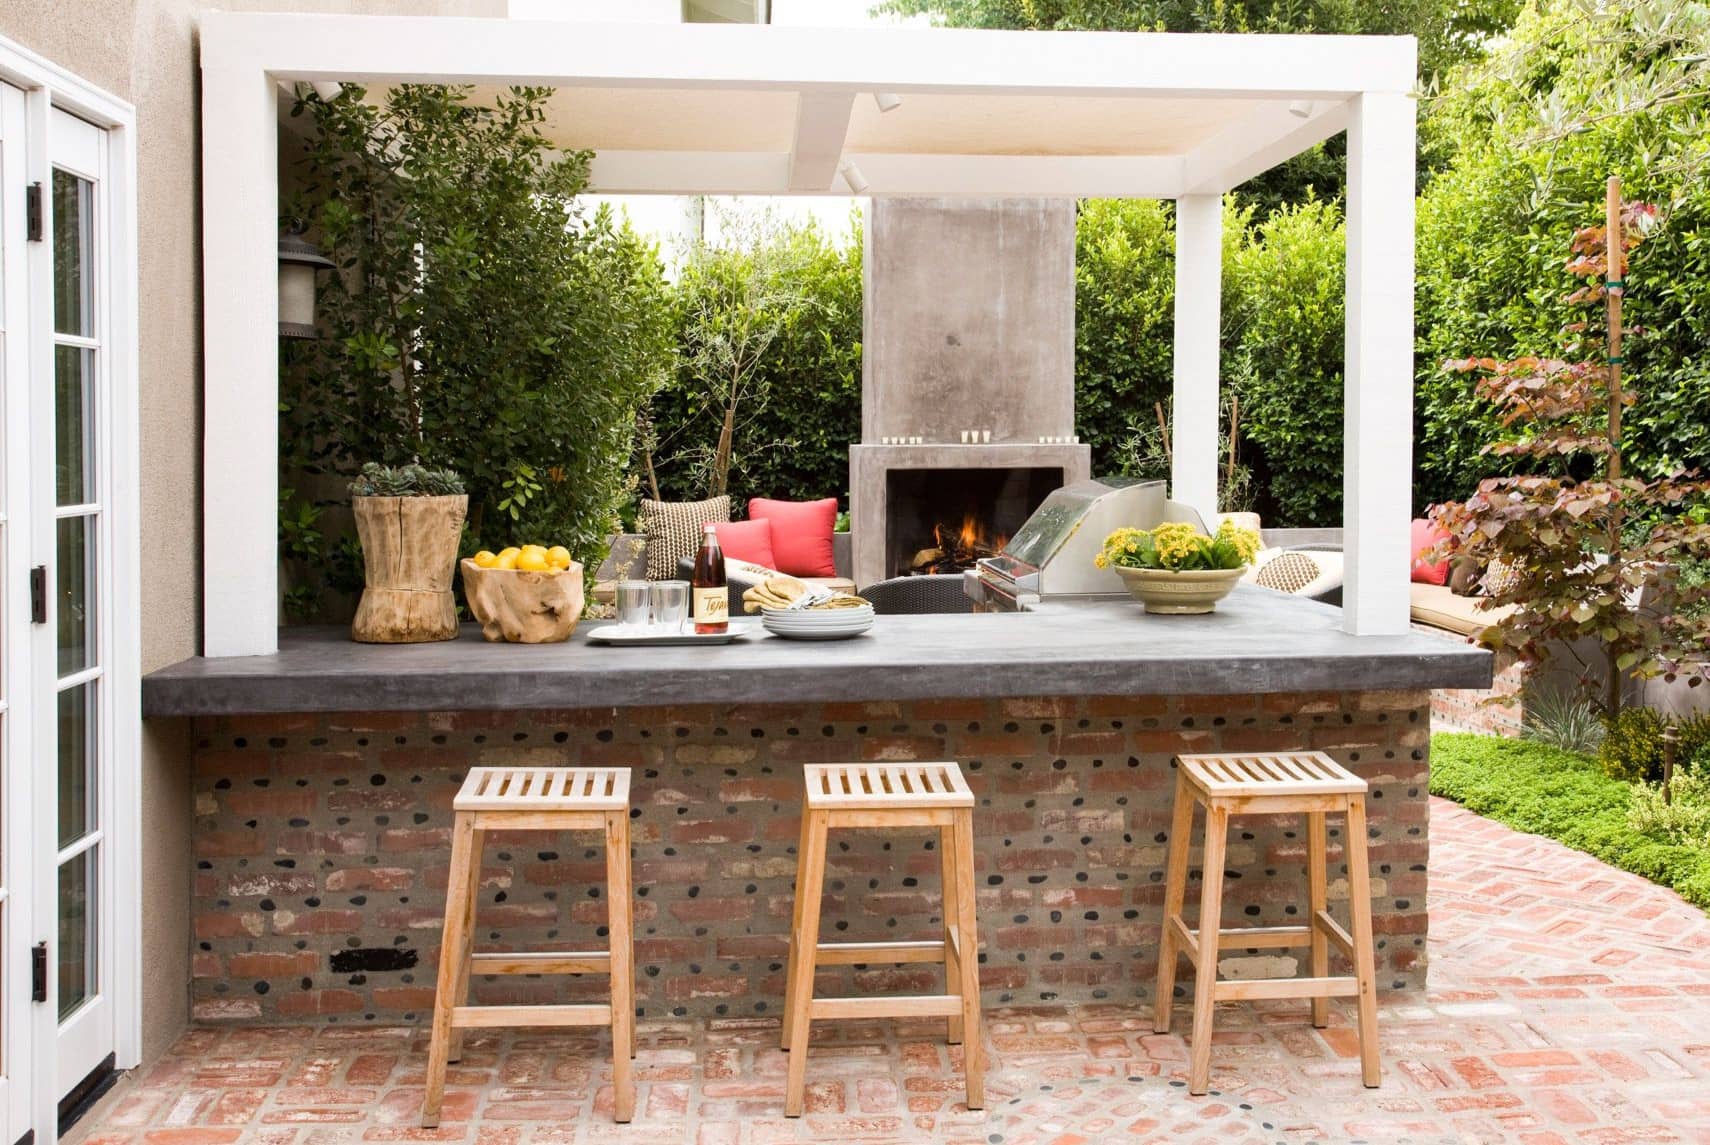
Step 8: Adding Finishing Touches
The final step in building your bar with a built-in kegerator is adding the finishing touches. This is where you can truly personalize your bar and make it a standout feature in your home. Here are some ideas to consider:
- Bar Backsplash: Install a stylish and functional bar backsplash to protect the walls and add visual interest. Choose from materials such as tile, stone, or mirrored backsplash.
- Lighting: Install adequate lighting to set the mood and enhance the ambiance. Consider options like LED strip lighting under the bar top, pendant lights above the bar, or recessed lighting along the back panel.
- Bar Stools: Choose comfortable and stylish bar stools that complement the design of your bar. Consider factors such as height, material, and cushioning to ensure a pleasant seating experience for your guests.
- Decorations: Add personal touches and decorations that reflect your personality and style. Display your favorite beer signs, artwork, or sports memorabilia to create a unique and inviting atmosphere.
- Glassware and Accessories: Stock your bar with a variety of glassware suited for different types of drinks. Include essential bar accessories such as cocktail shakers, bottle openers, and garnish trays.
- Organizers and Storage: Incorporate storage solutions for your bar essentials. Install shelves or cabinets to store glasses, bottles, and other bar accessories neatly.
- Bar Top Protection: Use coasters or a bar mat to protect your bar top from spills and scratches. Consider adding a clear coat or sealant to protect the bar top from moisture and general wear and tear.
Remember to always keep safety and functionality in mind while adding the finishing touches to your bar. Ensure that electrical outlets and cords are safely concealed, and any decorative elements, such as signage or lighting fixtures, are securely installed.
By adding the finishing touches, you transform your bar with a built-in kegerator into a personalized and inviting space. It’s time to sit back, relax, and enjoy the fruits of your labor as you raise a glass to your impressive home bar.
Cheers to a job well done!
Read more: How To Build A Built-In Dresser
Conclusion
Congratulations on successfully building your own bar with a built-in kegerator! By following the step-by-step process outlined in this guide, you’ve created a stylish and functional space where you can serve cold, refreshing draft beer to your guests.
Throughout the journey, you’ve learned the importance of planning and design, choosing the right location, gathering the necessary materials and tools, building a sturdy frame, installing the bar top, constructing the kegerator cavity, installing the kegerator, and adding the finishing touches. Each step was crucial in creating a bar that reflects your personal style and meets your entertainment needs.
Having a bar with a built-in kegerator not only elevates your hosting skills but brings a touch of sophistication and fun to your home. You now have a dedicated space where you can entertain family and friends, making memories over a glass of your favorite draft beer.
Remember to always prioritize safety and follow the manufacturer’s instructions for both the kegerator and the materials used. Compliance with local building codes and regulations is also essential to ensure a safe and legal construction.
Now that your bar is complete, make the most of your newfound space by enjoying delicious draft beer, experimenting with cocktails, and creating memorable experiences for your guests. Cheers to your accomplishment!
Frequently Asked Questions about How To Build A Bar With Built In Kegerator
Was this page helpful?
At Storables.com, we guarantee accurate and reliable information. Our content, validated by Expert Board Contributors, is crafted following stringent Editorial Policies. We're committed to providing you with well-researched, expert-backed insights for all your informational needs.


0 thoughts on “How To Build A Bar With Built In Kegerator”