Articles
How To Build A Refrigerator Cabinet
Modified: September 1, 2024
Learn how to build a refrigerator cabinet with expert articles and step-by-step instructions. Create a functional and stylish storage solution for your kitchen.
(Many of the links in this article redirect to a specific reviewed product. Your purchase of these products through affiliate links helps to generate commission for Storables.com, at no extra cost. Learn more)
Introduction
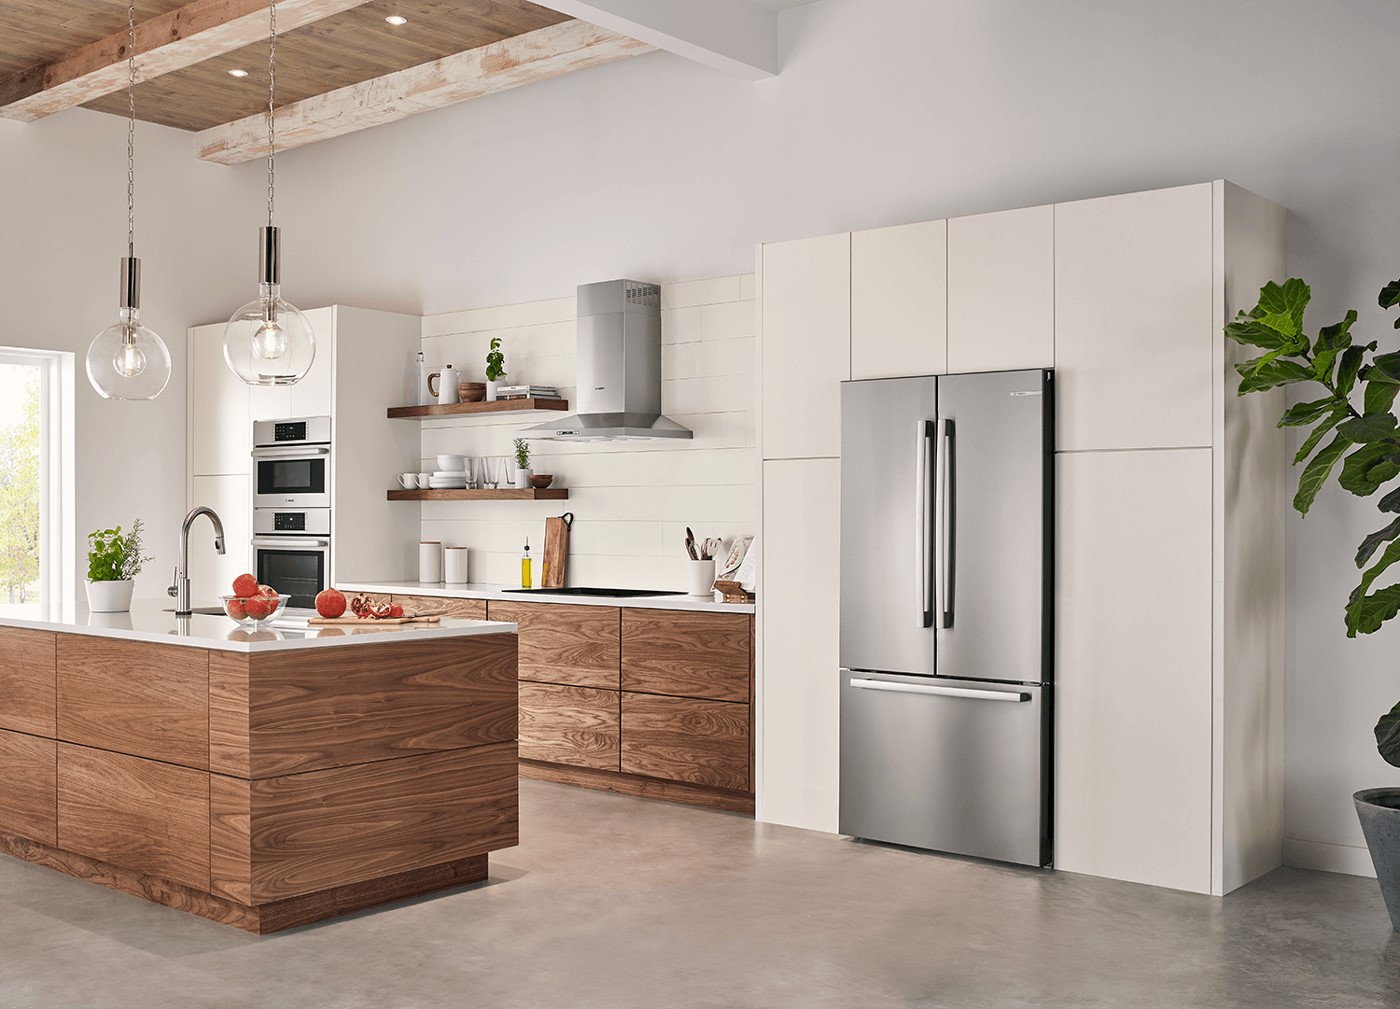
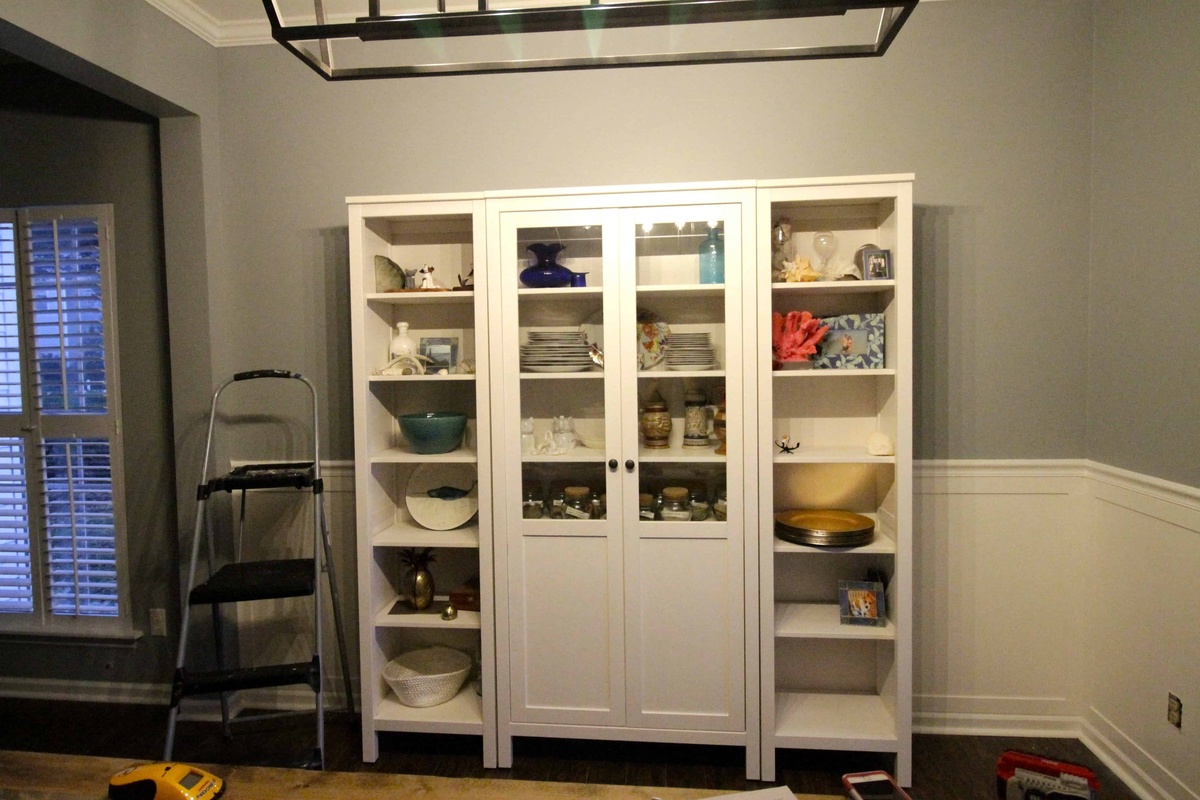
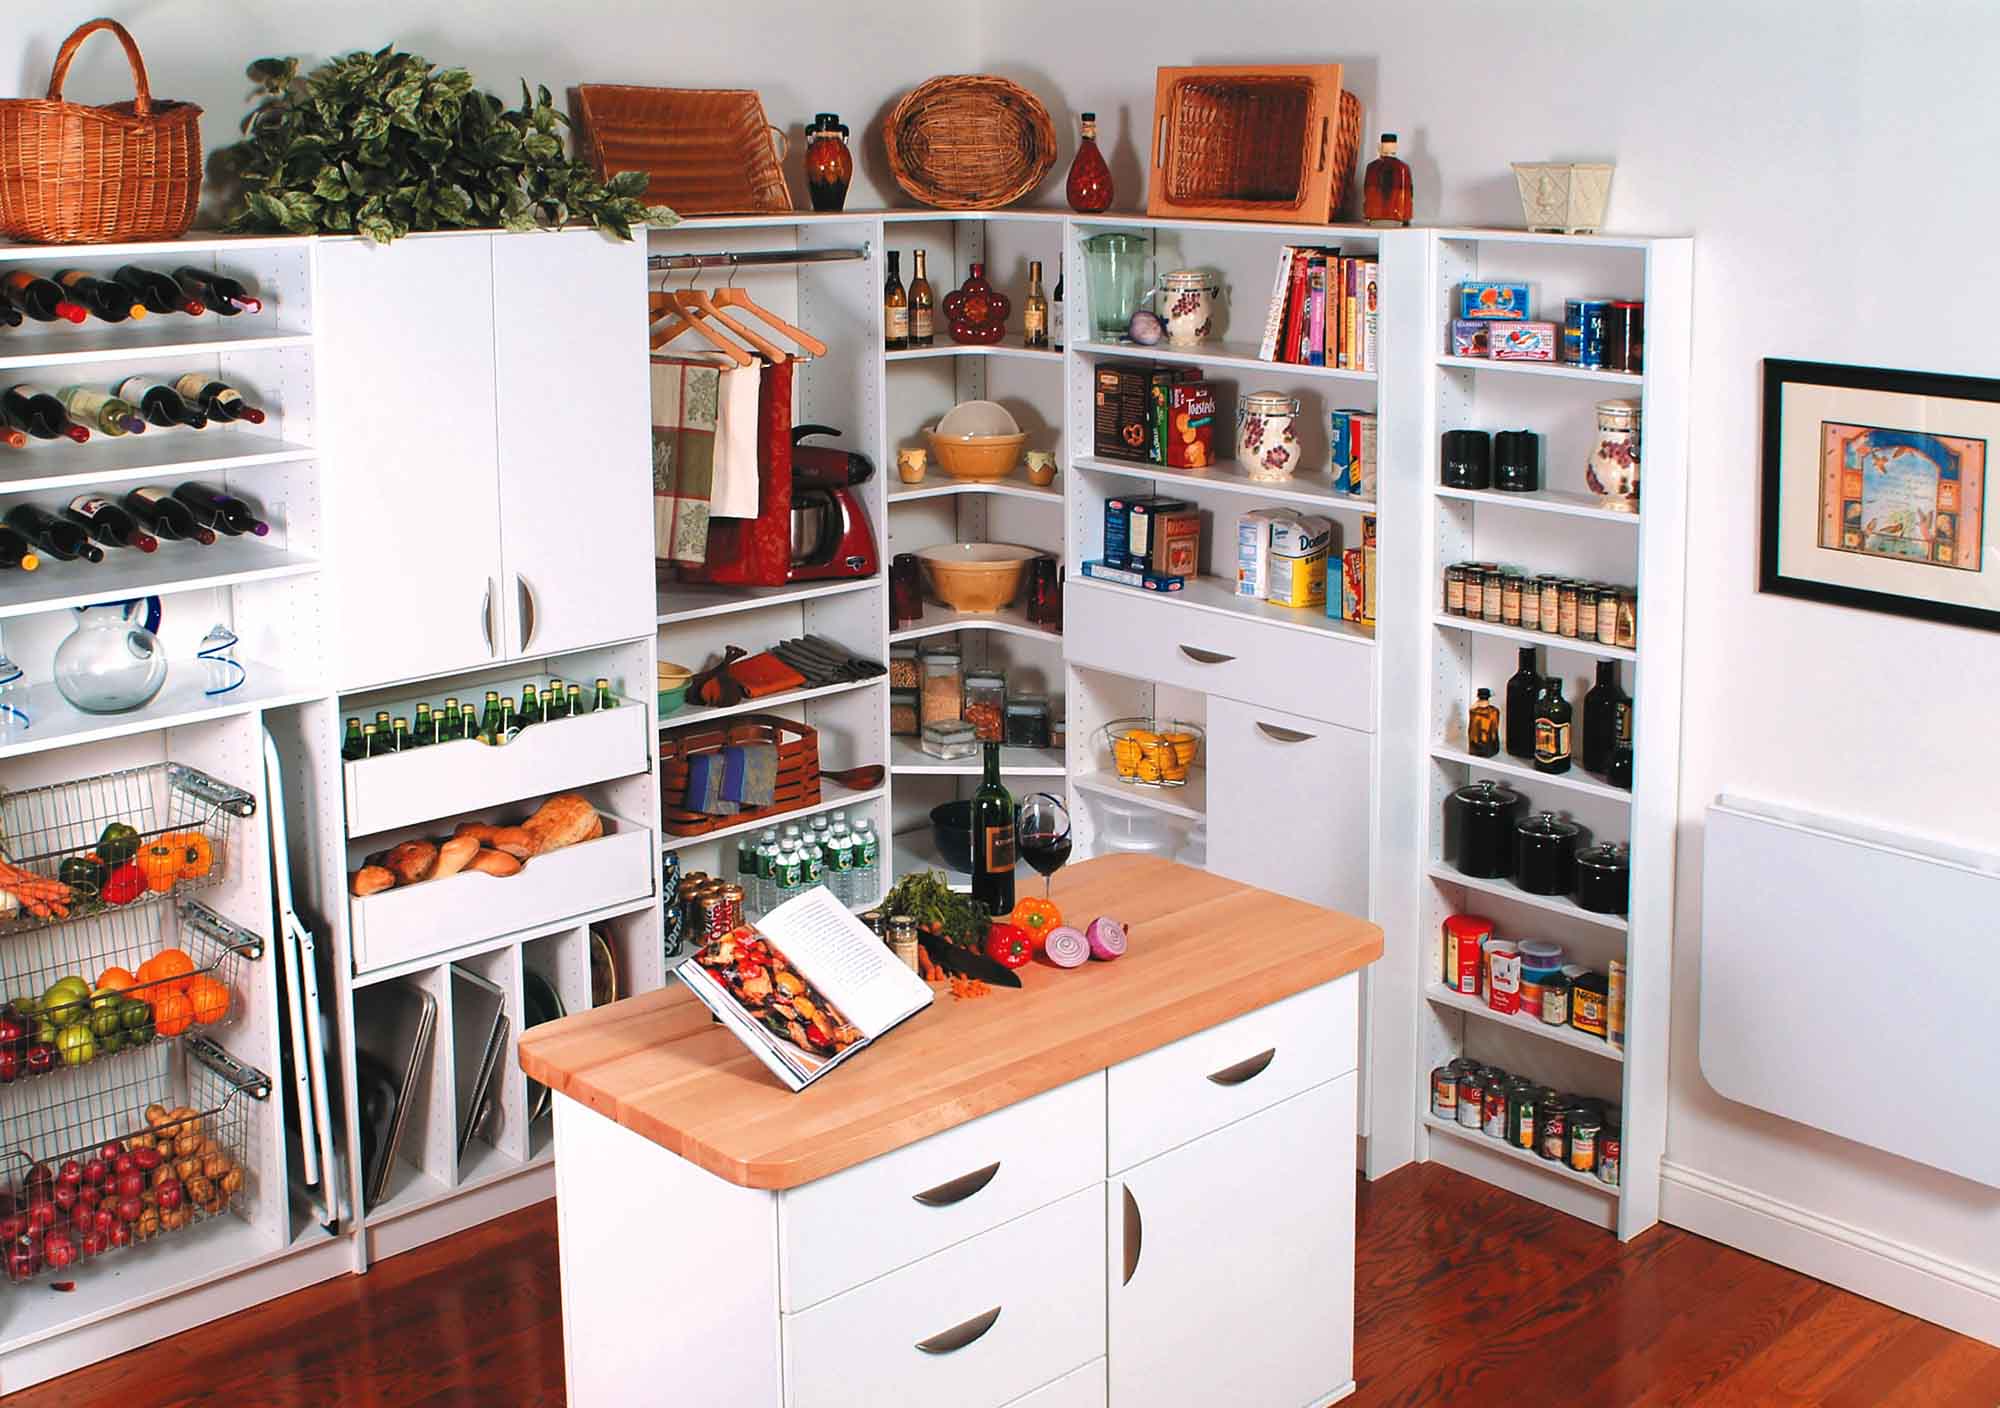
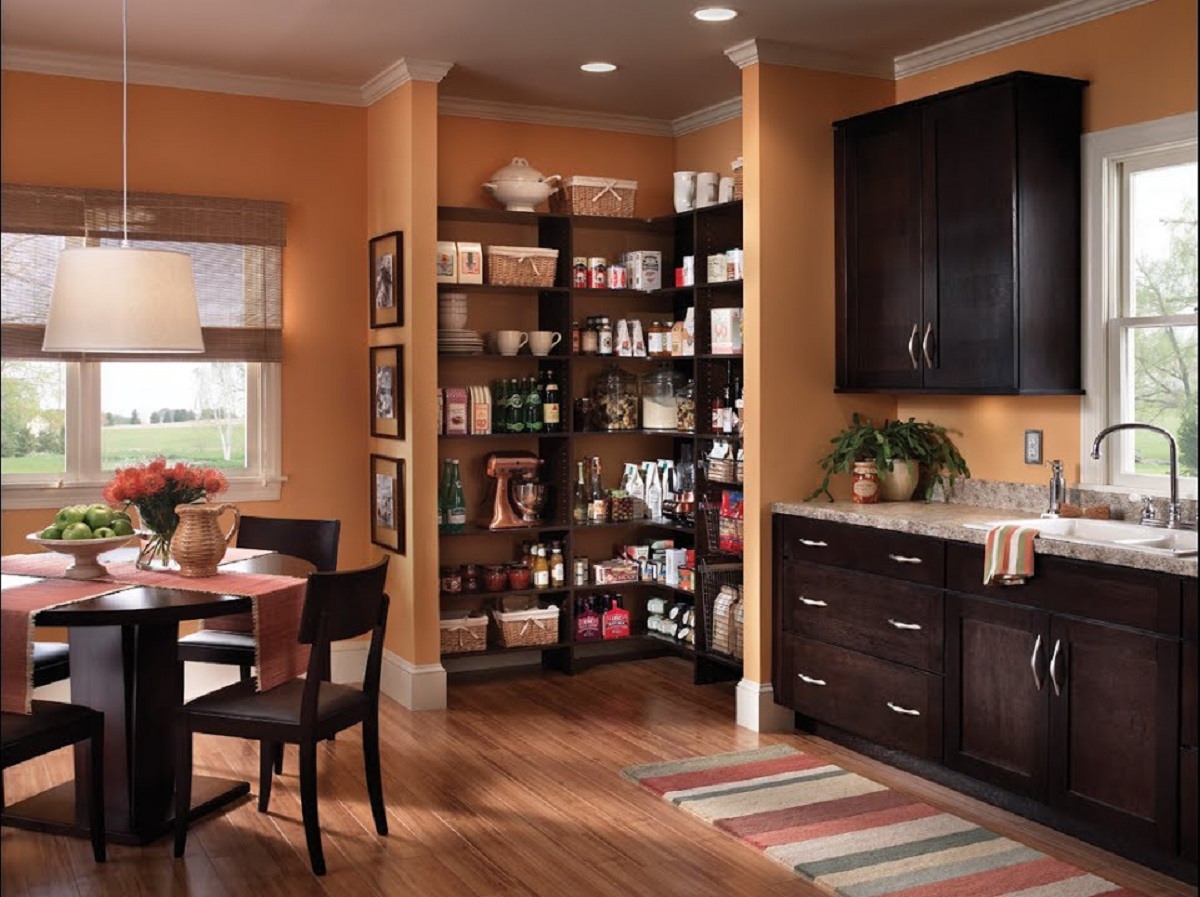
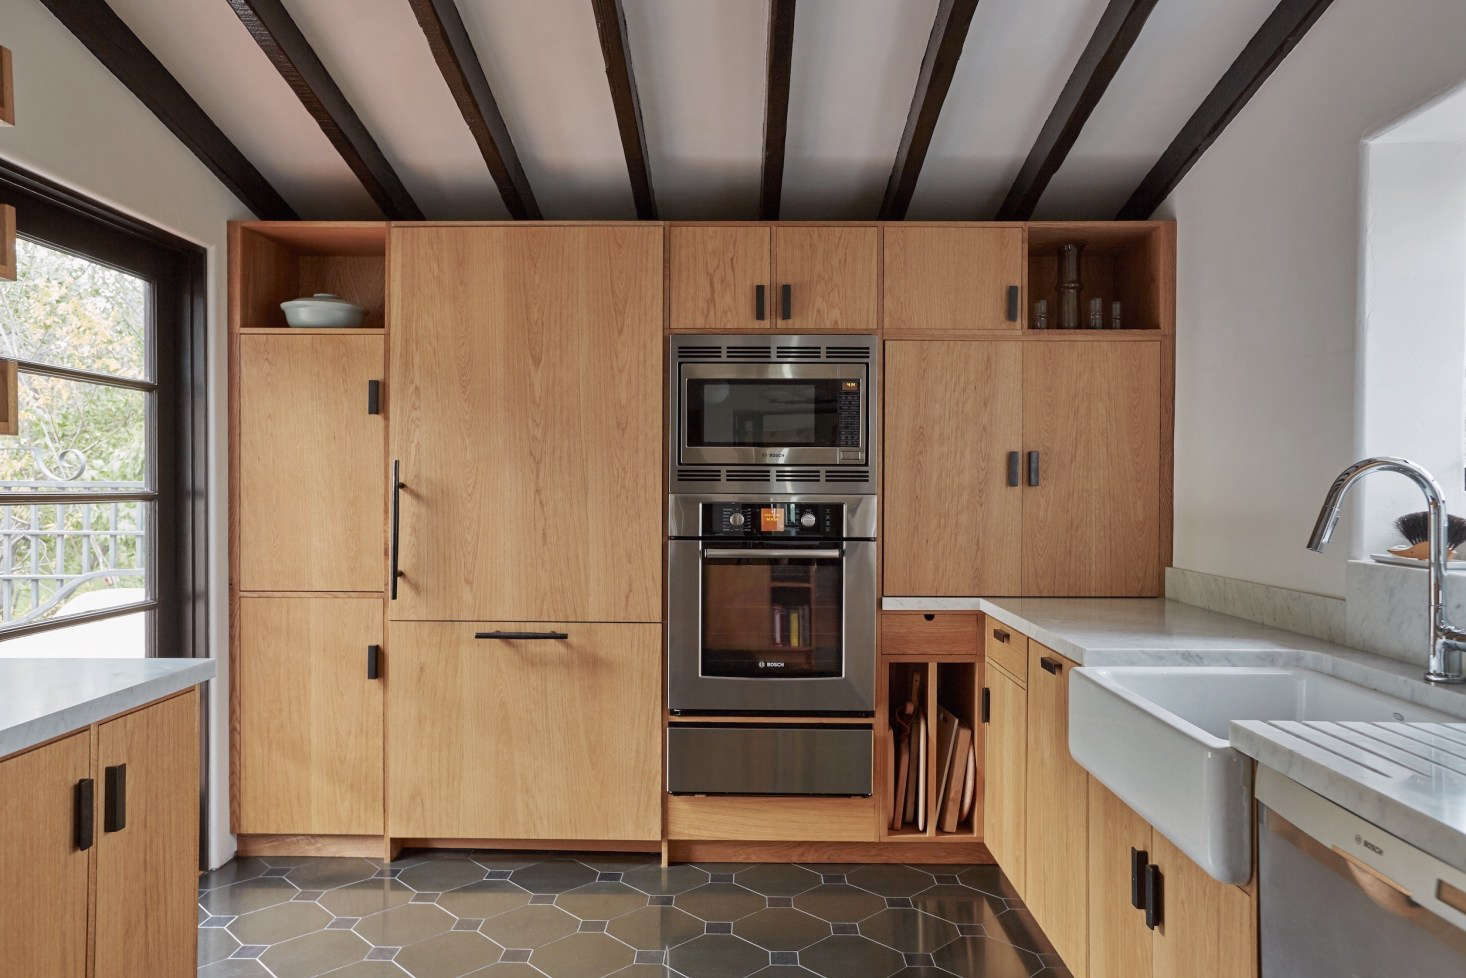
Building a refrigerator cabinet is a great way to maximize storage space in your kitchen and create a seamless and integrated look. Whether you have a standard size refrigerator or a larger one, a custom-built cabinet will not only provide a designated space for your appliance but also add a touch of elegance to your kitchen décor. In this article, we will guide you through the step-by-step process of building a refrigerator cabinet, from measuring and planning to adding finishing touches. So, roll up your sleeves and let’s get started!
Key Takeaways:
- Building a refrigerator cabinet requires accurate measurements, sturdy materials, and attention to detail. From planning and framing to adding shelves and painting, this DIY project can enhance your kitchen’s functionality and aesthetics.
- By following the step-by-step process outlined in the article, you can create a custom refrigerator cabinet that seamlessly integrates with your kitchen decor. Enjoy the satisfaction of maximizing storage space and adding a touch of elegance to your home.
Read more: How To Build A Cabinet
Step 1: Measuring and Planning
The first and most important step in building a refrigerator cabinet is to accurately measure the dimensions of your refrigerator. Start by measuring the height, width, and depth of your appliance, as well as any additional clearance required for ventilation. Make sure to account for the door’s swing and any protruding handles or knobs.
Once you have the measurements, it’s time to plan the design of your cabinet. Consider the location of the cabinet in your kitchen and how it will blend with the existing cabinetry. Decide whether you want the cabinet to be freestanding or integrated into the surrounding cabinetry.
Next, draw a detailed plan of the cabinet, including the overall dimensions, shelf placements, and any additional features you want to incorporate, such as drawers or cabinets above or below the refrigerator. Consult a professional or use online design tools to ensure structural integrity and proper ventilation for your refrigerator.
Remember to take into account any electrical outlets or plumbing that may be behind or near the refrigerator cabinet. Plan accordingly to ensure easy access to these connections for maintenance or repairs.
Once you have finalized your measurements and design plans, it’s time to move on to the next step: choosing the right materials for your refrigerator cabinet.
Step 2: Choosing the Right Materials
When it comes to building a refrigerator cabinet, using high-quality materials is crucial to ensure the durability and longevity of your project. Here are some key considerations when choosing the right materials:
- Wood: Opt for a sturdy and durable wood species such as oak, maple, or plywood. These materials are known for their strength and ability to withstand daily wear and tear. Avoid using particleboard or MDF, as they may not hold up well over time.
- Hardware: Select high-quality hinges and drawer slides that can support the weight of the refrigerator and allow for smooth and easy operation.
- Finish: Consider using a water-resistant finish to protect the cabinet from moisture and spills, especially if the refrigerator is located near the sink or dishwasher.
- Ventilation: Ensure that your cabinet design includes proper ventilation to prevent overheating of the refrigerator. This can be achieved by incorporating ventilation grilles or leaving enough space around the appliance.
- Aesthetic Appeal: Choose materials that complement the overall style of your kitchen. Consider matching the cabinet finishes and hardware with the existing cabinetry to create a cohesive and seamless look.
Once you have gathered all the necessary materials, it’s time to move on to the next step: building the cabinet frame.
Step 3: Building the Cabinet Frame
Now that you have your measurements and materials ready, it’s time to start building the cabinet frame for your refrigerator. Follow these steps:
- Cut the wood: Using a saw, cut the wood pieces according to your measurements. You will need pieces for the top, bottom, sides, and back of the cabinet. Make sure to leave enough space for the refrigerator to fit snugly into the frame.
- Assemble the frame: Begin by attaching the top and bottom pieces to the sides using screws or nails. Ensure that the corners are square and the frame is sturdy. Use a level to make sure the frame is straight.
- Reinforce the frame: Add additional support by screwing or nailing a piece of wood along the back edge of the frame. This will provide extra stability and prevent the cabinet from sagging over time.
- Install the toe kick: Attach a piece of wood, known as a toe kick, to the bottom front of the cabinet frame. This will create a finished look and hide any gaps between the bottom of the cabinet and the floor.
- Check for proper fit: Before proceeding, make sure that the refrigerator fits properly into the cabinet frame. Adjust the dimensions or make any necessary changes to ensure a snug fit.
Once you have built the cabinet frame, it’s time to move on to the next step: adding shelves and drawers.
When building a refrigerator cabinet, make sure to leave enough space around the refrigerator for proper ventilation. This will help the refrigerator operate efficiently and prevent overheating.
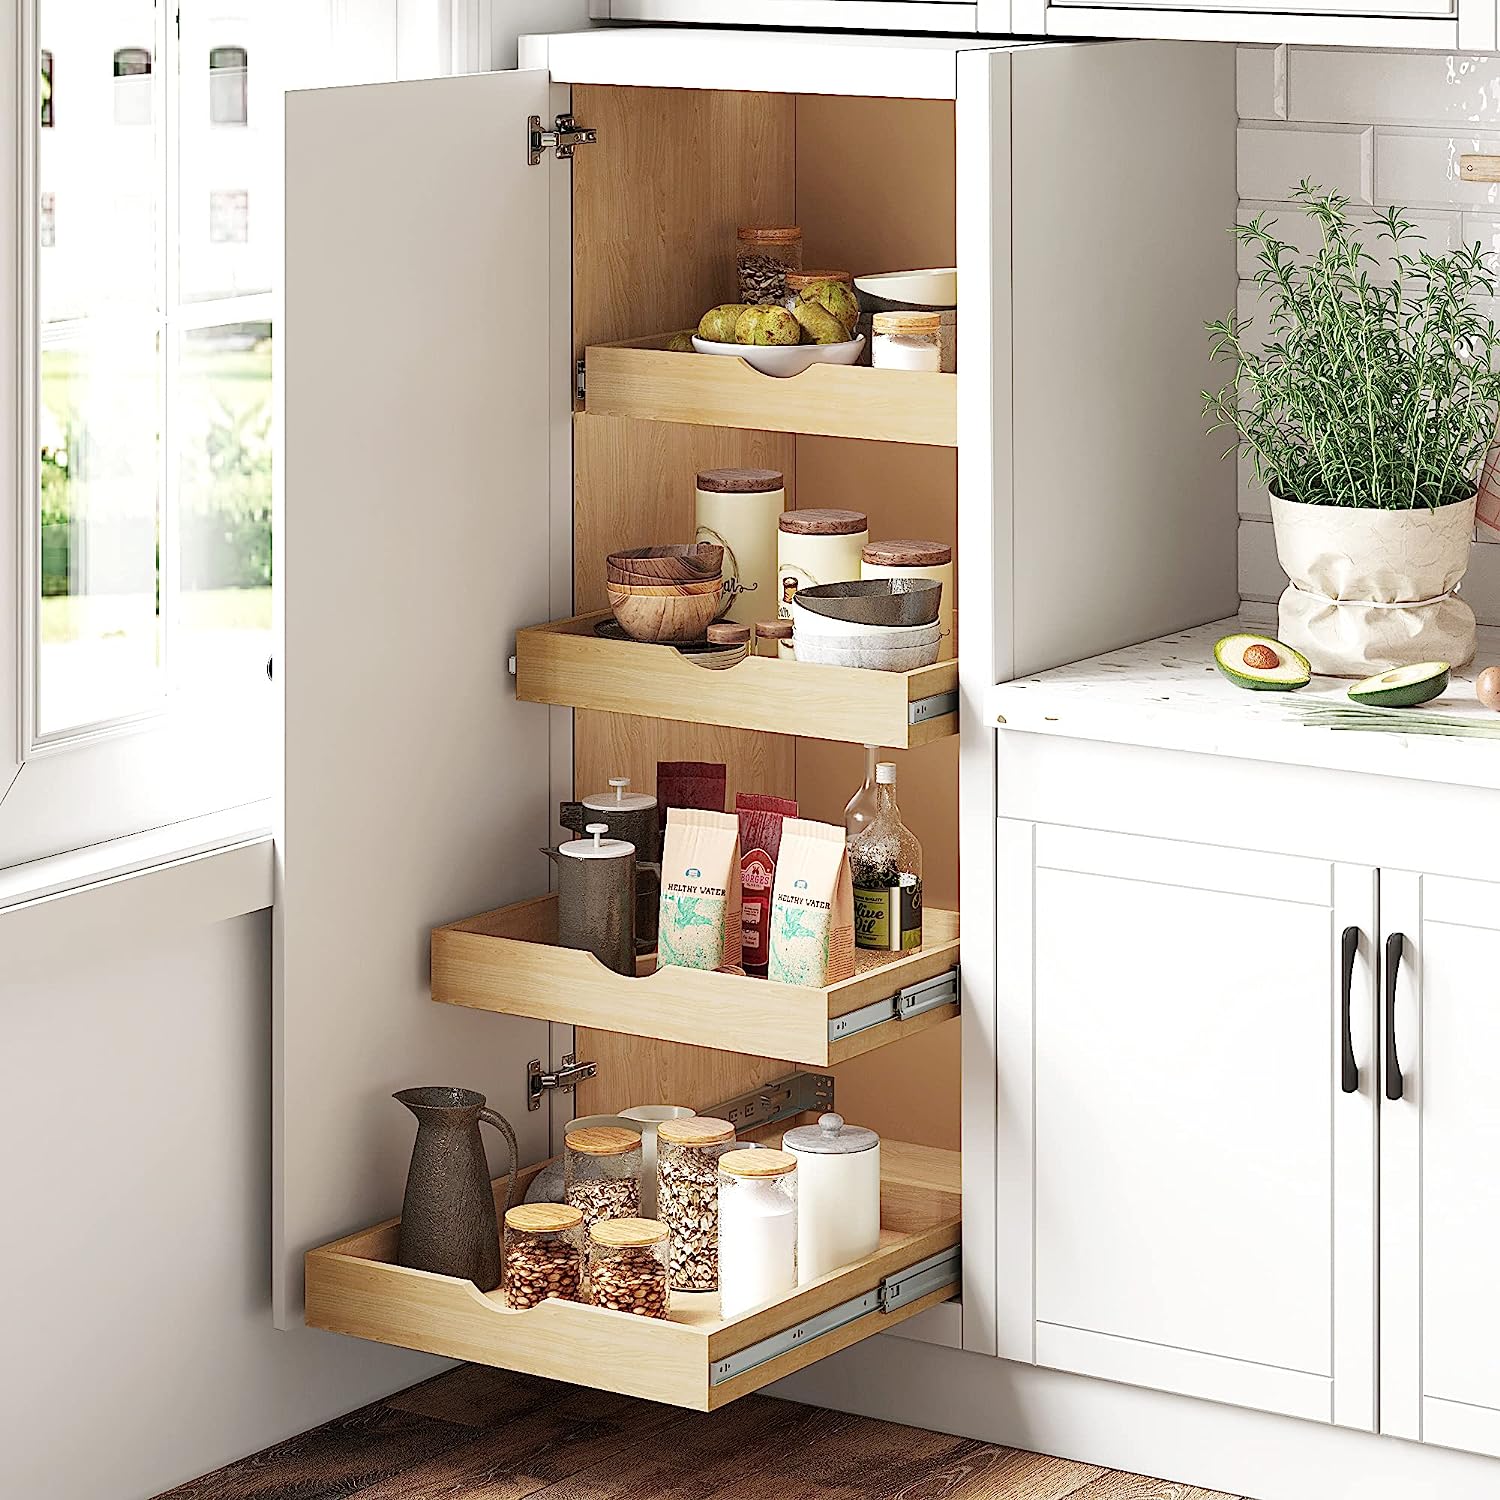
Step 4: Adding Shelves and Drawers
Now that you have the cabinet frame in place, it’s time to add shelves and drawers to maximize the storage space and organization within your refrigerator cabinet. Follow these steps:
- Measure and mark: Determine the desired height for your shelves and mark the positions inside the cabinet. Use a level to ensure accuracy.
- Cut and install shelves: Cut pieces of wood to the desired dimensions for your shelves. Install the shelves by attaching them securely to the sides of the cabinet frame using shelf supports or brackets.
- Add drawer slides: If you plan to have drawers in your refrigerator cabinet, install drawer slides according to the manufacturer’s instructions. Make sure the slides are level and allow for smooth opening and closing of the drawers.
- Construct drawers: Build the drawers using the appropriate measurements and materials. Ensure that they fit snugly into the cabinet and slide smoothly on the drawer slides.
- Finishing touches: Sand the shelves and drawers to smooth any rough edges. Apply a finish or paint according to your desired aesthetic. This will not only protect the wood but also add a polished look to your cabinet.
Once you have added shelves and drawers to your refrigerator cabinet, you can move on to the next step: installing the door.
Read more: How To Build A Shelf In A Cabinet
Step 5: Installing the Door
Installing the door is a crucial step in building a refrigerator cabinet as it provides access to your appliance while maintaining a cohesive look with your kitchen cabinetry. Follow these steps to install the door:
- Hinge placement: Determine the placement of the hinges on the cabinet frame. Mark the positions where the hinges will be attached. Ensure that the hinges are positioned symmetrically to maintain balance.
- Attach the hinges: Screw the hinges onto the cabinet frame using a drill or screwdriver. Make sure they are firmly secured and aligned correctly.
- Attach the door: With the help of someone, hold the door in position against the cabinet frame. Align the hinges on the door with the ones on the cabinet. Insert the screws and tighten them to secure the door in place.
- Adjustments: Check if the door opens and closes smoothly. If needed, make slight adjustments to the positioning of the hinges to ensure proper alignment and clearance.
- Add door handles or knobs: Install door handles or knobs of your choice on the refrigerator cabinet door. Make sure they are placed at a comfortable height and are securely fastened.
Once you have successfully installed the door, it’s time for the final step: adding finishing touches and painting your refrigerator cabinet.
Step 6: Finishing Touches and Painting
Adding finishing touches and painting your refrigerator cabinet will not only enhance its appearance but also protect the wood from moisture and everyday use. Follow these steps to complete the project:
- Sand surfaces: Before applying any finish or paint, sand the surfaces of the cabinet, shelves, and drawers to smooth out any imperfections or rough edges. Use a fine-grit sandpaper and work in the direction of the wood grain for the best results.
- Apply a primer: To ensure proper adhesion and a smooth finish, apply a coat of primer to all surfaces of the cabinet, including the shelves and drawers. Use a brush or roller and allow the primer to dry according to the manufacturer’s instructions.
- Choose a paint color: Select a paint color that complements your kitchen decor and personal style. Consider using a paint specifically designed for use on wood surfaces for durability and longevity.
- Apply paint: Apply the paint evenly to all surfaces of the cabinet using a brush or roller. Work in thin, even coats and allow each coat to dry completely before applying the next. Follow the paint manufacturer’s instructions for the best results.
- Add additional coats: Depending on the desired finish and coverage, you may need to apply multiple coats of paint. Allow sufficient drying time between each coat and ensure that each layer is smooth and free of brush marks or drips.
- Apply a protective finish: To protect the paint and provide a durable and easy-to-clean surface, consider applying a clear topcoat or varnish. This will also add a glossy or satin sheen to the cabinet, enhancing its appearance.
- Reattach hardware: Once the paint and finish are fully dried, reattach the door handles or knobs securely to the refrigerator cabinet. Ensure that they are aligned properly and functioning smoothly.
With the finishing touches and painting complete, your refrigerator cabinet is now ready to be enjoyed as a functional and stylish addition to your kitchen!
Conclusion
Building a refrigerator cabinet can be a rewarding DIY project that not only adds practical storage space but also enhances the overall look and functionality of your kitchen. By following the step-by-step process outlined in this article, you can successfully create a custom cabinet that perfectly fits your refrigerator and seamlessly integrates with your existing cabinetry.
Remember to start by measuring and planning, ensuring you have accurate measurements and a well-thought-out design. Choosing the right materials, such as sturdy wood and high-quality hardware, is essential for durability and aesthetics. Building the cabinet frame, adding shelves and drawers, and installing the door require attention to detail and precision to ensure a secure and functional cabinet.
Finishing touches, such as sanding, priming, and painting, not only add visual appeal but also protect the cabinet from everyday wear and tear. It’s important to choose a paint color that complements your kitchen decor and apply multiple coats for a smooth and even finish. Adding a protective topcoat or varnish will further enhance the durability of the paint and provide a beautiful sheen.
By following these step-by-step instructions, you can create a custom refrigerator cabinet that is both functional and aesthetically pleasing. Enjoy the satisfaction of knowing that you have maximized your kitchen’s storage space and created a seamless and integrated look that reflects your personal style.
Now, it’s time to step back and admire your handiwork as you enjoy the convenience and beauty of your newly built refrigerator cabinet!
Frequently Asked Questions about How To Build A Refrigerator Cabinet
Was this page helpful?
At Storables.com, we guarantee accurate and reliable information. Our content, validated by Expert Board Contributors, is crafted following stringent Editorial Policies. We're committed to providing you with well-researched, expert-backed insights for all your informational needs.

0 thoughts on “How To Build A Refrigerator Cabinet”