Home>Construction & Tools>Building Materials>How To Build A Blacksmith Forge Out Of Brick
Building Materials
How To Build A Blacksmith Forge Out Of Brick
Modified: October 19, 2024
Learn how to build a blacksmith forge using building materials such as bricks. Discover step-by-step instructions for creating your own forge.
(Many of the links in this article redirect to a specific reviewed product. Your purchase of these products through affiliate links helps to generate commission for Storables.com, at no extra cost. Learn more)
**
Introduction
**
So, you've decided to take your blacksmithing skills to the next level by building a blacksmith forge out of brick. Congratulations! This is an exciting and rewarding project that will not only enhance your craftsmanship but also provide you with a reliable and durable tool for your metalworking endeavors. Building a blacksmith forge out of brick requires careful planning, precise construction, and a deep understanding of the materials and processes involved. In this comprehensive guide, we will walk you through the step-by-step process of creating your very own brick forge, ensuring that you have all the knowledge and confidence to undertake this fulfilling project. From selecting the right materials to adding the finishing touches, we've got you covered. Let's dive in and explore the art of building a brick blacksmith forge!
**
Key Takeaways:
- Building a brick blacksmith forge requires high-temperature fire bricks, refractory cement, and a sturdy steel plate for the forge floor. It’s essential to carefully plan the location for ventilation, fire safety, and accessibility.
- Constructing a brick blacksmith forge involves laying the walls with high-temperature fire bricks and refractory cement, installing the forge and chimney, and adding finishing touches like heat-resistant coating and safety equipment. The forge serves as the heart of the metalworking sanctuary.
Read more: How To Build A Smoker Out Of Brick
Materials Needed
**
Before embarking on your brick forge construction journey, it is essential to gather all the necessary materials and tools. Here is a comprehensive list of what you will need:
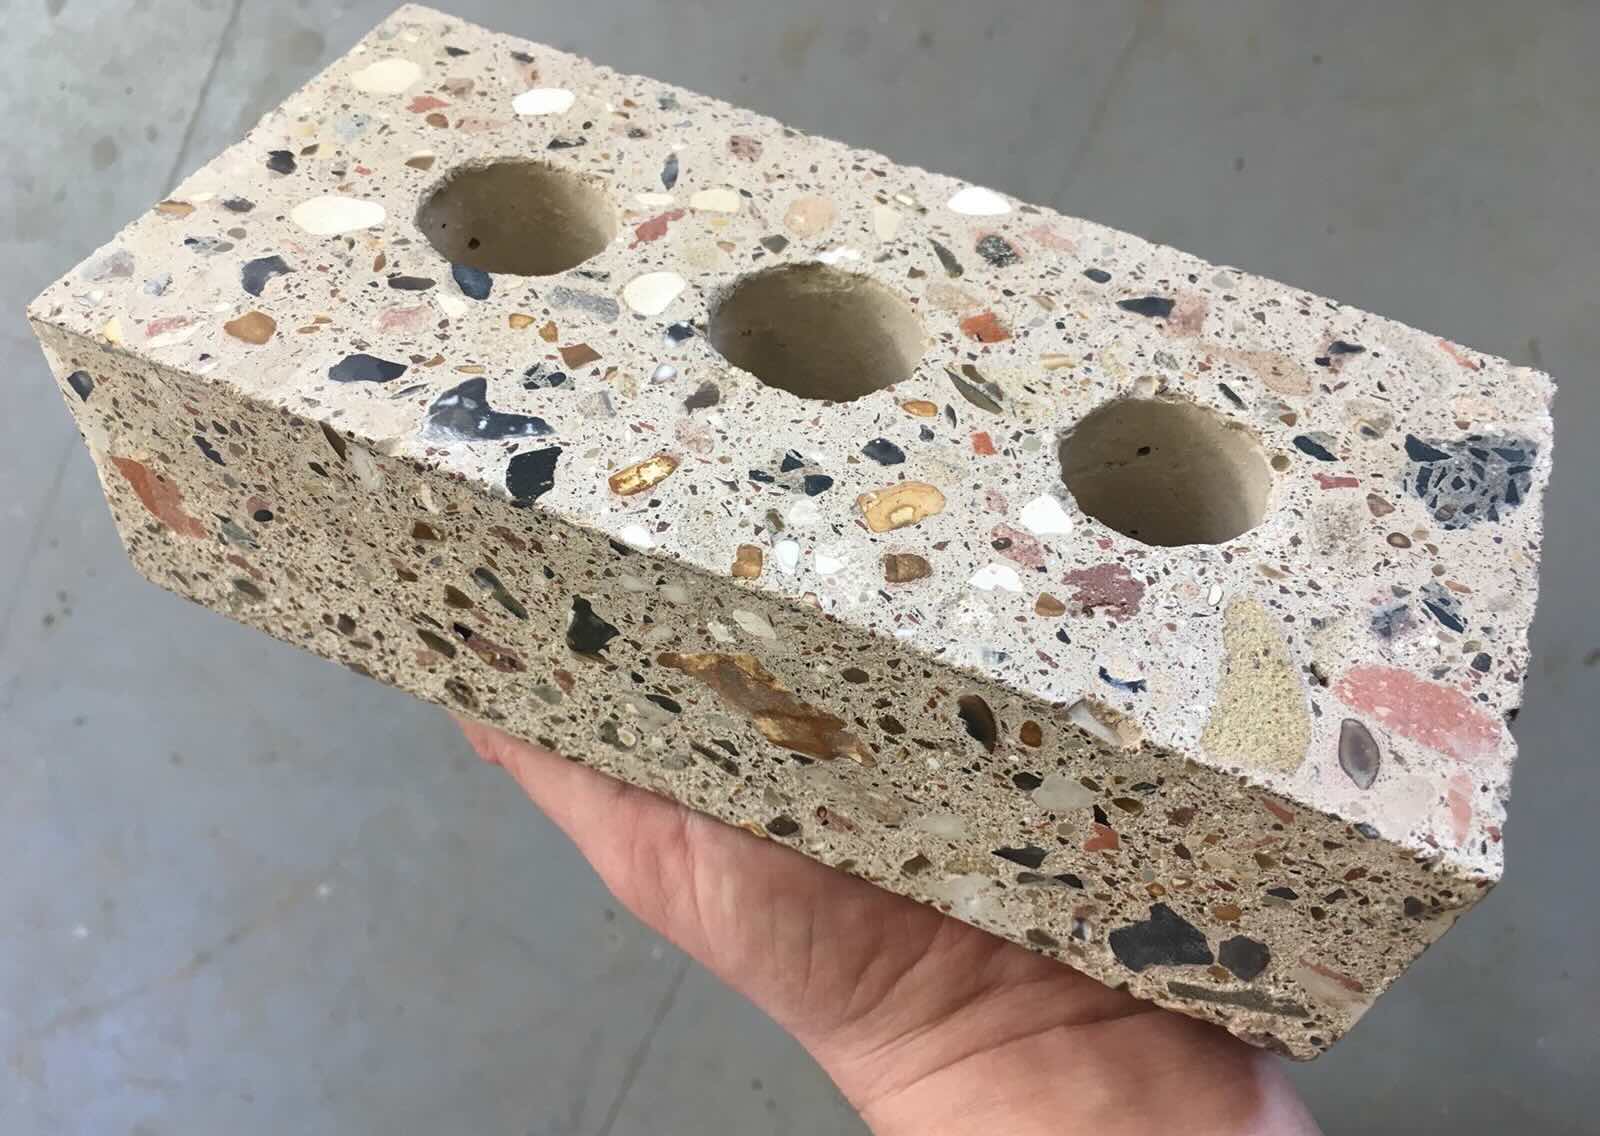
- Bricks: High-temperature fire bricks are ideal for constructing the forge due to their ability to withstand extreme heat.
- Refractory Cement: This specialized heat-resistant cement is crucial for bonding the fire bricks together and creating a durable forge chamber.
- Steel Plate: For the construction of the forge floor, a sturdy steel plate is required to withstand the intense heat and impact of metalworking.
- Steel Pipe: To create the tuyere (air supply pipe), a length of steel pipe with a matching diameter to your blower will be essential.
- Blower: An efficient blower or air supply system is necessary to provide controlled airflow to the forge, fueling the combustion process.
- Fire Clay: This material is used for sealing and insulating the forge, enhancing its heat retention capabilities.
- Masonry Tools: Essential tools such as trowels, levels, and mallets are required for accurately laying and shaping the bricks and refractory materials.
- Chimney Pipe: A chimney pipe, typically made of steel, is needed to vent the exhaust gases produced during forging safely.
- Protective Gear: As safety is paramount, make sure to have appropriate protective gear including heat-resistant gloves, safety goggles, and a respirator for working with refractory materials.
- Measuring Tools: Accurate measurements are crucial in the construction process, so having a tape measure and square on hand is essential.
With these materials assembled, you are well-equipped to commence the construction of your brick blacksmith forge. Each item plays a vital role in ensuring the durability, efficiency, and safety of your forge, so be sure to acquire high-quality materials that are suitable for the intense heat and demands of blacksmithing.
**
Choosing the Location
**
When selecting the location for your brick blacksmith forge, several key considerations should be taken into account to ensure a safe, efficient, and comfortable working environment. Here are some essential factors to keep in mind:
- Ventilation: Adequate ventilation is crucial to dissipate the heat, fumes, and gases generated during the forging process. Position your forge in an area with good airflow, and consider installing a dedicated exhaust system to remove the byproducts of combustion.
- Fire Safety: As the forge will reach extremely high temperatures, it is imperative to place it away from flammable materials, structures, and vegetation. A fire-resistant barrier or shield may also be necessary to protect surrounding surfaces from heat exposure.
- Accessibility: Ensure that the location allows for easy access to the forge and ample space for maneuvering and handling metalwork. Additionally, consider proximity to essential utilities such as power sources and water for cooling purposes.
- Noise and Disturbance: Blacksmithing can be a noisy and impactful activity, so it is advisable to position the forge in an area where the noise and vibrations will not disturb occupants of nearby buildings or residences.
- Comfort and Ergonomics: Creating a comfortable and ergonomic workspace is essential for prolonged forging sessions. Choose a location that allows for proper posture, lighting, and overall convenience to support your productivity and well-being.
By carefully evaluating these factors, you can identify an optimal location for your brick blacksmith forge that promotes safety, functionality, and a conducive working environment. Once the perfect spot is chosen, you can proceed with confidence to the next steps of the construction process, knowing that your forge will be situated in an ideal setting for your metalworking endeavors.
**
Building the Foundation
**
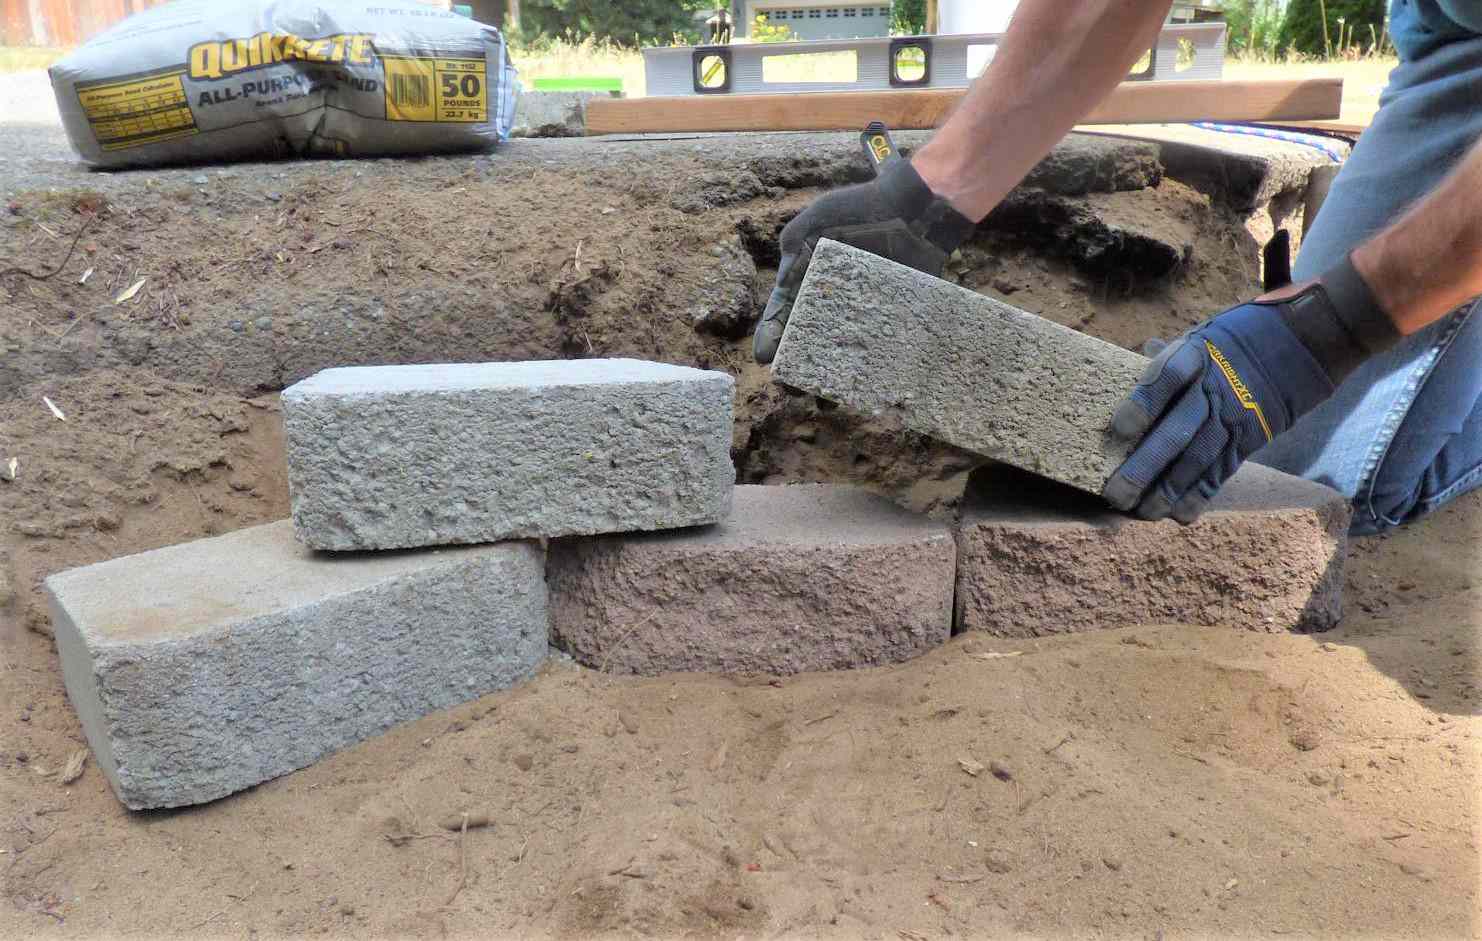
The foundation of your brick blacksmith forge is a critical element that provides stability, support, and insulation for the entire structure. Here’s a step-by-step guide to constructing a solid foundation for your forge:
- Site Preparation: Clear the chosen location of any debris, vegetation, or obstructions. Ensure that the ground is level and stable, as this will form the base for the foundation.
- Excavation: Dig a trench at least 8 inches deep and slightly wider than the planned dimensions of your forge. This trench will accommodate the foundation materials and provide a stable base for the structure.
- Formwork: Construct a simple form using wooden boards to contain the foundation materials and shape the desired dimensions. Ensure that the form is level and securely anchored in place.
- Aggregate Base: Fill the excavated trench with a layer of compacted aggregate, such as crushed stone or gravel, to provide a solid base for the foundation and promote drainage.
- Reinforcement: For added strength and stability, consider embedding a steel mesh or rebar within the aggregate base to reinforce the foundation and prevent cracking.
- Pouring Concrete: Mix and pour a high-quality concrete mixture into the formwork, ensuring that it fills the entire trench and is leveled off at the desired height. Smooth the surface of the concrete with a trowel for a clean finish.
- Curing: Allow the freshly poured concrete to cure and harden for the recommended time as per the manufacturer’s instructions. This process is crucial for achieving the desired strength and durability of the foundation.
- Insulation Layer: Once the concrete foundation has cured, consider adding a layer of insulating material, such as fire bricks or refractory bricks, to provide additional heat resistance and insulation for the forge chamber.
By following these steps, you can create a robust and well-insulated foundation for your brick blacksmith forge, setting the stage for the construction of the forge walls and chamber. A solid foundation is essential for ensuring the stability, longevity, and performance of your forge, so take the time to execute this phase with precision and care.
**
When building a blacksmith forge out of brick, make sure to use firebricks, which can withstand high temperatures. Also, consider adding an air supply system to control the heat.
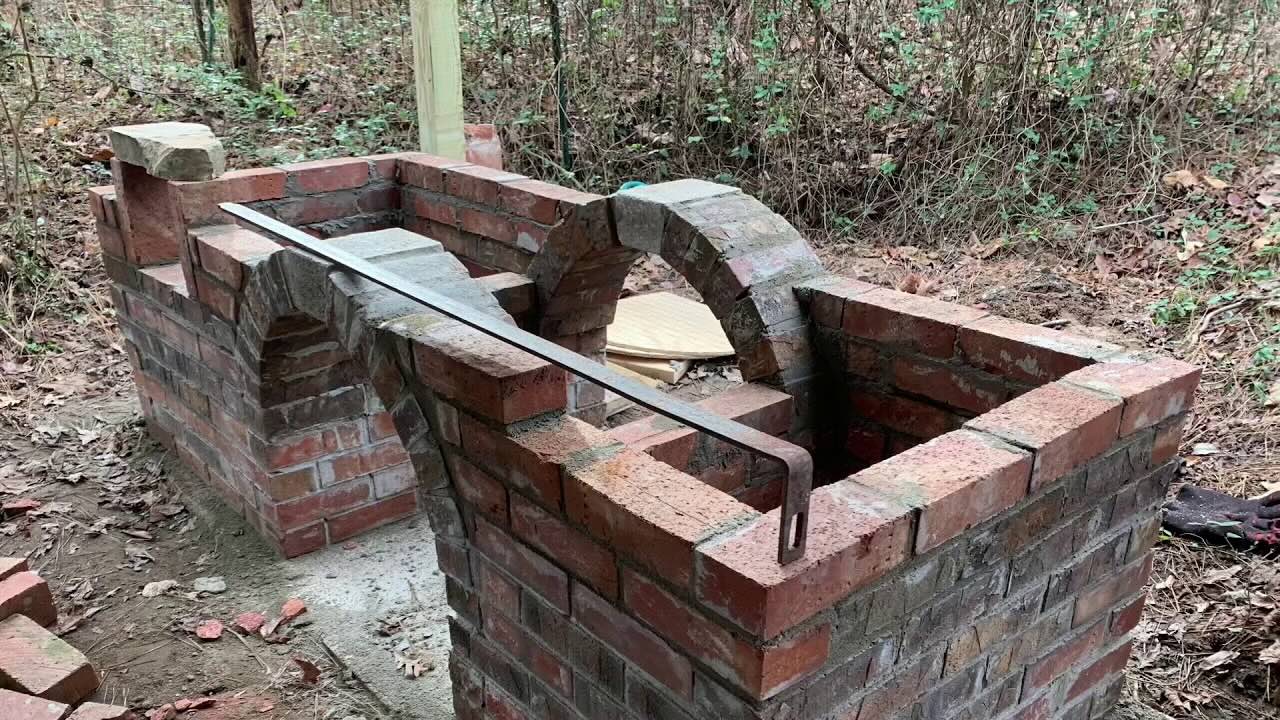
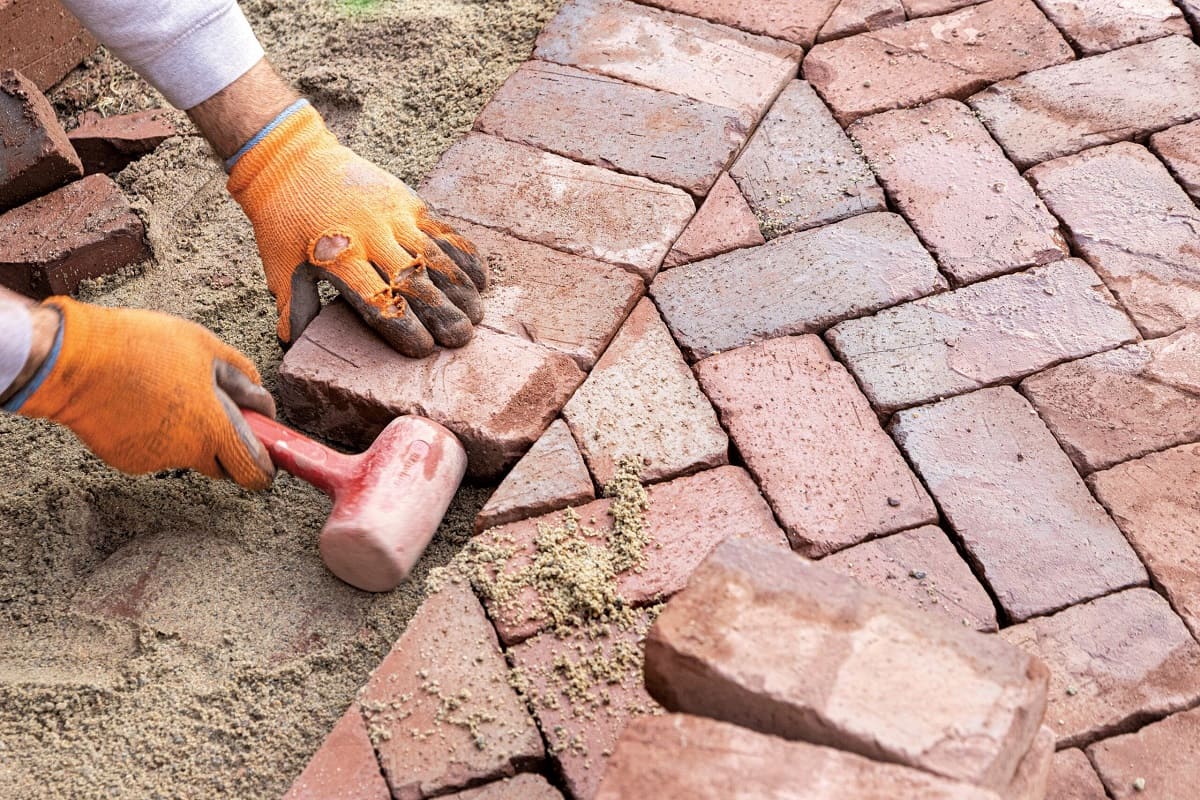
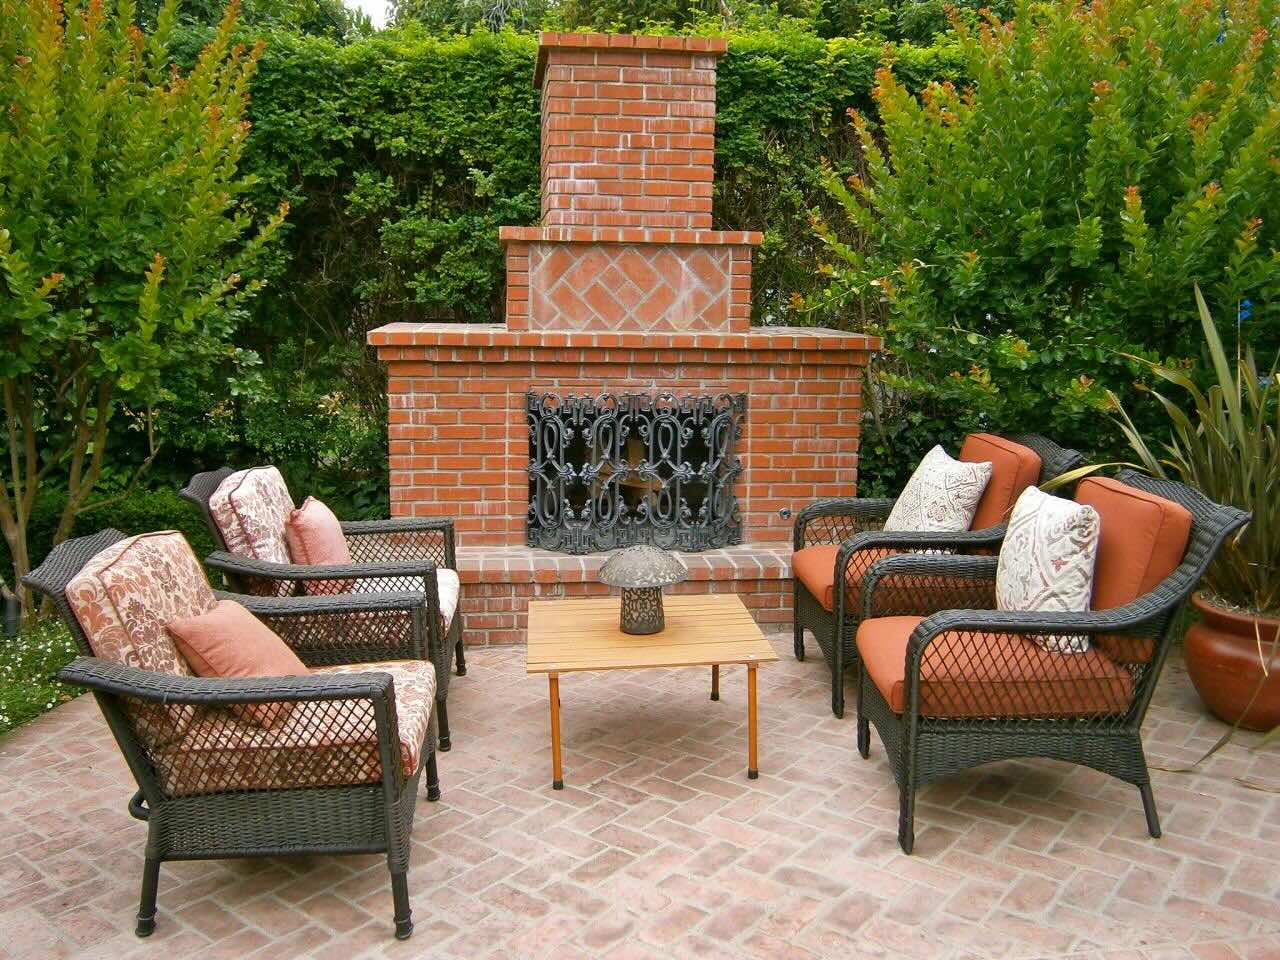
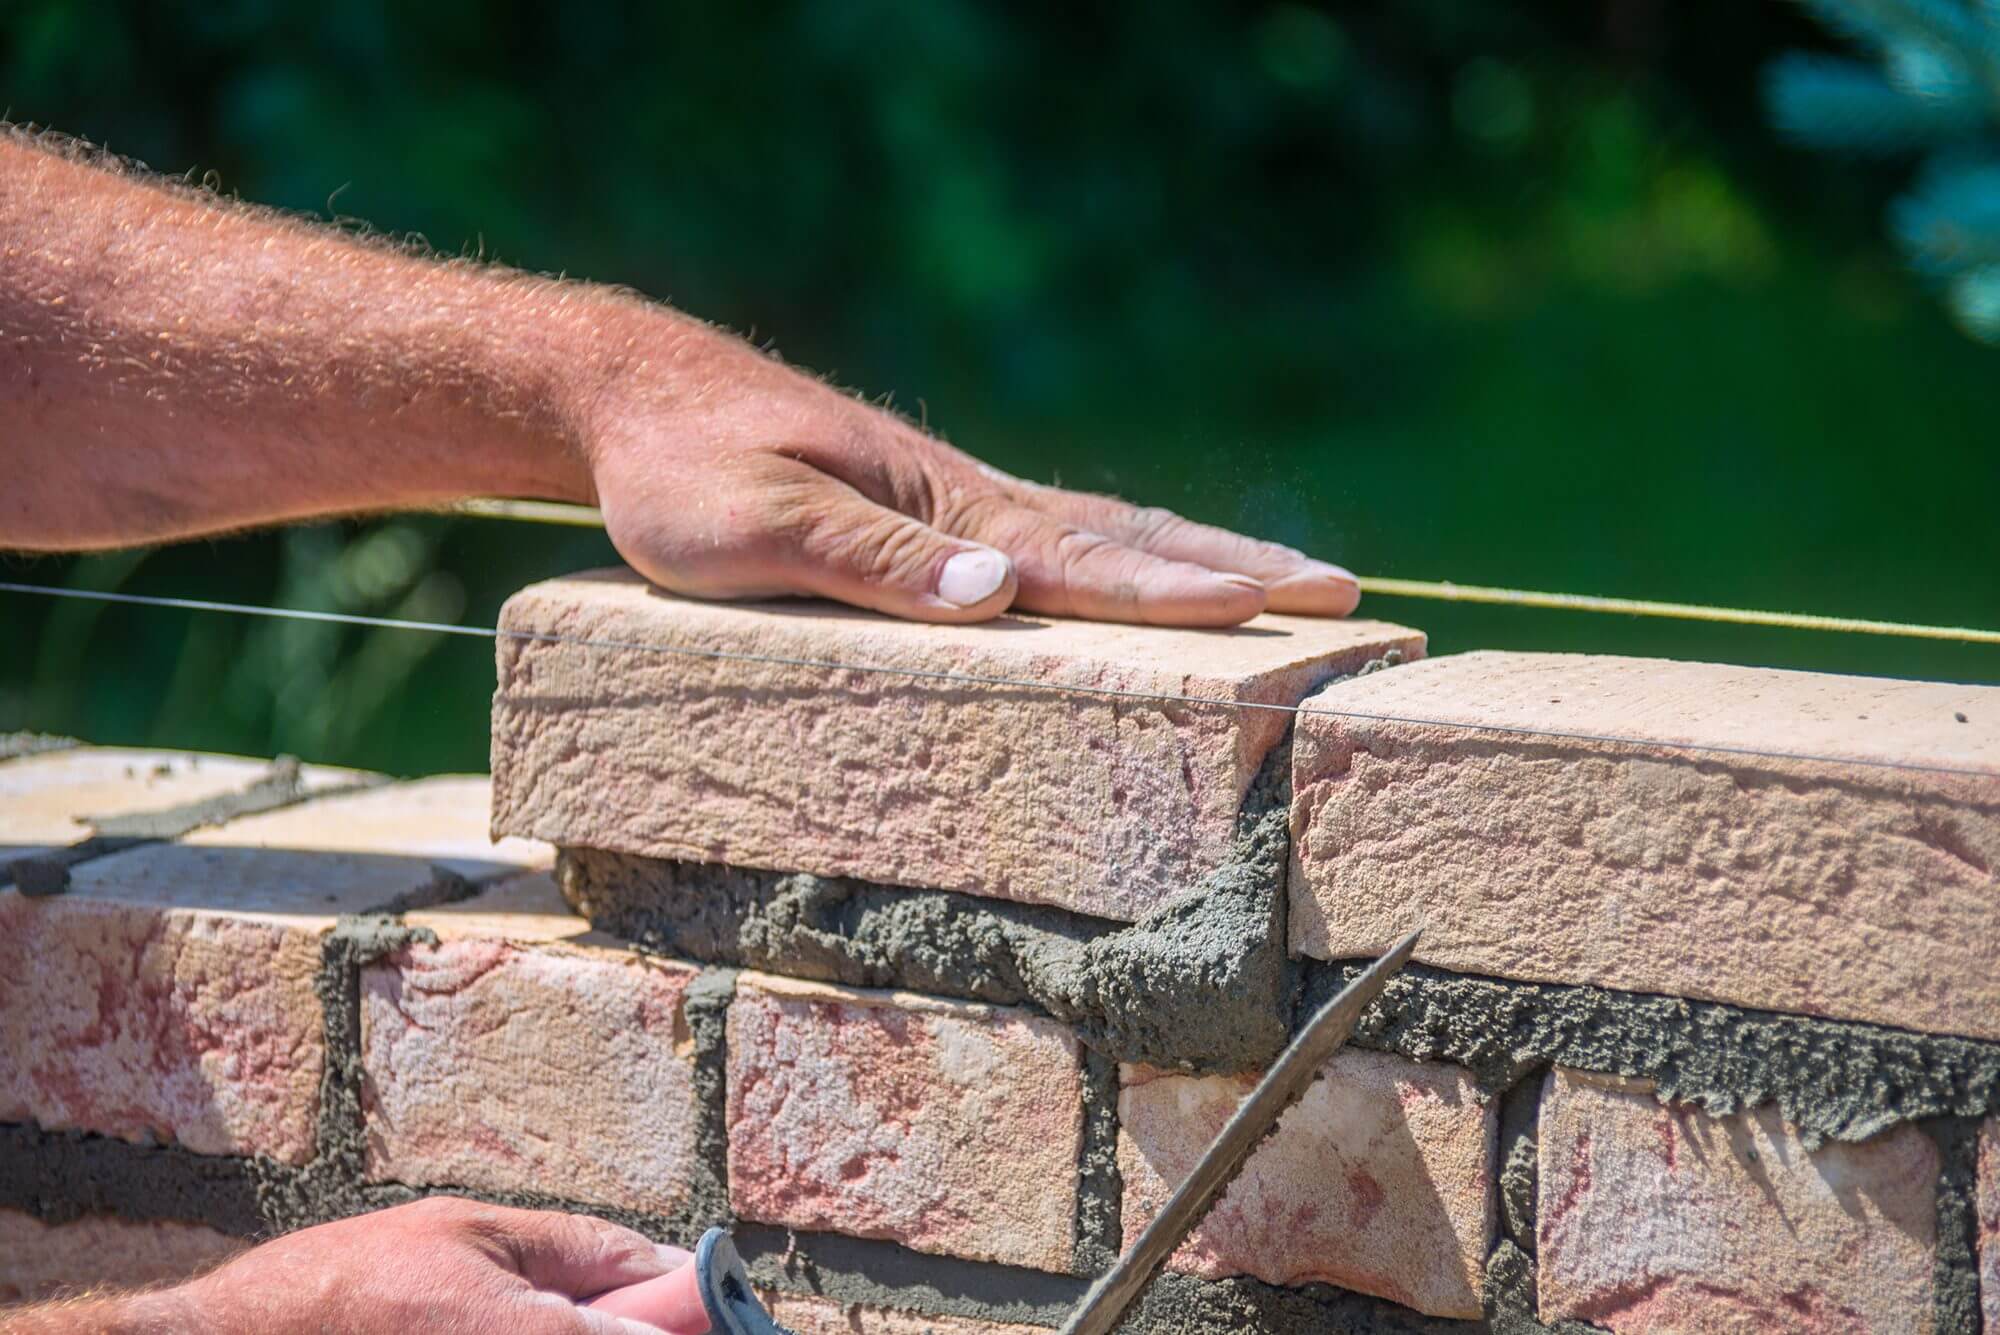
Constructing the Walls
**
Building the walls of your brick blacksmith forge is a pivotal stage that requires attention to detail and precision to create a sturdy and heat-resistant structure. Here’s a comprehensive guide to constructing the walls of your forge:
- Layout Planning: Before laying the bricks, carefully plan the layout and dimensions of the forge walls, ensuring that they align with your design specifications and accommodate the forge chamber and openings for the tuyere and chimney.
- Brick Selection: Choose high-temperature fire bricks that are suitable for withstanding the intense heat generated within the forge. These specialized bricks offer excellent thermal resistance and durability, making them ideal for forge construction.
- Refractory Cement: Use high-quality refractory cement to bond the fire bricks together, creating a solid and heat-resistant structure. Apply the cement generously between the bricks, ensuring proper adhesion and sealing of the joints.
- Laying the Bricks: Begin laying the fire bricks according to your planned layout, using a trowel to apply the refractory cement and carefully positioning each brick to create a tight and secure bond. Pay close attention to maintaining straight and level walls throughout the construction process.
- Chamber Formation: As the walls take shape, create the chamber for the forge by leaving openings for the tuyere (air supply pipe) and the entrance to the forge. Ensure that these openings are strategically positioned to facilitate efficient airflow and access for metalwork.
- Insulation Layer: To enhance the heat retention and efficiency of the forge, consider adding an insulation layer within the walls using fire clay or refractory materials. This layer helps to minimize heat loss and maintain a consistent forging temperature.
- Curing and Inspection: Allow the constructed walls to cure and set for the recommended time, ensuring that the refractory cement and insulation materials achieve their maximum strength and heat resistance. Conduct a thorough inspection to verify the integrity and stability of the walls.
By following these steps and techniques, you can effectively construct the walls of your brick blacksmith forge, creating a robust and heat-efficient structure that is well-suited for the demands of blacksmithing. The careful selection of materials and meticulous construction process will result in a durable and reliable forge that will serve as a cornerstone of your metalworking endeavors.
**
Read more: How To Build A Brick Mailbox
Installing the Forge and Chimney
**
With the walls of your brick blacksmith forge in place, the next crucial steps involve installing the forge itself and integrating a chimney system to ensure proper ventilation and exhaust. Here’s a detailed guide to successfully completing these essential components:
- Forge Assembly: Position a sturdy steel plate within the forge chamber to serve as the base for your metalworking activities. This plate should be able to withstand high temperatures and the impact of forging operations.
- Tuyere Installation: Connect the steel pipe, serving as the tuyere, to the air supply system or blower. Carefully position the tuyere within the forge, ensuring that it delivers a controlled and consistent airflow to support the combustion process and forge heat.
- Chimney Placement: Determine the optimal location for the chimney outlet, ensuring that it provides sufficient vertical clearance and safe dispersal of exhaust gases. Install a steel chimney pipe that extends above the roofline to effectively vent the forge’s emissions.
- Chimney Support: Secure the chimney pipe in place using appropriate mounting brackets and supports to ensure stability and structural integrity. It is essential to anchor the chimney securely to prevent movement or instability during operation.
- Sealing and Insulation: Apply refractory cement or fire clay to seal any gaps or joints around the tuyere and chimney connections, as well as within the forge chamber. This step helps to prevent heat loss and ensures that the forge operates efficiently.
- Testing and Adjustment: Before commencing forging activities, perform a thorough inspection of the forge and chimney system. Test the airflow and ventilation to confirm that the forge operates as intended, and make any necessary adjustments to optimize performance.
By following these steps, you can successfully install the forge and chimney for your brick blacksmith forge, creating a functional and well-ventilated workspace for your metalworking endeavors. The careful integration of these components ensures that your forge operates safely, efficiently, and with the necessary airflow and exhaust capabilities to support your forging activities.
**
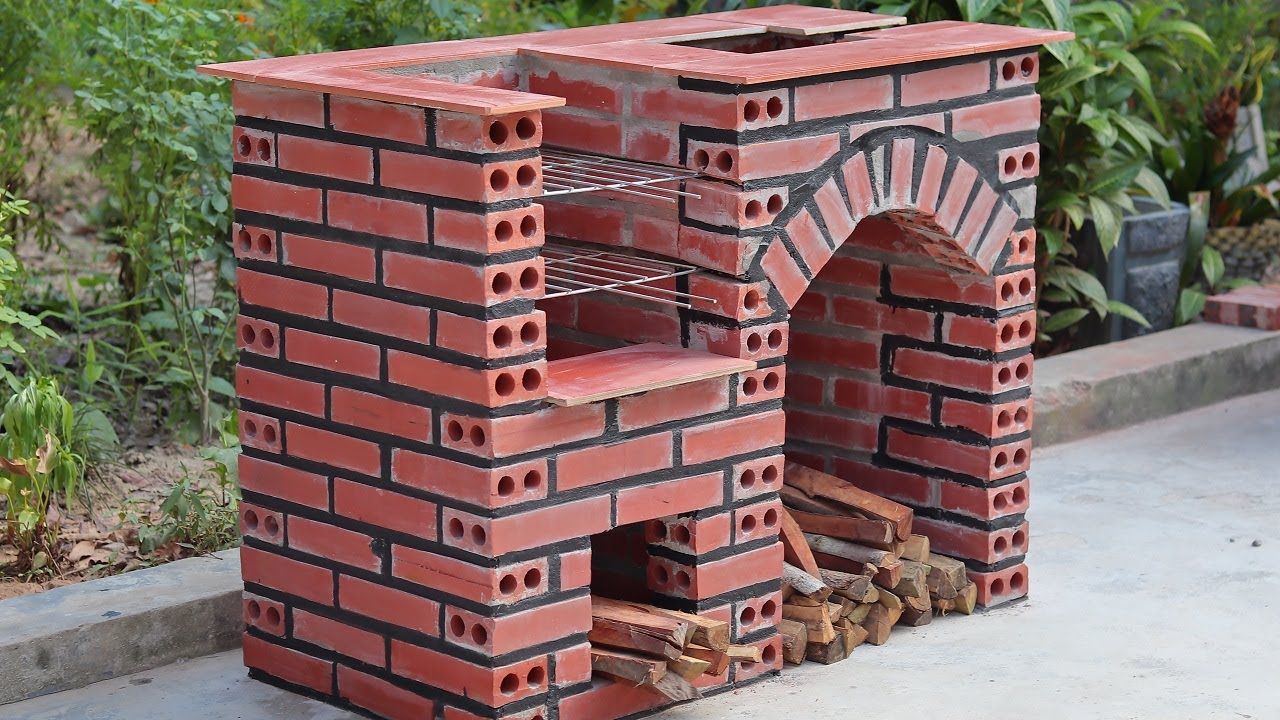
Adding Finishing Touches
**
As you near the completion of your brick blacksmith forge, it’s time to add the finishing touches that will enhance its functionality, safety, and overall aesthetic appeal. Consider the following steps to put the final polish on your forge:
- Heat-Resistant Coating: Apply a heat-resistant coating to the exterior of the forge to protect the bricks from wear and tear, as well as to provide an additional layer of insulation. This coating can help prolong the lifespan of the forge and contribute to its visual appeal.
- Work Surface and Tool Storage: Integrate a durable work surface adjacent to the forge, providing a convenient area for preparing and manipulating metalwork. Consider incorporating storage solutions for your forging tools and equipment to keep the workspace organized and efficient.
- Safety Signage and Equipment: Install clear and prominent safety signage in the vicinity of the forge, outlining essential safety protocols and procedures. Additionally, ensure that fire extinguishers and first-aid supplies are readily accessible in case of emergencies.
- Lighting and Electrical Outlets: Illuminate the forge area with adequate lighting to ensure clear visibility during forging activities. If needed, install electrical outlets to power tools and equipment, taking care to implement safe wiring practices in the forge environment.
- Workspace Ergonomics: Consider the ergonomic layout of the forge area, ensuring that the positioning of tools, equipment, and work surfaces promotes efficient and comfortable metalworking. Prioritize safety and accessibility in the arrangement of the forge workspace.
- Cleaning and Maintenance Supplies: Equip the forge area with cleaning tools and supplies to facilitate regular maintenance and upkeep. This includes brushes, scrapers, and materials for removing scale and debris from the forge and surrounding surfaces.
By attending to these finishing touches, you can elevate the functionality, safety, and visual appeal of your brick blacksmith forge, creating a well-equipped and inviting workspace for your metalworking pursuits. These final details contribute to a comprehensive and professional forge setup, ensuring that you are fully prepared to engage in the art of blacksmithing with confidence and efficiency.
**
Conclusion
**
Congratulations on successfully completing the construction of your brick blacksmith forge! This remarkable endeavor has not only yielded a functional and durable workspace for your metalworking endeavors but has also enriched your skills as a craftsman. As you reflect on the journey of building your forge, it’s important to recognize the significance of this achievement and the opportunities it presents for honing your blacksmithing craft.
With your meticulously constructed forge in place, you are now equipped to delve into the captivating world of blacksmithing, where raw materials are transformed into works of art through the mastery of heat, force, and creativity. Your forge stands as a testament to your dedication to the craft and serves as the heart of your metalworking sanctuary.
As you embark on forging projects within your newly established workspace, remember the care and attention that went into every aspect of constructing your forge. From selecting the finest materials to meticulously laying each brick, every detail contributes to the functionality, safety, and allure of your forge.
Embrace the forging process with enthusiasm and respect for the ancient traditions and techniques that have shaped the art of blacksmithing. Let the rhythmic dance of hammer and anvil, the roar of the forge, and the glow of molten metal inspire your creativity and fuel your passion for craftsmanship.
As you continue to refine your skills and explore the boundless possibilities of blacksmithing, may your forge be a source of inspiration, innovation, and enduring craftsmanship. Let the flames within your forge illuminate your path as you craft timeless pieces that bear the mark of your dedication and artistry.
With your brick blacksmith forge as the cornerstone of your metalworking journey, you are poised to embark on a fulfilling and rewarding exploration of the ancient and noble art of blacksmithing. The flames are lit, the anvil awaits, and your imagination is the only limit to what you can create within the walls of your meticulously crafted forge.
Forge ahead with passion, precision, and boundless creativity, and may your craft continue to flourish within the warm embrace of your brick blacksmith forge.
Frequently Asked Questions about How To Build A Blacksmith Forge Out Of Brick
Was this page helpful?
At Storables.com, we guarantee accurate and reliable information. Our content, validated by Expert Board Contributors, is crafted following stringent Editorial Policies. We're committed to providing you with well-researched, expert-backed insights for all your informational needs.


0 thoughts on “How To Build A Blacksmith Forge Out Of Brick”