Articles
How To Build Metal Stairs
Modified: October 22, 2024
Learn how to build metal stairs with our comprehensive articles. Gain step-by-step instructions and expert tips for a successful construction project.
(Many of the links in this article redirect to a specific reviewed product. Your purchase of these products through affiliate links helps to generate commission for Storables.com, at no extra cost. Learn more)
Introduction
Building metal stairs can be an excellent choice for both residential and commercial properties. They offer durability, strength, and a modern aesthetic that can enhance the overall appeal of any space. Whether you are looking to replace old stairs or add new ones to your property, this comprehensive guide will provide you with step-by-step instructions on how to build metal stairs.
Before diving into the process, it’s important to note that building metal stairs requires a basic understanding of construction tools and techniques. If you’re not confident in your abilities, it’s always a good idea to consult with a professional for assistance. With that being said, let’s get started with the planning phase!
Key Takeaways:
- Building metal stairs requires thorough planning, accurate measurements, and attention to safety considerations. Prioritize precision and compliance with building codes to ensure a durable and visually appealing staircase.
- Whether for residential or commercial properties, the process of building metal stairs involves material selection, cutting, welding or bolting, and adding finishing touches. Seek professional guidance if needed and prioritize safety throughout the project.
Read more: How To Build A Metal Carport
Step 1: Planning
The first step in building metal stairs is thorough planning. This stage is crucial as it will lay the foundation for the entire project. Here are a few key considerations during the planning phase:
- Determine the Purpose: Identify the intended use of the stairs. Will they be purely functional or also serve as a design element? This will help you determine the size, style, and location of the stairs.
- Evaluate Building Codes and Regulations: Research local building codes and regulations to ensure compliance. Familiarize yourself with specific requirements for dimensions, handrail height, and safety standards.
- Measure the Space: Take precise measurements of the area where the stairs will be installed. Consider the available space, ceiling height, and any obstructions that may need to be taken into account.
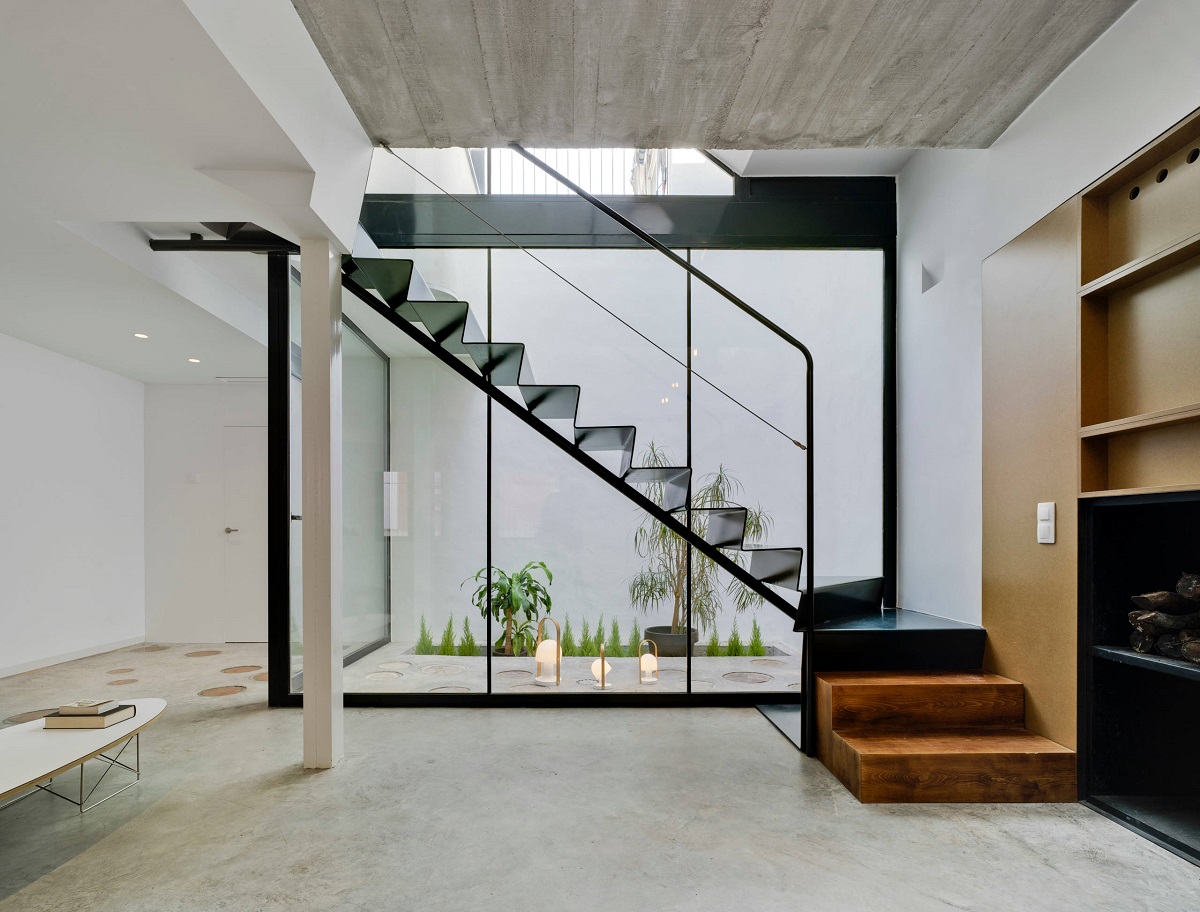
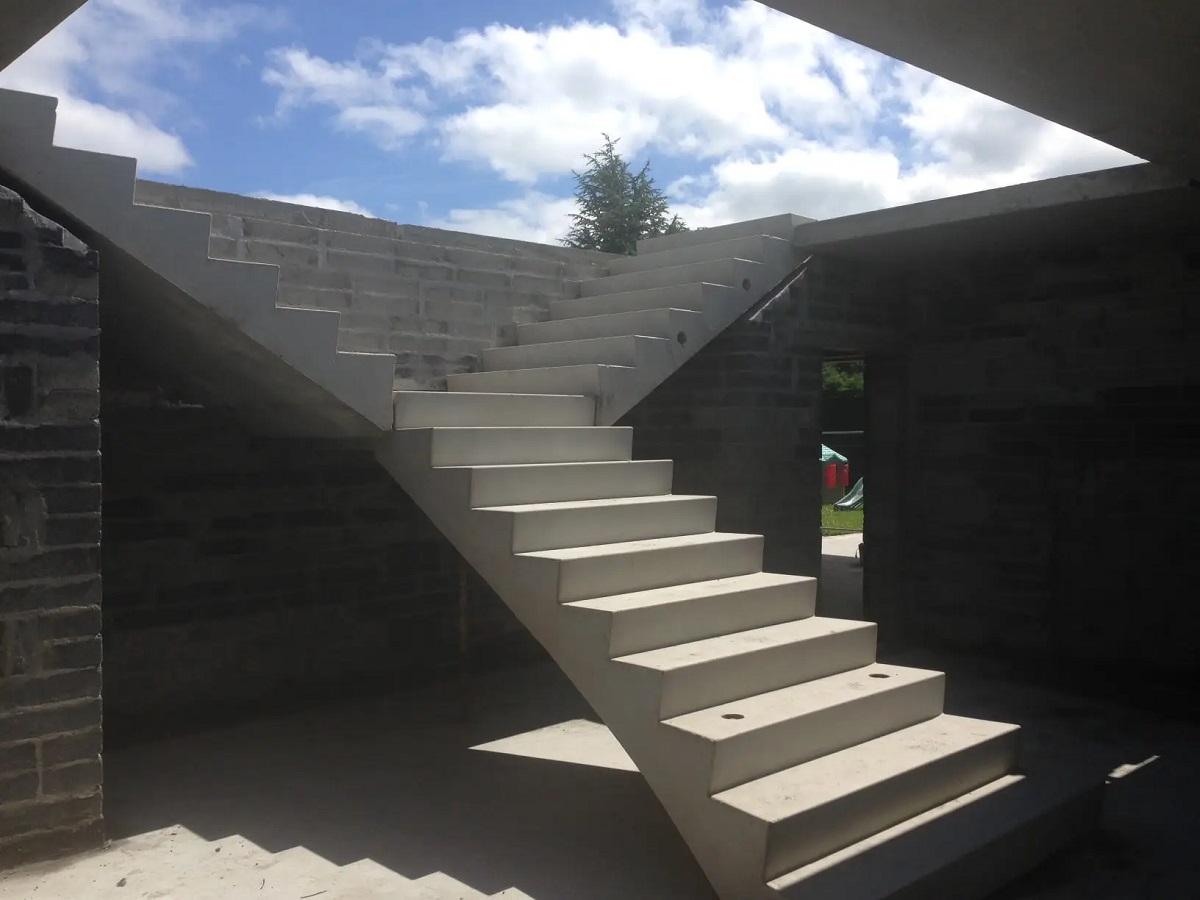
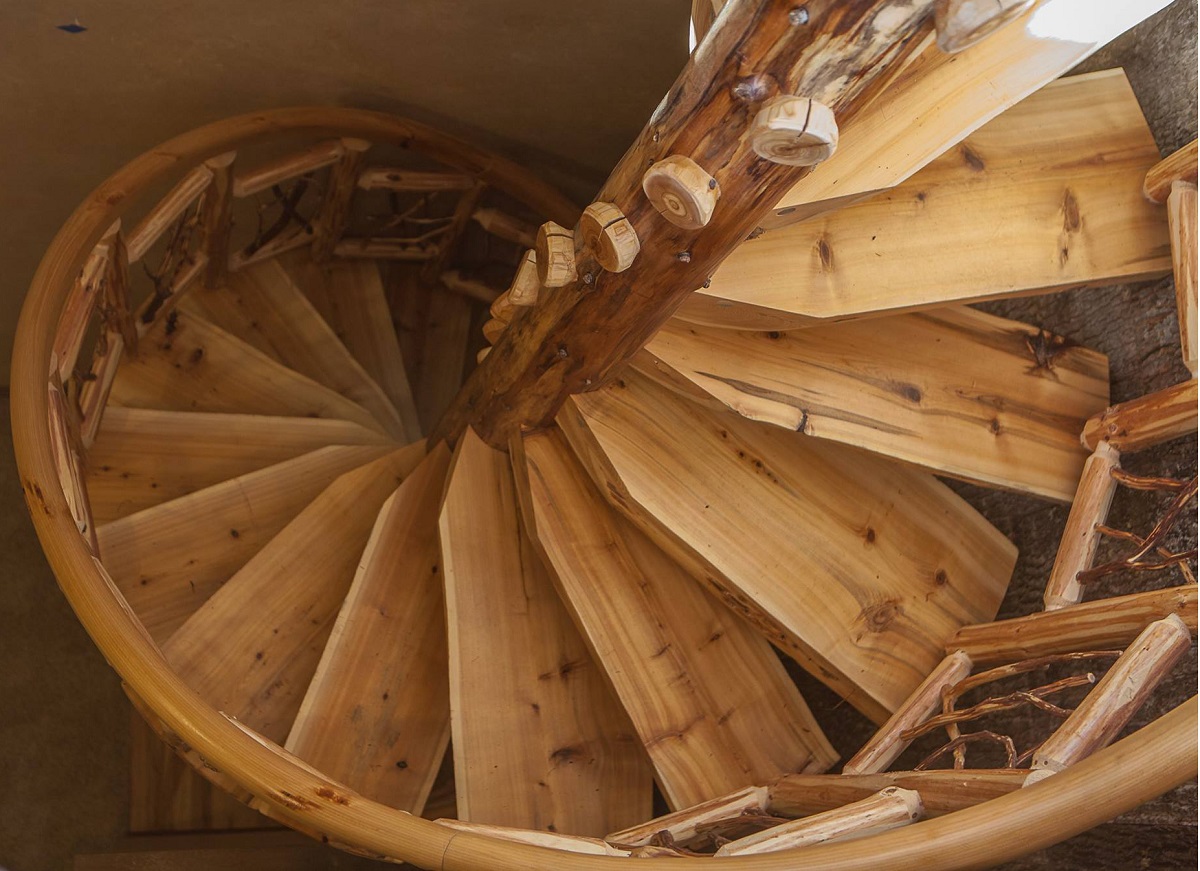
- Determine the Stair Type: Decide on the type of metal stairs that will best suit your needs. Straight stairs are the simplest design, while spiral or L-shaped stairs provide a more unique and compact solution for smaller spaces.
- Create a Budget: Determine your budget for the project. Consider the cost of materials, tools, and any additional professional help you may require.
- Choose a Design: Select a design that aligns with your aesthetic preferences. Look for inspiration in magazines, online resources, or consult with a designer or architect for guidance.
By carefully planning these aspects, you will have a solid foundation to move forward with the construction of your metal stairs. It is crucial to take your time at this stage to avoid any costly mistakes or rework later on. Once you have completed the planning phase, you can move on to selecting the appropriate materials for your project.
Step 2: Material Selection
Choosing the right materials for your metal stairs is essential to ensure durability, aesthetic appeal, and compliance with safety regulations. Here are some factors to consider when selecting materials:
- Metal Type: Decide on the type of metal you want to use for your stairs. Common options include steel, wrought iron, aluminum, and stainless steel. Consider factors such as strength, resistance to corrosion, and cost.
- Gauges: Determine the thickness of the metal sheets or bars. Thicker gauges provide increased strength and durability, but also come at a higher cost. Choose a gauge that suits your budget and the intended use of the stairs.
- Treads and Risers: Decide whether you want to use solid metal treads and risers or combine them with other materials such as wood or concrete for added visual appeal.
- Handrails and Balusters: Select handrails and balusters that complement your chosen metal stairs design. Consider the style, shape, and material compatibility.
- Finish: Determine the desired finish for your metal stairs. Options include powder coating, paint, or leaving the metal exposed for an industrial look. Consider the durability and maintenance requirements of each finish.
- Additional Materials: Depending on the design of your stairs, you may need additional materials such as brackets, fasteners, adhesives, or non-slip coverings for the treads.
It is important to choose high-quality materials that meet industry standards and regulations. Consult with suppliers, contractors, or professionals in the field to ensure you make informed decisions regarding material selection. Once you have chosen the materials, you can proceed to the next step of the process: taking accurate measurements.
Step 3: Taking Accurate Measurements
Accurate measurements are crucial for the success of your metal stair construction project. Here are some guidelines to follow when taking measurements:
- Vertical Rise: Measure the vertical distance between the finished floor at the bottom and the finished floor at the top of the stairs. This measurement will determine the number of steps needed.
- Tread Depth: Measure the horizontal distance from the front edge of one step to the front edge of the next step. Ensure consistency in tread depth to provide a comfortable and safe walking surface.
- Total Run: Calculate the total horizontal distance the stairs will occupy. This measurement will help determine the required space for installation.
- Headroom: Measure the height from the finished floor at the bottom to the ceiling, taking into account any obstructions such as beams or light fixtures. Ensure sufficient headroom for comfortable passage on the stairs.
- Stringer Length: Measure the length of the stringer or the inclined support structure that will hold the steps. This measurement is important for accurately cutting the metal pieces.
- Handrail Height: Determine the desired handrail height. Check local building codes for specific requirements, as handrail height can vary depending on the location and intended use of the stairs.
When measuring, use a tape measure and double-check your measurements to ensure accuracy. It is always better to measure twice to avoid any mistakes that can result in ill-fitting stairs. Keep in mind that precision is key when working with metal, as any inaccuracies can affect the stability and safety of the final installation.
Once you have taken accurate measurements, you can move on to the next step: cutting the metal pieces for your stairs.
Step 4: Cutting the Metal Pieces
Once you have taken accurate measurements for your metal stairs, it is time to cut the metal pieces to the appropriate size. Follow these steps for cutting the metal:
- Gather the Necessary Tools: Before you begin cutting, ensure you have the proper tools for the job. This may include a metal cutting saw, a hacksaw, a plasma cutter, or a grinder with a cutting wheel attachment. Additionally, make sure to wear appropriate safety gear such as gloves and safety glasses.
- Mark the Metal: Use a measuring tape and a pencil to mark the dimensions and cut lines on the metal sheets or bars. Double-check your measurements and ensure the markings are clear and visible.
- Cut the Metal: Depending on the thickness of the metal and the tools available, use the appropriate cutting method. For thinner gauges, a hacksaw or grinder may be sufficient. For thicker gauges, a metal cutting saw or plasma cutter may be necessary. Follow the manufacturer’s instructions for operating the tools safely and accurately.
- Smooth the Edges: After cutting the metal pieces, it is important to smooth out any rough edges or burrs. Use a file or a metal grinder to carefully remove any sharp edges, ensuring a clean finish and minimizing the risk of injuries.
Take your time during the cutting process and proceed with caution. Remember to prioritize safety and work in a well-ventilated area if you are using power tools. Additionally, it may be helpful to have a bench or worktable to secure the metal pieces during cutting for greater accuracy.
Once you have successfully cut the metal pieces, you are ready to move on to the next step: welding or bolting the staircase components together.
Read more: How To Install Metal Spindles On Stairs
Step 5: Welding or Bolting the Staircase Components
After cutting the metal pieces for your stairs, it is time to join them together using either welding or bolting methods. The choice of method will depend on your skills, tools available, and the specific requirements of your project. Here’s a breakdown of the two options:
Welding:
- Gather Welding Equipment: If you have experience with welding or have access to welding equipment, ensure that you have the necessary tools such as a welding machine, welding rods, a welding helmet, and gloves.
- Prepare the Metal Surfaces: Clean the metal surfaces that will be welded together using a wire brush or sandpaper. This will remove any contaminants, ensuring a strong and clean weld.
- Set Up the Welding Area: Create a safe and well-ventilated area for welding. Ensure that there is no flammable material nearby and that you have sufficient clearance to move around comfortably.
- Weld the Components: Use the appropriate welding technique, such as arc welding or MIG welding, to join the metal components together. Follow the manufacturer’s instructions and take necessary safety precautions throughout the process.
- Inspect and Clean Up: Once the welding is complete, inspect the welds for any defects or inconsistencies. Clean up any excess weld material or rough edges using a grinder or file.
Bolting:
- Obtain Bolts and Fasteners: If you’re not proficient in welding or do not have access to welding equipment, bolting the staircase components together is an alternative option. Acquire suitable bolts, nuts, and washers of the appropriate size and strength.
- Drill and Secure the Components: Use a drill with the correct size bit to create holes in the metal pieces where bolts will be inserted. Align the components properly and secure them tightly using the bolts, nuts, and washers.
- Inspect and Tighten: Once the components are bolted together, inspect the connections for stability. Use a wrench or socket set to tighten the bolts securely, ensuring there is no movement or play in the structure.
Choose the method that best suits your capabilities and resources. If you are not confident in your welding or bolting skills, consider seeking professional assistance. Also, keep in mind that welding may provide a more seamless and aesthetically pleasing appearance, as the joints will be integrated into the structure. Bolting, on the other hand, offers the advantage of easier disassembly if needed in the future.
With the staircase components welded or bolted together, you can now proceed to the next step: installing the stringers.
When building metal stairs, make sure to use a sturdy and durable metal material, such as steel or aluminum, to ensure the stairs can support weight and withstand wear and tear over time.
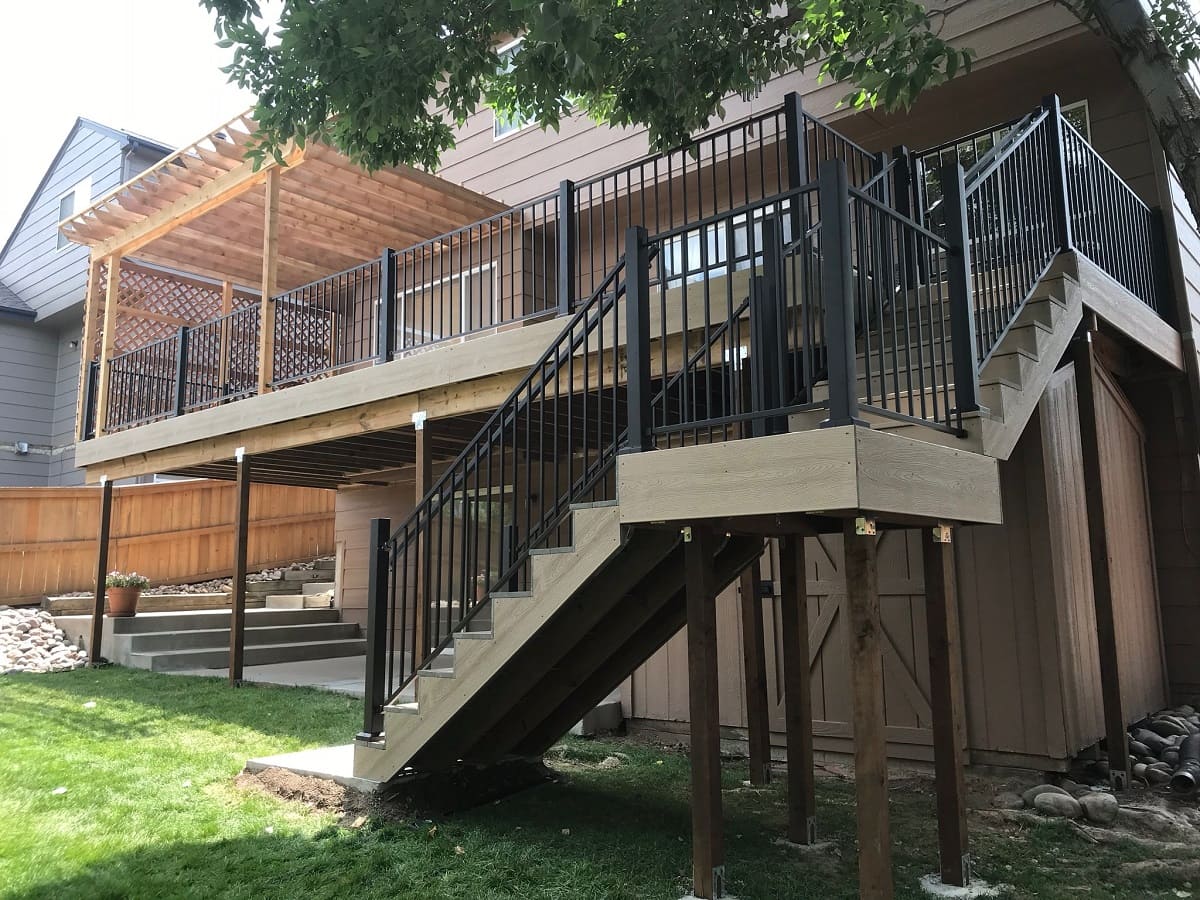
Step 6: Installing the Stringers
Installing the stringers is a critical step in building metal stairs as they provide the support and stability for the steps. Follow these steps to properly install the stringers:
- Position the Stringers: Place the stringers in the desired position, aligning them with the marks made during the planning phase. Ensure that they are level and plumb using a level and square.
- Secure the Stringers: Depending on the structure and materials of your stairs, there are different ways to secure the stringers. If you are attaching the stringers to a wall or structure, use appropriate anchors or brackets. If the stairs are freestanding, secure the stringers to the floor using screws, bolts, or other suitable fasteners.
- Ensure Proper Stringer Spacing: Check that the spacing between the stringers is consistent and within the guidelines set by local building codes. This will ensure that the steps are evenly supported and safe to use.
- Double-Check Alignment: Verify that the stringers are still level and plumb after securing them in place. Small adjustments may be necessary to ensure accuracy.
Throughout the installation process, it is essential to place a strong emphasis on stability and alignment. Properly installed stringers will provide a solid foundation for the rest of the staircase structure. Take your time to double-check all measurements and ensure that the stringers are securely fastened.
Once the stringers are securely in place, you can proceed to the next step: attaching the treads and risers.
Step 7: Attaching the Treads and Risers
Attaching the treads and risers to the stringers is the next step in building your metal stairs. The treads are the horizontal surfaces that you step on, while the risers are the vertical components that connect each tread. Here’s how to attach them:
- Prepare the Treads and Risers: Ensure that the treads and risers are cut to the appropriate size and that any necessary finishes, such as sanding or painting, are completed before installation.
- Position the Treads: Place the treads on the stringers, ensuring they are evenly spaced and aligned with the edges of the stringers or previously marked guidelines.
- Secure the Treads: Fasten the treads to the stringers using appropriate screws, bolts, or brackets. Make sure to choose fasteners that are compatible with both the metal of the stringers and the material of the treads.
- Attach the Risers: Install the risers between each tread, ensuring they are positioned vertically and securely attached to the treads and stringers. Similar to the treads, use suitable fasteners to secure the risers in place.
- Double-Check Alignment: Check that all treads and risers are level and aligned with one another. Make any necessary adjustments to ensure a uniform and visually appealing staircase.
Take your time during this step to ensure that the treads and risers are securely attached and properly aligned. The stability and safety of the stairs depend on these components being securely fastened to the stringers.
After successfully attaching the treads and risers, you can move on to the next step: adding handrails and balusters.
Step 8: Adding Handrails and Balusters
Adding handrails and balusters to your metal stairs is not only important for safety but also for enhancing the overall design and functionality of the staircase. Follow these steps to properly install handrails and balusters:
- Determine Handrail Placement: Measure and mark the desired height for the handrail on the wall or on the metal stringers. Ensure that the height complies with local building codes and regulations.
- Choose Handrail Style: Select the style and material for your handrail. Common options include metal, wood, or a combination of both. Consider the overall aesthetic of your space and choose a handrail that complements it.
- Attach the Handrail: Depending on the chosen material and design of the handrail, attach it to the wall or the metal stringers using appropriate brackets, screws, or other fasteners. Ensure that the handrail is securely affixed and can support the weight and force applied during use.
- Install Balusters: Determine the spacing and number of balusters required for your staircase. Mark the locations where the balusters will be installed, ensuring a consistent and visually appealing pattern. Then, attach the balusters to the treads and handrail using screws, bolts, or other suitable fasteners.
- Stabilize the Balusters: To enhance the stability of the balusters, reinforce them by adding brackets or connectors to the stringers, treads, or handrail. This will ensure that they are securely anchored and minimize any wobbling or movement.
- Double-Check Safety and Stability: After installation, inspect the handrail and balusters for any defects or signs of instability. Test them to ensure they can withstand the expected weight and force that will be applied during regular use.
Adding handrails and balusters to your metal stairs is not only a safety requirement but also an opportunity to enhance the visual appeal of your staircase. Take your time during this step to ensure that the handrail is securely attached and the balusters are positioned correctly.
With the handrails and balusters in place, you are almost finished. The next step involves adding the finishing touches and considering important safety considerations.
Read more: How To Build A House Out Of A Metal Building
Step 9: Finishing Touches and Safety Considerations
As you near the completion of your metal stair construction project, it’s important to focus on the finishing touches and address safety considerations. Follow these steps to add the final touches and ensure the safety of your stairs:
- Finishing Touches: Consider any additional finishing touches to complete the look of your metal stairs. This may include applying a protective coating such as paint or powder coat to the metal surfaces, or adding non-slip coverings to the treads for added safety.
- Inspect for Sharp Edges: Carefully inspect the entire staircase, including the treads, risers, handrails, and balusters, for any sharp edges or rough surfaces. Use a file or grinder to smooth out any potential hazards that could cause injury.
- Ensure Proper Lighting: Ensure that your metal stairs are well-lit, especially in areas with low visibility. Install adequate lighting fixtures or consider incorporating lighting features into the design to improve safety and visibility.
- Add Safety Signage: Consider adding safety signage or labels to remind users of proper stair usage, weight limitations, and any other relevant safety guidelines. This can help prevent accidents and promote a safe environment.
- Test the Stairs: Before officially completing the project, thoroughly test the stairs to ensure they are stable, secure, and meet your expectations. Walk up and down the stairs, paying attention to any creaking, wobbling, or other signs of instability. Make any necessary adjustments or reinforcements as needed.
- Maintain Regular Inspections and Maintenance: Establish a regular inspection and maintenance schedule for your metal stairs. This includes checking for loose components, signs of wear and tear, and addressing any issues promptly to prevent further damage or safety hazards.
By focusing on these finishing touches and safety considerations, you can ensure that your metal stairs are not only visually appealing but also safe and functional for everyday use. Regular maintenance and attention to safety will help prolong the lifespan of your stairs and ensure the well-being of those who use them.
Congratulations! You have successfully completed the process of building your own metal stairs. Your hard work and attention to detail have resulted in a durable and stylish staircase that will enhance the functionality and design of your space.
If at any point during the process you felt unsure or uncomfortable, it’s always a good idea to seek the guidance of a professional. Safety should always be a top priority when working on any construction project.
Enjoy your newly built metal stairs and the benefits they bring to your home or commercial property!
Conclusion
Building metal stairs can be a rewarding and fulfilling project that adds both functionality and style to your space. By following the step-by-step guide outlined in this article, you have learned how to plan, select materials, take accurate measurements, cut metal pieces, weld or bolt components, install stringers, attach treads and risers, add handrails and balusters, and finish your stairs with attention to safety considerations.
Throughout the process, it’s crucial to prioritize safety, accuracy, and compliance with local building codes and regulations. Taking the time to carefully plan, measure, and execute each step will result in a durable and visually appealing staircase that meets your needs and enhances your space.
Remember to seek professional assistance if you are unsure of any step or lack the necessary skills and equipment. Safety should always be a top priority when working on construction projects, especially when it comes to stairs that will be used on a daily basis.
With your newly built metal stairs, you can enjoy the benefits of a sturdy and stylish staircase that adds value to your property. Regular maintenance and inspection will help ensure the longevity and safety of your stairs, so make it a habit to periodically check for any loose components or signs of wear and tear.
Thank you for following this comprehensive guide on how to build metal stairs. We hope that it has provided you with the knowledge and confidence to embark on your own metal stair construction project. Best of luck with your endeavors!
Frequently Asked Questions about How To Build Metal Stairs
Was this page helpful?
At Storables.com, we guarantee accurate and reliable information. Our content, validated by Expert Board Contributors, is crafted following stringent Editorial Policies. We're committed to providing you with well-researched, expert-backed insights for all your informational needs.


0 thoughts on “How To Build Metal Stairs”