Articles
How To Install A Body Shower Spa Showerhead
Modified: October 22, 2024
Learn how to install a body shower spa showerhead with this informative article. Get step-by-step instructions and expert tips to upgrade your shower experience.
(Many of the links in this article redirect to a specific reviewed product. Your purchase of these products through affiliate links helps to generate commission for Storables.com, at no extra cost. Learn more)
Introduction
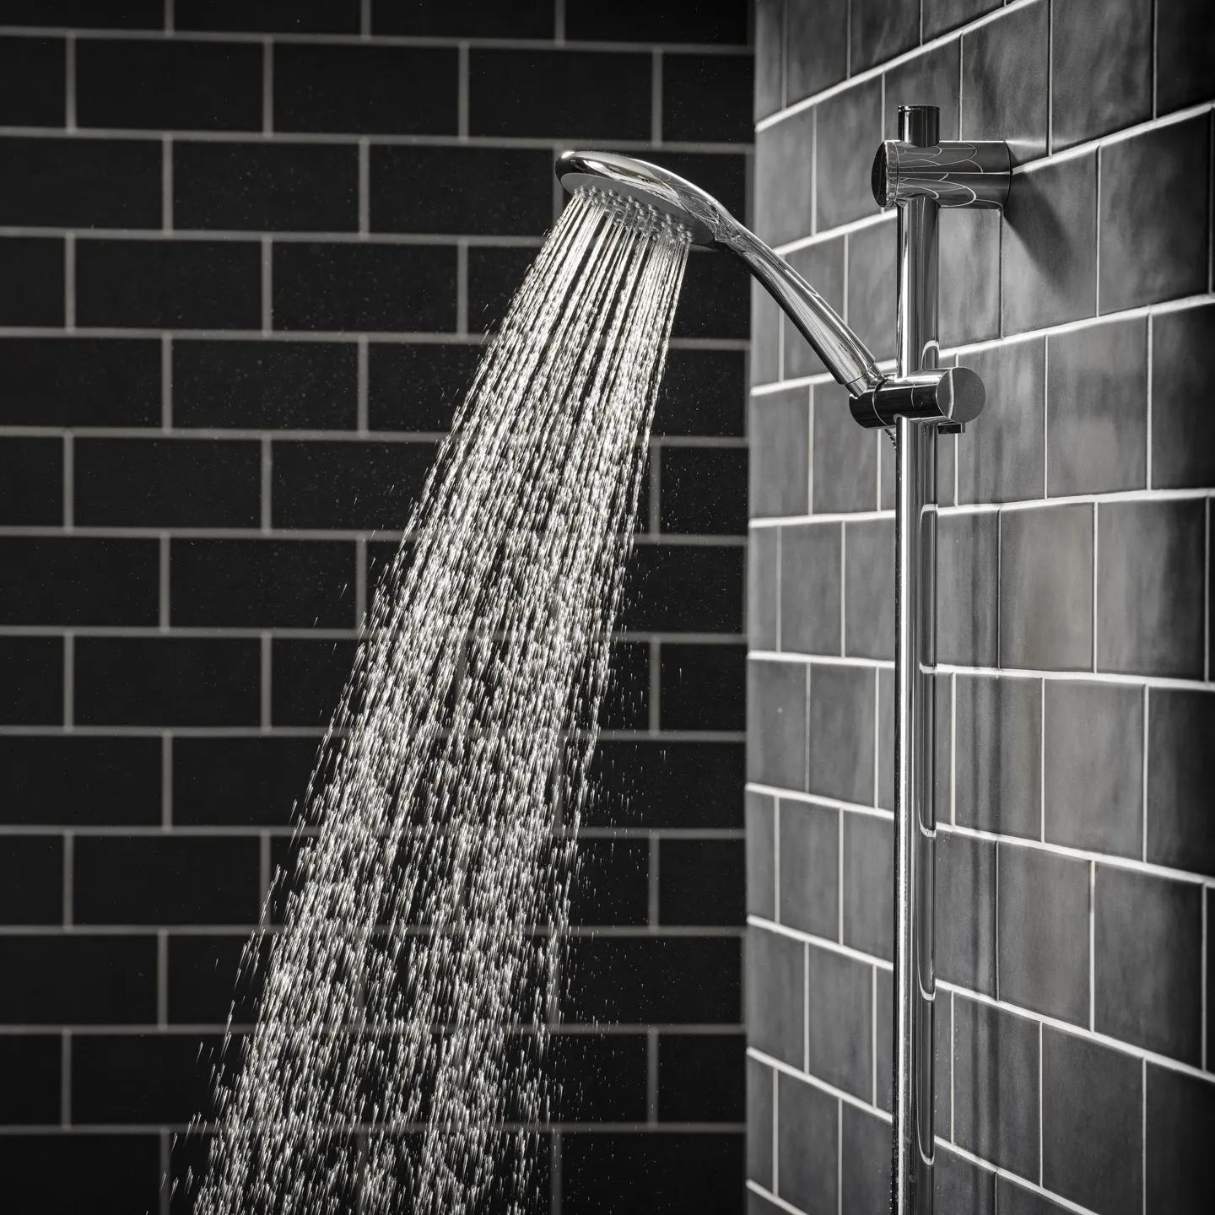
Welcome to the world of ultimate relaxation and luxury with a body shower spa showerhead! If you’re looking to upgrade your shower experience and transform your bathroom into a personal oasis, installing a body shower spa showerhead is the perfect solution. This innovative showerhead is designed to provide a rejuvenating and therapeutic shower experience, offering multiple water settings and adjustable features to suit your preferences.
In this article, we will guide you through the step-by-step process of installing a body shower spa showerhead. Whether you’re a DIY enthusiast or a beginner, with the right tools and instructions, you’ll be able to complete this project with ease. So, let’s dive in and learn how to turn your ordinary shower into a spa-like retreat!
Key Takeaways:
- Transform your shower into a spa-like oasis by installing a body shower spa showerhead. Follow the step-by-step guide for a luxurious and rejuvenating shower experience.
- Gather the necessary tools, prepare the shower area, and connect the water supply to ensure a hassle-free installation. Enjoy the ultimate relaxation and luxury of your new showerhead!
Tools and Materials Needed
Before you begin the installation process, it’s important to gather all the necessary tools and materials. This will ensure a smooth and efficient installation without any interruptions. Here’s a list of the tools and materials you’ll need:
- Adjustable wrench
- Teflon tape
- Plumber’s tape
- Screwdriver
- Bucket or towel
- Body shower spa showerhead kit
- Rubber gaskets or washers (if not included with the showerhead kit)
These tools and materials are readily available at your local hardware store or online. Make sure to check the instructions provided with your specific showerhead model for any additional tools or components that may be required.
Step 1: Prepare the Shower Area
Before you can start installing the body shower spa showerhead, it’s important to prepare the shower area. Here’s how you can do it:
- Turn off the water supply: Locate the main water shut-off valve in your home and turn it off. This will prevent any water from flowing while you work on the installation.
- Protect the shower floor and walls: Lay down a towel or place a bucket in the shower to catch any excess water that may spill during the installation process. This will help prevent any damage to your bathroom floor or walls.
- Remove any existing showerhead attachments: If you have any existing attachments such as a hand-held showerhead or a shower extension arm, remove them carefully. Use an adjustable wrench or a screwdriver, depending on the type of attachment, to loosen and detach them.
- Clean the shower area: Give the shower area a thorough cleaning to remove any dirt, grime, or residue. Use a mild bathroom cleaner or a mixture of vinegar and water to wipe down the walls and floor. This will ensure a clean surface for the installation.
- Inspect the plumbing connections: Take a moment to inspect the plumbing connections and ensure there are no leaks or damages. If you notice any issues, it’s best to address them before proceeding with the installation.
By taking the time to properly prepare the shower area, you’ll create an ideal environment for the installation of your new body shower spa showerhead. Once you’ve completed these steps, you’re ready to move on to the next step: removing the current showerhead.
Step 2: Remove the Current Showerhead
Now that you have prepared the shower area, it’s time to remove the current showerhead. Follow these steps to ensure a smooth and hassle-free removal process:
- Locate the showerhead connection: Look for the point where the showerhead connects to the shower arm. This is typically located on the wall above the shower area.
- Apply Teflon tape: Before removing the showerhead, wrap a few layers of Teflon tape around the threads of the shower arm. This will create a tight seal and prevent any leakage when you install the new showerhead.
- Loosen the showerhead: Use an adjustable wrench or your hands to loosen the current showerhead. Turn it counterclockwise until it is completely detached from the shower arm. If the showerhead is stubbornly stuck, you can use a pair of pliers to provide extra leverage.
- Check for rubber gaskets or washers: As you remove the showerhead, check if there are any rubber gaskets or washers attached to it. These are important for creating a watertight seal. If your new body shower spa showerhead kit does not include these components, make sure to transfer the existing ones to the new showerhead.
- Remove any excess debris: Once the showerhead is detached, inspect the shower arm for any debris or clogs. Use a clean cloth or a small brush to remove any buildup that may interfere with the installation of the new showerhead.
With the current showerhead successfully removed, you’re now ready to move on to the next step: installing the body shower spa showerhead.
When installing a body shower spa showerhead, make sure to use thread seal tape on the connections to prevent leaks. This will ensure a secure and watertight installation.
Step 3: Install the Body Shower Spa Showerhead
Now comes the exciting part: installing the body shower spa showerhead. Follow these steps to ensure a proper and secure installation:
- Prepare the new showerhead: Take out the body shower spa showerhead from its packaging. Make sure to remove any protective covers or plastic film from the showerhead to reveal the actual surface.
- Apply plumber’s tape: To create a watertight seal, wrap a few layers of plumber’s tape around the threads of the shower arm. This will prevent any leaks and ensure a secure connection between the shower arm and the showerhead.
- Attach the rubber gasket or washer: If your body shower spa showerhead kit includes a rubber gasket or washer, place it onto the shower arm before attaching the showerhead. This will help create a tight seal and prevent any water leakage.
- Screw on the new showerhead: Carefully align the body shower spa showerhead with the shower arm. Hold the showerhead in place, and using your hand, screw it onto the shower arm in a clockwise direction. Make sure to tighten it securely, but avoid overtightening, as it may damage the threads.
- Ensure proper alignment: Once the showerhead is attached, ensure that it is properly aligned. Adjust its position if necessary to aim the shower spray in the desired direction.
- Hand-tighten the showerhead: After aligning the showerhead, use your hand to give it a final tightening. This will ensure that the showerhead is securely attached to the shower arm.
When installing the body shower spa showerhead, it’s important to follow the manufacturer’s instructions provided with your specific model. Additionally, keep in mind that some showerheads may have unique installation requirements. If you encounter any difficulties or have questions, refer to the instructions or reach out to the manufacturer for assistance.
Now that the body shower spa showerhead is properly installed, it’s time to move on to the next step: connecting the water supply.
Step 4: Connect the Water Supply
With the body shower spa showerhead securely installed, it’s time to connect the water supply to ensure a smooth flow of water. Follow these steps for a hassle-free connection:
- Turn on the water supply: Locate the main water shut-off valve for your home and turn it on to allow water to flow to the shower area.
- Check for leaks: As the water starts flowing, carefully inspect the connection between the showerhead and the shower arm for any leaks. If you notice any leaks, try tightening the showerhead a bit more. If the leaks persist, you may need to disassemble the connection and reapply plumber’s tape to create a better seal.
- Test the water temperature: Before getting into the shower, test the water temperature to ensure it is comfortable. Adjust the shower handle or temperature control knob as needed to achieve the desired temperature.
- Test the shower settings: Once the water temperature is adjusted, test the different settings and functions of the body shower spa showerhead. Explore the various spray patterns, water pressure options, and any additional features that your showerhead may offer. Familiarize yourself with the controls and find the settings that provide the most relaxing and enjoyable shower experience.
By connecting the water supply and testing the shower settings, you’ll be able to ensure that your body shower spa showerhead is functioning properly and providing the desired shower experience. If you encounter any issues or have concerns about the water flow or performance of the showerhead, consult the manufacturer’s instructions or seek professional assistance to resolve them.
Now that you have successfully connected the water supply, it’s time for the final step: testing the showerhead for proper functioning.
Step 5: Test the Showerhead for Proper Functioning
Now that you have completed the installation process, it’s important to test the body shower spa showerhead to ensure that it is functioning properly. Follow these steps to test the showerhead:
- Step into the shower: Carefully step into the shower area and position yourself under the body shower spa showerhead.
- Adjust the water settings: Explore the different water settings and functions of the showerhead. Test each spray pattern, water pressure option, and any additional features it offers. Adjust the controls to find the setting that provides the most relaxing and satisfying shower experience for you.
- Check for leaks: As you use the showerhead, keep an eye out for any leaks in the connection between the showerhead and the shower arm. If you notice any leaks, tighten the connection further or consider using plumber’s tape to create a better seal.
- Enjoy the spa-like experience: With the body shower spa showerhead functioning properly, take a moment to enjoy the luxurious and invigorating shower experience it provides. Allow the warm water to wash away the stress and revitalize your body and mind.
Testing the showerhead ensures that it is working as intended and that you can fully enjoy its benefits. If you experience any issues, such as poor water pressure or uneven spray patterns, refer to the manufacturer’s instructions or consult with a professional to troubleshoot and resolve the problem.
Congratulations! You have successfully installed and tested your new body shower spa showerhead. Enjoy the luxurious and rejuvenating shower experience it provides, and transform your bathroom into your very own personal oasis.
Before concluding, be sure to clean and maintain your body shower spa showerhead regularly to prevent any buildup or clogs that may affect its performance. Refer to the manufacturer’s guidelines for proper cleaning and maintenance instructions.
We hope this guide has been helpful in assisting you with the installation process. Enjoy your new body shower spa showerhead and revel in the ultimate relaxation it provides!
Conclusion
Installing a body shower spa showerhead can truly transform your daily shower routine into a luxurious and spa-like experience. By following the step-by-step instructions outlined in this guide, you can confidently install and enjoy the benefits of your new showerhead.
From preparing the shower area to removing the current showerhead, installing the body shower spa showerhead, connecting the water supply, and testing its proper functioning, each step is crucial to ensure a successful installation.
Remember to gather all the necessary tools and materials before you begin, and carefully read and follow the manufacturer’s instructions provided with your specific showerhead model. Taking these precautions will ensure that you install your body shower spa showerhead correctly and avoid any potential setbacks.
Once your new showerhead is installed and functioning, take the time to test its various settings and adjust them to your liking. Enjoy the invigorating and relaxing shower experience that the body shower spa showerhead offers.
Lastly, don’t forget to regularly clean and maintain your showerhead to keep it in optimal working condition. Follow the cleaning instructions recommended by the manufacturer to prevent any buildup or clogs that could affect the performance of the showerhead.
Now, go ahead and indulge in the ultimate relaxation and luxury of your newly installed body shower spa showerhead. Say goodbye to ordinary showers and embrace the soothing and rejuvenating experience every time you step into your bathroom!
Thank you for choosing this comprehensive guide for installing a body shower spa showerhead. If you have any questions or need further assistance, don’t hesitate to consult with a professional or reach out to the manufacturer for support. Enjoy your upgraded shower experience!
Frequently Asked Questions about How To Install A Body Shower Spa Showerhead
Was this page helpful?
At Storables.com, we guarantee accurate and reliable information. Our content, validated by Expert Board Contributors, is crafted following stringent Editorial Policies. We're committed to providing you with well-researched, expert-backed insights for all your informational needs.


0 thoughts on “How To Install A Body Shower Spa Showerhead”