Articles
How To Unclog A Showerhead
Modified: December 7, 2023
Learn effective ways to unclog your showerhead with these informative articles. Find useful tips and tricks to ensure a fully functioning shower.
(Many of the links in this article redirect to a specific reviewed product. Your purchase of these products through affiliate links helps to generate commission for Storables.com, at no extra cost. Learn more)
Introduction
Is your showerhead not delivering a strong and consistent stream of water? Dealing with a clogged or low-flow showerhead can be frustrating, but fear not! In this article, we will guide you through the steps to unclog and restore your showerhead to its full potential.
A clogged showerhead can occur due to mineral deposits, rust, or debris accumulating over time. This build-up restricts the water flow, resulting in a weak and inefficient shower experience. However, with a few simple tools and materials, you can easily unclog your showerhead and enjoy a rejuvenating shower once again.
Before we dive into the step-by-step process, it’s important to mention that regular maintenance and cleaning can help prevent clogs and prolong the lifespan of your showerhead. Adding this task to your cleaning routine can save you time, money, and unnecessary frustration in the long run.
Now, let’s gather the necessary tools and materials to get started on unclogging your showerhead!
Key Takeaways:
- Easily unclog and restore your showerhead with simple tools and white vinegar. Regular maintenance can prevent future clogs and prolong your showerhead’s lifespan, saving you time and frustration.
- Enjoy rejuvenating showers by following the step-by-step process to unclog and restore your showerhead. Test for proper water flow and address any issues for an invigorating experience.
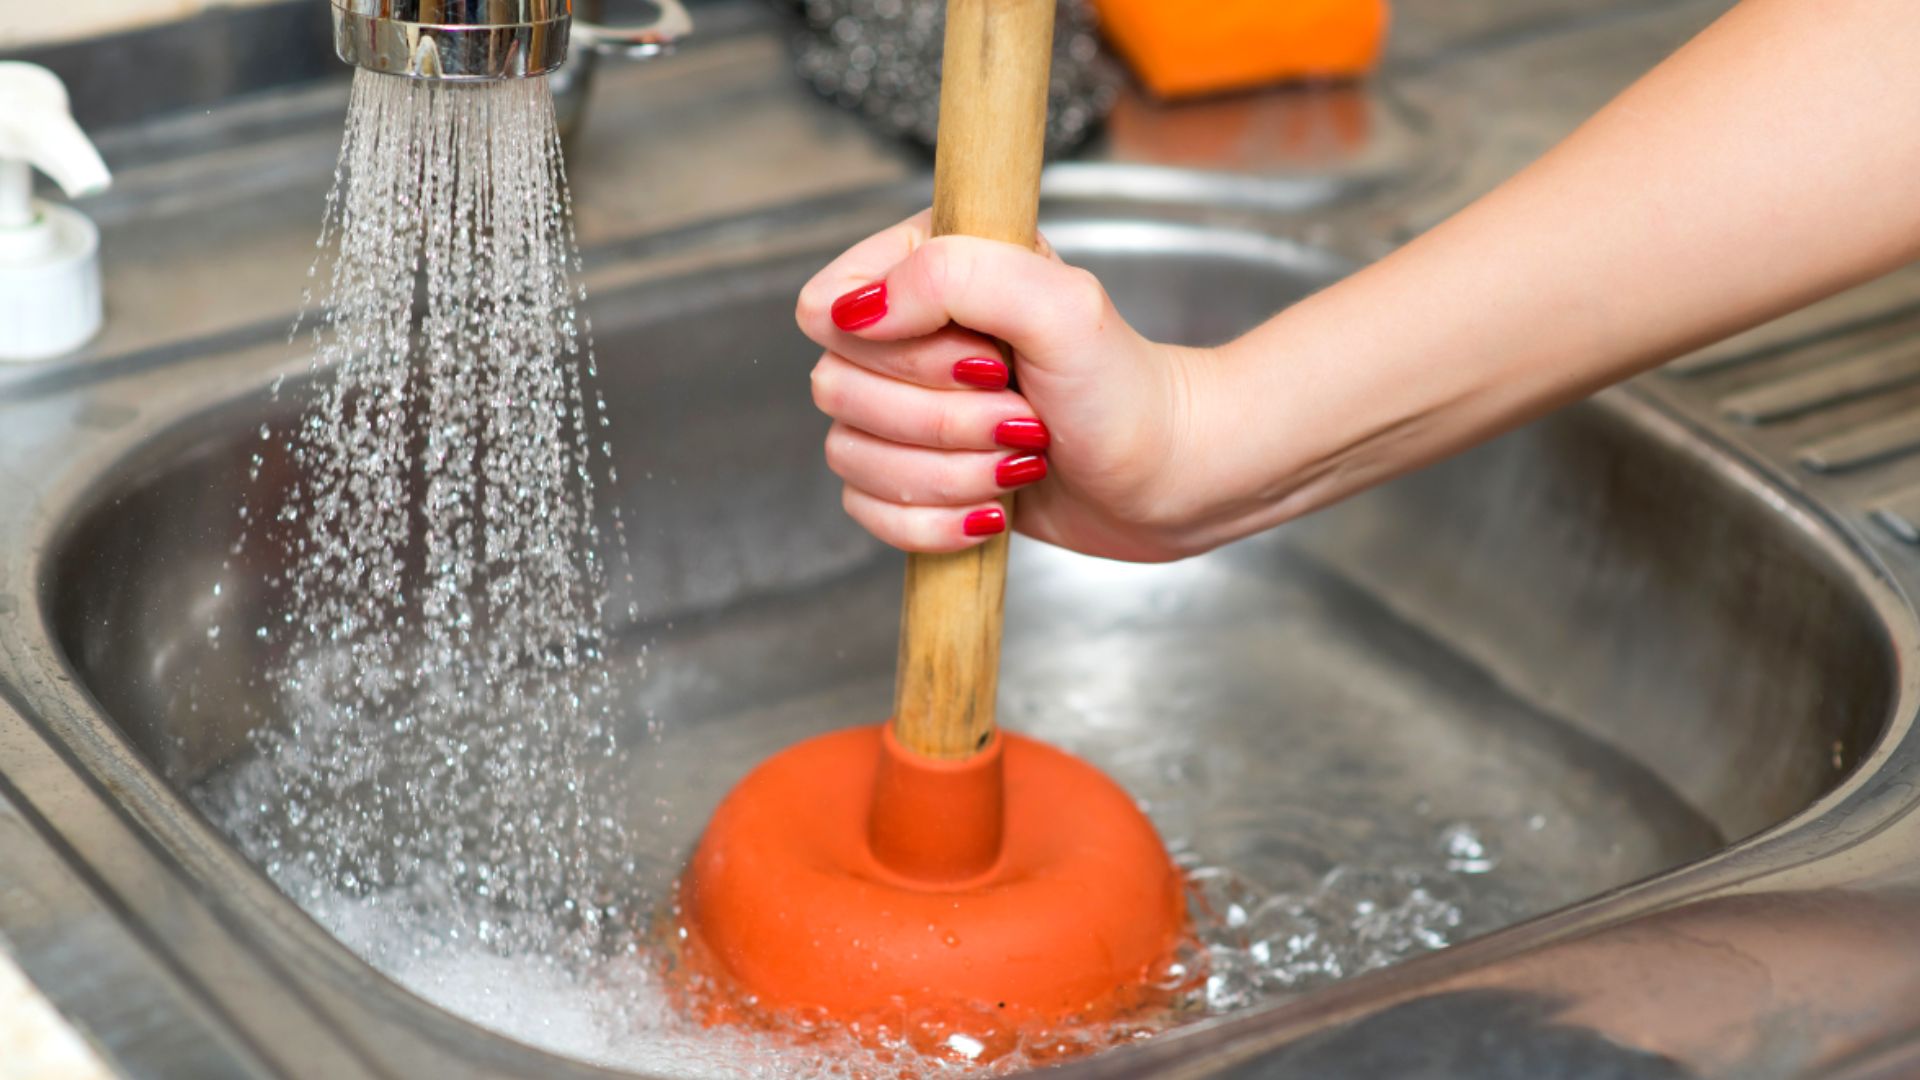
Read more: How To Unclog The Sink
Step 1: Gather necessary tools and materials
Before you begin the unclogging process, it’s essential to gather the following tools and materials:
- Adjustable wrench or pliers
- Bowl or bucket
- White vinegar
- Old toothbrush or small brush
- Teflon tape
The adjustable wrench or pliers will help you remove the showerhead. Make sure to choose the right size of wrench or pliers that fits snugly around the showerhead without causing any damage.
Having a bowl or bucket handy is important to catch any drips or excess water that may come out during the process. This will prevent water damage to your bathroom floor.
White vinegar is a natural cleaning agent that will effectively dissolve mineral deposits and remove any hard water stains on the showerhead. It’s a cost-effective and environmentally friendly solution.
Using an old toothbrush or small brush will help you scrub away any clogs or residue that may be lodged in the showerhead. Be sure to choose a brush with soft bristles to avoid scratching the surface of the showerhead.
Teflon tape, also known as plumber’s tape, is used for sealing pipe connections. Once you have cleaned and reinstalled the showerhead, applying a few wraps of Teflon tape around the threaded area will help ensure a tight and leak-free connection.
Now that you have gathered all the necessary tools and materials, you’re ready to move on to the next step: removing the showerhead.
Step 2: Remove the showerhead
Now that you have all the tools and materials ready, it’s time to remove the showerhead. Follow these steps:
- Locate the connection point between the showerhead and the shower arm. The shower arm is the pipe that extends from the wall or ceiling.
- Using an adjustable wrench or pliers, grip the nut or collar connecting the showerhead to the shower arm.
- Turn the wrench or pliers counterclockwise to loosen and remove the showerhead. It may require some force, so be careful not to damage the showerhead or the shower arm.
- Once the nut or collar is loosened, continue unscrewing it by hand until the showerhead is fully removed from the shower arm. You can place it in a safe location for cleaning later.
Removing the showerhead may reveal a rubber washer or O-ring. Take note of its condition, as you may need to replace it if it is worn or damaged.
With the showerhead successfully removed, it’s time to move on to the next step: soaking the showerhead in a cleaning solution.
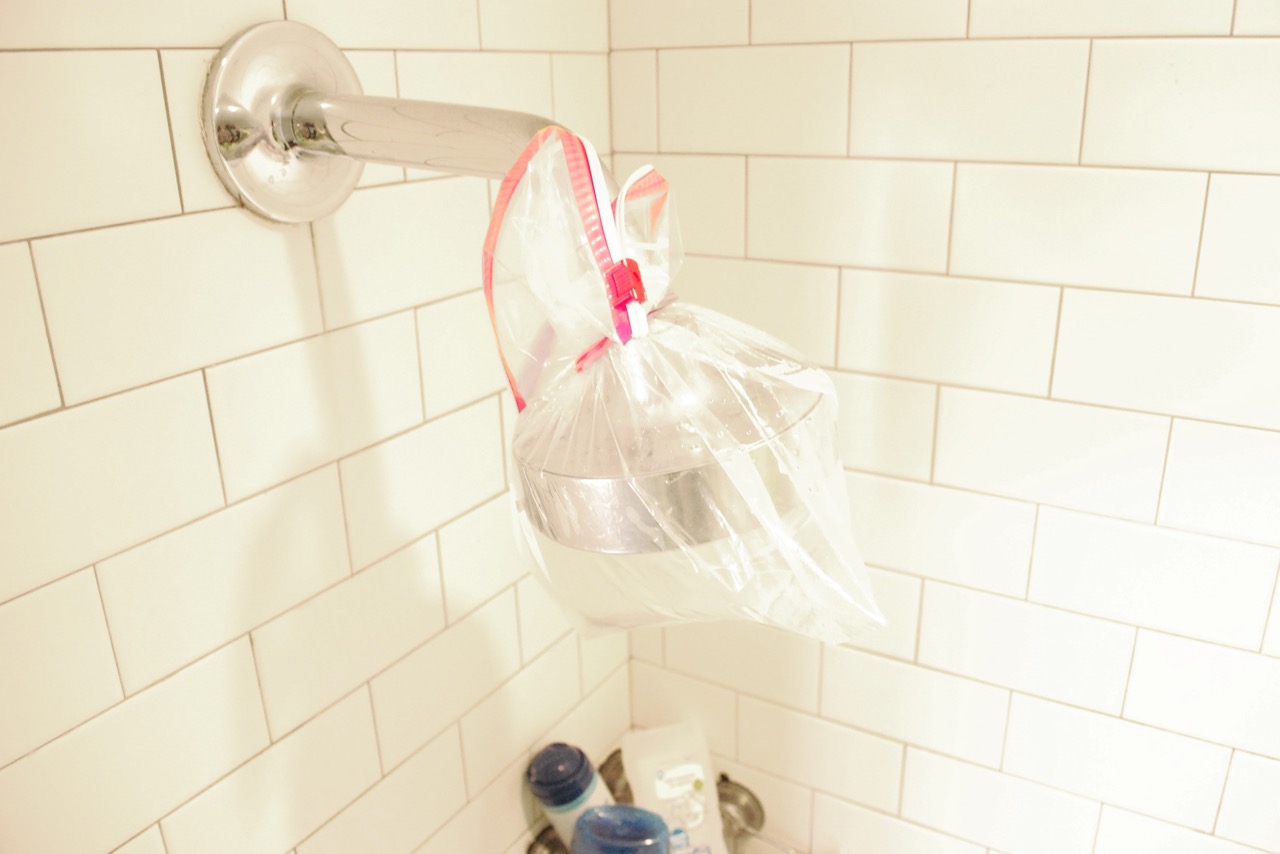
Step 3: Soak the showerhead in a cleaning solution
Now that you have removed the showerhead, it’s time to give it a thorough cleaning. Soaking the showerhead in a cleaning solution will help dissolve mineral deposits and clear any clogs. Follow these steps:
- Fill a bowl or bucket with white vinegar. The amount of vinegar you need will depend on the size of your showerhead, but aim to have enough to fully submerge it.
- Place the showerhead in the bowl or bucket, ensuring that it is completely immersed in the vinegar. You may need to hold it down gently to prevent it from floating.
- Let the showerhead soak in the vinegar solution for at least 30 minutes. This will allow the acid in the vinegar to break down the mineral deposits and residue.
- While the showerhead is soaking, you can take the opportunity to clean the exterior surfaces with a cloth or sponge dampened in the vinegar solution.
- If your showerhead has any removable parts, such as a filter or aerator, you can also soak them in vinegar or clean them separately.
White vinegar is a natural and effective cleaning agent that is safe to use on most showerheads. Its acidic properties help dissolve mineral deposits, remove stains, and eliminate bacteria.
After the recommended soaking time, move on to the next step: scrubbing the showerhead to remove any remaining clogs or residue.
To unstop a showerhead, remove it and soak it in a mixture of equal parts water and vinegar for a few hours. Then, use a small brush to scrub away any remaining debris before reattaching it to the shower arm.
Step 4: Scrub the showerhead to remove any clogs
With the showerhead soaked in the cleaning solution, it’s time to give it a thorough scrub to remove any remaining clogs or residue. Follow these steps:
- Remove the showerhead from the vinegar solution and examine it closely. You may notice loosened mineral deposits or debris.
- Using an old toothbrush or small brush, gently scrub the surface of the showerhead. Pay special attention to the spray nozzles or jets, as these are the areas most prone to clogging.
- Apply firm but gentle pressure as you scrub, ensuring that you remove any remaining residue or blockages without damaging the showerhead.
- If necessary, you can use a toothpick or safety pin to carefully remove any stubborn debris from the spray nozzles. Be cautious not to scratch or damage the showerhead in the process.
- Rinse the showerhead thoroughly with water to remove any loosened debris and residue.
Scrubbing the showerhead helps dislodge and remove any remaining clogs, allowing for improved water flow and a more refreshing shower experience.
Once you have thoroughly scrubbed the showerhead and rinsed off any debris, it’s time to move on to the next step: reinstalling the showerhead.
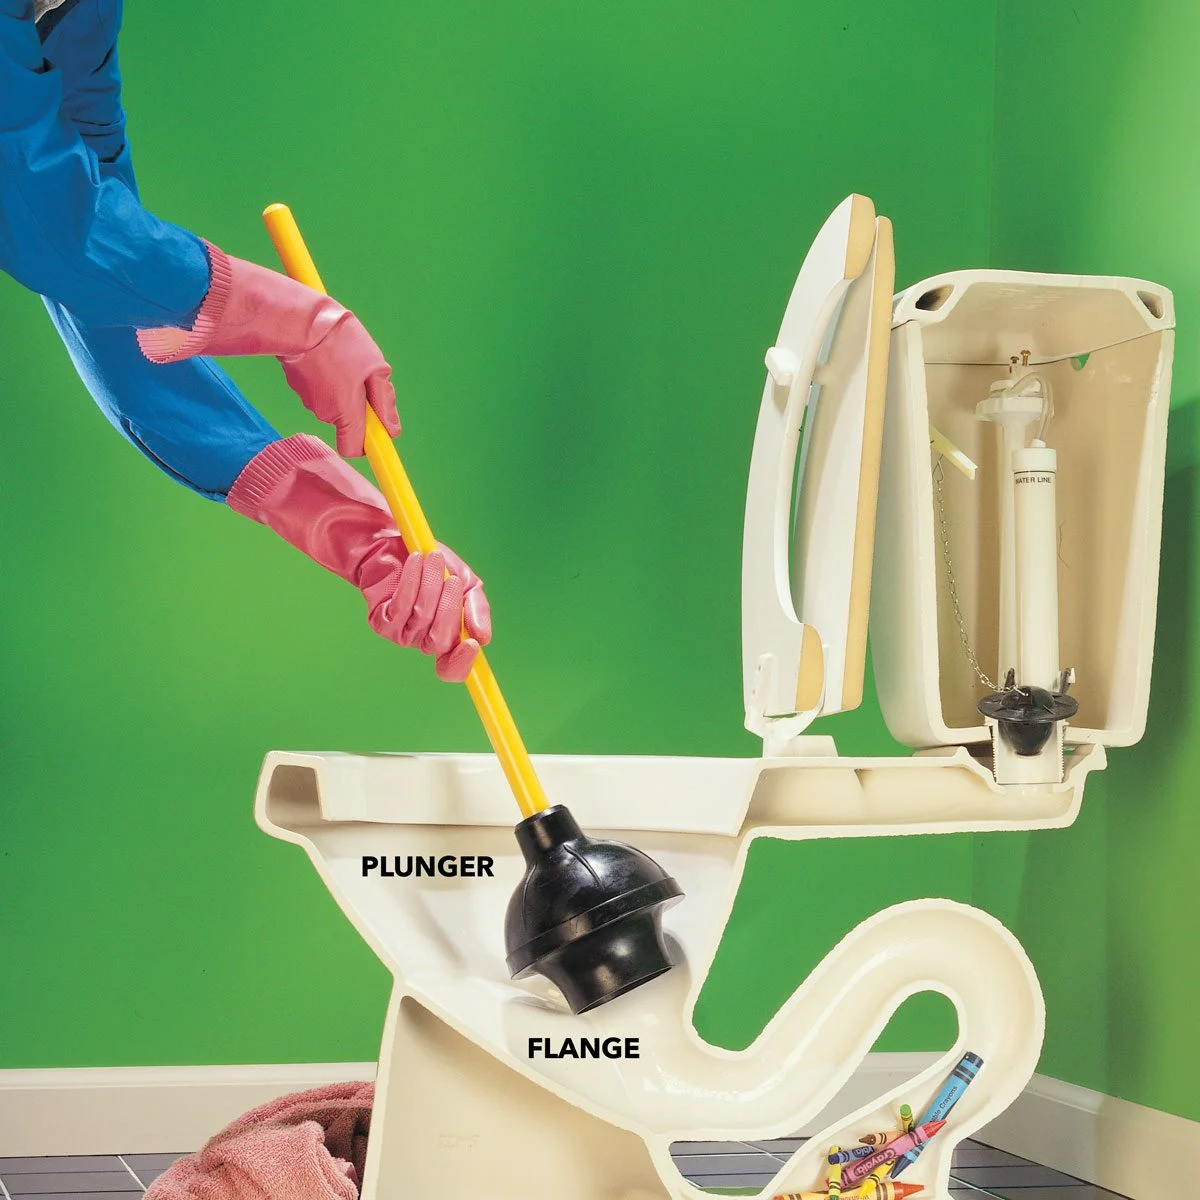
Read more: How To Unclog A Toilet
Step 5: Rinse and reinstall the showerhead
After scrubbing the showerhead and ensuring it is free from any clogs or residue, it’s time to rinse and reinstall it. Follow these steps:
- Rinse the showerhead thoroughly with water to remove any remaining vinegar solution, debris, or cleaning agents.
- Inspect the shower arm for any signs of debris or buildup. If you notice any, use a cloth or sponge to wipe it clean.
- If your showerhead has a rubber washer or O-ring, check its condition. If it is worn or damaged, replace it with a new one to ensure a tight and leak-free connection.
- Apply a few wraps of Teflon tape around the threaded area of the shower arm. This will help create a secure and watertight seal when you reinstall the showerhead.
- Align the showerhead with the shower arm and begin screwing it back on by hand. Make sure not to cross-thread or force the connection.
- Use an adjustable wrench or pliers to tighten the showerhead securely onto the shower arm. Be careful not to overtighten, as this can cause damage.
By rinsing the showerhead and ensuring a clean surface, you prevent any residual cleaning agents or debris from interfering with the water flow.
Applying Teflon tape and securely reinstalling the showerhead ensure a snug fit and prevent any potential leaks. It’s important to strike a balance between tightening the showerhead enough to create a seal and avoiding over-tightening, which can cause damage.
Now that you have successfully rinsed and reinstalled the showerhead, it’s time for the final step: testing the showerhead for proper water flow.
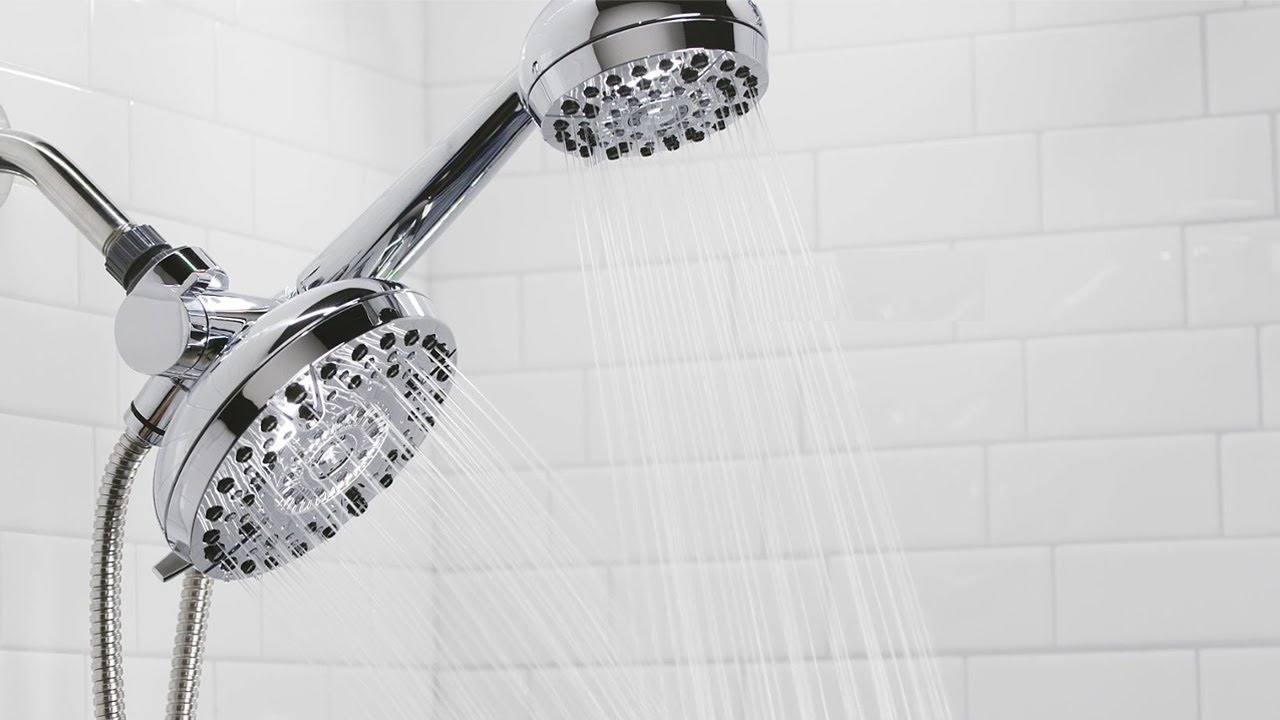
Step 6: Test the showerhead for proper water flow
After reinstalling the showerhead, it’s important to test it to ensure that it is functioning properly and delivering a strong water flow. Follow these steps:
- Turn on the water supply to the showerhead. Start with a low to moderate water flow to avoid any potential splashing or water pressure issues.
- Observe the water flow coming out of the showerhead. It should be steady and consistent, with no sputtering or blockages.
- Check the spray patterns and adjust the settings if your showerhead has multiple options. Ensure that each spray pattern is functioning correctly.
- Pay attention to any signs of leakage around the connection point between the showerhead and the shower arm. If you notice any leaks, you may need to tighten the connection further or reapply Teflon tape.
- If the water flow is still weak or uneven, you may need to repeat the cleaning process or consider replacing the showerhead altogether if it is old or severely damaged.
By testing the showerhead, you can verify that the cleaning process was successful and that the water flow has been restored to its optimal level. Any remaining issues, such as leaks or weak water flow, can be addressed and resolved accordingly.
Congratulations! You have successfully unclogged and restored your showerhead to its full potential. Enjoy your revitalizing showers with improved water flow and a more invigorating experience.
Remember, regular cleaning and maintenance of your showerhead will help prevent future clogs and ensure optimal performance for years to come.
Note: If you are unsure about any part of the unclogging process or encounter any difficulties, it is always recommended to seek the assistance of a professional plumber.
Now go ahead and enjoy the rejuvenating showers!
Conclusion
Dealing with a clogged or low-flow showerhead can be a frustrating experience, but with the right knowledge and tools, it is a problem that can be easily solved. By following the steps outlined in this article, you can effectively unclog and restore your showerhead to its full potential.
From gathering the necessary tools and materials to removing the showerhead, soaking it in a cleaning solution, scrubbing away any clogs, rinsing, and finally reinstalling the showerhead, each step plays a crucial role in the unclogging process.
Regular maintenance and cleaning of your showerhead can help prevent clogs and prolong its lifespan. Adding this task to your cleaning routine will save you time, money, and frustration in the long run.
Remember to test the showerhead for proper water flow and address any leaks or weak water flow if necessary. If the problem persists, it may be time to consider replacing the showerhead.
With your newly unclogged showerhead, you can once again enjoy rejuvenating showers with a strong and consistent water flow. There’s nothing quite like the experience of a refreshing shower to start or end your day.
So don’t let a clogged showerhead dampen your spirits. Take the time to unclog it and restore its performance. Your showerhead will thank you, and you’ll thank yourself for the revitalizing showers that await you.
Disclaimer: It is always important to exercise caution when working with plumbing fixtures. If you are unsure or uncomfortable with any part of the unclogging process, it’s advisable to seek the assistance of a professional plumber.
Frequently Asked Questions about How To Unclog A Showerhead
Was this page helpful?
At Storables.com, we guarantee accurate and reliable information. Our content, validated by Expert Board Contributors, is crafted following stringent Editorial Policies. We're committed to providing you with well-researched, expert-backed insights for all your informational needs.

0 thoughts on “How To Unclog A Showerhead”