Articles
How To Build A Solar Water Heater
Modified: October 19, 2024
Learn how to build a solar water heater with step-by-step instructions and expert articles on DIY solar heating projects.
(Many of the links in this article redirect to a specific reviewed product. Your purchase of these products through affiliate links helps to generate commission for Storables.com, at no extra cost. Learn more)
Introduction
Welcome to the world of renewable energy! In an era where environmental concerns and rising energy costs are at the forefront of global discussions, finding sustainable and cost-effective solutions for our everyday needs has become more important than ever. One such solution is harnessing the power of the sun to heat water, and in this article, we will guide you on how to build your own solar water heater.
Using solar energy to heat water not only helps reduce our carbon footprint but also saves money on utility bills in the long run. By utilizing readily available materials and following a few simple steps, you can create a solar water heater that will provide you with hot water for various household activities.
Before we get started, it’s essential to note that building a solar water heater requires basic DIY skills and some knowledge of plumbing. It’s crucial to take necessary safety precautions when working with tools and equipment. Now, let’s dive into the step-by-step process of building your solar water heater!
Key Takeaways:
- Building a solar water heater is an eco-friendly and cost-effective DIY project that harnesses the power of the sun to provide hot water for household needs, reducing carbon footprint and saving on energy bills.
- Regular maintenance, including monitoring temperature, cleaning the cover and absorber plate, and inspecting insulation, ensures the efficiency and longevity of a solar water heater, contributing to a sustainable future.
Read also: 12 Best Solar Water Heater for 2025
Step 1: Gather Materials
Before beginning the construction of your solar water heater, it’s essential to gather all the necessary materials. Here’s a list of items you will need:
- Solar collector or black painted sheet metal
- Insulated box or frame
- Glass or plastic cover
- Pipes and fittings
- Water tank
- Insulation materials
- Tools (such as a screwdriver, wrench, and drill)
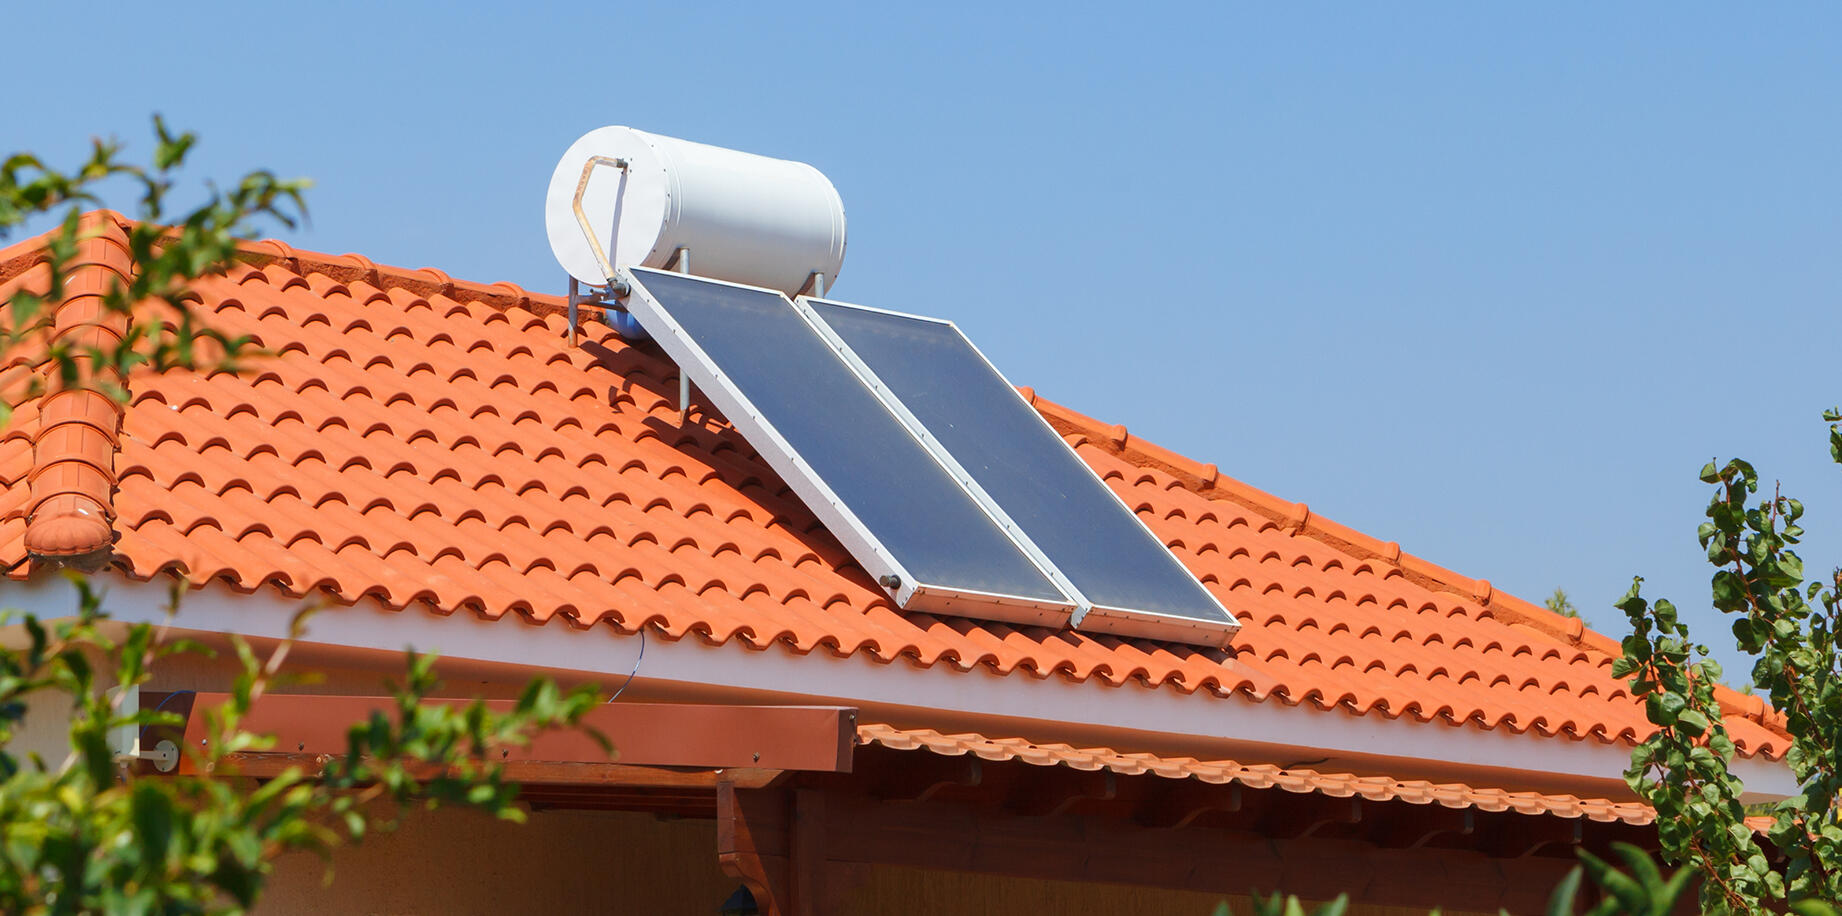
The solar collector is a crucial component of your water heater as it absorbs the sun’s energy to heat water. You can purchase a pre-made solar collector or use a black painted sheet metal as an alternative. The insulated box or frame will hold the collector while providing insulation to maximize heat retention.
The glass or plastic cover is used to create a greenhouse effect, trapping the heat inside the collector. It should be transparent to allow sunlight to pass through but durable enough to withstand various weather conditions. The pipes and fittings will transport the water to and from the solar collector, while the water tank will store the heated water for later use. Insulation materials, such as foam or fiberglass, will help prevent heat loss in the system.
Make sure to gather all the materials before starting the construction to ensure a smooth and efficient building process. You may need to purchase some items from a hardware store, while others can be sourced from your local area or recycled from household items.
Step 2: Build the Frame
Now that you have gathered all the necessary materials, it’s time to start building the frame for your solar water heater. The frame will provide support for the collector and help maintain its position.
First, decide on the size of the frame based on the dimensions of your solar collector. Use sturdy materials like wood or metal to construct the frame, ensuring it is stable and durable. Cut the pieces according to the measurements, and assemble them using screws or nails.
It is important to position the frame at an angle that maximizes the exposure to the sun. For optimal efficiency, the frame should be tilted towards the south, facing the direction where sunlight is most abundant.
Ensure that the frame is securely anchored to the ground or roof to prevent any movement or damage during strong winds or storms. Use appropriate hardware or brackets to secure it in place.
Once the frame is assembled and positioned correctly, you’re ready to move on to the next step!
Step 3: Install the Glass Cover
With the frame in place, it’s time to install the glass or plastic cover for your solar water heater. The cover serves an important purpose by allowing sunlight to pass through while trapping heat inside the collector.
If using glass, make sure it is tempered or specially designed for solar applications. Measure the dimensions of the frame and cut the glass to fit. Be cautious while handling the glass to avoid any breakage or injuries.
If using a plastic cover, choose a durable material that has high transparency and UV resistance. Plexiglass or polycarbonate sheets are commonly used for this purpose. Cut the plastic sheet to match the dimensions of the frame.
Securely attach the glass or plastic cover to the frame using appropriate clips, brackets, or adhesives. Make sure it is tightly sealed to prevent any air or water leakage. Additionally, ensure that the cover is sloped to allow rainwater runoff and avoid accumulation.
The glass or plastic cover will act as a barrier against external elements such as wind, rain, and dust. It also creates a greenhouse effect, trapping the heat inside and increasing the efficiency of the solar water heater.
Take caution while working with glass or plastic to prevent any breakage or injuries. Wear protective gloves and eyewear if necessary.
Once the glass or plastic cover is securely installed, your solar water heater will be one step closer to providing you with hot water using the power of the sun!
Step 4: Build the Absorber Plate
The absorber plate is a critical component of your solar water heater as it absorbs the sun’s energy and transfers it to the water. The plate is typically made from a dark material that can efficiently absorb and retain heat.
To build the absorber plate, you have several options:
- Using a pre-made absorber plate: You can purchase a pre-made absorber plate designed specifically for solar water heaters. These plates are made of high-quality materials and often come with built-in channels for better flow of water.
- Black-painted sheet metal: If you prefer a DIY approach, you can use a black-painted sheet metal as an alternative. This can be a cost-effective option, especially if you have access to scrap materials. Ensure that the sheet metal is painted with heat-resistant black paint.
- Copper or aluminum sheets: Another option is to use copper or aluminum sheets as the absorber plate. These metals have excellent thermal properties and can efficiently absorb and transfer heat. Make sure to paint the sheets with a heat-absorbing coating or attach a black thermal film.
Regardless of the material you choose, the absorber plate should have a large surface area to maximize heat absorption. It should also be securely attached to the frame, allowing for easy access and maintenance if needed.
Remember to take necessary safety precautions when working with metal sheets, such as wearing gloves to avoid cuts and handling sharp edges carefully.
Once you have constructed or obtained the absorber plate, you are ready to move on to the next step in building your solar water heater.
Step 5: Install the Absorber Plate
Now that you have built or obtained the absorber plate for your solar water heater, it’s time to install it within the frame. The absorber plate is the component that will directly absorb sunlight and transfer the heat to the water circulating through it.
First, position the absorber plate inside the frame, ensuring that it fits securely and covers the entire area designated for heat absorption. Secure the plate to the frame using screws, adhesive, or brackets, making sure it is properly aligned and tightly fastened.
Next, you’ll need to create channels or pipes on the surface of the absorber plate to allow the flow of water. These channels will help distribute the water evenly, maximizing heat transfer. One common and effective method is to use a series of copper pipes or tubing placed in a serpentine pattern across the plate.
Attach the pipes to the absorber plate using appropriate fittings or soldering techniques, ensuring a watertight connection. The number and size of the pipes will depend on the size of your solar water heater and the desired water flow rate.
It’s crucial to insulate the backside of the absorber plate to prevent heat loss to the surroundings. Use insulation materials such as foam board or fiberglass insulation to cover the back of the plate, ensuring maximum heat retention.
Take precautions while working with tools and materials, and follow plumbing and safety guidelines to ensure proper installation of the absorber plate.
Once the absorber plate is securely installed, your solar water heater is one step closer to harnessing the power of the sun to provide hot water for your needs.
Regularly clean the solar panels of your solar water heater to ensure maximum efficiency. Dust and debris can reduce the amount of sunlight that reaches the panels, decreasing their effectiveness.
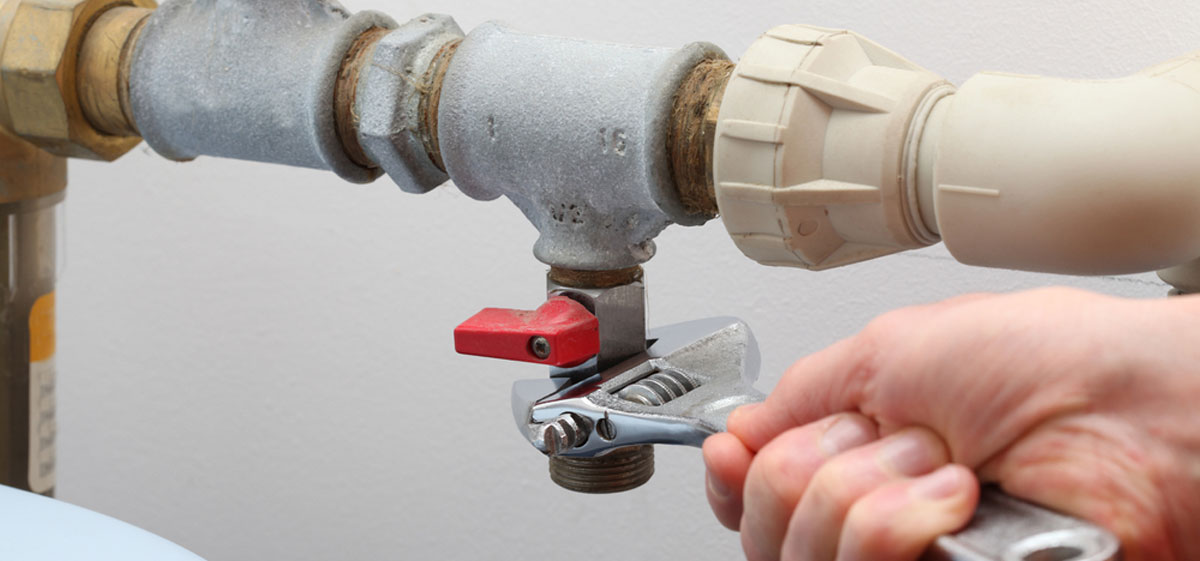
Step 6: Connect the Pipes
Connecting the pipes is an important step in the construction of your solar water heater as it enables the flow of water through the system and facilitates the transfer of heat from the absorber plate to the water. Properly connecting the pipes will ensure an efficient and reliable operation of your solar water heating system.
Start by identifying the inlet and outlet connections on the water tank. The inlet is where cold water enters the tank, while the outlet is where hot water exits. Depending on the design of your water tank, you may need to attach fittings or valves to these connections.
Next, connect the pipes from the absorber plate to the water tank. The exact configuration will depend on the design and layout of your solar water heater. You may need to use elbows, T-joints, or other fittings to ensure a secure and leak-free connection.
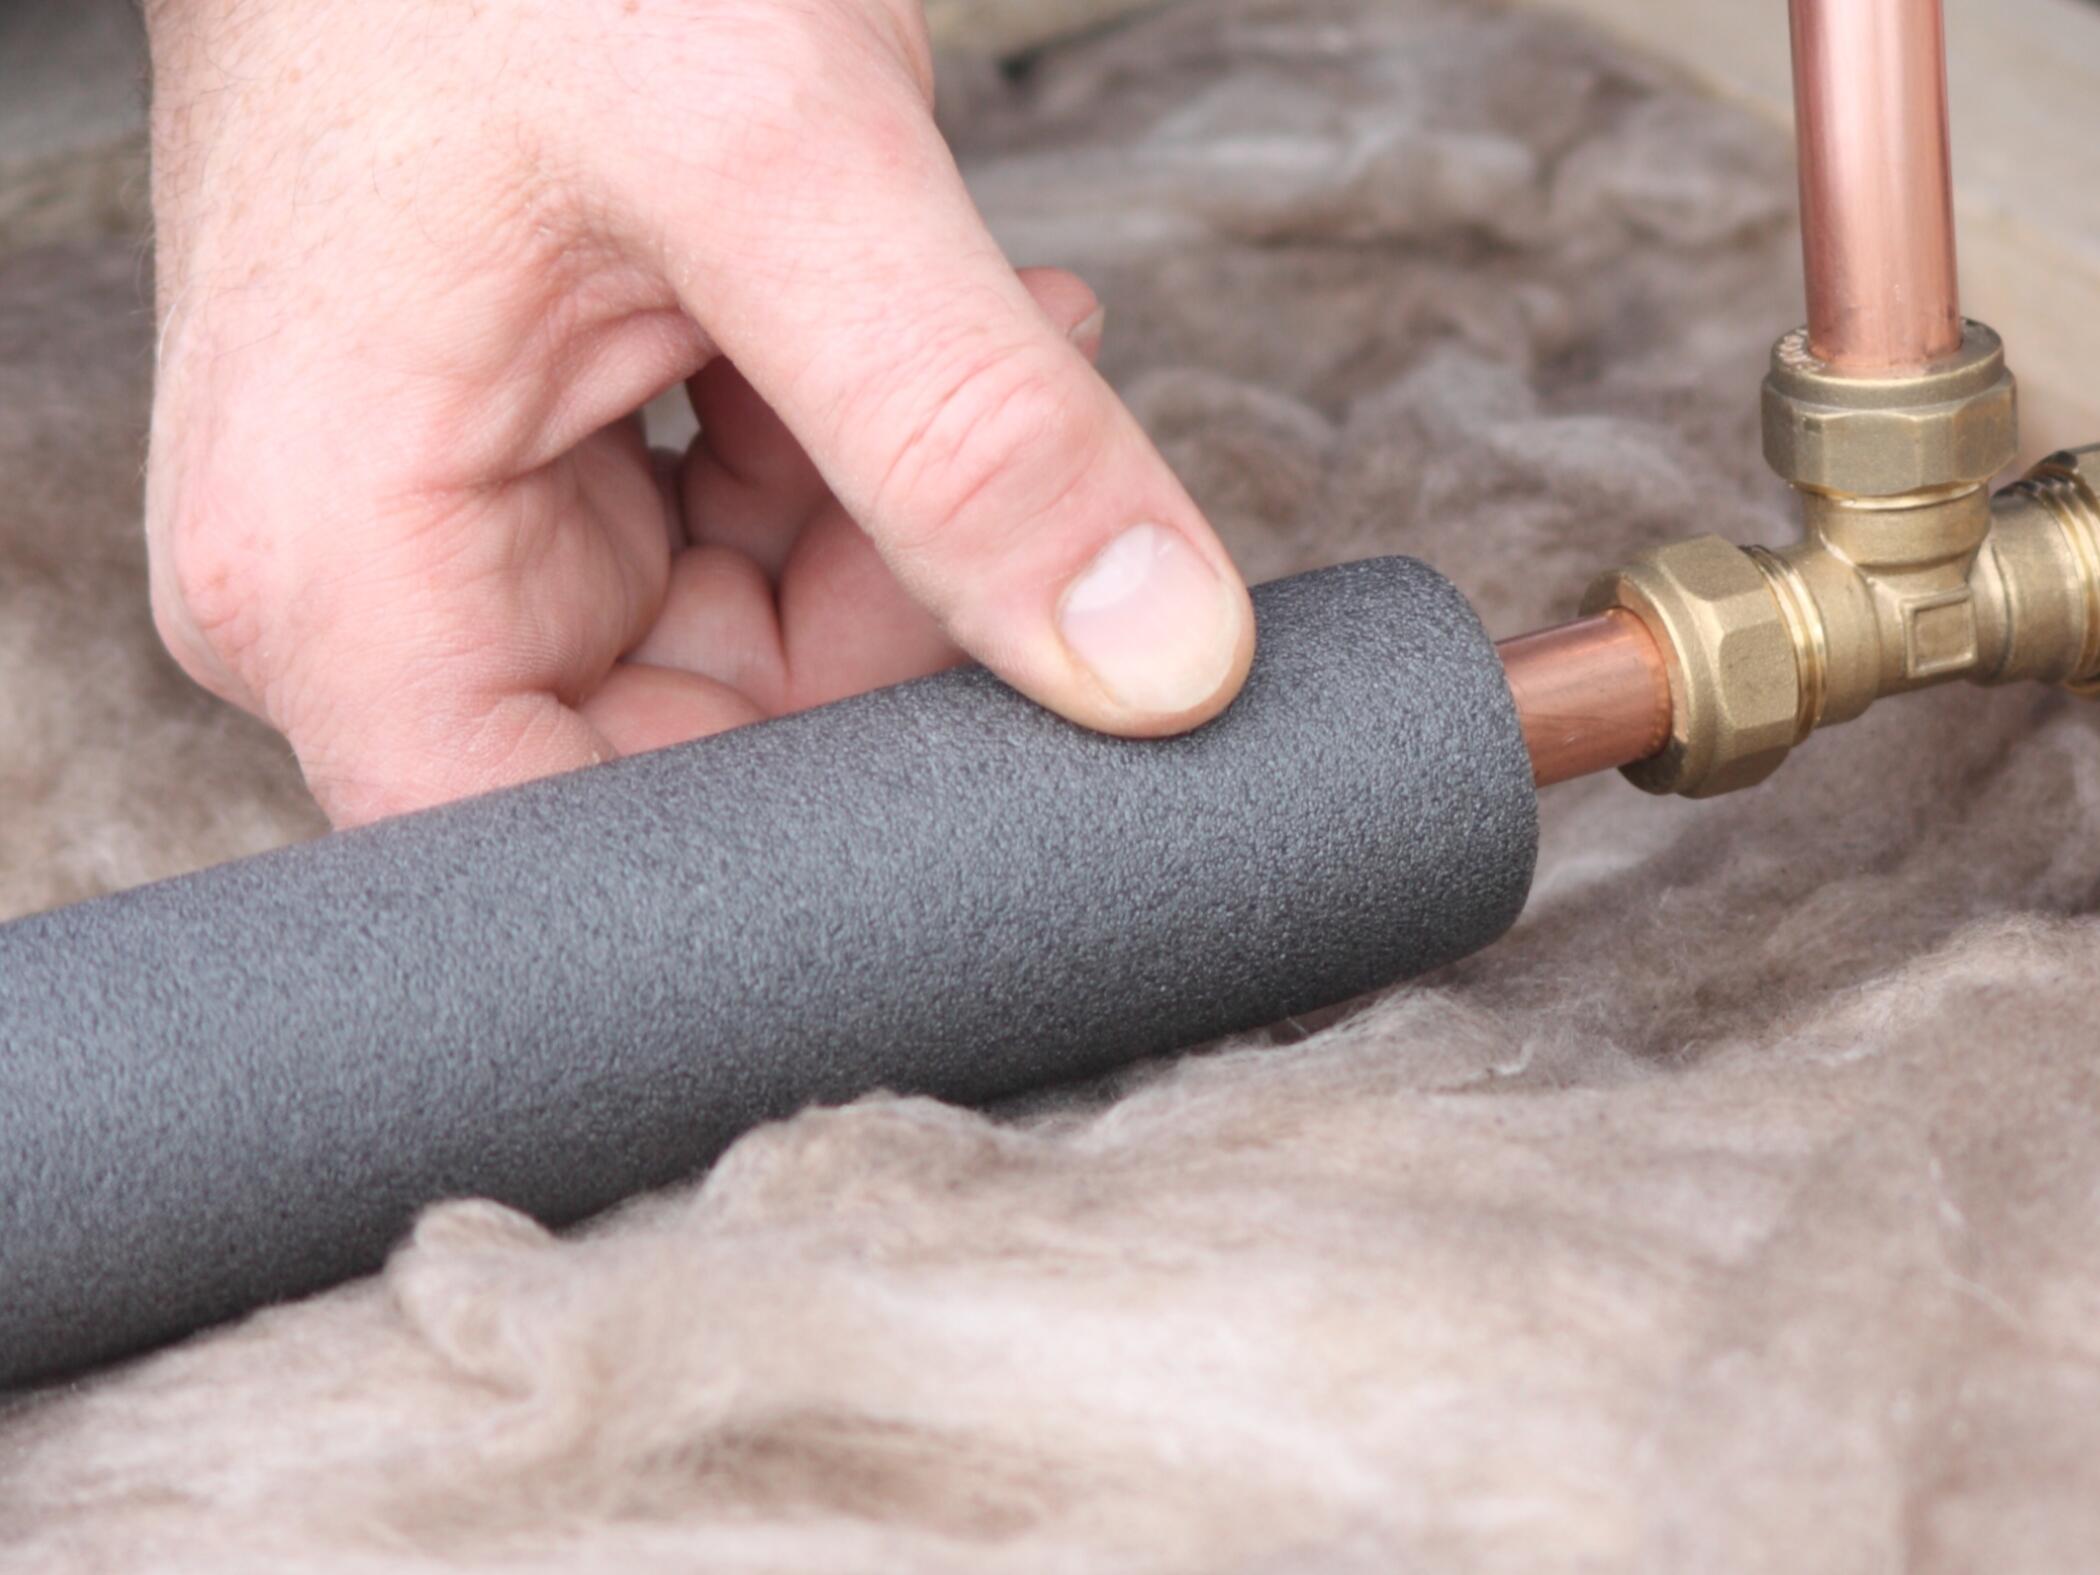
The pipes should be made of materials that are suitable for hot water, such as copper or PEX (cross-linked polyethylene). Ensure that the pipes are properly insulated to minimize heat loss as the water flows through them.
It’s essential to consider the slope and orientation of the pipes to facilitate the natural circulation of water. The hot water, which rises due to its lower density, should flow from the absorber plate to the water tank, while the colder water should return to the absorber plate for re-heating.
Take care to properly secure the pipes to the frame or other support structures to prevent any movement or damage. Use appropriate pipe clamps, brackets, or straps for this purpose.
Once all the pipes are connected and secured, carefully check for any leaks. Fix any leaks or loose connections to ensure the system’s efficiency and longevity.
By successfully connecting the pipes, you’ve completed another crucial step in building your own solar water heater.
Step 7: Insulate the Heater
Insulating your solar water heater is an essential step to minimize heat loss and maximize the efficiency of the system. Proper insulation helps to retain the heat generated by the absorber plate, allowing the water to stay hotter for longer periods.
Start by insulating the back and sides of the frame. Use insulation materials such as foam board, fiberglass, or reflective insulation blankets. Cut the insulation material to fit the dimensions of the frame and secure it in place using adhesive or tape. Make sure to cover all sides to prevent heat loss.
Next, insulate the pipes connected to the solar water heater. Wrap insulation sleeves or foam tubing around the pipes, especially the ones exposed to colder ambient temperatures. This will help maintain the heat of the water as it travels through the system.
Pay special attention to the water tank as well. Insulate the tank by wrapping it in insulation blankets or foam insulation. This will help retain the heat of the stored water, reducing the need for frequent reheating.
Seal any gaps or openings in the system with caulk or weatherstripping to prevent heat loss due to air leakage.
Proper insulation not only improves the performance of your solar water heater but also reduces energy consumption by minimizing the need for additional heating. It is an important step in ensuring the long-term effectiveness of your system.
Remember to use insulation materials that are appropriate for your specific system and consult local regulations and guidelines for insulation requirements.
Once your solar water heater is properly insulated, you can move on to the next step, bringing you closer to enjoying hot water powered by the sun.
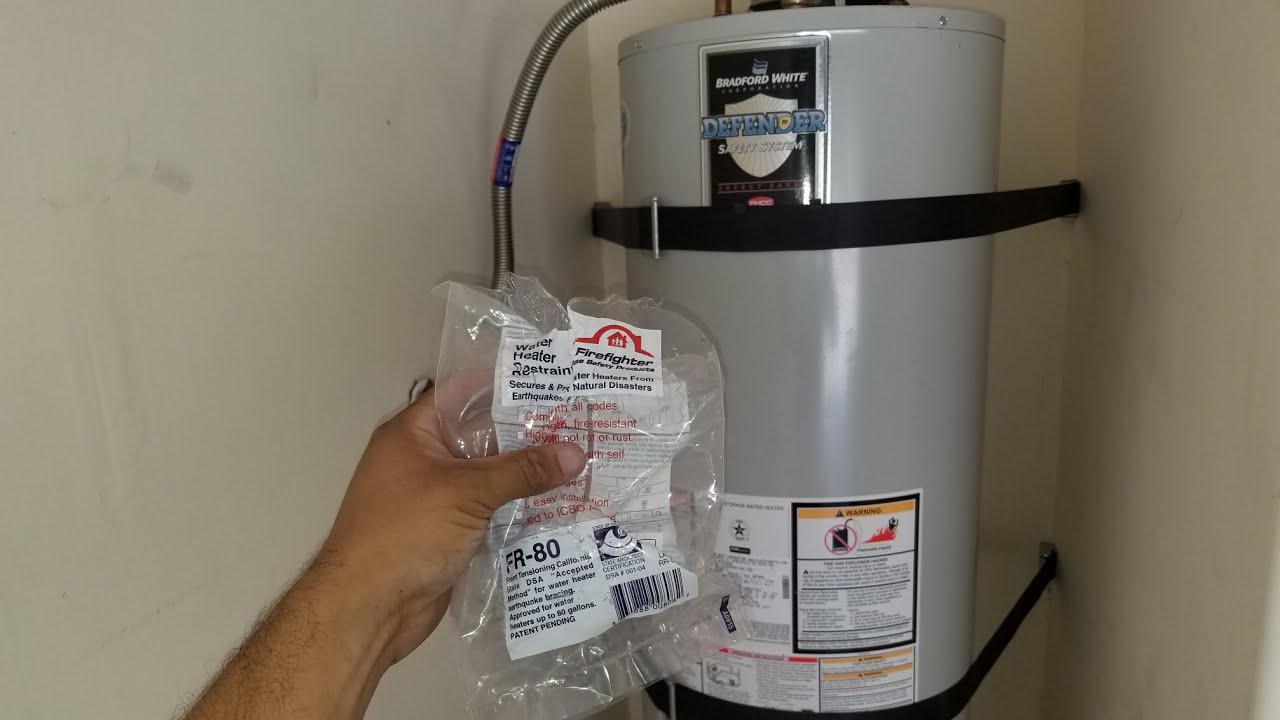
Step 8: Mount the Water Tank
Mounting the water tank is a crucial step in the construction of your solar water heater. The water tank is where the heated water will be stored for later use, and it needs to be securely and strategically positioned.
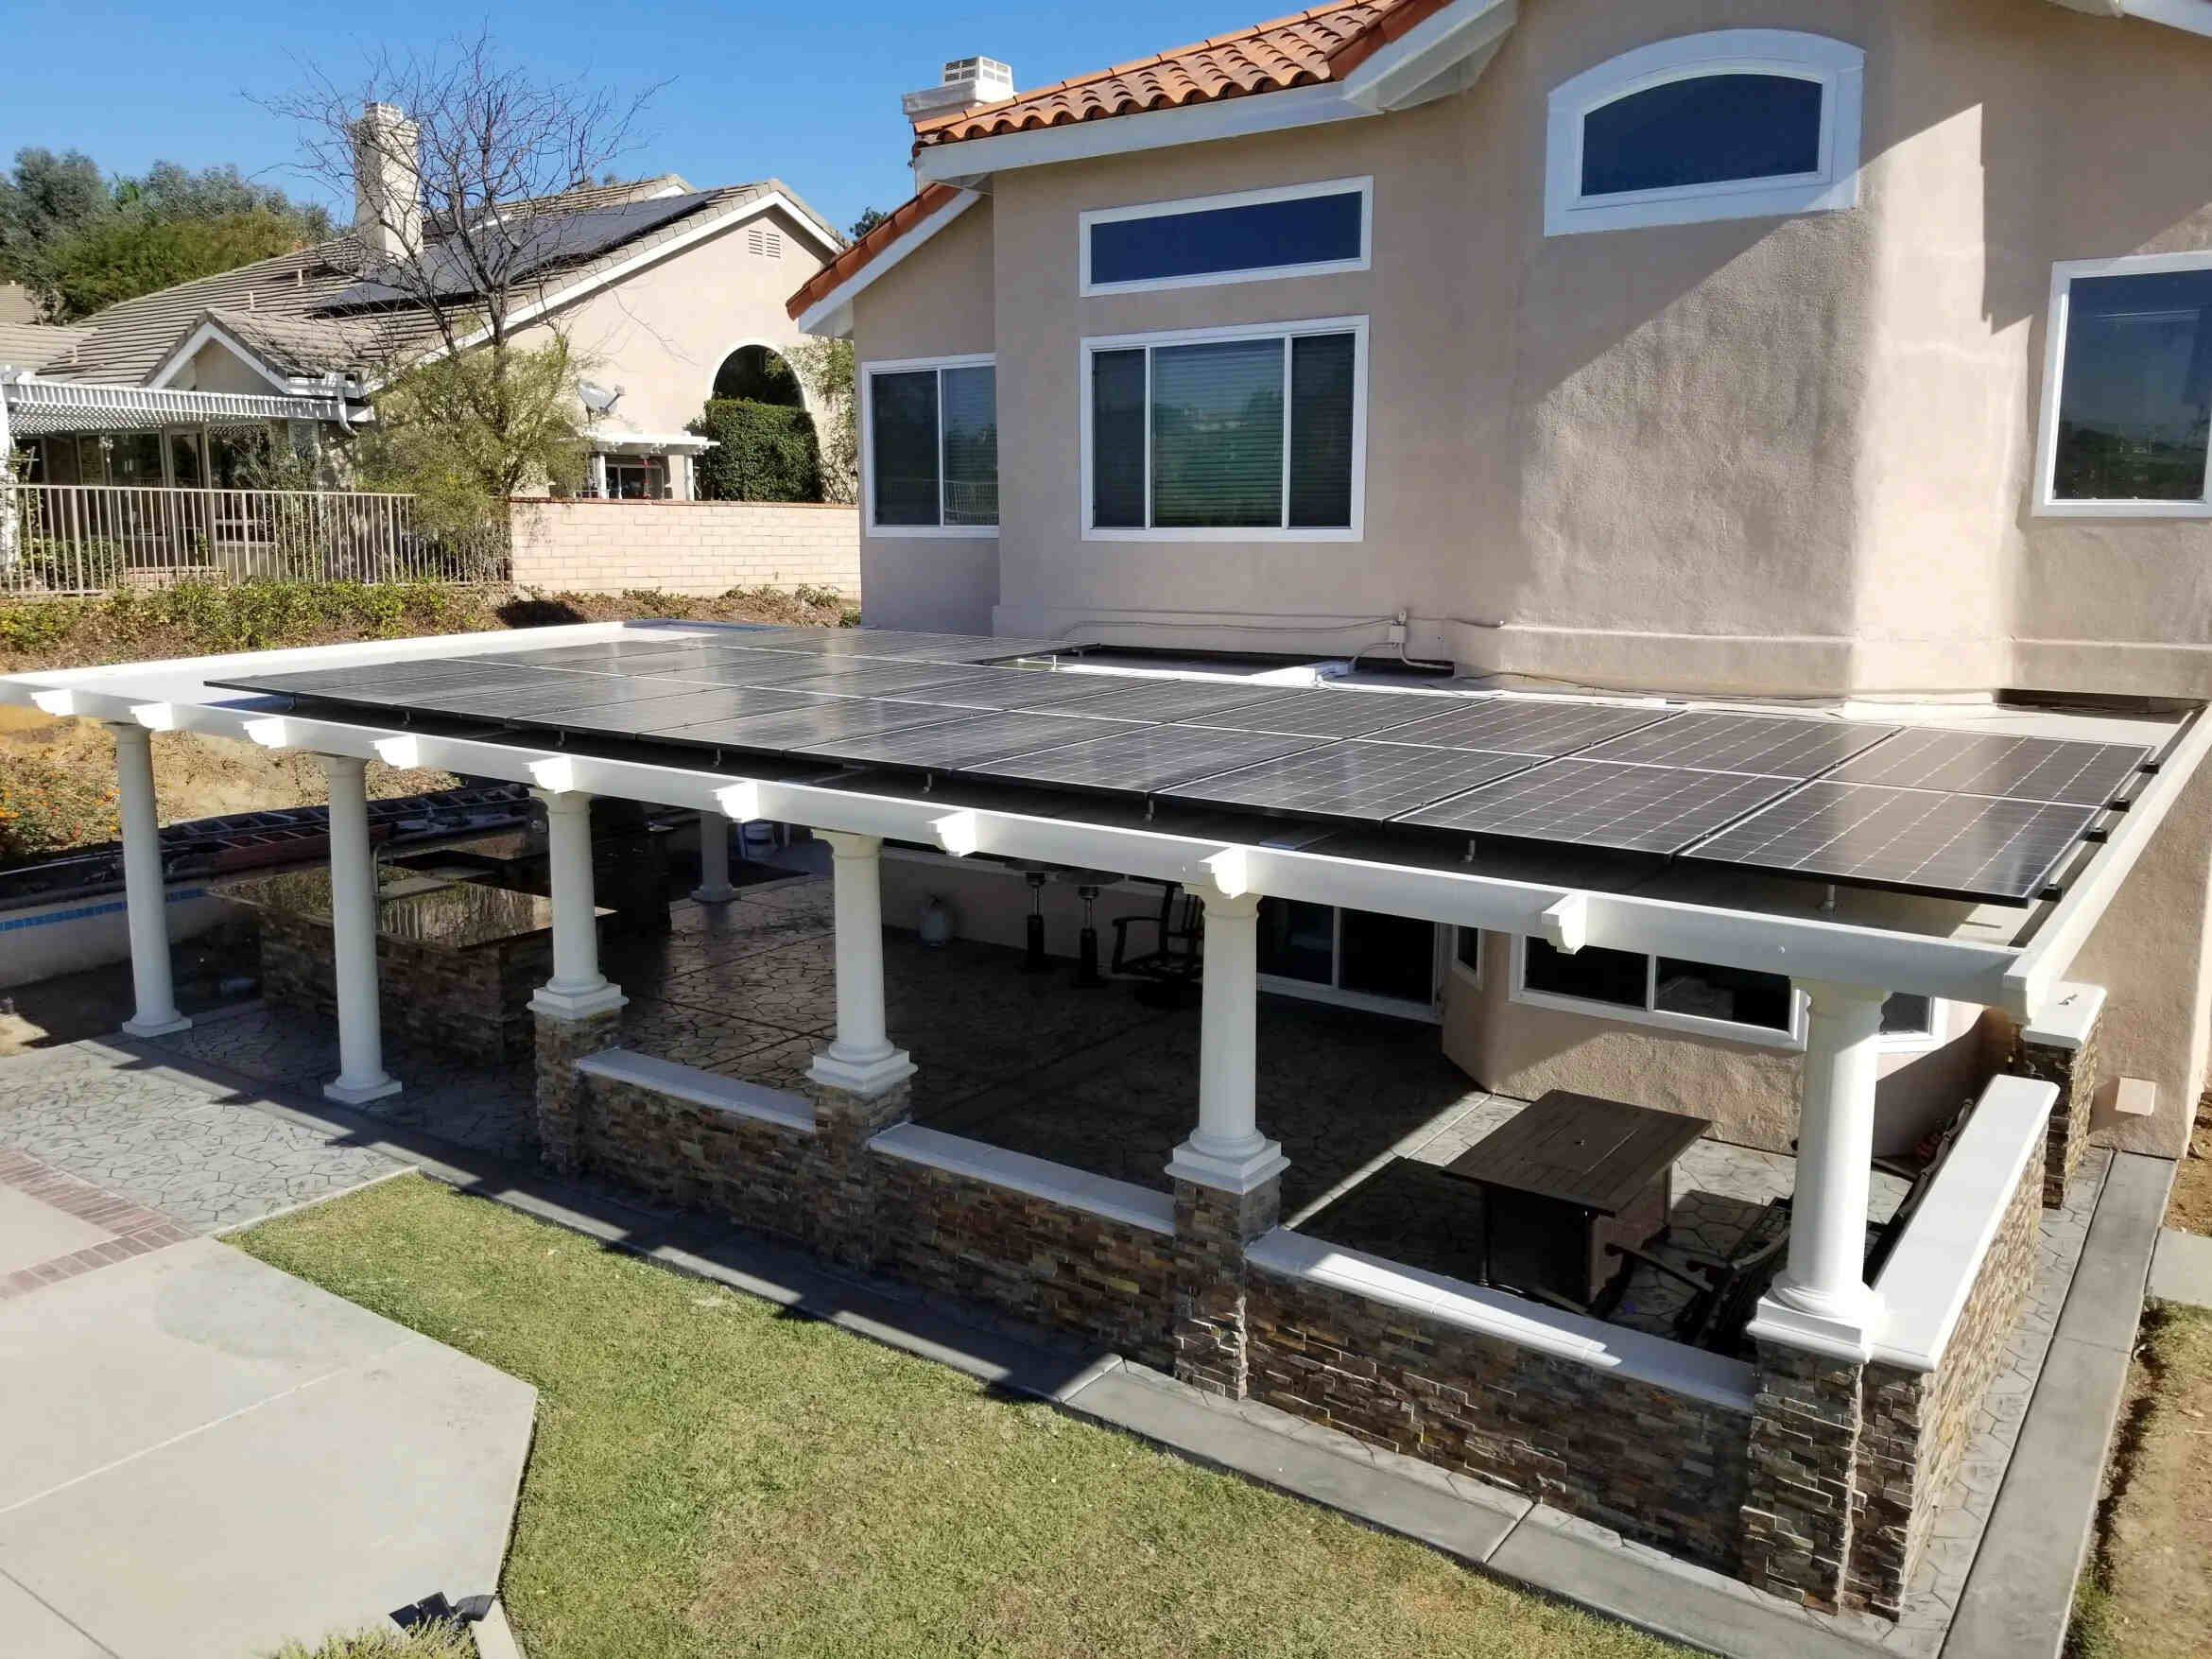
First, select an appropriate location for the water tank. It should be situated in an area with ample sunlight exposure and accessible for maintenance. Ideally, the tank should be placed above the collector and absorber plate to allow for natural circulation of water through convection.
If you are using an existing water tank, ensure that it is structurally sound and can withstand the weight of the heated water. If you are using a new tank, choose one that is specifically designed for solar water heating systems and meets your household’s hot water demand.
To mount the water tank, you can use brackets, straps, or frames. Ensure that the mounting apparatus is strong and stable, capable of supporting the weight of the tank even when it is full of water.
Securely attach the tank to the mounting apparatus, making sure it is level and properly aligned with the rest of the system. Use appropriate hardware and fasteners to ensure a secure installation.
Consider insulating the water tank with blankets or foam insulation to further reduce heat loss. This will help maintain the temperature of the stored water for longer periods.
It’s important to leave enough space around the tank for easy access to valves, fittings, and other components that may require maintenance or adjustment over time.
Once the water tank is securely mounted, your solar water heater is almost complete. It’s time to move on to the final steps of connecting the water supply and testing the system.
Read more: How To Make A Solar Space Heater
Step 9: Connect the Water Supply
Connecting the water supply is a crucial step in the construction of your solar water heater. It allows for the inflow of cold water and the outflow of hot water, creating a continuous cycle of heating and supply.
First, identify the cold water supply line that will feed into your solar water heater. This typically comes from the main water supply of your home. Depending on your plumbing setup, you may need to install a shut-off valve or a T-junction to divert some of the cold water into the solar water heater.
Connect the cold water supply line to the inlet of the water tank. Use appropriate fittings, such as couplings or adapters, to ensure a secure and leak-free connection. If necessary, use plumber’s tape or thread sealant to further enhance the seal.
Next, connect the outlet of the water tank to the hot water distribution system in your home. This can be the existing hot water supply line or a dedicated line for the solar water heater. Again, use appropriate fittings to ensure a tight connection and prevent any leaks.
Consider installing a mixing valve or tempering valve to control the temperature of the hot water flowing out of the solar water heater. This valve will help prevent scalding and ensure a safe and comfortable water temperature for use in your household.
Before turning on the water supply, visually inspect all connections to ensure they are secure and properly aligned. It’s also a good idea to check for any leaks by running water through the system at a low flow initially and gradually increasing it.
Once the water supply is connected and the system is free of leaks, you can proceed to the final step: testing and maintaining your solar water heater.
Remember to consult local plumbing codes and regulations when connecting the water supply to ensure compliance and safety.
Step 10: Test and Maintain the Solar Water Heater
After completing the construction of your solar water heater and connecting the water supply, it’s time to test the system and perform regular maintenance to ensure its optimal performance and longevity.
Start by filling the water tank with cold water. Make sure the tank is completely filled to allow for proper circulation and avoid any airlocks in the system.
Turn on the water supply and monitor the flow of water through the solar water heater. Check for any leaks, and if necessary, tighten connections or replace faulty components.
Observe the temperature of the hot water coming out of the solar water heater. It may take some time for the system to reach its maximum efficiency, so be patient and monitor the temperature over a period of a few days. Adjust the settings of the tempering valve, if installed, to achieve the desired hot water temperature.
Regularly check the condition of the glass or plastic cover to ensure it remains intact and clean. Remove any dirt, dust, or debris that may accumulate on the surface, as this can reduce the amount of sunlight reaching the collector and impact the overall efficiency of the system.
Inspect the absorber plate for any signs of damage or corrosion. If using a painted sheet metal or copper/aluminum plate, monitor and touch up the paint or coating as needed to maintain its effectiveness. Clean any buildup or residue that may accumulate on the plate, as this can hinder heat transfer.
Periodically check the insulation of the system, including the frame, pipes, and water tank. Replace any worn-out or damaged insulation materials to preserve heat retention and prevent energy loss.
Test the functionality of the pressure relief valve, which ensures that the system doesn’t exceed safe pressure levels. Activate the valve and ensure that hot water is properly discharged from the system.
Regularly check and clean the pipes and fittings to prevent blockages or obstructions that can hinder water flow and system efficiency.
Lastly, keep a record of any maintenance or repairs performed on the solar water heater. This will help you track its performance and address any issues that may arise in the future.
By testing and maintaining your solar water heater regularly, you can ensure its continued efficiency and longevity, allowing you to enjoy the benefits of cost-effective and environmentally friendly hot water for years to come.
Conclusion
Congratulations! You have successfully learned how to build your own solar water heater. By harnessing the power of the sun, you can now enjoy hot water while reducing your carbon footprint and saving money on energy bills. Building a solar water heater is not only environmentally friendly but also a rewarding DIY project that can be accomplished with basic skills and materials.
Throughout this guide, you’ve learned the step-by-step process of constructing a solar water heater. From gathering materials and building the frame to installing the absorber plate, connecting the pipes, and insulating the system, each step is crucial in ensuring the optimal functioning of your solar water heater.
Remember to test the system after installation and perform regular maintenance to keep it running smoothly. Monitor the temperature and performance of the water heater, clean the glass or plastic cover, and inspect the absorber plate and insulation. By following these maintenance practices, you can ensure the efficiency and longevity of your solar water heater.
Not only does a solar water heater provide you with immediate benefits of hot water, but it also contributes to a sustainable future. By reducing your reliance on traditional energy sources, you are making a positive impact on the environment and supporting the global shift towards renewable energy.
Take pride in your solar water heater and share your knowledge and experience with others. Encourage your friends, family, and neighbors to consider adopting solar water heating systems as well. Together, we can create a greener and more sustainable future for generations to come.
Thank you for joining us on this journey to build a solar water heater. Embrace the power of the sun and enjoy the comfort of hot water, powered by renewable energy!
Frequently Asked Questions about How To Build A Solar Water Heater
Was this page helpful?
At Storables.com, we guarantee accurate and reliable information. Our content, validated by Expert Board Contributors, is crafted following stringent Editorial Policies. We're committed to providing you with well-researched, expert-backed insights for all your informational needs.


0 thoughts on “How To Build A Solar Water Heater”