Articles
How To Build Floor To Ceiling Cabinets
Modified: October 28, 2024
Learn how to build floor to ceiling cabinets with our informative articles. Improve your storage space and create a stylish look for your home.
(Many of the links in this article redirect to a specific reviewed product. Your purchase of these products through affiliate links helps to generate commission for Storables.com, at no extra cost. Learn more)
Introduction
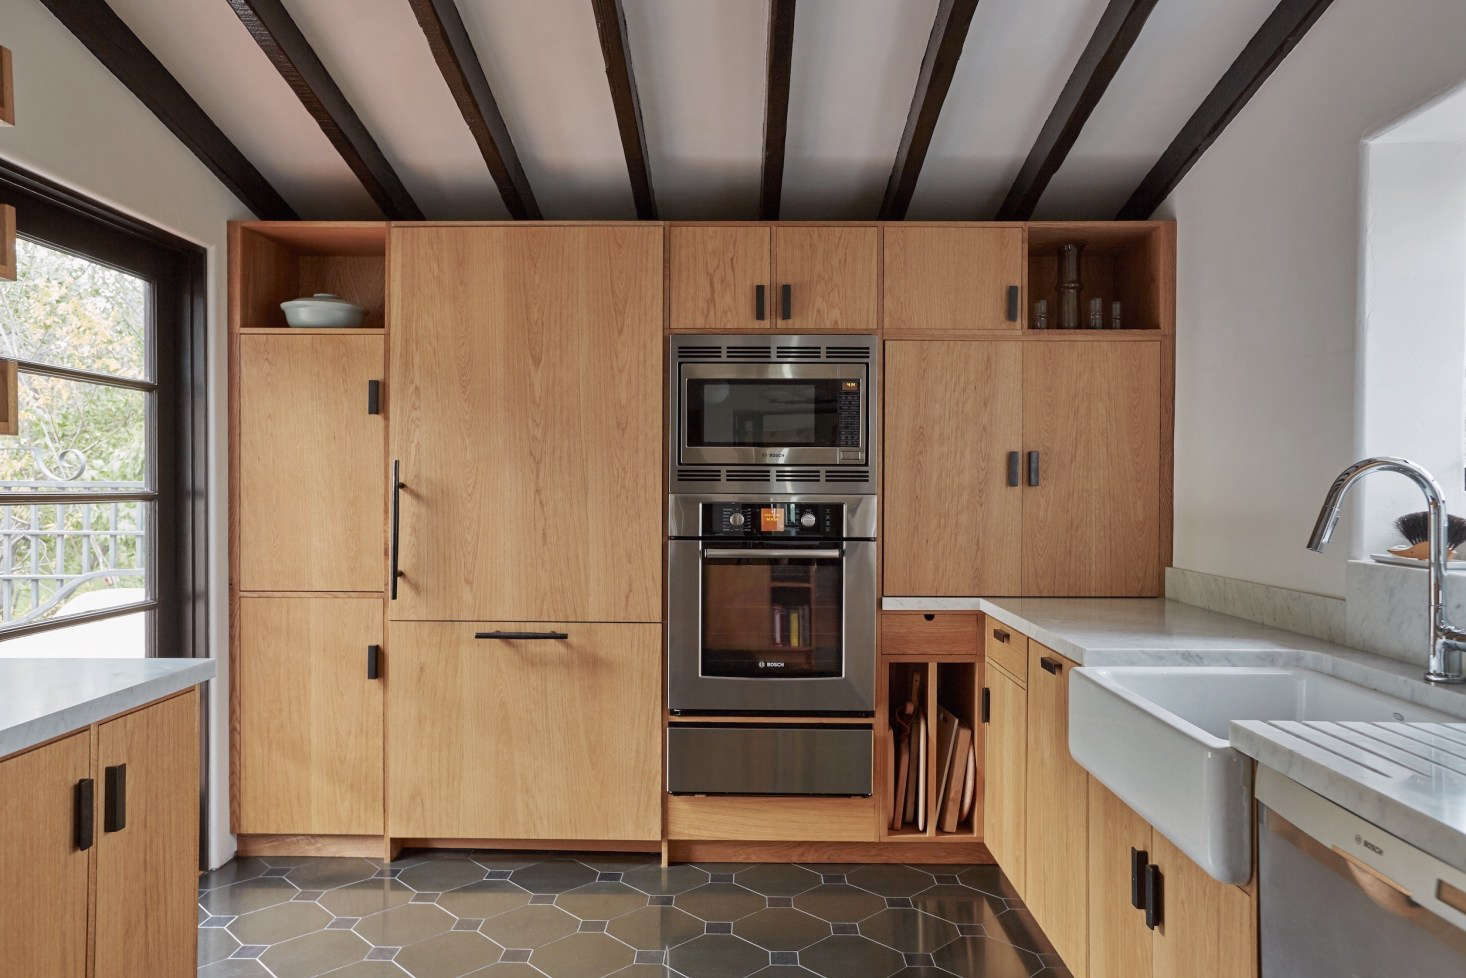
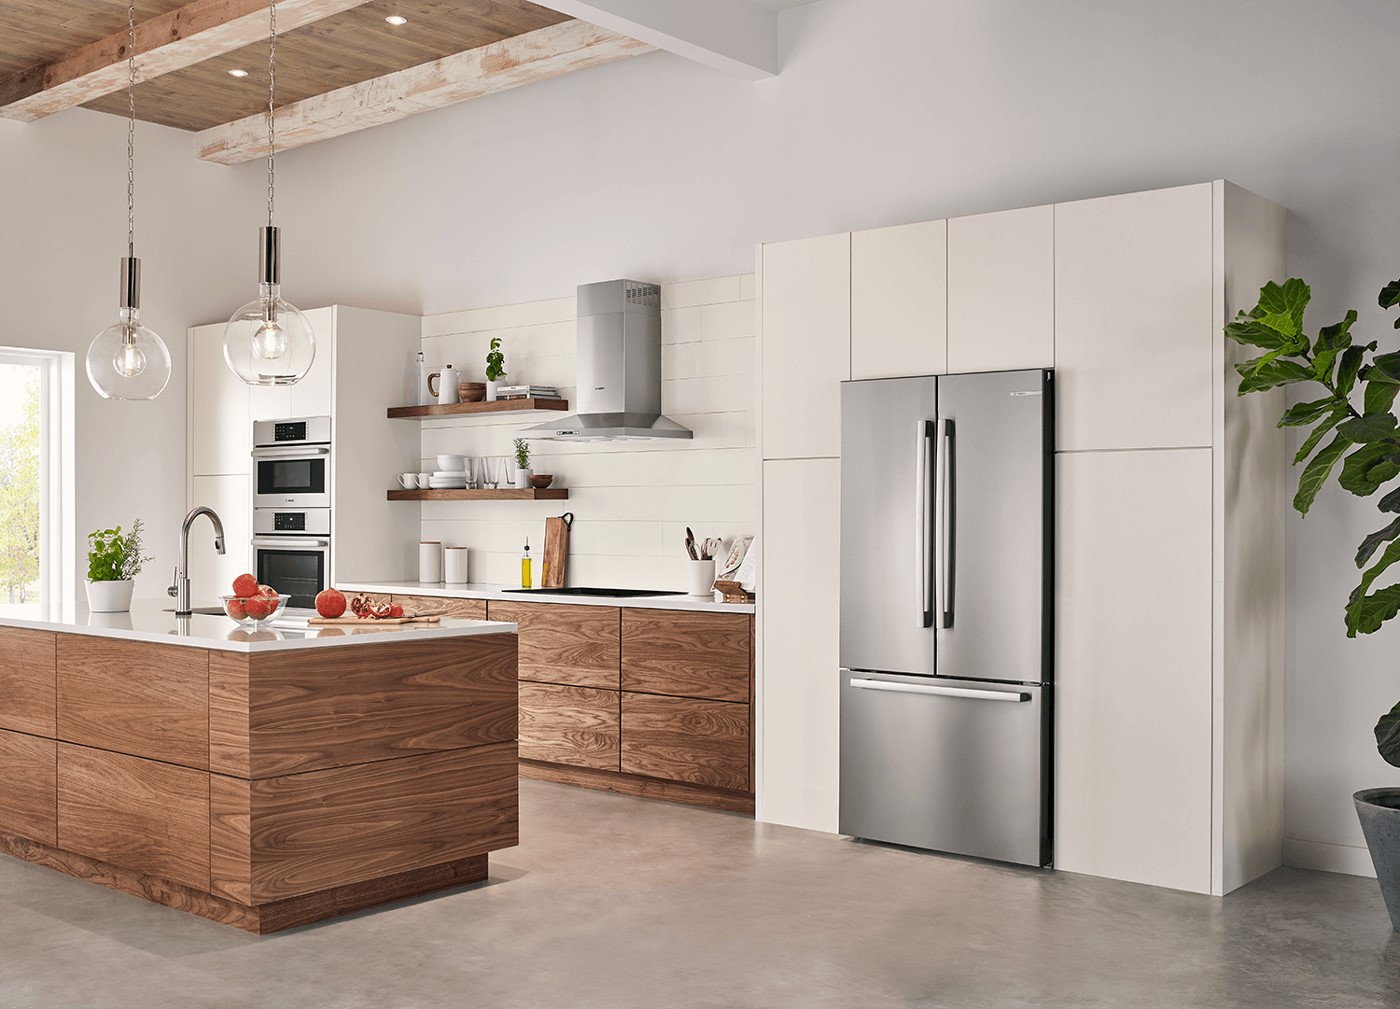
Welcome to the ultimate guide on how to build floor to ceiling cabinets. Having floor to ceiling cabinets in your home can maximize storage space and add a touch of elegance to any room. Whether you want to create a stylish and organized kitchen, a functional home office, or a chic living room display, building floor to ceiling cabinets is a rewarding project that can transform your space.
In this article, we will walk you through the step-by-step process of planning, measuring, gathering materials, and building your own floor to ceiling cabinets. We will also cover important considerations such as space preparation, installation techniques, adding shelves or drawers, and finishing touches.
Building floor to ceiling cabinets may seem like a complex task, but with careful planning and the right tools, it can be a fulfilling and achievable project for DIY enthusiasts. So roll up your sleeves, get your creativity flowing, and let’s dive into the world of custom cabinetry!
Key Takeaways:
- Maximize storage space and add elegance to any room by following our comprehensive guide on building floor to ceiling cabinets. Plan, measure, gather materials, and enjoy the rewarding DIY project experience.
- Create custom cabinets that reflect your unique style and preferences. From precise measurements to finishing touches, our guide empowers you to build functional and visually appealing floor to ceiling cabinets for your home.
Read more: How To Build Floor To Ceiling Bookshelves
Step 1: Planning and Measuring
Before diving into the construction process, it is crucial to spend some time on careful planning and precise measurements. This step will ensure that your floor to ceiling cabinets fit seamlessly into your space and cater to your specific storage needs.
Start by assessing the area where you plan to install the cabinets. Consider the dimensions of the room, the placement of doors and windows, and any existing furniture or fixtures that may affect the cabinet layout. Take accurate measurements of the height, width, and depth of the space.
Next, think about the functionality and aesthetic of your cabinets. Determine the purpose of the cabinets and how you want to organize your belongings. Do you need shelves for books or display items? Or do you require drawers for office supplies or kitchen utensils? Sketch out a rough design or use software tools to visualize your ideas.
Once you have a clear plan in mind, create a materials list. This will include the type of wood or material for the cabinet frames, doors, and shelves, as well as any hardware such as hinges, handles, and drawer slides. Take into account the weight capacity of the shelves or drawers to ensure they can support the items you plan to store.
Remember to consider the overall style and design of your room. Choose materials and finishes that complement the existing decor and align with your personal taste. Whether you want a modern, minimalist look or a rustic, farmhouse charm, select the appropriate colors, stains, and finishes.
Lastly, set a budget for your project. Take into account the cost of materials, tools, and any professional help you may need. Research prices and compare different suppliers to find the best deals without compromising on quality.
By taking the time to plan and measure accurately, you set a strong foundation for the rest of your cabinet construction journey. With a clear vision and a well-prepared materials list, you’ll be ready to move on to the next step: gathering materials and tools.
Step 2: Gathering Materials and Tools
Now that you have a solid plan in place, it’s time to gather all the necessary materials and tools for your floor to ceiling cabinet project. Having the right supplies on hand will streamline the construction process and ensure a professional-looking result.
Start by sourcing high-quality materials for your cabinet frames, doors, and shelves. Depending on your budget and design preferences, options include solid wood, plywood, or melamine. Consider durability, aesthetic appeal, and ease of maintenance when making your choices.
Next, take inventory of the hardware and accessories you’ll need. This includes hinges, handles or knobs, screws, nails, and drawer slides. Opt for durable and functional hardware that matches the style of your cabinets. Don’t forget to purchase appropriate screws and mounting hardware for installation.
In addition to the primary components, you’ll need a variety of tools to successfully build your floor to ceiling cabinets. Make sure you have the following essential tools:
- Circular saw or table saw for cutting wood and panels
- Drill with a selection of drill bits
- Router for creating decorative edges or joinery
- Screwdriver set for assembling the cabinets
- Measuring tape for accurate measurements
- Level for ensuring cabinets are installed straight
- Sanding tools for smoothing surfaces
- Clamps for securing pieces during assembly
- Safety equipment such as goggles, gloves, and a dust mask
These tools will provide you with the necessary capabilities to measure, cut, assemble, and install your cabinets effectively. If you don’t already own these tools, consider borrowing or renting them to keep costs down.
Lastly, ensure you have a well-ventilated, properly lit workspace where you can safely and comfortably work on your cabinets. Set up a dedicated area with a sturdy workbench or sawhorses, and organize your materials and tools for easy access.
With a comprehensive materials list and the right tools at your disposal, you’re ready to move on to the next step: preparing the space for cabinet installation.
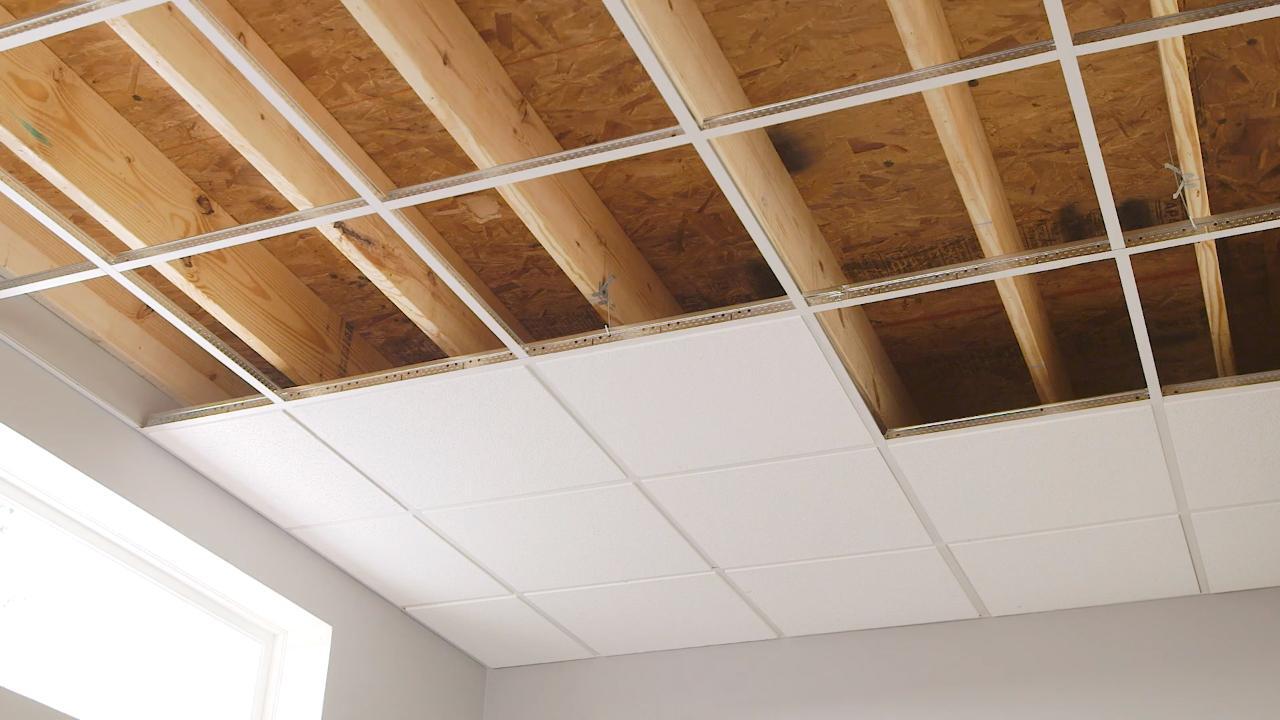
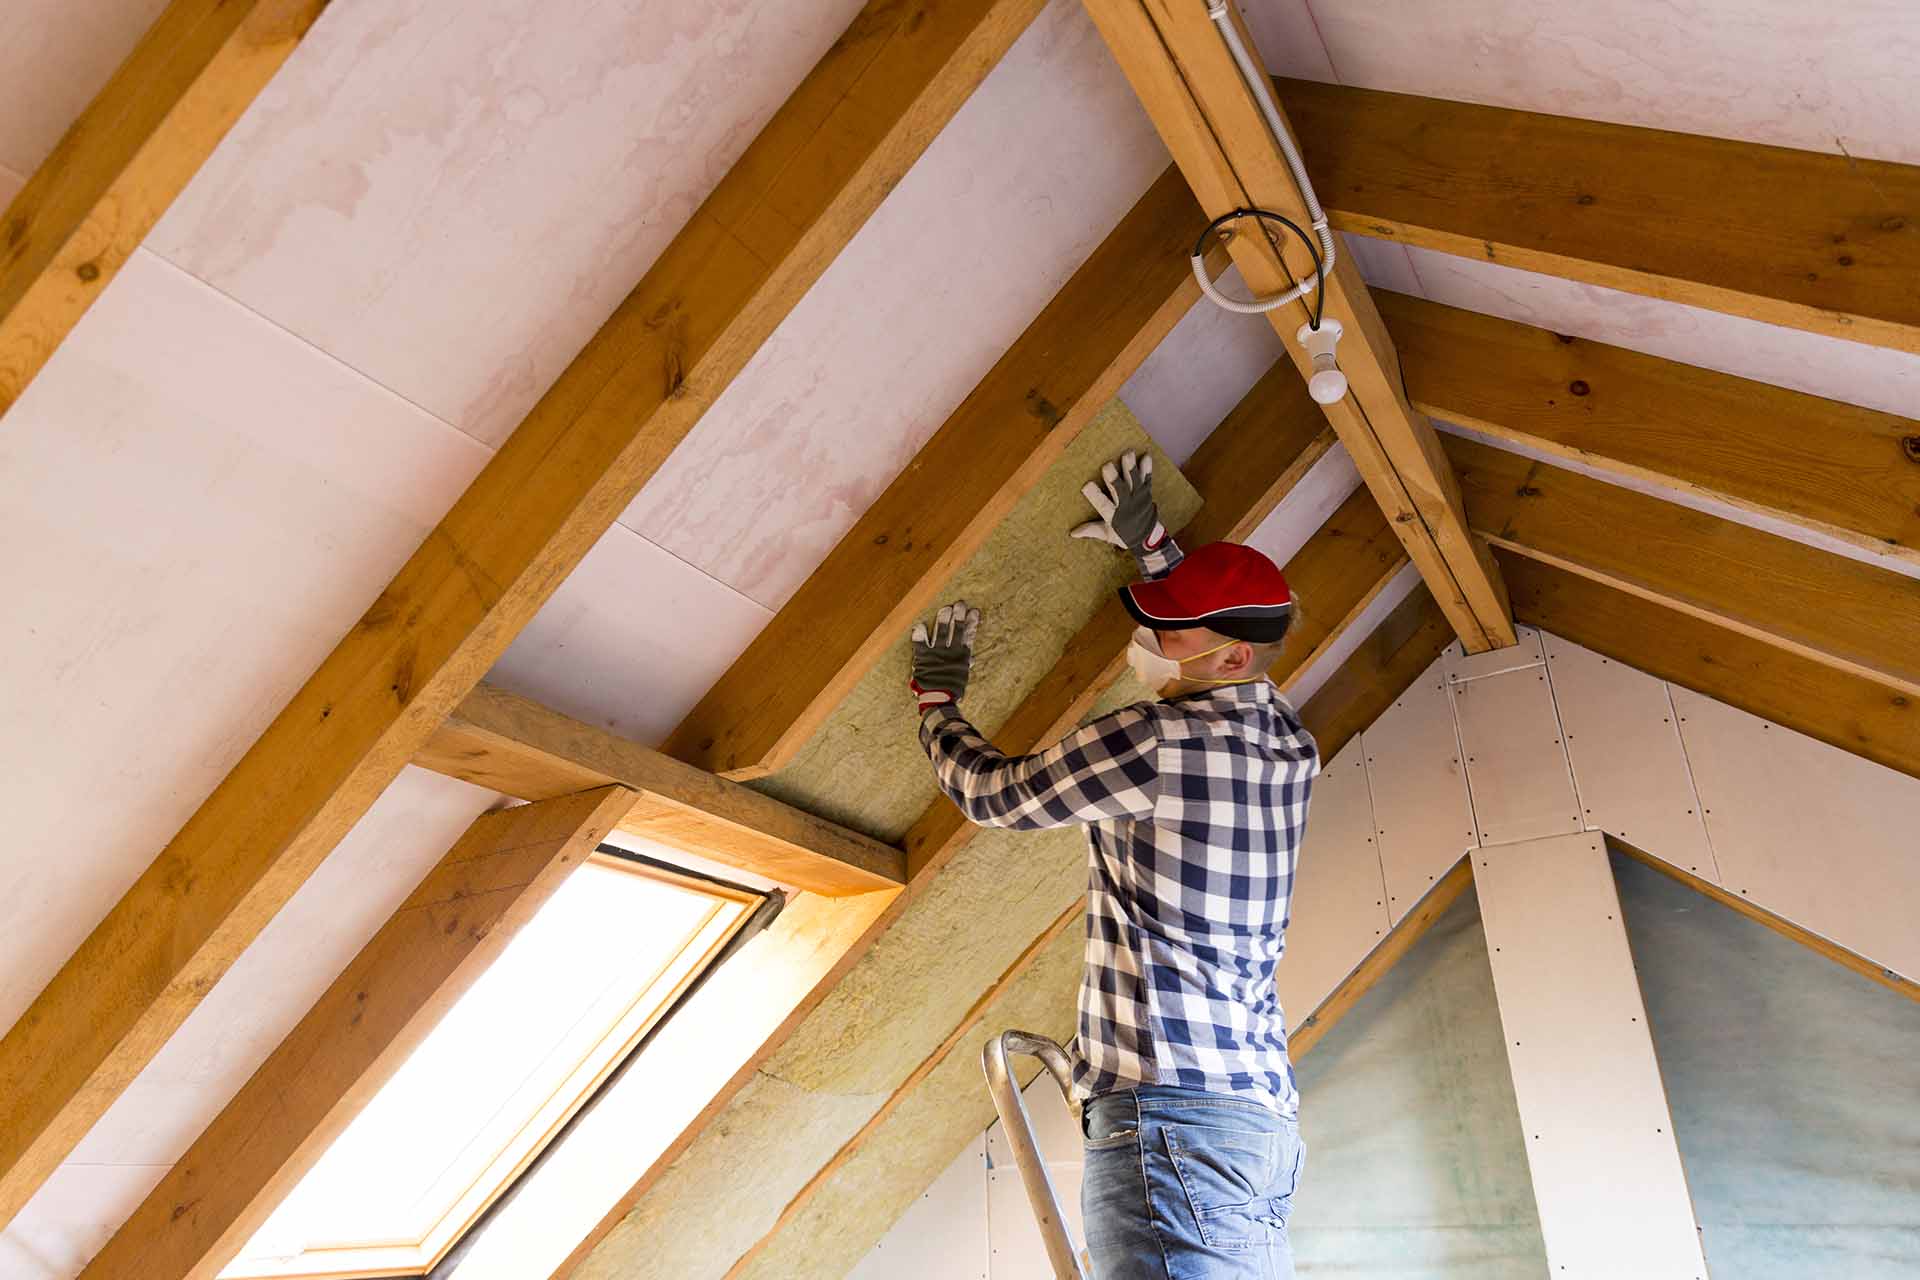
Step 3: Preparing the Space
Before you start building and installing your floor to ceiling cabinets, it’s important to properly prepare the space where they will be placed. This step ensures a smooth and successful installation process, resulting in cabinets that fit seamlessly into your room.
First, clear out the area where the cabinets will be installed. Remove any existing furniture, belongings, or decorations that may obstruct the installation process. This will provide you with a clean canvas to work with.
Next, inspect the walls and floors. Check for any damages, such as cracks or uneven surfaces, and make any necessary repairs. It’s important for the walls to be flat and smooth, as this will ensure a secure and stable installation. Sand down any rough areas and patch up any holes or imperfections.
If you plan on painting or wallpapering the walls, now is the time to do so. It’s much easier to paint or decorate before the cabinets are installed. Choose a color or pattern that complements your cabinets and enhances the overall aesthetic of the room.
Additionally, consider the electrical and plumbing aspects of your space. If your cabinets will be installed in a kitchen or bathroom, make sure to address any electrical outlets, switches, or pipes that may be affected. Consult with a professional if needed to ensure that all safety and building codes are adhered to.
Once the walls and floors are prepared, it’s time to measure and mark the exact placement of your cabinets. Use a pencil and a level to create guidelines on the walls that indicate the height and width of the cabinets. Double-check your measurements to ensure accuracy.
Finally, protect the floors and surrounding areas. Lay down drop cloths or cardboard to prevent any damage or stains during the construction process. This will also make it easier to clean up later on.
By properly preparing the space, you create an ideal environment for the installation of your floor to ceiling cabinets. With a clean, smooth, and marked area, you’re now ready to move on to the exciting step of building the cabinet frames.
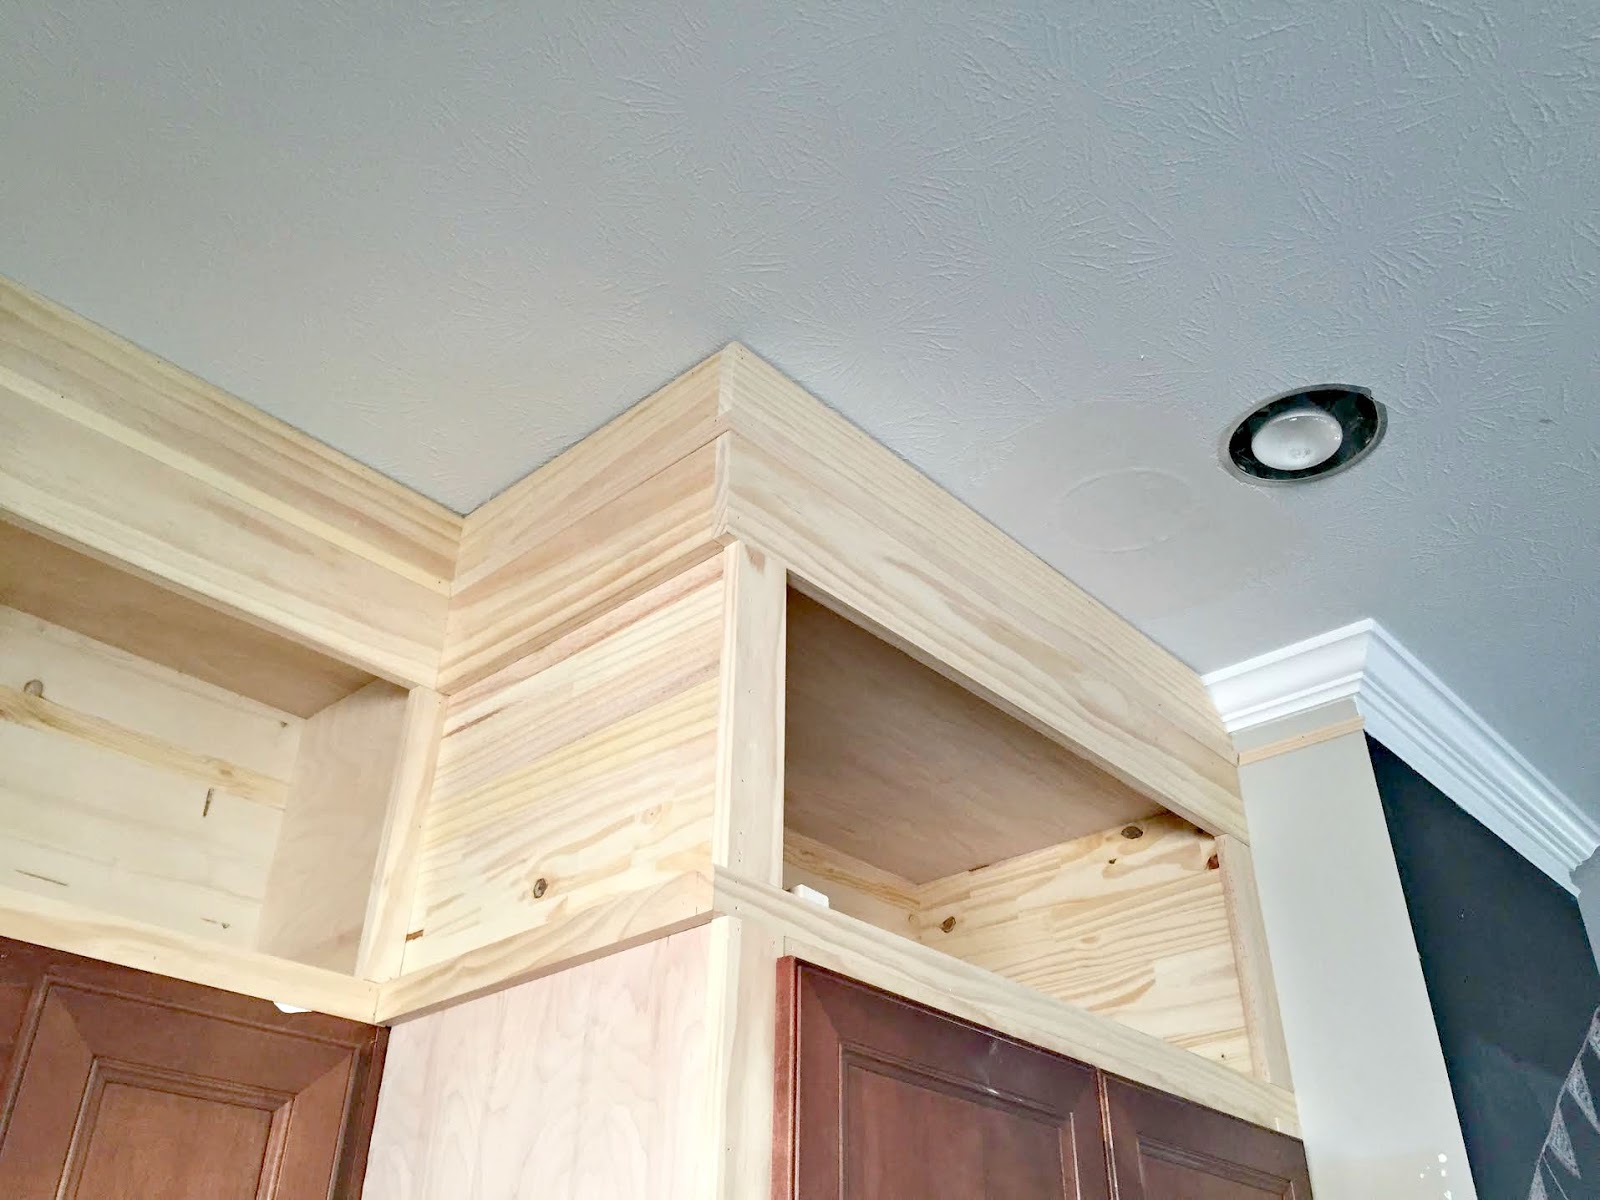
Step 4: Building the Cabinet Frames
Building the cabinet frames is a critical step in the process of constructing your floor to ceiling cabinets. The frames provide the structure and support for your cabinets, ensuring their stability and durability. Follow these steps to build the frames:
1. Start by cutting the pieces for the cabinet sides, top, and bottom. Use a circular saw or table saw to cut the pieces to the appropriate dimensions, based on your measurements from the planning stage.
2. Once the pieces are cut, it’s time to assemble the frame. Apply wood glue to the edges of the side pieces, then align them with the top and bottom pieces. Use clamps to hold the pieces together tightly and allow the glue to dry according to the manufacturer’s instructions.
3. Once the glue is dry, reinforce the joints by adding screws. Pre-drill pilot holes to prevent splitting, then attach the pieces with screws. Repeat this process for each corner of the frame.
4. Next, add additional support by installing braces or cleats along the inside of the frame. These pieces will strengthen the structure and prevent sagging over time. Secure the braces with screws or nails.
5. If your floor to ceiling cabinets will have multiple sections or compartments, you’ll need to add dividers. Cut pieces of wood to the desired height and width of the compartments, then attach them inside the frame with screws or nails.
6. Once the frame is complete, it’s time to add the back panel. Cut a piece of plywood or MDF to the size of the frame and attach it with screws or nails. This will provide added stability and give your cabinets a finished look.
7. After completing the frames, it’s a good idea to sand the surfaces to ensure they are smooth and ready for painting or finishing. Use sandpaper or a sander to remove any rough edges or imperfections.
Remember to follow proper safety precautions when using power tools and handling sharp materials. Wear protective gear such as goggles, gloves, and a dust mask to ensure your safety.
By following these steps, you’ll be well on your way to creating sturdy and reliable cabinet frames for your floor to ceiling cabinets. Once the frames are built, you can move on to the exciting process of installing the cabinets in your space.
When building floor to ceiling cabinets, make sure to measure the height and width of the space accurately to ensure a perfect fit. Also, consider using adjustable shelves to maximize storage flexibility.
Read more: How To Build A Cabinet
Step 5: Installing the Cabinets
Now that you have built the cabinet frames, it’s time to move on to the next step: installing your floor to ceiling cabinets. Proper installation is crucial to ensure that your cabinets are secure, level, and aligned correctly. Follow these steps to install the cabinets:
1. Start by carefully measuring and marking the placement of the cabinets on the walls. Use a level and a pencil to create guidelines that indicate the height and width of each cabinet. Double-check your measurements to ensure accuracy.
2. Once you have marked the placement, it’s time to attach a ledger board to support the cabinets during installation. Cut a piece of scrap wood to the length of the cabinet run, then secure it to the wall using screws. Make sure the ledger board is level.
3. With the ledger board in place, it’s time to hang the cabinets. Start with the uppermost cabinet and position it against the wall, aligning it with the marked guidelines. Use a level to ensure it is straight, then secure it to the wall with screws through the back panel and into the studs.
4. Continue installing the remaining cabinets in the same manner, working your way down the wall and ensuring each cabinet is level and properly aligned. Use clamps to hold the cabinets together while securing them to the wall.
5. As you install each cabinet, check for any gaps between cabinets or the wall. Use shims to adjust and fill in any gaps, ensuring a tight and seamless fit. This will provide a professional and finished look to your cabinets.
6. Once all the cabinets are installed, double-check their alignment and make any necessary adjustments. Check for levelness along the cabinets and ensure that the doors and drawers open and close smoothly.
7. Finally, attach the cabinet doors using hinges and secure any hardware such as handles or knobs. Adjust the doors as needed to ensure they hang straight and close properly. Install any shelving or drawers according to your design plan.
Properly securing and aligning your cabinets is essential for their longevity and functionality. Take your time during the installation process to ensure each cabinet is level, aligned, and securely attached to the wall. This will result in floor to ceiling cabinets that not only provide ample storage space but also enhance the overall look and layout of your room.
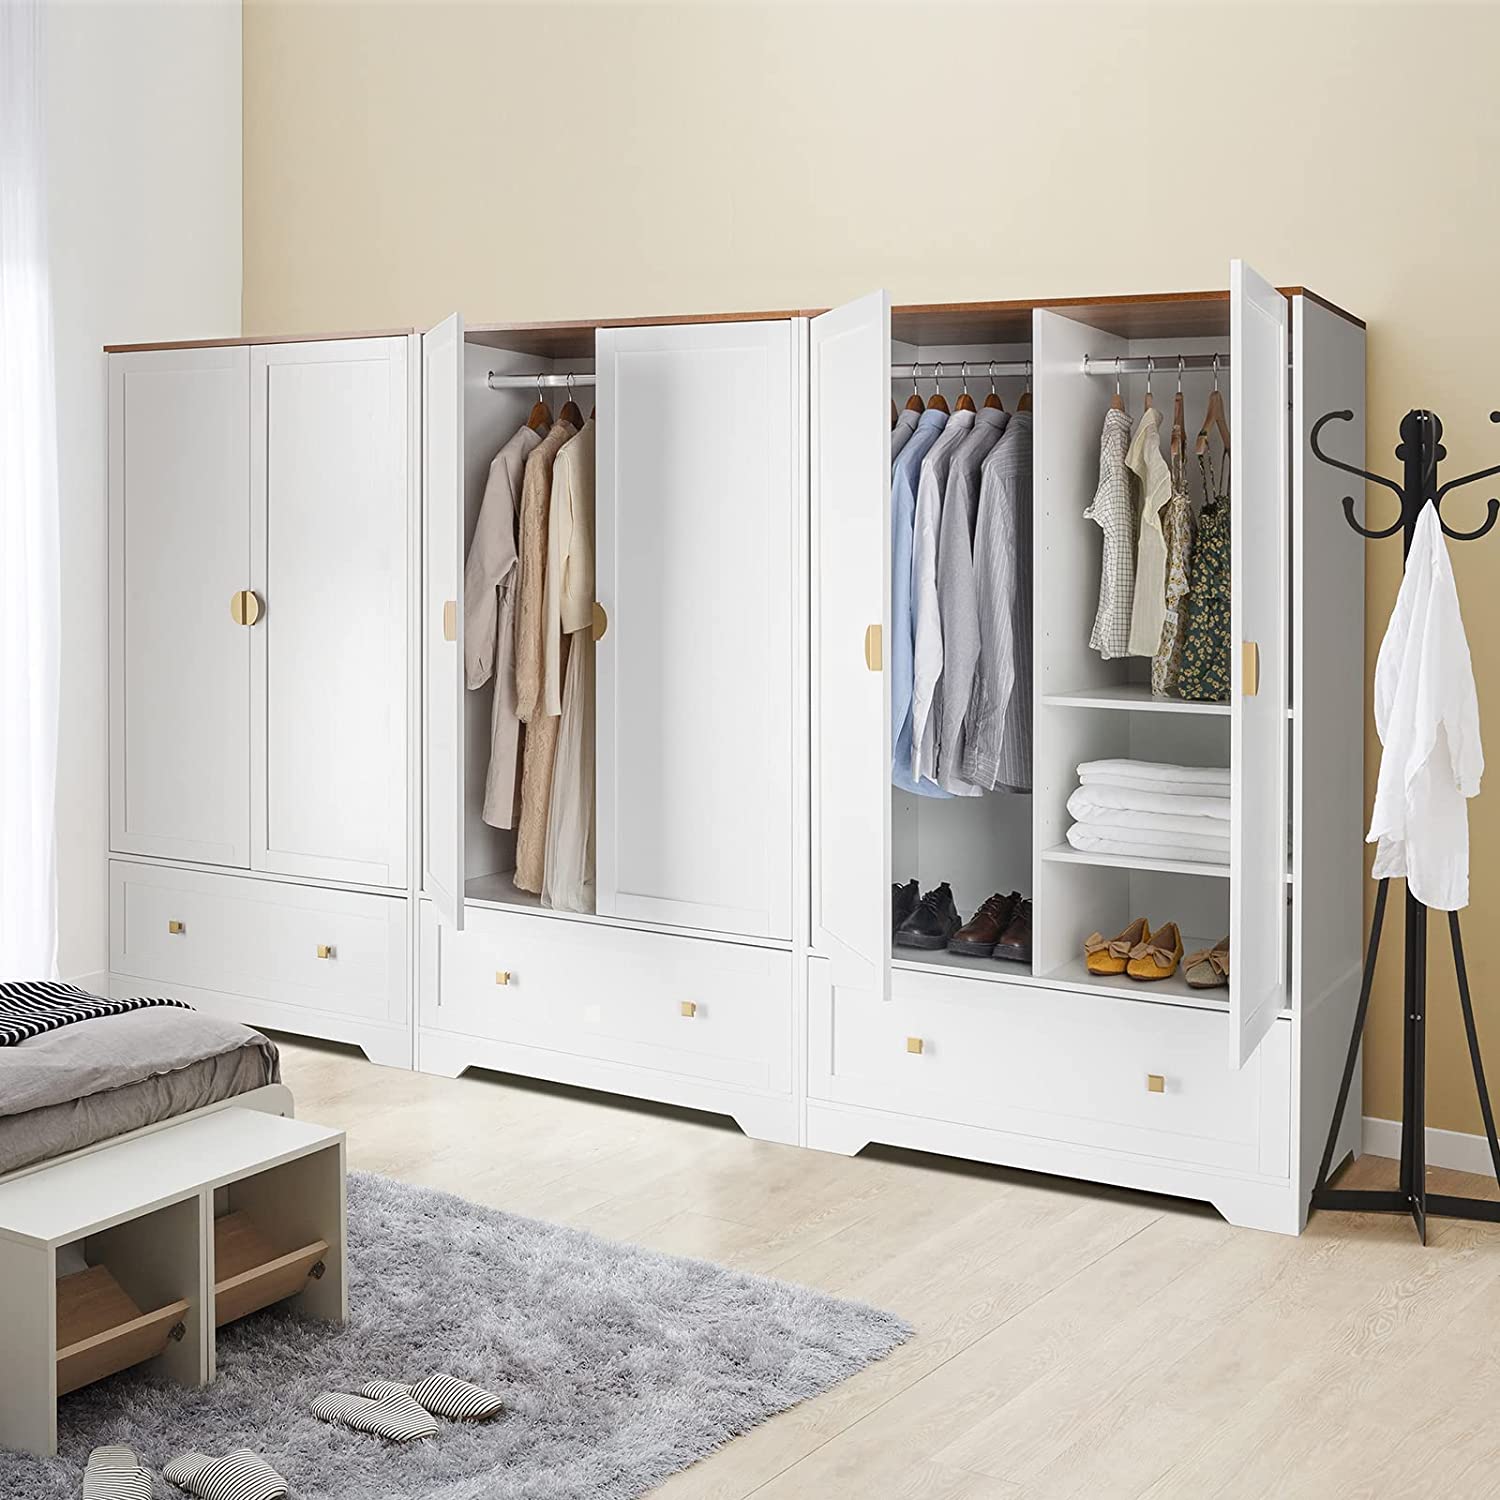
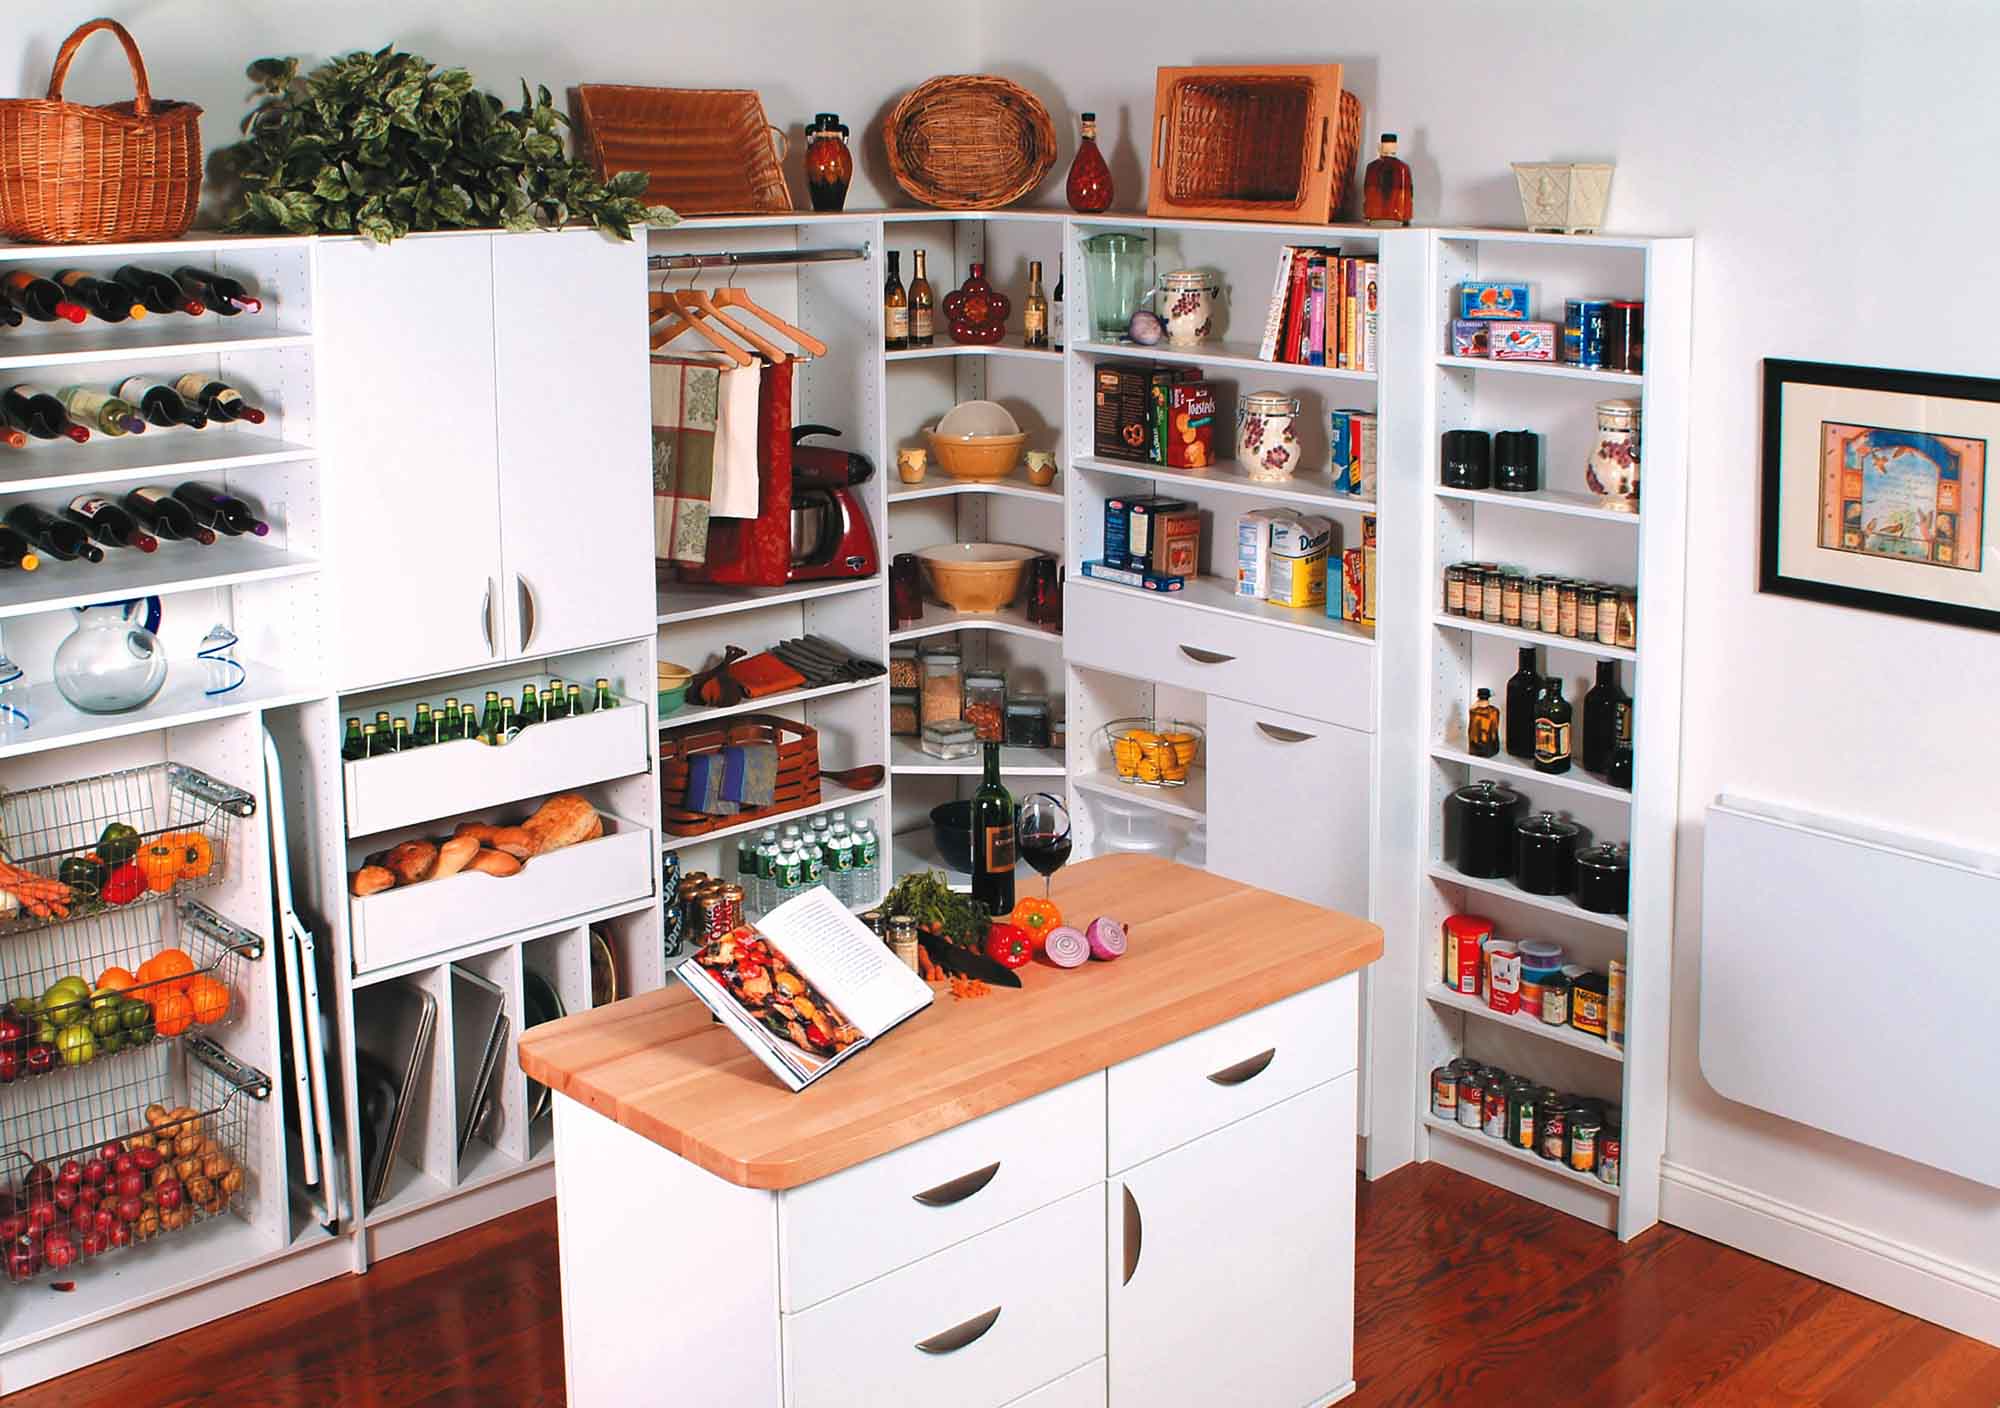
Step 6: Adding Shelves or Drawers
Once your floor to ceiling cabinets are installed, it’s time to customize the interior storage space by adding shelves or drawers. This step allows you to optimize the functionality of your cabinets and organize your belongings efficiently. Follow these steps to add shelves or drawers to your cabinets:
1. Measure the height and width of the interior cabinet space to determine the dimensions for your shelves or drawers. Consider the items you plan to store and the height clearance needed for easy access.
2. Cut pieces of plywood or melamine to the desired size of the shelves or drawer fronts. Use a circular saw or table saw to make clean and precise cuts.
3. For shelves, install shelf supports or brackets inside the cabinet. These supports can be mounted on the side walls or on shelf pins inserted into pre-drilled holes. Adjust the height of the supports as needed, and then place the shelves on top.
4. If you plan to add drawers, measure and cut pieces of plywood for the drawer sides, front, and back. Attach the pieces together using wood glue and screws, ensuring they are square and aligned.
5. Install drawer slides inside the cabinet using the manufacturer’s instructions. Mount the slides on the sides of the cabinet and on the sides of the drawer box, allowing the drawers to smoothly slide in and out.
6. Attach the drawer fronts to the drawer boxes using screws or drawer pulls. Make sure the fronts are aligned properly and sit flush with the cabinet doors.
7. Test the shelves or drawers to ensure they slide smoothly and can support the weight of your items. Make any necessary adjustments to the supports or slides for optimal functionality.
8. Consider adding additional organizational components such as dividers or inserts to further customize your cabinet storage. These can be used to separate items or create specific storage compartments for different belongings.
By adding shelves or drawers, you can maximize the storage capabilities of your floor to ceiling cabinets. This will allow you to organize your items efficiently and make the most of the available space.
Remember to take your time during this step, ensuring precise measurements and secure attachments. With well-designed and functional interior storage, your cabinets will become the perfect solution for your storage needs.
Step 7: Finishing Touches
As you near the completion of your floor to ceiling cabinet project, it’s time to add the finishing touches that will enhance the appearance and functionality of your cabinets. These final details will give your cabinets a polished and professional look. Follow these steps to add the finishing touches:
1. Sand the surfaces of your cabinets to create a smooth and even texture. Start with a coarse grit sandpaper and gradually move to finer grits for a flawless finish. Pay extra attention to the edges and corners to remove any roughness.
2. Wipe off any dust or debris from the sanding process using a damp cloth. This will ensure a clean surface for painting or staining.
3. If you prefer a natural wood look, apply a wood stain of your choice to enhance the grain and color of the wood. Use a brush or rag to apply an even coat, following the manufacturer’s instructions. Allow the stain to dry completely before proceeding.
4. For a more modern or colorful finish, apply a coat of paint to the cabinets. Use a brush or a paint sprayer for a smooth and even application. Allow the paint to dry between coats, and apply additional coats as necessary for full coverage.
5. Once the stain or paint has fully dried, apply a clear protective finish such as varnish or polyurethane. This will protect the cabinets from moisture, scratches, and UV damage. Follow the manufacturer’s instructions for application and drying times.
6. Install any additional hardware such as handles, knobs, or pulls. Choose hardware that complements the style and design of your cabinets. Consider the functionality and durability of the hardware, ensuring it can withstand daily use.
7. Clean and dust the interior and exterior of the cabinets to ensure they are ready for use. Remove any debris or leftover construction materials and wipe down the surfaces with a damp cloth.
8. Finally, step back and admire your beautifully finished floor to ceiling cabinets. Take the time to organize the shelves or drawers, arranging your belongings in a neat and functional manner. Enjoy the additional storage space and the stylish focal point they bring to your room.
Adding these finishing touches is the final step to complete your floor to ceiling cabinet project. By paying attention to detail and ensuring a high-quality finish, you’ll create cabinets that not only provide practicality but also elevate the overall aesthetic of your space.
Conclusion
Congratulations! You’ve reached the end of this comprehensive guide on how to build floor to ceiling cabinets. By following the step-by-step instructions provided, you have learned how to plan and measure, gather materials and tools, prepare the space, build the cabinet frames, install the cabinets, add shelves or drawers, and apply the finishing touches.
Building floor to ceiling cabinets is a rewarding project that can transform your space and maximize your storage capabilities. With careful planning, precise measurements, and attention to detail, you can create custom cabinets that fit seamlessly into your room and fulfill your organizational needs.
Throughout this guide, we have emphasized the importance of creativity and customization in creating cabinets that reflect your unique style and preferences. Whether you opt for a modern, minimalist design or a rustic, farmhouse look, the choice of materials, finishes, and hardware will play a significant role in the final outcome.
Remember to prioritize safety during the construction process by wearing protective gear and using tools responsibly. Whether you are a seasoned DIY enthusiast or a beginner, take your time and seek assistance if needed to ensure a successful and enjoyable project experience.
With your completed floor to ceiling cabinets, you now have a functional and visually appealing storage solution that will add value to your home. Enjoy the organized space, the seamless design, and the convenience these cabinets bring to your daily life.
We hope this guide has been helpful and has inspired you to embark on your own floor to ceiling cabinet project. Happy building!
Now that you've mastered building floor-to-ceiling cabinets, why not expand your skills further? Dive into our latest piece on woodworking, where you'll discover creative techniques and tools for 2024. Ready for even more hands-on excitement? Check out our insights on DIY projects, revealing why these activities are more than just hobbies—they're gateways to personal fulfillment and skill development. Both articles offer plenty of ideas to keep you busy and inspired in your crafting journey!
Frequently Asked Questions about How To Build Floor To Ceiling Cabinets
Was this page helpful?
At Storables.com, we guarantee accurate and reliable information. Our content, validated by Expert Board Contributors, is crafted following stringent Editorial Policies. We're committed to providing you with well-researched, expert-backed insights for all your informational needs.


0 thoughts on “How To Build Floor To Ceiling Cabinets”