Articles
How To Repair A Ceiling
Modified: December 7, 2023
Learn helpful articles and tips on how to repair a ceiling. Expert advice and step-by-step instructions to fix ceiling damages.
(Many of the links in this article redirect to a specific reviewed product. Your purchase of these products through affiliate links helps to generate commission for Storables.com, at no extra cost. Learn more)
Introduction
When it comes to home repairs, one area that often gets overlooked is the ceiling. Whether it’s a small crack, a hole from a misguided swing of a hammer, or water damage from a leaking roof, a damaged ceiling can be an eyesore and jeopardize the overall integrity of your home.
Fortunately, repairing a ceiling doesn’t have to be a daunting task. With the right tools, materials, and a little know-how, you can restore your ceiling to its former glory and give your home a fresh and polished look.
In this article, we will guide you through the step-by-step process of repairing a ceiling. From assessing the damage to applying the finishing touches, you’ll learn everything you need to know to tackle this project with confidence.
So, let’s roll up our sleeves and get to work on repairing your ceiling!
Key Takeaways:
- Repairing a ceiling is a manageable task with the right tools and know-how. From assessing the damage to applying joint compound and painting, following the step-by-step process can restore your ceiling to its former glory.
- Proper preparation, including gathering tools, priming, and painting, is essential for a successful ceiling repair. Attention to detail, patience, and safety measures are crucial throughout the process.
Read more: How To Paint Vaulted Ceiling
Step 1: Assess the Damage
The first step in repairing a ceiling is to assess the extent of the damage. Take a close look at the affected area and identify any cracks, holes, or other signs of damage. This will help you determine the best course of action and ensure that you have the right materials for the job.
If you notice small cracks or minor cosmetic damage, you may be able to fix it with a simple patching compound. However, if there are larger holes or structural issues, it may require more extensive repairs.
It’s also important to consider the cause of the damage. If the damage is the result of a leak or water damage, you’ll need to address the underlying issue before proceeding with the repairs. This may involve fixing a roof leak, repairing plumbing, or addressing any other sources of water that may have caused the damage.
Once you have assessed the damage and identified any underlying issues, you’ll be ready to move on to the next step: gathering the necessary tools and materials.
Step 2: Gather the Necessary Tools and Materials
Before you start repairing a ceiling, it’s essential to gather all the necessary tools and materials. This will save you time and frustration by ensuring that you have everything you need within reach.
Here’s a list of the tools and materials you’ll typically need for a ceiling repair project:
- Patching compound: This is used to fill in small cracks and holes in the ceiling.
- Joint compound: Also known as mud, this is used to smooth out larger holes and create a seamless surface.
- Sanding block or sandpaper: This is essential for smoothing the surface after applying the joint compound.
- Putty knife: A putty knife is used to apply and spread the patching or joint compound.
- Paint scraper: This tool is helpful for removing any loose or peeling paint from the damaged area.
- Masking tape: You’ll need this to protect surrounding areas from accidental damage or paint splatters.
- Paint and primer: Once the repair is complete, you’ll need paint and primer to match the existing ceiling and give it a finished look.
- Drop cloth or plastic sheeting: Use these to protect the floor or furniture from any debris or splatters during the repair process.
It’s also worth noting that safety should be a priority during any home repair project. Ensure you have safety goggles, gloves, and a ladder or step stool if needed.
By having all the tools and materials ready, you’ll be able to work efficiently and avoid any delays. With everything in place, it’s time to prepare the area for the repairs in the next step.
Step 3: Prepare the Area
Before you begin repairing the ceiling, it’s crucial to prepare the surrounding area to minimize mess and ensure a smooth working process. Taking a few extra minutes to prepare will save you time and prevent damage to adjacent surfaces.
Here are the steps to prepare the area for the ceiling repair:
- Cover the floor and any furniture: Use a drop cloth or plastic sheeting to protect the floor and any furniture in the room. This will prevent dust, debris, or paint splatters from causing damage.
- Clear the area: Remove any items or décor that may obstruct your access to the ceiling and could potentially be damaged during the repair process.
- Secure loose or hanging ceiling material: If there are any loose or hanging ceiling materials, secure them or remove them before starting the repairs. This will create a stable surface to work on and prevent further damage.
- Apply masking tape: Use masking tape to outline the area that needs to be repaired. This will ensure clean edges and protect the surrounding ceiling from accidental damage.
- Open windows or provide adequate ventilation: Depending on the type of repair materials used, there may be fumes or odors. It’s important to keep the area well-ventilated by opening windows or using fans.
By taking these preparation steps, you’ll create a safe and organized workspace, making the repair process more efficient and effective. Now that the area is prepped, let’s move on to the actual repair process, starting with fixing small holes or cracks.
Step 4: Fix Small Holes or Cracks
Small holes or cracks in the ceiling can often be fixed with a simple patching compound. This step is relatively straightforward and doesn’t require extensive expertise. Follow these instructions to repair small holes or cracks:
- Start by using a paint scraper or putty knife to remove any loose or peeling paint around the damaged area. This will ensure a clean surface for the patching compound to adhere to.
- Prepare the patching compound according to the manufacturer’s instructions. This usually involves mixing the compound with water to achieve the desired consistency.
- Using a putty knife, apply the patching compound to the hole or crack, ensuring it is filled and smoothed evenly. Overfilling slightly is recommended as the compound tends to shrink as it dries.
- Allow the patching compound to dry completely. This typically takes a few hours or as specified in the product instructions.
- Once dry, use a sanding block or sandpaper to gently smooth the surface of the repaired area. This will create a seamless finish and help the patch blend with the surrounding ceiling.
- Wipe away any dust or debris with a damp cloth or sponge.
After completing these steps, the small hole or crack should be effectively filled and ready for the next stage of the repair process. However, if you encounter larger holes or damaged sections, it’s important to follow a slightly different approach, which we’ll cover in the next step.
Read more: How Much To Vault A Ceiling
Step 5: Repair Larger Holes or Damaged Sections
Repairing larger holes or damaged sections in the ceiling requires a slightly different approach than fixing small holes or cracks. Follow these steps to effectively repair larger holes:
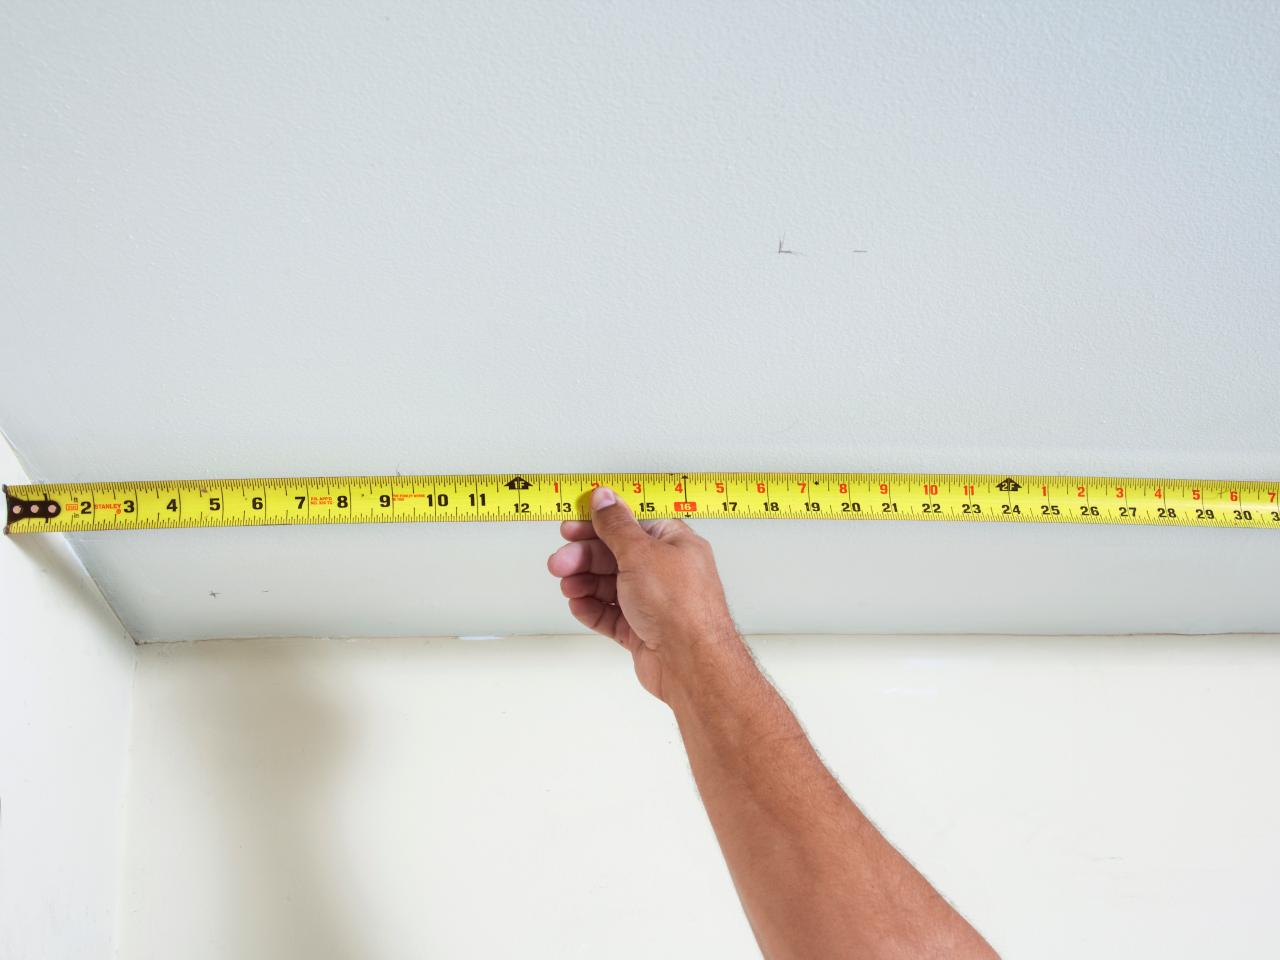
- Using a utility knife or drywall saw, carefully cut away any damaged or loose material around the hole. This will create clean edges for the repair.
- Next, measure the size of the hole and cut a piece of drywall or a patch slightly larger than the hole. This will ensure proper coverage and stability.
- Hold the patch over the hole and mark the outline on the existing ceiling. This will help you accurately cut out a corresponding hole in the ceiling for the patch.
- Carefully cut along the marked outline using a drywall saw or utility knife.
- Insert the patch into the hole, ensuring it fits snugly. You may need to apply a thin layer of joint compound along the edges of the hole to help secure the patch in place.
- Apply joint compound over the patch, extending beyond the edges to feather it out and create a smooth transition between the patch and the surrounding ceiling. Use a putty knife to spread the compound evenly.
- Allow the joint compound to dry completely, usually overnight or as indicated in the product instructions.
Once the joint compound is dry, you can proceed to the next step, which involves applying a layer of joint compound to the repaired area to create a seamless finish.
Note: For larger or more complex repairs, it may be beneficial to consult with a professional or contractor to ensure proper techniques and results.
When repairing a ceiling, be sure to properly secure any loose or damaged drywall or plaster before applying any patching material. This will ensure a strong and long-lasting repair.
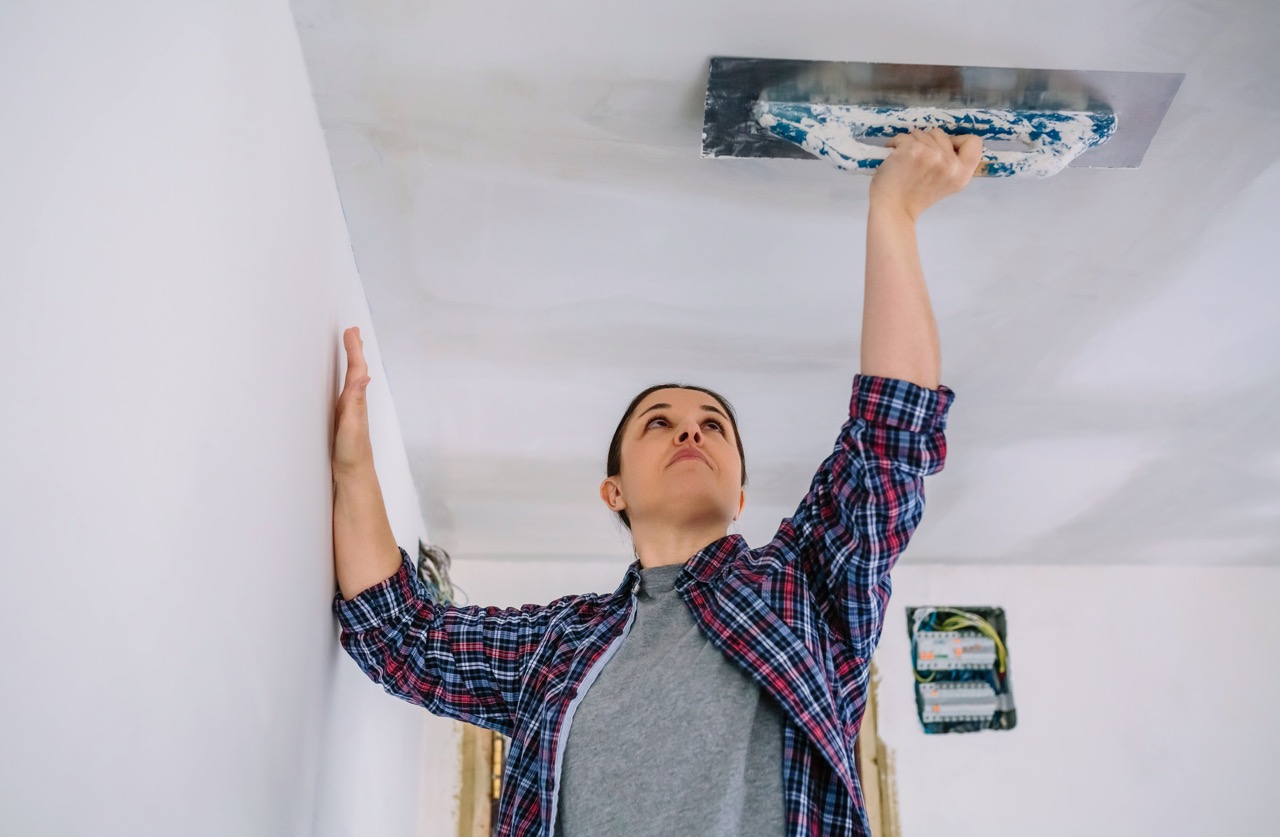
Step 6: Apply Joint Compound
After completing the repair of larger holes or damaged sections, the next step is to apply joint compound to create a smooth and seamless finish. Follow these steps to apply joint compound effectively:
- Start by preparing the joint compound. Mix it according to the manufacturer’s instructions until it reaches a creamy and smooth consistency.
- Using a putty knife, scoop a generous amount of joint compound onto the blade.
- Hold the putty knife at a slight angle and apply the compound to the repaired area, starting from the outside and working your way inward.
- Apply the joint compound in thin, even coats, feathering the edges to blend with the surrounding ceiling.
- Let the first coat of joint compound dry completely, typically overnight or as instructed on the product packaging. This may require multiple drying cycles depending on the thickness of the applied compound.
- Once the first coat is dry, sand the surface lightly with a sanding block or sandpaper to remove any bumps or imperfections. Wipe away any dust with a damp cloth or sponge.
- Repeat the process by applying a second coat of joint compound, using the same techniques as before. Ensure that each coat is thinner than the previous one to achieve a smooth finish.
- Allow the final coat of joint compound to dry completely.
With the joint compound applied and dried, the next step is to sand the surface to create a seamless and smooth finish. We’ll cover this step in detail in the next section.
Note: Be patient with the drying process between coats to achieve the best results. Rushing the drying time can result in a less durable and visually uneven finish.
Step 7: Sand the Surface
After applying the necessary coats of joint compound and allowing them to dry completely, it’s time to sand the surface to create a smooth and polished finish. Follow these steps to effectively sand the repaired area:
- Start by using a drywall sanding block or sandpaper with a fine grit (around 120 to 220-grit).
- Gently sand the surface in a circular motion, focusing on the repaired area. Be careful not to oversand or apply too much pressure, as this can damage the surrounding ceiling or create uneven patches.
- Continuously wipe away the dust that accumulates as you sand, using a clean cloth or sponge. This will help you to better see the progress and avoid breathing in excessive dust.
- Check the surface by running your hand over it. If it feels smooth and even with the surrounding ceiling, you can proceed to the next step. If any imperfections are still noticeable, continue sanding until you achieve the desired result.
- Once you’ve finished sanding, wipe away any remaining dust with a damp cloth or sponge, ensuring the area is clean and free from debris.
By properly sanding the surface, you’ll create a seamless transition between the repaired area and the rest of the ceiling. This prepares the surface for the next steps: priming and painting.
Note: When sanding, it’s important to protect yourself by wearing a dust mask or respirator and safety glasses to avoid inhaling dust particles or getting them in your eyes.
Step 8: Prime the Repaired Area
After sanding the surface to create a smooth finish, the next step is to prime the repaired area before applying paint. Priming is essential as it helps seal the joint compound and prepares the surface for proper paint adhesion.
Follow these steps to effectively prime the repaired area:
- Choose a high-quality primer suitable for your ceiling type. Look for a primer specifically designed for drywall or ceilings.
- Stir the primer thoroughly to ensure it is well-mixed.
- Use a paintbrush or a small roller to apply the primer to the repaired area. Start from the edges and work your way toward the center, ensuring even coverage.
- Allow the primer to dry completely. Drying time varies depending on the type of primer used, so refer to the manufacturer’s instructions for guidance.
- After the primer has dried, inspect the area to ensure that it has been adequately covered. If necessary, apply a second coat of primer to achieve a smooth and evenly coated surface.
- Once the final coat of primer is dry, visually inspect the repaired area. If it appears seamless and matches the surrounding ceiling, you’re ready to move on to the final step: painting.
By priming the repaired area, you create a solid foundation for paint application, ensuring better color consistency and durability. The primer also helps to prevent the joint compound from absorbing paint, resulting in a consistent finish. Now, let’s proceed to the final step: painting the ceiling.
Read more: How To Frame Cathedral Ceiling
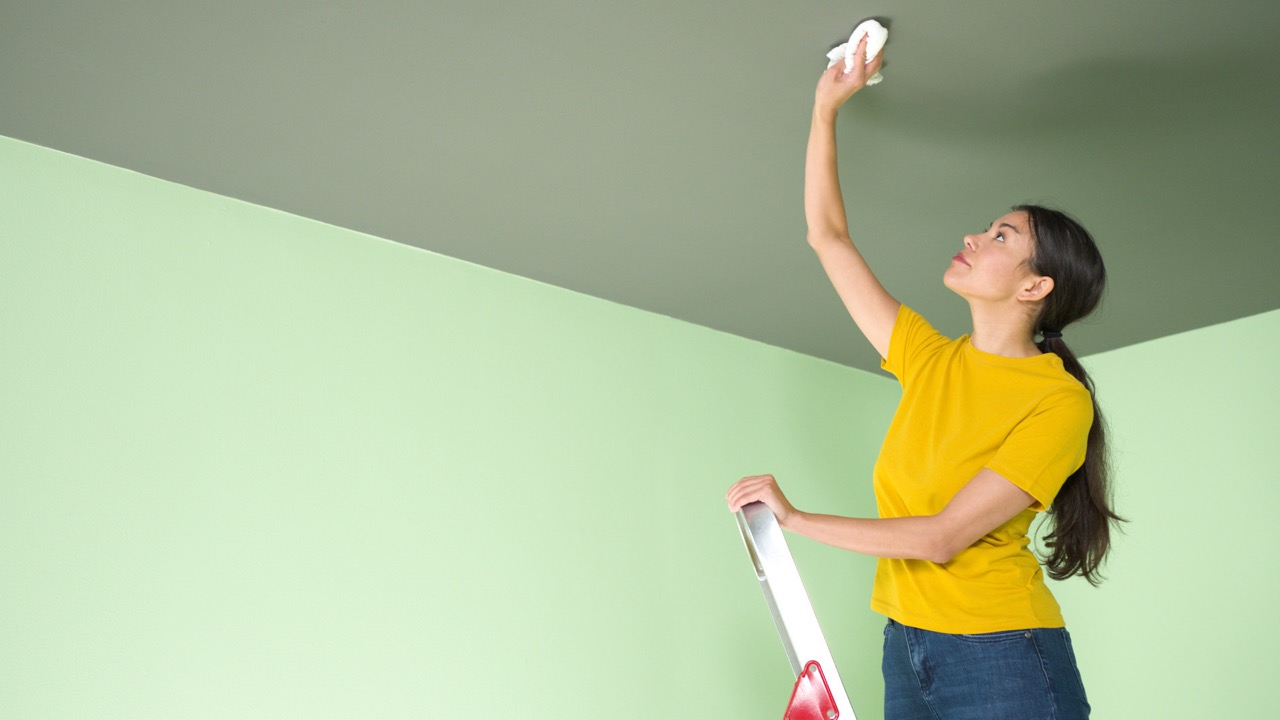
Step 9: Paint the Ceiling
After priming the repaired area, it’s time to paint the ceiling and give it a fresh and cohesive look. Follow these steps to effectively paint the ceiling:
- Select a high-quality ceiling paint that matches the existing color or choose a new color if you prefer a change.
- Stir the paint thoroughly to ensure that the color pigments are well-mixed.
- Using a roller, start from the edges and work your way toward the center of the repaired area. Apply an even coat of paint, being careful not to apply too much pressure to prevent drips or uneven coverage.
- Once the repaired area is painted, continue painting the surrounding ceiling to ensure a seamless blend.
- Allow the first coat of paint to dry completely. Drying time will vary based on the type of paint and the room’s temperature and humidity.
- If necessary, apply a second coat of paint to ensure full coverage and an even finish. Follow the same application technique as before, starting from the edges and working inward.
- After the final coat has dried, inspect the ceiling to ensure that the repaired area matches the rest of the ceiling and that the paint is evenly applied.
Make sure to clean any paint splatters or drips promptly to prevent them from drying and becoming difficult to remove. Also, take the time to clean your painting tools properly to prolong their lifespan and ensure optimal performance.
Once the paint has dried completely, you can stand back and admire your freshly painted ceiling, free from any repairs or damage. With the last step complete, let’s move on to the final step: cleaning up and conducting a final inspection.
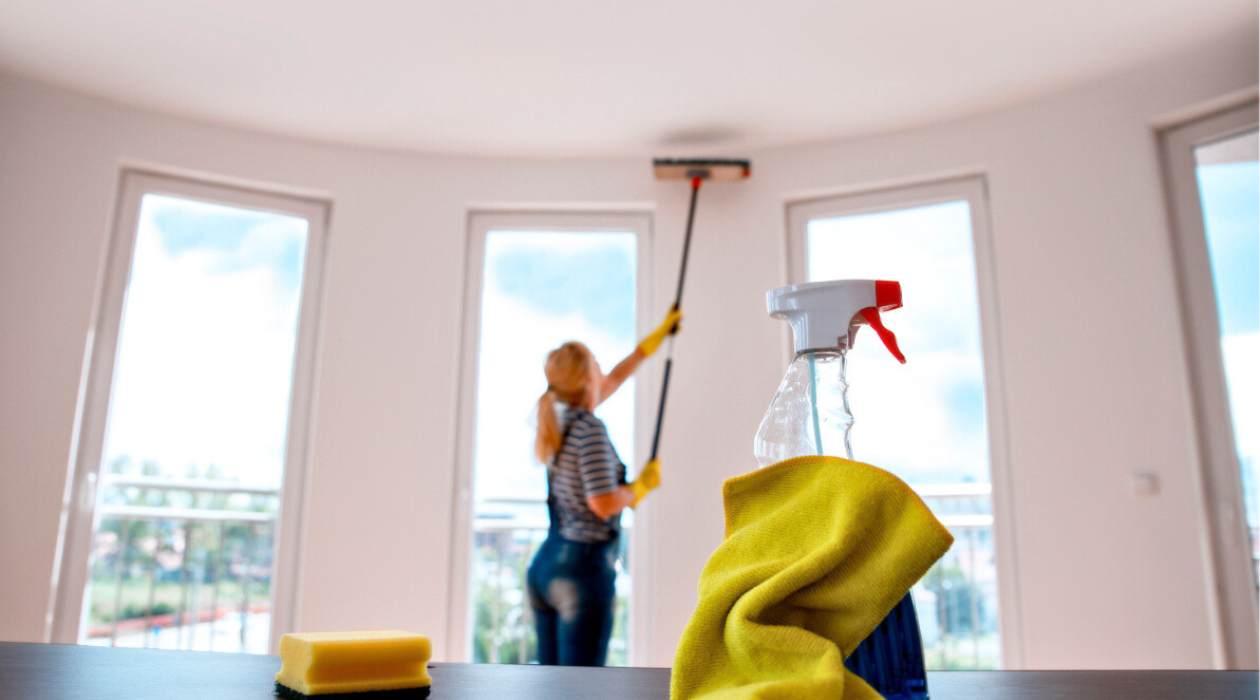
Step 10: Clean up and Final Inspection
Congratulations! You’re in the final stretch of repairing your ceiling. In this last step, you’ll clean up any debris and conduct a final inspection to ensure the repair is seamless and the area is tidy.
Follow these steps to complete the clean-up and final inspection:
- Gather your tools and materials and put them away in their proper storage space. Dispose of any packaging or waste materials responsibly.
- Remove the drop cloths or plastic sheeting, being careful not to spread any dust or debris onto the floor or furniture.
- Use a vacuum or broom to clean up any dust or loose particles from the floor and surrounding area.
- Inspect the repaired area and surrounding ceiling for any imperfections or areas that require touch-ups. If you notice any issues, such as unevenness or paint discrepancies, make the necessary adjustments before considering the project complete.
- Take a step back and examine the entire ceiling to ensure a consistent and cohesive appearance. Check for any missed spots or uneven coloration and address them accordingly.
Once you’re satisfied with the final result and the ceiling appears flawless, you can pat yourself on the back for a job well done. Your repaired ceiling now looks good as new!
Remember, patience, attention to detail, and proper execution are crucial throughout the repair process. By following these steps and dedicating time and effort to the project, you can successfully repair your ceiling and maintain the aesthetic appeal of your home.
With the final inspection complete, you can now enjoy your beautifully restored ceiling and appreciate the fruits of your labor. Great job!
Conclusion
Repairing a ceiling may seem like a daunting task, but with the right knowledge and tools, you can tackle this project with confidence. By following the step-by-step process outlined in this article, you can effectively repair small holes, fix larger damaged sections, and achieve a seamless finish.
Remember to assess the damage, gather the necessary tools and materials, and prepare the area before starting the repairs. Whether you’re patching small holes or fixing larger damaged sections, always take your time and pay attention to the details.
Applying joint compound and sanding the surface ensure a smooth and polished finish, while priming and painting the repaired area help blend it seamlessly with the rest of the ceiling. Lastly, conducting a thorough clean-up and final inspection ensures the project’s success.
Keep in mind that safety is paramount throughout the repair process. Use protective gear, such as safety goggles and gloves, and take precautions to minimize any risks.
By taking the time and effort to repair your ceiling, you can restore the visual appeal of your home while maintaining its structural integrity. Remember, practice makes perfect, so don’t be disheartened if your first attempt is not flawless. Learning from each repair project will help you improve your skills for future projects.
So, roll up your sleeves, gather your tools, and confidently repair your ceiling. You’ve got this!
Frequently Asked Questions about How To Repair A Ceiling
Was this page helpful?
At Storables.com, we guarantee accurate and reliable information. Our content, validated by Expert Board Contributors, is crafted following stringent Editorial Policies. We're committed to providing you with well-researched, expert-backed insights for all your informational needs.


0 thoughts on “How To Repair A Ceiling”