Articles
How To Build Bathroom Wall Art
Modified: January 19, 2024
Discover the best techniques and ideas for creating stunning bathroom wall art with our informative articles. Enhance your space with stylish designs and unique DIY projects.
(Many of the links in this article redirect to a specific reviewed product. Your purchase of these products through affiliate links helps to generate commission for Storables.com, at no extra cost. Learn more)
Introduction
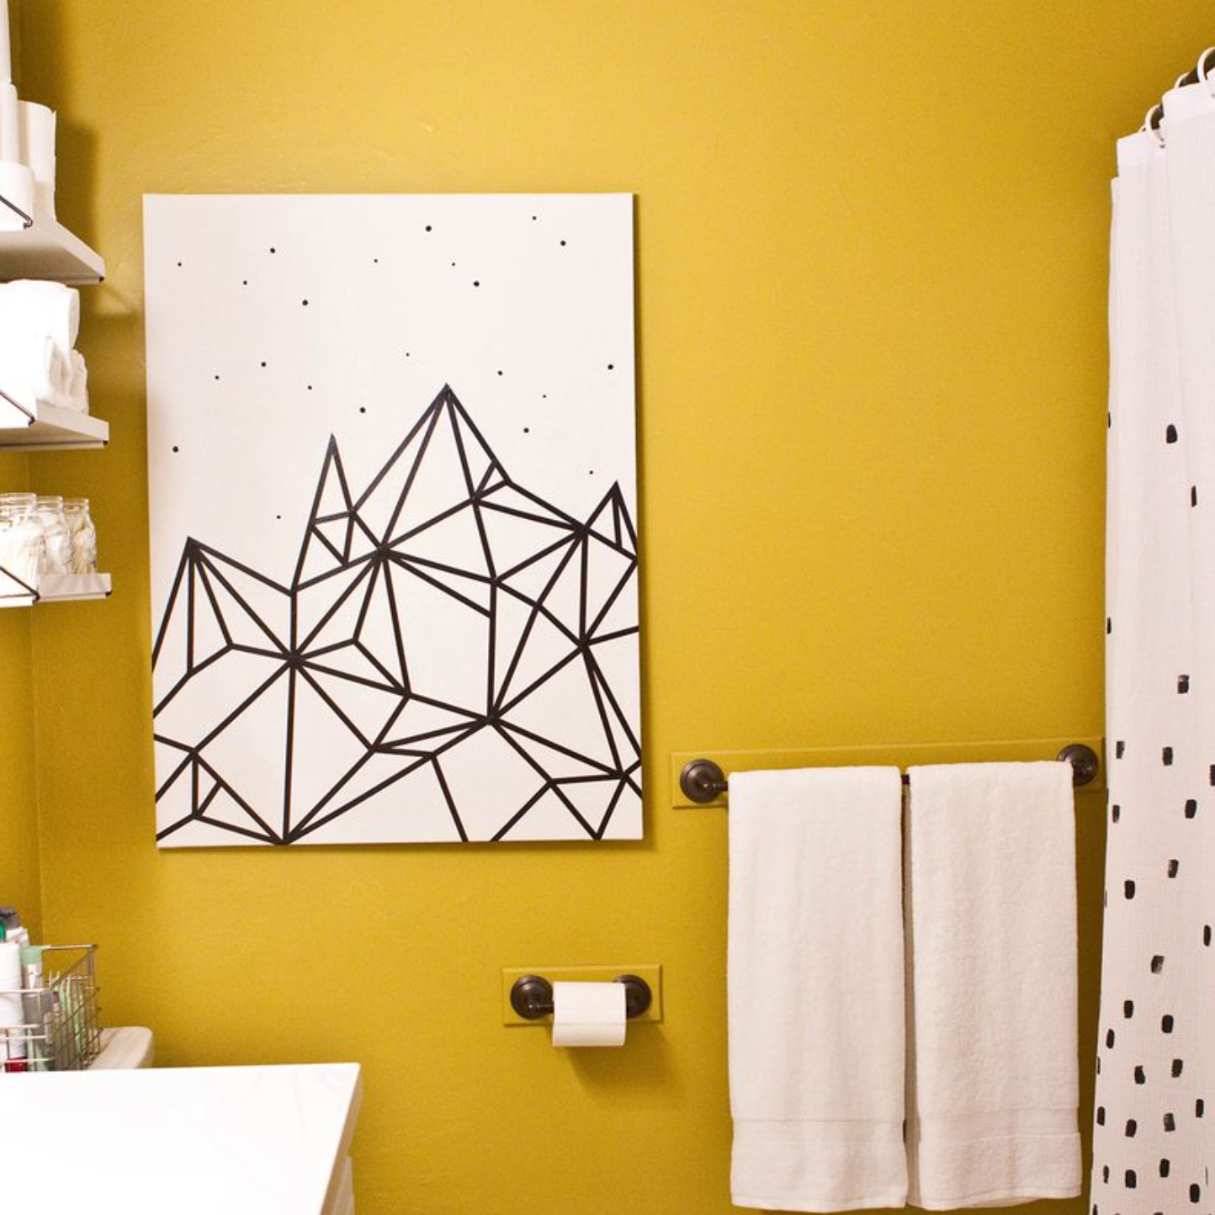
When it comes to decorating our homes, we often overlook the importance of the bathroom. The bathroom is a space where we spend a significant amount of time, whether it’s getting ready for the day ahead or unwinding with a soothing bath in the evening. Adding wall art to your bathroom can transform it from a functional space to a stylish and personalized oasis.
In this article, we will guide you through the process of building your own bathroom wall art. Whether you have a small powder room or a spacious master bathroom, there are endless possibilities to create a stunning visual display. We will explore the materials needed, step-by-step instructions, and important considerations to ensure a successful project.
By the end of this article, you will have the knowledge and inspiration to create a beautiful and unique bathroom wall art that reflects your personality and enhances the ambiance of your space.
Key Takeaways:
- Transform your bathroom into a personalized oasis by following these steps to create stunning and unique wall art that reflects your style and enhances the ambiance of the space.
- Gather inspiration, select artwork, arrange it thoughtfully, and add decorative elements to build a visually captivating and enjoyable bathroom wall art display that brings personality and style to your space.
Read more: How To Build Abstract Wall Art
Materials Needed
Before diving into the project, it’s important to gather all the necessary materials to ensure a smooth and efficient process. Here are the key materials you will need to build your bathroom wall art:
- Artwork or images: Choose pieces that resonate with your personal style and complement the overall aesthetic of your bathroom.
- Frames or mounting materials: Depending on the size and material of your artwork, select appropriate frames or mounting materials to secure it.
- Measuring tape: Accurate measurements are crucial for achieving a well-balanced arrangement, so make sure to have a measuring tape handy.
- Pencil or chalk: These will be used to mark the desired placement of the artwork on the wall.
- Level: To ensure that your artwork is properly aligned, a level is essential for straightening and adjusting.
- Hammer and nails or wall anchors: Depending on the weight of your artwork and the type of wall you have, you will need the appropriate tools for secure hanging.
- Hanging wire and hooks: If your artwork requires hanging wire or hooks, have these ready to ensure proper installation.
- Decorative elements: Consider adding additional decorative elements such as mirrors, shelves, or planters to enhance the overall look.
- Clean cloth: Before hanging the artwork, make sure to wipe down the walls to remove any dust or debris.
Having these materials readily available will make the process much easier and more efficient. Now that we have gathered our materials, let’s move on to the next step: choosing the theme or design for your bathroom wall art.
Step 1: Choose the Theme or Design
The first step in creating your bathroom wall art is to determine the theme or design you want to incorporate. Consider the overall style of your bathroom and think about what kind of atmosphere you want to create. Whether you prefer a modern, minimalist look or a more vintage and eclectic vibe, selecting the right theme will set the tone for the rest of the project.
Here are a few theme ideas to get you started:
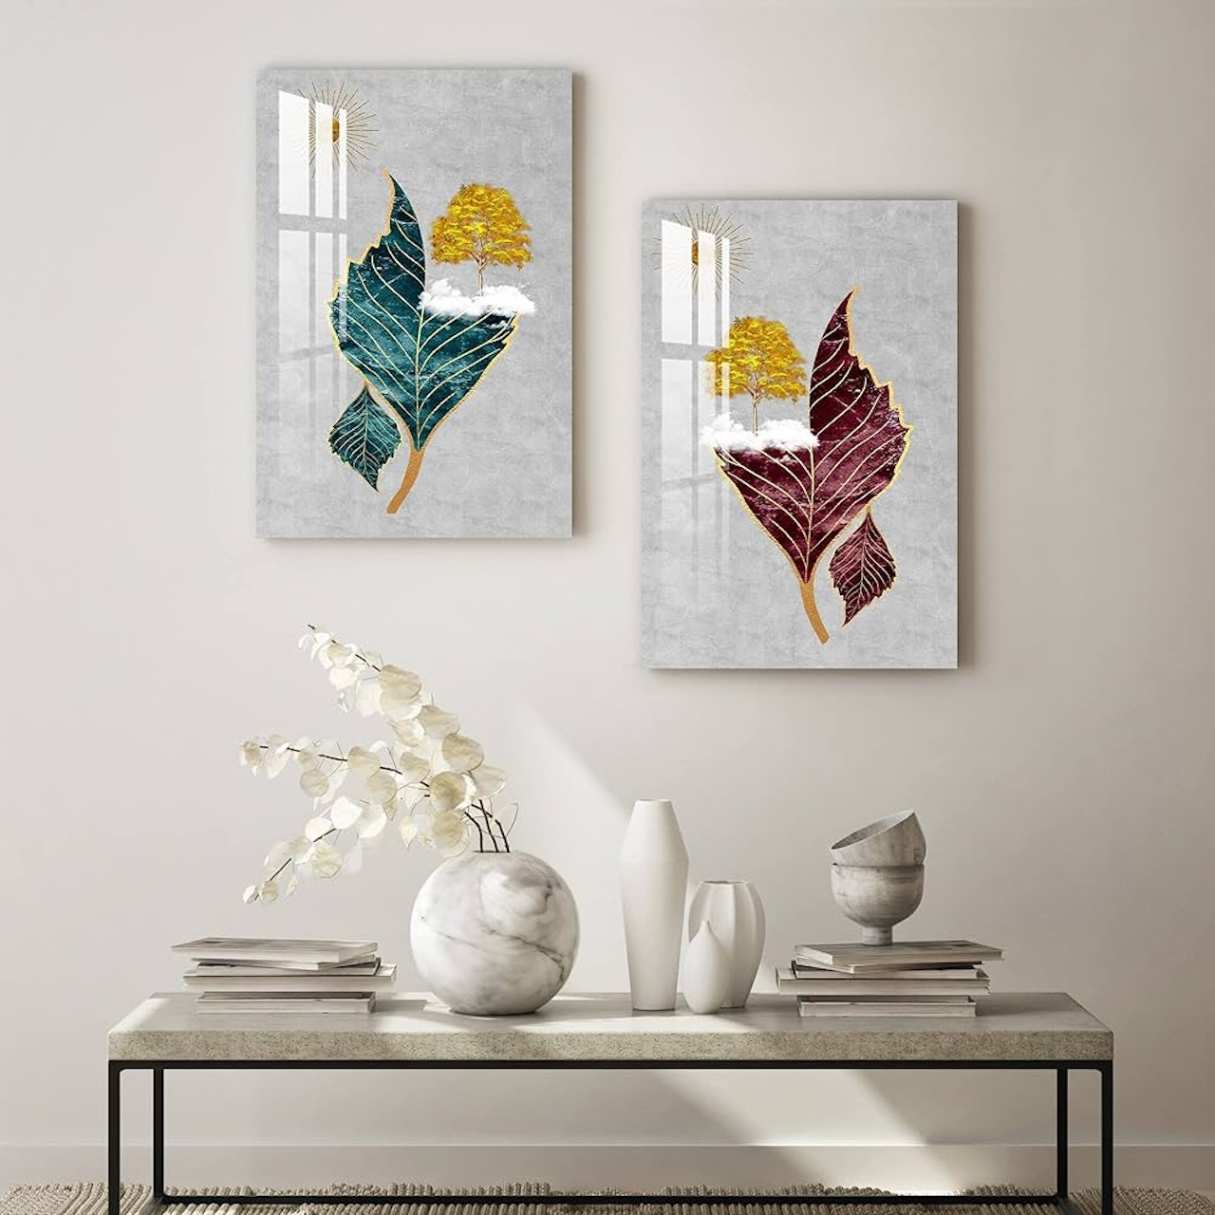
- Nature-inspired: Bring the outdoors inside by incorporating elements such as botanical prints, landscapes, or animal motifs.
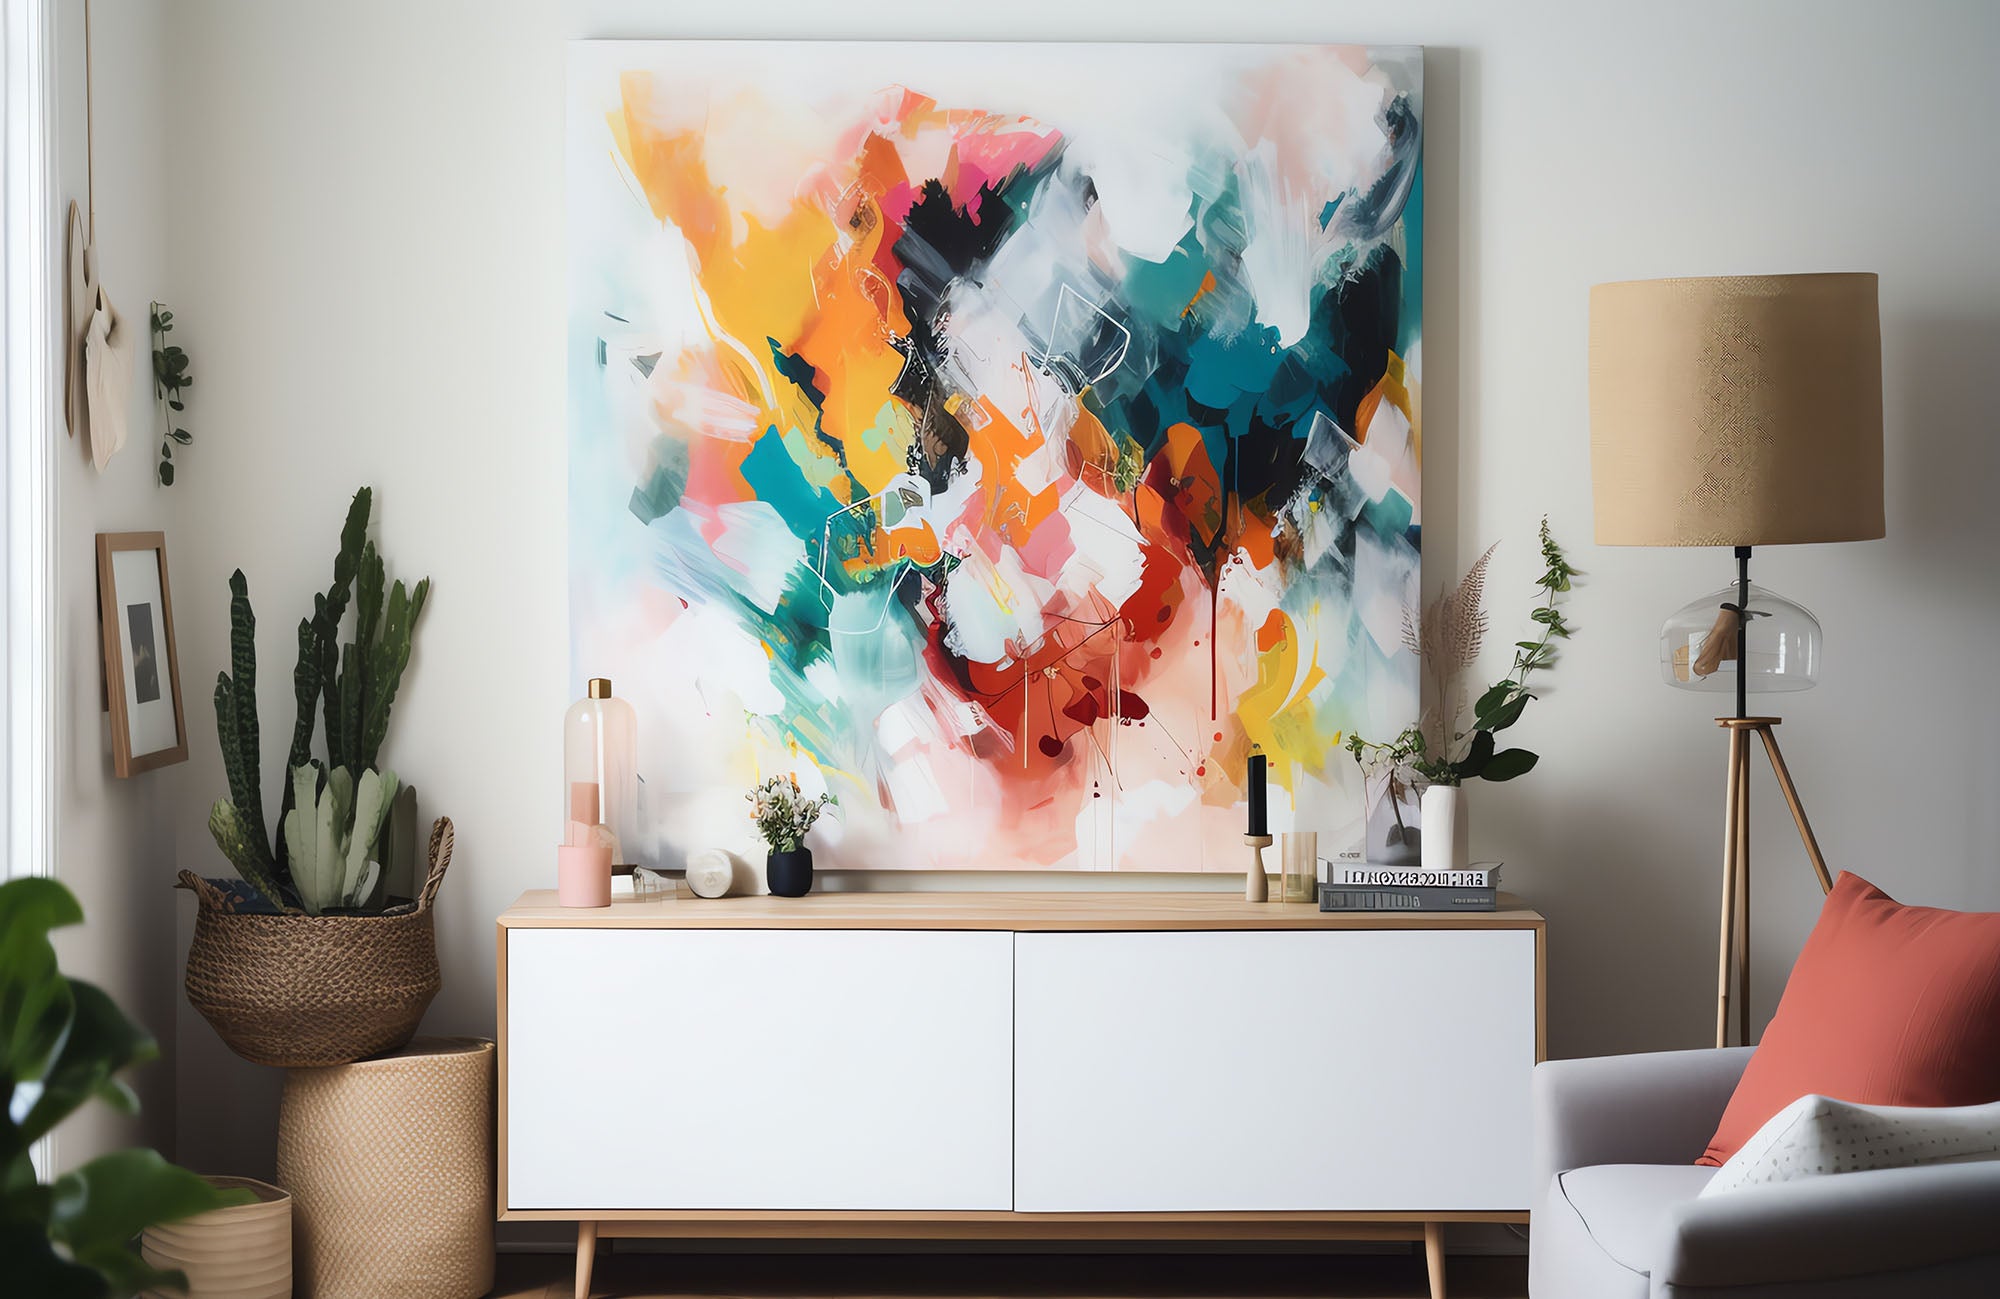
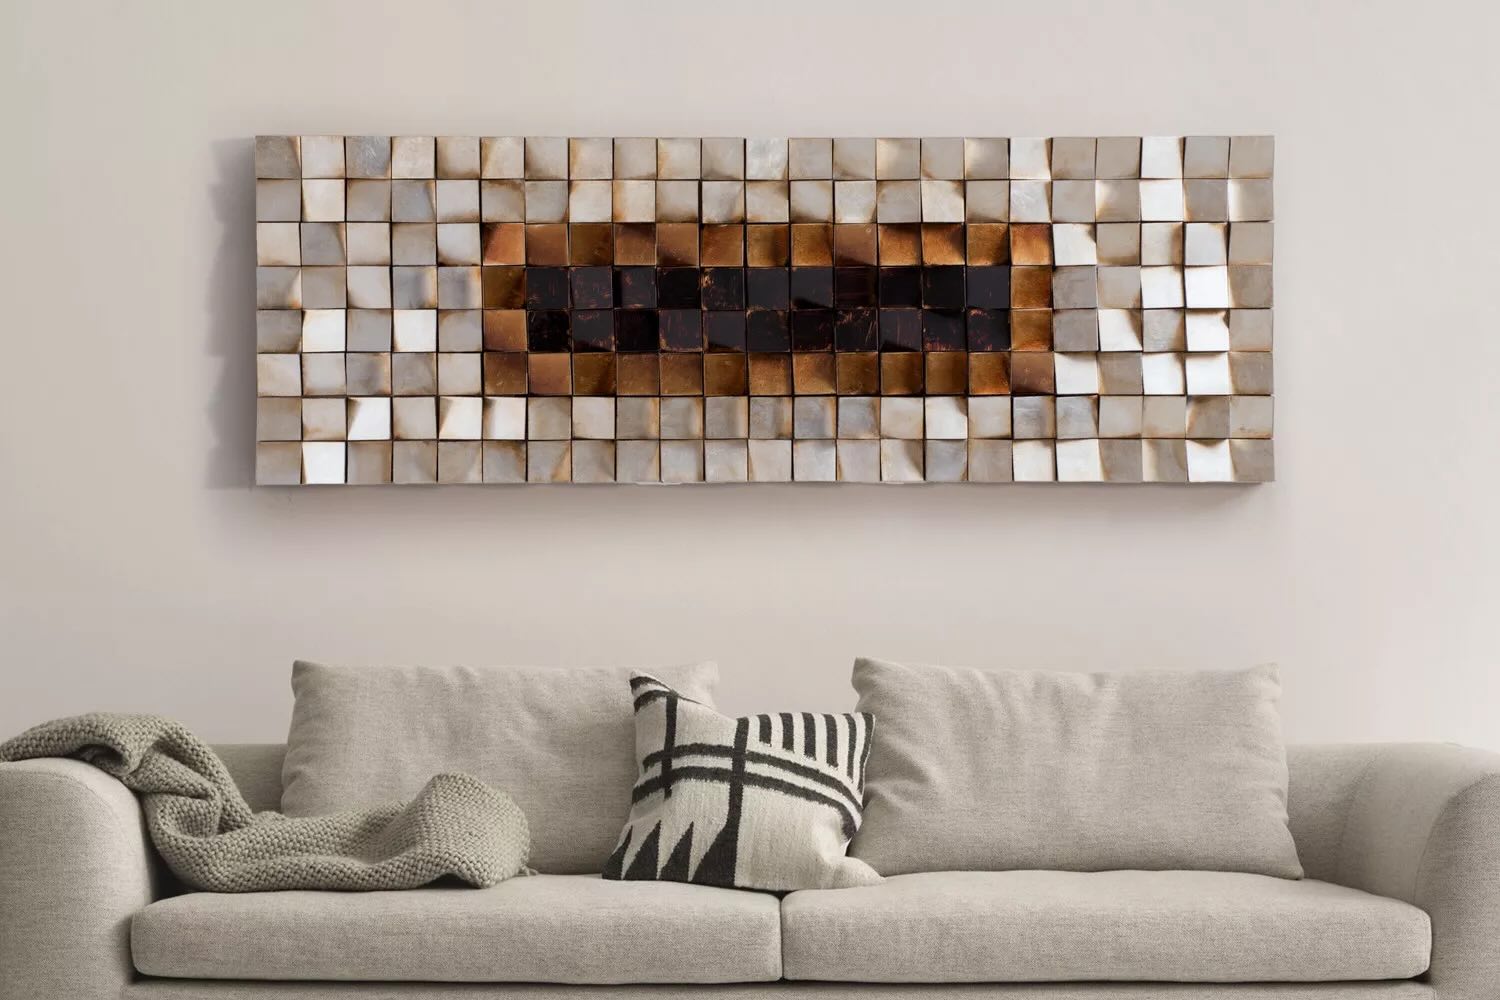
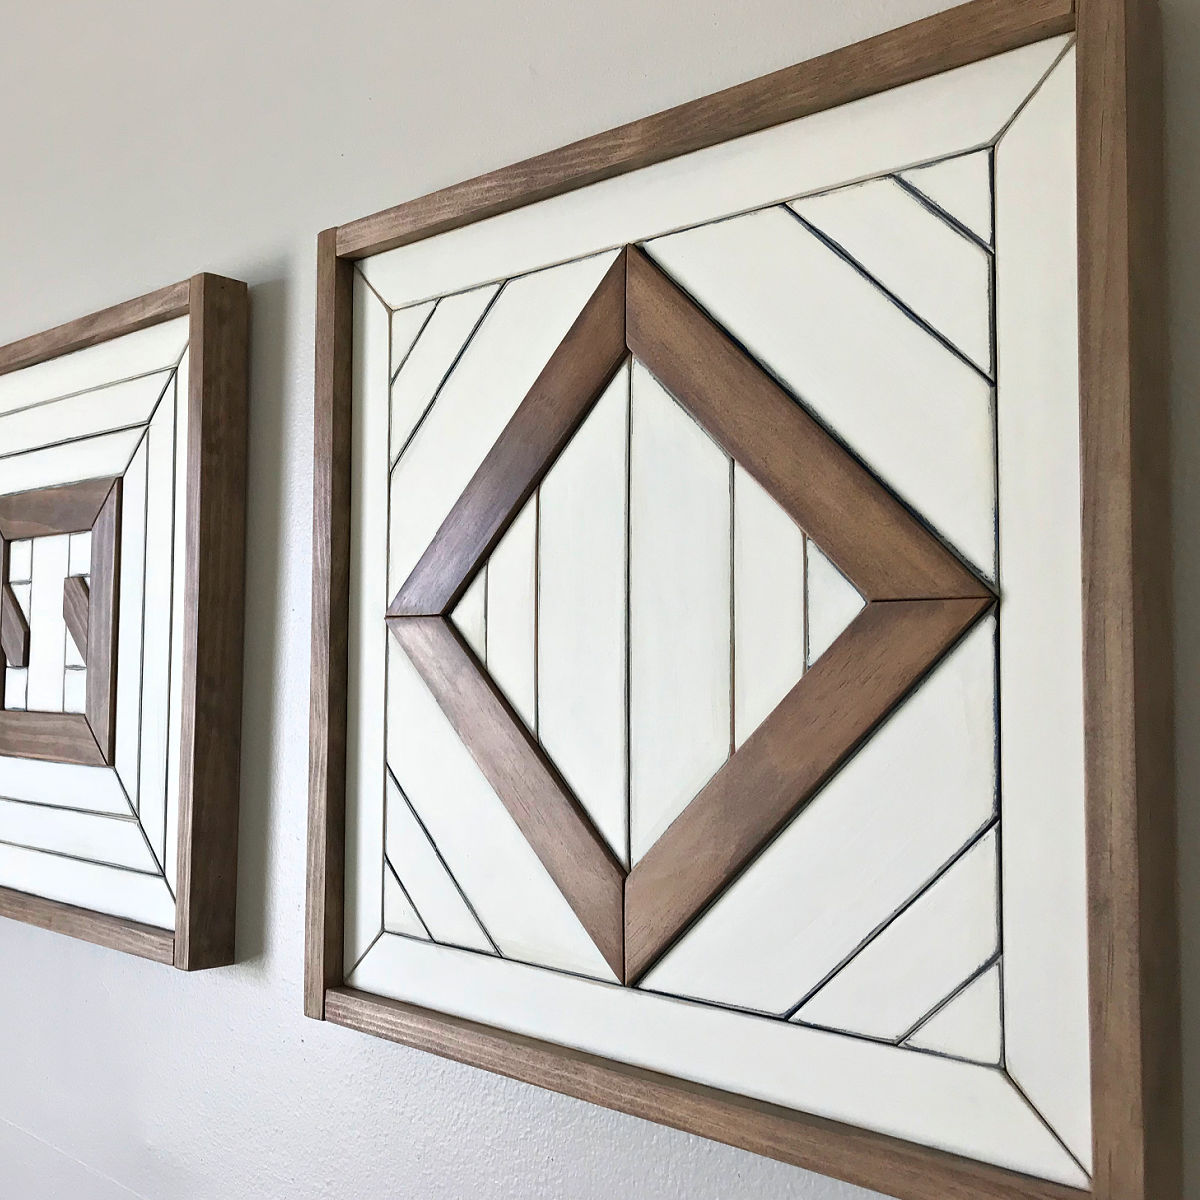
- Abstract: Embrace a more contemporary feel with bold and abstract patterns or geometric shapes.
- Vintage: Give your bathroom a retro touch by using antique frames or vintage-inspired artwork.
- Seaside or nautical: Create a coastal oasis with seashells, beach-inspired imagery, or blue and white color palettes.
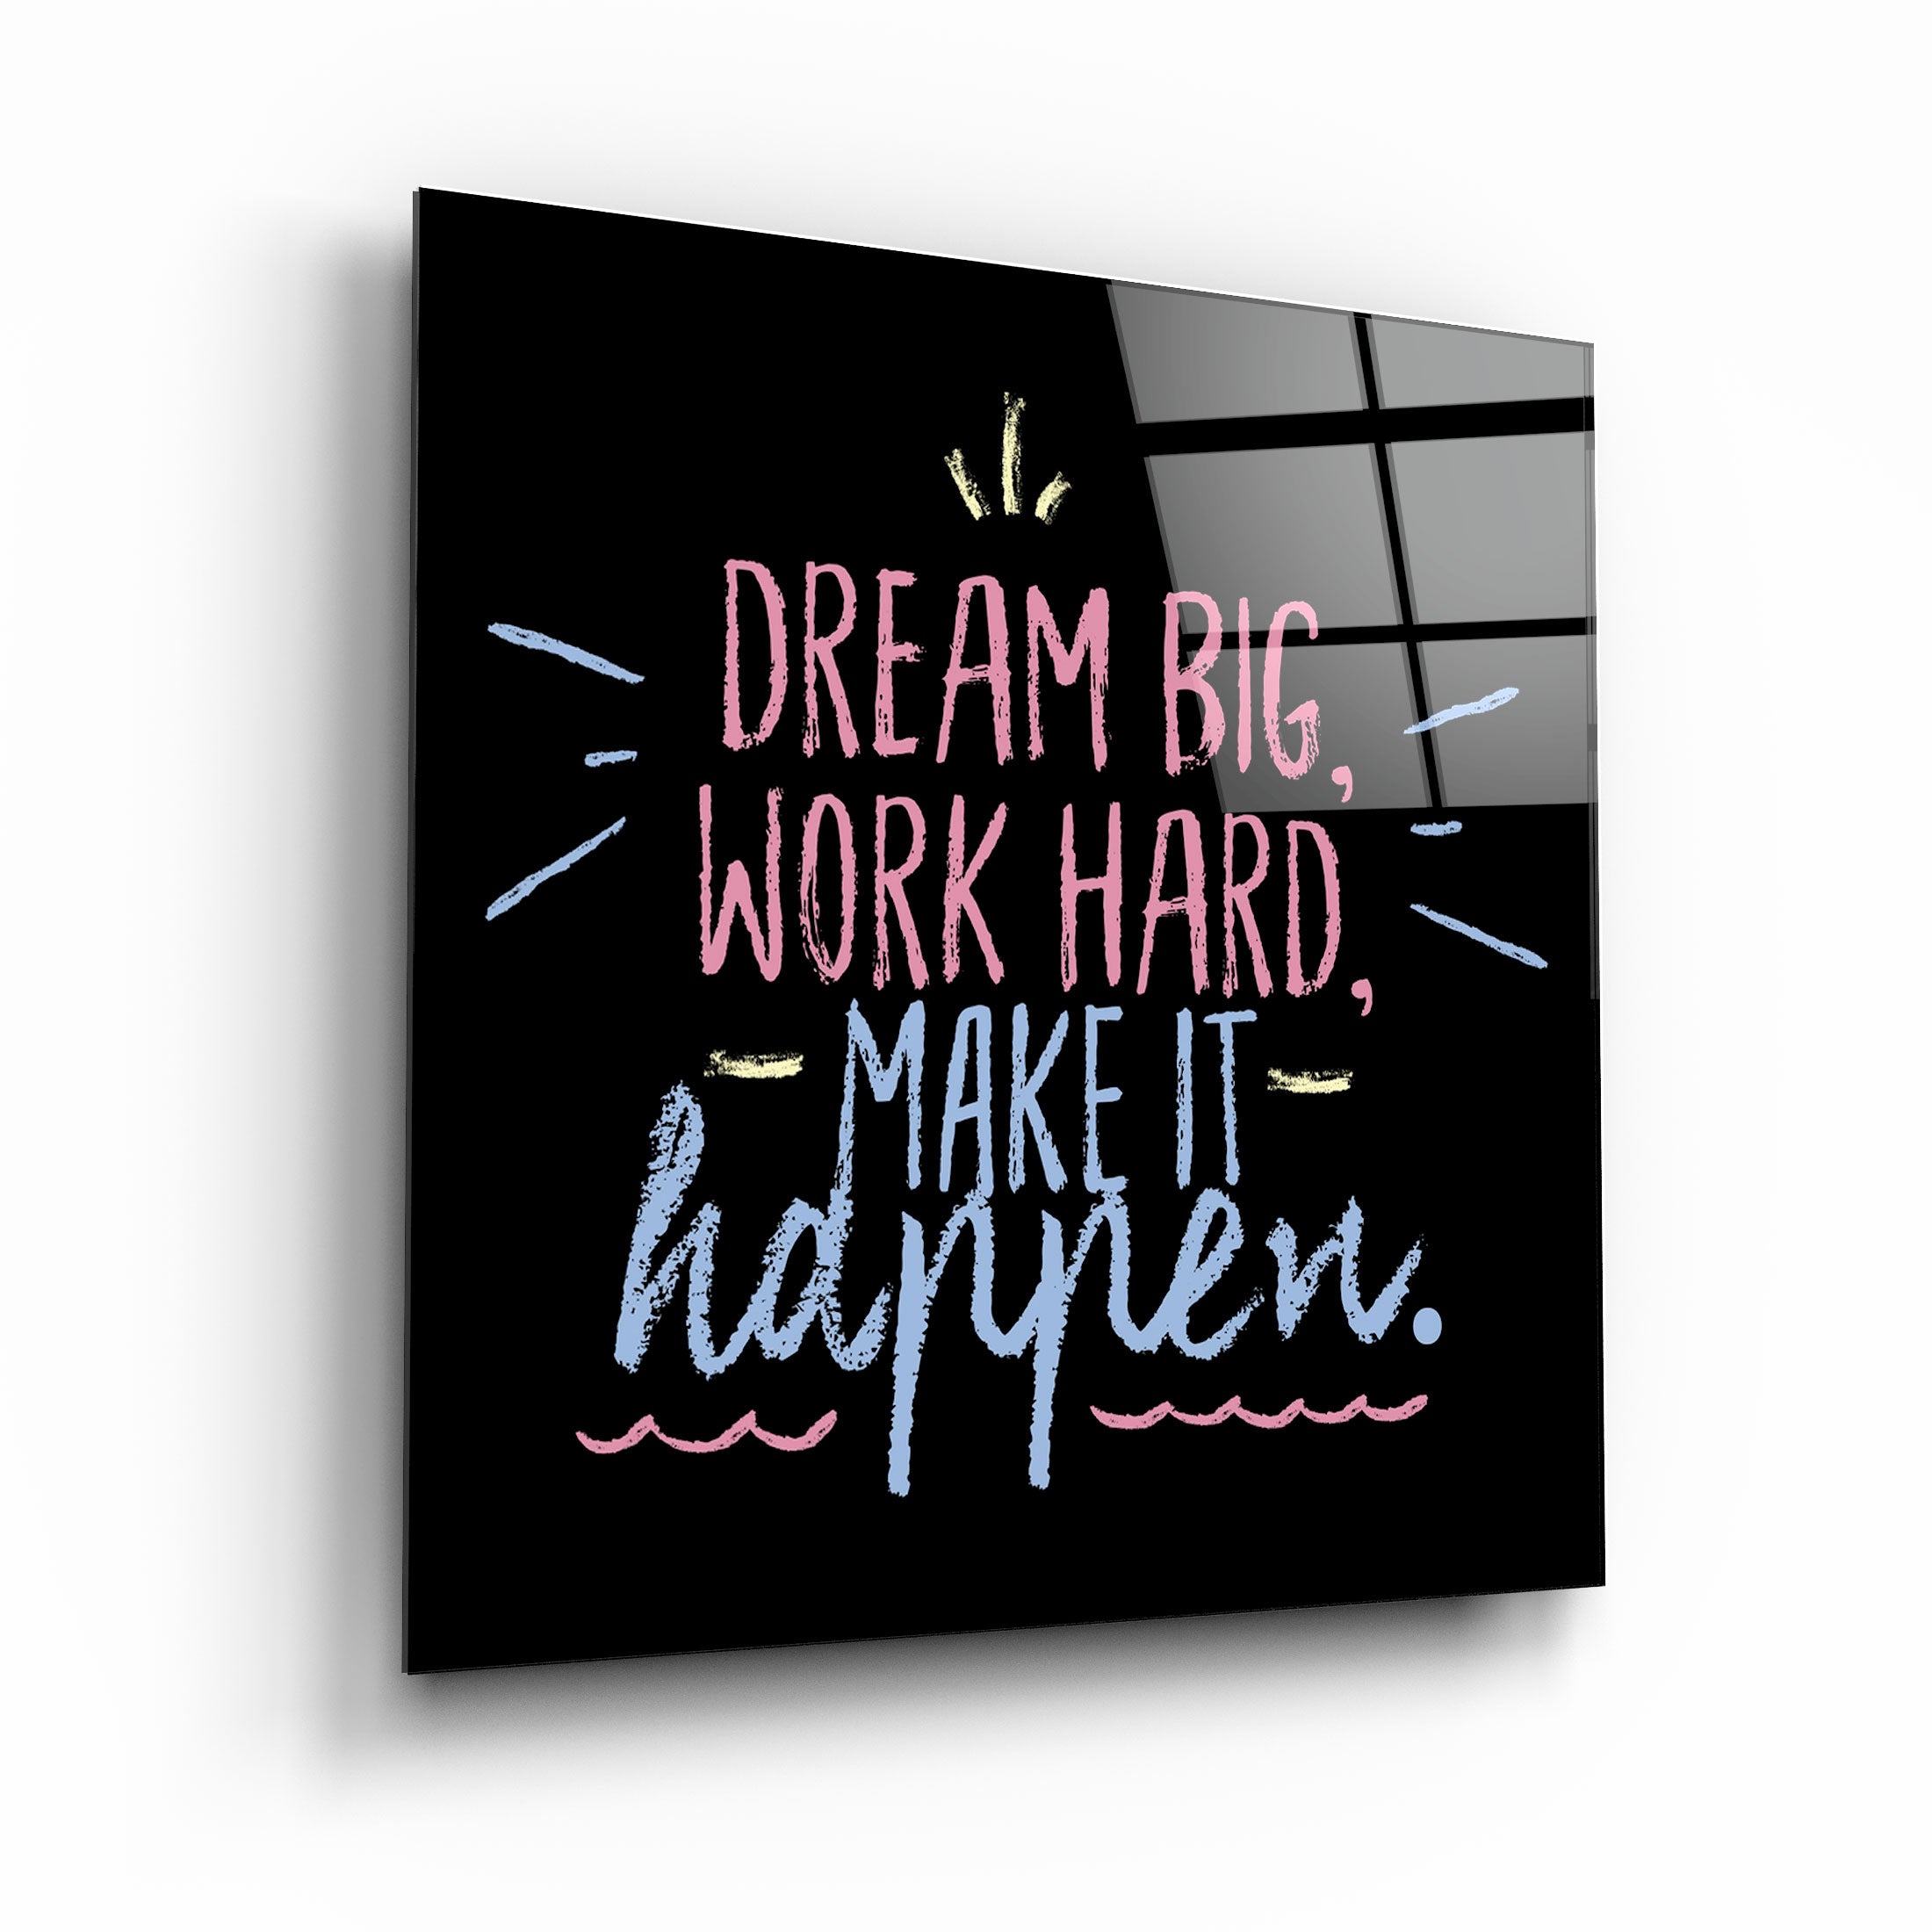
- Typography: Use quotes or typography-based artwork to add a touch of inspiration or humor to your space.
Remember, the theme or design you choose should reflect your personal taste and complement the existing décor of your bathroom. Take into consideration the colors, textures, and overall ambiance of the space when making your decision. Once you have a clear idea of the theme or design, move on to the next step: gathering inspiration.
Step 2: Gather Inspiration
Before diving into the actual selection of artwork, it’s helpful to gather inspiration to fuel your creativity and ensure a cohesive visual flow in your bathroom. Take the time to explore different sources for ideas and inspiration.
Here are a few ways to gather inspiration:
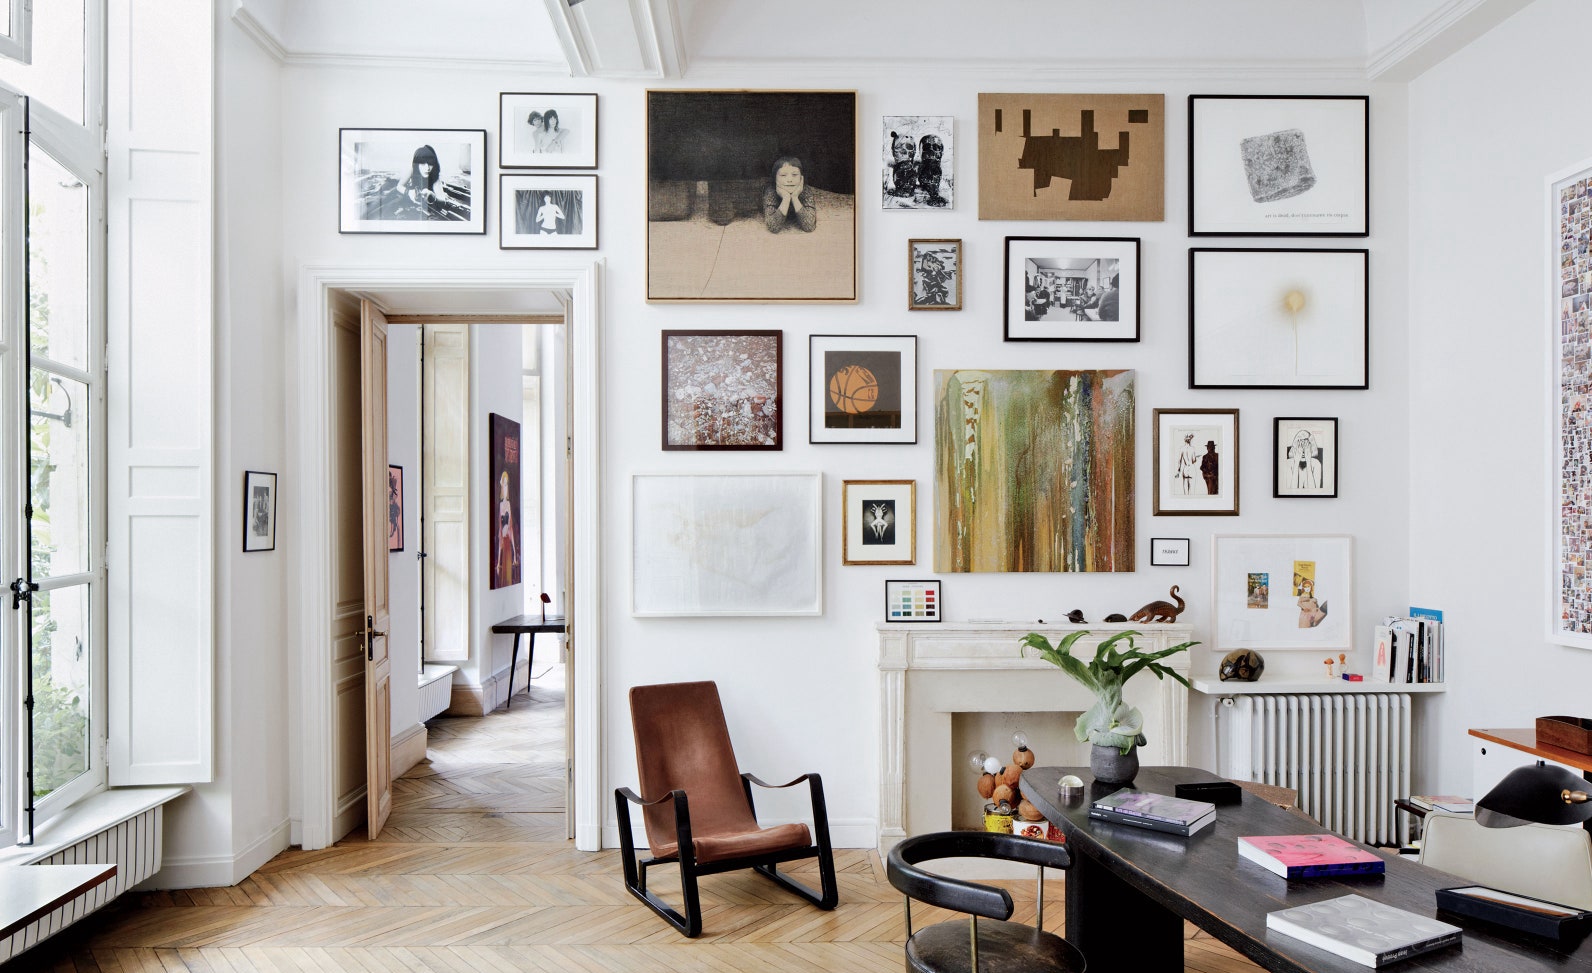
- Browse magazines and interior design websites: Flip through home decor magazines or scroll through online websites to see how professionals have styled bathrooms with wall art. Take note of the colors, patterns, and arrangements that catch your eye.
- Visit art galleries or exhibitions: Take a trip to local art galleries or museums to get acquainted with different art styles. You might find a piece that resonates with you and enhances the overall theme of your bathroom.
- Utilize social media platforms: Platforms like Pinterest and Instagram are treasure troves of inspiring visuals. Create boards or save posts that showcase wall art ideas that align with your chosen theme.
- Take a nature walk: If you’re inclined towards nature-inspired themes, take a stroll in the park or garden. Observe the colors, textures, and patterns found in plants, flowers, and landscapes, and use them as inspiration for your bathroom wall art.
By gathering inspiration from various sources, you will have a better understanding of the style and elements you want to incorporate into your bathroom wall art.
Once you have a collection of ideas and inspiration, it’s time to move on to the next step: selecting the artwork or images for your bathroom wall art.
Step 3: Select the Artwork or Images
Now that you have a clear idea of the theme and have gathered inspiration, it’s time to select the artwork or images that will bring your bathroom wall art to life. This step is where you can unleash your creativity and choose pieces that resonate with your personal style.
Consider the following factors when selecting the artwork or images:
- Size and scale: Take into account the available wall space in your bathroom. Choose artwork that fits well and doesn’t overpower or get lost in the area.
- Color palette: Select artwork that complements the color scheme of your bathroom. Consider the existing colors in your bathroom and choose artwork that either matches or provides a striking contrast.
- Subject matter: Look for artwork or images that align with the theme and design you have chosen. For example, if you have a nature-inspired theme, consider botanical prints, landscapes, or images of birds or animals.
- Style and medium: Decide on the artistic style or medium that best suits your taste and the overall aesthetic of your bathroom. Whether you prefer traditional paintings, photography, or mixed media, choose artwork that reflects your preferences.
- Personal connection: Select artwork that speaks to you on a personal level. It could be a piece that evokes a particular emotion, reminds you of a memorable experience, or simply brings you joy.
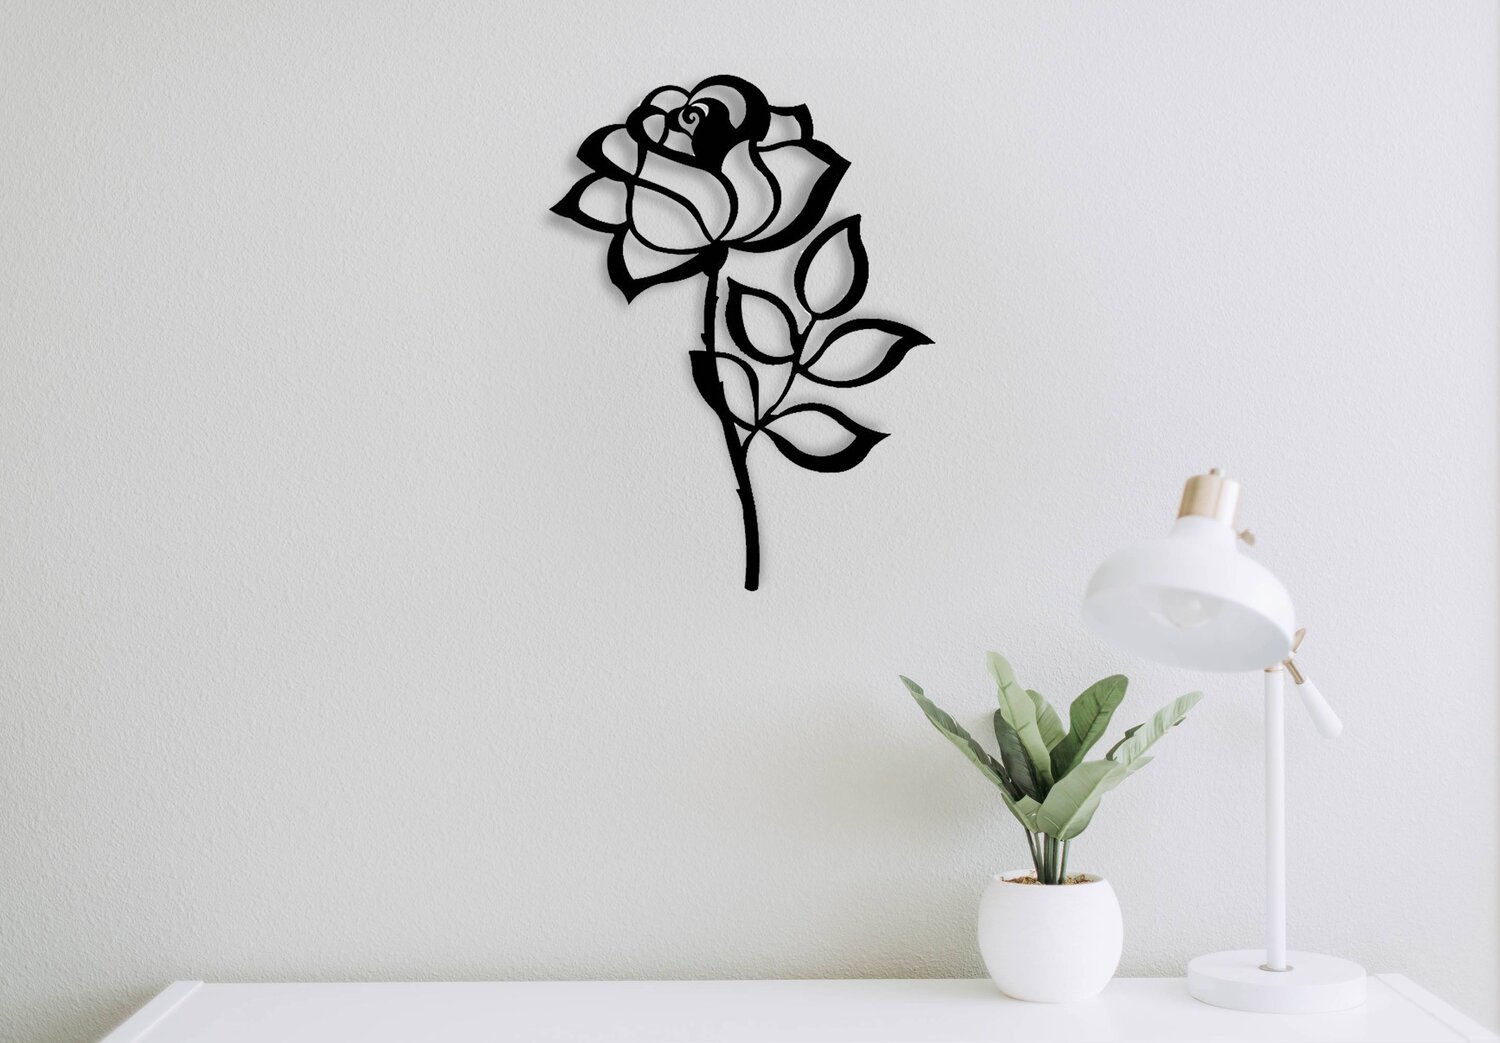
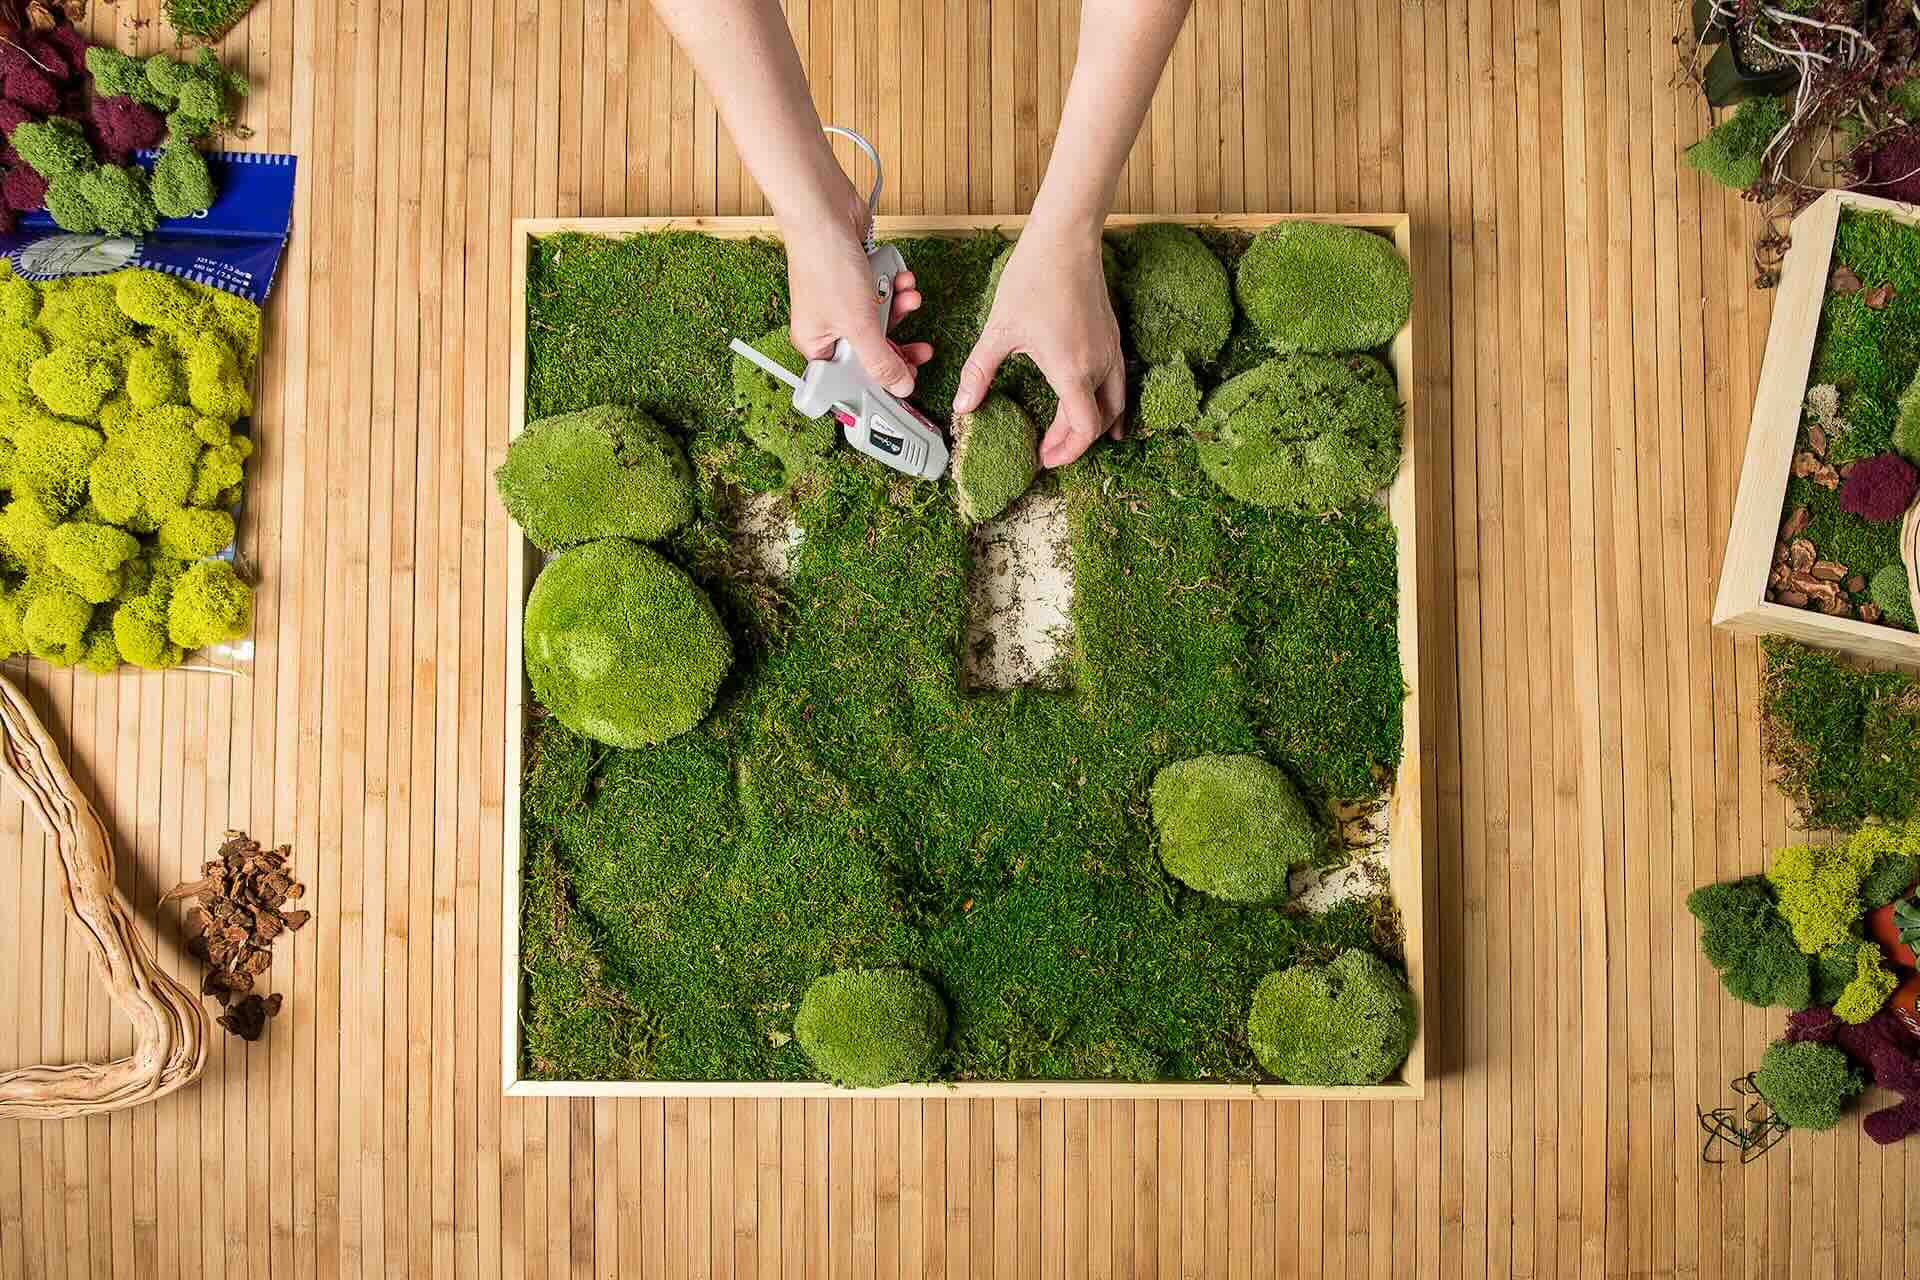
Remember, bathroom wall art is not limited to traditional framed pieces. You can also consider alternative options such as canvas prints, metal wall art, or even DIY artwork that you create yourself. The goal is to choose artwork or images that add visual interest and enhance the overall atmosphere of your bathroom.
Once you have selected the artwork or images, it’s time to move on to the next step: framing or mounting the artwork.
Consider using waterproof materials such as acrylic paint, vinyl decals, or sealed wood for bathroom wall art. This will ensure that your artwork stays looking great even in a humid environment.
Read more: How To Build 3D Wall Art
Step 4: Frame or Mount the Artwork
Once you have chosen the artwork or images for your bathroom wall art, it’s time to frame or mount them to ensure they are secure and visually appealing. How you choose to display your art will depend on the type of artwork and your personal preference.
Here are a few options for framing or mounting your artwork:
- Standard frames: If you have chosen traditional prints or photographs, standard frames can provide a classic and polished look. Choose frames that complement the style and color palette of your bathroom.
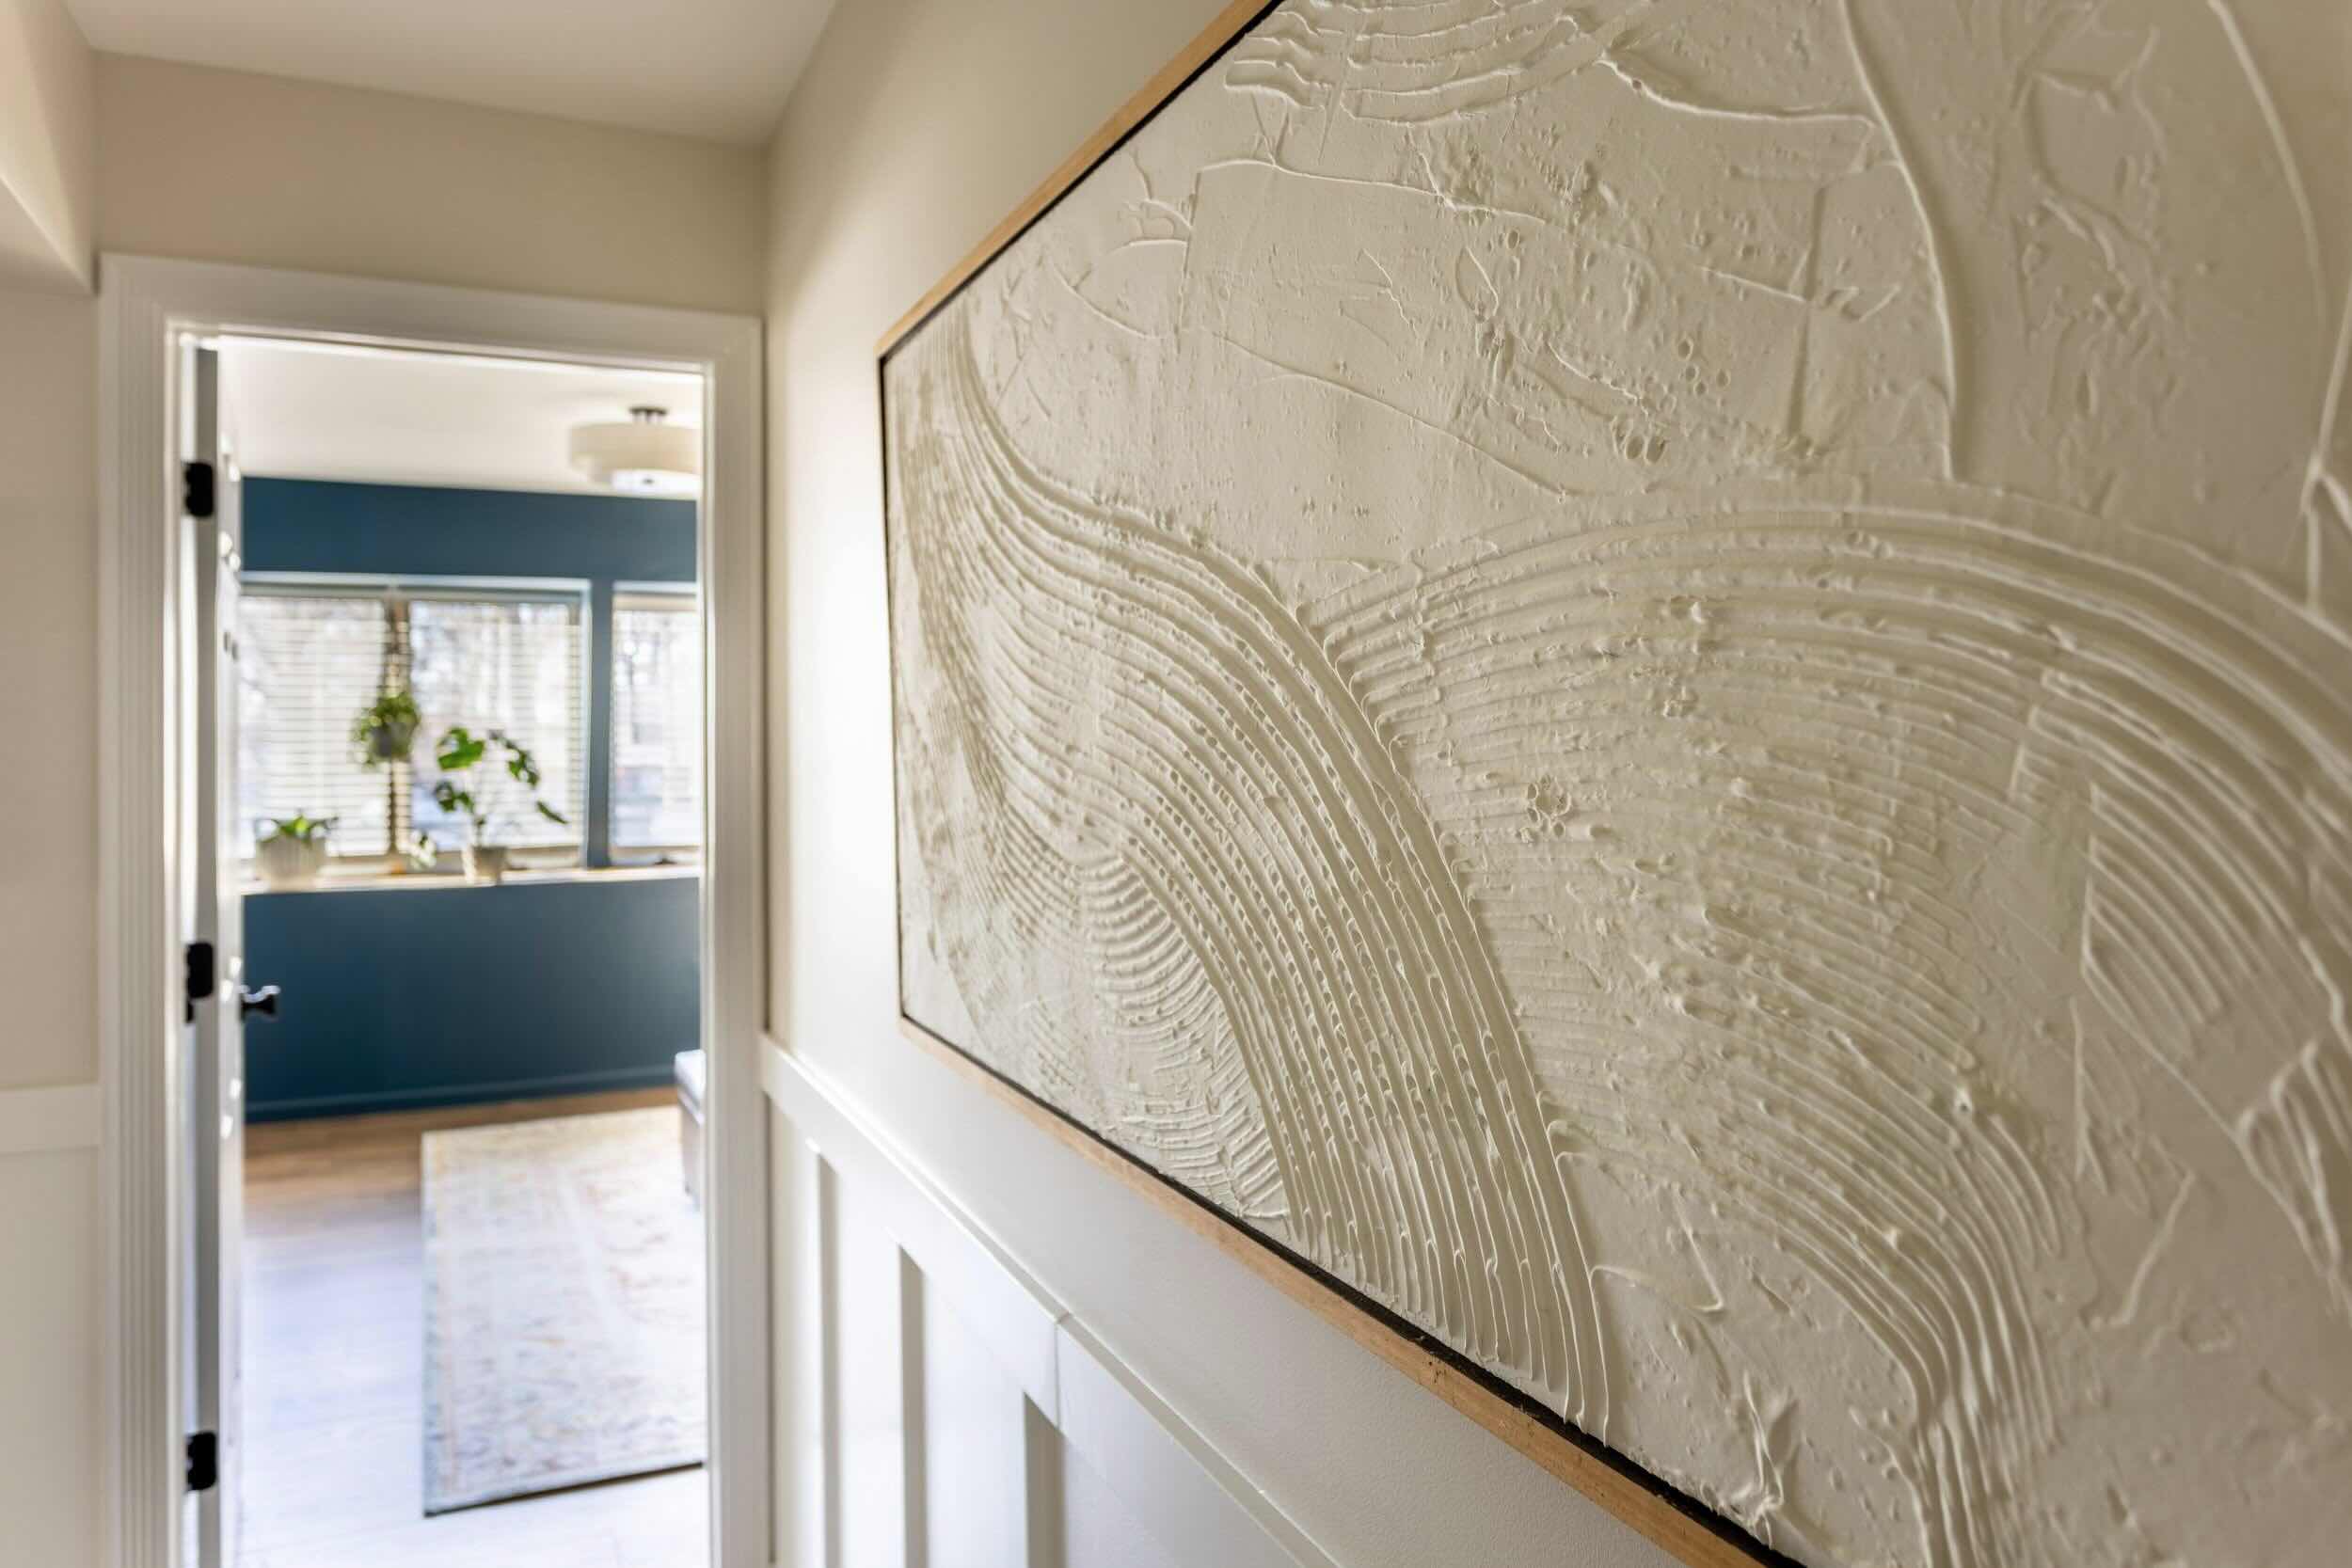
- Floating frames: For a modern and sleek look, consider using floating frames. These frames create the illusion that the artwork is floating within the frame, adding a unique touch to your bathroom wall art.
- Canvas wraps: If you have opted for canvas prints, you can choose to display them without a frame. Canvas wraps provide a contemporary look and allow the artwork to take center stage.
- Mounting materials: If you prefer a minimalist approach, you can mount your artwork directly on the wall using adhesive strips or hooks. This works well for lightweight pieces or if you want a more casual and effortless vibe.
When framing or mounting your artwork, ensure that it is securely attached and will not easily come loose. This is especially important in a bathroom environment, as moisture and humidity can potentially damage the artwork.
Take your time to carefully position the artwork within the frame or on the wall, ensuring it is straight and aligned. Use a level to double-check the placement and ensure a balanced arrangement.
Once your artwork is framed or mounted, it’s time to move on to the next step: arranging the artwork on the wall.
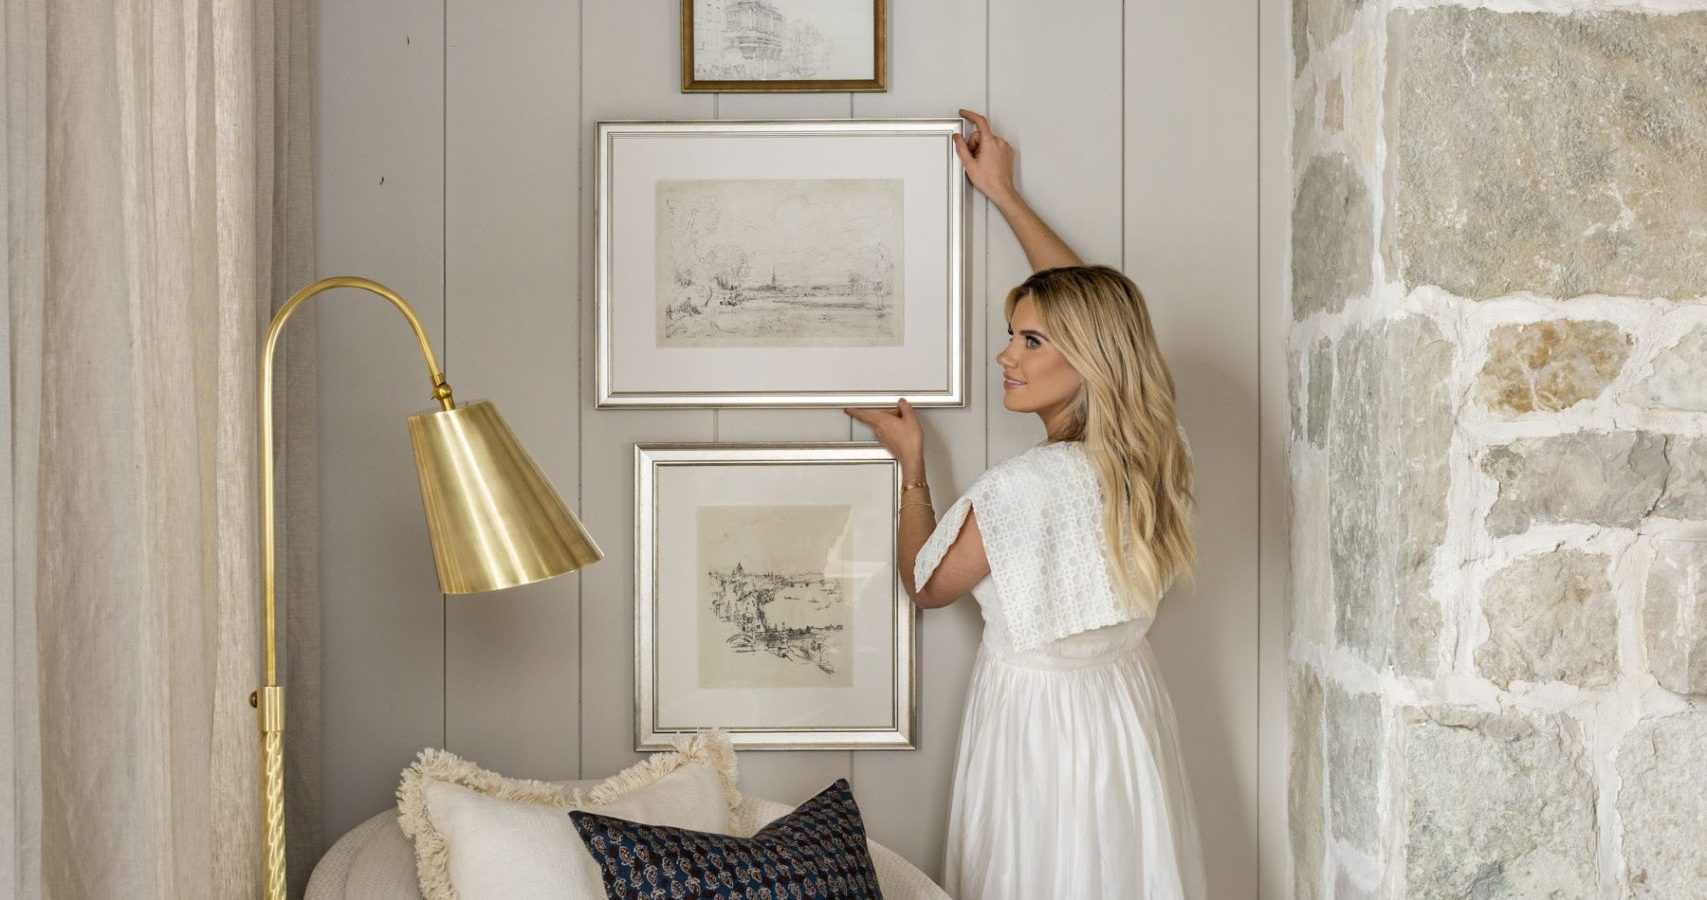
Step 5: Arrange the Artwork on the Wall
Now that you have your artwork framed or mounted, it’s time to arrange it on the wall in your bathroom. The placement and arrangement of your bathroom wall art can greatly impact the overall visual impact and balance of the space.
Here are some tips for arranging your artwork:
- Measure the wall: Before you start arranging, measure the wall space where you plan to hang the artwork. This will help you determine the optimal placement and ensure that the pieces fit well within the available area.
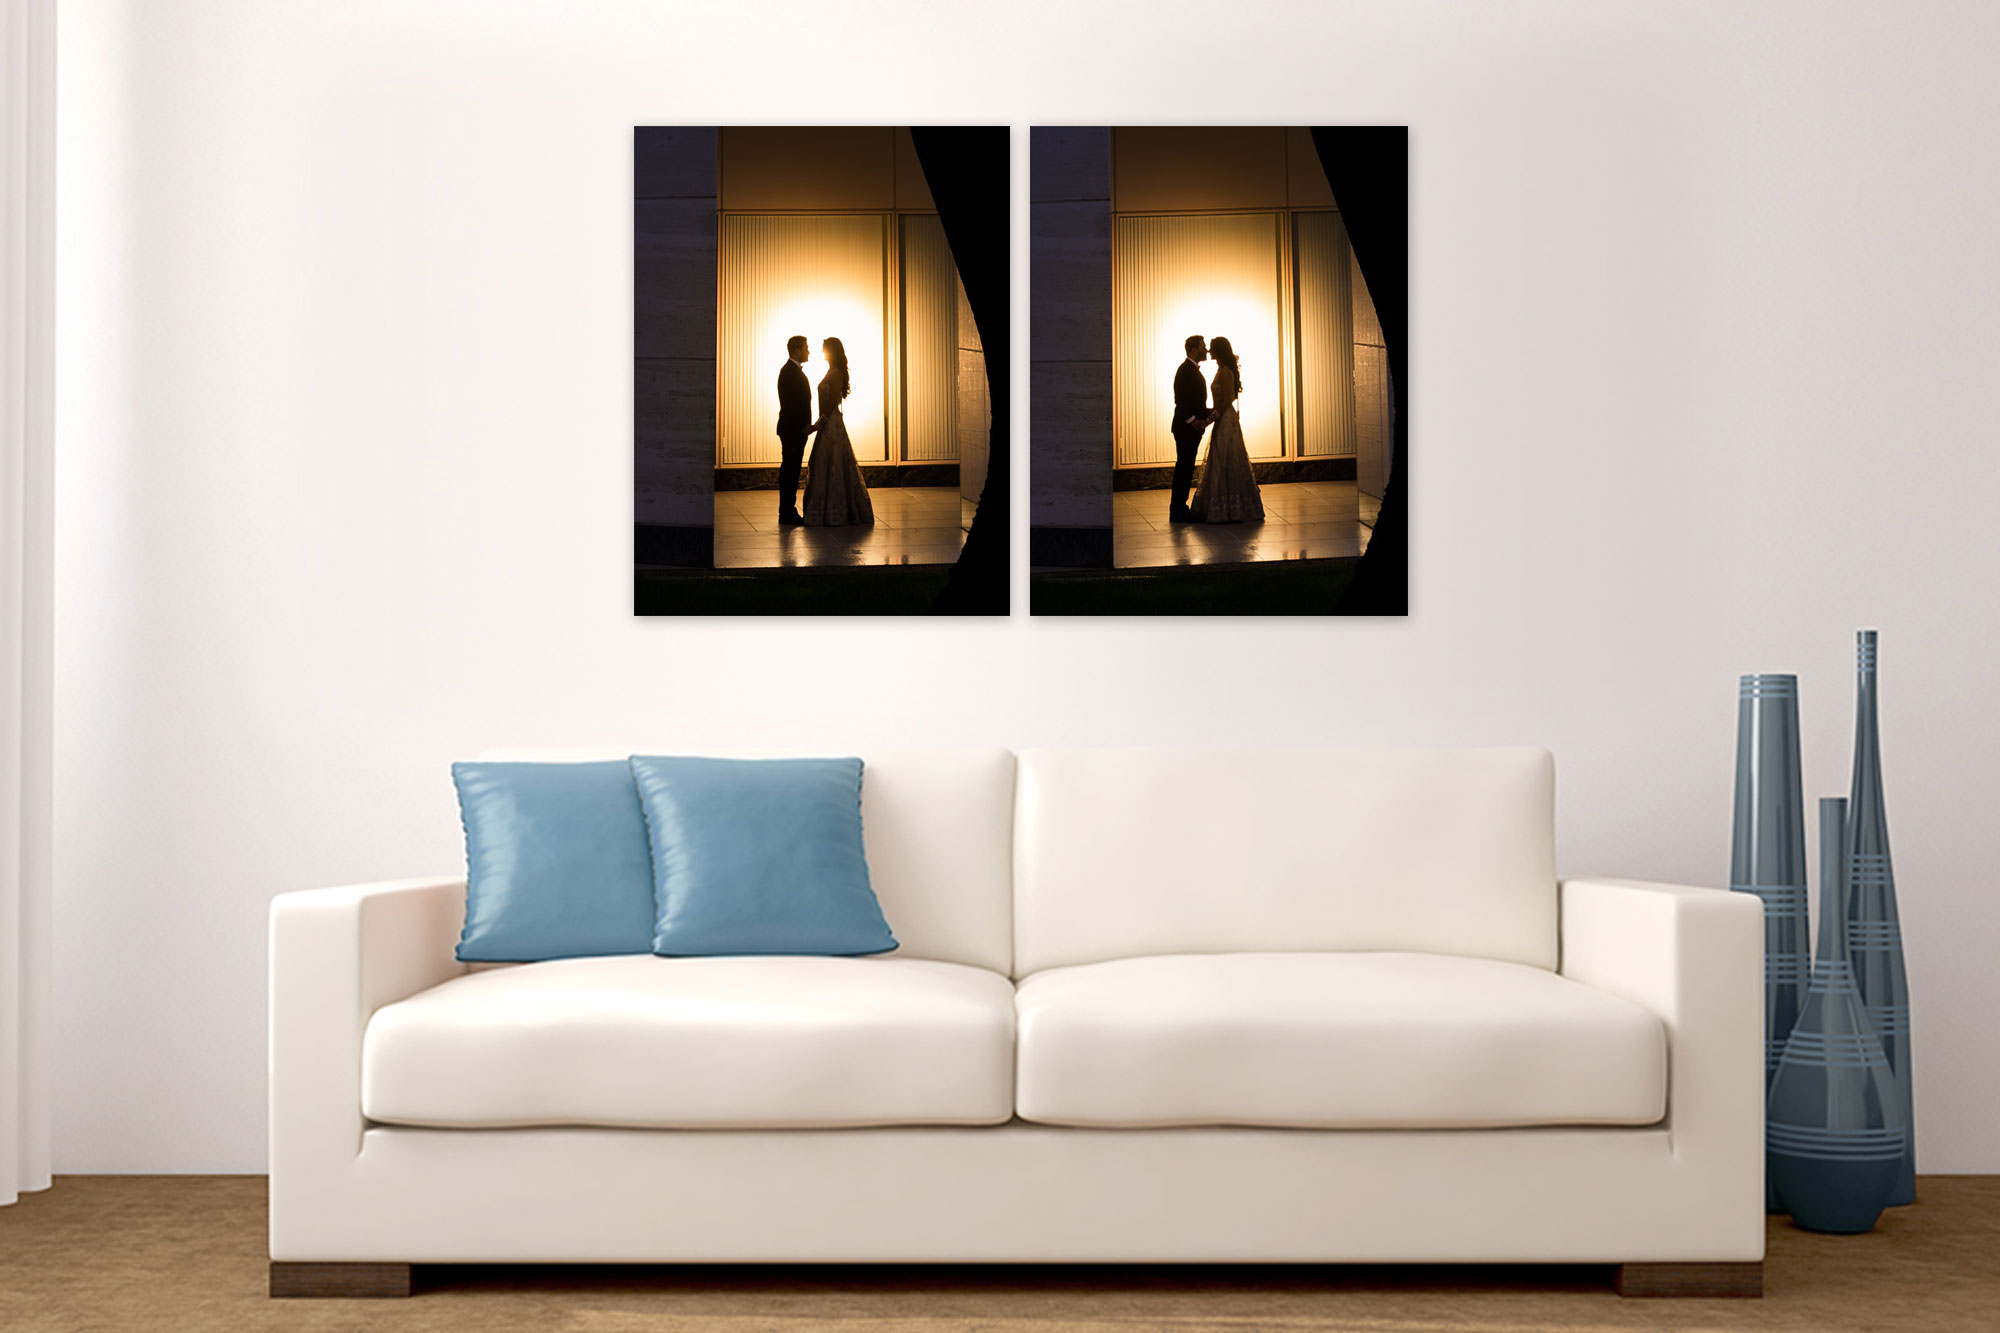
- Create a focal point: Choose one piece of artwork as the focal point and build the arrangement around it. This piece can be larger or more visually striking than the others, drawing attention and setting the tone for the entire arrangement.
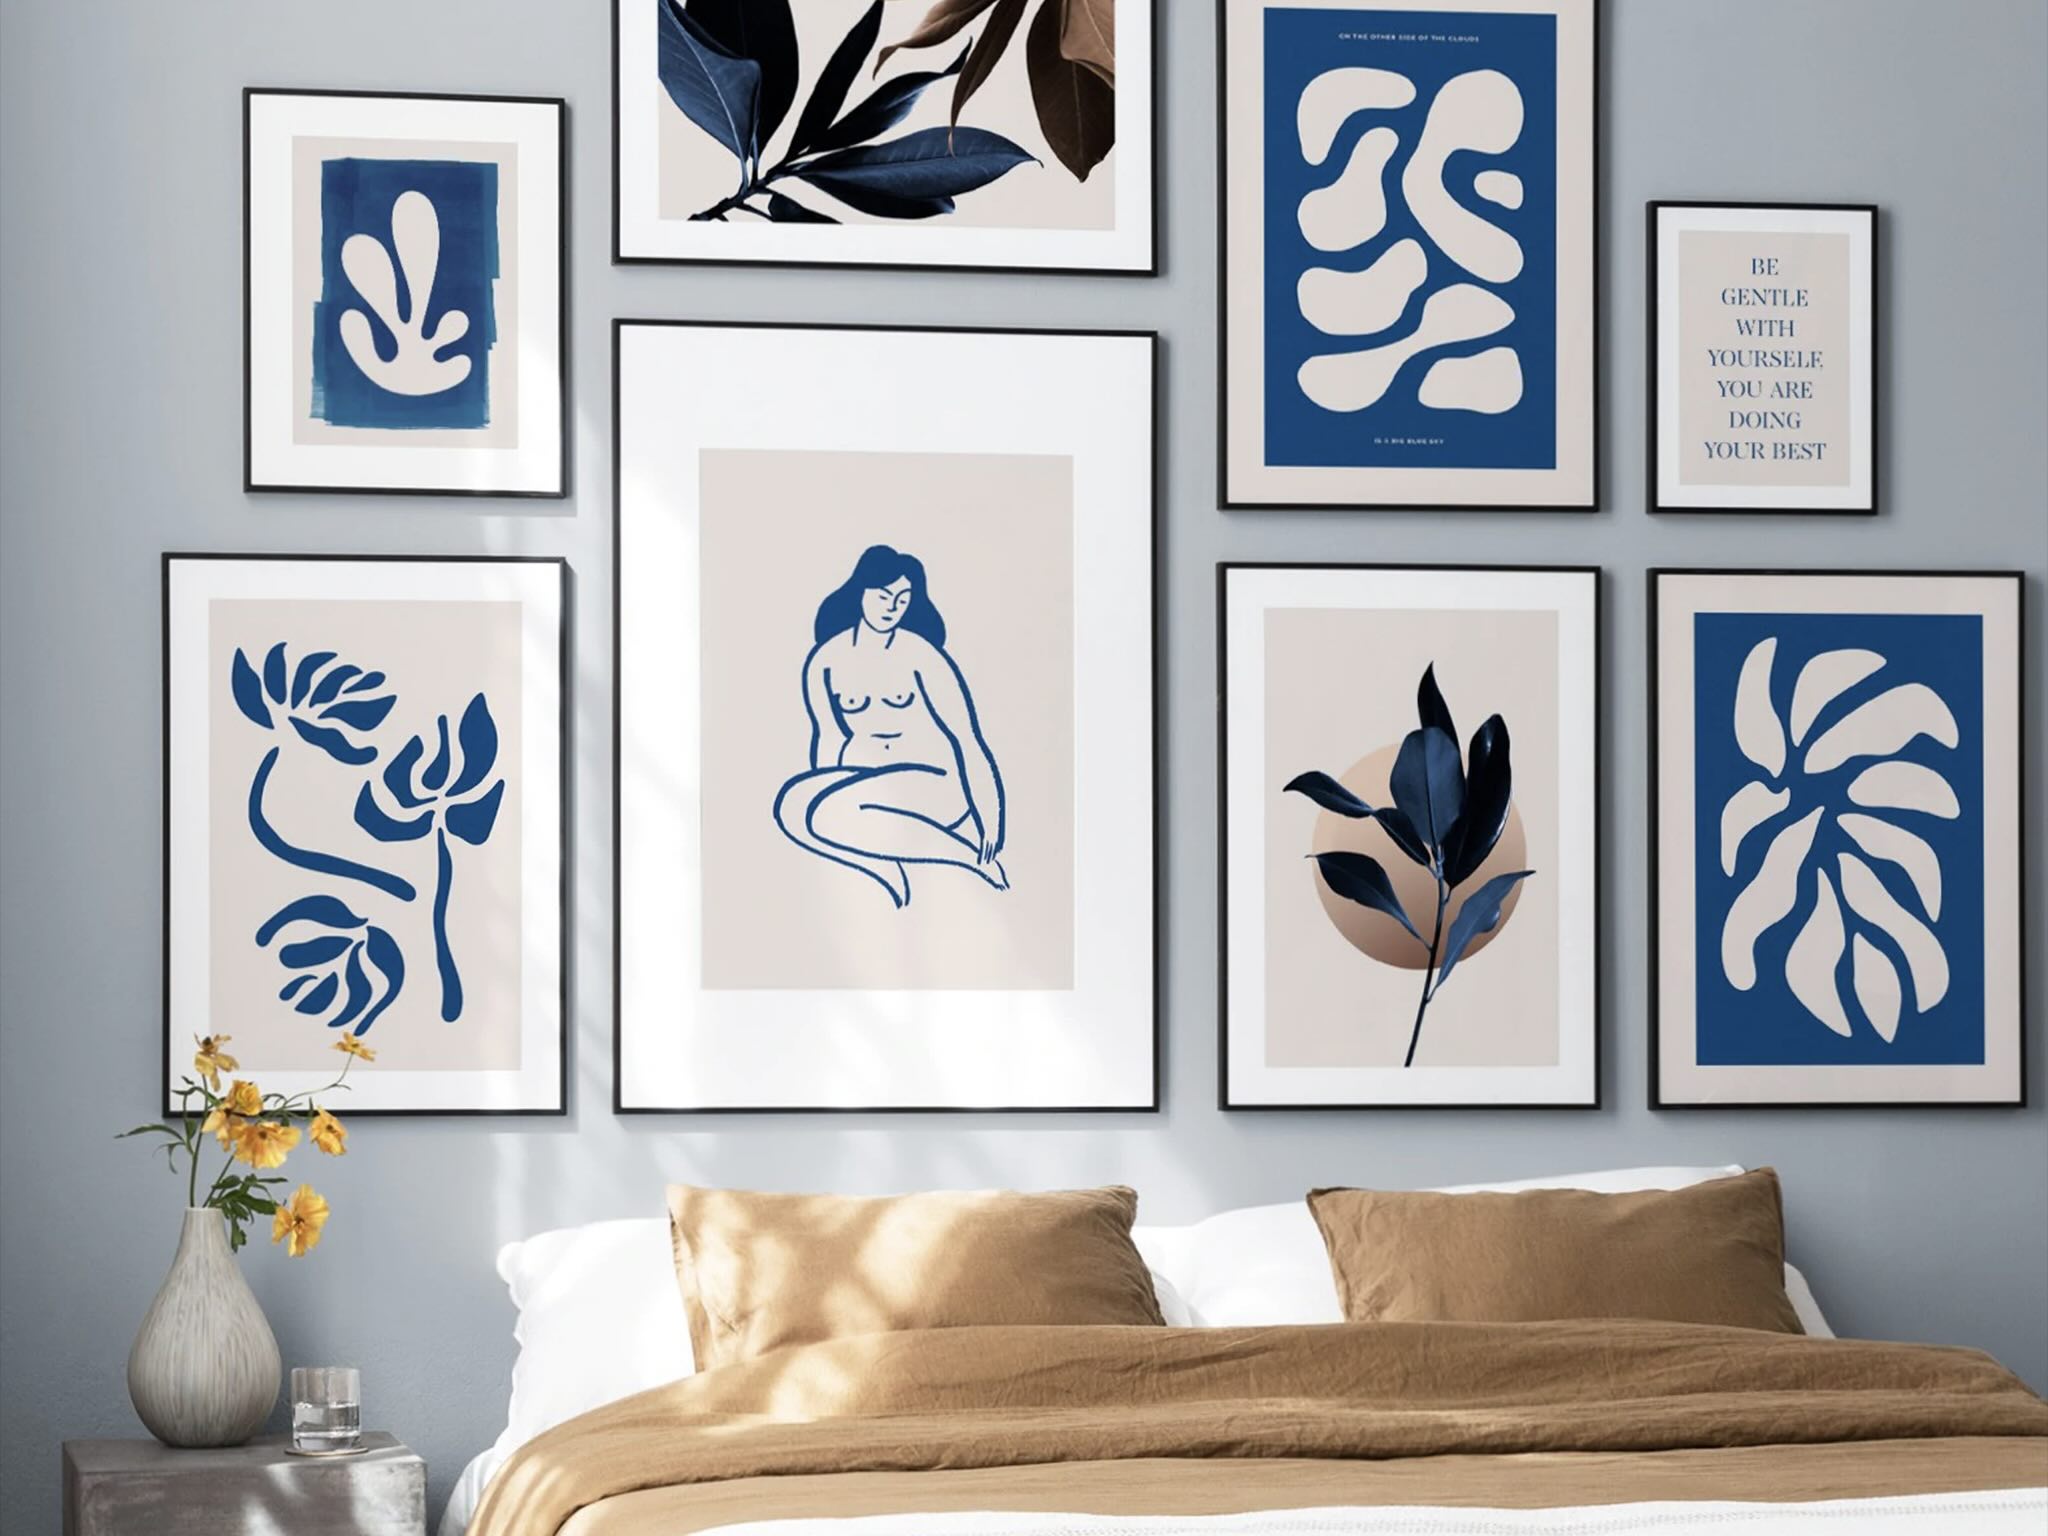
- Consider balance and symmetry: Aim for balance and symmetry when arranging your artwork. Place larger and visually heavier pieces near the center and balance them with smaller pieces on each side. This will create a harmonious and pleasing composition.
- Play with different layouts: Experiment with different layouts by arranging the artwork on the floor before hanging it. This will allow you to visualize different possibilities and find the arrangement that best suits your bathroom.
- Leave space between pieces: To avoid a cluttered and overwhelming look, leave some space between each piece of artwork. This will give each piece room to breathe and allow the arrangement to feel balanced and cohesive.
- Consider the alignment with other bathroom elements: Take into account the alignment of the artwork with other elements in your bathroom, such as mirrors, shelves, or fixtures. Make sure the arrangement complements and enhances the overall aesthetic of the space.
Remember, there are no hard and fast rules when it comes to arranging artwork. Trust your instincts and experiment with different options until you find the arrangement that you love.
Once you have arranged your artwork on the wall, it’s time to move on to the next step: adding decorative elements to enhance the overall look.
Step 6: Add Decorative Elements
Now that you have your artwork arranged on the wall, it’s time to add decorative elements to enhance the overall look and create a cohesive and visually appealing display.
Here are some decorative elements you can incorporate:
- Mirrors: Consider adding mirrors alongside or between the artwork to create visual interest and make the space feel larger. Mirrors can also reflect light and brighten up the bathroom.
- Shelves: Install shelves below or beside the artwork to display small decorative items, such as candles, plants, or trinkets. This adds texture and dimension to the display.
- Accent lighting: Install wall sconces or accent lights to highlight the artwork. This adds an extra layer of visual interest and creates a cozy ambiance in the bathroom.
- Greenery: Add a touch of nature by including small potted plants or hanging planters near the artwork. Plants not only bring life to the space but also help to purify the air.
- Bath accessories: Consider incorporating coordinated bath accessories, such as soap dispensers, toothbrush holders, or towels, that match the color or theme of your bathroom wall art. This creates a cohesive and polished look.
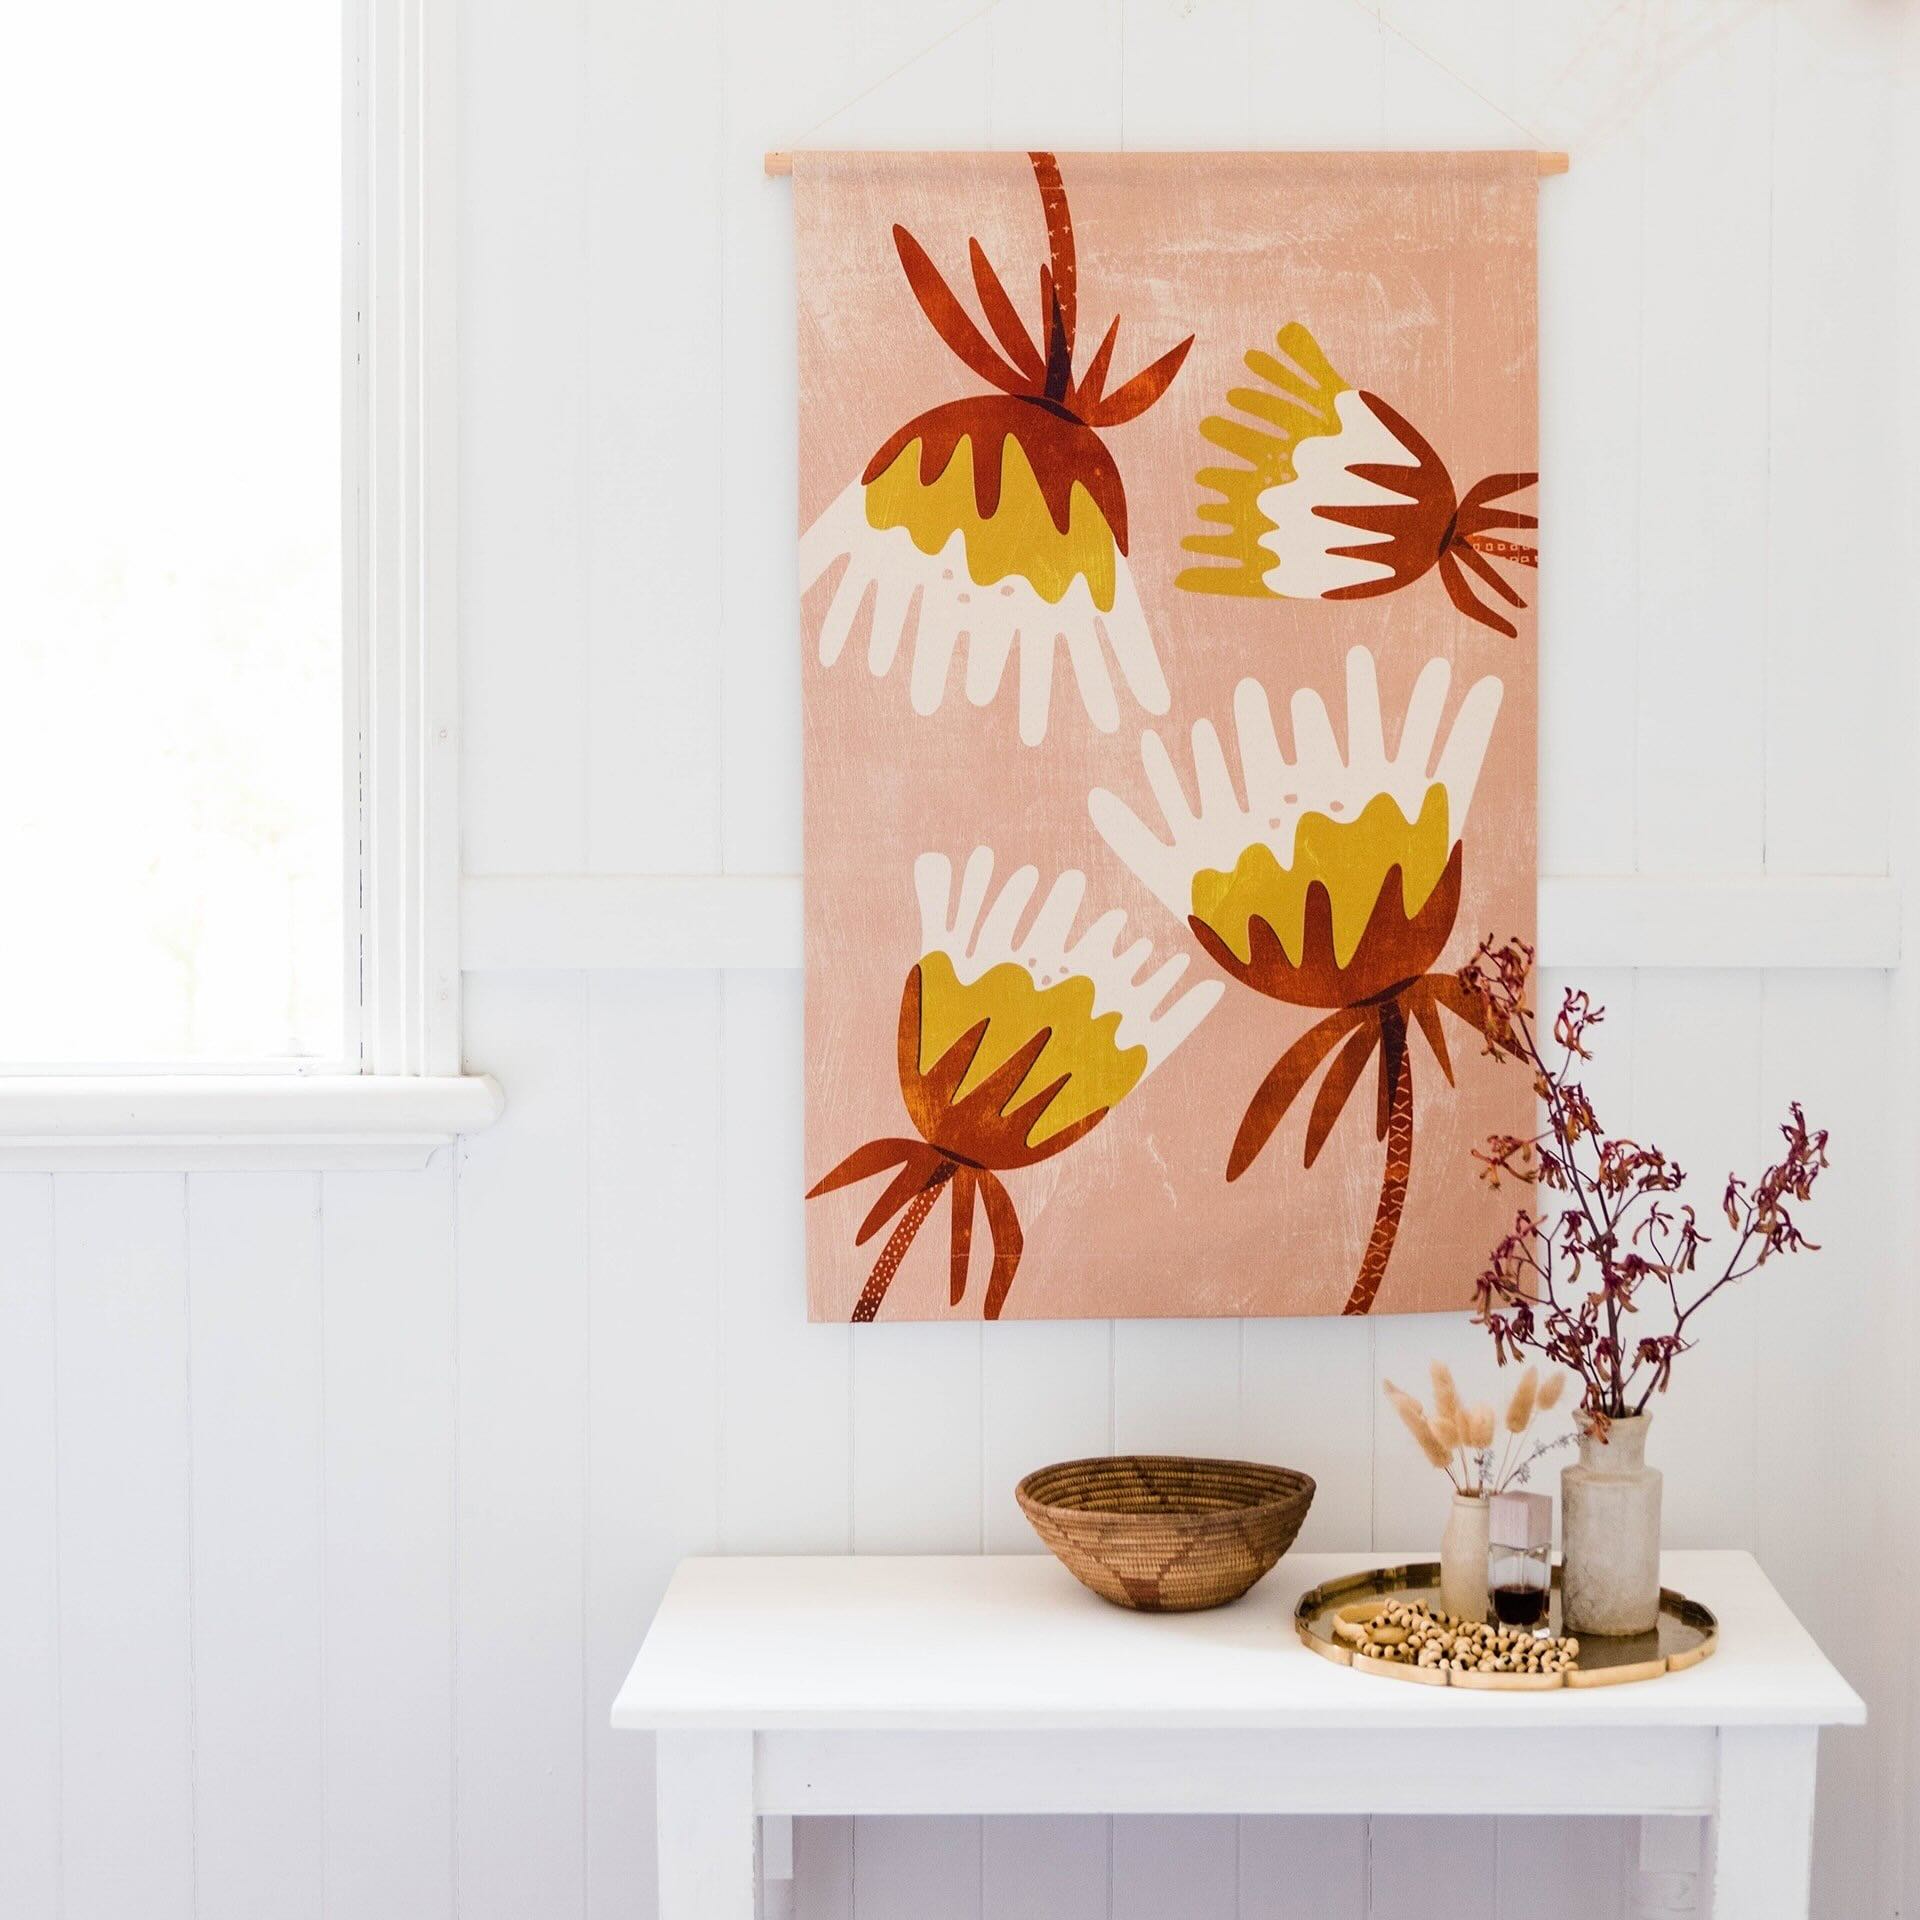
- Texture and materials: Introduce texture and materials that complement the theme and style of your bathroom wall art. This can be done through decorative baskets, woven wall hangings, or textured artwork.
Remember, the goal is to create a well-curated and visually pleasing display that reflects your personal style and enhances the overall ambiance of your bathroom.
Once you have added the decorative elements, it’s time to move on to the final step: hanging the artwork securely.
Step 7: Hang the Artwork Securely
After all the hard work of selecting, framing, arranging, and adding decorative elements, it’s crucial to hang your bathroom wall art securely to ensure it stays in place and withstands the test of time.
Follow these steps to hang your artwork securely:
- Prepare the wall: Ensure that the wall is clean and free from any dust or debris. Use a clean cloth to wipe down the area where you will be hanging the artwork.
- Mark the desired placement: Use a pencil or chalk to lightly mark the desired placement of each piece of artwork on the wall. This will help you ensure accurate placement before making any holes.
- Choose the right hanging method: Depending on the weight and size of your artwork, choose the appropriate hanging method. For lightweight pieces, adhesive hooks or picture hanging strips may be sufficient. For heavier pieces, use wall anchors, screws, or nails.
- Measure and level: Use a measuring tape and level to ensure accurate placement of your artwork. Measure the distance between the marked spots and use a level to make sure the artwork is straight.
- Securely hang the artwork: Carefully follow the instructions provided with your chosen hanging method. Attach hooks or nails to the marked spots on the wall, making sure they are securely in place.
- Hang the artwork: Hang each piece of artwork on its corresponding hook or nail. Double-check that each piece is properly aligned and securely attached to the wall.
- Adjust and finalize: Step back and assess the overall arrangement once all the artwork is hung. Make any necessary adjustments to the placement or alignment to achieve the desired look.
By following these steps, you can ensure that your bathroom wall art is securely hung and will stay in place for years to come.
With your bathroom wall art now beautifully displayed, take the time to enjoy and appreciate the transformed ambiance it brings to your space.
Congratulations on successfully building your bathroom wall art! Now you can take pride in the personalized and stylish oasis you’ve created.
Please note that you should always refer to the specific instructions provided with your chosen hanging method and consider the characteristics of your bathroom walls before making any holes or modifications.
Read more: How To Arrange Wall Art
Conclusion
Decorating your bathroom with wall art is a fantastic way to add personality, style, and visual interest to the space. By following the steps outlined in this guide, you can create a stunning and personalized bathroom wall art display that reflects your taste and enhances the ambiance of your bathroom.
From choosing the theme and gathering inspiration to selecting the artwork, framing or mounting it, arranging it on the wall, and adding decorative elements, each step plays a crucial role in the overall success of your project.
Remember to consider the size, color palette, and subject matter of the artwork to ensure it aligns with your chosen theme and complements the existing decor of your bathroom. Pay attention to balance, symmetry, and spacing when arranging the artwork, and consider adding decorative elements such as mirrors, shelves, and accent lighting to enhance the overall look.
As you hang your bathroom wall art, prioritize security and stability by using the appropriate hanging methods and ensuring each piece is securely attached to the wall.
By transforming your bathroom into a personalized oasis with carefully selected and arranged wall art, you create a space that is not only functional but also visually captivating and enjoyable to spend time in. Let your creativity shine and have fun bringing your vision to life.
With the knowledge and inspiration gained from this guide, you are now ready to embark on your bathroom wall art project. Enjoy the process and revel in the beauty of your newly adorned bathroom walls!
Frequently Asked Questions about How To Build Bathroom Wall Art
Was this page helpful?
At Storables.com, we guarantee accurate and reliable information. Our content, validated by Expert Board Contributors, is crafted following stringent Editorial Policies. We're committed to providing you with well-researched, expert-backed insights for all your informational needs.
0 thoughts on “How To Build Bathroom Wall Art”