Articles
How To Make Wood Wall Art
Modified: December 7, 2023
Learn how to create stunning wood wall art with our step-by-step articles. Discover unique designs and techniques to enhance your home decor.
(Many of the links in this article redirect to a specific reviewed product. Your purchase of these products through affiliate links helps to generate commission for Storables.com, at no extra cost. Learn more)
Introduction
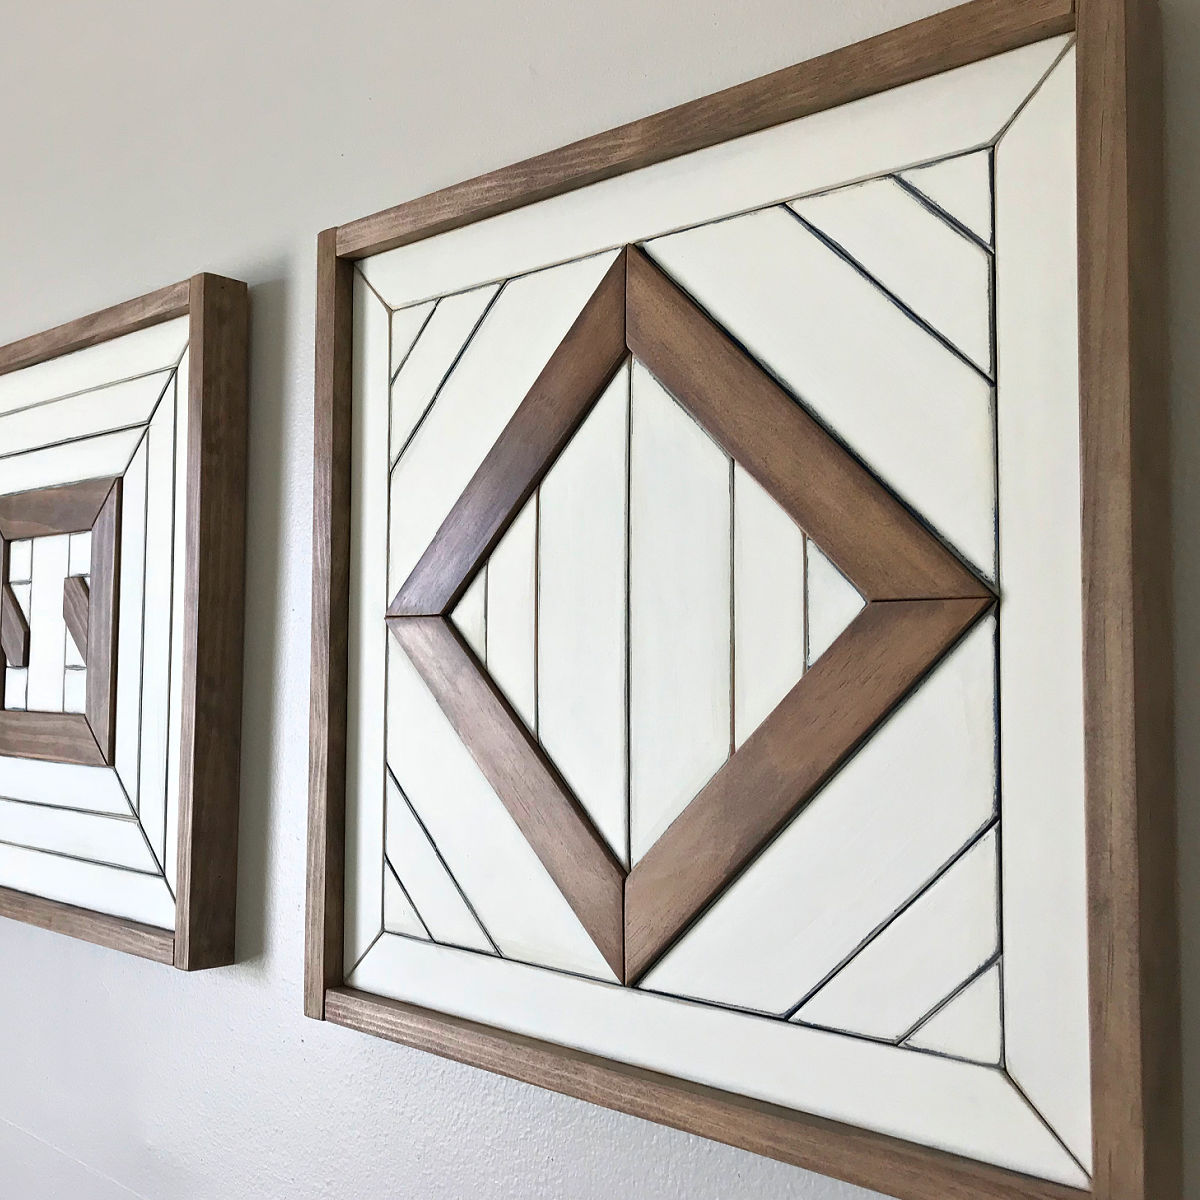
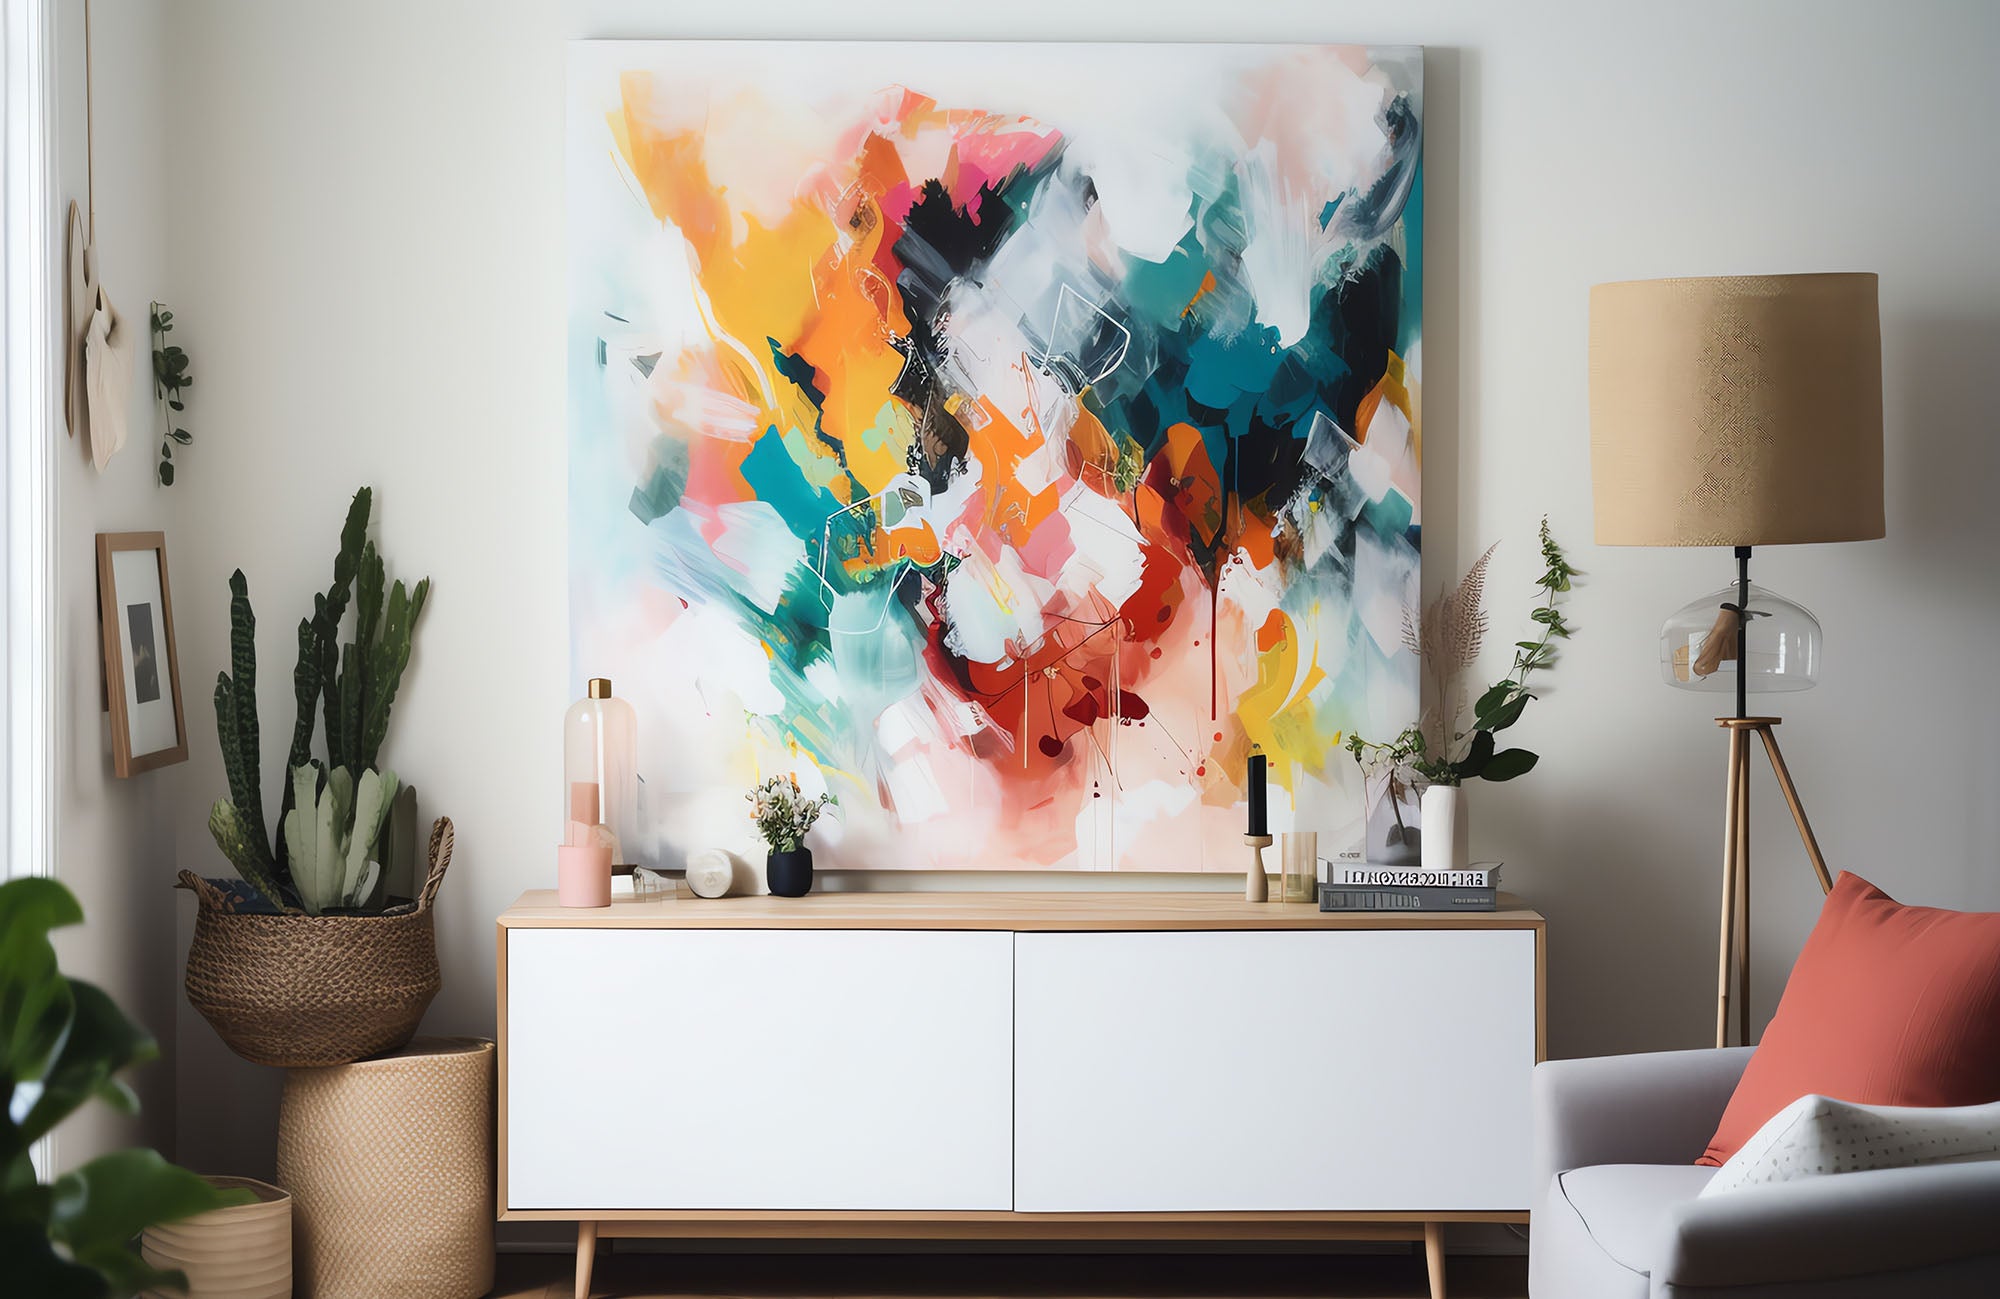
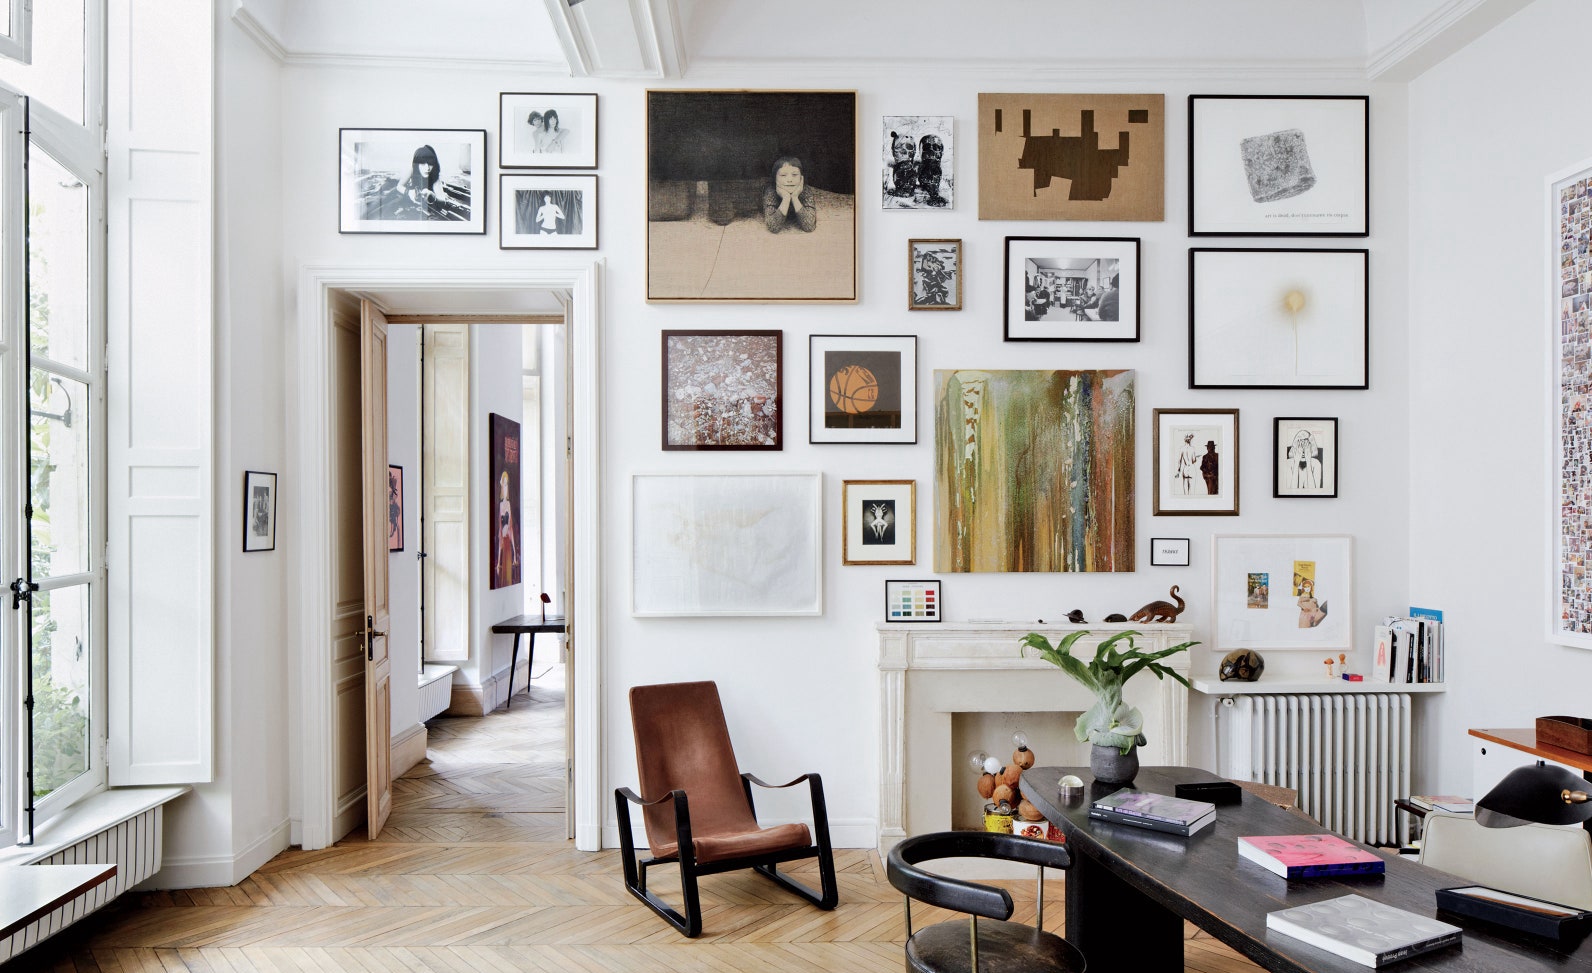
Wood wall art is a beautiful and versatile way to add a unique touch to your home decor. Whether you want to create a stunning focal point in your living room, add a personal touch to your bedroom, or elevate the style of your office, wood wall art can be the perfect solution. With a wide variety of designs and styles to choose from, you can find or create a piece of wood wall art that perfectly reflects your personal taste and complements your existing decor.
In this article, we will walk you through the step-by-step process of creating your own wood wall art. We will cover everything from selecting the right type of wood to designing and finishing your artwork. So, whether you’re a seasoned DIY enthusiast or a beginner looking to try your hand at a new project, this guide will provide you with all the information and inspiration you need to create stunning wood wall art that you can proudly display in your home.
Before we dive into the process, let’s take a quick look at some of the materials you will need for this project.
Key Takeaways:
- Create stunning wood wall art by selecting the right wood, designing with creativity, and adding unique details to reflect your personal style and enhance your living space.
- Transform your home decor with DIY wood wall art, from preparing the wood to sealing the artwork, and choosing the perfect display method to showcase your creative masterpiece.
Read more: How To Make Stained Wood Pallet Wall Art
Materials Needed
Before starting your wood wall art project, gather the following materials:
- Wood: Choose a high-quality piece of wood that fits your desired size and shape for the artwork.
- Saw: A saw is needed to cut the wood to your desired dimensions and shape.
- Sandpaper: Sanding the wood is important for creating a smooth and polished surface.
- Paint or Stain: Decide whether you want to paint or stain the wood, and gather the necessary supplies accordingly.
- Brushes or Rollers: For applying the paint or stain onto the wood.
- Design Template or Stencil: If you prefer a specific design, have a template or stencil ready to transfer onto the wood.
- Pencil or Pen: You will need a pencil or pen to trace or draw the design onto the wood.
- Detailing Tools: Depending on the complexity of your design, you may need additional tools such as brushes or markers for adding details.
- Sealer: A sealer or varnish will help protect and preserve your artwork.
- Hanging Hardware: If you plan on displaying your wood wall art, gather the necessary hardware for mounting or hanging.
Having these materials ready will ensure a smooth and efficient wood wall art project. Now that you have everything you need, let’s move on to the step-by-step process of creating your own wood wall art.
Step 1: Selecting the Wood
The first step in creating your wood wall art is to choose the right type of wood. The type of wood you select will depend on your personal preference, budget, and the overall aesthetic you want to achieve. Here are a few options to consider:
1. Solid Wood: Solid wood is a popular choice for wood wall art because of its natural beauty and durability. Some common types of solid wood include oak, pine, maple, and birch. Solid wood is available in various thicknesses and can be easily cut and shaped to your desired dimensions.
2. Plywood: Plywood is another option that is popular for wood wall art projects. It is made by gluing thin layers of wood together, resulting in a strong and stable material. Plywood comes in different grades, so make sure to choose one that has a smooth surface and minimal imperfections.
3. Reclaimed Wood: If you prefer a more rustic or eco-friendly look, consider using reclaimed wood. Reclaimed wood is salvaged from old buildings, barns, or other sources, giving it a unique character and history. It can add charm and a sense of nostalgia to your wood wall art.
When selecting your wood, take into account the size and shape of your desired artwork. Consider the dimensions of the space where you plan to display the piece and choose a size that fits proportionally. Additionally, keep in mind the weight of the wood, especially if you plan to hang the artwork.
Once you have chosen the type of wood, you can purchase it from a local home improvement store or online. Make sure to inspect the wood for any defects or damage before making your final selection.
Now that you have selected the wood for your project, it’s time to move on to the next step: preparing the wood for your artwork.
Step 2: Preparing the Wood
After selecting the wood for your wood wall art, the next step is to prepare it for the artwork. This involves a few important steps to ensure that the wood is clean, smooth, and ready for painting or staining.
1. Sanding: Begin by sanding the surface of the wood to remove any rough spots, splinters, or imperfections. Start with a coarse-grit sandpaper and gradually move to a finer grit for a smooth finish. Sand in the direction of the wood grain to avoid scratches, and make sure to sand the edges and corners as well.
2. Cleaning: After sanding, use a clean cloth or a brush to remove any dust or debris from the wood’s surface. This will ensure that the paint or stain adheres properly and results in a flawless finish.
3. Filling and Repairing: If there are any deep scratches, holes, or gaps in the wood, you may need to fill them with wood filler or putty. Follow the manufacturer’s instructions and let it dry completely before moving on to the next step.
4. Smoothing the Edges: If you want to achieve a more polished look, consider rounding or chamfering the edges of the wood. This can be done using sandpaper or a router, depending on the desired effect.
By properly preparing the wood, you will create a clean and even surface that will serve as the canvas for your artwork. Once the wood is sanded, cleaned, and repaired, you are ready to move on to the next step: designing the artwork.
Step 3: Designing the Artwork
Designing the artwork is an exciting step in the process of creating wood wall art. This is where you can let your creativity shine and make your piece truly unique. Here are a few tips to help you design your artwork:
1. Inspiration: Start by gathering inspiration from various sources such as online platforms, magazines, nature, or your own imagination. Look for patterns, shapes, and themes that resonate with you and align with your overall vision for the wood wall art.
2. Sketching: Use a pencil and paper to sketch out your design. Experiment with different shapes, motifs, and layouts until you are satisfied with the final composition. Feel free to make revisions and explore different ideas before finalizing the design.
3. Consider the Wood: Take into account the natural characteristics of the wood you have chosen. The grain pattern, texture, and color of the wood can influence the overall look and feel of the artwork. Incorporate the unique features of the wood into your design to create a harmonious and cohesive piece.
4. Size and Placement: Determine the overall size and placement of the design on the wood. Consider the dimensions of the wood piece and how it will fit within the space you plan to display it. Pay attention to proportions and ensure that the design is centered or positioned according to your preference.
5. Taping or Tracing: Once you have finalized the design, you can transfer it onto the wood. You can do this by taping the sketch onto the wood and tracing the lines, or by using a transfer paper or stencil to transfer the design directly onto the wood surface.
Remember, designing the artwork is a creative process, so allow yourself to explore different ideas and let your personal style shine through. Once you have transferred the design onto the wood, you are ready to move on to the next step: cutting and sanding the wood.
Read more: How To Make Fabric Wall Art
Step 4: Transferring the Design onto the Wood
Once you have finalized your design for the wood wall art, it’s time to transfer it onto the wood surface. This step is crucial to ensure that your artwork is accurately represented on the wood and will guide you during the cutting and painting process. Here’s how you can transfer your design:
1. Tape Method:
- Place your design sketch on top of the wood surface and secure it with tape.
- Using a pencil or pen, trace the lines of your design onto the wood, applying firm and even pressure.
- Remove the tape and design sketch to reveal the transferred lines on the wood.
2. Transfer Paper Method:
- Place a sheet of transfer paper on top of the wood surface, with the colored side facing down.
- Position your design sketch on top of the transfer paper.
- Using a pencil or pen, trace the lines of your design, pressing firmly to transfer the graphite onto the wood.
- Remove the transfer paper and design sketch to reveal the transferred lines on the wood.
3. Stencil Method:
- If you have a stencil of your design, align it on the wood surface and secure it with tape.
- Using a brush or sponge, apply paint or a marker through the openings of the stencil, creating the design on the wood.
- Carefully remove the stencil to reveal the completed design on the wood.
Choose the method that works best for you and the complexity of your design. Take your time to ensure that the design is accurately transferred, as any mistakes may affect the final outcome of your artwork. Once you have successfully transferred the design onto the wood, you can proceed to the next step: cutting and sanding the wood.
When making wood wall art, consider using different wood stains and finishes to create depth and visual interest. Experiment with layering and blending colors to achieve a unique and eye-catching piece.
Step 5: Cutting and Sanding the Wood
Now that you have transferred the design onto the wood, it’s time to bring your wood wall art to life by cutting and sanding the wood according to the outlined shape. This step is essential to create clean lines and smooth edges. Here’s how you can proceed:
1. Cutting the Wood:
- Using a saw suitable for the type of wood you are working with, carefully cut along the traced lines of your design.
- Take your time to ensure precise cuts, following the curves and angles of the design.
- For intricate designs, you may need to use smaller cutting tools such as a jigsaw or scroll saw to achieve finer details.
- Remember to exercise caution and wear appropriate safety gear when working with power tools.
- Once you have completed the cuts, you should have a wooden piece that resembles the shape of your design.
2. Sanding the Wood:
- Begin sanding the edges and surfaces of the cut wood using sandpaper or a sanding block.
- Start with a coarse-grit sandpaper to remove any rough edges or imperfections.
- Gradually transition to finer-grit sandpaper to achieve a smooth and polished finish.
- Sand in the direction of the wood grain to avoid scratches.
- Continue sanding until the wood feels smooth to the touch.
- Wipe away any dust or debris with a clean cloth or brush.
By carefully cutting and sanding the wood, you will ensure that your wood wall art is visually appealing and comfortable to touch. Once you are satisfied with the shape and smoothness of the wood piece, you can proceed to the next step: painting or staining the wood.
Step 6: Painting or Staining the Wood
After cutting and sanding the wood for your wall art, it’s time to add color and personality to your piece. Whether you choose to paint or stain the wood, this step will bring your design to life and create a stunning visual impact. Here’s how you can paint or stain the wood:
Painting the Wood:
- Start by choosing the paint colors that align with your design and desired aesthetic.
- Prepare the paint by stirring it thoroughly and pouring it into a paint tray or container.
- Use a brush or roller to apply an even layer of paint onto the wood, following the grain and contours of the design.
- Allow the paint to dry completely before applying additional coats if desired.
- Repeat the painting process, ensuring each layer is fully dry, until you achieve the desired color and coverage.
- For a distressed or aged look, you can lightly sand certain areas of the painted wood to expose the natural wood underneath.
- Once the paint is fully dry, consider adding additional details or enhancements with different paint colors or techniques.
Staining the Wood:
- Choose a wood stain that complements the selected wood type and overall design.
- Prepare the wood surface by applying a wood conditioner if necessary, following the manufacturer’s instructions.
- Using a brush or cloth, apply the wood stain onto the surface, following the grain of the wood.
- Allow the stain to penetrate the wood for the recommended time, typically 5-15 minutes.
- Wipe away any excess stain with a clean cloth, ensuring an even and smooth finish.
- If desired, you can apply multiple coats of stain to deepen the color, allowing sufficient drying time between each coat.
- Consider applying a clear protective finish, such as polyurethane or varnish, to seal and protect the stained wood.
Regardless of whether you choose to paint or stain the wood, take your time and ensure even coverage and smooth application. Allow the paint or stain to fully dry before moving on to the next step to avoid any smudging or damage. Once the paint or stain is dry and you are satisfied with the color and finish, you can proceed to the next step: adding details or enhancements to your wood wall art.
Step 7: Adding Details or Enhancements
Adding details or enhancements to your wood wall art can take it to the next level and add a unique touch. Whether it’s adding texture, incorporating additional colors, or applying decorative elements, this step allows you to personalize your artwork and make it truly one-of-a-kind. Here are some ideas for adding details or enhancements:
1. Texture: Consider adding texture to certain areas of your wood wall art to create depth and visual interest. You can achieve this by using techniques such as dry brushing, stippling, or sponging. Experiment with different brushes, sponges, or even natural materials like leaves or fabric to create texture.
2. Metallic Accents: Introduce metallic elements to your wood wall art by using metallic paints, foils, or leafing. This can add a touch of elegance and sophistication to your design. Apply metallic accents to specific areas or lines of your artwork to create highlights and catch the light.
3. Wood Burning: If you want to add intricate patterns or designs, wood burning is a technique worth considering. Using a wood burning tool, carefully etch or burn your desired design onto the wood surface. This technique allows for fine details and creates a beautiful rustic effect.
4. Introduce Other Materials: Explore the combination of wood with other materials to create visually striking contrasts. You can incorporate elements such as metal, fabric, glass, or even natural materials like shells or stones. Combine these materials with the wood to further enhance your artwork.
5. Mixed Media: Get creative by incorporating mixed media techniques into your wood wall art. Experiment with acrylic paints, watercolors, ink, collage, or decoupage to add layers, depth, and interest to your design. This allows for a wide range of artistic possibilities and can make your artwork truly unique and captivating.
When adding details or enhancements, keep in mind the overall balance and harmony of your design. Take a step back and assess your work periodically to ensure that the additions are enhancing the piece rather than overwhelming it.
Once you are satisfied with the details and enhancements you have made, proceed to the next step: sealing the artwork to protect it and add a professional finish.
Read more: How To Make A Mosaic Wall Art
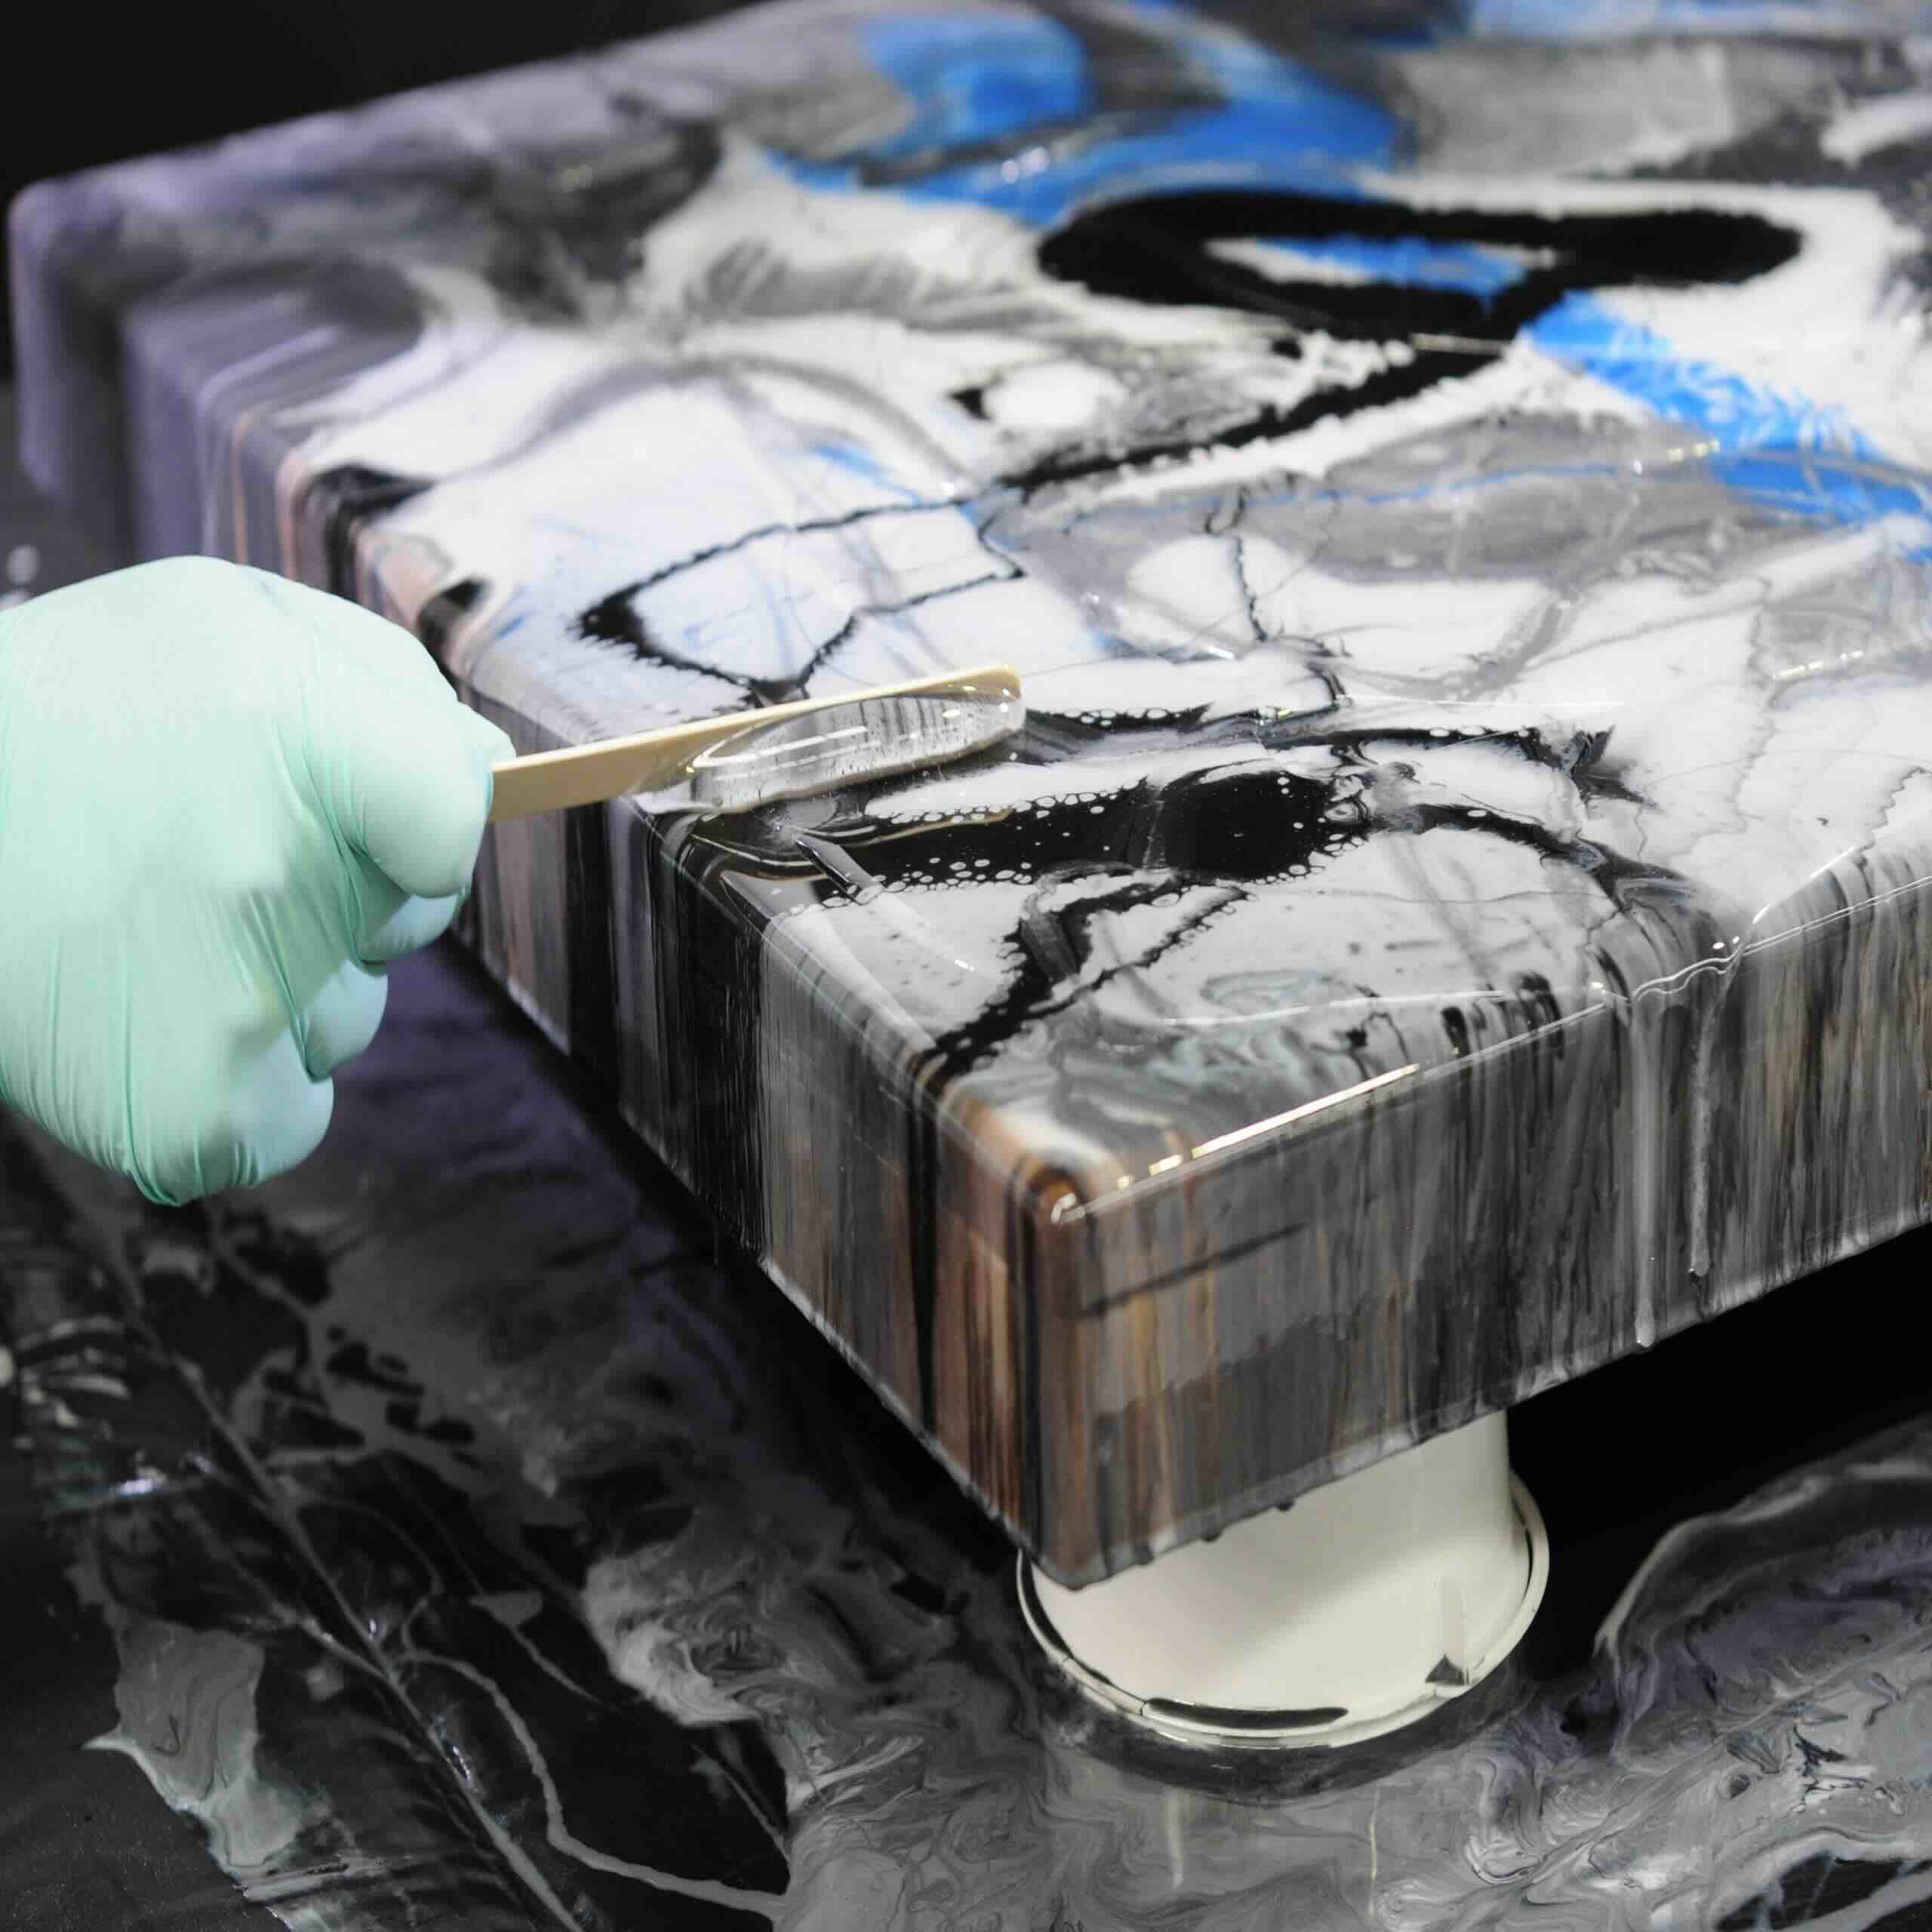
Step 8: Sealing the Artwork
Sealing your wood wall art is an important step to protect it from wear and tear and to ensure its longevity. Sealing the artwork also adds a professional and finished look to your piece. Here’s how you can seal your wood wall art:
1. Choose the Sealer:
There are various options for sealing your wood wall art, such as polyurethane, varnish, or wax. Consider the type of finish you desire and the level of protection needed for your artwork. Read the manufacturer’s instructions and select a sealer that is suitable for your wood type and the paint or stain used.
2. Prepare the Surface:
Make sure that the wood surface is clean and free from dust or debris before applying the sealer. Use a clean cloth or brush to wipe away any particles that may interfere with the sealing process.
3. Apply the Sealer:
Using a clean brush or roller, apply the sealer evenly over the entire surface of the wood. Follow the grain of the wood and ensure that there are no streaks or excess sealer pooling in one area. Take care to cover all edges and corners of the artwork.
4. Let it Dry:
Allow the sealer to dry completely according to the manufacturer’s instructions. This may take several hours or more, depending on the type of sealer used. Make sure to provide adequate ventilation during the drying process.
5. Sand and Repeat (Optional):
If desired, you can lightly sand the sealed surface with fine-grit sandpaper to achieve a smoother finish. This step helps remove any imperfections and allows for additional coats of sealer for added protection.
6. Apply Additional Coats (Optional):
If you want to add more layers of protection, you can apply additional coats of sealer. Make sure to sand lightly between each coat to promote adhesion. Follow the manufacturer’s recommendations for drying times between coats.
Sealing your wood wall art not only protects it from damage but also enhances the colors and finish of the artwork. Once the sealer is dry, you can move on to the final step: mounting or hanging your wood art.
Step 9: Mounting or Hanging the Wood Art
Now that your wood wall art is complete, it’s time to decide how you will display it. Depending on the size and weight of your artwork, you have various options for mounting or hanging it. Here are some common methods:
1. Picture Hanging Strips:
If your wood wall art is lightweight and has a flat back, consider using picture hanging strips. These adhesive strips are designed to hold frames and artwork securely to the wall without the need for nails or screws. Follow the manufacturer’s instructions to ensure proper adhesion and weight capacity.
2. Sawtooth Hangers:
If your wood wall art has a solid, flat back, you can attach a sawtooth hanger to the top center of the artwork. This type of hanger features small teeth that securely grip onto nails or screws in the wall. Use a level to ensure proper alignment before mounting.
3. D-Ring Hangers:
Slightly more secure than sawtooth hangers, D-ring hangers are attached to both sides of the back of the wood. They provide stability and prevent the artwork from shifting. Use screws or nails to hang the D-rings on the wall, making sure they are level and evenly spaced.
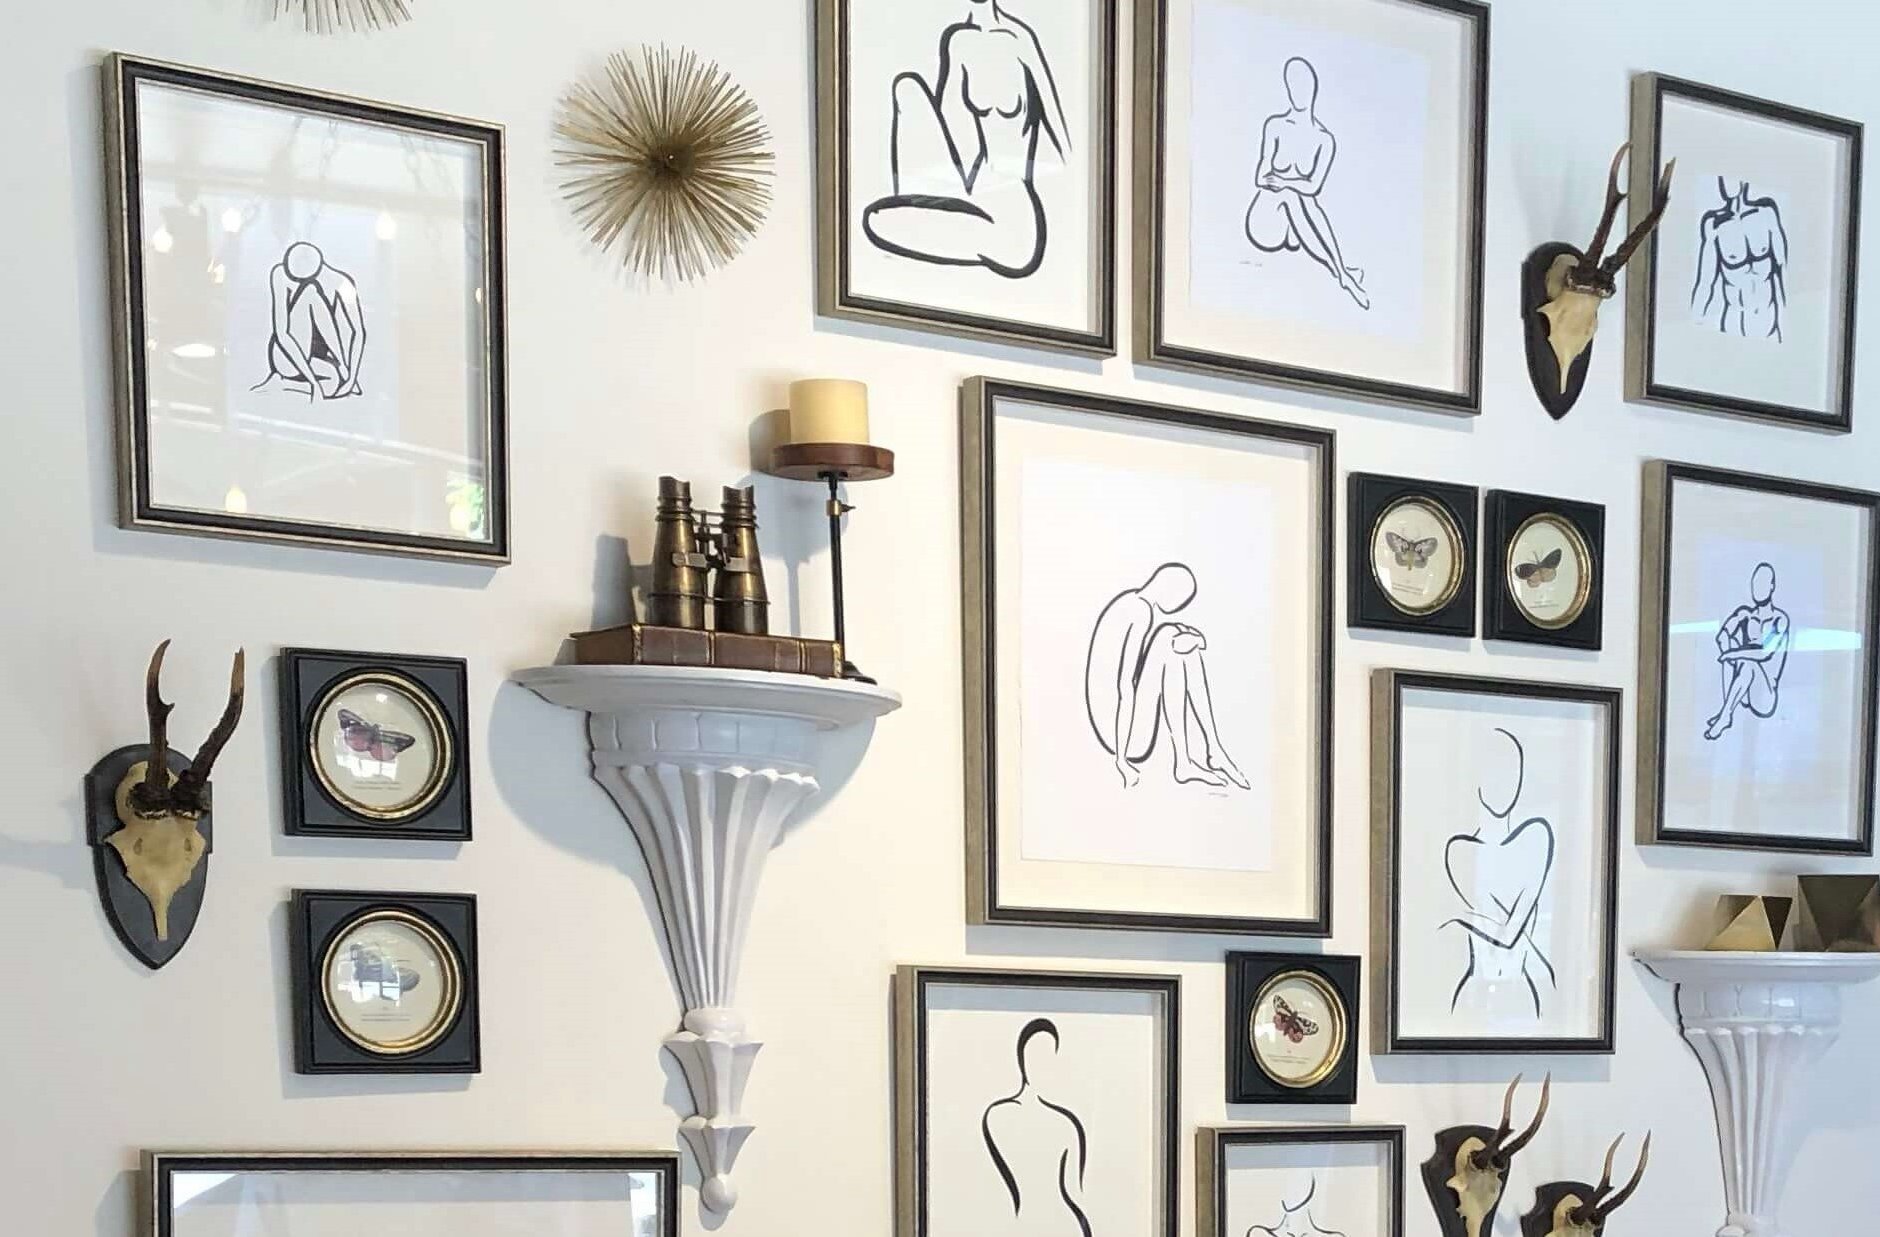
4. Floating Shelves or Ledges:
If you prefer a more visually distinctive display, consider installing floating shelves or ledges on the wall. These shelves can be used to display your wood wall art along with other decorative items. Ensure that the shelves are properly installed and can support the weight of your artwork.
5. Stand or Easel:
If your wood wall art is smaller and stands on its own, you can simply place it on a stand or easel on a tabletop, shelf, or mantel. This allows for easy portability and flexibility in displaying the artwork in different spaces.
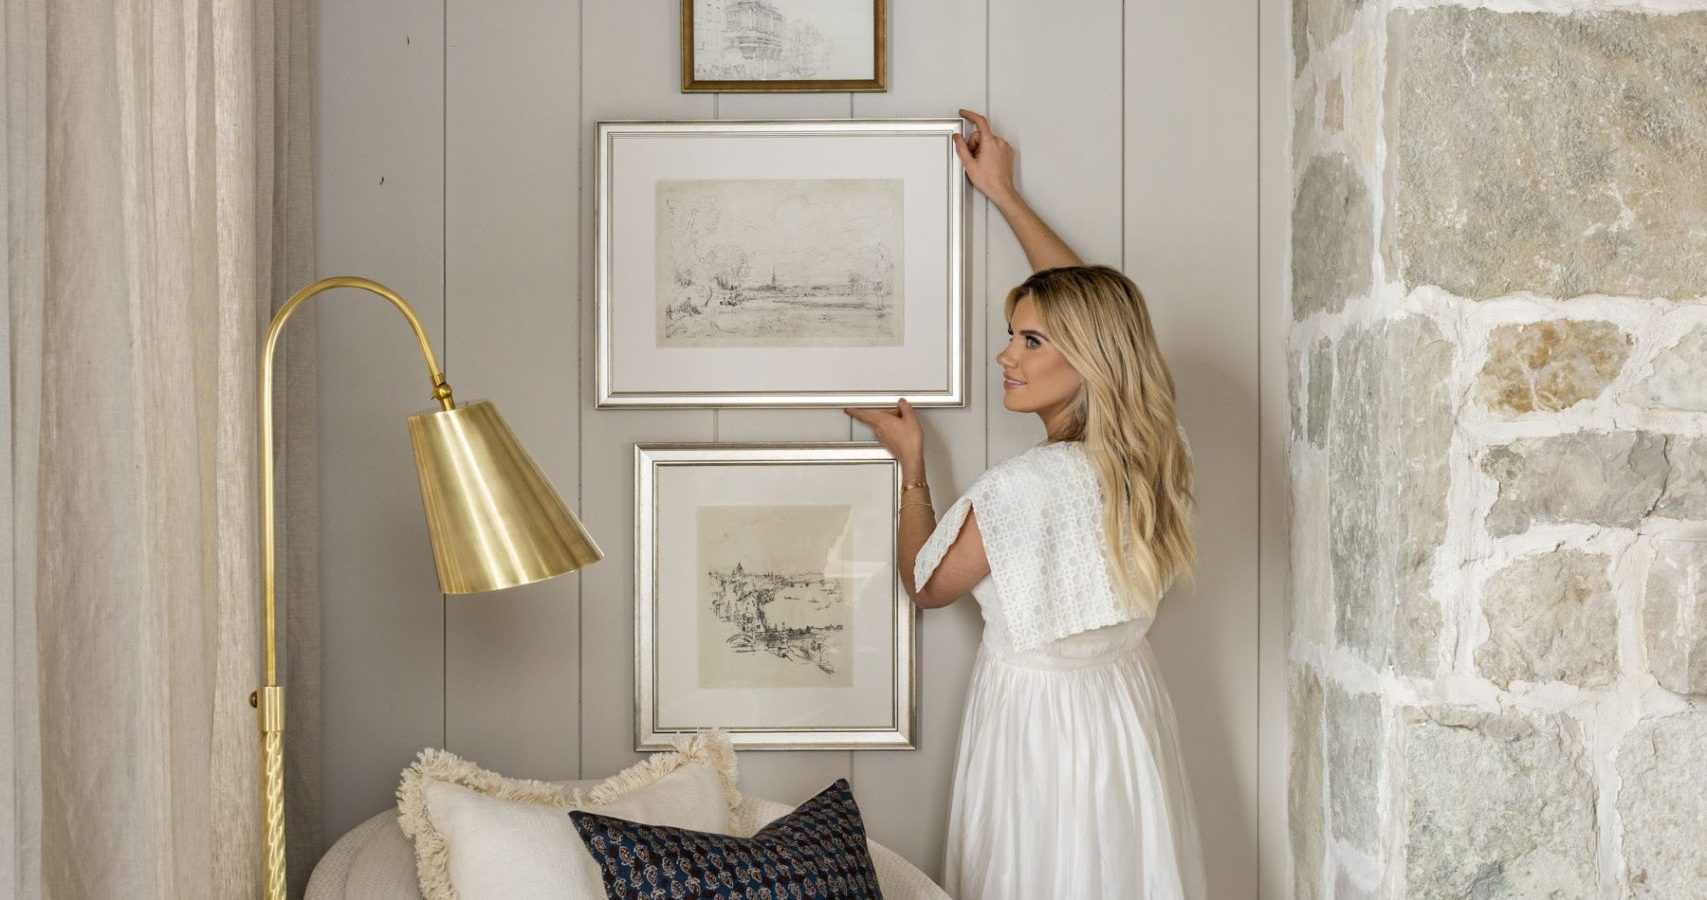
Before mounting or hanging your wood wall art, carefully measure and mark the desired placement on the wall. Use a level to ensure straight alignment. If you’re unsure about the weight or stability, consult with a professional or use additional support options.
Congratulations! You have now completed all the steps to create and display your beautiful wood wall art. Stand back, admire your creation, and enjoy the artistic statement it adds to your space.
Conclusion
Creating your own wood wall art is a fulfilling and creative project that allows you to express your personal style and add a unique touch to your home decor. Throughout the step-by-step process, we have covered everything from selecting the right type of wood to designing, cutting, painting or staining, and finally, mounting or hanging your artwork.
By following these steps and adding your own creativity, you have the opportunity to create a stunning piece of wood wall art that reflects your individual taste and enhances the ambiance of your living space. Whether you choose to incorporate intricate designs, vibrant colors, or rustic elements, the final result will be a testament to your artistic abilities and vision.
Remember to consider the materials needed for the project, such as the wood itself, various tools, and paints or stains. Take the time to prepare the wood properly by sanding and cleaning it before transferring your design onto the surface. Cutting and sanding the wood with precision will ensure smooth lines and a polished finish. Painting or staining the wood will bring life and color to your artwork, while adding details or enhancements will make it truly unique.
Lastly, once your wood wall art is completed, consider the best method for displaying it. Whether you choose to mount it on the wall using picture hanging strips, sawtooth or D-ring hangers, or prefer a freestanding option such as a shelf or easel, make sure to secure it safely and according to your desired aesthetic.
Now it’s time to embark on your wood wall art journey and let your creativity soar. Enjoy the process, embrace your artistic expression, and relish in the satisfaction of seeing your finished creation brighten up your living space. Share your artwork with others and inspire them to explore their own creativity through the beauty of wood wall art.
Frequently Asked Questions about How To Make Wood Wall Art
Was this page helpful?
At Storables.com, we guarantee accurate and reliable information. Our content, validated by Expert Board Contributors, is crafted following stringent Editorial Policies. We're committed to providing you with well-researched, expert-backed insights for all your informational needs.


0 thoughts on “How To Make Wood Wall Art”