Articles
How To Build A Wire Fence With T-Posts
Modified: May 6, 2024
Learn how to build a sturdy wire fence using T-posts with our informative articles. Step-by-step instructions and expert tips available for beginners and experienced DIYers.
(Many of the links in this article redirect to a specific reviewed product. Your purchase of these products through affiliate links helps to generate commission for Storables.com, at no extra cost. Learn more)
Introduction
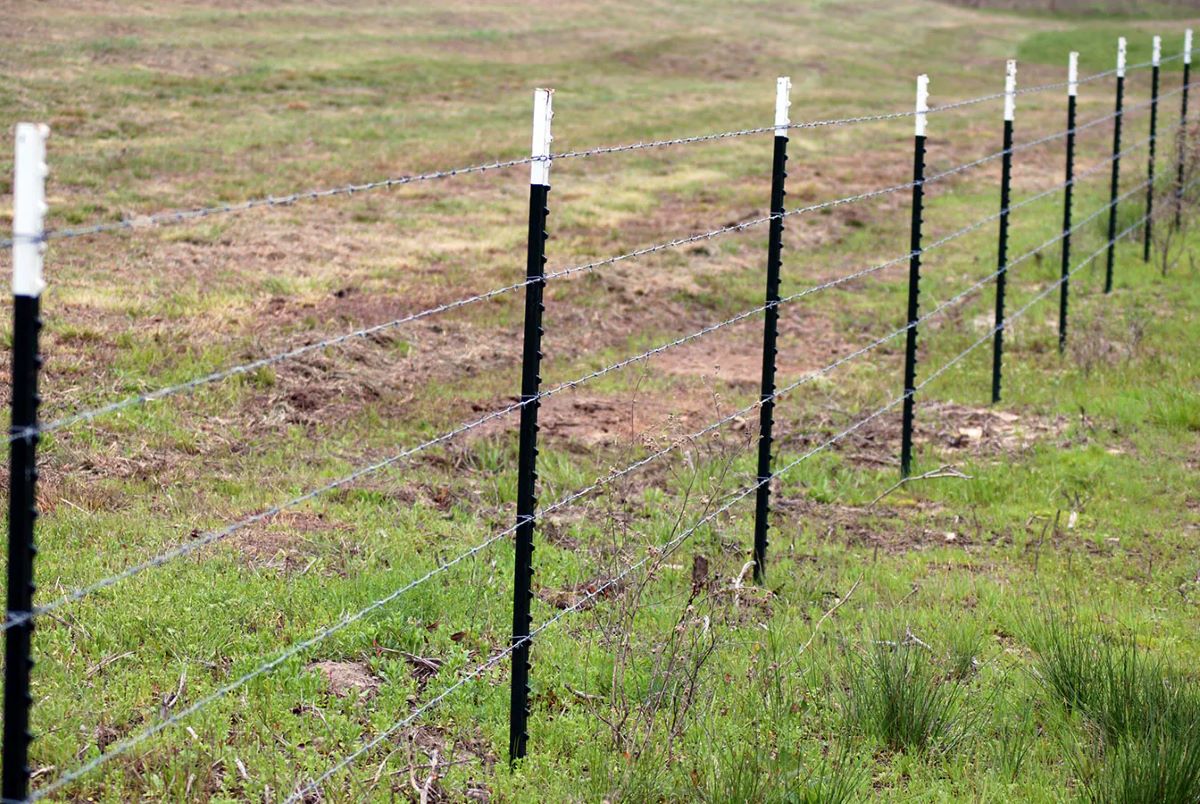
Building a wire fence with T-posts is a great option for homeowners and farmers looking to enclose their property or contain livestock. Wire fences are durable, cost-effective, and relatively easy to install, making them a popular choice for a variety of applications.
Whether you’re a seasoned DIY enthusiast or a novice looking to take on a new project, building a wire fence with T-posts can be accomplished with a few simple tools and a little bit of elbow grease. In this comprehensive guide, we’ll walk you through the step-by-step process of building a wire fence from start to finish.
Before we dive into the details, let’s take a moment to understand the benefits of choosing a wire fence with T-posts. These types of fences are known for their strength and versatility, making them suitable for a wide range of applications.
One of the main advantages of using T-posts is their durability. Made from sturdy steel, T-posts can withstand the elements and provide long-lasting support for your wire fence. Additionally, T-posts are relatively inexpensive compared to other types of fence posts, making them a cost-effective option for those on a budget.
Another benefit of using T-posts is their versatility. They can be easily adjusted and repositioned as needed, making it convenient to modify or extend your fence in the future. With T-posts, you have the flexibility to adapt your fence to changing needs or property boundaries.
Furthermore, wire fences provide excellent visibility, allowing you to monitor your surroundings while keeping your property secure. This is especially important for farmers who need to keep an eye on their livestock or for homeowners who want to maintain a clear line of sight.
In the following steps, we’ll guide you through the process of building a wire fence using T-posts, from measuring and marking the fence line to installing the gates and adding finishing touches. By the end of this guide, you’ll have the knowledge and confidence to create a sturdy and functional wire fence that will meet your specific needs.
Key Takeaways:
- Building a wire fence with T-posts is a cost-effective and versatile option for homeowners and farmers. The process involves careful planning, precise installation, and finishing touches to create a durable and visually appealing fence.
- Installing gates, adding finishing touches, and regular maintenance are essential steps in ensuring the functionality and longevity of a wire fence. Attention to detail and proper care will result in a sturdy and attractive property enclosure.
Step 1: Gather the materials
Before you start building your wire fence with T-posts, it’s important to gather all the necessary materials. Having everything you need at the beginning will save you time and ensure a smoother installation process.
Here’s a list of the essential materials you’ll need:
- T-posts: These steel posts will serve as the main support for your wire fence. Make sure to calculate the number of T-posts you’ll need based on the length of your fence line and the spacing between the posts. T-posts are typically available in various lengths and gauges, so choose ones that are suitable for your specific needs.
- Wire mesh or fencing: The wire mesh or fencing will be attached to the T-posts to create the actual fence. There are different types of wire mesh available, such as welded wire or woven wire, so choose the one that matches your requirements in terms of durability and functionality.
- Gates (optional): If you plan to have access points in your fence, you’ll need to purchase gates accordingly. Gates come in different sizes and styles, so select ones that are appropriate for the purpose and location.
- Garden twine or string: This will be used for measuring and marking the fence line, ensuring accurate placement of the T-posts.
- Fence clips or wire ties: These will be used to secure the wire mesh or fencing to the T-posts. Fence clips are more durable and recommended for long-lasting installations, while wire ties are suitable for temporary or lighter-duty fences.
- Fence stretcher (optional): A fence stretcher is a helpful tool for tightening the wire mesh or fencing between the T-posts. While it’s not always necessary, it can make the stretching process easier and ensure a taut fence.
- Fence pliers or wire cutters: These tools will come in handy for cutting and manipulating the wire mesh or fencing, as well as for attaching the fence clips or wire ties to the T-posts.
- Post hole digger or shovel: Depending on the soil conditions, you’ll need either a post hole digger or a shovel to dig the holes for the T-posts. A post hole digger is recommended for faster and more efficient digging.
- Level and measuring tape: These tools are essential for ensuring that your fence is level and properly aligned. A level will help you keep the tops of the T-posts at the same height, while a measuring tape will ensure accurate spacing.
- Safety gear: Always prioritize safety when working on any construction project. Wear gloves, safety glasses, and sturdy footwear to protect yourself from potential injuries.
Once you’ve gathered all the necessary materials, you’re ready to move on to the next step: measuring and marking the fence line.
Step 2: Measure and mark the fence line
Before you start digging post holes and installing T-posts, it’s crucial to accurately measure and mark the fence line. This will ensure that your wire fence is aligned properly and meets your desired specifications.
Here’s how to measure and mark the fence line:
- Start by identifying the desired location for your wire fence. Consider factors such as property boundaries, terrain, and any obstructions that may affect the placement of the fence line.
- Using garden twine or string, stretch it along the desired fence line, making sure it is taut. You can use stakes or temporary markers to keep the string in place along the path of the fence.
- Use a measuring tape to determine the exact length of the fence line. Take accurate measurements and note this length for reference when purchasing your T-posts and wire mesh or fencing.
- If you plan to install gates, measure and mark the locations where the gates will be located along the fence line. Ensure that these spots are wide enough to accommodate the size of your gates.
- Mark the spots for the T-posts along the fence line, ensuring consistent spacing between each post. The spacing will depend on the type of wire mesh or fencing you are using and the intended purpose of your fence. A typical spacing for T-posts is around 8 to 10 feet, but adjust it as needed for your specific situation.
- Use a level to make sure your fence line is straight and level. This will help ensure that your wire fence looks professional and functions properly.
- Double-check your measurements and markings to ensure accuracy. Take into account any slight deviations in the terrain or property boundaries that may affect the placement of the fence.
By taking the time to carefully measure and mark the fence line, you’ll have a solid foundation for the rest of the installation process. Once you’re satisfied with the accuracy of your measurements and markings, you’re ready to move on to the next step: digging post holes.
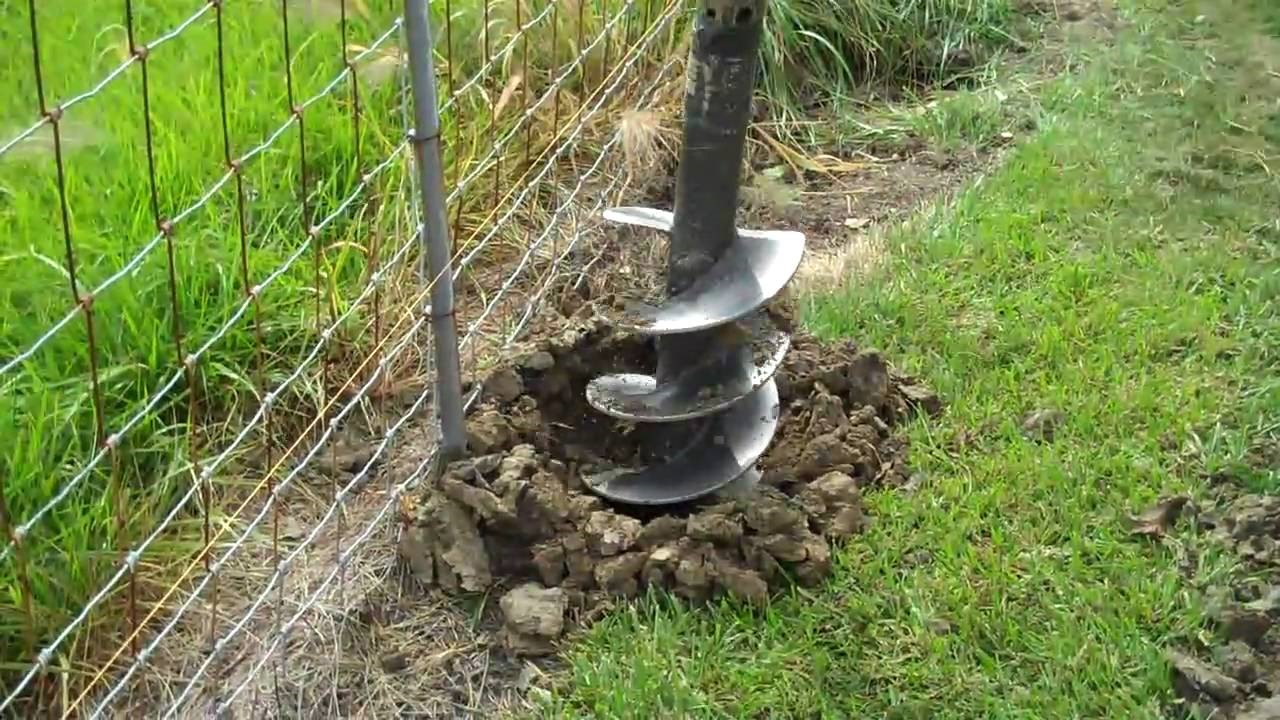
Step 3: Dig post holes
With your fence line measured and marked, it’s time to dig post holes for the T-posts. Digging these holes accurately and to the appropriate depth is crucial to ensure the stability and longevity of your wire fence.
Here’s how to dig post holes for your T-posts:
- Begin by gathering your post hole digger or shovel, along with any other tools you may need for removing soil and rocks.
- Start at one end of the fence line and dig the first post hole. The depth of the hole will depend on the height of your T-posts and the recommended guidelines provided by the manufacturer. As a general rule of thumb, aim for a hole depth that is around one-third to half the length of the T-post.
- As you dig, remove any excess soil or rocks that may hinder the placement of the T-post. The hole should be wide enough for the post to fit snugly, but not so wide that it compromises its stability.
- Continue digging post holes along the fence line, ensuring consistent spacing between each hole. Use a measuring tape or the markings you made in the previous step to guide you.
- If you encounter any obstacles such as tree roots or large rocks, they may need to be removed or worked around. Use caution and adapt your hole-digging technique accordingly to avoid damaging the integrity of the fence line.
- Once all the post holes are dug, use a level to ensure they are all at the same depth and aligned properly. Adjust the depth as necessary to achieve a uniform appearance and maintain the structural integrity of the fence.
- Take a moment to inspect the holes for any loose soil or debris. Remove any excess material to ensure a clean and stable foundation for the T-posts.
By taking the time to dig precise and properly-sized post holes, you’ll create a solid framework for your wire fence. The stability of the T-posts relies on the quality of the post holes, so it’s important to dedicate attention to this step of the installation process.
With the post holes ready, you can now proceed to the next step: installing the T-posts and securing them in place.
Step 4: Install T-posts and secure them
Now that you’ve dug the post holes, it’s time to install the T-posts and secure them in place. T-posts serve as the main support for your wire fence, providing the necessary stability and structure.
Follow these steps to install the T-posts and secure them:
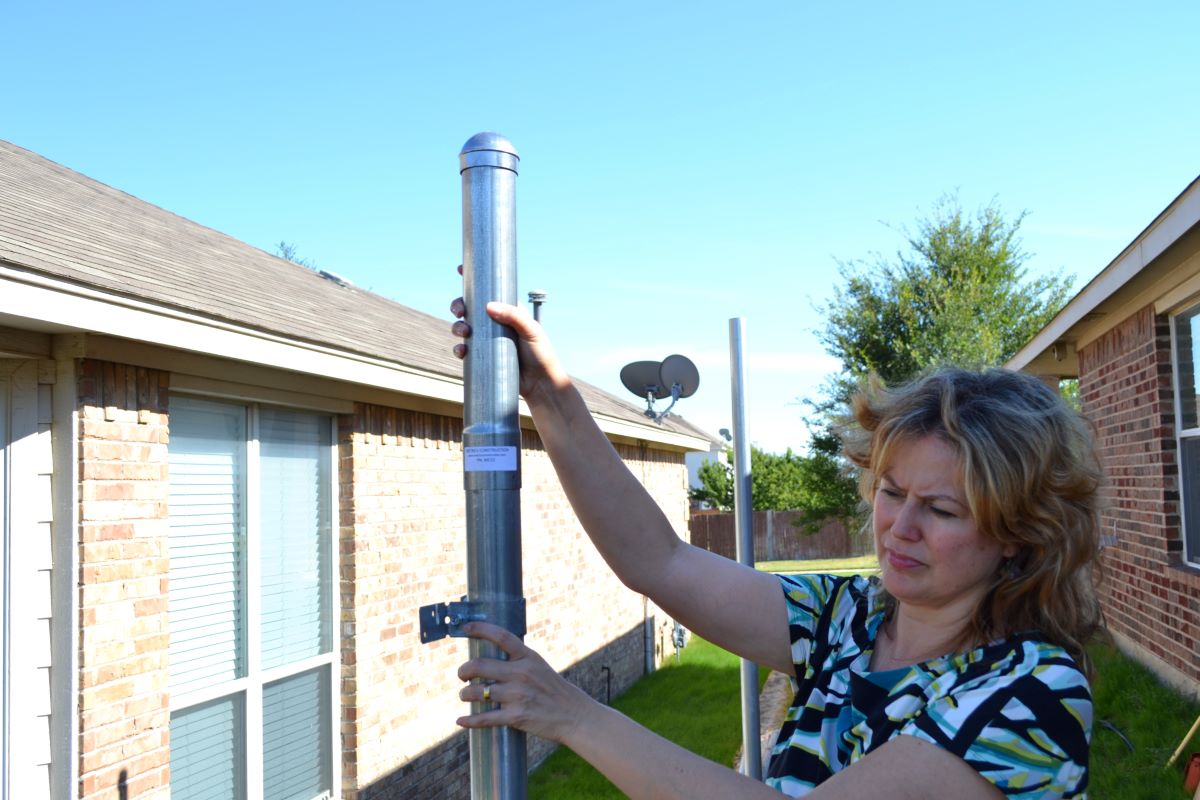
- Starting at one end of the fence line, place a T-post into the first post hole. Make sure the flat side of the post faces inwards towards your property or desired fence area.
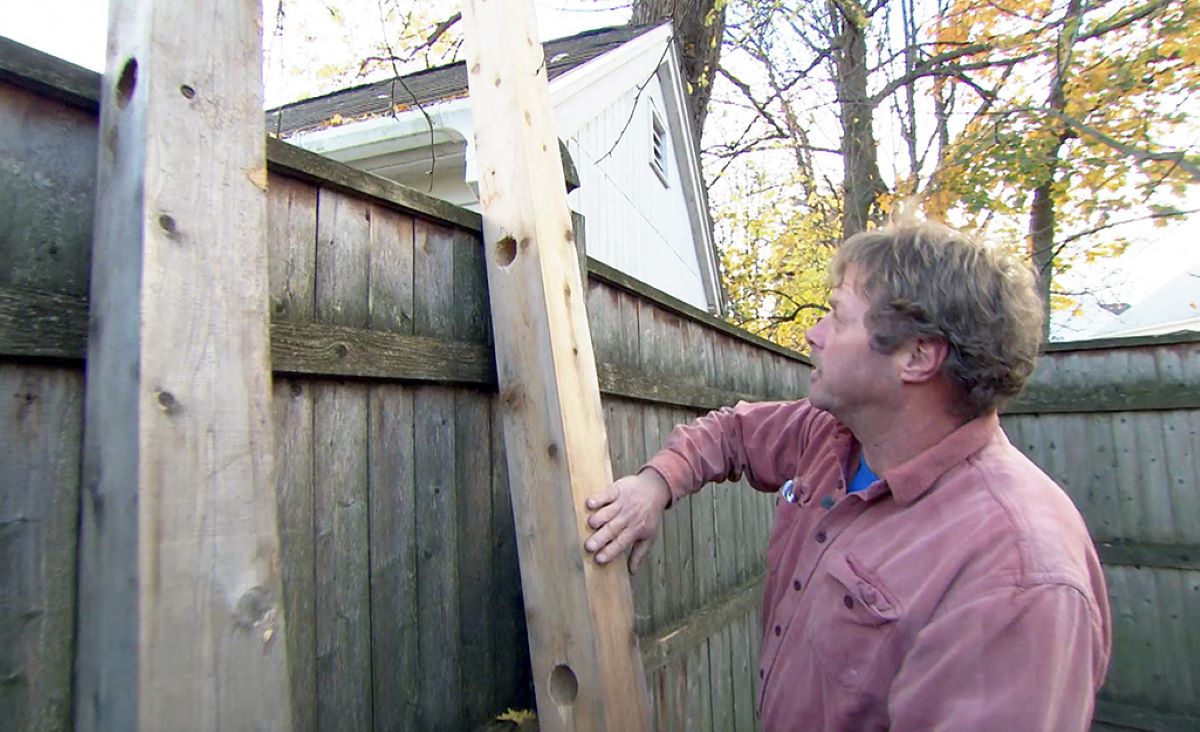
- Use a level to ensure that the T-post is plumb (vertically straight) and adjust as necessary. The top of the post should be level with the height of the neighboring posts.
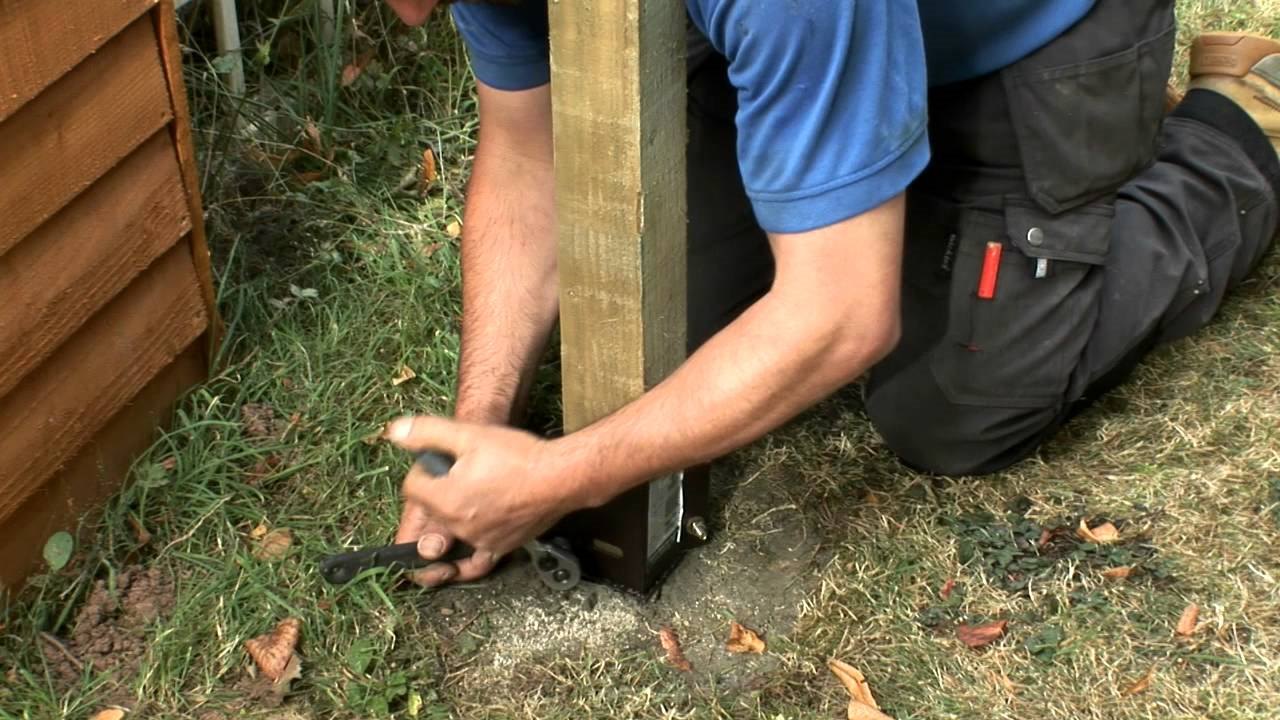
- Once the T-post is plumb, begin packing the hole with soil, ensuring that it is firmly packed around the post. This will provide stability and prevent the post from shifting or leaning over time. Repeat this process for each T-post along the fence line.
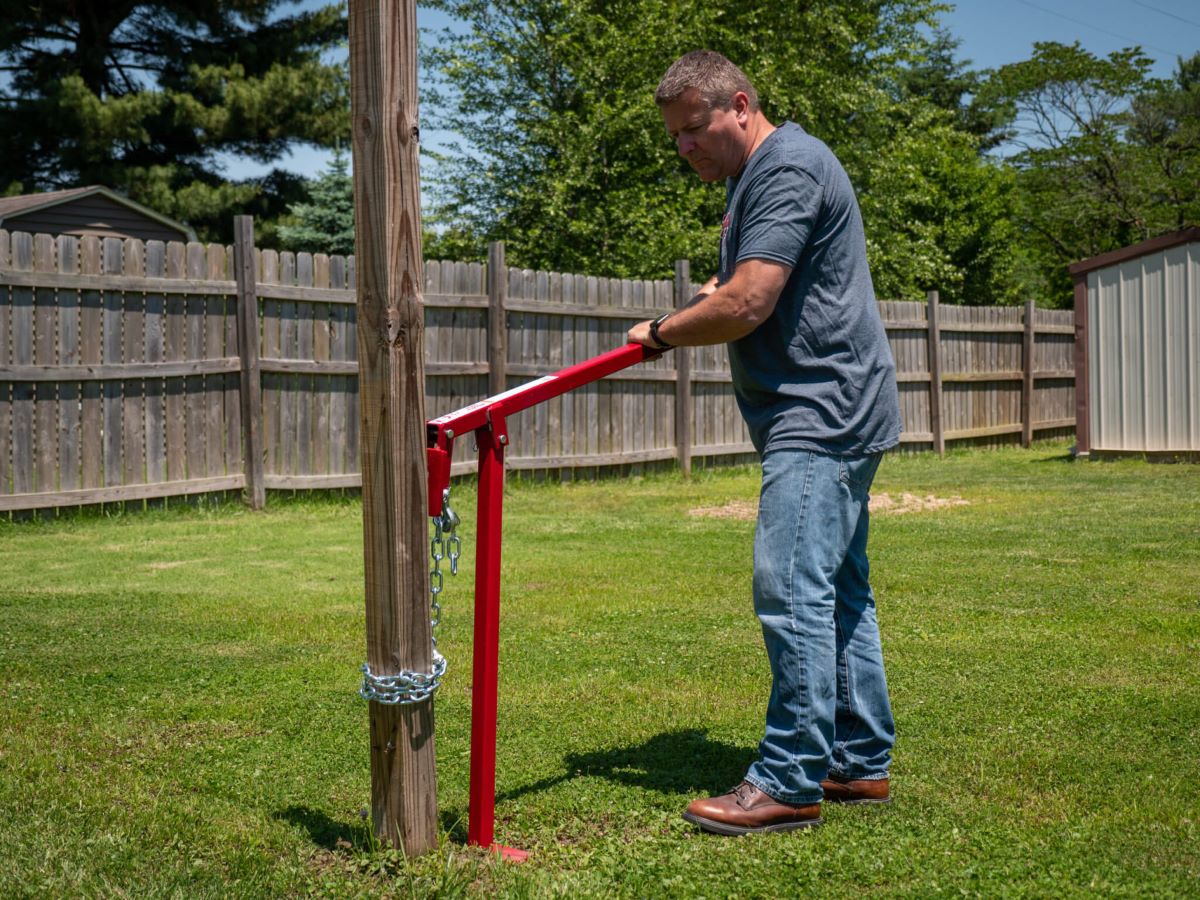
- For added stability, you can use a tamping tool or the back of a shovel to compact the soil further around the T-posts. This will help secure them in place and minimize any potential movement.
- Repeat the installation process for each T-post, working your way along the fence line. Use the level to ensure that each post is aligned correctly and adjust them as needed.
- As you install each T-post, ensure that they are spaced evenly according to your fence design plans. This will ensure a consistent and visually appealing fence.
- Once all the T-posts are installed and properly secured, double-check their alignment and stability. Give them a gentle shake to ensure that they are firmly in place and won’t come loose.
By following these steps, you’ll have effectively installed the T-posts and ensured their stability. The quality of the installation will play a crucial role in the overall strength and durability of your wire fence. With the T-posts securely in place, you’re ready to move on to the next step: stretching the wire between the posts.
When installing T-posts for a wire fence, make sure to space them 8-12 feet apart for optimal support. Use a post driver for easy installation and ensure the posts are driven at least 2 feet into the ground for stability.
Read more: How To Build A Post And Rail Fence
Step 5: Stretch wire between posts
With the T-posts securely installed, it’s time to stretch the wire mesh or fencing between them to form the body of your wire fence. This step is crucial for ensuring a taut and visually appealing fence that can effectively contain your desired area.
Follow these steps to stretch the wire between the posts:
- Starting at one end of the fence line, unroll the wire mesh or fencing. Position it so that it is closest to the ground and extends to the desired height of your fence. You may need assistance to hold the other end of the wire in place.
- Attach one end of the wire mesh or fencing to the first T-post using fence clips or wire ties. Start at the top of the T-post and work your way down, securing the wire at regular intervals. Make sure the wire is pulled tight as you go to maintain tension.
- Proceed to the next T-post along the fence line, holding the wire taut as you move. Attach the wire to the T-post using the same method as before. Make sure the wire is stretched and doesn’t sag in between the posts.
- Continue this process for each remaining T-post until the wire is securely attached along the entire length of the fence line. Take your time to ensure the wire is evenly tensioned and visually straight.
- If needed, use a fence stretcher tool to apply additional tension to the wire mesh or fencing. This can help eliminate any remaining sag and ensure a truly taut wire fence.
- Trim any excess wire at the end of the fence line using fence pliers or wire cutters. Ensure that the cut end is secured and won’t pose a safety hazard.
- Double-check the wire tension and alignment by gently pushing on the wire and inspecting for any areas that may require additional adjustment. Make any necessary tweaks to achieve a visually appealing and functional fence.
By following these steps, you’ll successfully stretch the wire mesh or fencing between the T-posts, creating a taut and sturdy wire fence. A properly stretched wire fence is not only functional but also visually appealing, creating a polished look for your property.
With the wire securely in place, you’re ready to move on to the next step: attaching the wire to the T-posts.
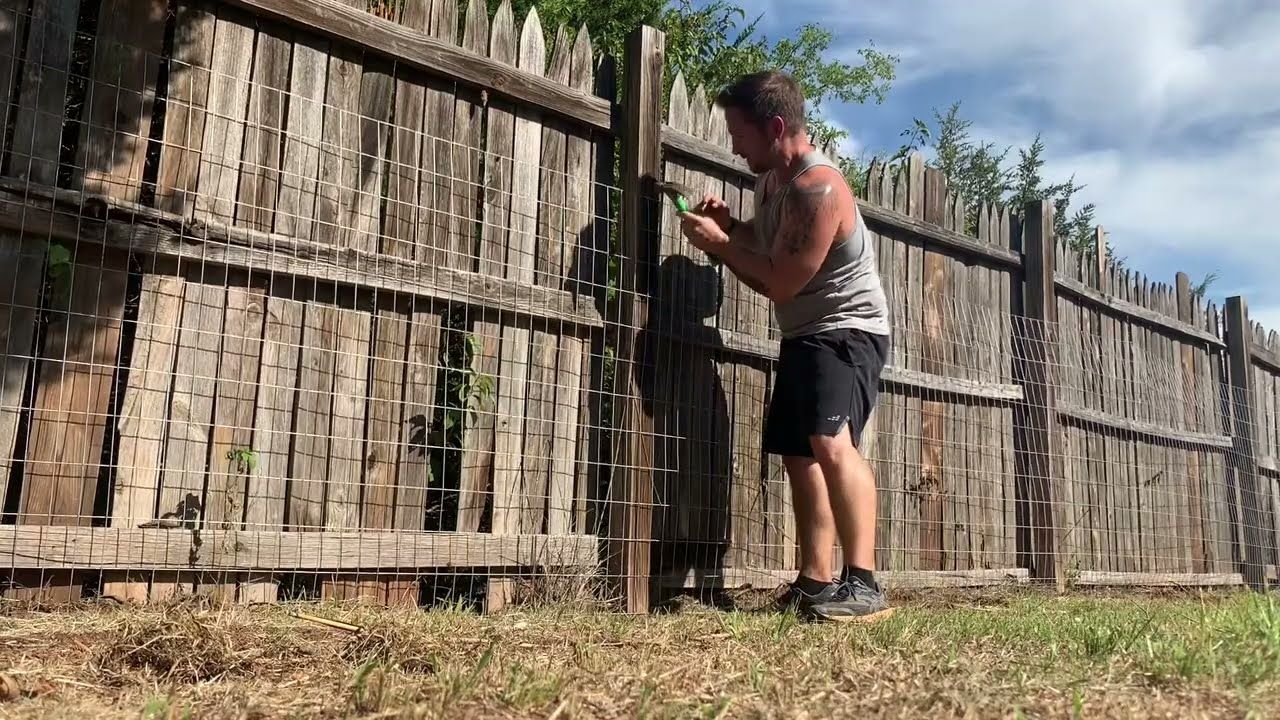
Step 6: Attach wire to posts
Now that the wire mesh or fencing is stretched between the T-posts, it’s time to securely attach it to each post. This step ensures that the wire remains in place and maintains its tension, providing the necessary support for your wire fence.
Follow these steps to attach the wire to the T-posts:
- Starting at one end of the fence line, examine the wire where it meets the first T-post. Identify the point where the wire overlaps the post and extends beyond it.
- Using fence pliers or wire cutters, trim any excess wire beyond the point of overlap. This will prevent any loose ends from potentially catching on anything or becoming a safety hazard.
- Once the excess wire is trimmed, use fence clips or wire ties to secure the wire to the T-post. Start at the top of the post and work your way down, attaching the wire at regular intervals. Ensure that the wire is snug against the post and held securely in place.
- Continue this process for each T-post along the fence line, attaching the wire securely at regular intervals. This helps prevent the wire from sagging and ensures a neat and uniform appearance.
- If using fence clips, make sure they are fully closed and tightly secured around the wire and the T-post. If using wire ties, twist them tight to maintain a secure connection.
- Inspect the entire fence line to ensure that the wire is properly attached to each T-post. Check for any loose connections or areas that may require additional reinforcement.
- Make any necessary adjustments or add extra fence clips or wire ties as needed to ensure that the wire is securely fastened to each post along the entire length of the fence.
By following these steps, you’ll effectively attach the wire mesh or fencing to the T-posts, ensuring that it remains securely in place and maintains its tension. This step is crucial for the structural integrity and functionality of your wire fence.
With the wire securely attached, you’re one step closer to completing your wire fence. The final steps include installing gates (optional), adding finishing touches, and ensuring that your fence is properly maintained over time.
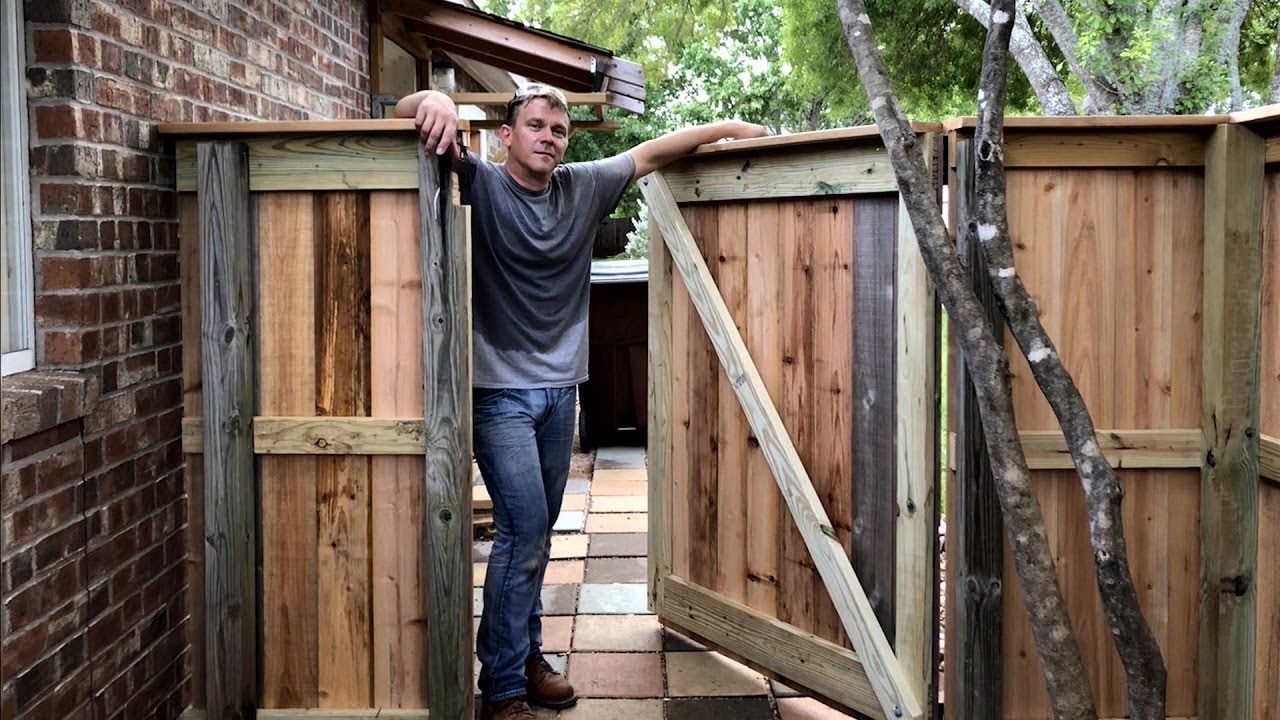
Step 7: Install gates (optional)
If you require access points in your wire fence, installing gates is the next step to consider. Gates provide convenient entry and exit points for people, vehicles, or livestock, ensuring easy movement in and out of the enclosed area. They can also add aesthetic value to your fence by serving as a focal point.
Follow these steps to install gates in your wire fence:
- Determine the appropriate locations for the gates along the fence line. Consider factors such as ease of access and the desired size of the gate.
- Measure the width of the gate opening, ensuring that it is wide enough to accommodate your needs. If using a pre-made gate, select one that matches your desired width. Alternatively, if building a gate from scratch, make sure to measure and cut the necessary materials accordingly.
- Prepare the gate posts by digging post holes at the predetermined locations. The depth of the post holes should be based on the height and weight of the gate, as well as the recommended guidelines provided by the manufacturer. Follow the same process as in previous steps to ensure accurate placement and stability of the gate posts.
- Install the gate posts, ensuring they are level and properly aligned with the existing fence line. Use a level and measuring tape to double-check their positioning.
- Attach the gate to the gate posts using appropriate hinges or brackets. Refer to the manufacturer’s instructions for the specific installation process, as it may vary depending on the type of gate you are using.
- Ensure that the gate swings freely and smoothly. Make any necessary adjustments to the gate alignment or tighten the hinges as needed.
- Install a latch or lock mechanism on the gate to secure it when closed. The type of latch or lock will depend on the level of security you require and the intended use of the gate.
- Test the gate to ensure it opens and closes properly, latches securely, and aligns with the adjacent fence line. Make any necessary adjustments to ensure smooth operation.
- Repeat the process for any additional gates you plan to install along the fence line, following the same steps for each gate installation.
By following these steps, you’ll successfully install gates in your wire fence, providing convenient access points while maintaining the integrity of the overall fence structure.
Now that the gates are in place, you’re ready to move on to the final step of the installation process: adding finishing touches to your wire fence.
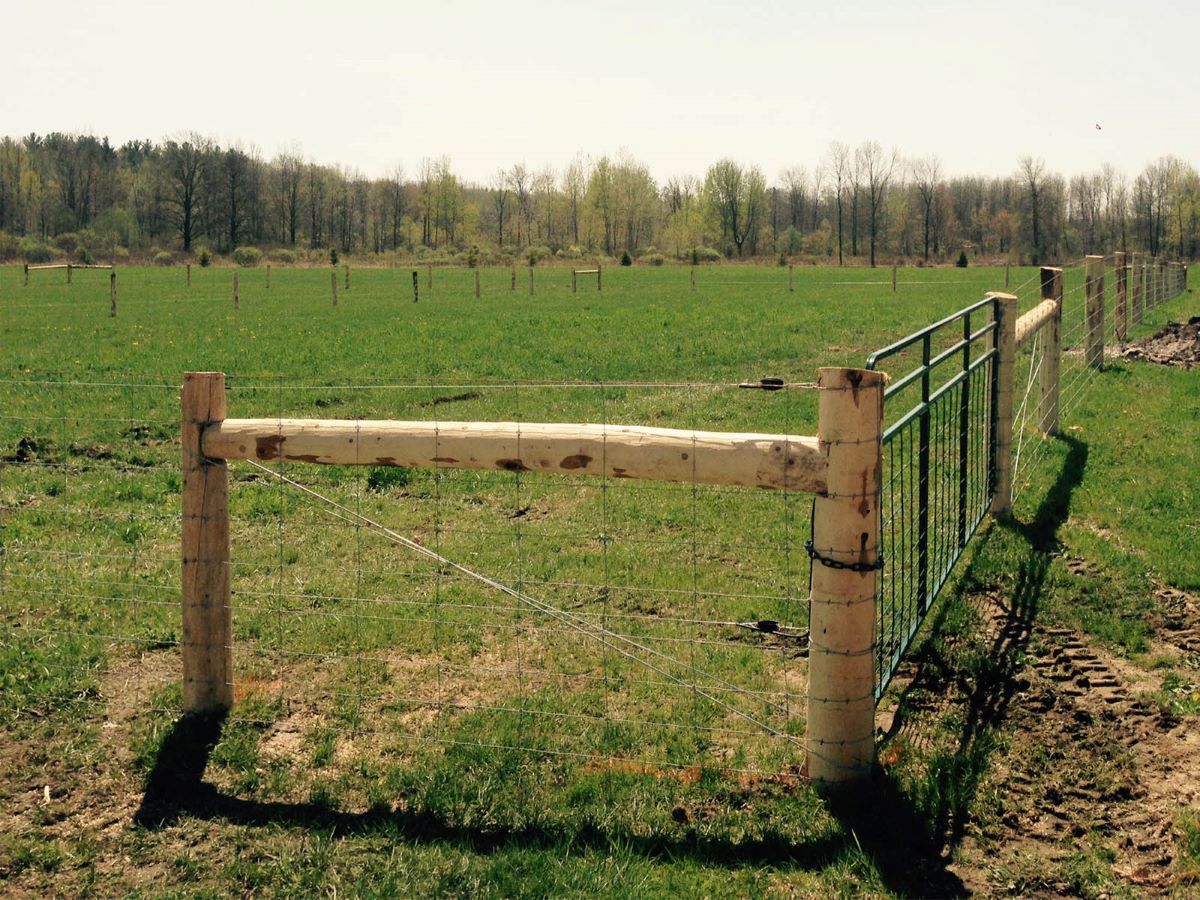
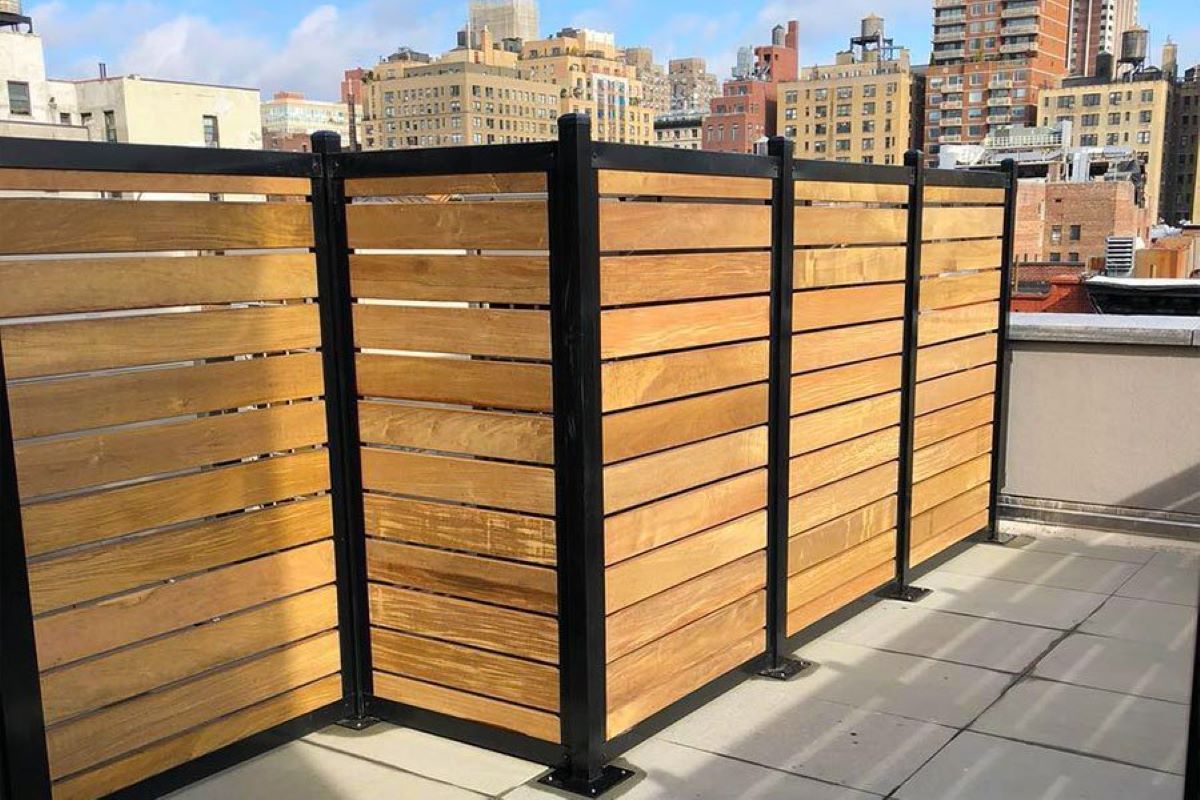
Step 8: Finishing touches
Now that your wire fence is installed, it’s time to add the finishing touches to ensure its functionality, longevity, and overall appearance. These final steps will help enhance the durability and aesthetics of your fence.
Here are some important finishing touches to consider:
- Inspect the entire fence line for any loose wires or connections. Tighten any fence clips or wire ties that may have become loose during the installation process. This will help maintain the tension and integrity of the wire fence.
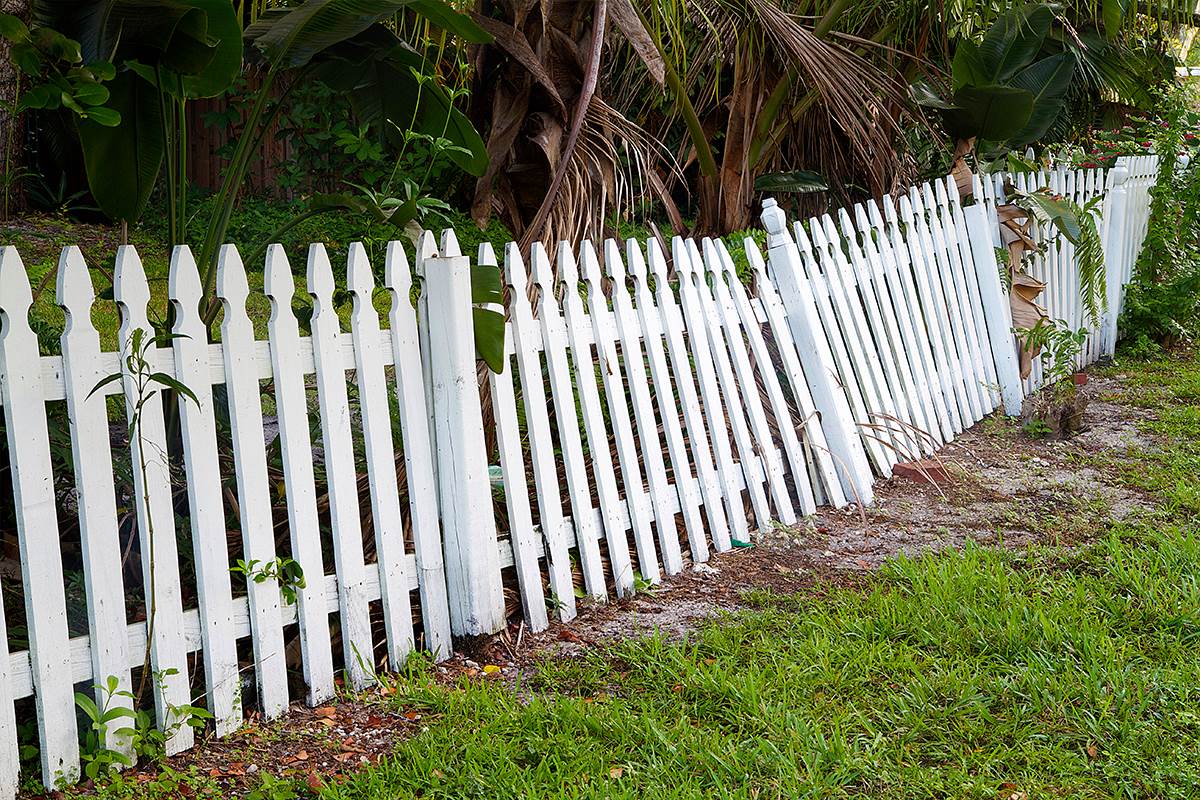
- Add additional support or braces if needed, particularly for longer fence sections or areas prone to high winds or heavy loads. This will provide extra stability and prevent the fence from sagging or leaning over time.
- If desired, add a top rail or cap to the wire fence for extra strength, aesthetics, and to prevent the wire from sagging under its own weight. The top rail can be made from wood, metal, or PVC and is typically secured to the tops of the T-posts.
- Consider adding vegetation or landscaping around the fence line to enhance its visual appeal and blend it into the surrounding environment. This can include planting shrubs, flowers, or climbing vines that will soften the appearance of the fence and create a more inviting atmosphere.
- Regularly inspect and maintain your wire fence to ensure its long-term functionality. Inspect for any damage, such as broken wires or bent posts, and make repairs as needed. Additionally, remove any vegetation or debris that may accumulate on or near the fence.
- Apply a protective coating or paint to the T-posts and any exposed metal components of the fence. This will help prevent rust and extend the lifespan of your wire fence, particularly if you live in an area with high humidity or frequent exposure to moisture.
- Consider adding signage or markers to clearly indicate the presence of the fence and any specific warnings or instructions. This can be particularly important for fences that are intended to keep livestock contained or provide necessary boundary markers.
- Last but not least, take a moment to step back and appreciate your handiwork. Admire the completed wire fence and the sense of accomplishment that comes with successfully building it yourself. A well-built and maintained fence not only adds value to your property but also provides peace of mind.
By completing these finishing touches, you’ll ensure that your wire fence is not only functional but also visually appealing and well-maintained. Regularly inspecting and caring for your fence will help prolong its lifespan and provide you with years of reliable service.
Congratulations on successfully building your wire fence with T-posts! Enjoy the benefits of increased security, defined boundaries, and a sense of accomplishment that comes with completing a DIY project.
Now that you've mastered building a wire fence with T-posts, why not expand your horizons with creative garden barriers? Whether you're looking to spruce up your yard or add a bit of privacy, our collection of garden fence ideas offers plenty of inspiration. For those feeling more ambitious, dive into our selection of DIY outdoor projects. From simple upgrades to more complex undertakings, these projects will transform your outdoor space into a haven for relaxation and entertainment.
Frequently Asked Questions about How To Build A Wire Fence With T-Posts
Was this page helpful?
At Storables.com, we guarantee accurate and reliable information. Our content, validated by Expert Board Contributors, is crafted following stringent Editorial Policies. We're committed to providing you with well-researched, expert-backed insights for all your informational needs.


0 thoughts on “How To Build A Wire Fence With T-Posts”