Articles
How To Split Electrical Wire Into Three
Modified: August 16, 2024
Learn how to split electrical wire into three with this informative article. Step-by-step instructions and tips for safely dividing cables.
(Many of the links in this article redirect to a specific reviewed product. Your purchase of these products through affiliate links helps to generate commission for Storables.com, at no extra cost. Learn more)
Introduction
Splitting electrical wire into three can be necessary in various scenarios, such as when you need to extend the wire or when you want to connect multiple devices to a single power source. It is a relatively simple process that can be accomplished with the right tools and techniques. In this article, we will guide you through the step-by-step process of splitting electrical wire into three, ensuring a safe and efficient outcome.
Before you begin, it is essential to gather all the necessary tools and materials. This will help you complete the task smoothly, without the need for frequent pauses or improvisation. So, let’s take a look at what you will need:
Key Takeaways:
- Safely split electrical wire into three by preparing, cutting, stripping, attaching connectors, and testing connections. Prioritize safety and seek professional help if needed for a successful outcome.
- Gain the ability to extend wires or connect multiple devices to a single power source by mastering the skill of splitting electrical wire into three. Prioritize safety and consult a professional if uncertain.
Tools and Materials Needed
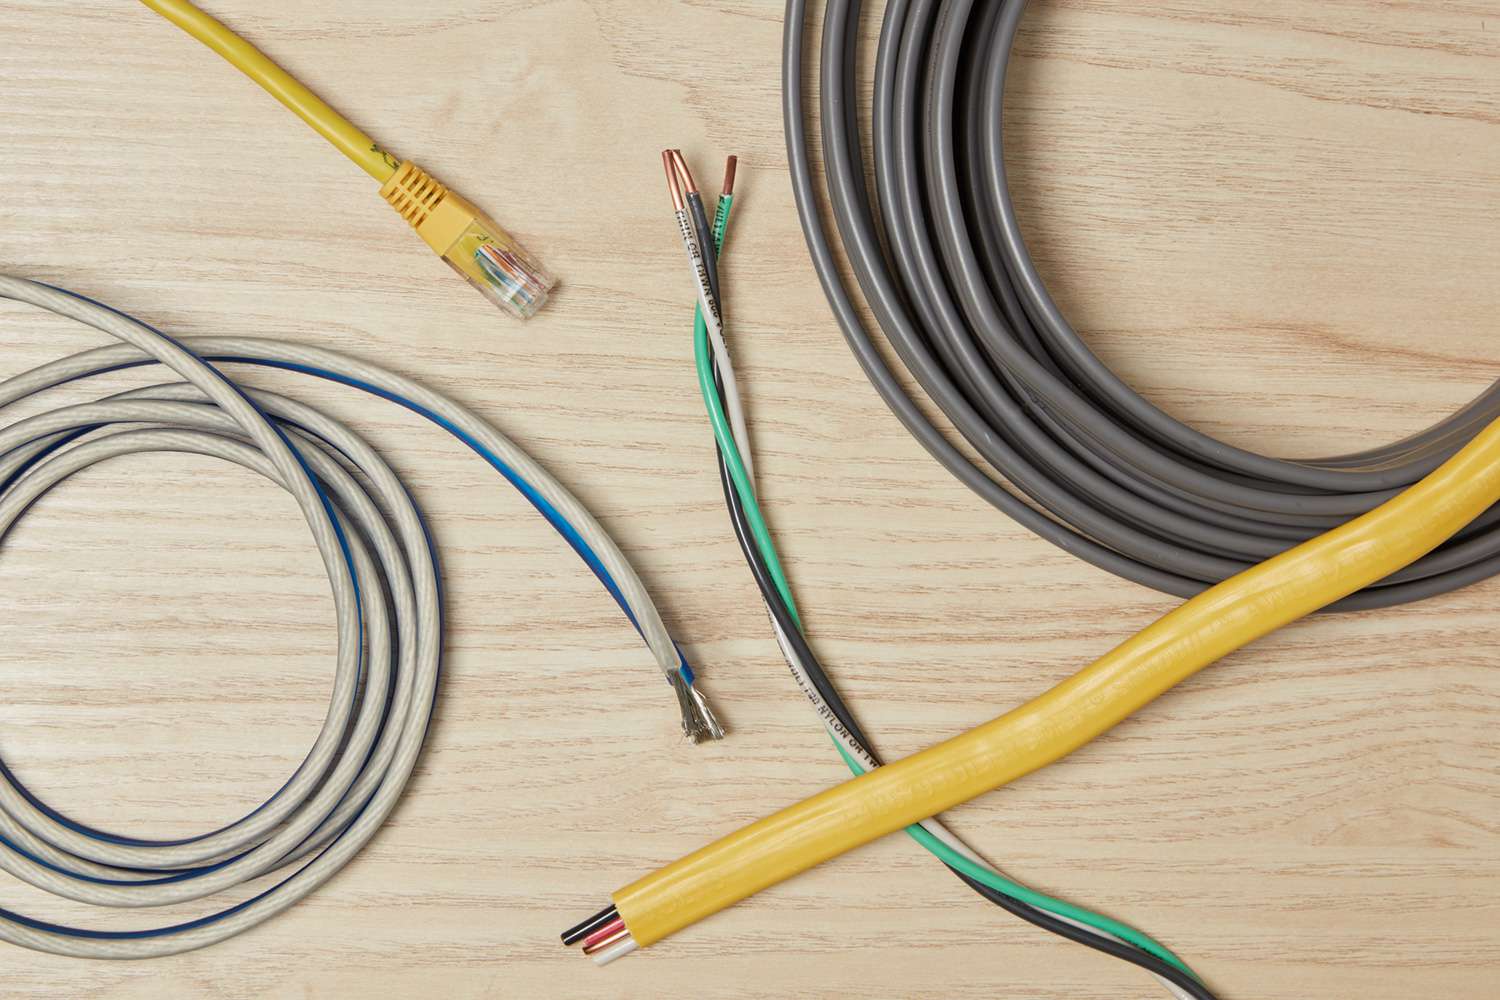
- Electrical wire
- Wire cutter/stripper
- Electrical connectors
- Wire nuts
- Electrical tape
- Screwdriver
- Voltage tester
Now that you have gathered the required tools and materials, you are ready to start splitting the electrical wire into three. Follow the step-by-step instructions below to ensure a successful outcome.
Key Takeaways:
- Safely split electrical wire into three by preparing, cutting, stripping, attaching connectors, and testing connections. Prioritize safety and seek professional help if needed for a successful outcome.
- Gain the ability to extend wires or connect multiple devices to a single power source by mastering the skill of splitting electrical wire into three. Prioritize safety and consult a professional if uncertain.
Tools and Materials Needed
When splitting electrical wire into three, it is essential to gather all the necessary tools and materials before you begin. Having everything ready will ensure a smooth and uninterrupted process. Here are the tools and materials you will need:
- Electrical wire: Choose a wire that is of the appropriate gauge for your specific application. Make sure you have enough length to reach your desired destination.
- Wire cutter/stripper: A wire cutter/stripper is a versatile tool that will allow you to cut the wire to the desired length and strip the insulation off the ends.
- Electrical connectors: These connectors are used to create secure and reliable electrical connections. You will need three connectors to split the wire into three.
- Wire nuts: Wire nuts are essential for joining and insulating multiple wires together. They ensure a secure and safe connection.
- Electrical tape: Electrical tape is used to wrap around the wire connections, providing an additional layer of insulation and protection.
- Screwdriver: A screwdriver will be required to secure the electrical connectors and wire nuts in place.
- Voltage tester: A voltage tester is essential for ensuring that the wire is not energized before you start working on it. Safety should always be a top priority.
By having these tools and materials on hand, you will be well-prepared to split electrical wire into three and complete the task efficiently and safely.
Step 1: Prepare the Wire
Before you can start splitting the electrical wire into three, it is important to properly prepare the wire for the process. This involves ensuring that the wire is safely disconnected from any power source and checking for any signs of damage or wear. Follow these steps to prepare the wire:
- Turn off the power: Start by switching off the power to the circuit you will be working on. This can be done by locating the circuit breaker or fuse box and turning off the corresponding switch or removing the fuse.
- Use a voltage tester: Even after turning off the power, it is crucial to double-check that the wire is not energized. To do this, use a voltage tester and place the probes on the exposed ends of the wire to ensure that there is no electrical current present.
- Inspect the wire: Carefully examine the wire for any signs of damage, such as frayed insulation or exposed wires. If you notice any damage, it is essential to replace the wire before proceeding further.
- Measure and mark: Determine the desired length that you want the wire to be split into three. Use a measuring tape to accurately measure and mark the points where you will make the cuts.
- Clean the wire ends: If there is any debris or dirt on the wire ends, use a clean, dry cloth or a wire brush to gently clean them. This will ensure a good connection when attaching the new connectors.
By following these preparatory steps, you will ensure that the wire is in good condition and ready to be split into three. Taking the time to properly prepare the wire will contribute to a safer and more efficient process.
Step 2: Cut the Wire
Once you have prepared the electrical wire, you are ready to move on to the next step: cutting the wire. This step involves making clean and precise cuts at the marked points to split the wire into three separate sections. Follow these steps to cut the wire:
- Secure the wire: Before cutting the wire, make sure it is securely held in place to avoid any movement while making the cuts. You can use clamps or a vice to secure the wire if necessary.
- Measure again: Double-check the measurements you previously marked on the wire to ensure accuracy. It’s important to measure twice and cut once to prevent any mistakes.
- Use wire cutters: With the wire in a stable position, use a quality pair of wire cutters to make the cuts at the marked points. Make sure to apply even pressure to achieve a clean and straight cut.
- Inspect the cuts: Once you have made the cuts, visually inspect each end to ensure they are smooth and free from any frayed wires or jagged edges. If needed, use wire strippers to trim any stray wires.
Remember, safety should always be a priority. Make sure to wear protective gloves and eyewear while cutting the wire to minimize the risk of injury. Additionally, be cautious of any potential electrical hazards during this step.
With the wire cut successfully, you have completed the second step of splitting the electrical wire into three. Proceed to the next step to strip the wire ends in preparation for attaching the new connectors.
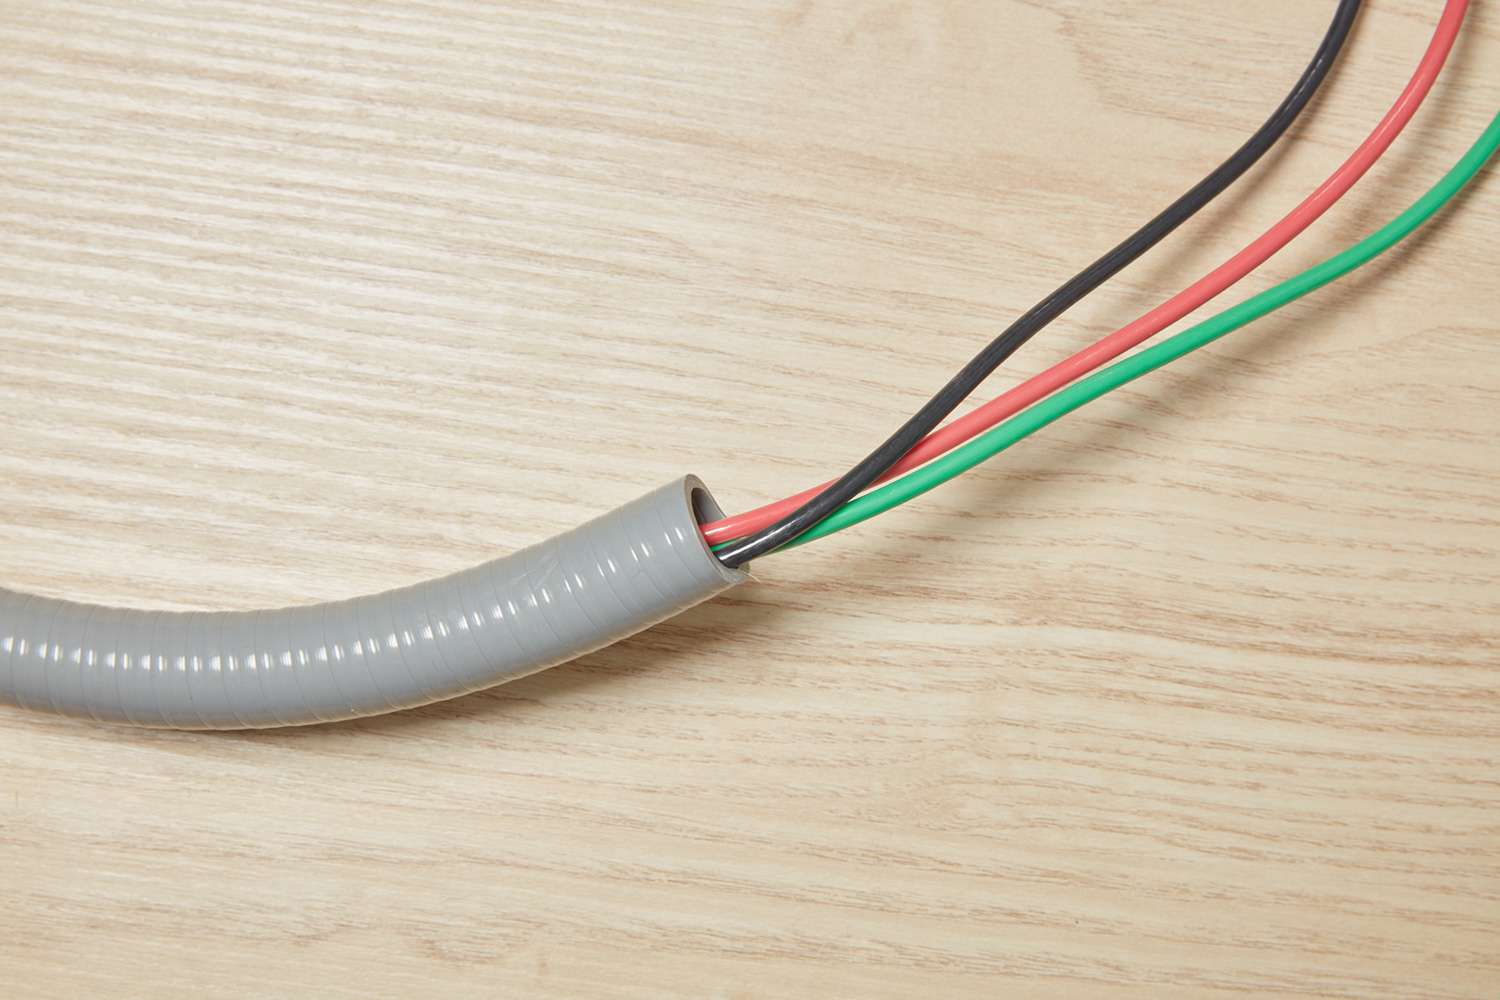
When splitting electrical wire into three, use a cable stripper to carefully remove the outer insulation, then separate the individual wires using wire cutters. Be sure to handle the wires carefully to avoid damaging them.
Read more: What Is 4 Wire Electrical Wire
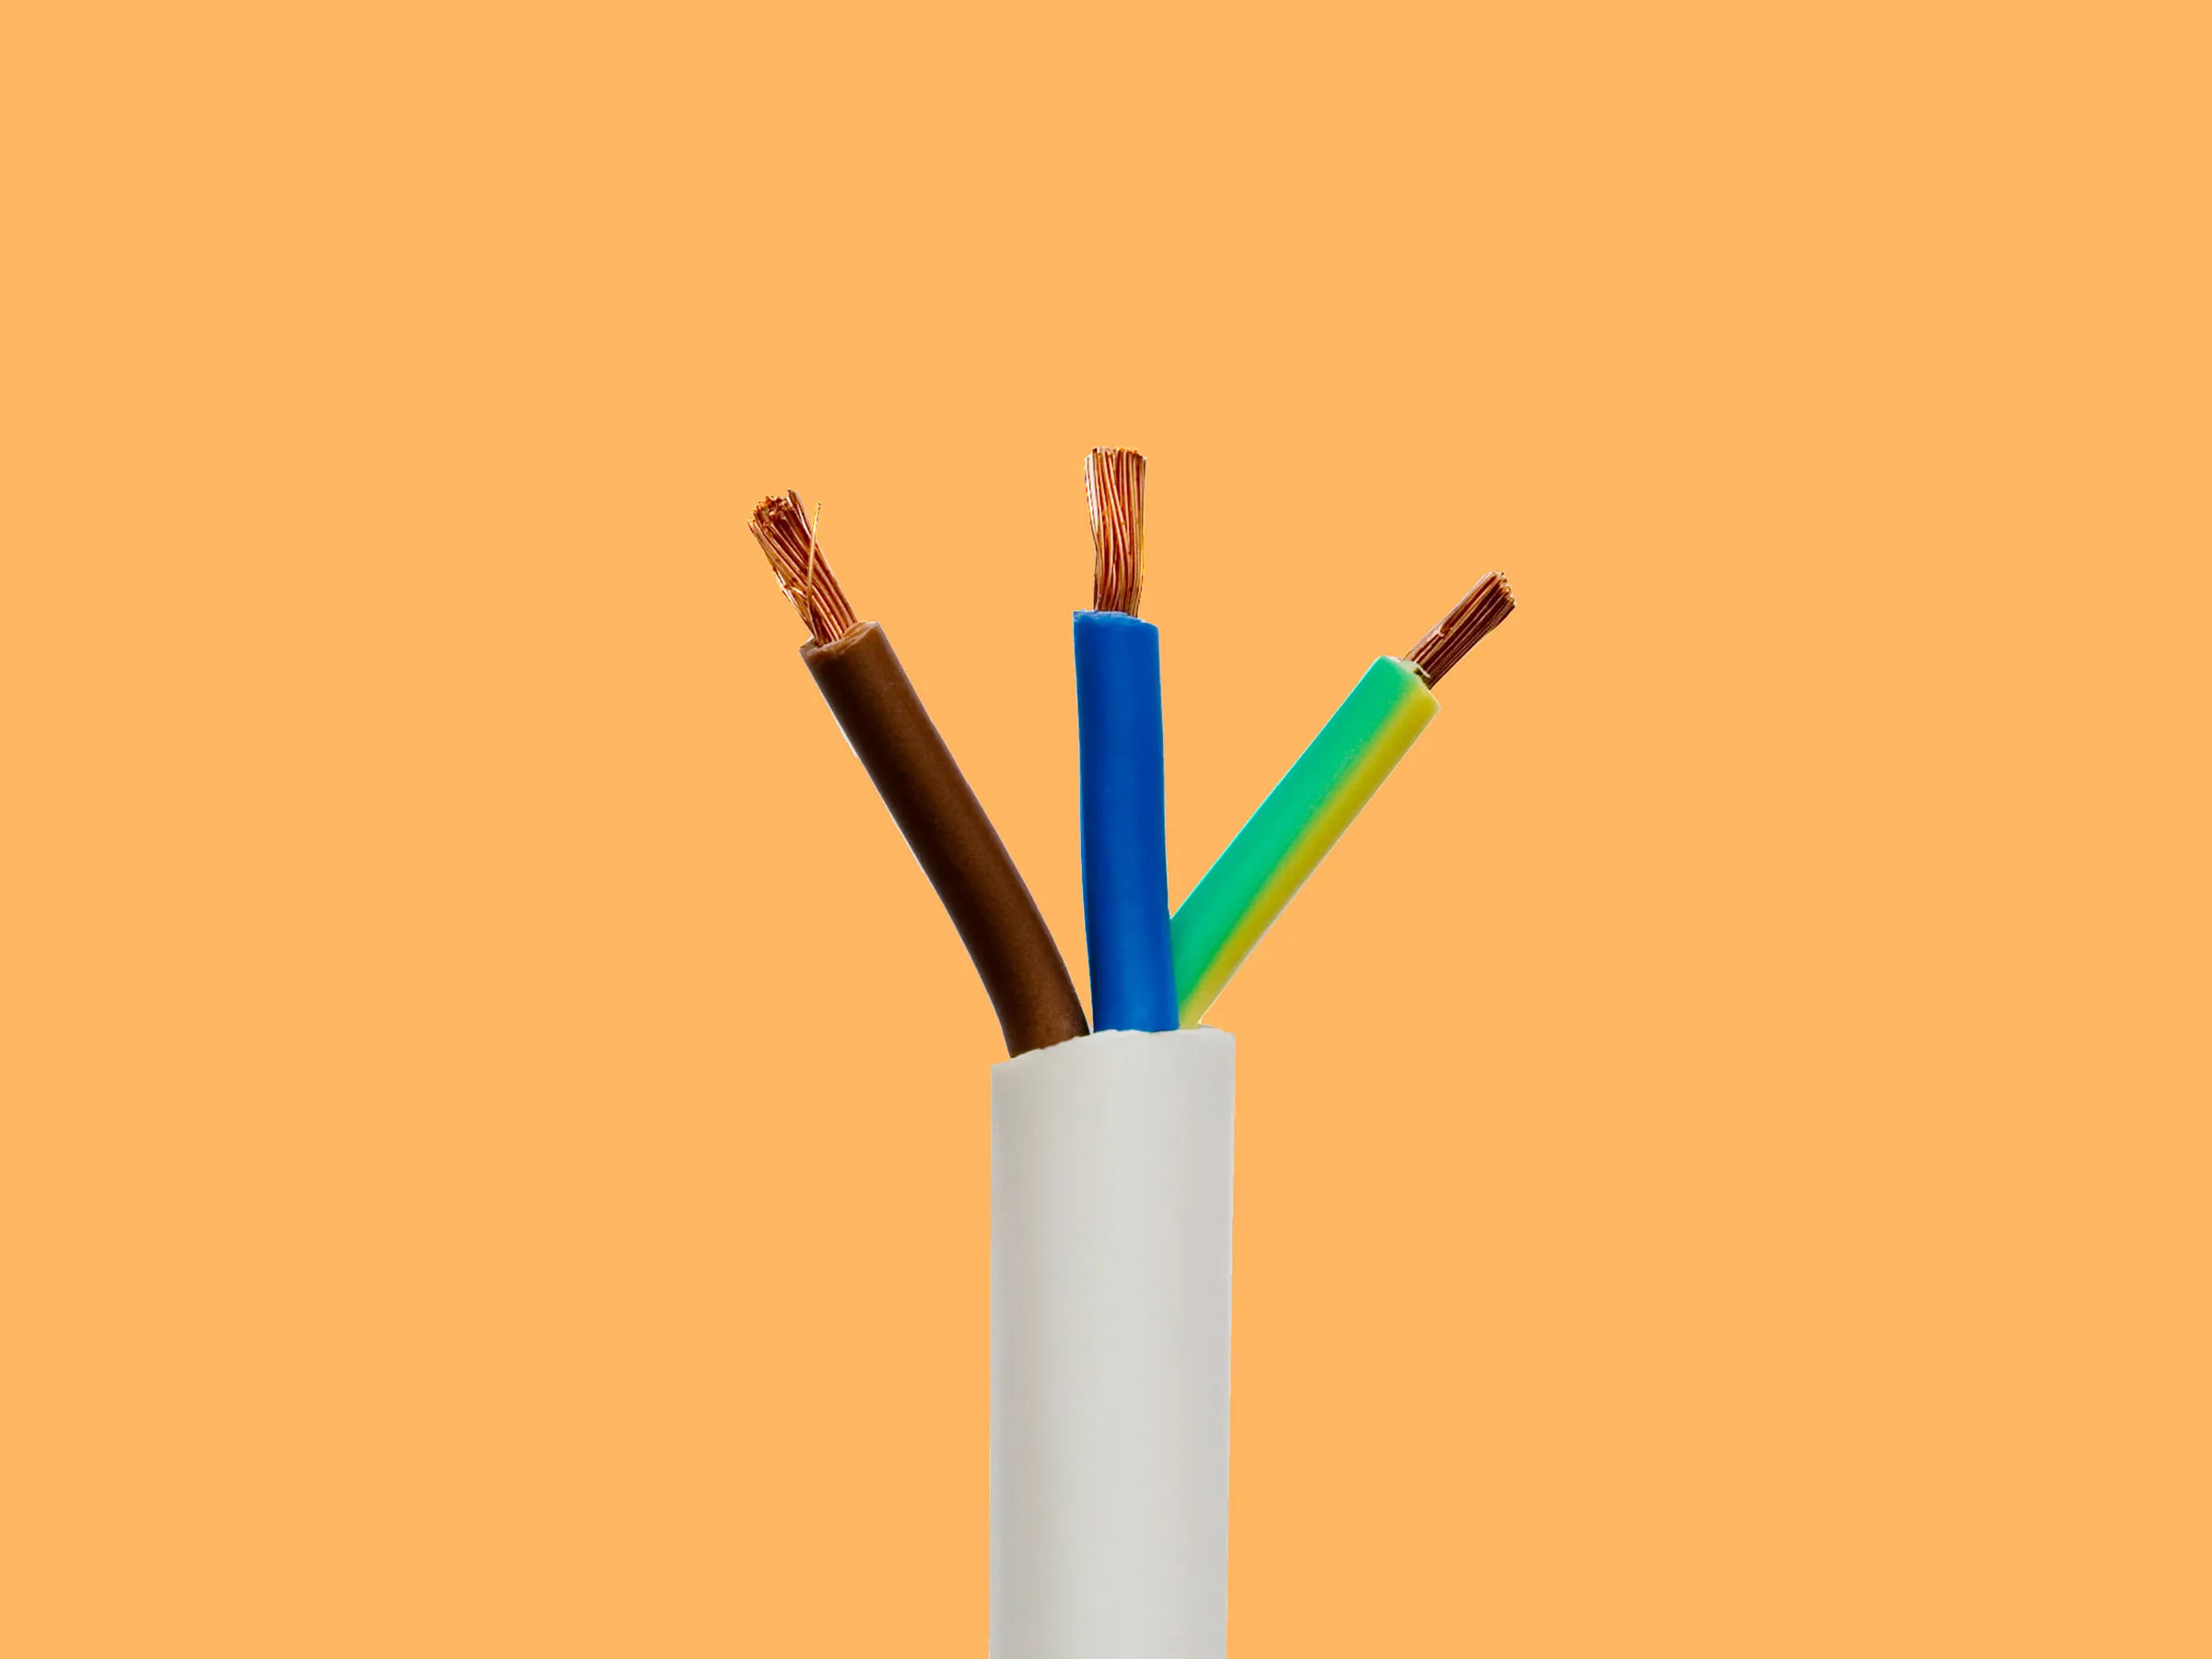
Step 3: Strip the Wire Ends
After cutting the wire into three sections, the next step in splitting the electrical wire is to strip the wire ends. Stripping the wire ends involves removing a portion of the insulation to expose the conductive wires within. This will allow for secure and proper connection of the new connectors. Follow these steps to strip the wire ends:
- Select the appropriate stripping length: Determine the length of wire that you need to expose for attaching the connectors. This can vary depending on the type of connector you will be using.
- Choose the right tool: Use a wire stripper tool that is suitable for the gauge of your wire. The tool should have markings indicating the stripping length to ensure consistent and accurate results.
- Position the wire: Hold the wire securely in one hand and position the wire stripper tool over the end of the wire, making sure the cutting edge is aligned with the marked stripping length.
- Strip the insulation: Apply gentle pressure and rotate the wire stripper tool around the wire’s circumference. This will gradually cut through the insulation without damaging the conductive wires. Continue rotating until the insulation is removed.
- Trim any excess: After stripping the insulation, double-check the exposed wires to ensure they are intact and undamaged. Trim any excess strands or burrs using wire cutters or wire strippers.
- Repeat for all wire ends: Repeat the stripping process for each of the three wire ends, ensuring consistency in stripping length and quality of workmanship.
It’s important to be cautious when stripping the wire ends to avoid damaging the conductive wires or leaving sharp edges. Take your time and ensure that the stripping process is done accurately and safely.
With the wire ends properly stripped, you are now ready to move on to the next step of attaching the new connectors. This will allow you to split the electrical wire into three separate connections effectively.
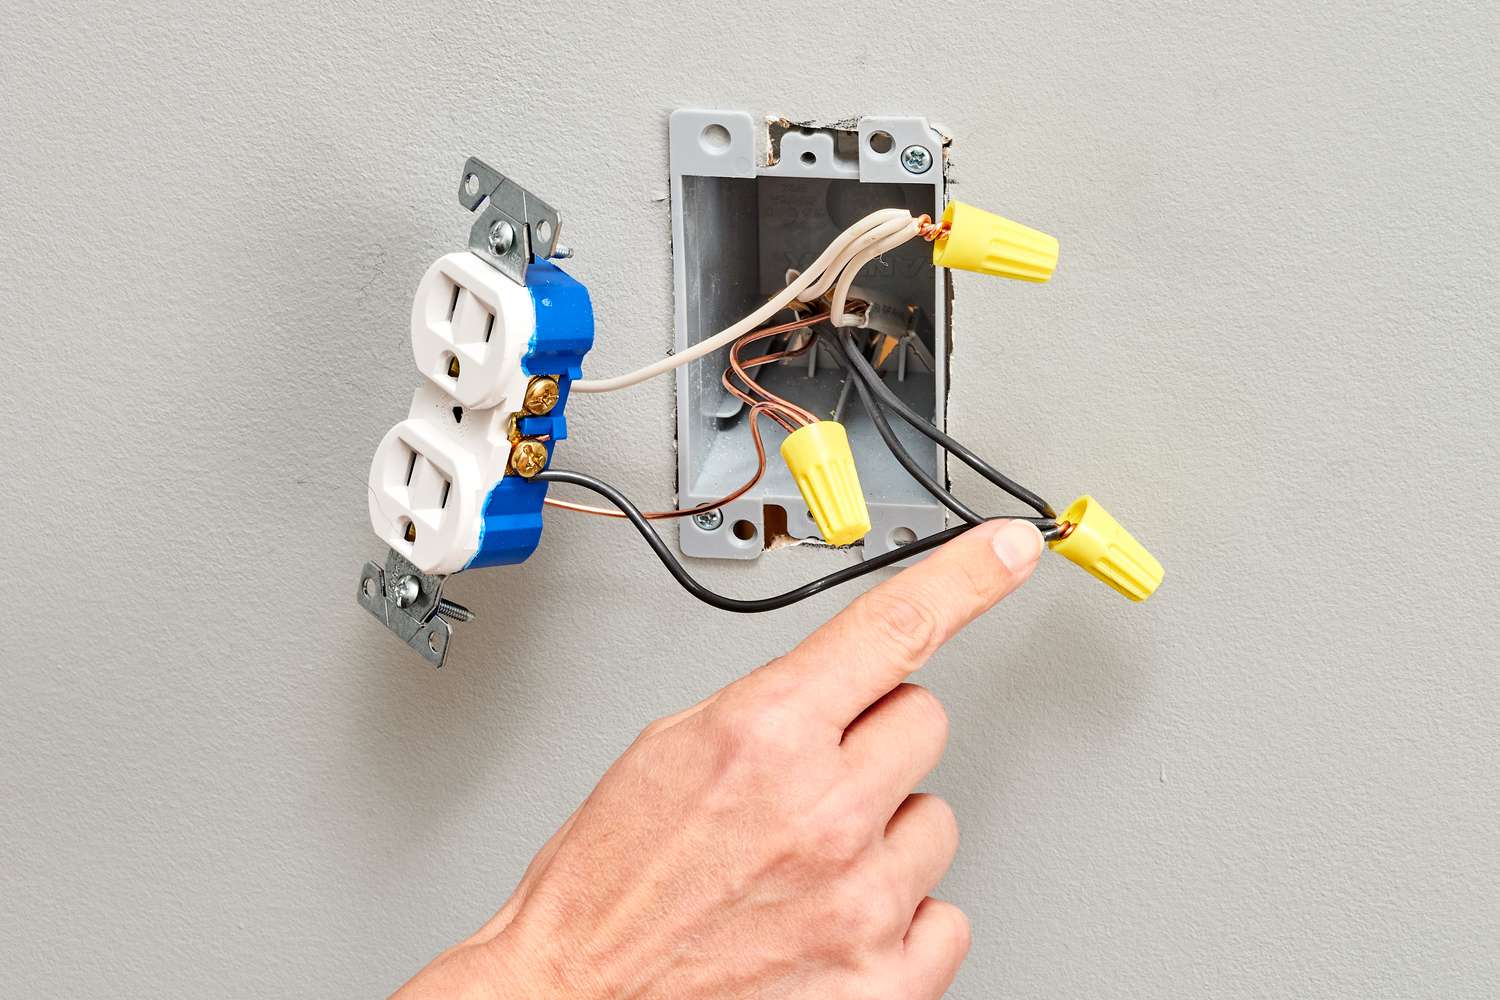
Step 4: Attach the New Connectors
Once the wire ends are stripped, the next step in splitting the electrical wire into three is to attach the new connectors. These connectors will provide a secure and reliable connection between the separated wire sections. Follow these steps to attach the new connectors:
- Select the appropriate connectors: Choose connectors that are suitable for your specific wire gauge and application. There are various types of connectors available, such as twist-on wire connectors or crimp connectors.
- Prepare the connectors: If you are using twist-on wire connectors, gently twist the connector’s threading to loosen it. For crimp connectors, ensure that they are properly sized and crimping components are in place.
- Align the wires: Place the stripped wire ends together, aligning the conductive wires side by side. It’s essential to ensure that the wires are in good contact with each other for a solid connection.
- Connect the wires: For twist-on wire connectors, place the connector over the aligned wire ends and twist it firmly clockwise until it is snug. For crimp connectors, position the connector over the wire ends and use a crimping tool to secure them together tightly.
- Inspect the connections: After attaching the connectors, visually inspect each connection to ensure that the wires are securely and properly joined. Check for any signs of loose connections or exposed wires.
It’s essential to carefully follow the instructions provided with the specific connectors you are using to ensure correct installation. Improperly attached connectors can lead to unreliable connections and potential electrical hazards.
With the new connectors securely attached, you have successfully split the electrical wire into three separate connections. The final step is to test the connections to ensure they are functioning as intended.
Step 5: Test the Connections
After attaching the new connectors, it is crucial to test the connections to verify that they are functioning properly. Testing the connections will ensure that the electrical current is flowing smoothly and that there are no loose or faulty connections. Follow these steps to test the connections:
- Restore the power: Flip the corresponding circuit breaker or insert the fuse to restore power to the circuit from which you disconnected the wire.
- Use a voltage tester: Check each of the three split wire connections using a voltage tester. Carefully touch the tester’s probes to the exposed ends of the wire and verify that it detects voltage.
- Secure the connections: Gently tug on each wire or connector to ensure they are firmly connected and held in place. Loose connections can cause a disruption in the electrical current.
- Perform a functionality test: If the split wire is being used to power devices or appliances, plug them into the respective connectors and test if they are functioning as expected.
- Observe for any issues: Keep an eye on the connections for any signs of overheating, sparks, or unusual behavior. If any issues arise, turn off the power immediately and recheck the connections.
Testing the connections is a critical step to ensure safety and functionality. It provides peace of mind that the electrical wire has been split into three successfully and that the connections are reliable. If any issues or concerns are detected during the testing process, it is essential to reassess the connections and make necessary adjustments or seek professional assistance.
With the connections tested and confirmed, you have successfully split the electrical wire into three and completed the process. Remember to turn off the power to the circuit before making any changes or modifications to electrical wiring for safety purposes.
Conclusion
Splitting electrical wire into three can be a necessary and useful skill in various electrical projects or situations. By following the step-by-step process outlined in this article, you can safely and effectively split the wire into three separate connections. Here’s a recap of the steps:
- Prepare the wire by disconnecting the power, inspecting for damage, measuring, and cleaning the ends.
- Cut the wire at the marked points using a wire cutter.
- Strip the wire ends to expose the conductive wires.
- Attach the new connectors, ensuring a secure and reliable connection.
- Test the connections to ensure functionality and safety.
Throughout the process, it is crucial to prioritize safety by disconnecting the power, using the appropriate tools, and double-checking the wiring and connections for any issues. Taking the time to prepare and execute the steps carefully will lead to a successful outcome.
Remember, if you are uncertain or uncomfortable working with electrical wiring, it is always recommended to consult a professional electrician who can assist you with your specific needs.
By splitting electrical wire into three, you gain the ability to extend the wire or connect multiple devices to a single power source conveniently. Whether you are tackling DIY projects or making improvements to your electrical system, this knowledge will come in handy.
We hope this article has provided you with valuable insights and guidance on how to split electrical wire into three. Remember to adhere to safety practices and regulations when working with electrical wiring, and always consult the appropriate sources and professionals for specific advice and assistance.
Now that you've mastered splitting electrical wire into three, why not extend your skills with our next guide on running overhead electrical wiring to your garage? Perfect for those looking to enhance their home's electrical setup, this article offers practical advice and clear instructions to make your project a breeze. Whether you're upgrading your workshop or simply ensuring safer connections, this resource is indispensable for any DIY enthusiast.
Frequently Asked Questions about How To Split Electrical Wire Into Three
Was this page helpful?
At Storables.com, we guarantee accurate and reliable information. Our content, validated by Expert Board Contributors, is crafted following stringent Editorial Policies. We're committed to providing you with well-researched, expert-backed insights for all your informational needs.


0 thoughts on “How To Split Electrical Wire Into Three”