Articles
How To Wire Electric Fan With Relay
Modified: November 2, 2024
Learn how to wire an electric fan with a relay in this informative article. Find step-by-step instructions and expert tips to ensure a successful installation.
(Many of the links in this article redirect to a specific reviewed product. Your purchase of these products through affiliate links helps to generate commission for Storables.com, at no extra cost. Learn more)
Introduction
Electric fans play a crucial role in keeping our vehicles or homes cool during hot weather. They help circulate the air and maintain a comfortable temperature. However, sometimes a simple switch may not have enough power to control the fan effectively. That’s where a relay comes into play. A relay is an electrical device that amplifies the original signal and provides power to the fan motor. In this article, we will discuss how to wire an electric fan with a relay, allowing you to have better control over your fan and improve its performance.
Understanding how the electric fan and relay work together is essential before diving into the wiring process. An electric fan operates by spinning fan blades to move air. It is connected to a fan motor that requires a significant amount of power to operate. A relay acts as an intermediary between the power source and the fan motor, allowing for a higher ampere capacity.
Before you begin, gather the necessary materials to complete the wiring process. You will need an electric fan, a relay, a power source, wire connectors, electrical tape, and a fuse holder with an appropriate fuse. Having these materials on hand will ensure a smooth installation process.
Now let’s move on to the step-by-step process of wiring an electric fan with a relay for efficient and reliable operation.
Key Takeaways:
- Properly wiring an electric fan with a relay allows for better power distribution, reduced strain on the switch, and more precise fan control, enhancing overall performance and efficiency.
- Thorough preparation, careful connections, and troubleshooting common issues are essential for a successful installation of an electric fan with a relay, ensuring optimal safety and effective operation.
Read more: How To Wire A Ceiling Fan With 3 Wires
Understanding the Electric Fan and Relay
Before delving into the installation process of wiring an electric fan with a relay, it is important to have a clear understanding of how these components work together.
An electric fan is designed to circulate air and provide cooling in various applications, such as automotive cooling systems or HVAC systems in buildings. It consists of a motor that spins fan blades, creating airflow. The fan motor requires a significant amount of electrical power to operate efficiently.
A relay, on the other hand, is an electromagnetic switch that helps to amplify and control electrical signals. It acts as a bridge between the power source and the fan motor, allowing for efficient power distribution. The relay can handle high current and voltage, ensuring that the fan motor receives the necessary power to function optimally.
Relays have several essential components, including a coil, contacts, and a switch. The coil is an electromagnet that generates a magnetic field when an electrical current passes through it. The magnetic field activates the switch, connecting or disconnecting the contacts. This allows the relay to control the flow of electricity to the fan motor.
When the electrical signal from the power source reaches the relay’s coil, the coil becomes magnetized, attracting the switch to close the contacts. This completes the circuit, allowing power to flow from the power source to the fan motor. When the relay receives a signal to turn off, the coil becomes demagnetized, and the switch opens, disconnecting the contacts and cutting off power to the motor.
The use of a relay in wiring an electric fan provides several advantages. It reduces the load on the fan switch, prolonging its lifespan, and prevents excessive heat buildup, as the relay handles the high current required by the fan motor. Moreover, using a relay allows for more precise fan control, enabling the fan to operate at optimal speeds based on temperature or other factors.
Now that we have a better understanding of how an electric fan and a relay work together, we can move on to the process of wiring them for optimal performance.
Gathering the Required Materials
Before you can begin wiring an electric fan with a relay, it is crucial to gather all the necessary materials. Ensuring that you have everything you need will make the installation process smoother and more efficient. Here is a list of the materials you will require:
- Electric Fan: Choose a fan that suits your specific needs and application. Make sure it is compatible with the electrical system of your vehicle or the power supply in your home.
- Relay: Select a relay that can handle the power requirements of your electric fan motor. Consider the amperage rating and ensure it matches or exceeds the fan’s power demands.
- Power Source: You will need a reliable power source to connect to the relay. This can be the vehicle’s battery or an available power outlet in your home, depending on the application.
- Wire Connectors: Use high-quality wire connectors to ensure secure and reliable connections between the different components. Butt connectors, spade connectors, and ring terminals are commonly used for this purpose.
- Electrical Tape: Use electrical tape to insulate and protect the exposed wiring connections. This will prevent any short circuits or electrical issues.
- Fuse Holder with Fuse: Install a fuse holder in the power supply line to protect the circuit from overloading. Choose an appropriate fuse rating based on the fan motor’s power requirements.
- Wire: Select the appropriate gauge wire for your installation. The wire gauge should match the amperage rating of the fan motor and the power supply. Thicker wires are generally required for higher amperage applications.
- Hand Tools: Have a set of basic hand tools readily available, including wire strippers, crimping tools, pliers, and a wire cutter. These tools will be essential for properly connecting and securing the wires.
Once you have gathered all the necessary materials, you are ready to move on to the step-by-step process of wiring an electric fan with a relay. Having everything you need on hand will make the installation process much smoother and faster, allowing you to enjoy the benefits of a properly wired fan system.
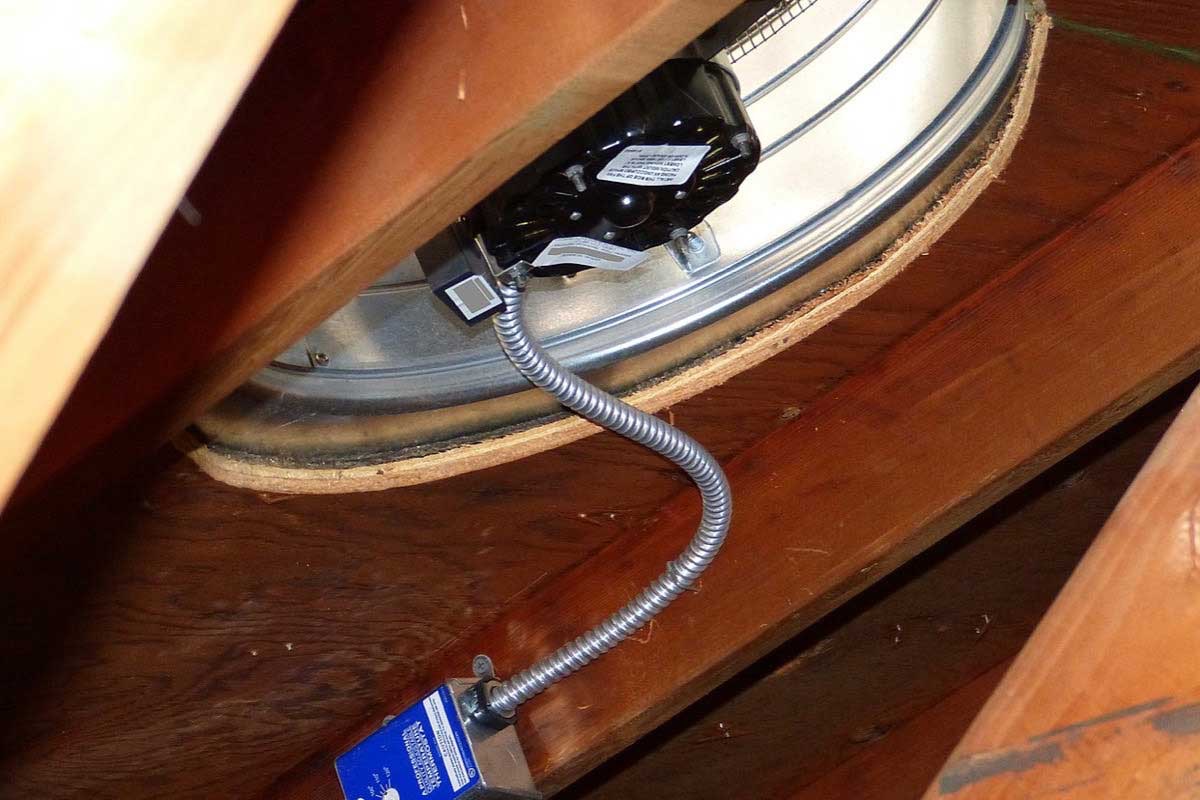
Step 1: Mounting the Electric Fan
Before starting the wiring process, it is essential to properly mount the electric fan in the desired location. The fan should be strategically placed to maximize its cooling efficiency. Here are the steps to mount the electric fan:
- Choose a suitable location: Determine the ideal position for the electric fan, considering factors such as airflow, accessibility, and clearance. Make sure there is enough room for the fan blades to rotate freely without any obstructions.
- Mark the mounting holes: Place the fan against the chosen location, and use a pen or marker to mark the mounting holes on the mounting surface. Ensure the markings line up with the fan’s mounting brackets.
- Drill pilot holes: Using an appropriate-sized drill bit, carefully drill pilot holes at the marked positions. These holes will serve as guides for attaching the mounting brackets.
- Attach the mounting brackets: Align the fan’s mounting brackets with the pilot holes and secure them in place using suitable screws or bolts. Ensure that the brackets are firmly fastened to the mounting surface to provide stability.
- Double-check the fan’s position: Verify that the fan is securely mounted and properly aligned. Make any necessary adjustments before proceeding to the next step.
Mounting the electric fan correctly is crucial to ensure its efficiency and durability. By following these steps, you can position the fan in an optimal location and ensure that it is firmly secured. Once the electric fan is properly mounted, you are ready to move on to the next step of the wiring process.
Step 2: Preparing the Wiring
Now that the electric fan is securely mounted, it’s time to prepare the wiring for the installation process. Proper preparation of the wiring will ensure a neat and organized setup, minimizing the risk of electrical issues or complications down the line. Here are the steps to prepare the wiring:
- Determine the route: Decide on the most suitable route for the wiring from the power source to the electric fan. Consider factors such as accessibility, proximity to other components, and avoiding any potential hazards.
- Measure and cut the wires: Measure the necessary lengths of wire required for the installation. It is recommended to add a few extra inches to allow for flexibility during the wiring process. Use wire cutters to cut the wires to the desired lengths.
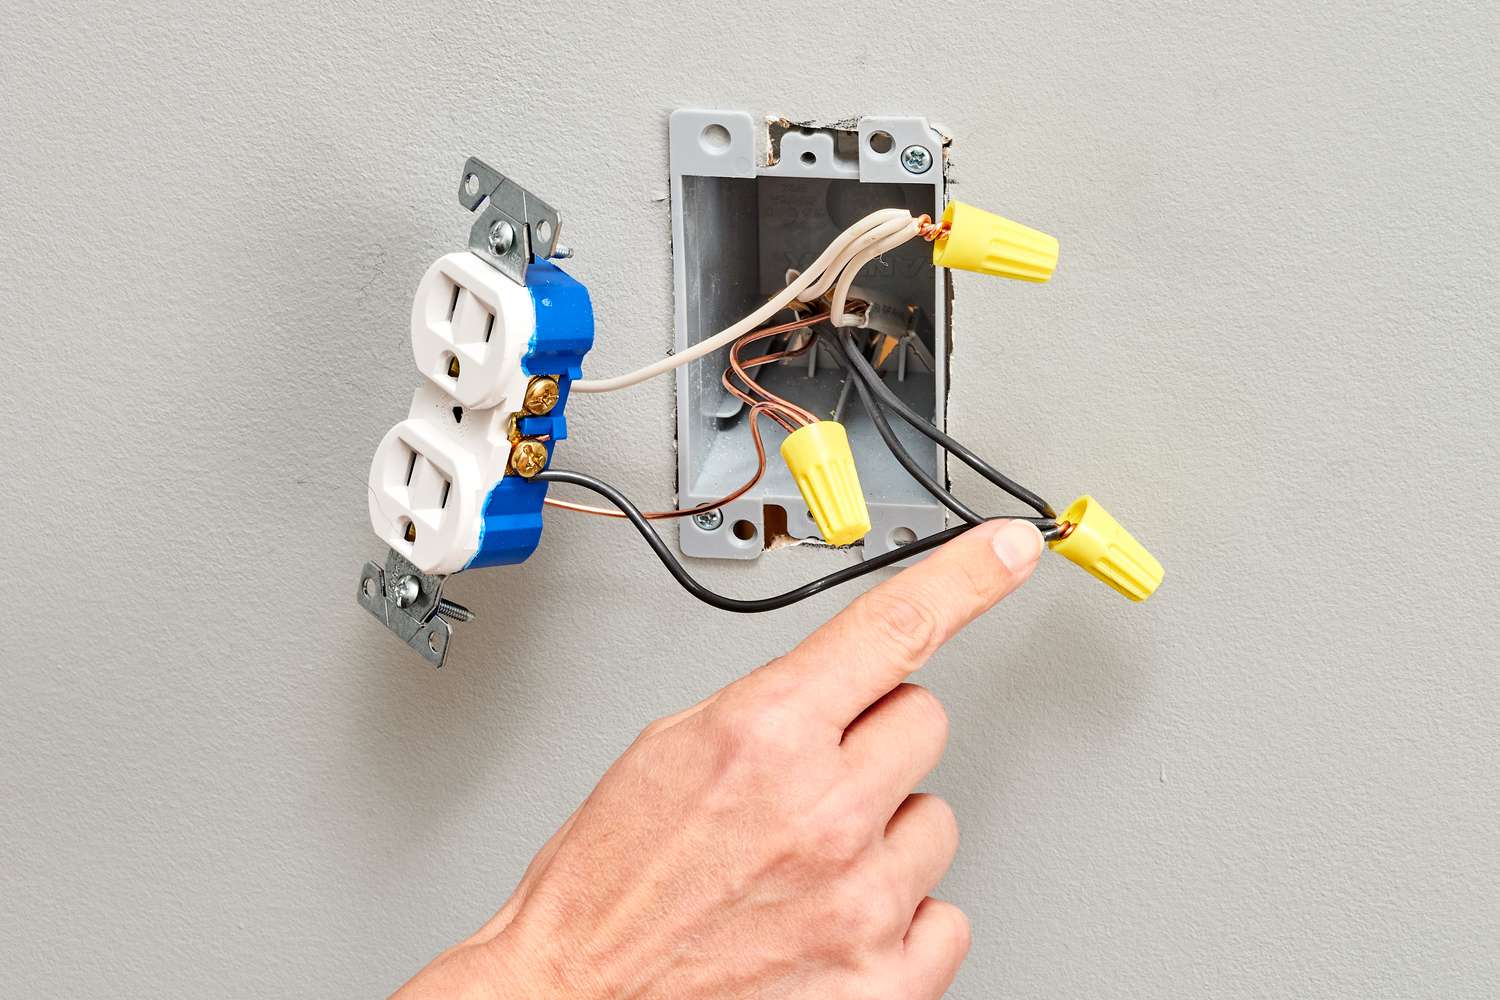
- Strip the wire ends: Using wire strippers, carefully strip off a small portion of the insulation from the ends of the wires. The stripped portion should be long enough to make a secure connection but not too long that it interferes with the connections or creates unnecessary exposure.
- Crimp wire connectors: Attach the appropriate wire connectors, such as butt connectors, spade connectors, or ring terminals, to the stripped ends of the wires. Follow the manufacturer’s instructions for properly crimping the connectors to ensure a reliable connection.
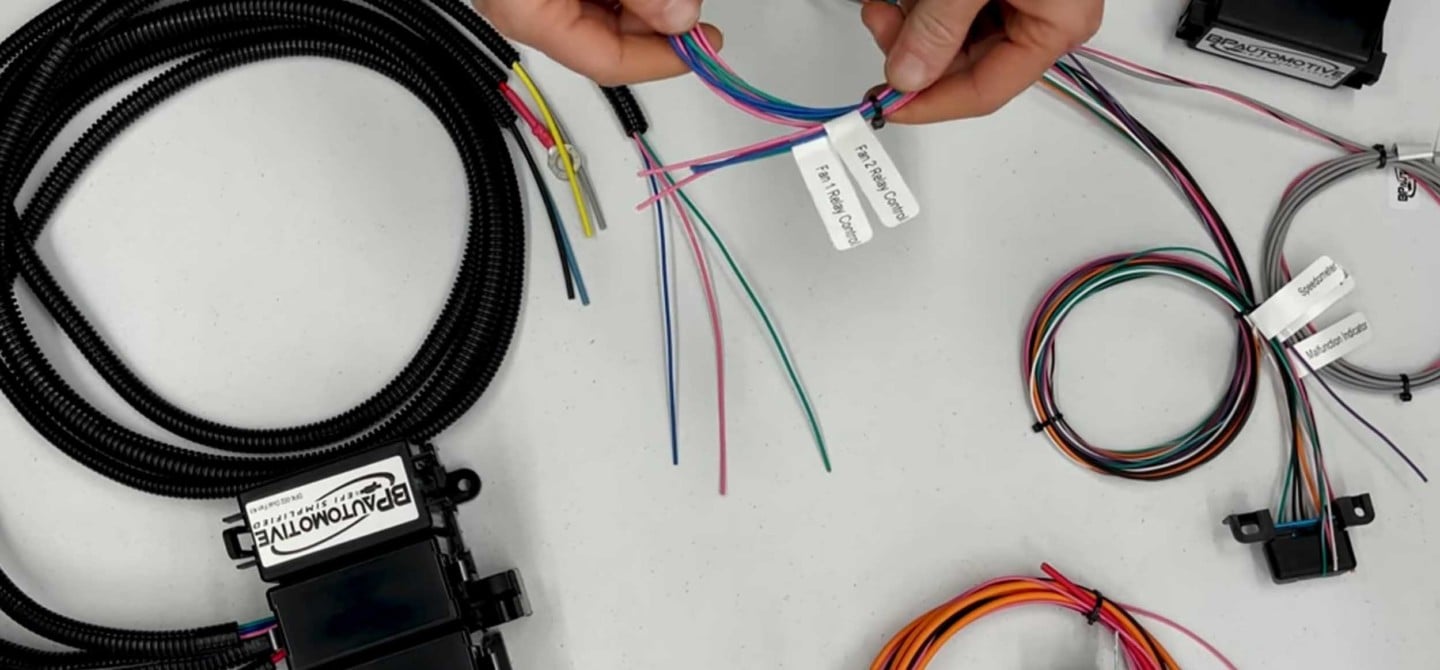
- Label the wires (optional): If you are working with multiple wires or connections, it may be helpful to label them for easier identification later on. This can be done using labels, tape, or color-coding the wires using electrical tape.
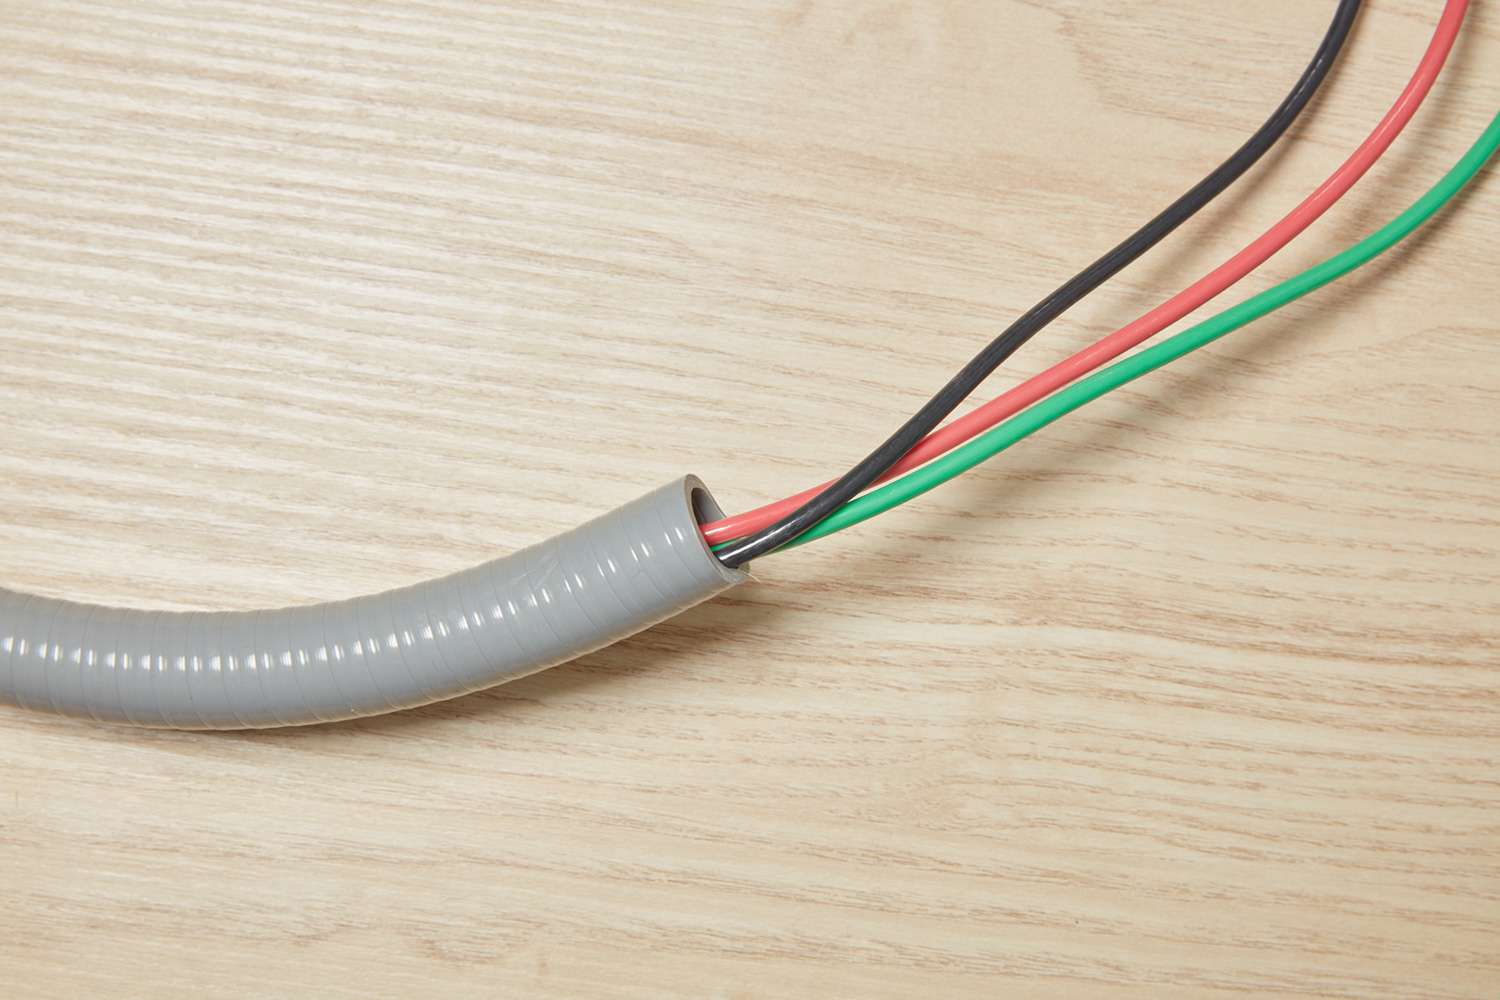
- Organize the wires: Arrange the prepared wires neatly, avoiding any tangles or overlaps. Consider using zip ties or wire loom to keep the wires organized and secure.
By following these steps, you can ensure that the wiring is properly prepared and ready for the next stage of the installation process. Taking the time to prepare the wiring correctly will make the overall wiring process smoother and minimize the risk of any complications or errors.
When wiring an electric fan with a relay, make sure to use the appropriate gauge wire for the fan’s current draw to prevent overheating and ensure proper operation. Also, use a relay with a higher amp rating than the fan to avoid potential electrical issues.
Read more: What Is 4 Wire Electrical Wire
Step 3: Connecting the Relay
With the wiring prepared, the next step in wiring an electric fan with a relay is to connect the relay to the power source. The relay will serve as the control center for the electric fan, allowing it to receive power and operate efficiently. Here are the steps to connect the relay:
- Locate a suitable mounting location: Choose a secure and accessible location to mount the relay. This can be near the electric fan or in a central location, depending on your preference and the available space.
- Mount the relay: Attach the relay to the chosen mounting location using screws, bolts, or a suitable adhesive. Ensure that the relay is securely fastened and won’t come loose during operation.
- Identify the relay terminals: Familiarize yourself with the relay’s terminals, which are typically labeled. Look for the terminals labeled “30”, “87”, “85”, and “86”. These terminals are essential for connecting the relay correctly.
- Connect the power source: Take one end of the wire connected to the power source and connect it to terminal “30” on the relay. Use a suitable wire connector to make a secure connection.
- Ground the relay: Connect a ground wire to terminal “85” on the relay. This wire should be securely connected to a suitable grounding point, such as a metal chassis or ground strap.
- Provide power to the relay: Connect the other end of the wire from the power source to terminal “86” on the relay. This will provide power to the coil of the relay, allowing it to function.
Once the relay is connected to the power source, it is ready to control the electric fan. The relay acts as a switch that amplifies and controls the electrical signal, allowing the fan motor to receive the necessary power for operation. Proceed to the next step to connect the electric fan to the relay.
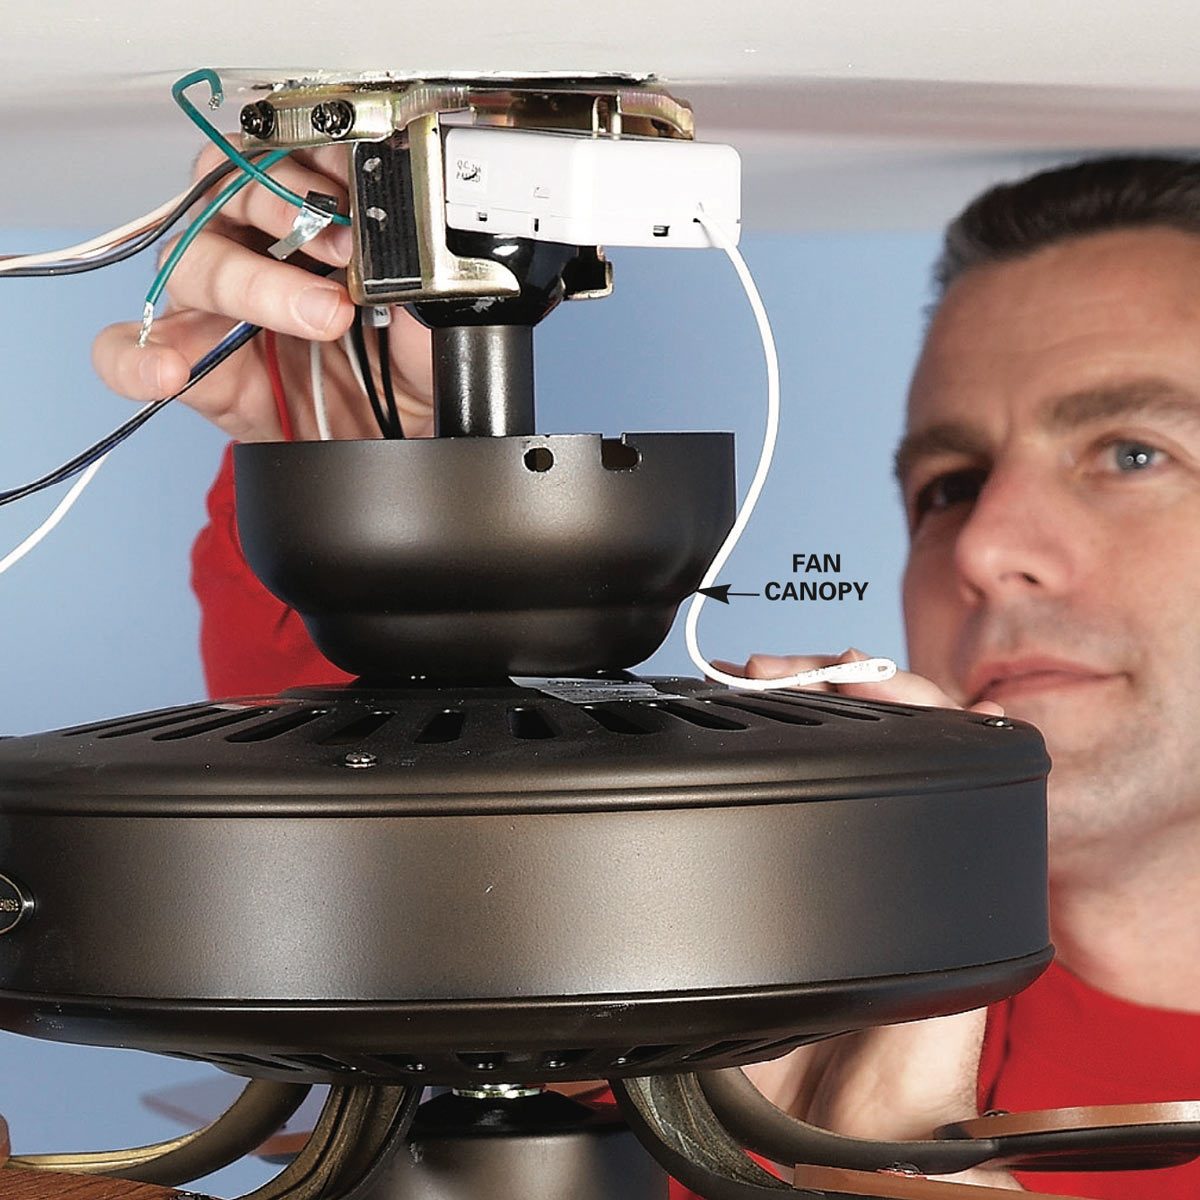
Step 4: Wiring the Electric Fan to the Relay
Now that the relay is properly connected to the power source, it’s time to wire the electric fan to the relay. This step will establish the direct connection between the relay and the fan motor, enabling the fan to receive power and operate effectively. Follow these steps to wire the electric fan to the relay:
- Identify the fan motor wires: Locate the wires on the electric fan’s motor. Typically, there will be two wires – one for the power supply (often red or black) and one for the ground (often green or blue).
- Connect the power supply wire: Take the power supply wire from the fan motor and connect it to terminal “87” on the relay. Use a suitable wire connector to make a secure and reliable connection.
- Connect the ground wire: Attach the ground wire from the fan motor to a suitable grounding point, such as a metal chassis or ground strap. This will provide a safe path for electrical current and ensure proper grounding.
- Double-check the connections: Once the power supply and ground wires are connected, double-check the connections to ensure they are secure and properly seated. Inspect for any loose or exposed wires, and make any necessary adjustments.
By following these steps, you have successfully wired the electric fan to the relay, establishing a direct connection between the two. This connection allows the relay to control the flow of power to the fan motor, enabling the fan to operate as intended. Proceed to the final step to complete the installation process.
Step 5: Finalizing the Installation
After successfully wiring the electric fan to the relay, it’s time to finalize the installation process. This step involves completing the remaining connections, ensuring everything is properly secured, and conducting a thorough check to ensure the system is functioning correctly. Follow these steps to finalize the installation:
- Install the fuse holder: Connect the fuse holder to the power supply line between the power source and the relay. This will protect the circuit from overloading and provide an added layer of safety. Make sure to install the appropriate fuse based on the fan motor’s power requirements.
- Secure and protect the wiring: Use zip ties or wire loom to secure and organize the wiring. This will prevent any loose or dangling wires that may interfere with the fan’s operation or pose a safety hazard. Additionally, use electrical tape to insulate and protect any exposed wire connections.
- Double-check all connections: Thoroughly inspect all the connections, including those at the power source, relay, fan motor, and fuse holder. Ensure that all connections are secure and free from any loose or exposed wires. Make any necessary adjustments or corrections as needed.
- Test the fan operation: Before closing everything up, test the fan’s operation by turning on the power. Verify that the fan spins smoothly and that it is operating at the desired speed. Listen for any unusual noises or vibrations that could indicate an issue with the wiring or fan motor.
- Clean up and secure the installation: Once you are satisfied with the fan’s operation, secure any loose wiring or components. Close any panels or covers that were removed during the installation process. Ensure that the electric fan and relay are securely mounted and that there are no loose or dangling parts.
By following these final steps, you can ensure that the installation of the electric fan with a relay is complete and that everything is properly secured and functioning as expected. It is crucial to conduct a thorough check to confirm the system’s performance and address any potential issues to ensure optimal safety and efficiency.
Congratulations! You have successfully completed the installation process of wiring an electric fan with a relay. Enjoy the benefits of better fan control and improved performance in keeping your vehicle or home cool.
Troubleshooting Common Issues
While wiring an electric fan with a relay is a relatively straightforward process, sometimes issues can arise. Understanding and troubleshooting common problems can help ensure a smooth operation of your fan system. Here are some common issues you may encounter and how to troubleshoot them:
- Fan not working:
- Check the power supply: Ensure that the power source is providing the proper voltage and that the fuse is intact.
- Inspect the wiring: Double-check all the connections to ensure there are no loose or disconnected wires. Look for any damaged wiring that may need replacement.
- Verify the relay function: Test the relay by listening for a clicking noise when the fan switch is turned on. If you don’t hear the click, the relay may need to be replaced.
- Test the fan motor: Disconnect the fan motor from the relay and directly apply power to it. If the fan motor doesn’t spin, it may be faulty and require replacement.
- Fan running at an incorrect speed:
- Inspect the relay connections: Ensure that the power supply and fan motor wires are connected to the correct terminals on the relay. Recheck and correct any wiring errors.
- Verify the relay ratings: Make sure that the relay is appropriately rated for the power requirements of the fan motor. Using an underpowered relay can result in the fan running at a lower speed than desired.
- Check the temperature sensor (if applicable): If your fan system has a temperature sensor, ensure that it is functioning correctly. Replace the sensor if it’s faulty or not providing the correct signals to the relay.
- Frequent blown fuses:
- Check the wiring connections: Inspect all the connections to make sure there are no loose or exposed wires that could cause a short circuit. Secure any loose connections and insulate exposed areas with electrical tape.
- Verify the fuse rating: Ensure that the fuse installed in the fuse holder is the correct rating for the fan motor’s power requirements. Using a higher ampere fuse can result in fuse blowouts.
- Inspect the relay: A malfunctioning relay can lead to excessive current draw, causing the fuse to blow. Test the relay and replace it if necessary.
- Unusual noise or vibration:
- Inspect the fan blades: Check for any debris or obstructions that may be affecting the fan’s operation. Clean or remove any foreign objects that could cause noise or vibrations.
- Ensure proper mounting: Verify that the fan is securely mounted and that all mounting brackets and screws are tightened. Loose mounting can result in vibrations and unwanted noise.
- Replace the fan motor: If the noise or vibrations persist, it may indicate a faulty fan motor. Consider replacing the motor to resolve the issue.
Remember, if you are unsure about any aspect of troubleshooting or fixing electrical issues, it is always recommended to consult a professional electrician or seek assistance from a qualified technician to ensure the safety and proper functioning of your electric fan system.
By addressing common issues and troubleshooting them effectively, you can maintain a reliable and efficient electric fan system that will keep you cool in any situation.
Read more: How To Wire Hunter Ceiling Fan
Conclusion
Wiring an electric fan with a relay can greatly enhance the efficiency, control, and performance of the fan system. By understanding the components involved and following the step-by-step installation process, you can ensure a successful and hassle-free setup. A properly wired electric fan with a relay allows for better power distribution, reduces strain on the switch, and enables more precise fan control.
Throughout the installation process, it is important to gather all the necessary materials, carefully mount the electric fan, prepare the wiring, connect the relay, and wire the fan motor. Taking the time to double-check connections, secure wiring, and properly ground the system will help prevent any potential issues and ensure safe and effective fan operation.
If you encounter any common issues, such as the fan not working, running at incorrect speeds, or blowing fuses, remember to troubleshoot and identify the root cause. Proper troubleshooting techniques, including inspecting wiring, checking relay connections, and testing the fan motor, can help you resolve these issues and optimize the performance of your electric fan system.
Finally, always exercise caution and consider seeking professional assistance or guidance if you are uncertain or uncomfortable with any electrical work. Safety should be a priority when working with electrical components, and it is crucial to follow manufacturer instructions and adhere to proper electrical practices during installation and troubleshooting.
With a correctly wired electric fan system, you can enjoy the benefits of efficient cooling, improved fan control, and enhanced comfort in your vehicle or home. Stay cool and take pride in a well-executed installation of an electric fan with a relay.
Frequently Asked Questions about How To Wire Electric Fan With Relay
Was this page helpful?
At Storables.com, we guarantee accurate and reliable information. Our content, validated by Expert Board Contributors, is crafted following stringent Editorial Policies. We're committed to providing you with well-researched, expert-backed insights for all your informational needs.


0 thoughts on “How To Wire Electric Fan With Relay”