Articles
How To Piggyback Electrical Wire
Modified: October 20, 2024
Learn how to piggyback electrical wire using these informative articles. Master the process and ensure safe and efficient electrical installations.
(Many of the links in this article redirect to a specific reviewed product. Your purchase of these products through affiliate links helps to generate commission for Storables.com, at no extra cost. Learn more)
Introduction
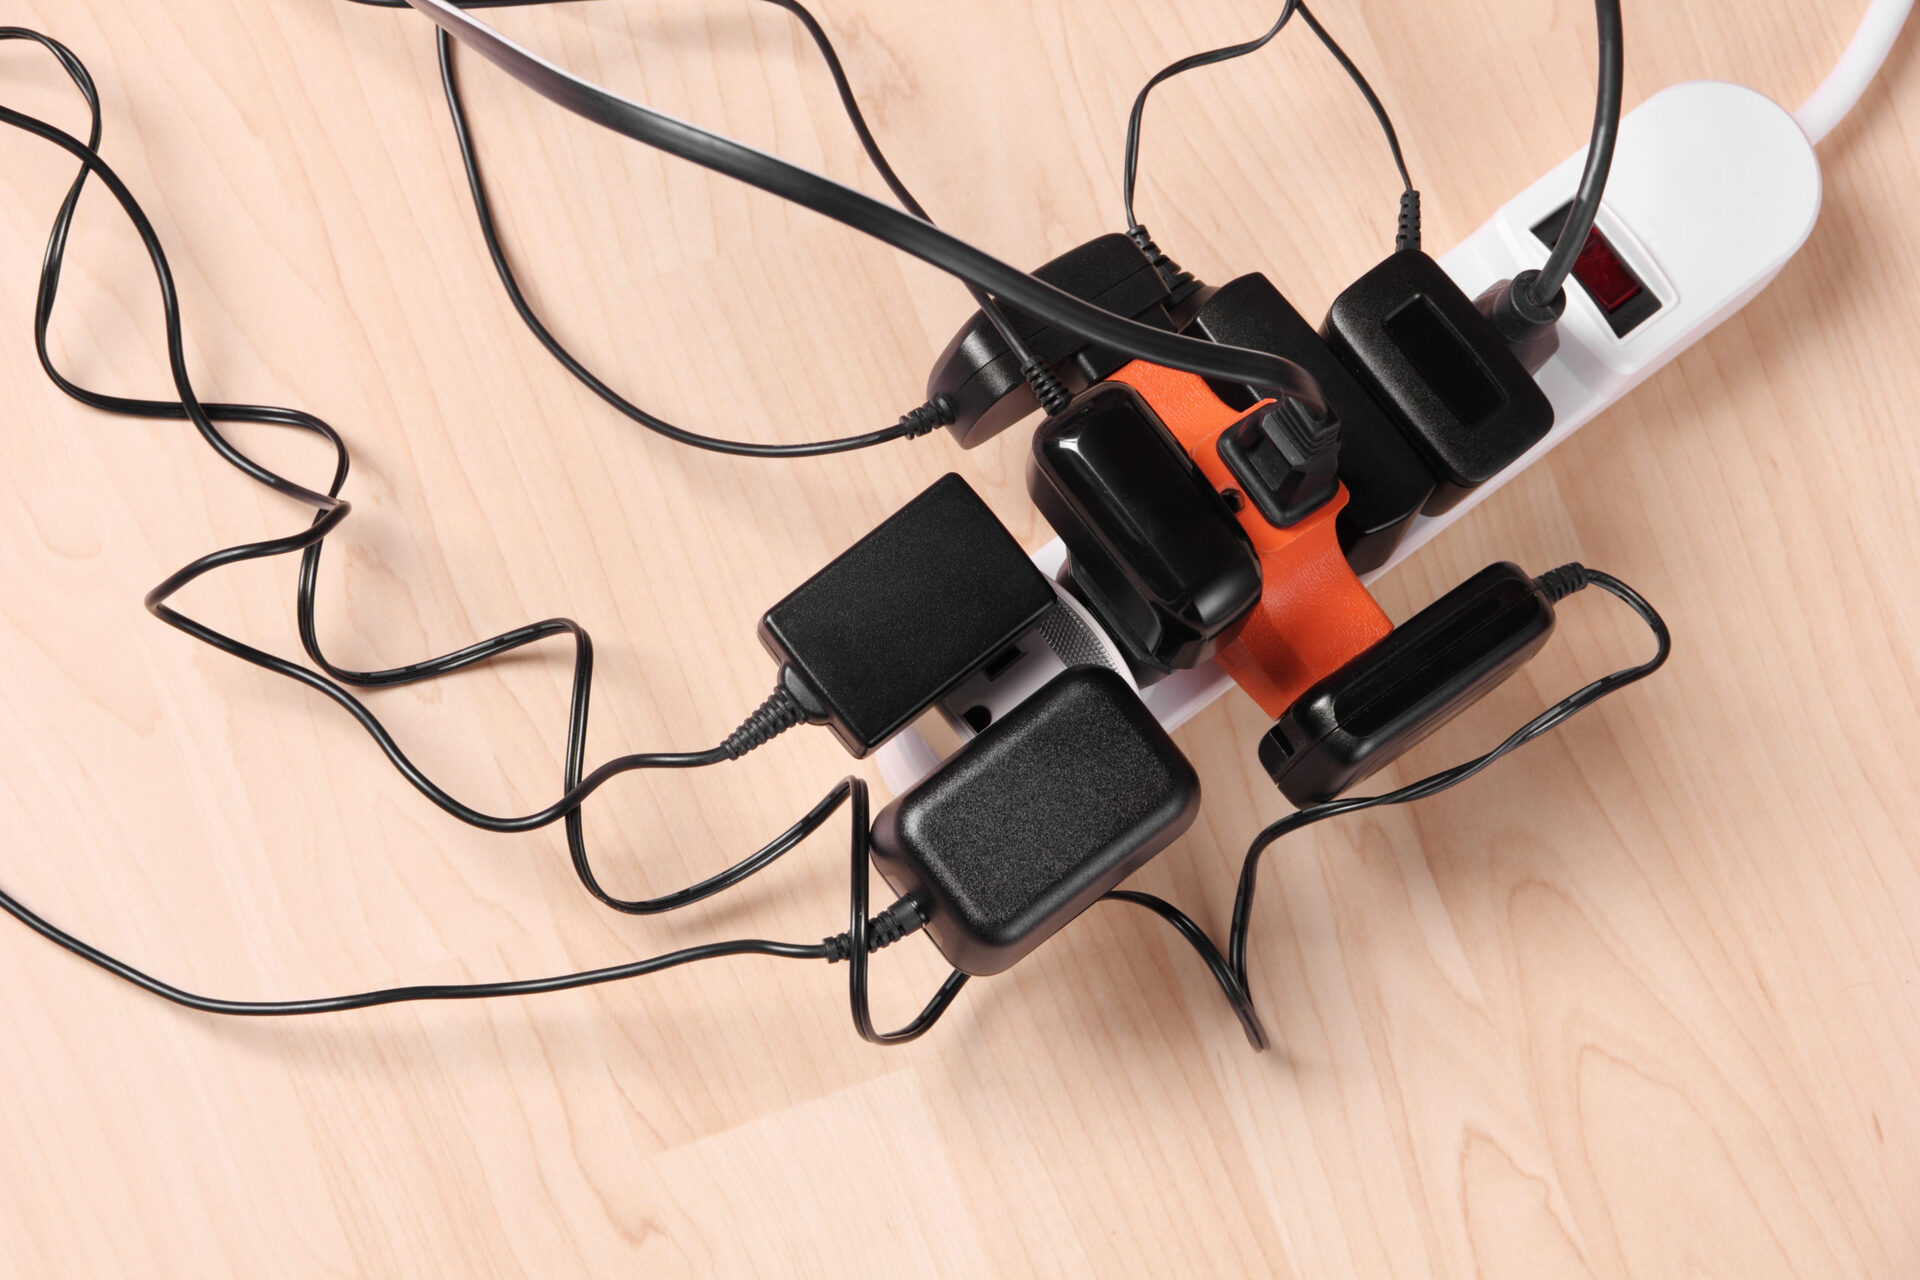
Welcome to the world of electrical wiring! Whether you’re a seasoned DIY enthusiast or a beginner tackling your first electrical project, understanding how to piggyback electrical wire is an essential skill to have. Piggybacking allows you to conveniently tap into an existing wire to add additional outlets, switches, or appliances without the need for running a completely new wire.
In this article, we will guide you through the step-by-step process of piggybacking electrical wire. We’ll cover the tools and materials needed, as well as provide detailed instructions to help you execute the process efficiently and safely. So, let’s get started!
Key Takeaways:
- Piggybacking electrical wire is a convenient way to expand your electrical system without running new wires. However, it’s crucial to prioritize safety, proper tools, and precise execution for a reliable and functional connection.
- Before piggybacking, assess the existing wire, prepare the additional wire, and ensure a secure and insulated connection. Testing the functionality is essential to confirm a successful piggybacking process.
Read more: What Is 4 Wire Electrical Wire
Tools and Materials Needed
Before you begin piggybacking electrical wire, it’s important to gather all the necessary tools and materials to ensure a smooth and successful process. Here’s what you’ll need:
Tools:
- Wire cutters
- Wire strippers
- Needle-nose pliers
- Screwdriver
- Electrical tape
Materials:
- Additional lengths of electrical wire
- Wire connectors
Make sure you have these tools and materials readily available before starting the piggybacking process. It’s essential to use high-quality tools to ensure accurate and secure connections.
Step 1: Assessing the Existing Electrical Wire
Before you can begin piggybacking the electrical wire, it’s crucial to assess the existing wire you plan to tap into. Here’s what you need to do:
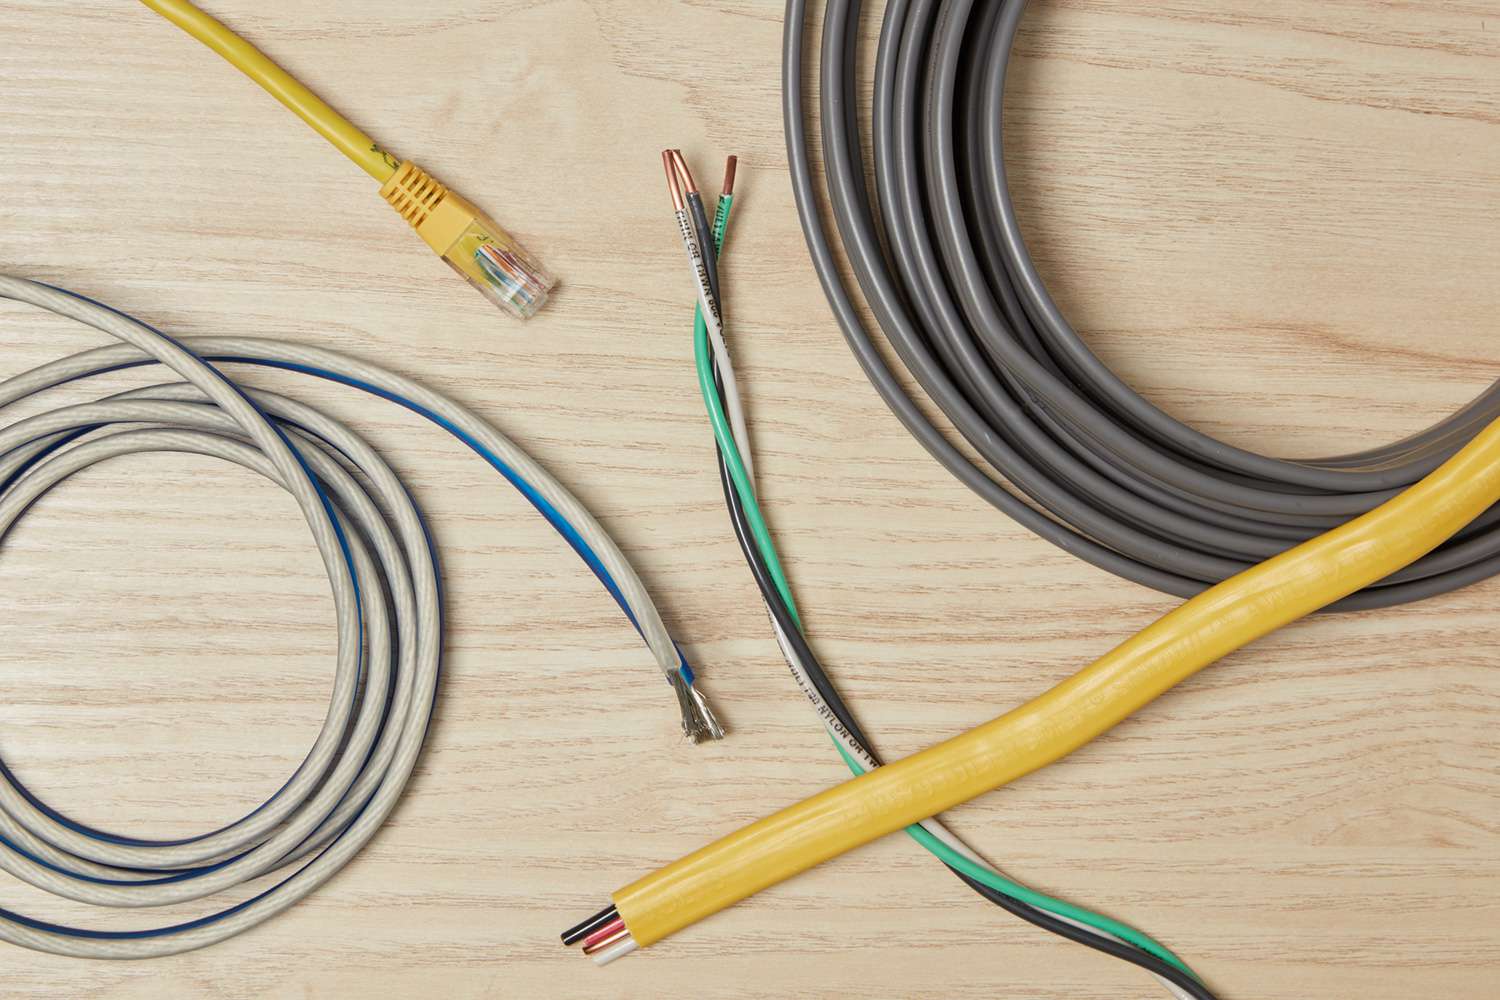
- Identify the wire: Locate the wire you want to piggyback. It’s important to understand that not all wires can be easily piggybacked. You need to ensure that the wire you choose has enough capacity to handle the additional load.
- Check the wire’s gauge: Determine the gauge of the wire. This information is usually printed on the insulation cover. The wire gauge represents its size and current-carrying capacity. Make sure the new wire you plan to piggyback matches or is larger than the existing wire.
- Assess the wire’s suitability: Consider the purpose of the existing wire. Is it carrying a heavy load or powering sensitive equipment? If so, piggybacking might not be recommended. In such cases, it’s advisable to consult a professional electrician.
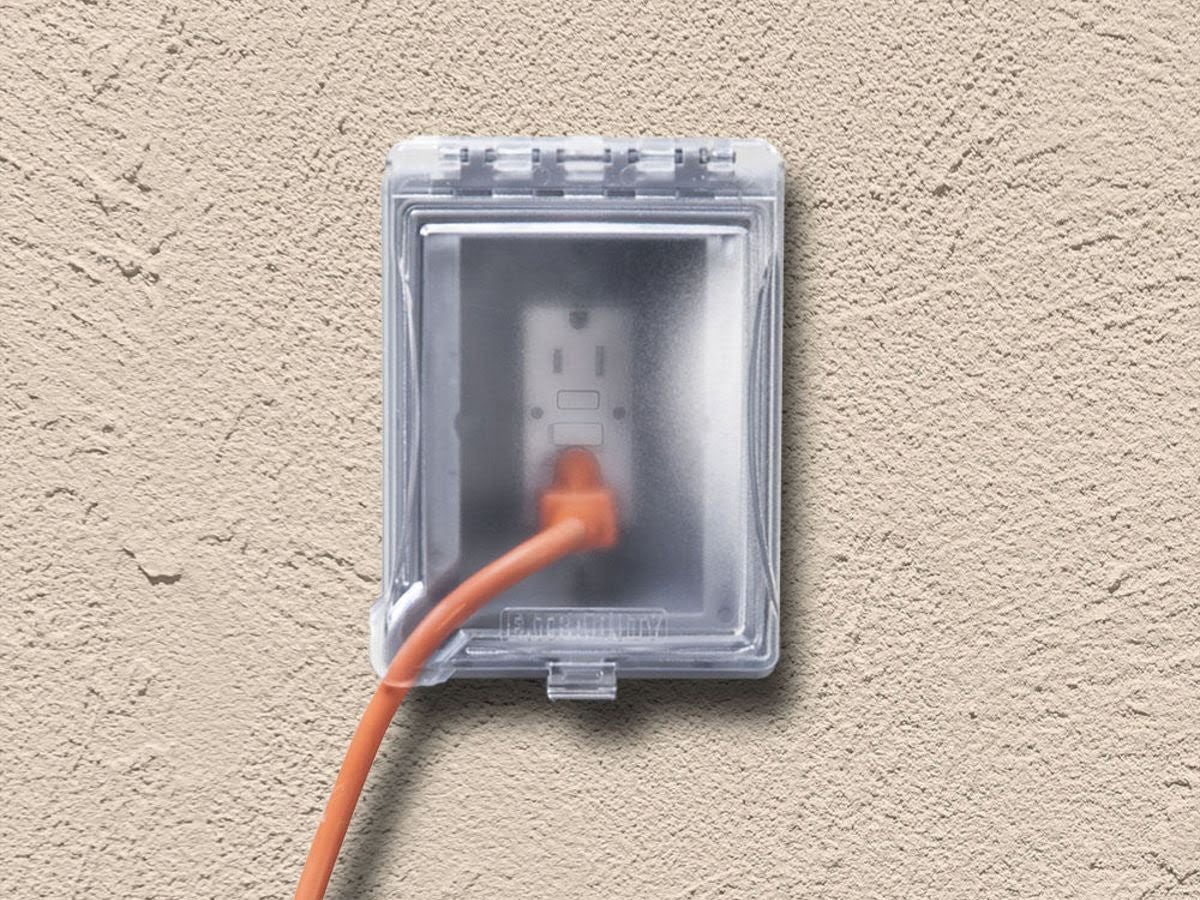
- Check for available space: Examine the electrical box where the existing wire terminates. Ensure that there is enough space to accommodate the additional wire and any connectors or devices you plan to install.
Assessing the existing electrical wire is an essential step to ensure a safe and reliable piggyback connection. If you have any doubts or concerns, it’s always a good idea to consult a licensed electrician before proceeding.
Read more: How To Wire An Electric Cooktop
Step 2: Preparing the Piggyback Wire
Once you’ve assessed the existing electrical wire and confirmed its suitability for piggybacking, the next step is to prepare the additional wire that will be connected. Here’s how to do it:
- Select the right wire: Choose a wire that matches the gauge and type (e.g., solid or stranded) of the existing wire. It’s essential to use compatible wires to ensure proper electrical conductivity.
- Measure and cut the wire: Using a wire cutter, measure and cut the additional wire to the desired length. Take into account any extra length needed to navigate around obstacles and reach your intended connection point.
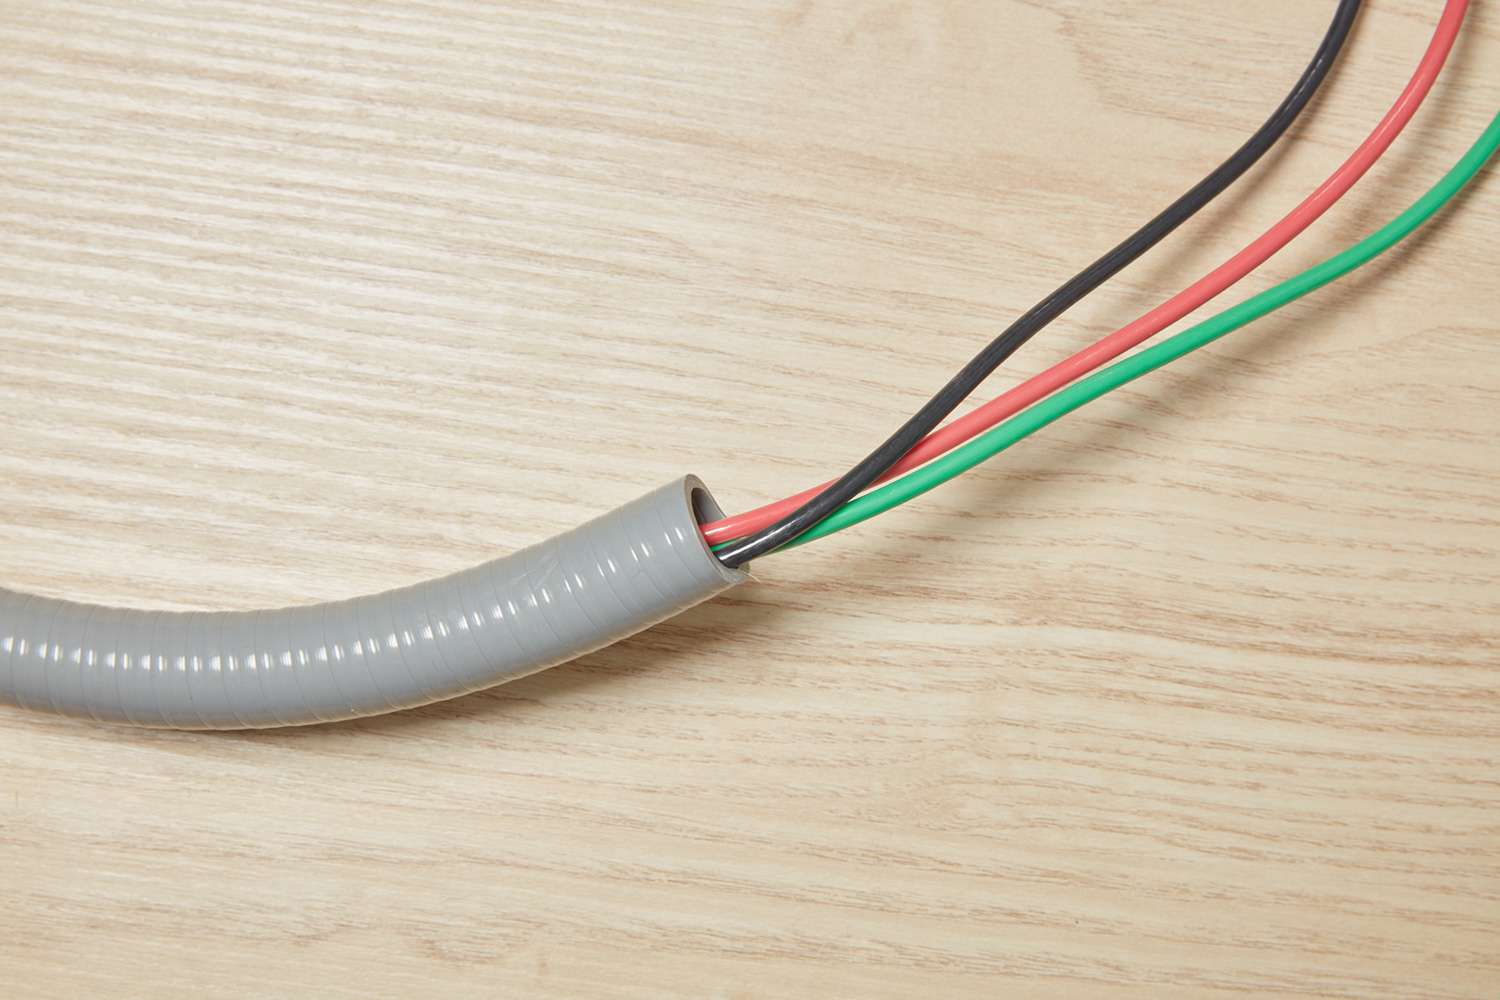
- Strip the wire ends: Use a wire stripper to carefully strip off about 3/4 inch of insulation from both ends of the additional wire. Be cautious not to damage the copper conductor inside.
By properly preparing the piggyback wire, you set the stage for a clean and secure connection to the existing wire. Take your time with this step, ensuring precise measurements and clean wire stripping.
Step 3: Disconnecting and Stripping the Original Wire
Now that you have prepared the piggyback wire, it’s time to disconnect and strip the original wire to create a space for the piggyback connection. Follow these steps:
- Turn off the power: Before working on any electrical components, it is essential to turn off the power supply at the circuit breaker. Locate the correct breaker and switch it to the “off” position.
- Locate the connection point: Identify the point where you want to piggyback the wire onto the existing wire. This is typically near an outlet, switch, or junction box.
- Disconnect the original wire: Use a screwdriver to loosen the terminal screws or wire connectors securing the original wire. Gently pull the wire out of the connection point, making sure not to damage or disturb any other wires in the process.
- Strip the original wire: Using a wire stripper, carefully strip off about 3/4 inch of insulation from the end of the original wire, exposing the bare copper conductor.
By disconnecting and stripping the original wire, you create a clean and accessible area for the piggyback connection. Take caution to handle the wires gently and avoid damaging any surrounding components or insulation.
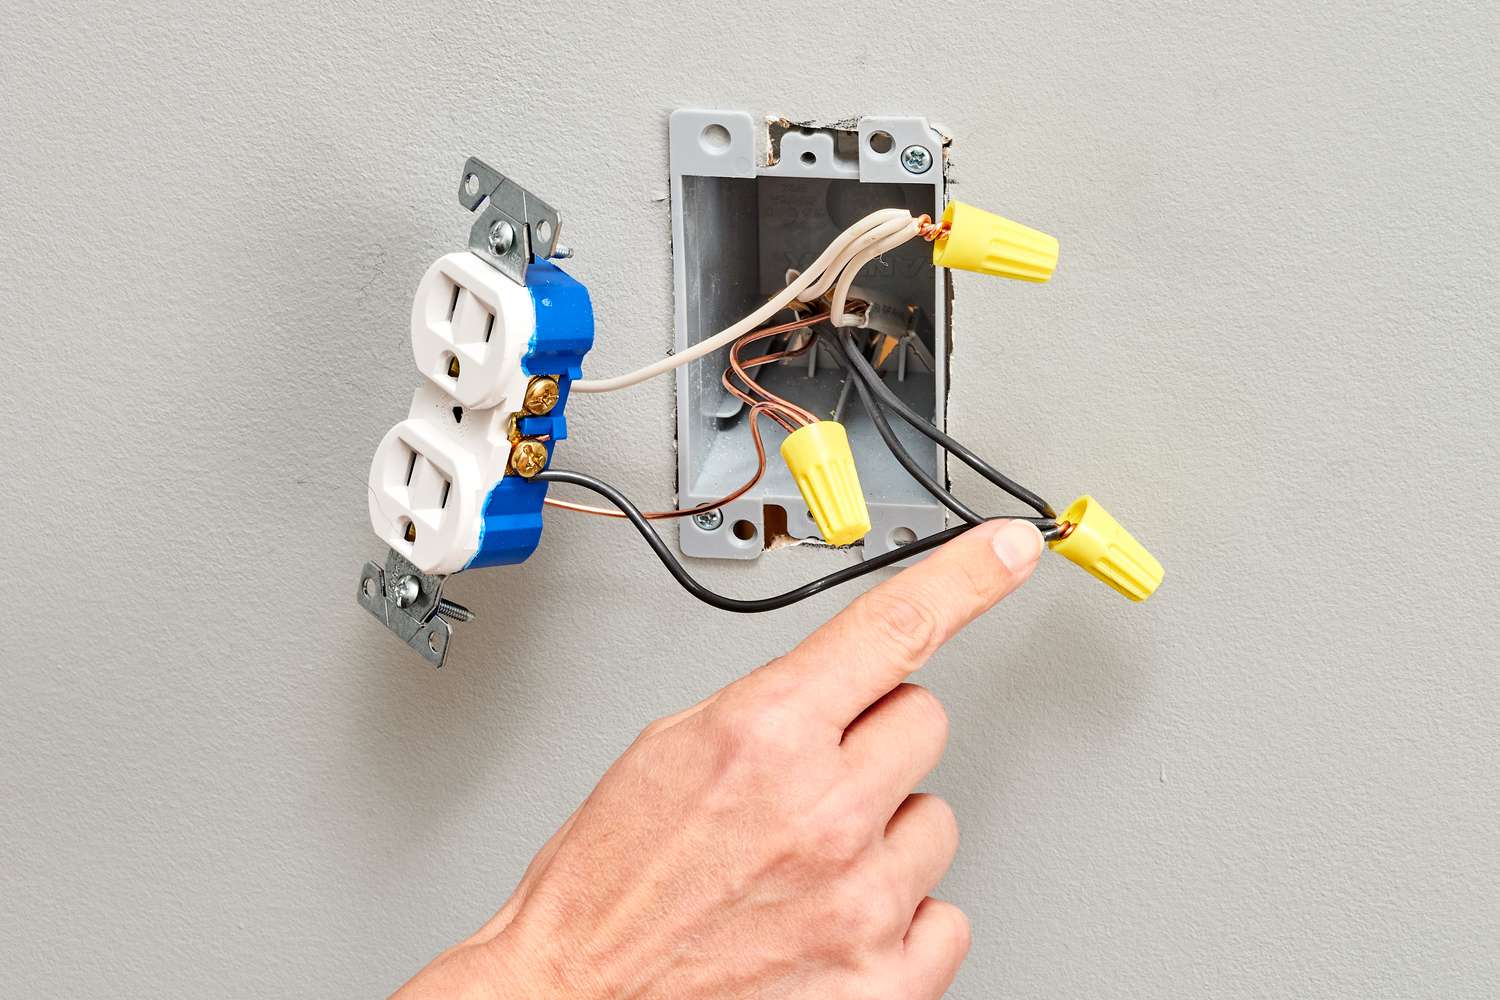
Step 4: Connecting the Piggyback Wire
With the original wire disconnected and stripped, it’s time to make the connection with the piggyback wire. Follow these steps to ensure a secure and reliable connection:
- Overlap the wires: Hold the piggyback wire alongside the stripped end of the original wire. Make sure that the stripped portions of both wires overlap, allowing for a solid connection.
- Twist the wires together: Using needle-nose pliers, firmly twist the copper conductors of the piggyback wire and the original wire together in a clockwise direction. This will create a strong and secure bond between the two wires.
- Apply a wire connector: Once the wires are twisted together, slide a wire connector over the twisted portion, ensuring that it covers all exposed copper. Tighten the wire connector securely to create a solid connection.
It’s crucial to make sure that the connection is tight and secure. This will ensure proper electrical conductivity and minimize the risk of loose or exposed wires. Double-check the connection to ensure that no bare copper is visible and the wire connector is properly secured.
When piggybacking electrical wire, make sure to use the appropriate wire connectors and follow the manufacturer’s guidelines for maximum number of wires allowed in the connector. Always ensure a secure and safe connection to prevent electrical hazards.
Step 5: Securing and Insulating the Connection
After making the piggyback connection, it’s essential to secure and insulate it properly to ensure safety and reliability. Follow these steps to complete this important step:
- Secure the connection: Use a screwdriver to tighten any terminal screws or wire connectors that hold the piggybacked wires in place. Ensure that the connection is firm and snug to avoid any movement or loosening over time.
- Wrap with electrical tape: To provide an extra layer of insulation and further secure the connection, wrap the entire connection with electrical tape. Start a few inches away from the connection point and wrap the tape tightly in a spiral motion, covering the exposed wires and extending beyond the connection on both ends.
- Inspect for exposed wires: Carefully inspect the wrapped connection to ensure that there are no exposed or loose wires. If any bare copper is visible, wrap additional electrical tape to cover it completely.
Properly securing and insulating the piggyback connection is crucial in maintaining a safe and reliable electrical circuit. Taking the time to wrap the connection with electrical tape will protect it from damage, moisture, and accidental contact.
Read more: How To Trace An Electrical Wire
Step 6: Testing the Connection
Once you have completed the piggybacking process and secured the connection, it is essential to test its functionality before considering the project complete. Follow these steps to test the connection:
- Restore the power: Turn on the circuit breaker or switch that supplies power to the piggybacked wire. Ensure that the power is restored to the circuit.
- Test the functionality: Plug in a device or turn on a switch that is connected to the piggybacked wire. Verify that the device is receiving power and functioning correctly. If using a switch, ensure that it is able to control the intended light or appliance.
- Check for any issues: Observe the connection and surrounding components for any signs of heat, unusual sounds, or any other abnormalities. If you notice any issues, immediately turn off the power and revise the connection.
Testing is crucial to ensure that the piggyback connection is working as intended and thatthere are no safety or functionality concerns. If you encounter any problems or suspect that the connection is not functioning properly, it is advisable to consult a professional electrician.
Conclusion
Congratulations! You have successfully learned the process of piggybacking electrical wire. By following the steps outlined in this guide, you can tap into existing wires and expand your electrical system without the need for running new wires. However, it is important to exercise caution and prioritize safety throughout the process.
Piggybacking electrical wire can be a convenient and cost-effective solution for adding outlets, switches, or appliances to your electrical system. However, it is important to remember that electrical work should be approached with care and knowledge. If you are unsure about any step or do not have experience with electrical work, it is always recommended to consult a licensed electrician for assistance.
Remember to gather the necessary tools and materials, assess the existing wire, prepare the piggyback wire, disconnect and strip the original wire, make the connection, secure and insulate the connection, and test its functionality. These steps will ensure a safe and reliable piggybacking process.
By understanding the process of piggybacking electrical wire, you can confidently tackle new electrical projects and expand your electrical system with ease. Always prioritize safety and precision when working with electricity, and do not hesitate to seek professional help when needed. Enjoy the convenience and versatility that piggybacking electrical wire can bring to your home!
Frequently Asked Questions about How To Piggyback Electrical Wire
Was this page helpful?
At Storables.com, we guarantee accurate and reliable information. Our content, validated by Expert Board Contributors, is crafted following stringent Editorial Policies. We're committed to providing you with well-researched, expert-backed insights for all your informational needs.


0 thoughts on “How To Piggyback Electrical Wire”