Home>Articles>How To Change A Smoke Detector On A High Ceiling
Articles
How To Change A Smoke Detector On A High Ceiling
Modified: August 22, 2024
Learn how to change a smoke detector on a high ceiling with this informative article. Discover the step-by-step process and make your home safer.
(Many of the links in this article redirect to a specific reviewed product. Your purchase of these products through affiliate links helps to generate commission for Storables.com, at no extra cost. Learn more)
Introduction
Smoke detectors play a crucial role in keeping our homes and loved ones safe from the dangers of fire. However, changing a smoke detector on a high ceiling can be a daunting task. With the right tools and knowledge, you can easily replace a smoke detector on a high ceiling and ensure your home’s fire safety system remains effective.
In this article, we will guide you through the step-by-step process of changing a smoke detector on a high ceiling. We will cover everything from gathering the necessary tools to testing the new smoke detector once it’s installed. By following these instructions, you won’t have to worry about the hassle and potential risks of hiring a professional or struggling to reach the smoke detector yourself.
Before we dive into the detailed steps, it’s important to emphasize the importance of regularly inspecting and maintaining your smoke detectors. It’s recommended to test them monthly and replace batteries at least twice a year. Additionally, it’s wise to replace the smoke detectors themselves every 10 years to ensure optimum functionality.
Now, let’s get started with the first step – gathering the necessary tools!
Key Takeaways:
- Regularly inspect and maintain smoke detectors by testing them monthly, replacing batteries at least twice a year, and refreshing the detectors every 10 years to ensure their effectiveness in detecting smoke and potential fire hazards.
- Prioritize safety when changing a smoke detector on a high ceiling by creating a safe working area, accessing the high ceiling with caution, and seeking professional assistance if uncomfortable with heights or electrical connections.
Step 1: Gather the necessary tools
Before you begin the process of changing a smoke detector on a high ceiling, it’s important to have the right tools readily available. Here’s a list of the tools you’ll need:
- Step ladder or extension ladder: Depending on the height of your ceiling, you’ll need a sturdy ladder that can safely support your weight. Make sure the ladder is in good condition and positioned on a stable surface.
- Screwdriver or power drill: You’ll need a screwdriver or a power drill with the appropriate bit to remove the screws securing the smoke detector.
- Wire connectors: These small plastic connectors are used to reconnect the electrical wires of the new smoke detector.
- Wire stripper: If necessary, you may need a wire stripper to remove the insulation from the ends of the electrical wires.
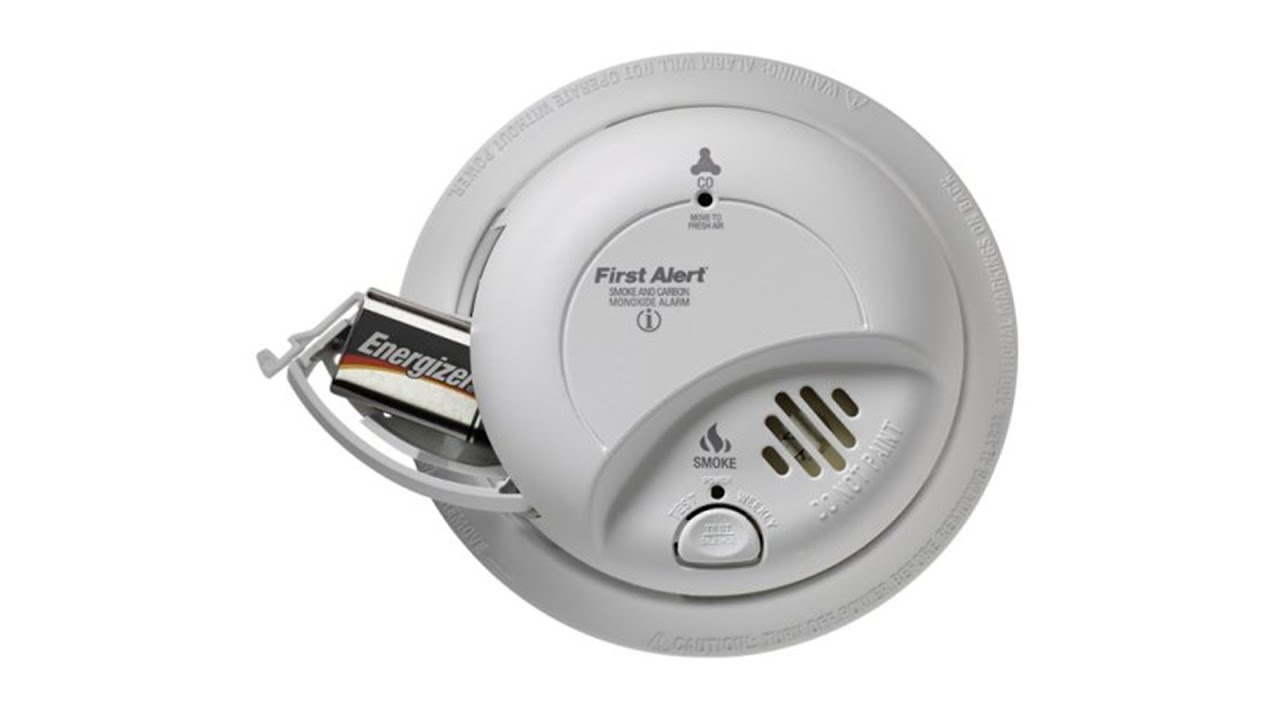
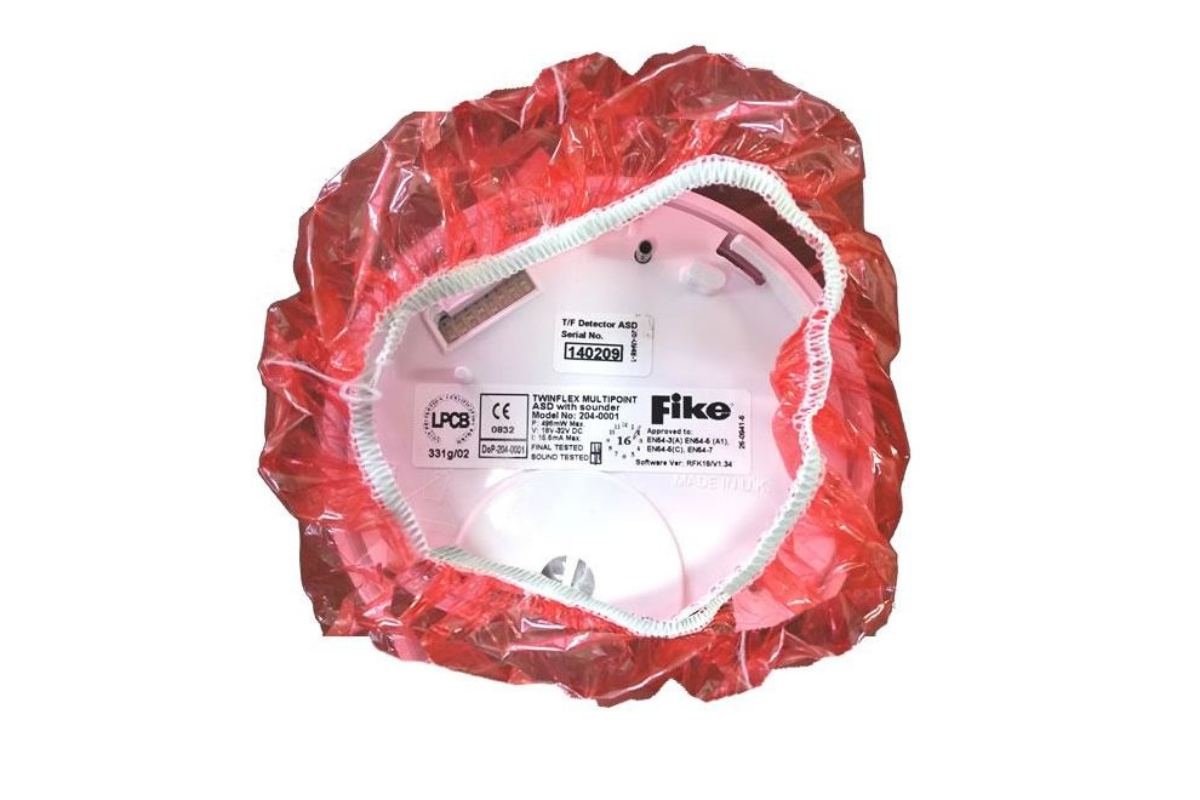
- New smoke detector: Of course, you’ll need a new smoke detector that is compatible with your existing wiring system. Make sure to choose a reliable and high-quality smoke detector that meets the necessary safety standards.
It’s essential to gather all these tools before you begin the process. This way, you won’t have to pause midway to search for missing tools, ensuring a smooth and efficient installation.
Once you have all the necessary tools, you’re ready to move on to the next step – turning off power to the smoke detector.
Step 2: Turn off power to the smoke detector
Before you start working on the smoke detector, it’s crucial to ensure that the power is turned off to avoid any electrical accidents. Follow these steps to turn off the power:
- Locate the circuit breaker panel in your home. It is usually found in the basement, garage, or utility room.
- Open the panel door and locate the circuit breaker that controls the power supply to the smoke detector.
- Identify the corresponding switch or breaker for the smoke detector and flip it to the “Off” position. This will cut off the power supply specifically to the smoke detector and prevent any electric current from passing through.
- Verify that the power to the smoke detector is off by testing it with a voltage tester or by pressing the test button on the smoke detector itself. If it doesn’t beep or flash, then you have successfully turned off the power.
Turning off the power is an essential safety measure that should not be skipped. It protects you from the risk of electric shock while you work on the smoke detector. Remember to exercise caution and treat all electrical connections with care.
With the power turned off, you can proceed to the next step – preparing a safe working area.
Step 3: Prepare a safe working area
Creating a safe and organized working area is crucial when changing a smoke detector on a high ceiling. Follow these steps to ensure a safe working environment:
- Clear the area beneath the smoke detector: Remove any furniture, decorations, or obstacles below the smoke detector to ensure a clear working space. This will prevent any objects from falling and potentially causing damage or injury.
- Protect the floor: Lay down a drop cloth or use a plastic sheet to cover the floor beneath the smoke detector. This will catch any dust, debris, or small parts that may fall during the installation process.
- Wear protective gear: Put on safety goggles to protect your eyes from any falling debris. You may also consider wearing gloves to protect your hands.
- Secure the ladder: Ensure that your ladder is stable and securely positioned. It’s important to have someone assist you in holding the ladder for added safety, especially when working on a high ceiling.
- Keep a flashlight handy: If the area around the smoke detector is poorly lit, it’s helpful to have a flashlight nearby to provide adequate illumination.
By taking these safety precautions and creating a safe working area, you reduce the risk of accidents, injuries, or damage to your home. It’s always better to be cautious and prepared before you start working on the smoke detector.
Once you’ve prepared a safe working area, you’re ready to move on to the next step – accessing the high ceiling.
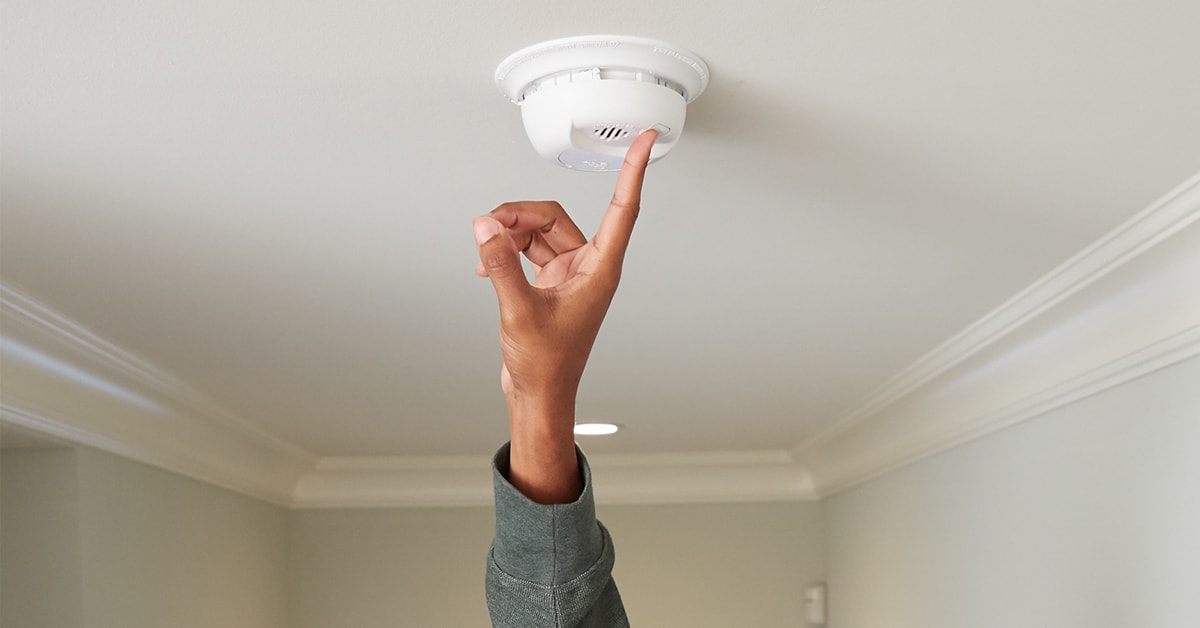
Step 4: Access the high ceiling
Accessing a high ceiling can be a challenge when changing a smoke detector. Here’s how you can safely reach the smoke detector on a high ceiling:
- Choose the right ladder: Ensure you have a ladder that is tall enough to reach the height of your ceiling. An extension ladder or a sturdy step ladder with adjustable height can be useful for high ceilings.
- Position the ladder: Place the ladder directly under the smoke detector, ensuring it is stable on a level surface. This will provide you with a secure base to climb and work from.
- Secure the ladder: Use safety straps or ropes to secure the top of the ladder to a fixed point, such as a hook or railing. This will provide added stability and prevent the ladder from sliding or tipping over.
- Climb the ladder carefully: Ascend the ladder one step at a time, maintaining three points of contact (two feet and one hand) for stability. It’s important to take your time and avoid rushing to prevent any accidents or falls.
Once you are safely positioned at the height of the smoke detector, you are ready to proceed with the next steps of removing the old smoke detector and installing the new one.
Remember to always prioritize safety when accessing a high ceiling. If you feel uncomfortable or uncertain about working at heights, it is recommended to seek assistance from a professional electrician or someone with experience in this type of task.
Now that you have successfully accessed the high ceiling, it’s time to move on to Step 5 – removing the old smoke detector.
Read more: How To Change Bulb In A High Ceiling
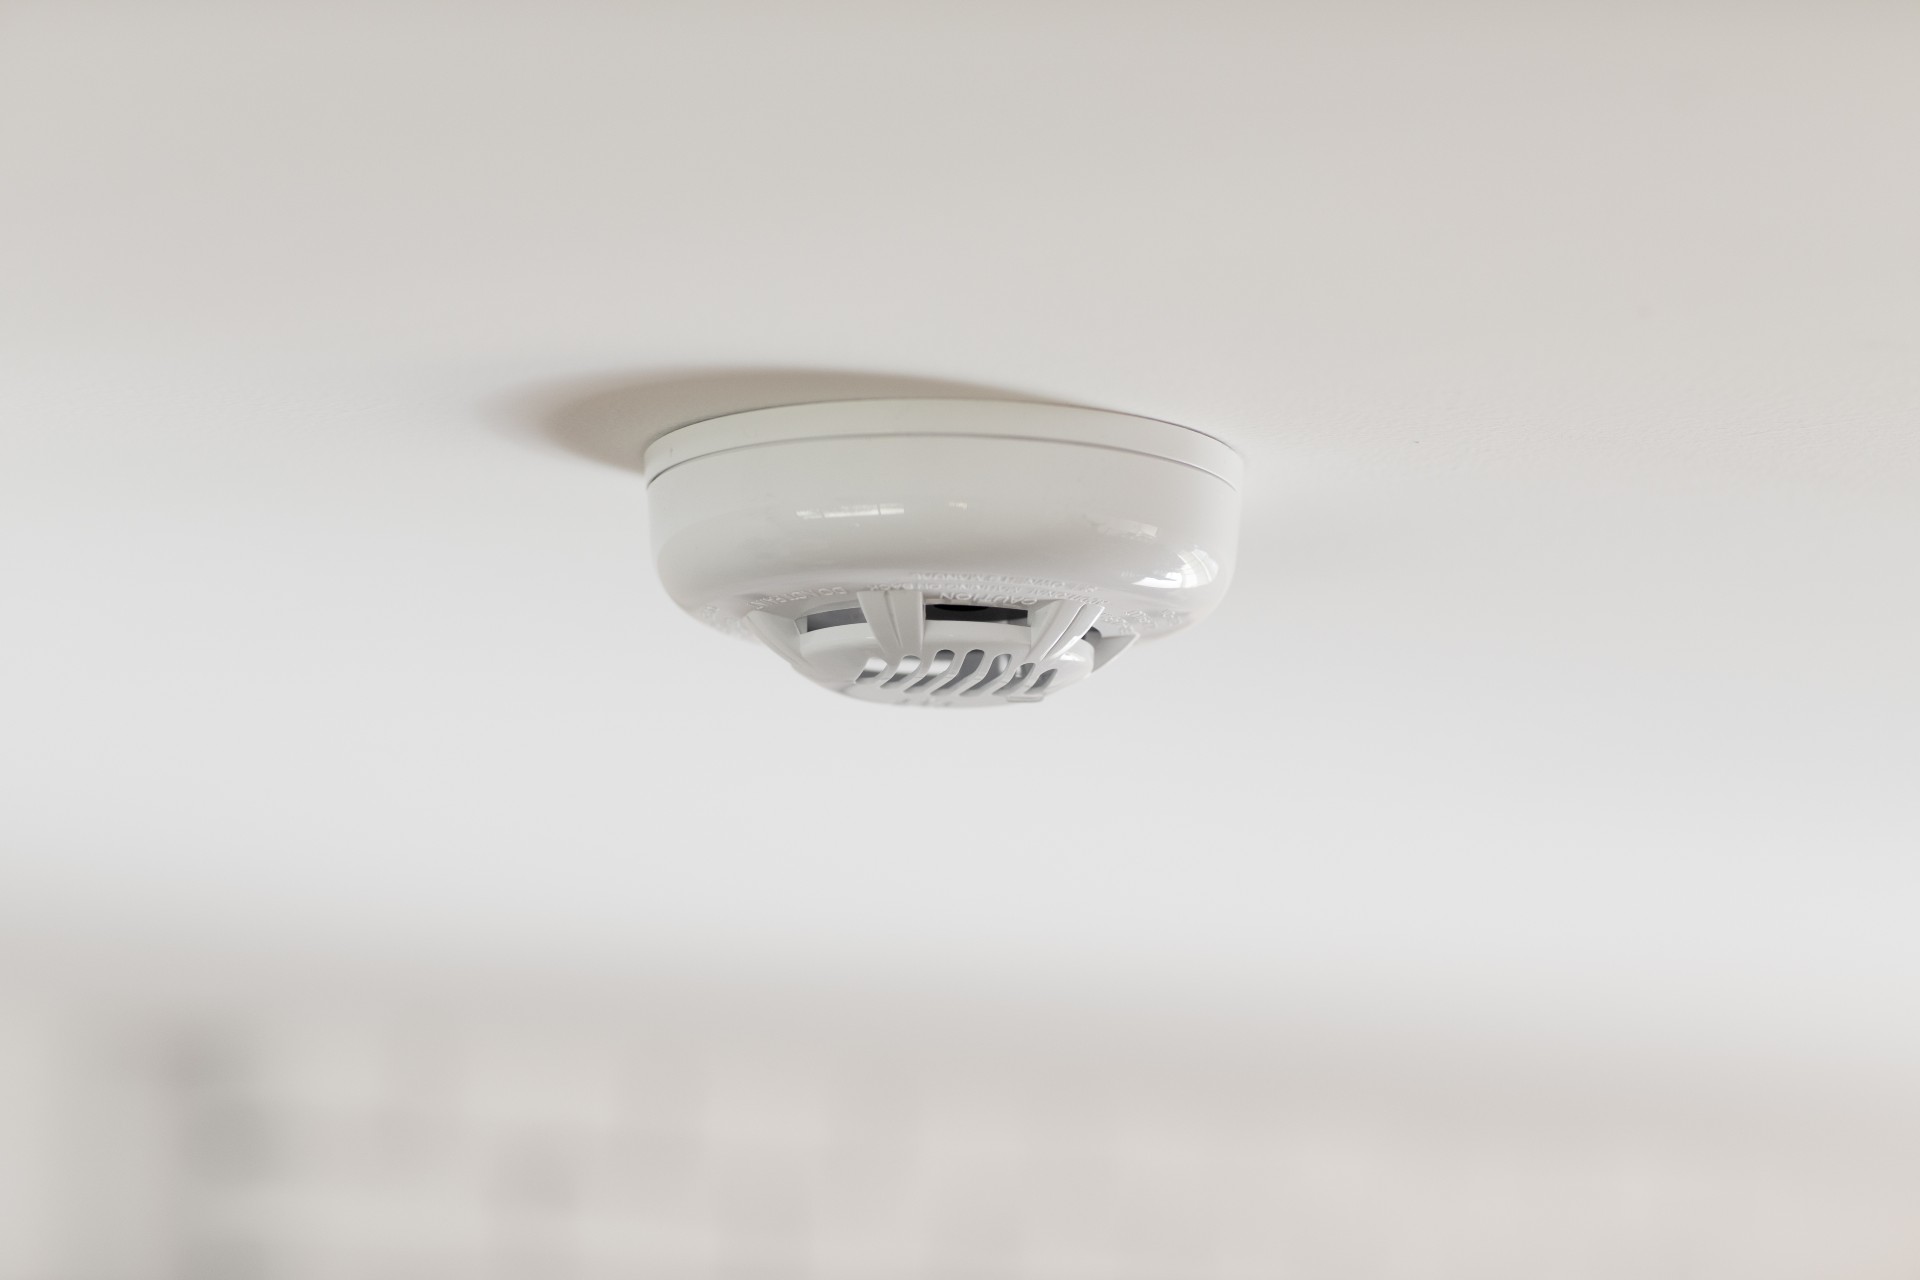
Step 5: Remove the old smoke detector
Now that you have safely accessed the high ceiling, it’s time to remove the old smoke detector. Follow these steps to successfully remove the old smoke detector:
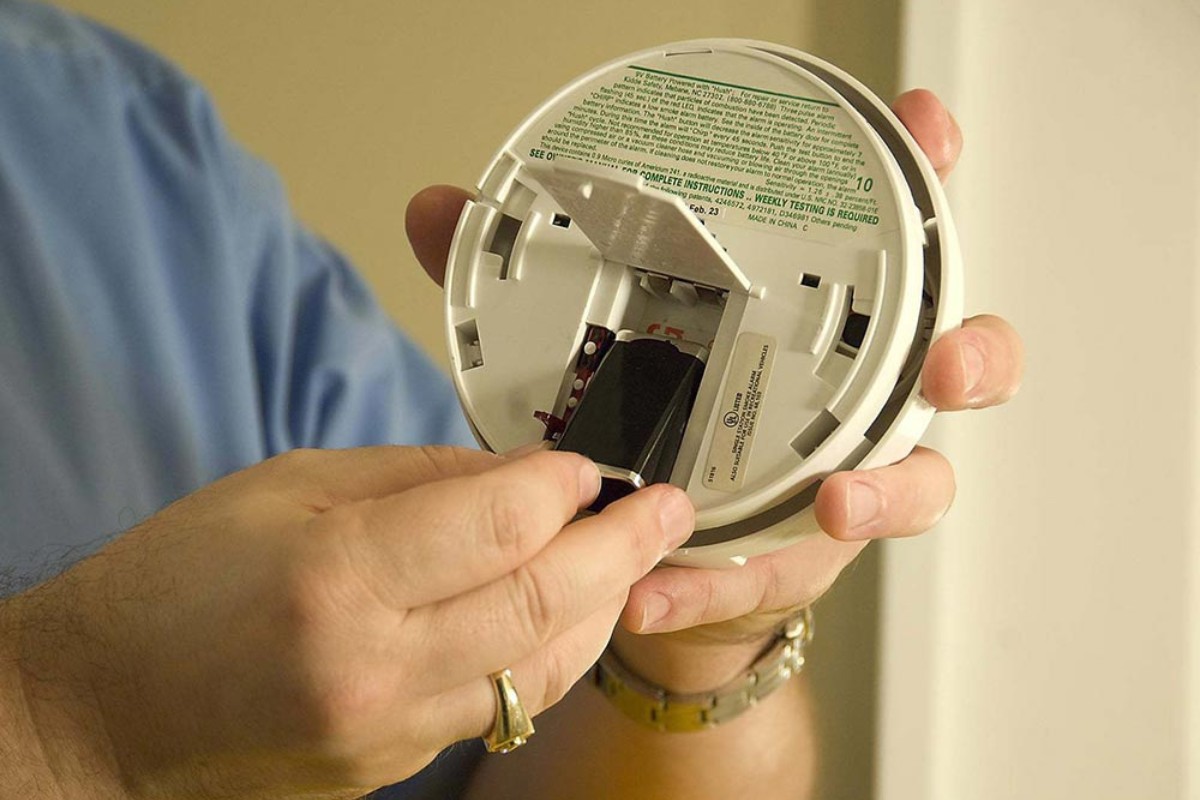
- Inspect the smoke detector: Take a moment to visually inspect the old smoke detector and check for any signs of damage or wear. If you notice any cracks, discoloration, or malfunctioning parts, it’s essential to replace it promptly.
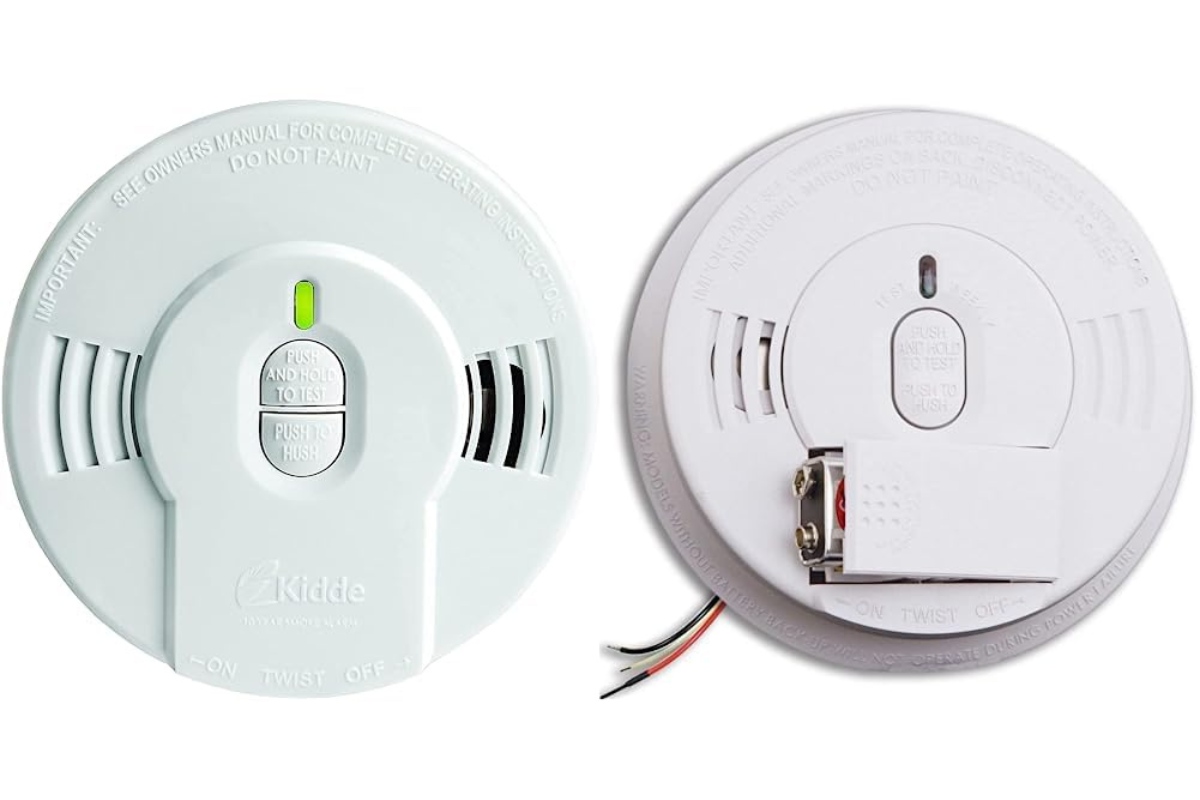
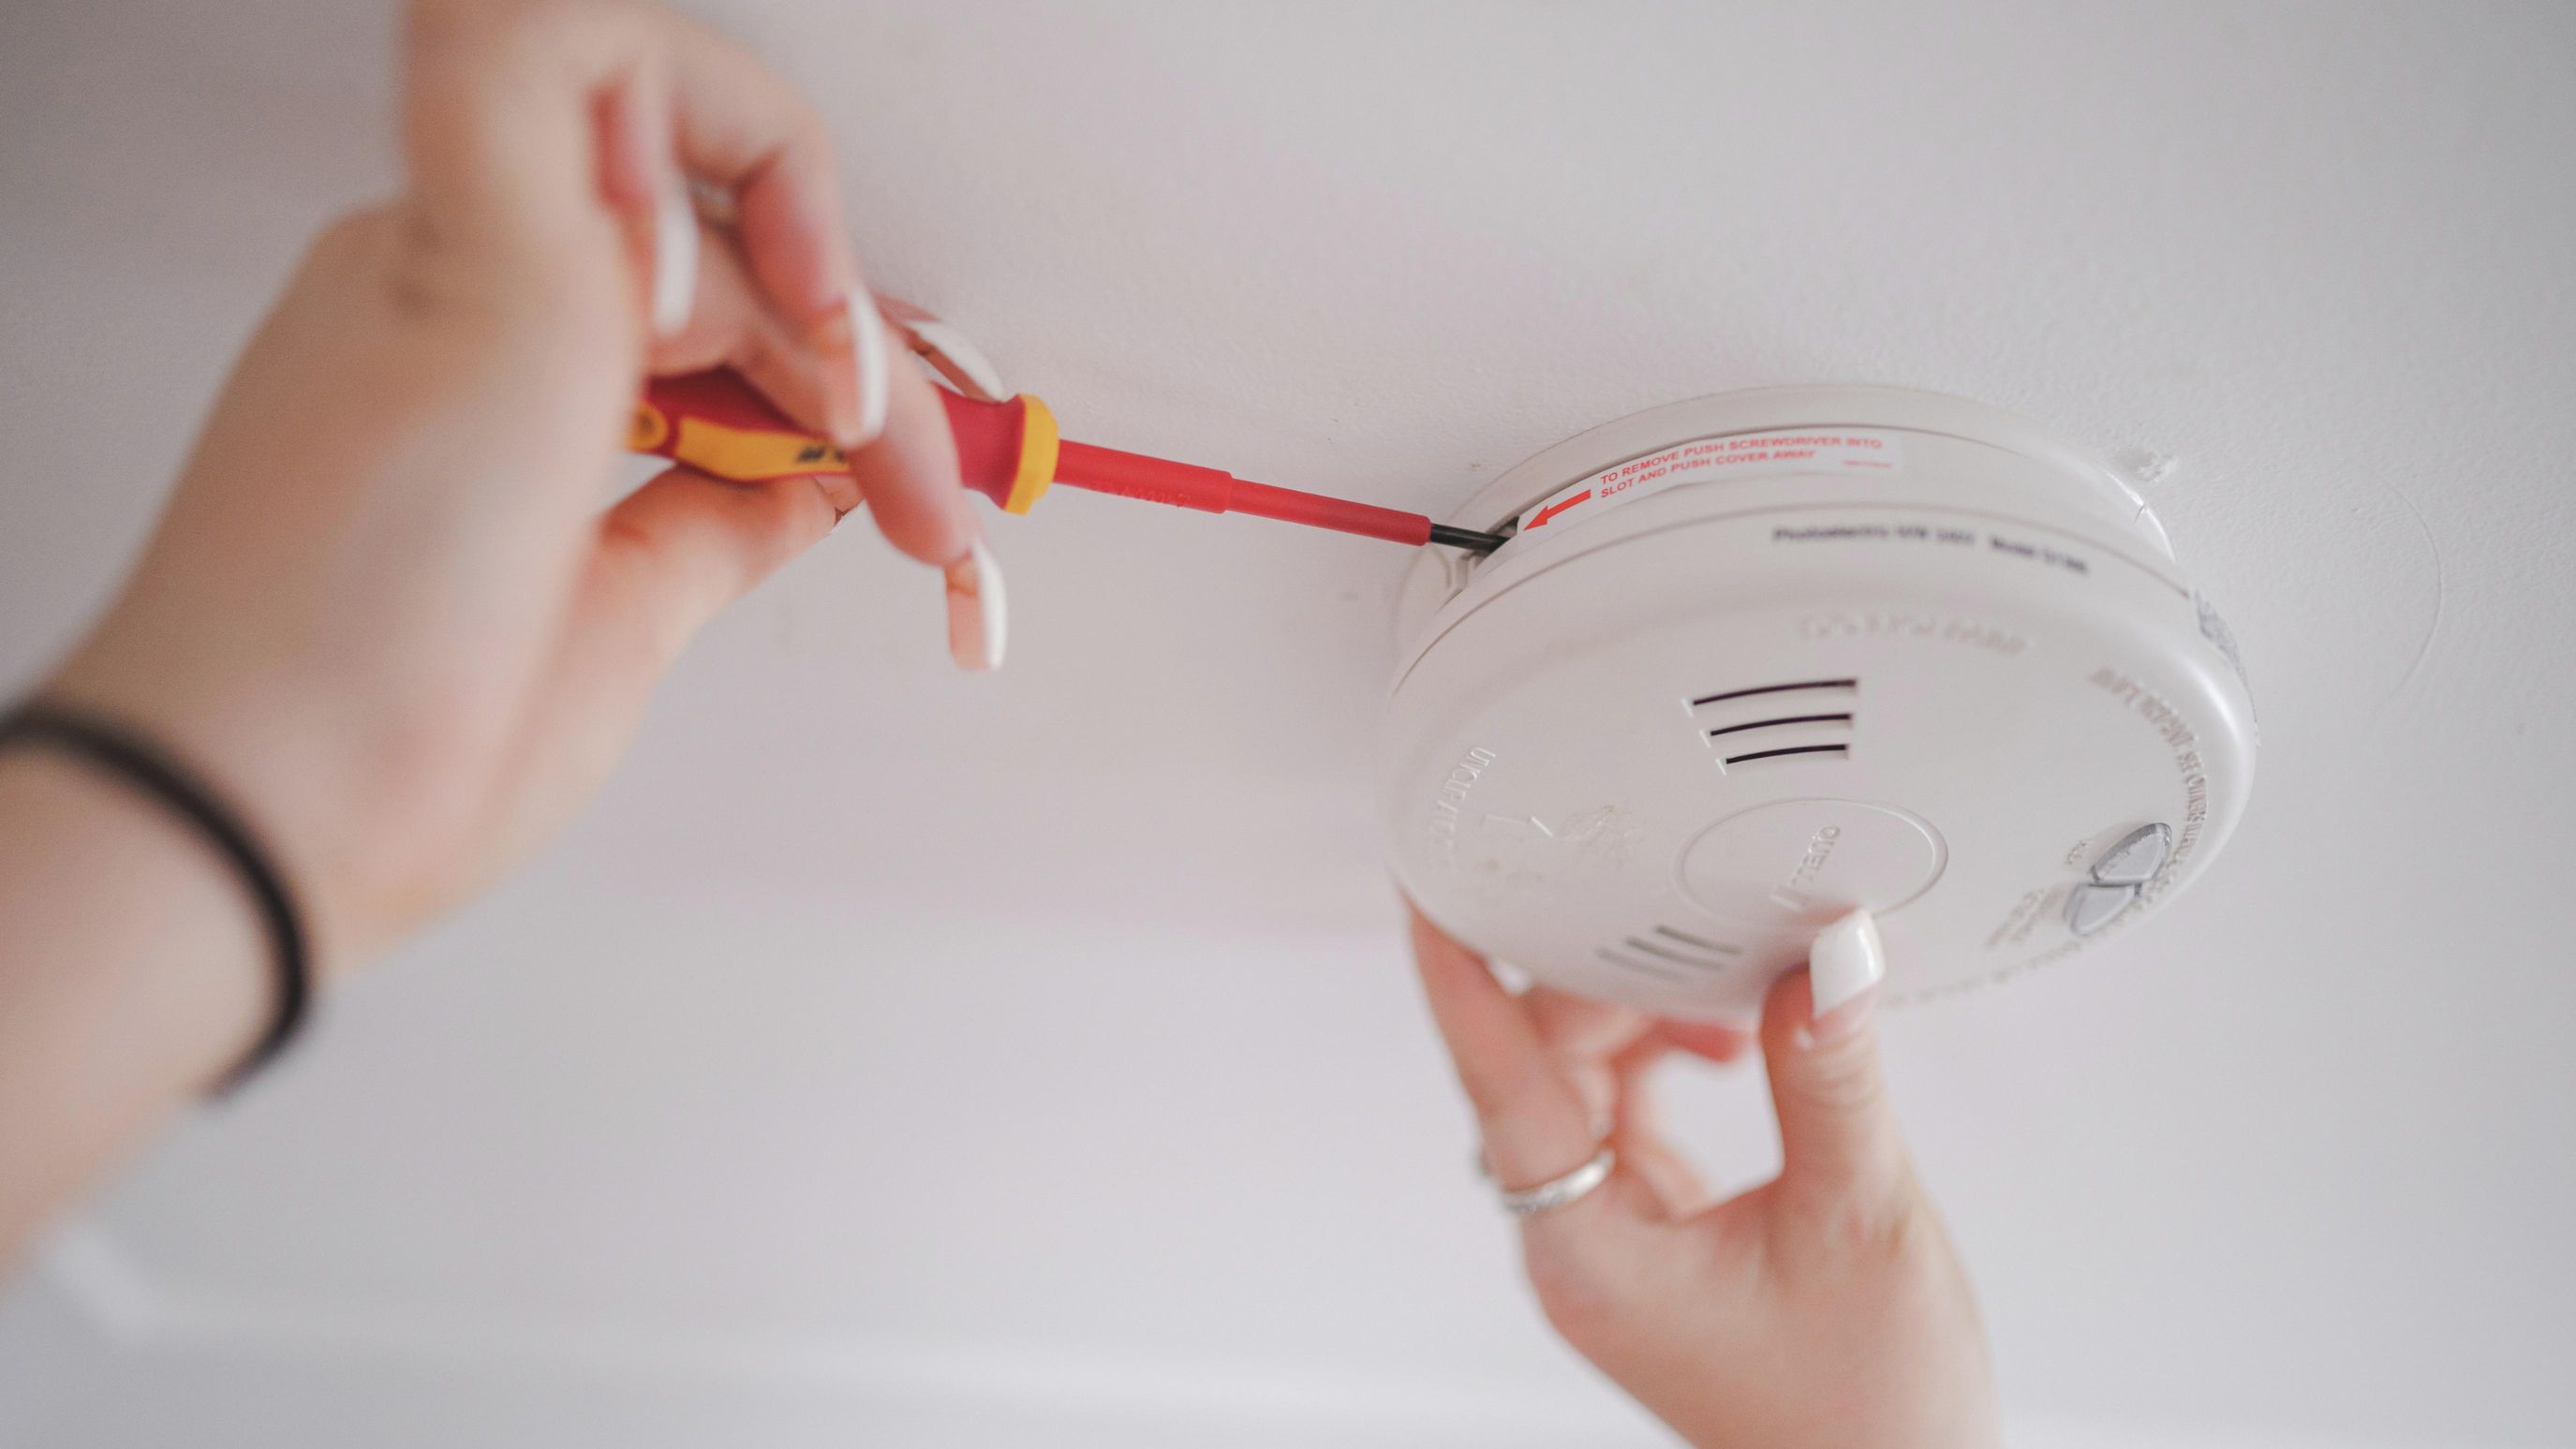
- Remove the cover: Gently detach the cover or faceplate of the smoke detector by either twisting it counterclockwise or pressing on the release buttons, depending on the model. Set the cover aside in a secure location to avoid misplacing it.
- Expose the mounting bracket: Once the cover is removed, you will see the mounting bracket that holds the smoke detector in place. Inspect the bracket for any screws or fasteners that need to be loosened or removed.
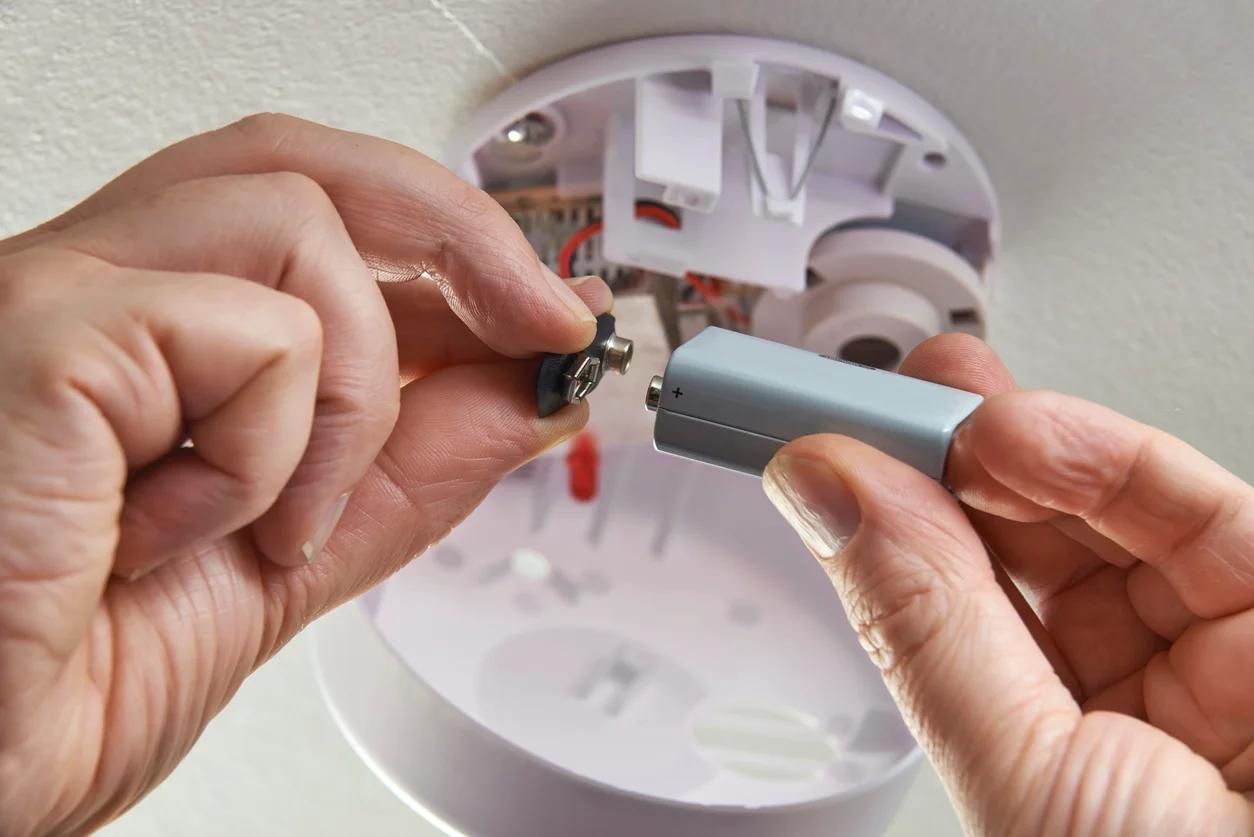
- Disconnect the electrical wires: Carefully detach the electrical wires connected to the smoke detector. Depending on the wiring system, these wires may be connected by screws, nuts, or wire connectors. Take note of the wire colors and their corresponding terminals.
- Remove the old smoke detector: Once the wires are disconnected, unscrew or unfasten the mounting bracket that secures the smoke detector to the ceiling. Ensure that you have a firm grip on the smoke detector to prevent it from accidentally falling.
With the old smoke detector successfully removed, you’re one step closer to installing the new one. However, before proceeding, take a moment to clean any dust or debris from the area and ensure it is ready for the installation process.
Now that the old smoke detector is removed, it’s time to move on to Step 6 – disconnecting the electrical wires and removing the mounting bracket.
Consider using a sturdy ladder or extension pole to reach the smoke detector on a high ceiling. Make sure to turn off the power before removing the old detector and installing the new one.
Step 6: Disconnect electrical wires and remove mounting bracket
With the old smoke detector removed, it’s time to disconnect the electrical wires and remove the mounting bracket. Follow these steps to complete this stage of the installation process:
- Identify the electrical wires: Take a moment to familiarize yourself with the electrical wires. Typically, there will be three wires – black (live/line), white (neutral), and sometimes a red (interconnect) wire.
- Disconnect the wires: Using a screwdriver or wire connectors, carefully disconnect the wires from their respective terminals. Loosen the screws or remove the connectors and gently pull the wires apart.
- Note the wire locations: It’s important to note which wire corresponds to each terminal. You can take a picture or make a diagram for reference, ensuring you connect the new smoke detector correctly.
- Remove the old mounting bracket: Now that the wires are disconnected, remove the screws or fasteners that secure the old mounting bracket to the ceiling. Keep these screws or fasteners in a safe place, as you may need them later.
- Inspect the mounting area: Take a moment to inspect the mounting area for any damage or issues. If you notice any problems, such as loose screws or a damaged ceiling, address them before proceeding with the installation.
Once you have successfully disconnected the electrical wires and removed the mounting bracket, you are now ready to install the new smoke detector. Before doing so, double-check that the area is clean and free of any debris.
Now, let’s move on to Step 7 – installing the new smoke detector.
Step 7: Install the new smoke detector
Now that you have removed the old smoke detector and disconnected the electrical wires, it’s time to install the new smoke detector. Follow these steps to successfully install the new smoke detector:
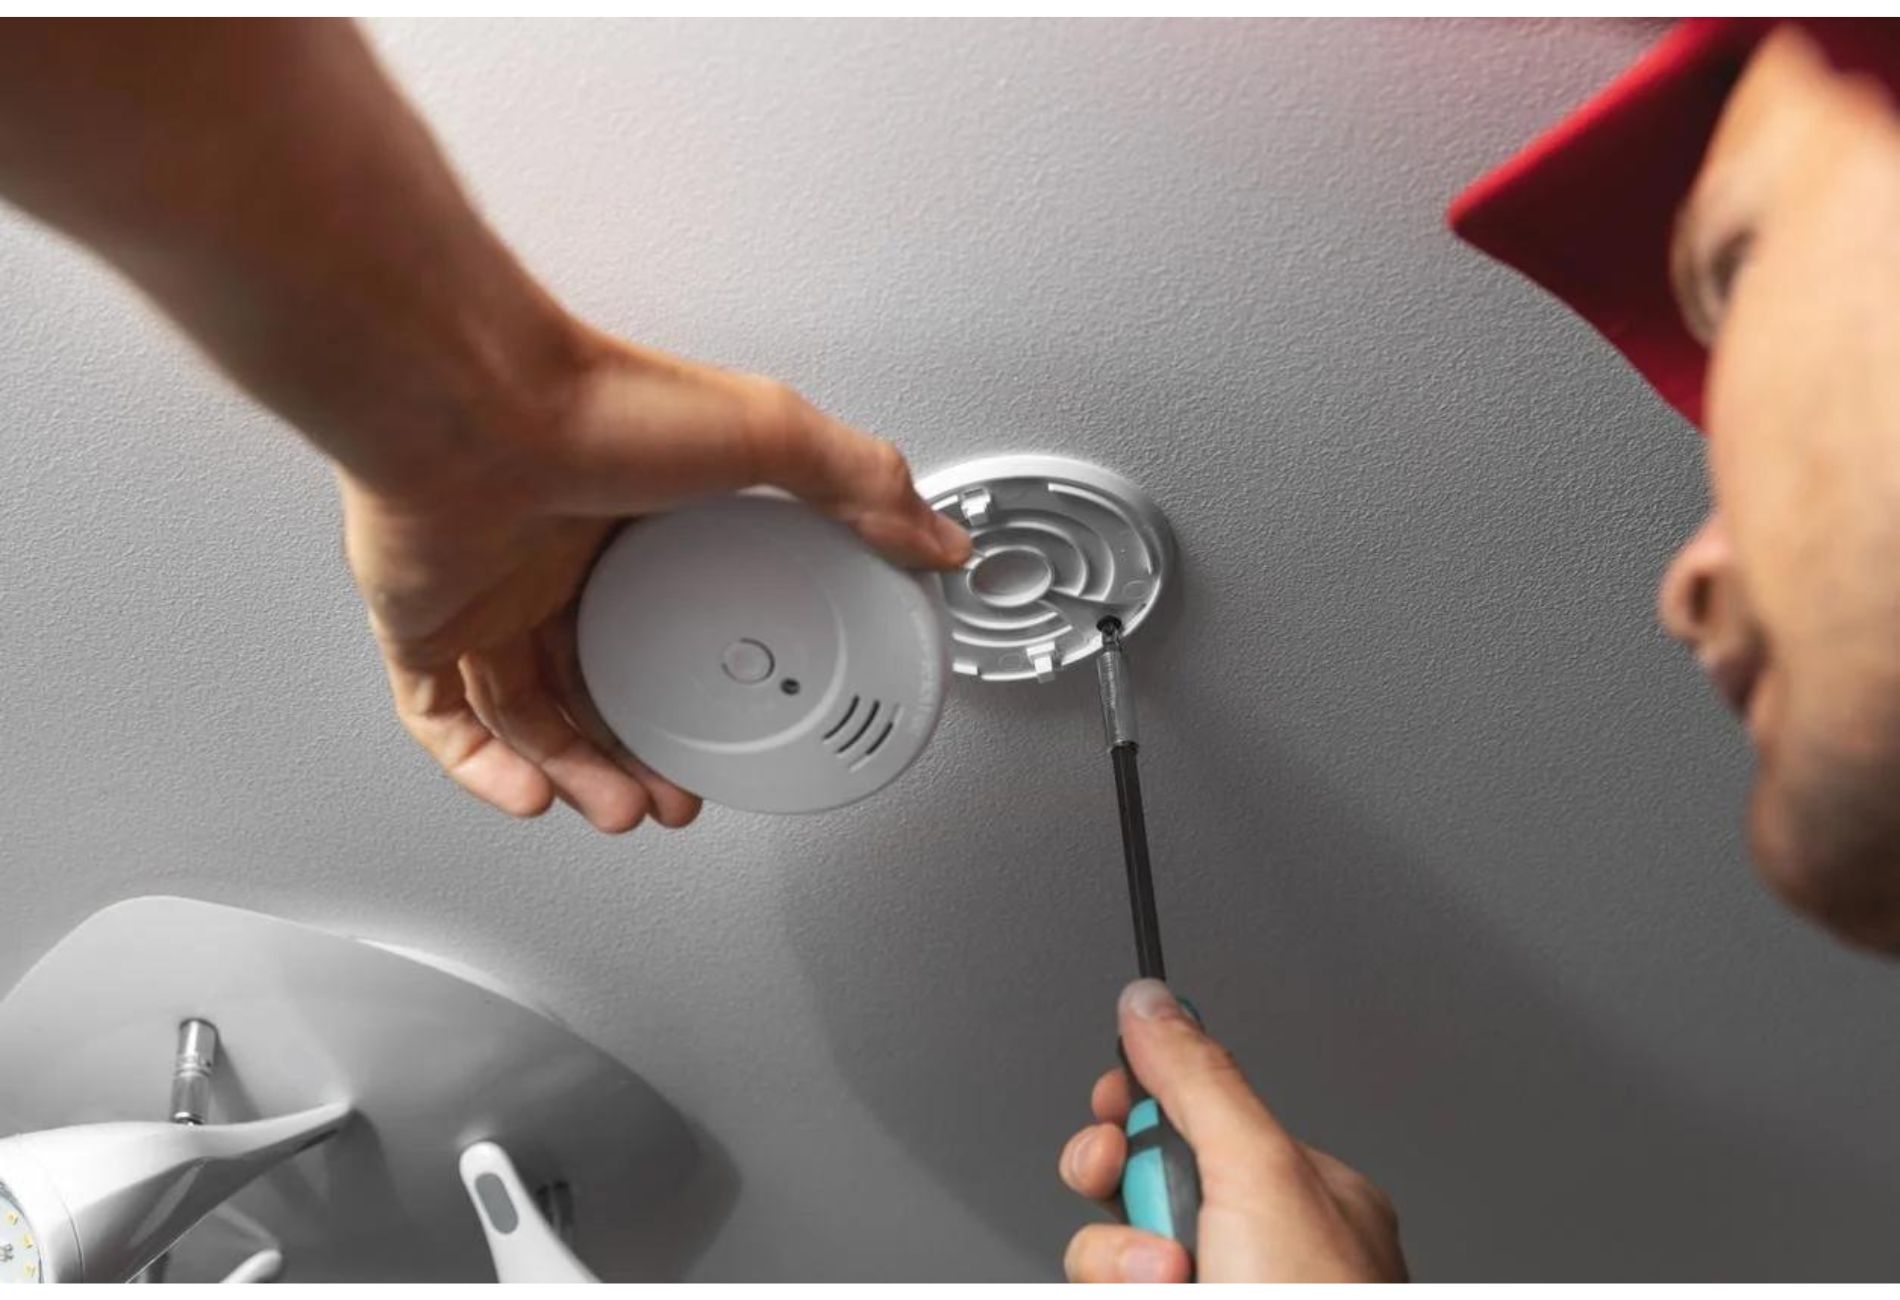
- Attach the mounting bracket: Take the new smoke detector and align the mounting holes on the bracket with the screw holes in the ceiling. Insert the screws or fasteners into the holes and tighten them with a screwdriver to secure the mounting bracket in place.
- Connect the electrical wires: Refer to your notes or diagram to ensure the correct wires are connected to their respective terminals on the new smoke detector. Attach the black wire to the live/line terminal, the white wire to the neutral terminal, and the red wire (if present) to the interconnect terminal. Tighten the screws or use wire connectors to secure the wires.
- Position the smoke detector: Carefully position the smoke detector onto the mounting bracket. Ensure that it is aligned properly and sits flush against the ceiling.
- Screw the smoke detector into place: Insert the screws provided with the new smoke detector into the screw holes on the device. Using a screwdriver, tighten the screws to secure the smoke detector to the mounting bracket.
- Attach the cover or faceplate: Place the cover or faceplate onto the smoke detector, aligning it with the tabs or grooves. Twist it clockwise or press it firmly until it clicks into place.
It’s important to follow the manufacturer’s instructions for your specific smoke detector model during the installation process. Ensure that all connections are secure and that the smoke detector is properly mounted before proceeding to the next step.
Now that you have successfully installed the new smoke detector, it’s time to move on to Step 8 – connecting the electrical wires and attaching the mounting bracket.
Step 8: Connect electrical wires and attach mounting bracket
With the new smoke detector installed, it’s time to connect the electrical wires and attach the mounting bracket. Follow these steps to complete this stage of the installation process:
- Connect the electrical wires: Take the electrical wires that you disconnected from the old smoke detector and connect them to the corresponding terminals on the new smoke detector. Make sure to match the wire colors correctly – black (live/line) to live/line, white (neutral) to neutral, and red (if present) to interconnect.
- Secure the wire connections: Once the wires are inserted into the terminals, tighten the screws or use wire connectors to ensure a secure connection. It’s important to make sure that the wires are properly tightened to avoid any loose connections.
- Align the mounting bracket: Take the mounting bracket that you removed earlier and align it with the screw holes on the ceiling. Make sure it is positioned properly and sits flush against the ceiling.
- Secure the mounting bracket: Insert the screws or fasteners into the screw holes on the bracket and tighten them with a screwdriver. Ensure that the bracket is securely attached to the ceiling, providing a stable base for the smoke detector.
Once you have successfully connected the electrical wires and attached the mounting bracket, it’s important to double-check all connections to ensure they are secure. Take a moment to inspect the area to ensure there are no loose wires or visible damage.
Now that the electrical wires are connected and the mounting bracket is secured, it’s time to move on to the next step – testing the new smoke detector.
Read more: How To Change A High Ceiling Chandelier
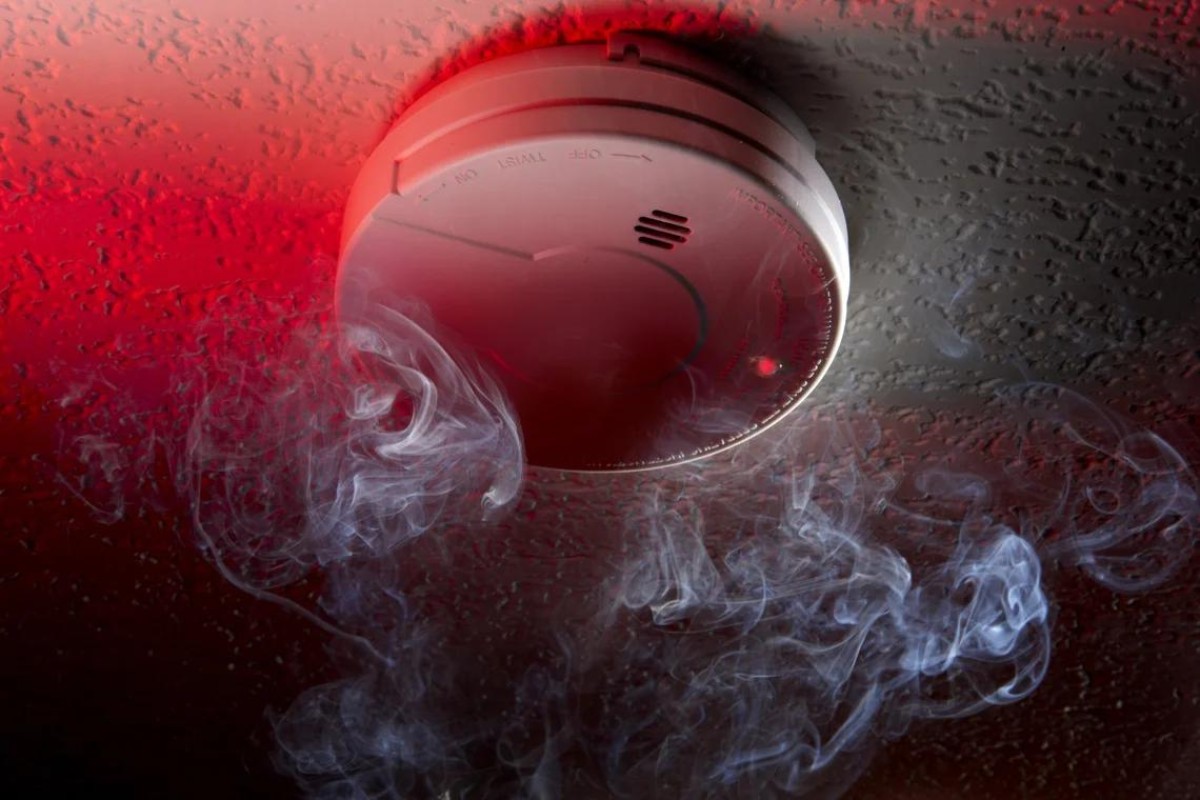
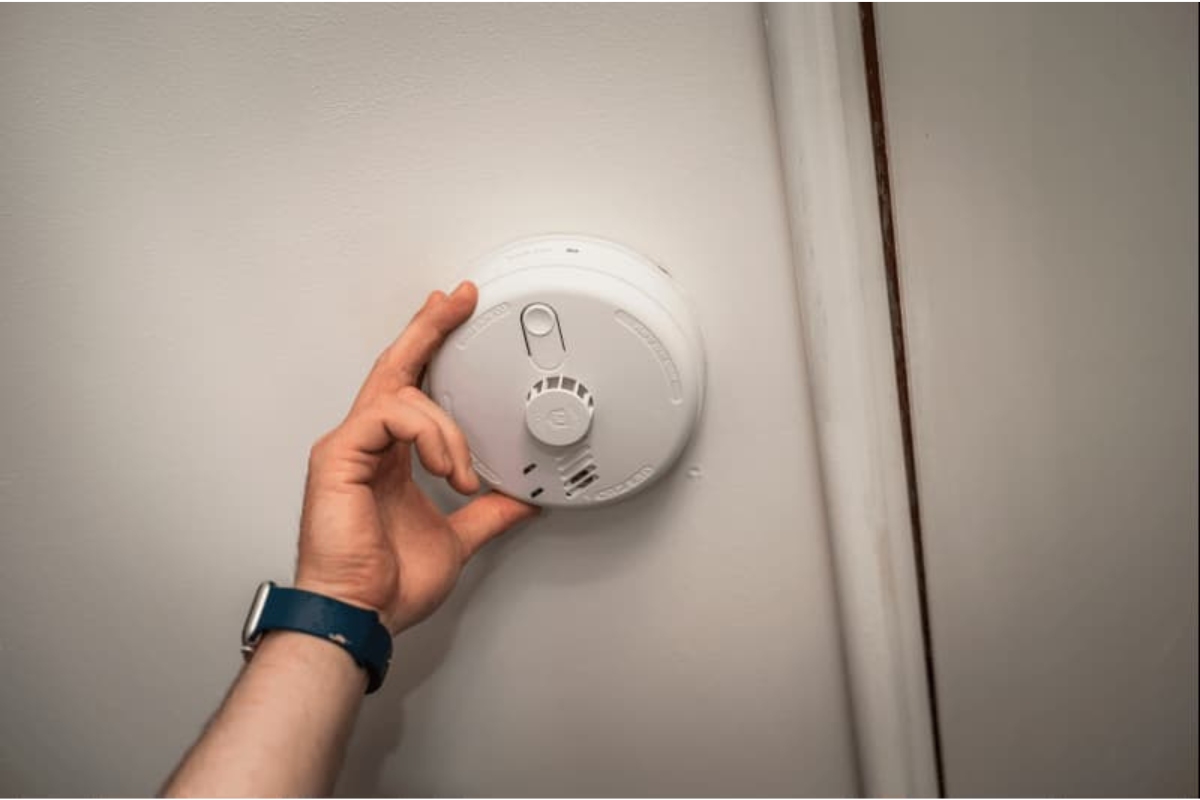
Step 9: Test the new smoke detector
Testing the new smoke detector is a crucial step to ensure its proper functioning and your home’s safety. Follow these steps to test the new smoke detector:
- Restore power to the smoke detector: Go back to the circuit breaker panel and locate the switch or breaker that controls the power supply to the smoke detector. Flip it back to the “On” position to restore power to the smoke detector.
- Wait for the initialization period: Some smoke detectors require a short initialization period after power is restored. Refer to the manufacturer’s instructions to determine how long you should wait before testing the smoke detector.
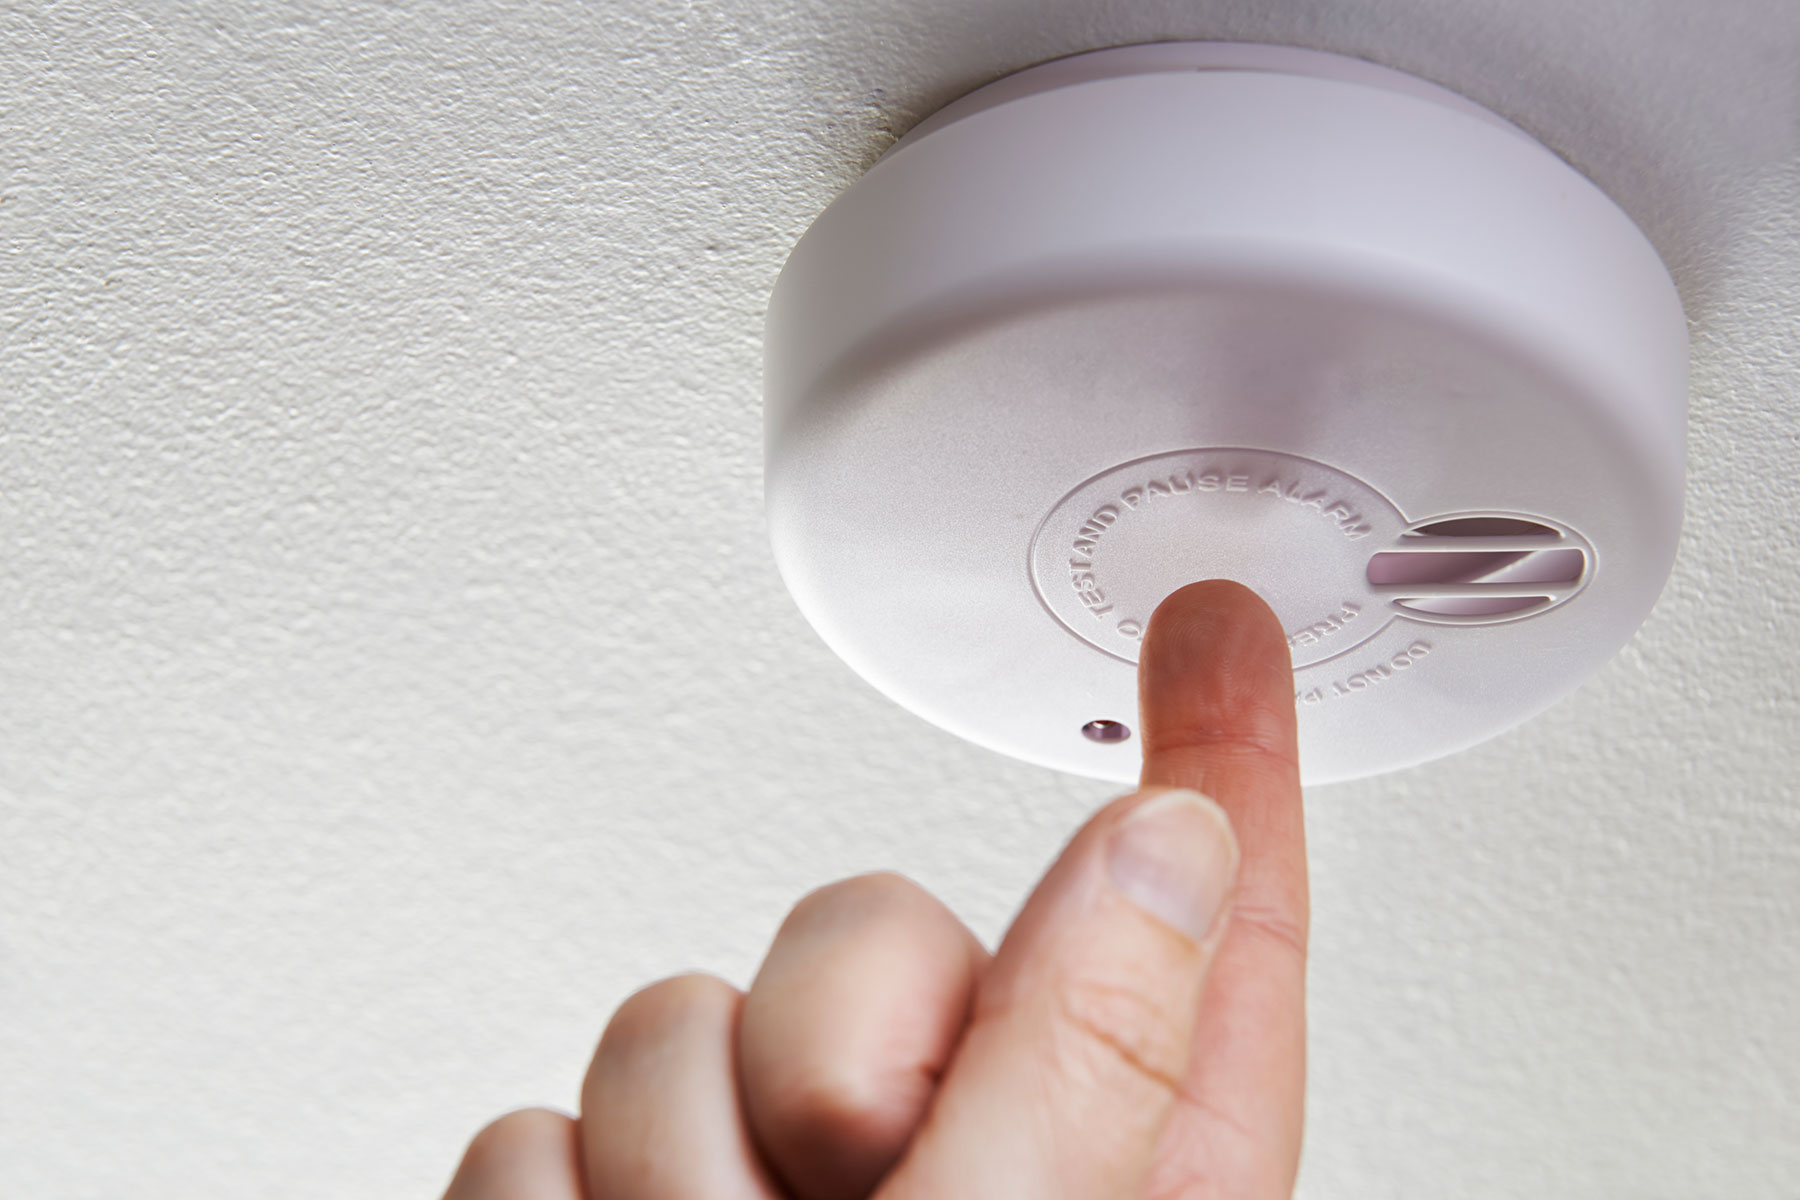
- Press the test button: Locate the test button on the smoke detector, usually marked with a “test” or “alarm” symbol. Press and hold the button for a few seconds until you hear a loud, continuous alarm sound.
- Listen for the alarm sound: The smoke detector should emit a loud alarm sound. If you hear the alarm, it indicates that the smoke detector is working correctly. If you don’t hear any sound, try pressing the test button again. If it still doesn’t produce an alarm sound, double-check the connections and consult the manufacturer’s instructions for troubleshooting steps.
- Ensure interconnect functionality (if applicable): If your smoke detector is part of an interconnected system, where multiple smoke detectors are linked together, test the interconnect functionality. Trigger the test button on one smoke detector, and all the interconnected smoke detectors should sound the alarm simultaneously.
- Reset the smoke detector: After testing, reset the smoke detector by pressing the reset button, usually located next to the test button. This will silence the alarm sound and prepare the smoke detector for future alerts.
Testing the smoke detector regularly is essential. It’s recommended to test the smoke detector at least once a month to ensure its reliable operation. Additionally, remember to replace the batteries in battery-operated smoke detectors as needed.
Once you have confirmed that the new smoke detector is functioning properly, you can proceed to the final step – restoring power to the smoke detector.
Step 10: Restore power to the smoke detector
After testing and confirming the proper functioning of the new smoke detector, the final step is to restore power to the device. Follow these steps to complete the installation process:
- Return to the circuit breaker panel: Go back to the circuit breaker panel in your home.
- Locate the switch or breaker: Identify the switch or breaker that you turned off earlier to disconnect the power supply to the smoke detector.
- Flip the switch or reset the breaker: Flip the switch back to the “On” position or reset the breaker by flipping it all the way to the “Off” position and then back to the “On” position.
- Confirm restored power: Once you have flipped the switch or reset the breaker, verify that power has been restored to the smoke detector. Look for any indicator lights or listen for an audible tone that signifies the power is back on.
Restoring power to the smoke detector is a critical step to ensure that it can function properly and promptly alert you in the event of a fire. A connected and powered smoke detector is essential for maintaining the safety of your home and loved ones.
With power restored, the installation process is complete. Take a moment to admire your work and ensure that the smoke detector is securely mounted and functioning as intended.
Remember, it’s vital to periodically test and maintain your smoke detector to ensure its continued reliability. Regularly check the batteries and replace them at least twice a year, along with replacing the smoke detector itself every 10 years.
Congratulations! You have successfully changed the smoke detector on a high ceiling, ensuring the safety of your home and providing peace of mind for you and your family.
Thank you for following this step-by-step guide. Stay vigilant and proactive in maintaining your home’s fire safety system.
Conclusion
Changing a smoke detector on a high ceiling may seem like a challenging task, but with the right tools, knowledge, and precautions, it becomes a manageable and important undertaking. By following the step-by-step guide outlined in this article, you can ensure the safety of your home and loved ones.
We began by emphasizing the significance of regularly inspecting and maintaining smoke detectors. Testing them monthly, replacing batteries, and refreshing the detectors every 10 years are key practices to ensure their effectiveness in detecting smoke and potential fire hazards.
Throughout the installation process, we covered each step in detail, from gathering the necessary tools to restoring power to the smoke detector. By maintaining a safe working area, accessing the high ceiling with caution, and carefully removing the old smoke detector, you set the stage for a successful installation of the new one.
Connecting the electrical wires, attaching the mounting bracket, and testing the new smoke detector were crucial steps to verify its functionality and interconnectivity if applicable. Ensuring that the smoke detector sounds the alarm and resetting it afterwards are vital for its optimal performance.
Finally, restoring power to the smoke detector marks the completion of the installation process. Regular testing, maintenance, and replacement of batteries and smoke detectors are essential for a well-functioning fire safety system in your home.
Remember, your home’s fire safety should never be compromised. While this guide provides helpful instructions, if you are uncomfortable working at heights or unsure about handling electrical connections, it is always advised to seek professional assistance.
By following the steps outlined in this guide and prioritizing fire safety, you are taking a proactive role in protecting your home and loved ones. Stay vigilant, stay safe!
Now that you're up to speed on changing smoke detectors, why not tackle more home upkeep tasks? Our guide on essential home maintenance offers practical tips and tricks to keep your living space in top shape. Whether you're dealing with regular wear and tear or preparing for seasonal changes, our detailed walkthrough ensures your home stays safe and efficient year-round.
Frequently Asked Questions about How To Change A Smoke Detector On A High Ceiling
Was this page helpful?
At Storables.com, we guarantee accurate and reliable information. Our content, validated by Expert Board Contributors, is crafted following stringent Editorial Policies. We're committed to providing you with well-researched, expert-backed insights for all your informational needs.


0 thoughts on “How To Change A Smoke Detector On A High Ceiling”