Articles
How To Change Bulb In A High Ceiling
Modified: February 23, 2024
Learn the step-by-step process of changing a bulb in a high ceiling with this informative and helpful article. Find out the best tools and techniques to safely replace bulbs in elevated areas.
(Many of the links in this article redirect to a specific reviewed product. Your purchase of these products through affiliate links helps to generate commission for Storables.com, at no extra cost. Learn more)
Introduction
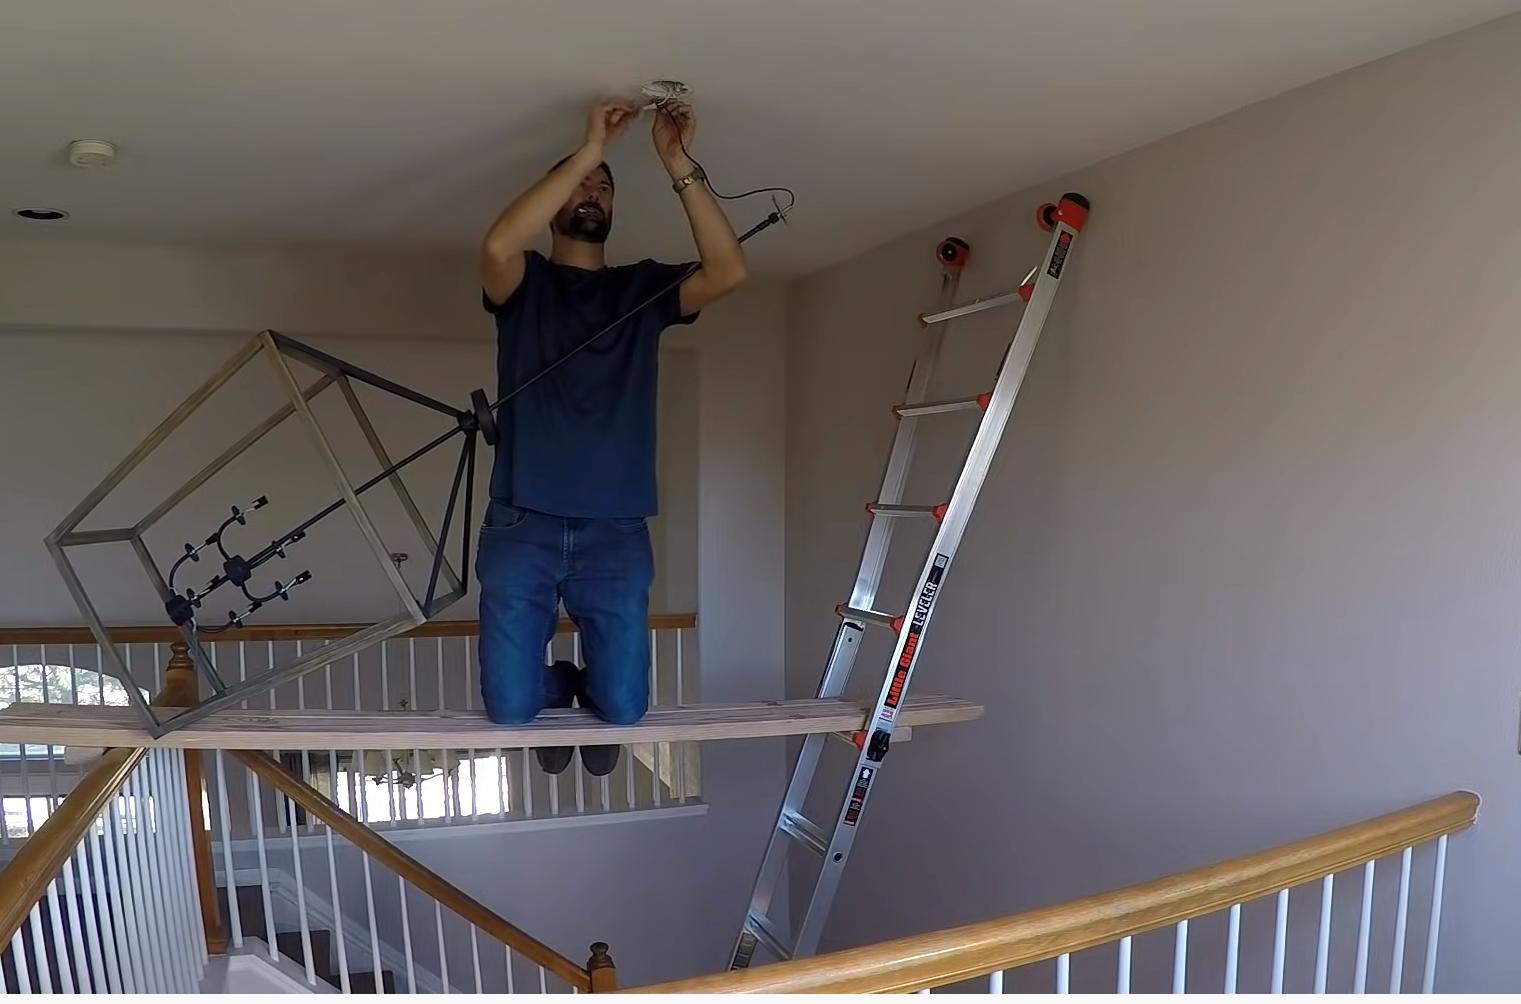
Changing a light bulb in a high-ceilinged room can be a daunting task, but with the right knowledge and tools, it can be a simple and safe process. Whether you need to replace a burnt-out bulb or upgrade to a more energy-efficient option, this guide will provide you with step-by-step instructions on how to change a bulb in a high ceiling.
Before you begin, it is important to assess the situation. Take note of the height of your ceiling and make sure you have the necessary tools and equipment. Safety should always be your top priority, so be sure to follow the guidelines outlined in this article.
In this guide, we will walk you through each step of the process, from gathering the necessary tools to safely removing and replacing the bulb. We will also provide tips on how to ensure the new bulb is properly installed and how to clean up afterwards.
So, if you’re ready to tackle the task of changing a bulb in a high ceiling, let’s get started!
Key Takeaways:
- Assess the situation, gather the right tools, and secure a stable ladder before changing a high ceiling bulb. Safety is crucial, so always turn off the power supply and take precautions throughout the process.
- After installing the new bulb, test it to ensure proper functionality. Clean up the area and store the equipment properly for future use. If in doubt, consult a professional electrician for assistance.
Read more: How To Change Bulbs In A High Chandelier
Assess the Situation
Before you start changing a bulb in a high ceiling, it’s crucial to assess the situation to ensure you have a clear understanding of what you’ll be dealing with. Here are a few key points to consider:
- Ceiling height: Determine the exact height of your ceiling. This will help you select the appropriate tools and equipment needed for the task.
- Bulb type: Identify the type of bulb you need to replace. Different bulbs may require different approaches for removal and installation.
- Accessibility: Take note of any obstacles or restrictions that may impede your access to the light fixture. This could include furniture, decorations, or other objects that need to be temporarily moved.
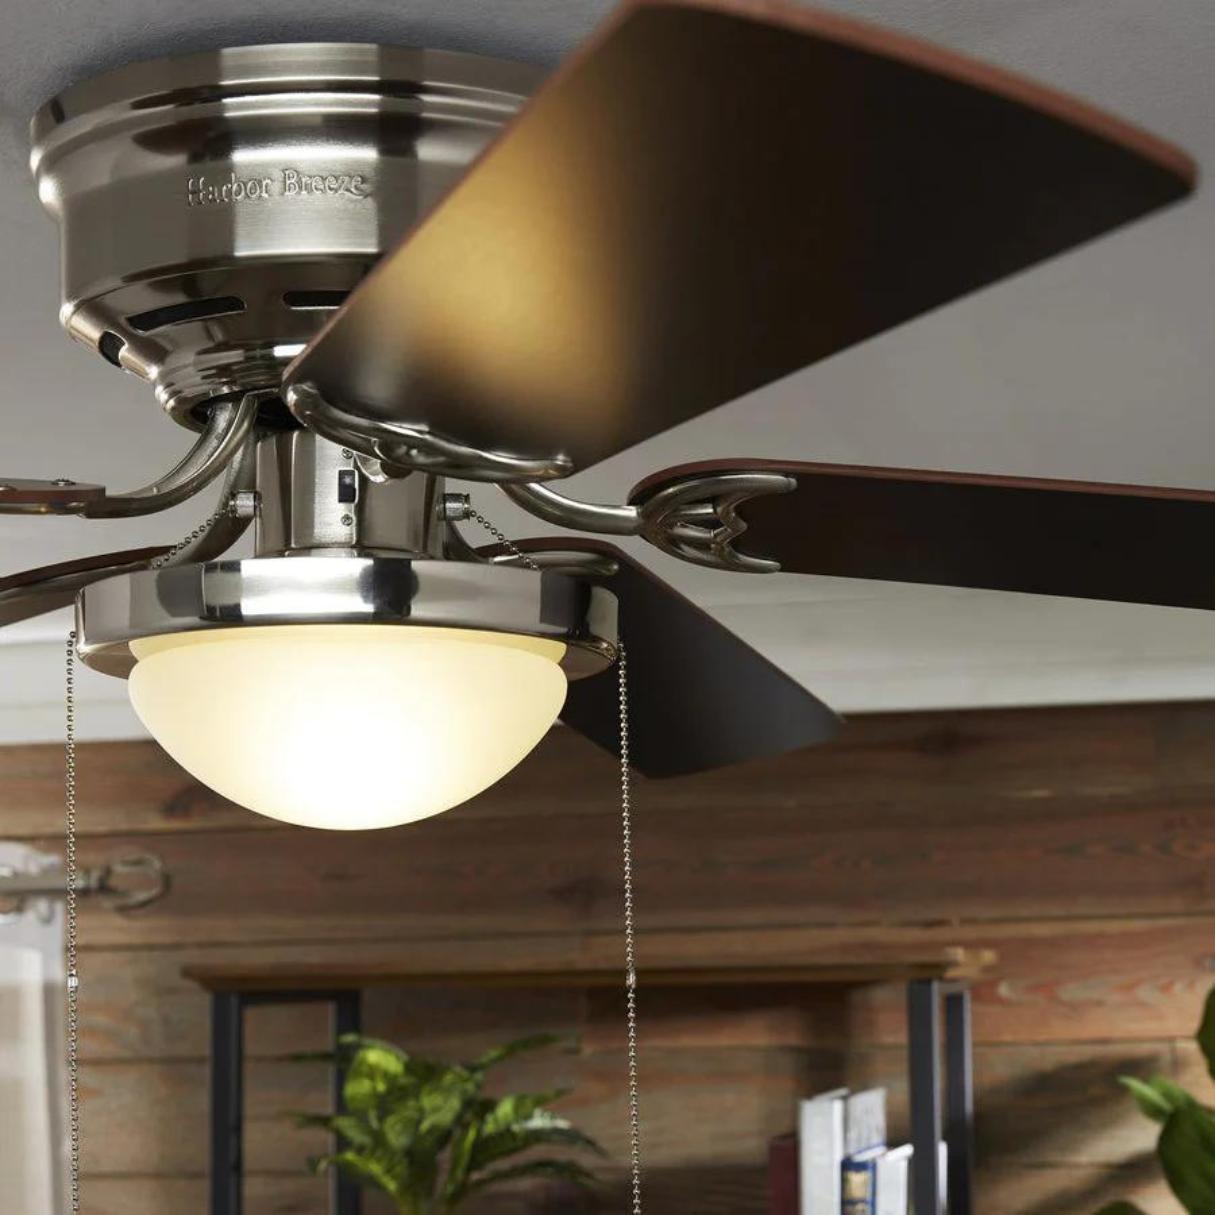
- Lighting fixture: Examine the lighting fixture to understand its design and how the bulb is secured in place. This will help you approach the task with confidence.
- Electrical knowledge: Ensure you have a basic understanding of electrical safety and precautions. If you are uncertain about any aspect of the electrical system, consult a professional electrician.
By carefully assessing the situation, you’ll be better prepared and equipped to perform the task efficiently and safely. Take a few minutes to evaluate these factors before moving on to the next steps.
Gather the Necessary Tools and Equipment
Before you begin the process of changing a bulb in a high ceiling, it’s important to gather all the necessary tools and equipment. Having everything you need at hand will help you complete the task efficiently. Here are the essential tools and equipment you will need:
- Ladder: Choose a ladder that is tall enough to reach the height of your ceiling. Ensure that the ladder is stable, in good condition, and has non-slip feet. A step ladder or extension ladder may be suitable depending on the height.
- Replacement bulb: Make sure you have the correct type and wattage of the new bulb. Double-check the bulb specifications to match the existing one or consider upgrading to a more energy-efficient option.
- Gloves: Wear gloves to protect your hands from any potential residue or glass shards during the process.
- Safety goggles: It’s always a good idea to wear safety goggles to prevent any debris or dust from entering your eyes.
- Extension pole/change kit: If the ceiling is too high to safely reach with a ladder alone, consider using an extension pole or a bulb changer kit specifically designed for high ceilings. These tools allow you to safely remove and replace the bulb without risking injury.
- Tape or marker: Use tape or a marker to mark the spot where the bulb needs to be replaced. This will help you align the new bulb correctly.
Take the time to gather these tools and check that everything is in working order. This will ensure a smooth and hassle-free process when it’s time to change the bulb in your high ceiling.
Secure a Stable and Safe Ladder
When it comes to changing a bulb in a high ceiling, using a ladder is often necessary to reach the fixture. However, it’s crucial to ensure that the ladder is stable and secure to avoid accidents or injuries. Here are some steps to follow to secure a stable and safe ladder:
- Choose the right ladder: Select a ladder that is appropriate for the height of your ceiling. A step ladder may be sufficient for lower ceilings, while an extension ladder is required for higher ceilings. Ensure that the ladder is in good condition and can support your weight.
- Place the ladder on a stable surface: Position the ladder on a firm and level surface, avoiding any uneven or slippery areas. If necessary, use a ladder stabilizer or levelers to ensure stability.
- Secure the ladder: If possible, have a helper hold the ladder steady while you climb. If you’re working alone, make sure to secure the ladder by tying it to a stable object or using ladder stabilizers or braces.
- Extend the ladder properly: If you’re using an extension ladder, make sure it is fully extended and locked into place. Check that all rungs are secure and not loose or damaged.
- Position the ladder correctly: Position the ladder close to the area you need to access, ensuring it’s at the correct angle. The base of the ladder should be about one foot away from the wall or vertical surface for every four feet of ladder height.
- Use the ladder safely: Ascend and descend the ladder carefully, maintaining three points of contact at all times (two hands and one foot, or two feet and one hand). Avoid overreaching by keeping your hips within the side rails of the ladder.
By following these steps, you can ensure that your ladder is stable and secure, providing a safe platform for you to change the bulb in your high ceiling. Remember to exercise caution and never rush the process.
Turn Off the Power Supply
Before you start working on changing the bulb in a high ceiling, it is imperative to turn off the power supply to the light fixture. This step ensures your safety and prevents the risk of electric shock. Here’s what you need to do to turn off the power supply:
- Locate the circuit breaker: Find the circuit breaker box in your home. This is usually located in the basement, garage, or utility room.
- Identify the breaker for the light fixture: Look for the breaker that controls the specific circuit where the light fixture is connected. Most circuit breaker boxes are labeled, making it easier to identify the breaker for the desired circuit. If the box is not labeled, you may need assistance from someone who can help you identify the correct breaker.
- Switch off the breaker: Once you have located the appropriate breaker, switch it to the “off” position. This will cut off the power supply to the light fixture. It is a good practice to double-check that the power is indeed off by testing the light switch associated with the fixture.
- Consider using a voltage tester: If you are unsure which breaker controls the light fixture or are hesitant about turning off the power, you may want to use a voltage tester. A voltage tester can help confirm whether the power is indeed cut off before proceeding with the task.
Turning off the power supply is an essential safety precaution that should never be skipped. It ensures that you can safely and confidently proceed with changing the bulb in your high ceiling without the risk of electrical injury.
Use a sturdy ladder and have someone hold it steady. Turn off the power to the light. Use a stable platform to stand on. Wear gloves to protect your hands. Use a bulb changer tool for safety.
Read more: How To Change A High Ceiling Chandelier
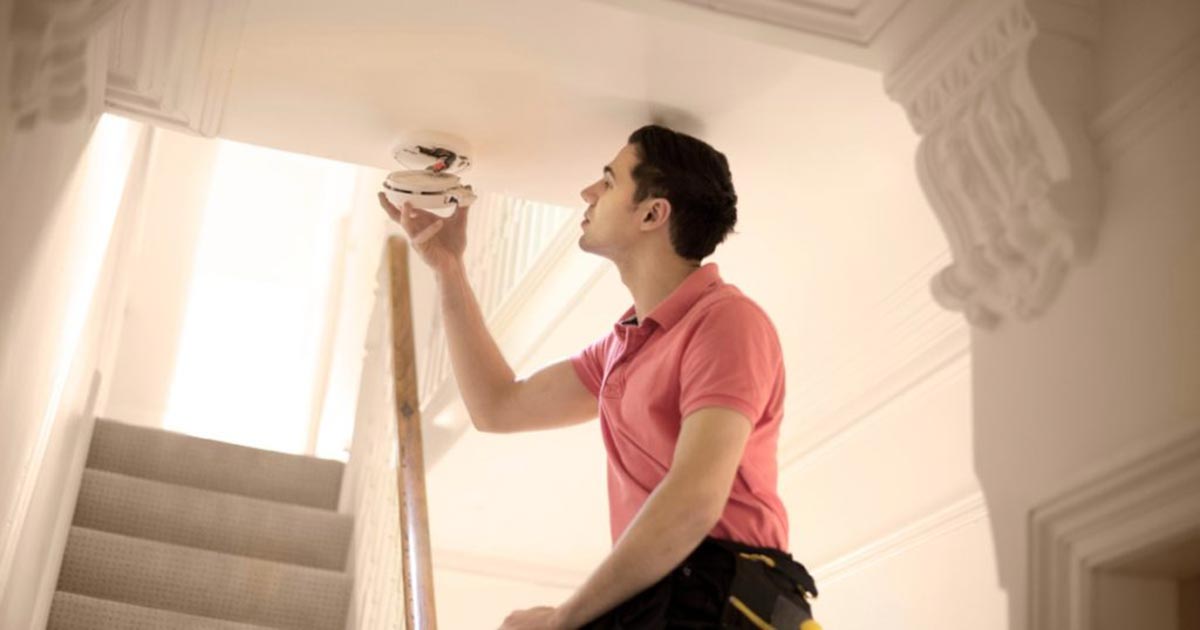
Remove the Old Bulb
Now that you have turned off the power supply and ensured your safety, it’s time to remove the old bulb from the high ceiling fixture. Follow these steps to remove the old bulb safely:
- Allow the bulb to cool: If the fixture was recently turned on, give the bulb enough time to cool down before attempting to remove it. This will prevent any risk of burns or injuries.
- Position the ladder: Place the ladder securely under the fixture, positioning it so that you have clear access to the bulb.
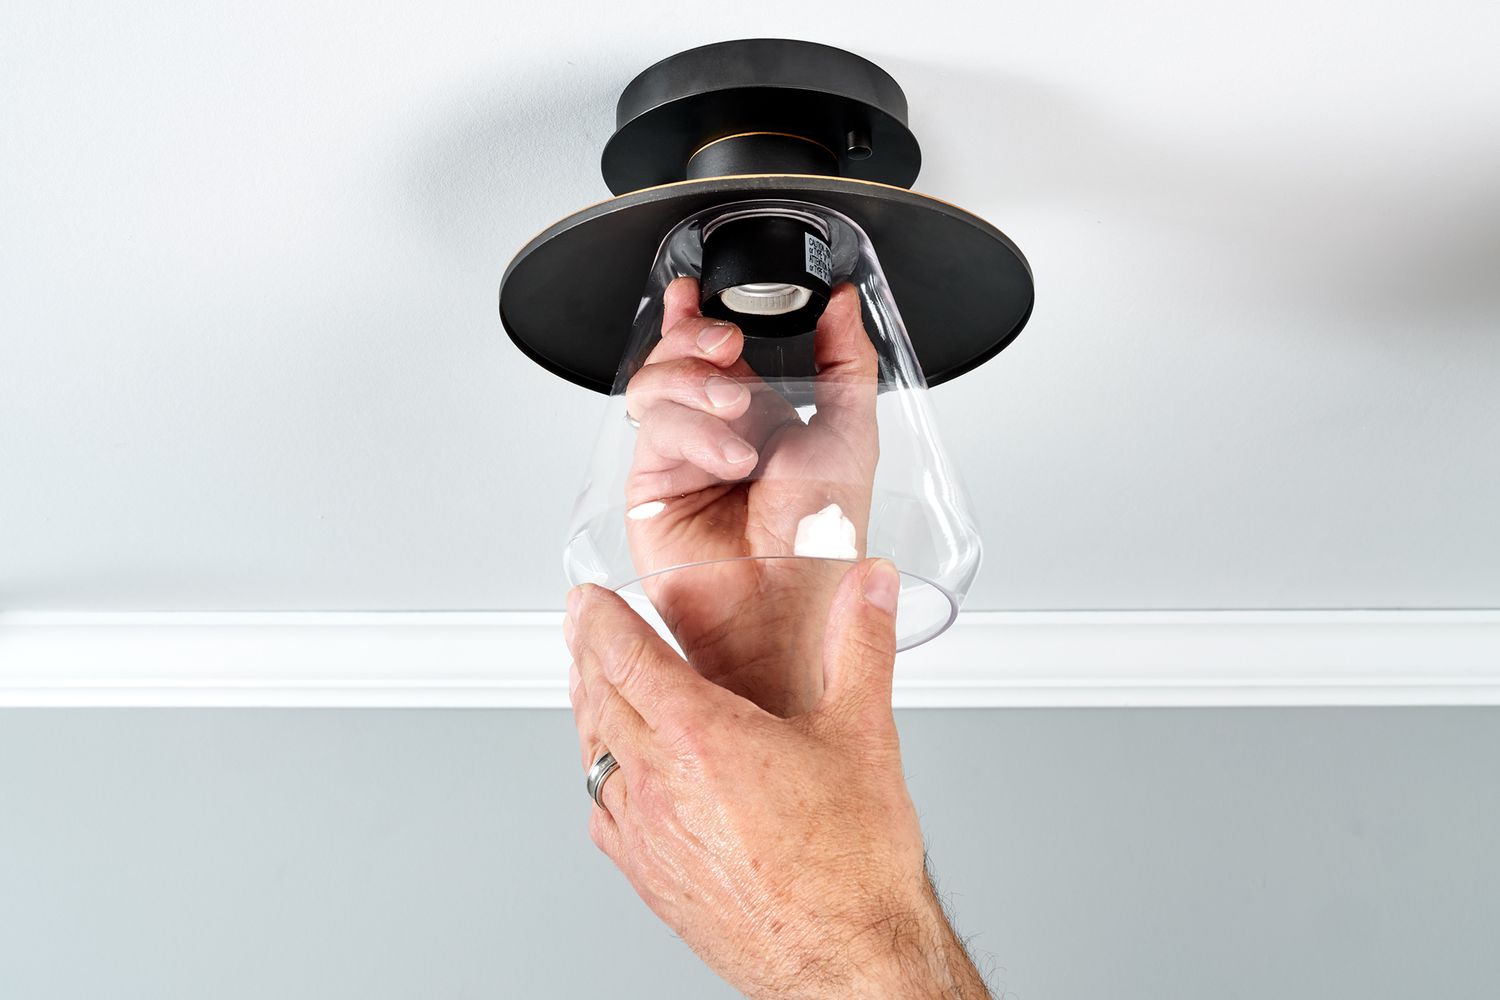
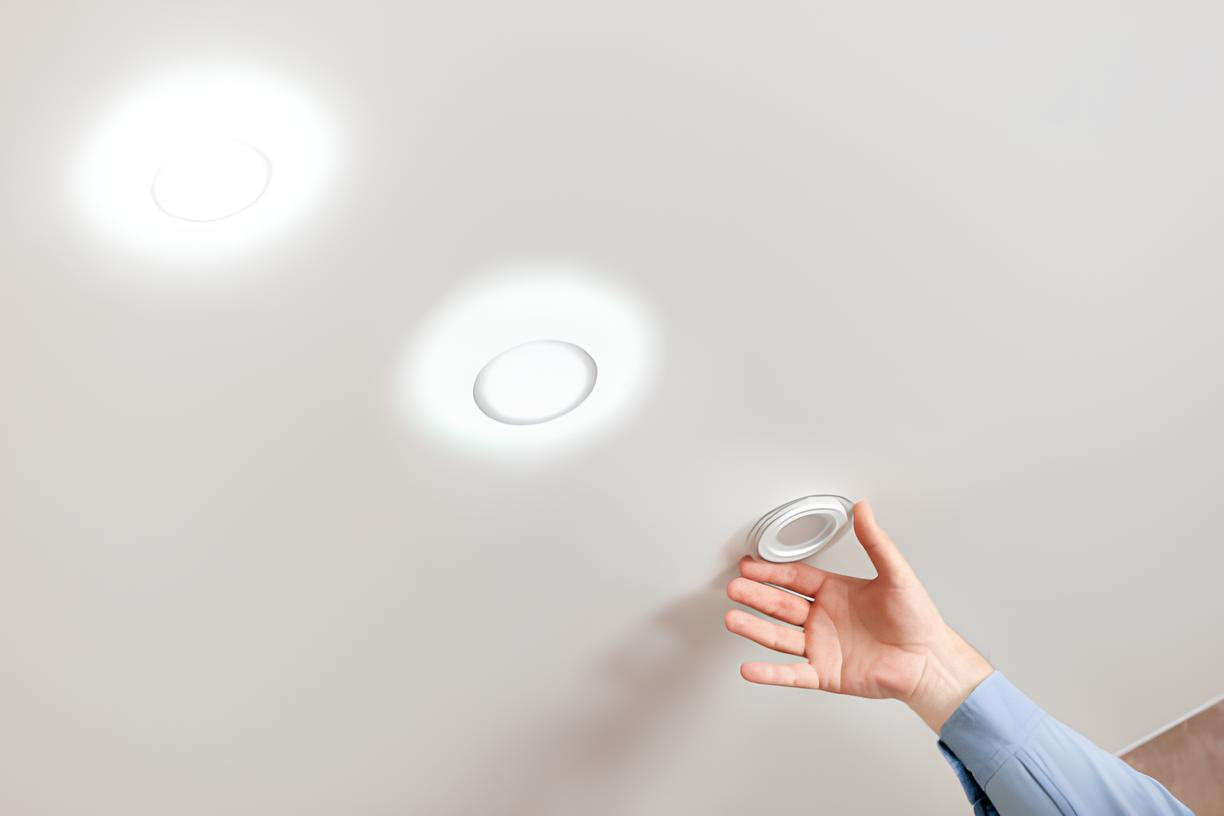
- Remove any bulb cover or diffuser: Some fixtures may have a cover or diffuser that needs to be removed before accessing the bulb. Carefully remove any screws or clips securing the cover and set it aside.
- Unscrew or disconnect the bulb: Depending on the type of fixture, you will either need to unscrew the bulb counterclockwise or disconnect it by gently pulling it out. Be careful not to exert too much force or twist too hard to avoid damaging the fixture.
- Dispose of the old bulb: Place the old bulb in a safe location and dispose of it properly. Check with your local recycling or waste management facility to determine the appropriate method of disposal for light bulbs in your area.
When removing the old bulb, be cautious of any glass fragments or residue that may be present. It is recommended to wear gloves to protect your hands. Additionally, be mindful of your surroundings and ensure the ladder remains stable throughout the process.
With the old bulb successfully removed, you’re now ready to move on to the next step: installing the new bulb!
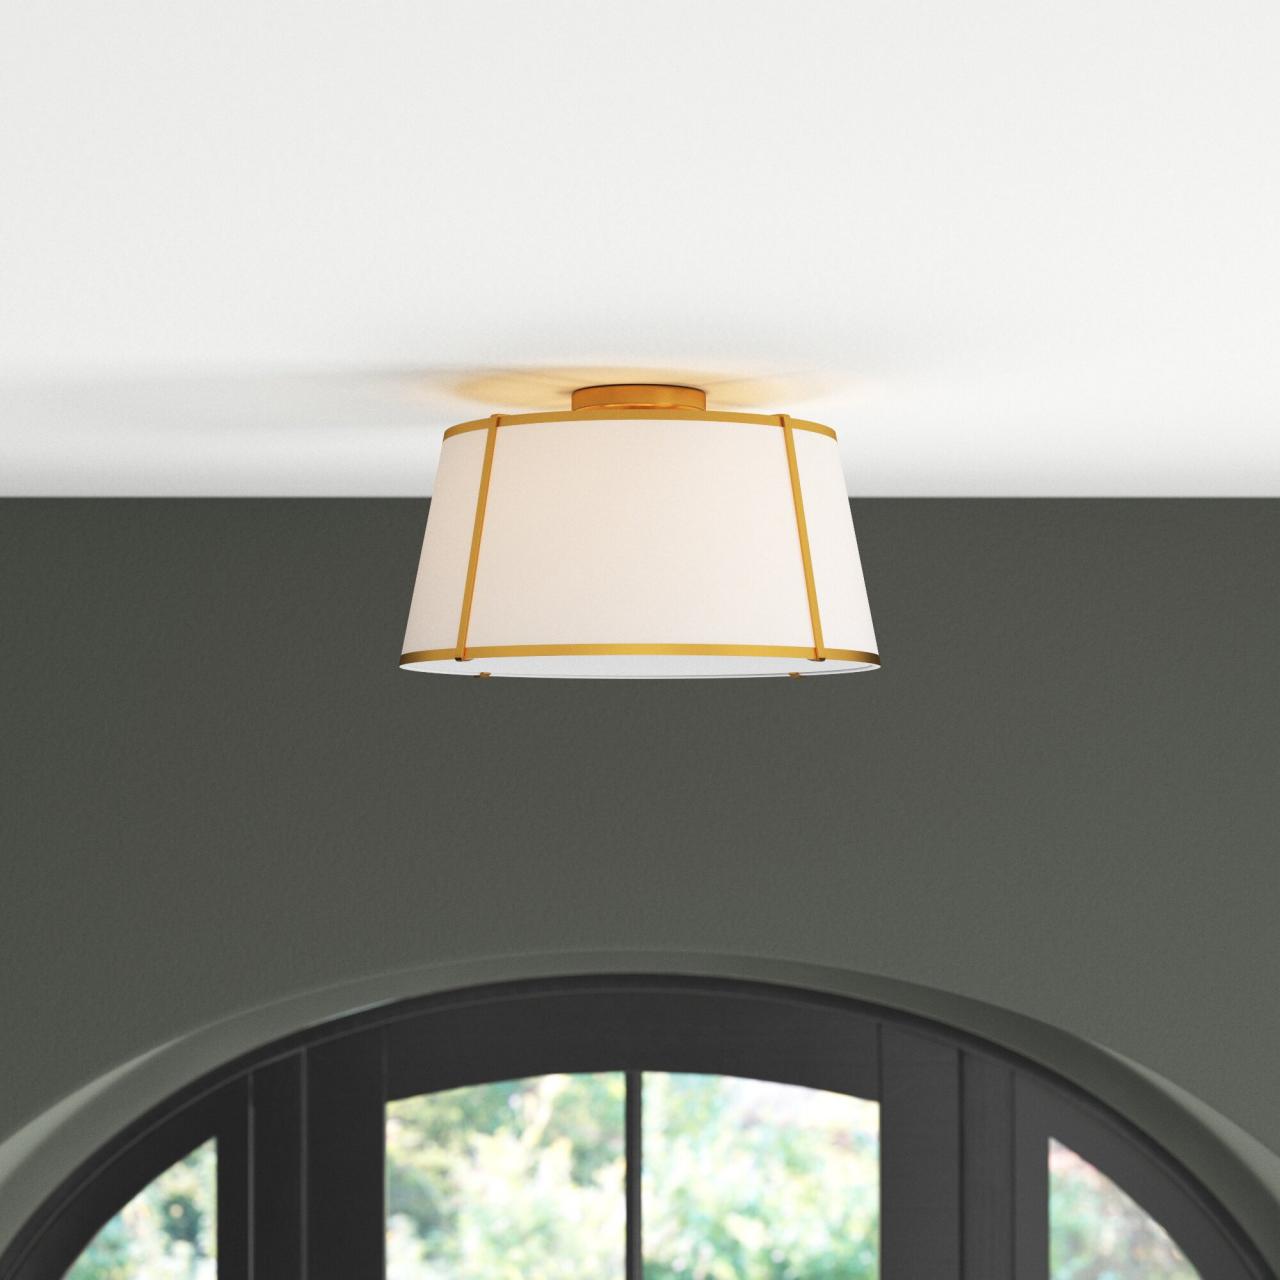
Install the New Bulb
With the old bulb safely removed, it’s time to install the new bulb in your high ceiling fixture. Follow these steps to ensure a proper and secure installation:
- Check the bulb specifications: Before installing the new bulb, double-check that it matches the specifications of the old bulb and is compatible with your fixture. Ensure it has the correct wattage and base type.
- Position the ladder: Place the ladder securely under the fixture, positioning it so that you have easy access to the socket.
- Line up the bulb: Align the base of the new bulb with the socket in the fixture. Make sure it is seated properly and fits securely.
- Screw or connect the bulb: Depending on the type of fixture, you will either need to screw the bulb clockwise into the socket or insert it and gently twist to connect it securely. Be careful not to overtighten, as this can damage the bulb or the fixture.
- Ensure a snug fit: Give the bulb a gentle tug to ensure it is properly seated and won’t come loose. If it feels loose, remove it and reposition it in the socket, making sure it is securely attached.
- Replace any covers or diffusers: If you removed a cover or diffuser earlier, now is the time to reattach it. Carefully align the cover and secure it in place using screws or clips.
Take your time during the installation process to ensure the bulb is properly installed and secure. If necessary, refer to the manufacturer’s instructions for your specific fixture or bulb type.
Once the new bulb is securely in place, it’s time to move on to the next step: testing the bulb to ensure it lights up correctly!
Test the New Bulb
After successfully installing the new bulb in your high ceiling fixture, it is essential to test it to ensure that it functions properly. Follow these steps to test the new bulb:
- Turn on the power supply: Return to the circuit breaker box and switch on the breaker that supplies power to the light fixture. This will restore electrical power to the fixture.
- Activate the light switch: Go to the light switch associated with the fixture and turn it on. If the fixture has a separate switch, use that to activate the light.
- Observe the bulb: Look at the fixture and check if the new bulb is lighting up properly. Ensure that it emits a steady and consistent glow without any flickering or dimness.
- Verify the brightness: Assess the brightness level of the new bulb. If the area is adequately illuminated and meets your expectations, it indicates a successful installation.
- Make necessary adjustments: If the bulb does not light up or if there are any issues with brightness or performance, double-check the bulb’s connection in the socket. Ensure it is securely installed and contacts are properly aligned.
If the new bulb lights up correctly and functions as expected, congratulations! You have successfully changed the bulb in your high ceiling fixture. However, if any issues persist, you may need to retrace your steps and recheck the installation to ensure everything is in order.
Remember, safety is always a priority. If you encounter any difficulties or concerns during the testing process, it is advisable to contact a professional electrician for further assistance.
With the new bulb properly tested and functioning, you can now move on to the final steps: cleaning up and storing the equipment.
Clean Up and Store the Equipment
After successfully changing the bulb in your high ceiling fixture and testing it to ensure it functions properly, it’s important to tidy up and store the equipment properly. Follow these steps to clean up and store the equipment:
- Turn off the power supply: Before proceeding with any cleaning, make sure to turn off the power supply by switching off the circuit breaker that controls the light fixture.
- Allow the bulb to cool: If the new bulb was recently turned on, give it enough time to cool down before handling it.
- Remove any covers or diffusers: If you reattached any covers or diffusers during the installation process, carefully remove them once again.
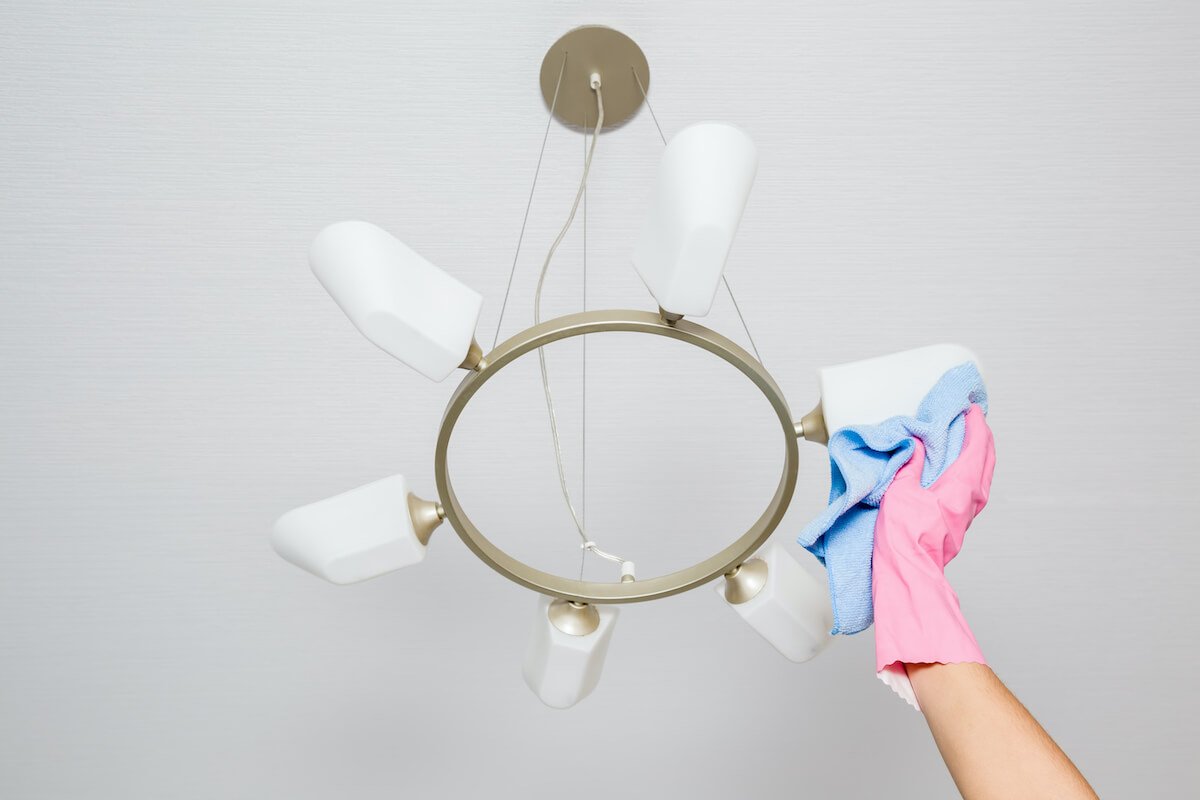
- Clean the fixture: Use a soft, dry cloth to clean the fixture, removing any dust, debris, or fingerprints. Avoid using water or cleaning solutions unless recommended by the fixture manufacturer.
- Store the equipment properly: Store the ladder, gloves, safety goggles, and any other equipment you used in a safe and designated location. Make sure they are stored in a clean and dry area to prevent any damage or deterioration.
- Dispose of old bulb and packaging: If you haven’t already done so, properly dispose of the old bulb following the guidelines provided by your local recycling or waste management facility. Dispose of any packaging materials as well.
By taking the time to clean up and store the equipment properly, you ensure that everything is organized and ready for future use. This also helps maintain the longevity of the equipment, allowing it to be in good condition the next time you need to change a bulb in a high ceiling.
With the clean-up complete, you have successfully completed the process of changing a bulb in a high ceiling. Give yourself a pat on the back for a job well done!
Lastly, if you have any additional bulbs to replace or other maintenance tasks to complete around your home, now would be a great time to tackle them.
Conclusion
Changing a bulb in a high ceiling may seem like a challenging task, but with the right knowledge and approach, it can be a straightforward and safe process. By following the step-by-step instructions outlined in this guide, you can successfully replace a bulb in your high ceiling fixture.
Remember to always assess the situation, gather the necessary tools and equipment, and secure a stable ladder before starting the process. Safety is paramount, so make sure to turn off the power supply and take precautions while removing the old bulb and installing the new one.
Testing the new bulb and ensuring it functions properly is crucial. Take the time to verify its brightness and performance before finishing up the task. And once everything is complete, clean up the area and store the equipment appropriately for future use.
By following these guidelines, you can confidently change a bulb in a high ceiling, improving the lighting in your space and creating a more comfortable environment.
Remember, if you have any concerns about electrical work or feel unsure about any aspect of the process, it is always wise to consult with a professional electrician.
So go ahead and take on the challenge of changing the bulb in your high ceiling with confidence. Enjoy the benefits of a well-lit space and the satisfaction of a job well done!
Frequently Asked Questions about How To Change Bulb In A High Ceiling
Was this page helpful?
At Storables.com, we guarantee accurate and reliable information. Our content, validated by Expert Board Contributors, is crafted following stringent Editorial Policies. We're committed to providing you with well-researched, expert-backed insights for all your informational needs.


0 thoughts on “How To Change Bulb In A High Ceiling”