Articles
How To Winterize A Fridge With Ice Maker
Modified: October 27, 2024
Learn how to properly winterize your fridge with an ice maker in this comprehensive article. Protect your appliance and avoid any potential damage during the winter months.
(Many of the links in this article redirect to a specific reviewed product. Your purchase of these products through affiliate links helps to generate commission for Storables.com, at no extra cost. Learn more)
Introduction
When winter approaches, it’s important to take special precautions to protect your appliances from potential damage caused by freezing temperatures. One item that often gets overlooked in this process is the refrigerator with an ice maker. Neglecting to properly winterize your fridge can result in problems such as frozen water lines, damaged components, and even potential leaks.
In this article, we will guide you through the steps of winterizing a fridge with an ice maker to ensure its longevity and optimal performance during the colder months. By following these steps, you can prevent costly repairs and keep your fridge in top condition.
Before we dive into the details, it’s important to note that the specific steps may vary depending on the make and model of your refrigerator. Always consult your owner’s manual for any manufacturer instructions or recommendations. With that said, let’s get started with the process of winterizing your fridge.
Key Takeaways:
- Properly winterizing your fridge with an ice maker is crucial to prevent potential damage from freezing temperatures. Follow the detailed steps to ensure optimal performance and longevity of your appliance during the colder months.
- From emptying the ice bin to disconnecting the water supply and testing the ice maker, each step in winterizing your fridge plays a vital role in protecting your appliance and ensuring it’s ready for use when needed.
Read more: How To Remove Ice Maker From Fridge?
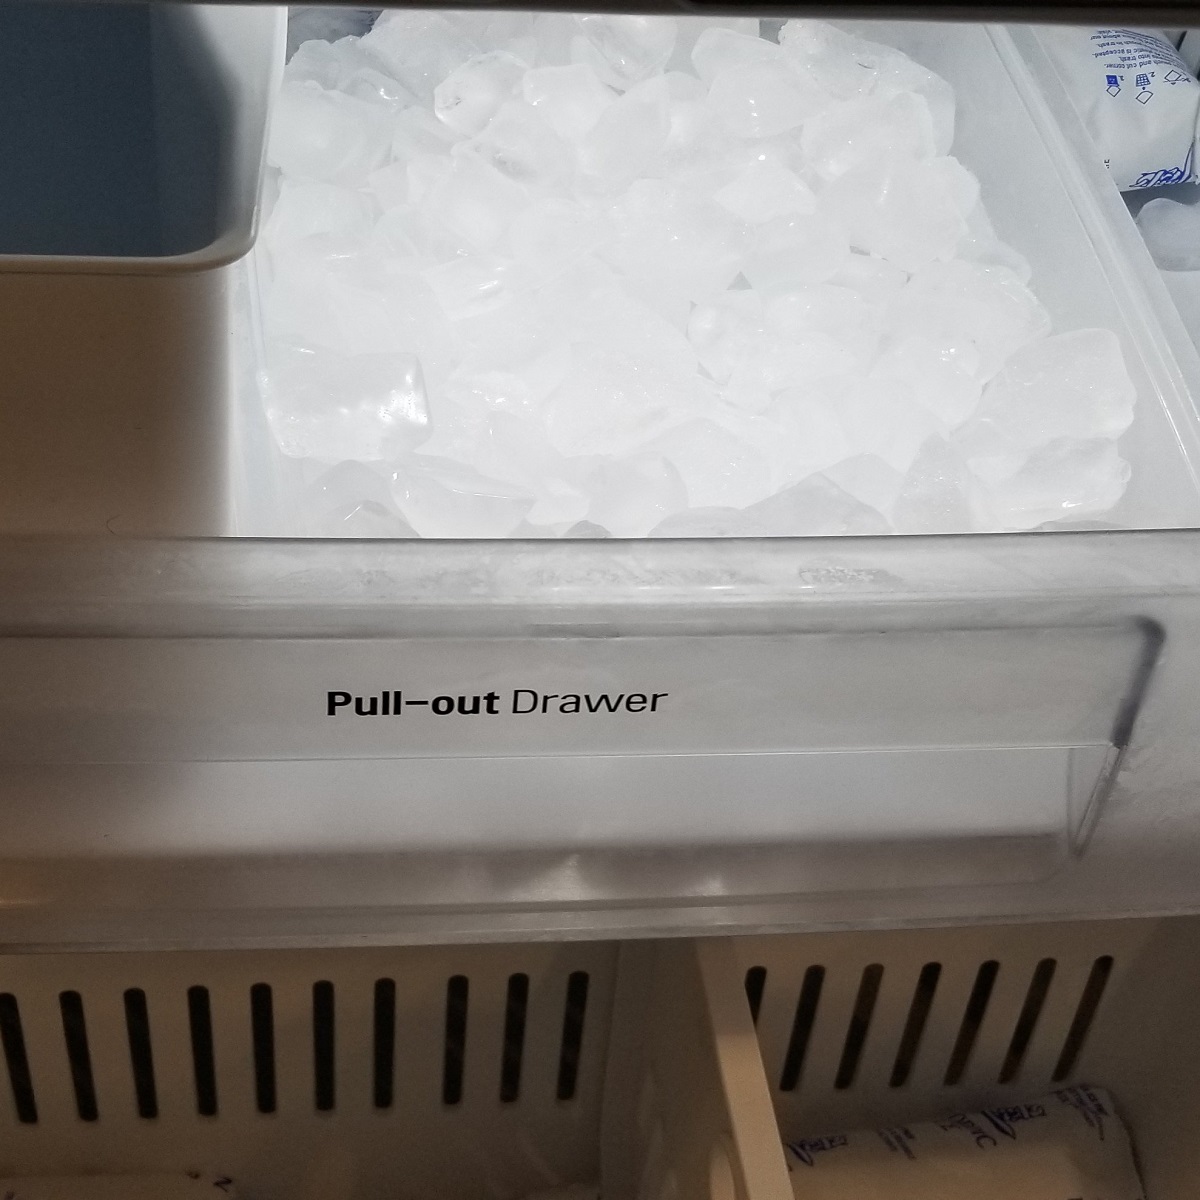
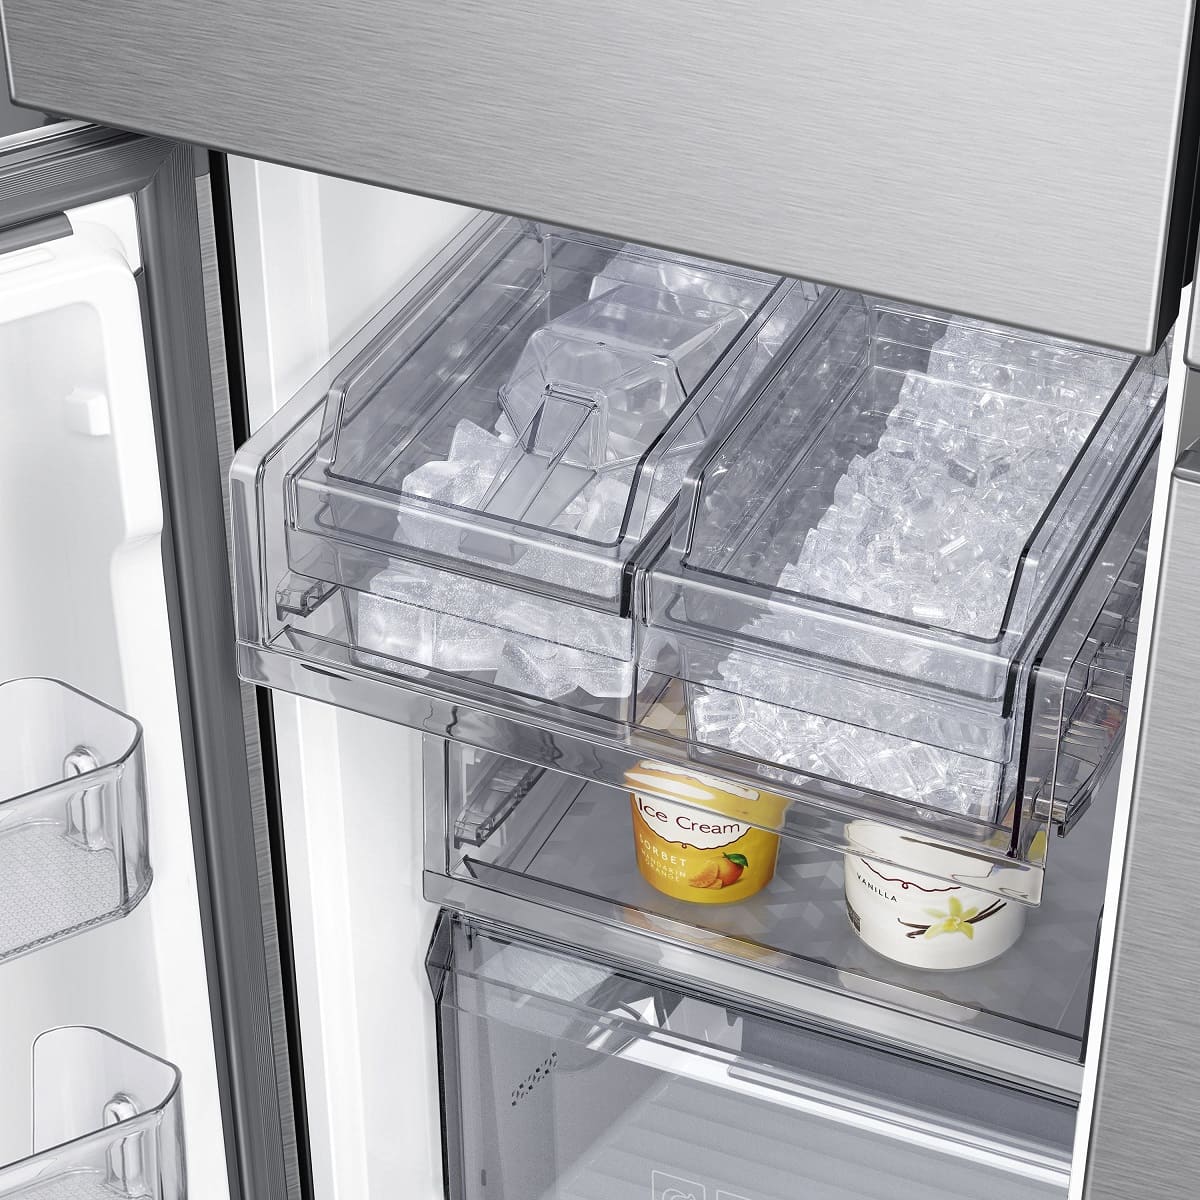
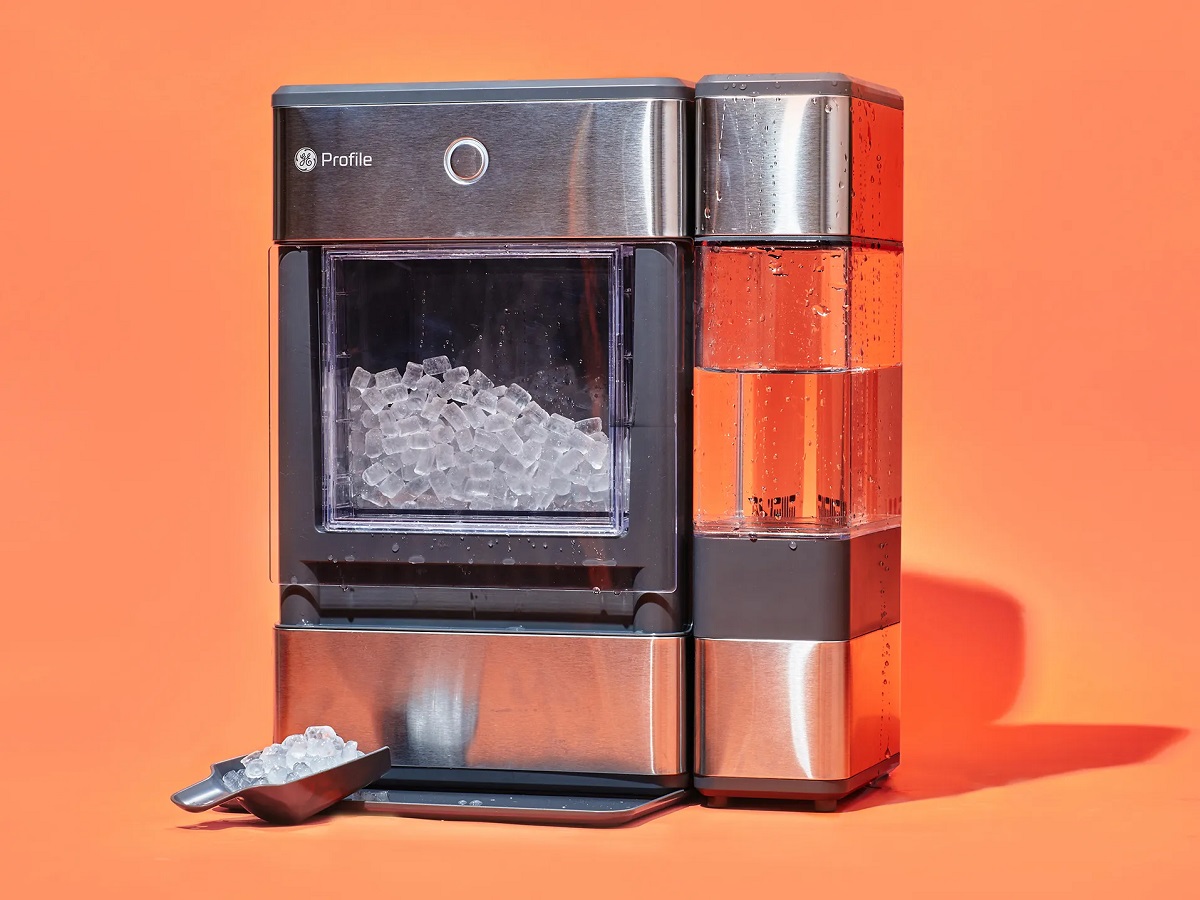
Step 1: Emptying the Ice Bin
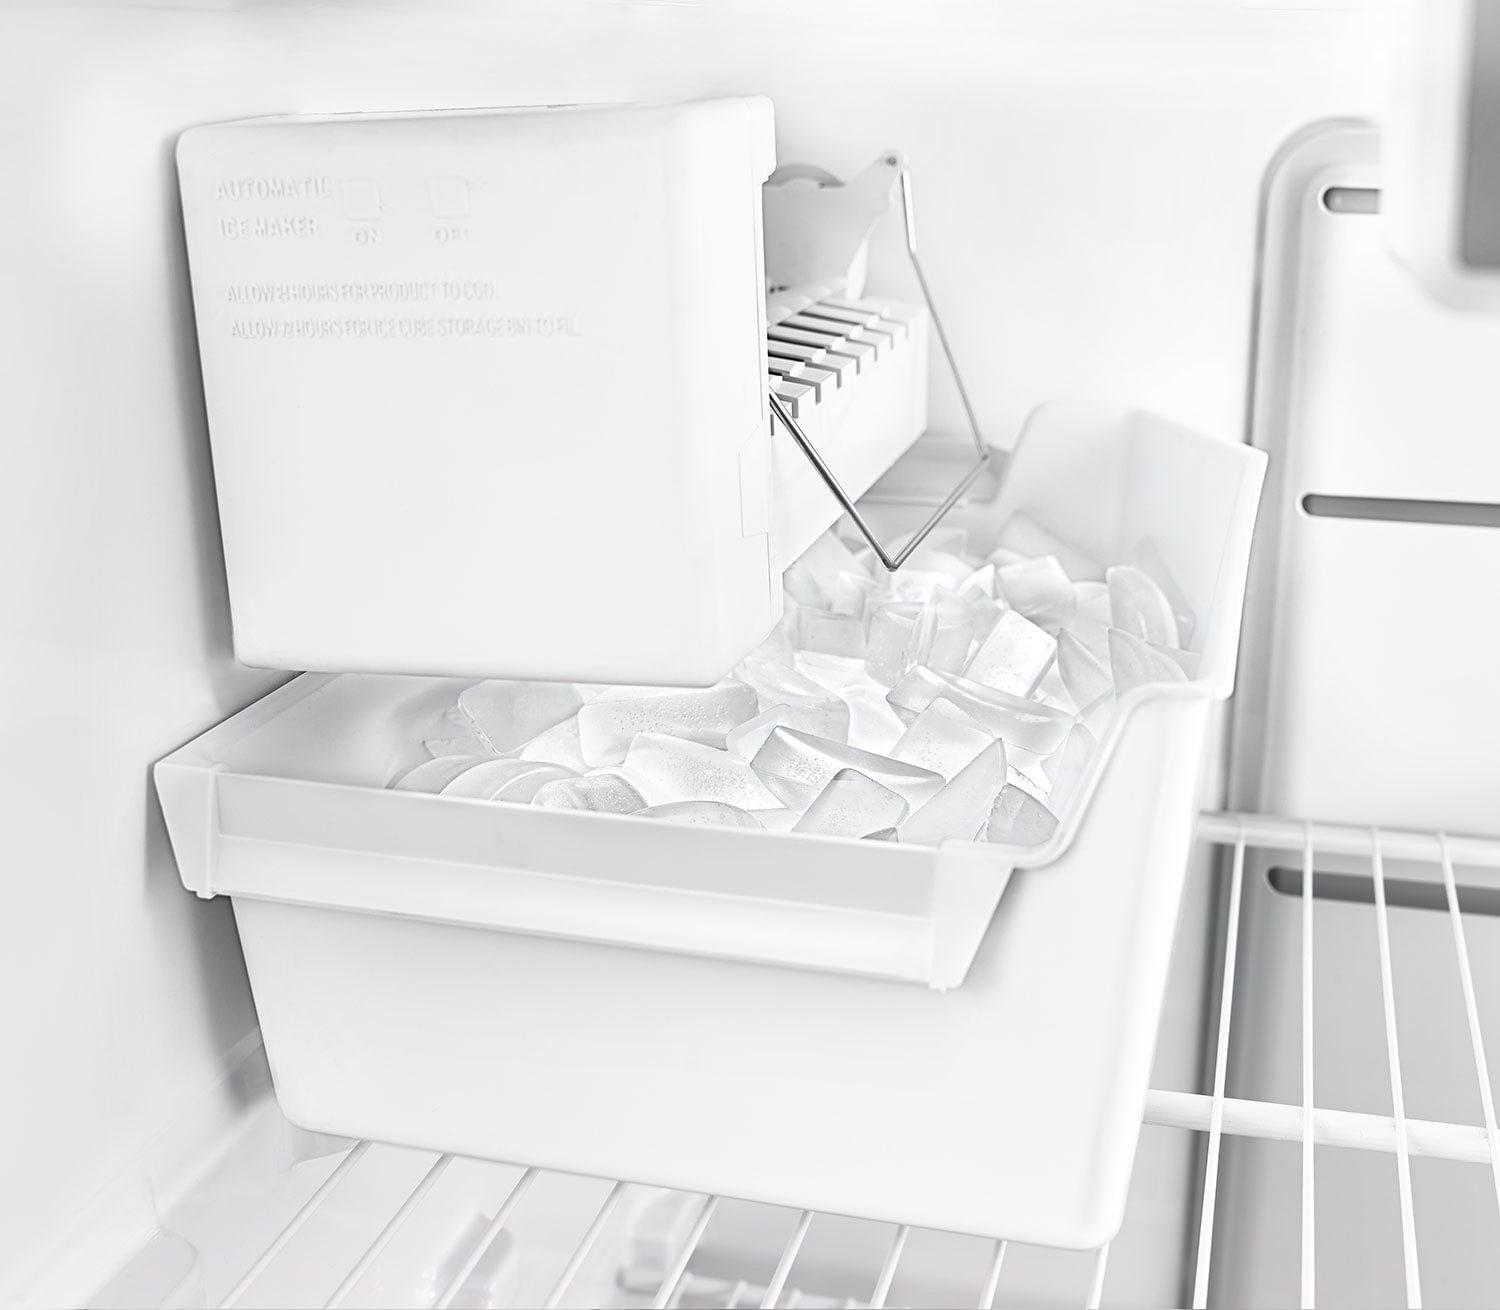
The first step in winterizing a fridge with an ice maker is to empty the ice bin. This is important because leaving ice in the bin could lead to potential issues such as water leaks or ice blockages.
To empty the ice bin, start by removing any remaining ice cubes. You can either use them right away or transfer them to ice storage bags or containers for later use. Make sure to throw away any ice that looks discolored or has an unusual odor.
Once the ice bin is empty, give it a thorough cleaning. Use warm water and mild dish soap to wash the bin, inside and out, removing any residue or build-up. Rinse it well and dry it thoroughly before reinstalling it back into the freezer.
By emptying and cleaning the ice bin, you’re ensuring that no ice will be left behind to potentially cause problems when winterizing the rest of the fridge.
Step 2: Turning off the Ice Maker
Once the ice bin is empty, the next step in winterizing a fridge with an ice maker is to turn off the ice-making function. This will prevent the ice maker from continuously trying to produce ice during the winter months when you don’t need it.
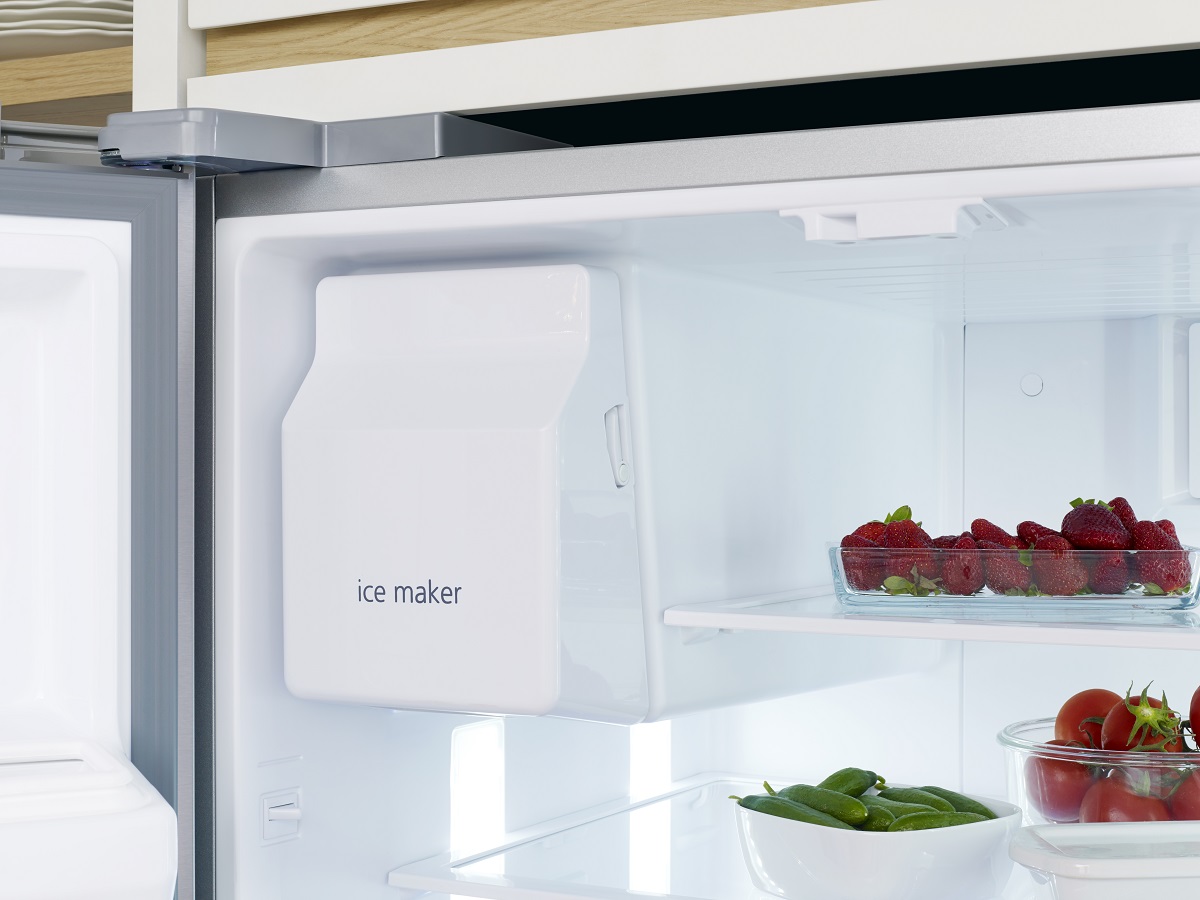
To turn off the ice maker, locate the switch or lever that controls its operation. This is typically located on the front or side of the ice maker, or in some cases, inside the freezer compartment. Refer to your owner’s manual if you’re unsure about the specific location.
In most cases, you can simply flip the switch to the “off” position or move the lever to the “off” position to deactivate the ice maker. Some models may have a dedicated power button to turn off the ice maker. Make sure that the ice maker is completely turned off and not in standby mode.
Once the ice maker is turned off, it will stop producing ice, saving energy and ensuring that the water lines connected to the ice maker won’t be at risk of freezing and causing damage to the appliance.
It’s important to note that some refrigerators may have a separate switch or lever to turn off the ice dispenser while keeping the ice maker operational. If your fridge has this feature, make sure to disable the ice dispenser as well to fully winterize the ice-making system.
By turning off the ice maker, you’re taking a proactive step to prevent any potential issues associated with ice production during the winter months.
Step 3: Cleaning the Ice Maker
Once the ice maker has been turned off, it’s important to clean it thoroughly before winterizing the rest of the fridge. Cleaning the ice maker will help remove any buildup of mineral deposits, mold, or bacteria that might be present.
To clean the ice maker, start by disconnecting the power source. This may involve unplugging the refrigerator or switching off the circuit breaker that supplies power to the appliance. Safety should always be the top priority when working with electrical components.
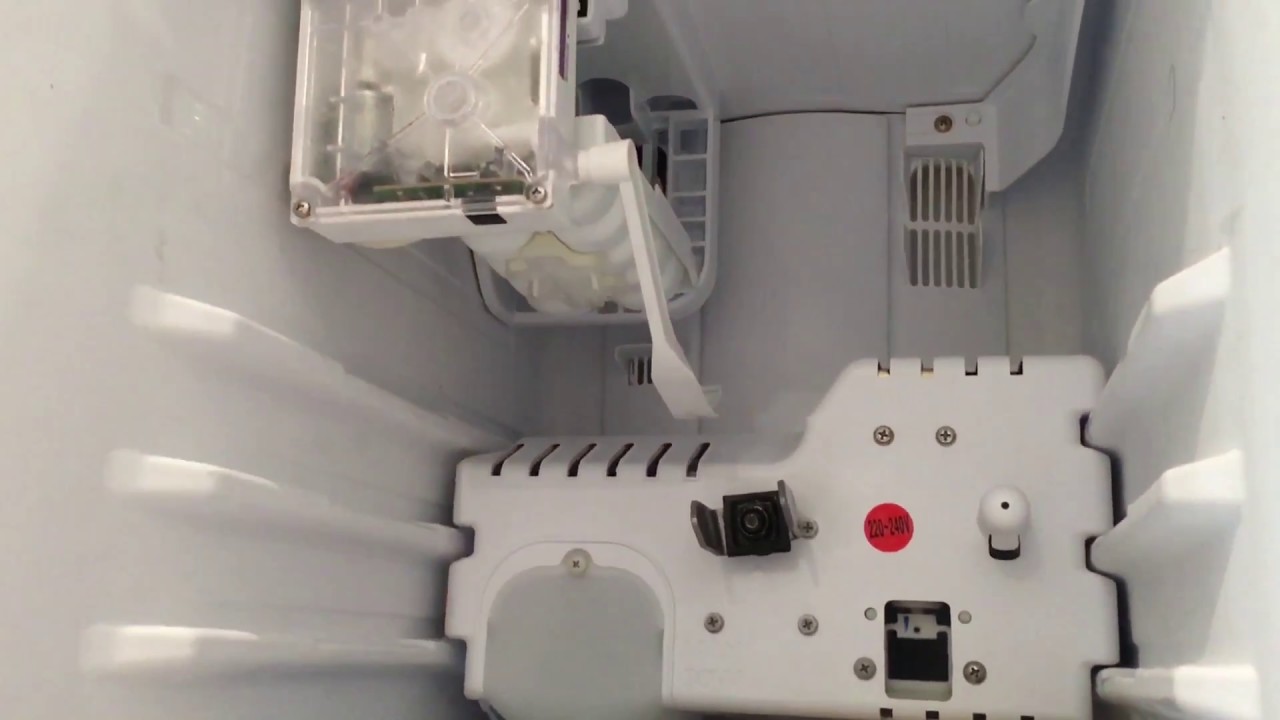
Next, locate the access panel or cover for the ice maker. This is typically located at the back of the freezer compartment, near the top. Remove the screws or clips holding the access panel in place and gently lift it off to reveal the inner workings of the ice maker.
Using a soft cloth or sponge, wipe down the interior surfaces of the ice maker. Pay close attention to areas where mold or residue may have accumulated, such as the ice mold and water inlet valve. Use a mixture of warm water and mild dish soap to break down any stubborn residue.
If there are any removable parts, such as the ice mold or ice bin, remove them and clean them separately. Allow them to air dry completely before reassembling them back into the ice maker.
Once the cleaning process is complete, replace the access panel and reconnect the power source. Turn on the ice maker and allow it to run for a few minutes to ensure that any cleaning solution or residue is flushed out.
By cleaning the ice maker, you’re removing any potential sources of contaminants and ensuring that it operates at its best when it’s time to use it again.
Step 4: Defrosting the Freezer
As part of winterizing a fridge with an ice maker, it is crucial to defrost the freezer. Over time, ice buildup can accumulate on the freezer walls, which can impede proper airflow and affect the overall functioning of the appliance.
To defrost the freezer, start by emptying all the frozen food items and transferring them to a cooler or another freezer if available. Alternatively, you can place them in a refrigerator temporarily while defrosting the freezer.
Next, unplug the refrigerator from the power source or switch off the circuit breaker that supplies power to the appliance for safety reasons. This step ensures that there is no risk of electric shock during the defrosting process.
Leave the freezer door open to allow the ice to melt naturally. For faster defrosting, you can place towels or absorbent mats in the freezer to collect the melting ice. It is essential to monitor the towels and replace them as needed to prevent water from overflowing onto the floor.
Avoid using sharp objects or utensils to chip away at the ice as this can damage the freezer walls or the ice maker components. Instead, let the ice melt naturally, which may take several hours depending on the amount of ice buildup.
Once all the ice has melted and the freezer is completely dry, wipe down the interior surfaces with a clean cloth to remove any remaining moisture. Take extra care to dry the ice maker area thoroughly to prevent any residual water from freezing and causing damage.
After the defrosting process is complete, plug the refrigerator back into the power source or switch on the circuit breaker. Allow the appliance to cool down for a couple of hours before placing the food items back into the freezer.
By defrosting the freezer, you are ensuring optimal airflow and temperature regulation, which helps maintain the efficiency of the fridge and the ice maker.
Read more: How To Turn Off Ice Maker on Samsung Fridge
Step 5: Cleaning the Fridge
In order to properly winterize a fridge with an ice maker, it’s important to thoroughly clean the entire refrigerator, both inside and out. This step ensures that any dirt, spills, or food particles are removed, preventing unpleasant odors and potential hygiene issues during the winter months.
To clean the fridge, start by emptying all the food items and storing them in a cool place. Use this opportunity to check for any expired or spoiled items and dispose of them properly.
Next, remove all the removable shelves, drawers, and compartments from the refrigerator. Wash them separately with warm, soapy water, and dry them thoroughly before reassembling them back into the fridge.
Using a mixture of warm water and mild dish soap, wipe down the interior surfaces of the fridge, including the walls, shelves, and door compartments. Pay special attention to any stains or spills and use a scrub brush or sponge to remove them.
For any stubborn stains or odors, you can make a cleaning solution using equal parts water and vinegar. Apply this solution to the affected areas and let it sit for a few minutes before wiping it clean. Alternatively, baking soda can be used as a natural deodorizer by sprinkling it onto a damp cloth and wiping the surfaces.
While cleaning the interior, don’t forget to clean the exterior of the fridge as well. Use a mixture of water and mild dish soap to wipe down the surface, including the handles and control panel. Dry it thoroughly to prevent water spots or streaks from forming.
Once the cleaning process is complete, allow the fridge to air out for a few minutes before placing the food items back in. This will ensure that any cleaning solution or residue has evaporated.
By cleaning the fridge, you’re creating a clean and fresh environment for your food and preventing any potential issues that might arise from dirt or spills during the winter months.
Clean the ice maker and remove any remaining ice. Turn off the water supply to the fridge and disconnect the water line. Empty and clean the fridge, then leave the doors slightly open to prevent mold and mildew.
Step 6: Disconnecting the Water Supply
Another crucial step in winterizing a fridge with an ice maker is to disconnect the water supply. This is necessary to prevent any water from freezing inside the water lines and causing potential damage to the appliance.
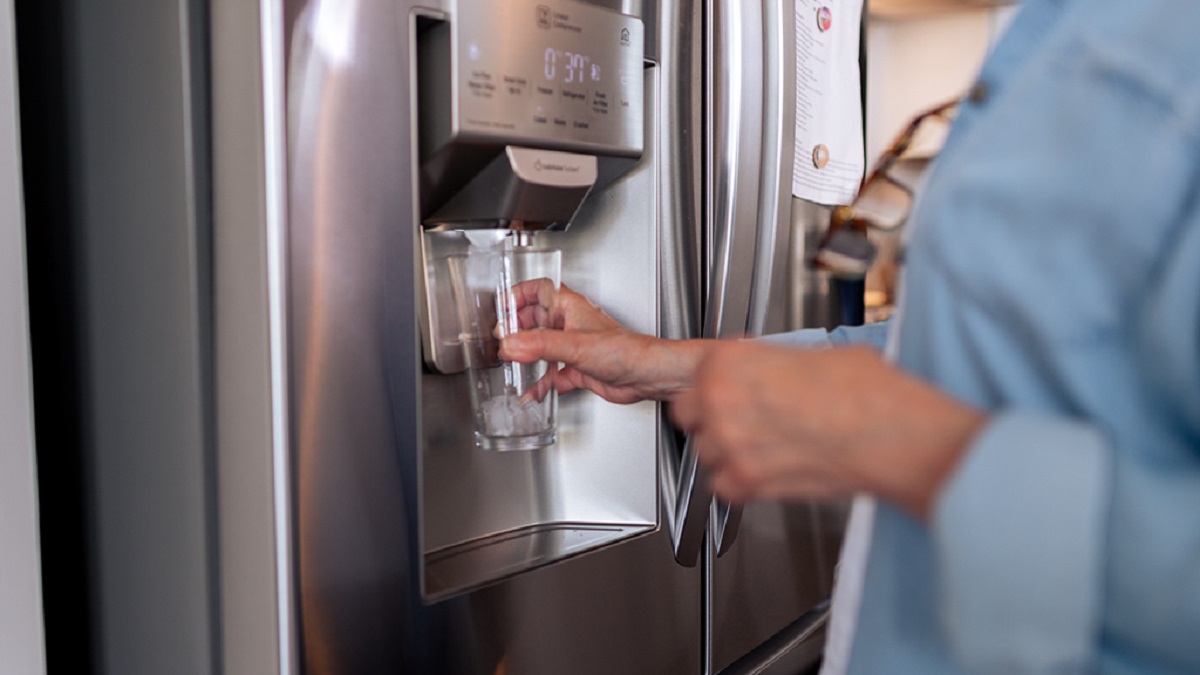
First, locate the water shut-off valve connected to the refrigerator’s water supply line. This valve is usually located behind the fridge or under the sink. Turn the valve clockwise to shut off the water supply to the refrigerator. This will prevent any water from flowing to the ice maker or water dispenser during the winter months.
After shutting off the water supply, it’s important to release any remaining pressure by dispensing a few cups of water from the refrigerator’s water dispenser. This will help minimize the risk of any residual water freezing and causing damage.
Once the water supply has been disconnected, it’s recommended to tape or secure the water supply line to the back of the refrigerator to prevent it from sagging or tangling. This will help preserve the integrity of the line and make it easier to reconnect in the future.
Additionally, it’s a good idea to place a towel or absorbent mat underneath the fridge to catch any potential water leaks during the winter months. This will help protect your flooring and prevent any water damage.
By disconnecting the water supply, you’re ensuring that no water is flowing into the ice maker or water dispenser, eliminating the risk of frozen and damaged water lines during the winter season.
Step 7: Draining the Water Lines
After disconnecting the water supply, the next step in winterizing a fridge with an ice maker is to drain the water lines. This is crucial to prevent any residual water from freezing and causing damage to the appliance during the colder months.
To drain the water lines, start by locating the drain plug or valve on the refrigerator. This is typically located near the bottom of the appliance, either at the back or inside the freezer compartment. Consult your owner’s manual if you’re unsure about the specific location.
Place a shallow pan or bucket underneath the drain plug or valve to catch the water. Then, remove the drain plug or open the valve to allow the water to drain out. Depending on the model, you may need to use a wrench or pliers to loosen and remove the drain plug.
Allow the water to flow until it stops completely, indicating that the water lines are drained. It’s important to be patient during this process, as it may take some time for all the water to empty out.
Once the water has drained, replace the drain plug or close the valve tightly to prevent any water from leaking back into the lines. Double-check to ensure that the plug or valve is securely closed.
Finally, wipe down any residual water on the exterior of the refrigerator and around the drain area to prevent moisture buildup. Drying the area thoroughly will help minimize the risk of freezing and potential damage.
By draining the water lines, you’re removing any remaining water and minimizing the risk of freezing, protecting the refrigerator and ensuring its optimal performance during the winter season.
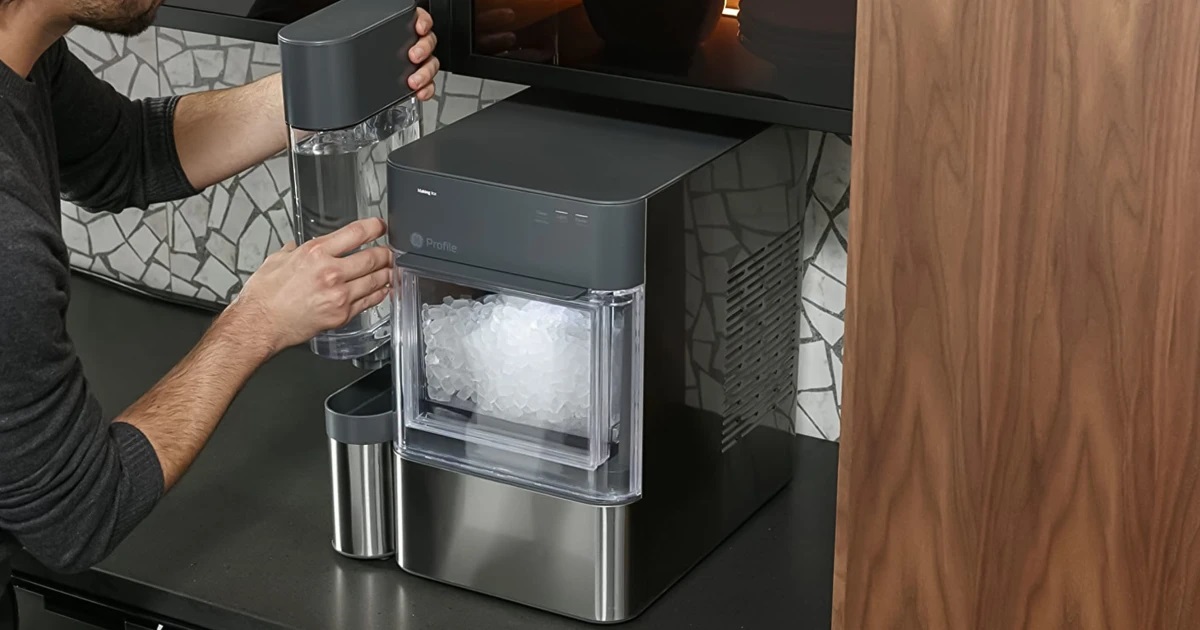
Step 8: Removing and Storing the Ice Maker
Removing and storing the ice maker is an important step in winterizing a fridge with an ice maker. By safely storing the ice maker, you can protect it from potential damage and ensure its proper functioning when you’re ready to use it again.
To remove the ice maker, start by unplugging the refrigerator from the power source or switching off the circuit breaker. This is important for your safety and to prevent any electrical mishaps while handling the appliance.
Next, locate the mounting screws or brackets that hold the ice maker in place. Use a screwdriver or wrench to loosen and remove these screws or brackets carefully. Gently disconnect any wiring or connectors that are attached to the ice maker, taking note of their position for easy reinstallation later.
Once the ice maker is disconnected, carefully lift it out of the refrigerator. Be cautious of any sharp edges or protruding parts that could potentially cause harm. Place the ice maker in a clean, dry, and safe location for storage.
When storing the ice maker, it’s important to keep it protected from dust, moisture, and extreme temperatures. Wrap it in a soft cloth or place it in a sealed plastic bag to prevent any debris from entering. Store it in a temperature-controlled area, such as a pantry or a cabinet, away from direct sunlight or extreme cold.
As you store the ice maker, make sure to keep any accessories or components, such as the ice bin or water filters, with it. This will ensure that all the necessary parts are together when it’s time to reinstall the ice maker in the future.
To reinstall the ice maker, simply reverse the steps you took to remove it. Carefully place the ice maker back into the refrigerator, reconnect the wiring or connectors, and secure it in place using the mounting screws or brackets.
By removing and storing the ice maker, you’re taking an extra step to protect it from potential damage and ensuring that it remains in good condition for future use.
Read more: How To Turn Off Ice Maker On Maytag Fridge
Step 9: Leaving the Doors Open
Leaving the doors of the refrigerator open is a crucial step in winterizing a fridge with an ice maker. By doing so, you allow air to circulate and prevent any moisture buildup or odor formation during the winter months when the appliance is not in use.
To leave the doors open, start by ensuring that all food items have been removed from the refrigerator and freezer compartments. This includes any perishable items that may spoil if left exposed to room temperature for an extended period.
Once the fridge is empty, unplug the appliance from the power source or switch off the circuit breaker to ensure safety while the doors are left open.
With the doors open, allow the refrigerator to air out for several hours or overnight. This allows for proper ventilation and helps remove any remaining moisture trapped inside the appliance.
During this time, it’s a good idea to place a cloth or towel underneath the refrigerator to catch any water droplets or condensation that may be released from the appliance.
While the doors are open, you can also take the opportunity to clean the door seals or gaskets. Use a mild cleaner or a mixture of warm water and vinegar to remove any dirt or debris that may have accumulated. Wipe the seals dry before closing the refrigerator doors.
After the recommended time has passed, you can close the refrigerator doors. However, it’s important to leave the freezer door slightly ajar to allow for continued air circulation. This prevents any potential odors or moisture from developing and ensures proper ventilation.
By leaving the doors open, you’re taking a proactive step to prevent the growth of mold, mildew, or unpleasant odors inside the refrigerator during the winter months.
Step 10: Reconnecting and Testing the Ice Maker
After properly winterizing a fridge with an ice maker, the final step is to reconnect and test the ice maker to ensure it is functioning correctly. This step allows you to verify that the ice maker is ready to produce ice when needed.
To reconnect the ice maker, start by ensuring that the water supply line is securely connected to the back of the refrigerator. Double-check that the connection is tight and leak-free.
If you had disconnected any wiring or connectors during the winterizing process, carefully reconnect them to their respective ports. Follow the labels or notes you made during the disconnection process to ensure proper reinstallation.
Once the ice maker is reconnected, turn on the water supply by reopening the shut-off valve. This will allow water to flow into the ice maker.
Return power to the refrigerator by plugging it back into the power source or switching on the circuit breaker. Allow the refrigerator to reach the desired temperature before continuing with the ice maker testing process.
Depending on the specific model of your refrigerator, there may be a specific testing procedure or reset button for the ice maker. Consult your owner’s manual for the manufacturer’s instructions on how to initiate the testing process.
After initiating the testing process, be patient as the ice maker may take some time to cycle and produce ice. It’s normal for it to take a few hours or even up to a day for the first batch of ice to be ready.
Monitor the ice maker’s operation during this testing period. Check for any leaks or abnormal sounds that might indicate an issue. If you notice any problems, consult the troubleshooting section of your owner’s manual or consider contacting a professional technician for assistance.
Once the ice maker has successfully produced a batch of ice, check the quality and clarity of the ice cubes. If the ice cubes appear normal and there are no issues with the ice production process, then your ice maker is ready to use.
By reconnecting and testing the ice maker, you are ensuring that it functions properly and is ready to provide you with a steady supply of ice as needed.
Conclusion
Winterizing a fridge with an ice maker is an essential task to protect your appliance from potential damage caused by freezing temperatures. By following the steps outlined in this guide, you can ensure the longevity and optimal performance of your refrigerator during the colder months.
From emptying the ice bin to turning off the ice maker, cleaning the ice maker, defrosting the freezer, and cleaning the fridge, each step plays a crucial role in preparing your fridge for the winter season.
Disconnecting the water supply and draining the water lines helps prevent freezing and potential damage to the appliance’s internal components. Removing and storing the ice maker in a safe location ensures its protection from dust, moisture, and extreme temperatures.
Leaving the doors open allows for proper ventilation and prevents any moisture buildup or unpleasant odors inside the fridge. Finally, reconnecting and testing the ice maker ensures that it functions properly and is ready to produce ice when needed.
Remember to consult your owner’s manual for specific instructions or consult a professional if you encounter any difficulties during the winterizing process.
By taking the time to properly winterize your fridge with an ice maker, you can prevent potential damage and keep your appliance in optimal condition. This not only saves you from costly repairs but also ensures that your fridge continues to provide you with fresh and convenient ice year-round.
So go ahead, follow these steps, and enjoy the peace of mind that comes with a well-winterized fridge and ice maker!
Frequently Asked Questions about How To Winterize A Fridge With Ice Maker
Was this page helpful?
At Storables.com, we guarantee accurate and reliable information. Our content, validated by Expert Board Contributors, is crafted following stringent Editorial Policies. We're committed to providing you with well-researched, expert-backed insights for all your informational needs.

0 thoughts on “How To Winterize A Fridge With Ice Maker”