Home>Articles>How To Install Pantry Cabinet Side Finish Panel
Articles
How To Install Pantry Cabinet Side Finish Panel
Modified: December 7, 2023
Learn how to properly install a pantry cabinet side finish panel with our step-by-step guide. Find more helpful articles on kitchen remodeling and DIY projects.
(Many of the links in this article redirect to a specific reviewed product. Your purchase of these products through affiliate links helps to generate commission for Storables.com, at no extra cost. Learn more)
Introduction
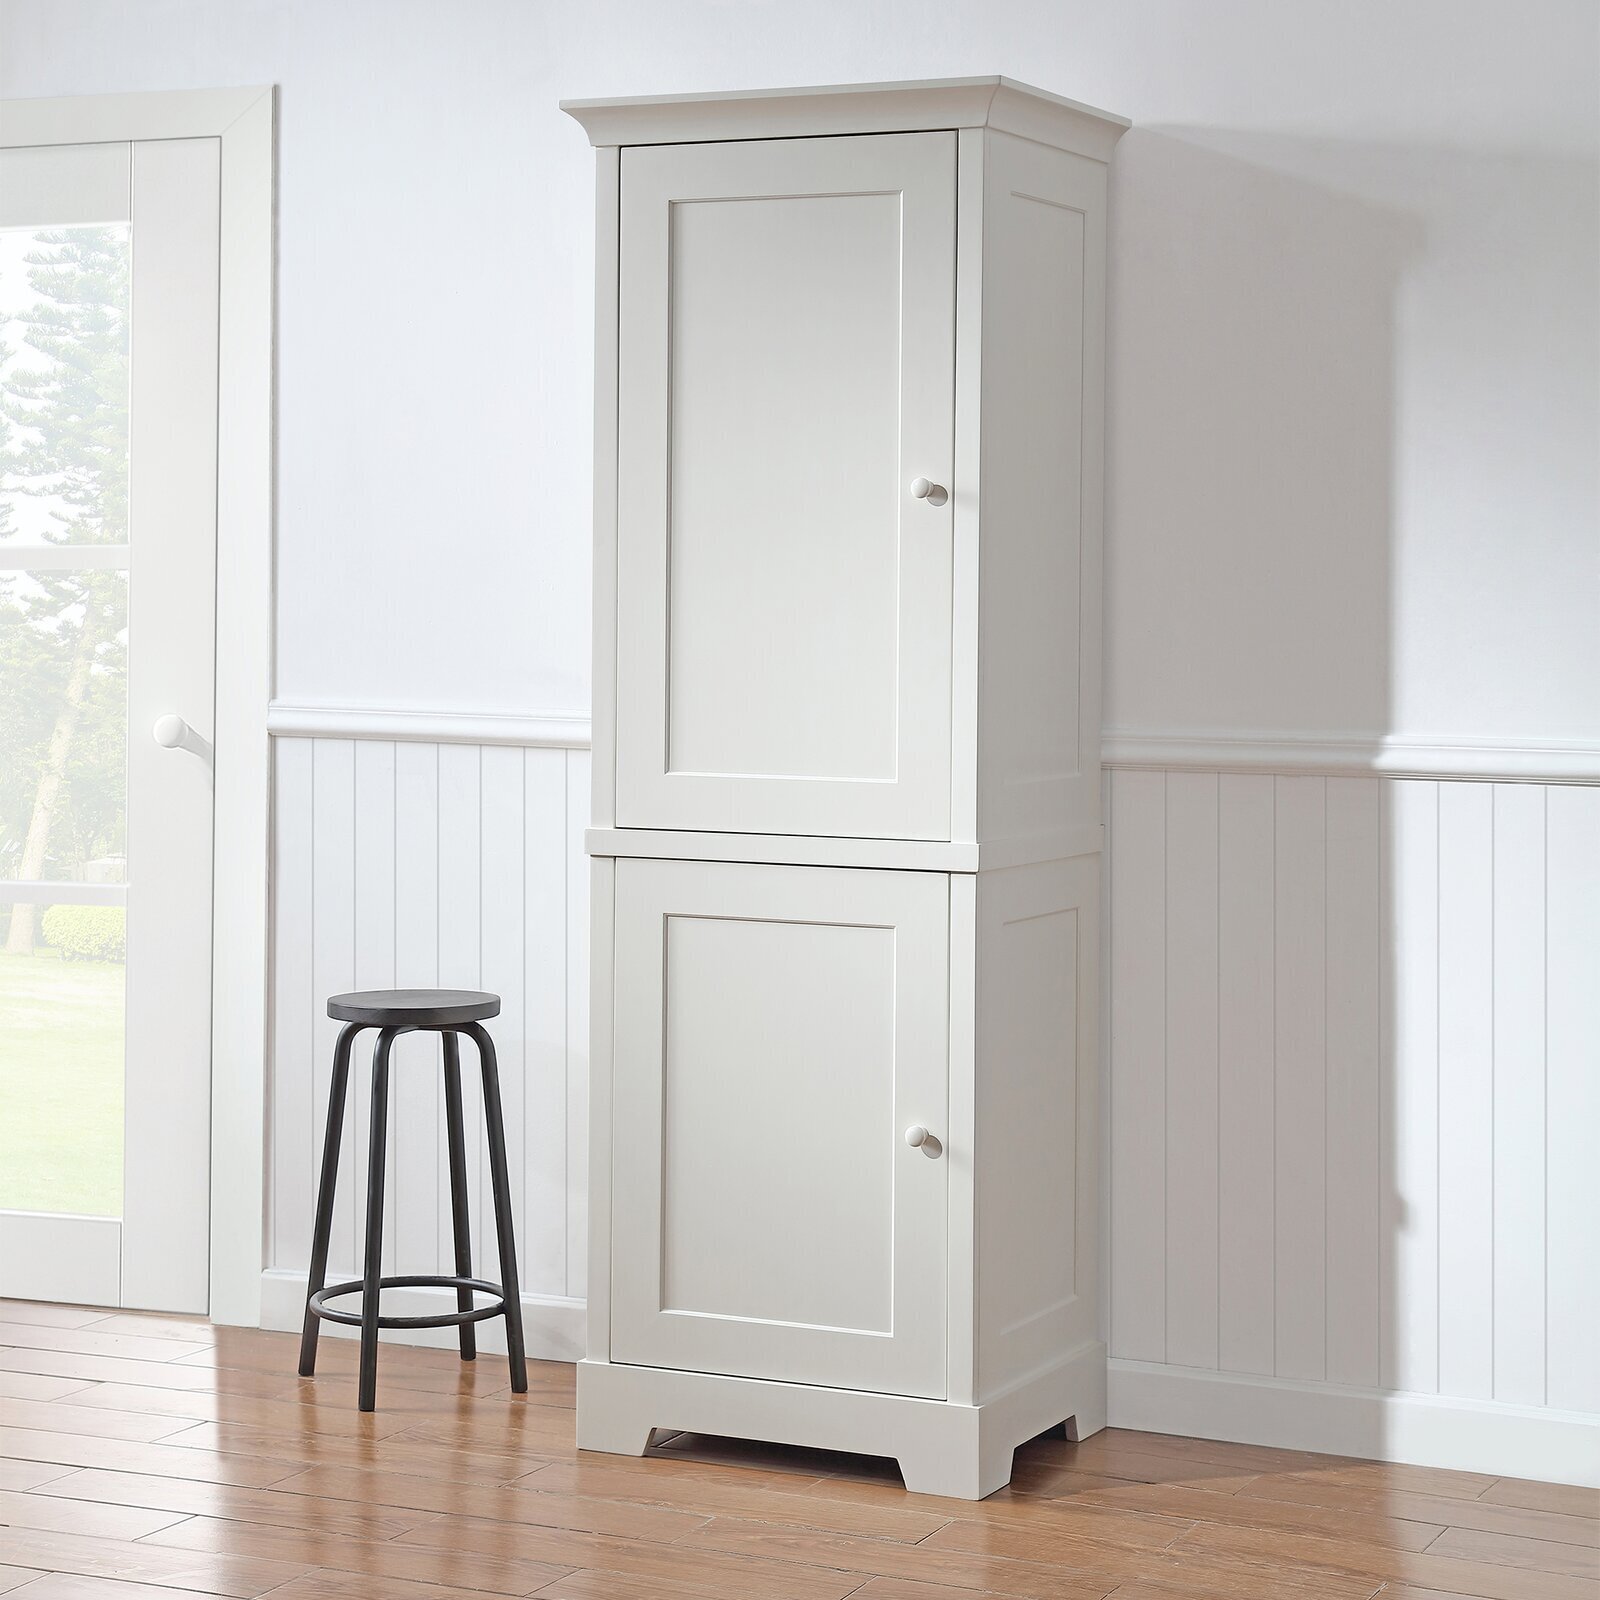
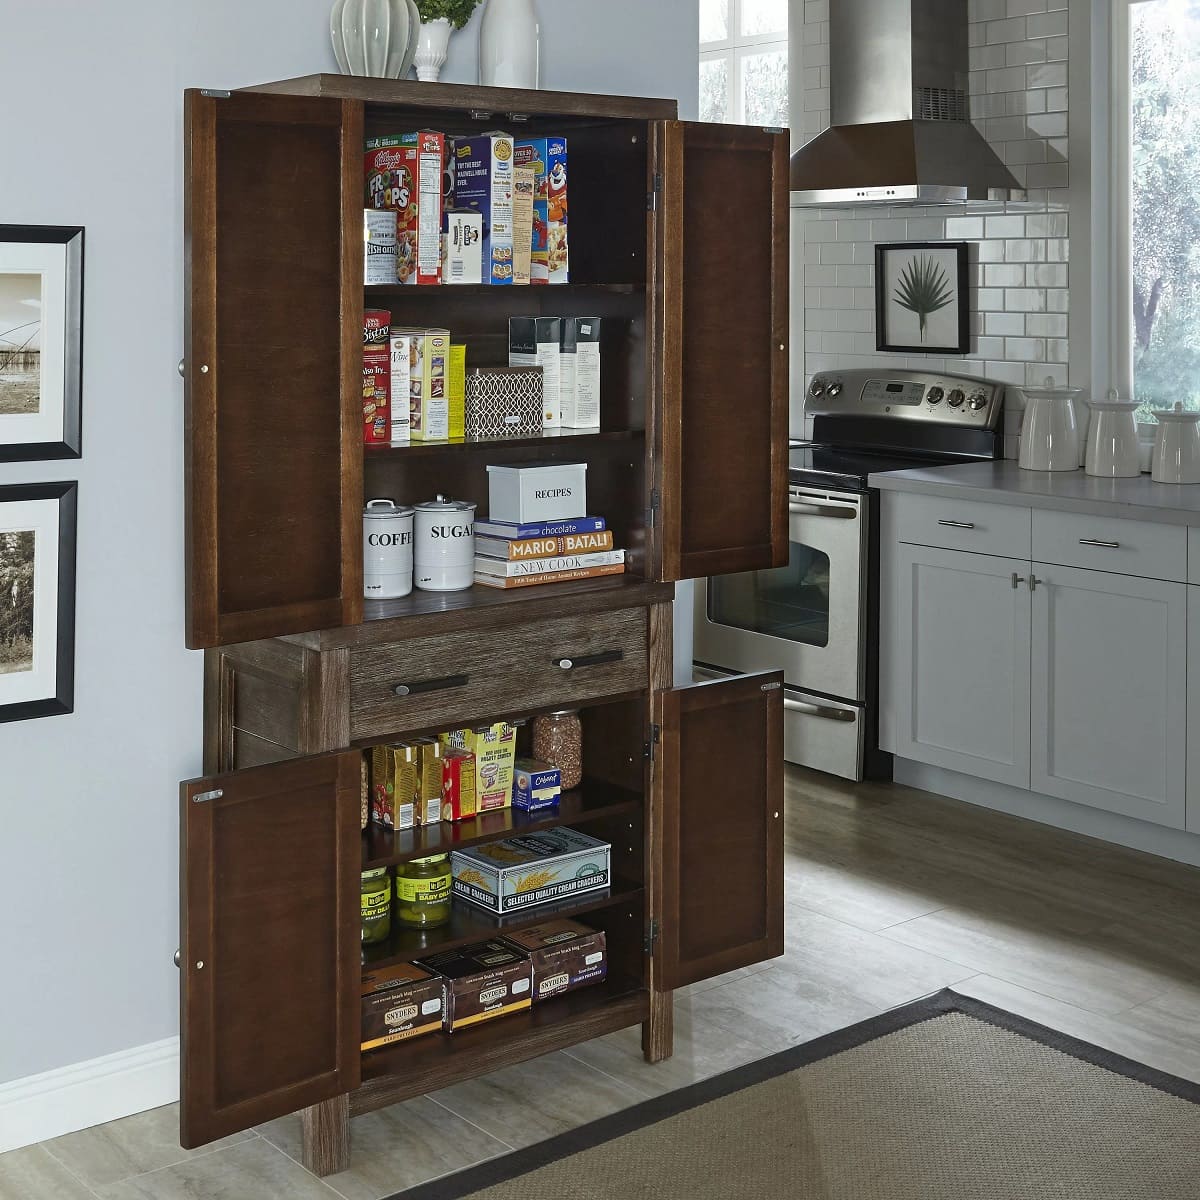
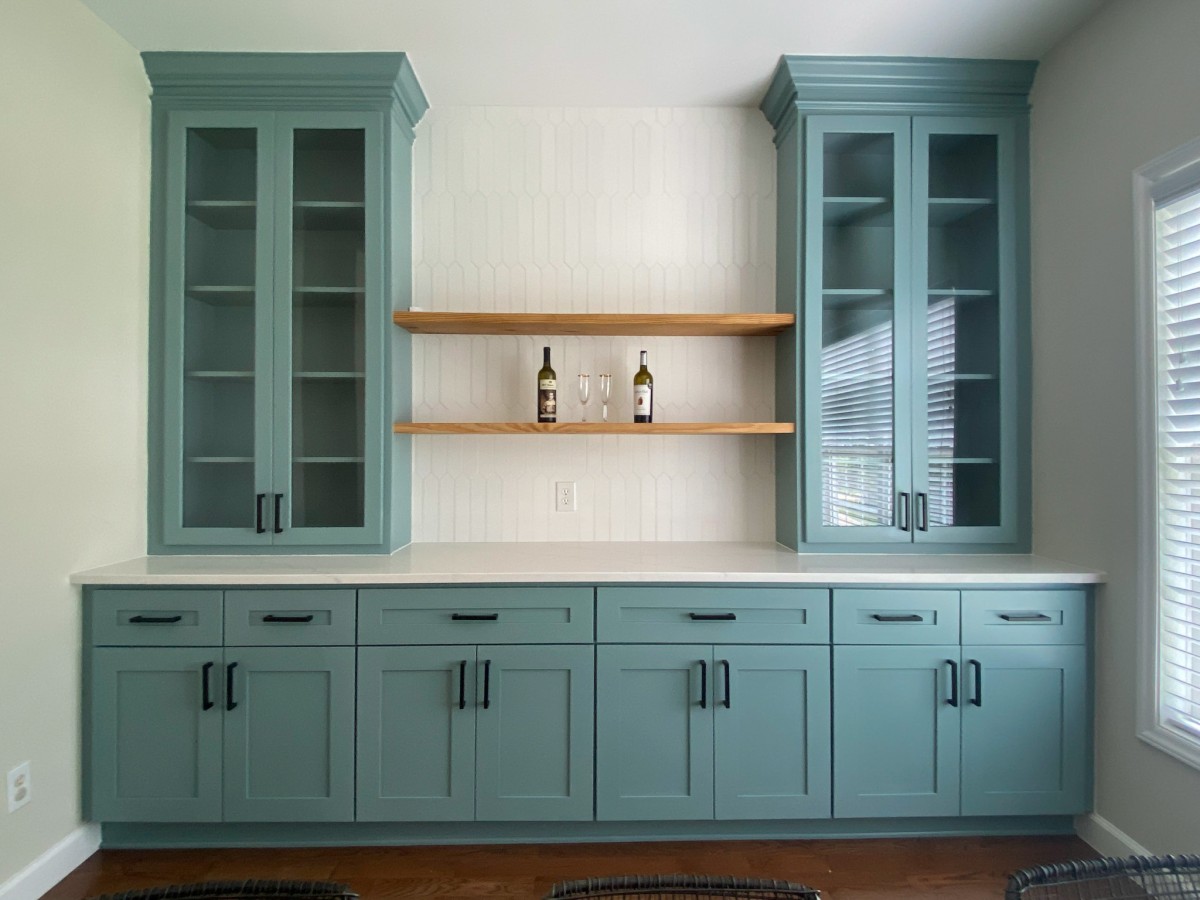
Installing a side finish panel on a pantry cabinet can add a touch of elegance and completeness to your kitchen. It not only covers exposed sides of the cabinet, but it also enhances the overall aesthetic appeal of the space. Whether you are looking to upgrade your pantry cabinet or simply want to customize it to match your kitchen’s decor, installing a side finish panel is a relatively simple and rewarding project.
In this article, we will provide you with a step-by-step guide on how to install a side finish panel on your pantry cabinet. We will also discuss the tools and materials you will need for this project, so make sure you have them ready before you begin.
Before we dive into the installation process, it’s important to note that the specific steps may vary depending on the type and design of your pantry cabinet. Therefore, it is always a good idea to consult the manufacturer’s instructions or seek professional advice if you are unsure about any aspect of the installation process.
Key Takeaways:
- Elevate your kitchen’s aesthetic by installing a side finish panel on your pantry cabinet. Follow the step-by-step guide to achieve a professional and polished look that seamlessly integrates with your cabinet design.
- Transform your pantry cabinet with a touch of elegance and completeness. By following the detailed instructions, you can enhance the visual appeal of your kitchen while protecting the exposed side from damage and wear.
Read more: How To Install Siding Panels
Tools and Materials Needed
Before you begin installing the side finish panel on your pantry cabinet, gather the following tools and materials:
Tools:
- Saw (for cutting the panel to size)
- Sandpaper or sanding block
- Paintbrush or roller
- Drill
- Screwdriver or screw gun
- Measuring tape
- Pencil
- Level
Materials:
- Side finish panel (select a material that matches your pantry cabinet, such as plywood or veneer)
- Primer
- Paint or stain
- Screws
Make sure you have all the necessary tools and materials on hand before you start the project. This will save you time and ensure a smooth and efficient installation process. Keep in mind that the specific materials required may vary depending on the type and design of your pantry cabinet, so adjust accordingly.
Step 1: Measure and Cut the Side Finish Panel
The first step in installing a side finish panel on your pantry cabinet is to accurately measure and cut the panel to the appropriate size. This ensures a precise fit and a professional-looking installation. Follow these steps to measure and cut the panel:
- Measure the height and width of the exposed side of your pantry cabinet using a measuring tape. It’s important to measure both the top and bottom of the cabinet, as they may not be exactly the same due to irregularities in the floor or ceiling.
- Transfer the measurements onto the side finish panel. Use a pencil to mark the height and width on the panel.
- Double-check the measurements to ensure accuracy. It’s always better to measure twice and cut once to avoid any errors.
- Using a saw, carefully cut the side finish panel along the marked lines. Make sure to follow the designated cutting guidelines for the specific material you are working with.
- After cutting the panel, check its fit against the side of the pantry cabinet. Trim any excess material if necessary to achieve a perfect fit.
It’s important to take your time with this step to ensure the side finish panel is cut accurately. Remember, you can always trim off more material if needed, but adding it back is much more challenging. Take extra precaution when working with power tools and wear appropriate safety gear to protect yourself from any potential accidents.
Read more: How To Finish Side Of Stairs
Step 2: Sand the Panel
Once you have cut the side finish panel to the appropriate size, it’s essential to sand it to create a smooth and polished surface. Sanding helps to remove any rough edges, imperfections, or splinters from the panel. Follow these steps to sand the panel effectively:
- Start by using coarse-grit sandpaper or sanding block to smooth out any rough surfaces. Hold the sandpaper firmly and move it in a back-and-forth motion along the edges and surfaces of the panel.
- As you sand, make sure to keep the pressure even to achieve a uniform result. Be cautious not to apply too much pressure, as it can damage the panel or create uneven surfaces.
- Continue sanding with finer-grit sandpaper, gradually working your way towards a smoother finish. This helps to eliminate any visible scratches left by the coarse-grit sandpaper.
- Pay extra attention to the edges of the panel to ensure they are smooth and free from any sharp edges or splinters.
- After sanding, use a clean cloth or a brush to remove any dust or debris from the panel surface. This ensures a clean and paint-ready surface.
Sanding the panel creates a clean and smooth surface for the paint or stain to adhere to. It also improves the overall appearance of the side finish panel, giving it a professional and polished look. Take your time during this step to achieve the best results and ensure the panel is ready for the next stage of the installation process.
Step 3: Apply Primer
Once you have sanded the side finish panel, it’s time to prepare it for painting or staining by applying a primer. The primer creates a smooth base and helps the paint or stain adhere to the panel more effectively. Follow these steps to apply primer to the panel:
- Ensure the panel is clean and free from any dust or debris by wiping it down with a clean cloth.
- Stir the primer thoroughly to ensure it is well-mixed and ready for application.
- Using a paintbrush or a roller, apply an even coat of primer to the entire surface of the side finish panel. Start at one end and work your way across the panel, ensuring complete coverage.
- Make sure to pay attention to the edges and corners to ensure they are adequately coated.
- Allow the primer to dry according to the manufacturer’s instructions. This typically takes a few hours, but drying times may vary based on the specific primer you are using.
- After the primer has dried, inspect the panel for any missed spots or uneven coverage. If necessary, apply a second coat of primer and allow it to dry.
Applying primer to the side finish panel ensures a more professional and even finish when applying the final paint or stain. It helps to prevent the wood or other materials from absorbing the paint too quickly, resulting in a more durable and long-lasting finish. Be patient during this step and allow the primer sufficient time to dry before moving forward with the next stage of the installation.
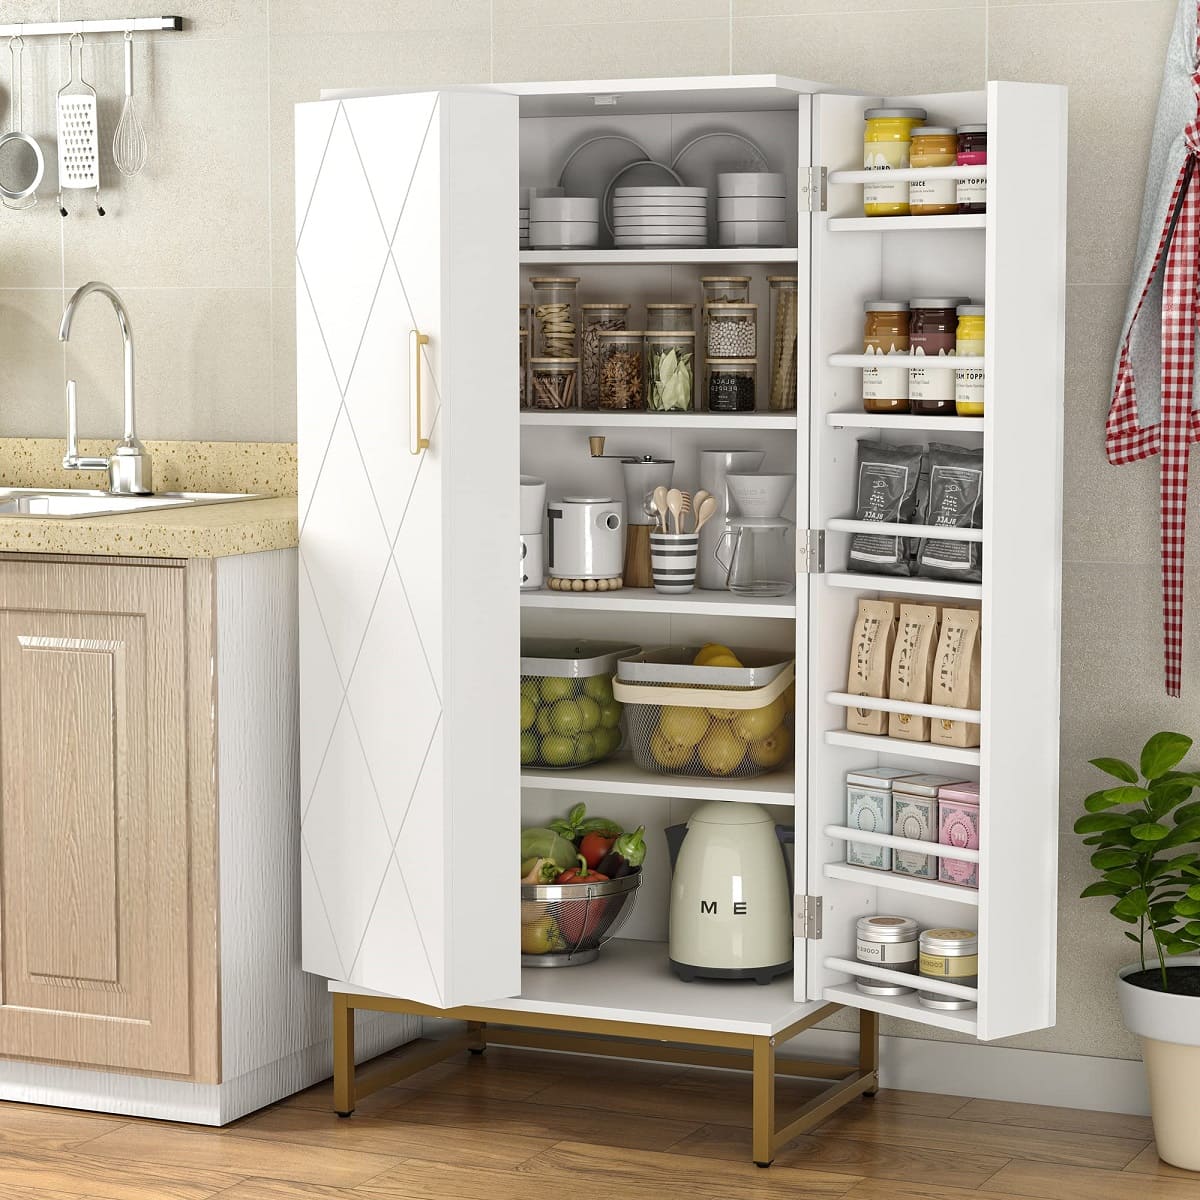
When installing a pantry cabinet side finish panel, make sure to measure and cut the panel to fit the side of the cabinet accurately. Use a level to ensure it is straight and secure it in place with screws or adhesive for a professional finish.
Step 4: Apply Paint or Stain
Now that the primer has dried, it’s time to apply the final paint or stain to the side finish panel. This step adds color, protection, and a polished look to the panel. Follow these steps to apply paint or stain to the panel:
- Choose the paint or stain color that matches your kitchen decor and personal preference. Consider using a paintbrush or roller that is suitable for the type of finish you have chosen.
- Stir the paint or stain thoroughly to ensure it is well-mixed and ready for application.
- Start at one end of the panel and apply an even coat of paint or stain. If using a paintbrush, use even, smooth strokes in the direction of the grain. If using a roller, work in long, overlapping strokes.
- Make sure to coat the entire surface of the panel, including the edges and corners.
- Allow the first coat to dry according to the product instructions. This may take several hours, so be patient and avoid touching the panel until it is completely dry.
- If a second coat is desired for better coverage or a more intense color, repeat the process once the first coat is fully dry. Follow the same application method as before.
- Once you are satisfied with the color and coverage, allow the final coat to dry completely before moving on to the next step.
Applying paint or stain to the side finish panel not only enhances its appearance but also provides protection against moisture, dirt, and scratches. Take your time during this step to ensure a smooth and even application, paying attention to any drips or uneven spots. Once the paint or stain is completely dry, the panel will be ready for installation onto the pantry cabinet.
Step 5: Install the Side Finish Panel on the Pantry Cabinet
With the side finish panel painted or stained and fully dried, it’s time to install it onto the pantry cabinet. Follow these steps to ensure a secure and seamless installation:
- Hold the side finish panel against the exposed side of the pantry cabinet to determine the proper placement. Use a level to ensure the panel is straight and aligned with the cabinet.
- Once you are satisfied with the position, mark the panel’s placement on the top, bottom, and sides of the cabinet using a pencil.
- Pre-drill pilot holes through the marked spots on the cabinet and into the side finish panel. This will prevent the wood from splitting when you drive in the screws.
- Securely attach the side finish panel to the pantry cabinet using screws. Make sure to drive the screws through the pre-drilled pilot holes to ensure a strong and secure attachment.
- Double-check the alignment and levelness of the panel before tightening all the screws. This will ensure a properly aligned and professional-looking installation.
- Once all the screws are tightened, inspect the panel to ensure it is securely in place and has a flush fit with the cabinet.
Congratulations! You have successfully installed the side finish panel on your pantry cabinet. Take a step back and admire the enhanced appearance and finished look it brings to your kitchen. The side finish panel not only covers the exposed side of the cabinet but also adds a touch of elegance and completeness to your kitchen space. Now you can enjoy the beautiful transformation of your pantry cabinet.
Conclusion
Installing a side finish panel on your pantry cabinet is a simple yet impactful project that can significantly enhance the overall look and feel of your kitchen. By following the step-by-step guide outlined in this article, you can achieve a professional and polished installation that seamlessly integrates the panel into your cabinet design.
Remember to gather all the necessary tools and materials before starting the installation process. Measure and cut the side finish panel accurately, sand it to create a smooth surface, apply primer for better paint or stain adherence, and then proceed with painting or staining the panel to match your kitchen decor. Finally, secure the panel onto the pantry cabinet using screws, ensuring proper alignment and a flush fit.
Through each step of the process, take your time, pay attention to detail, and exercise caution when using power tools. This will help you achieve the best results and ensure the longevity of your installation.
By installing a side finish panel on your pantry cabinet, you not only improve its visual appeal but also protect its exposed side from damage and wear. It’s a small investment of time and effort that can make a big difference in transforming your kitchen space.
Now that you have learned how to install a side finish panel on your pantry cabinet, it’s time to put your newfound knowledge into practice. Enjoy the satisfaction of a job well done and the enhanced beauty of your kitchen with this simple yet impactful upgrade.
Frequently Asked Questions about How To Install Pantry Cabinet Side Finish Panel
Was this page helpful?
At Storables.com, we guarantee accurate and reliable information. Our content, validated by Expert Board Contributors, is crafted following stringent Editorial Policies. We're committed to providing you with well-researched, expert-backed insights for all your informational needs.


0 thoughts on “How To Install Pantry Cabinet Side Finish Panel”