Articles
How To Connect A Submersible Water Pump
Modified: August 31, 2024
Learn how to connect a submersible water pump with our informative articles. Find step-by-step guides and expert tips for a successful installation.
(Many of the links in this article redirect to a specific reviewed product. Your purchase of these products through affiliate links helps to generate commission for Storables.com, at no extra cost. Learn more)
Introduction
Welcome to our comprehensive guide on how to connect a submersible water pump. If you have a water source such as a well or a sump pit, a submersible water pump can be an ideal solution to efficiently and effectively move water. Whether you are looking to install a new pump or replace an existing one, this step-by-step guide will walk you through the process, ensuring a successful and hassle-free installation.
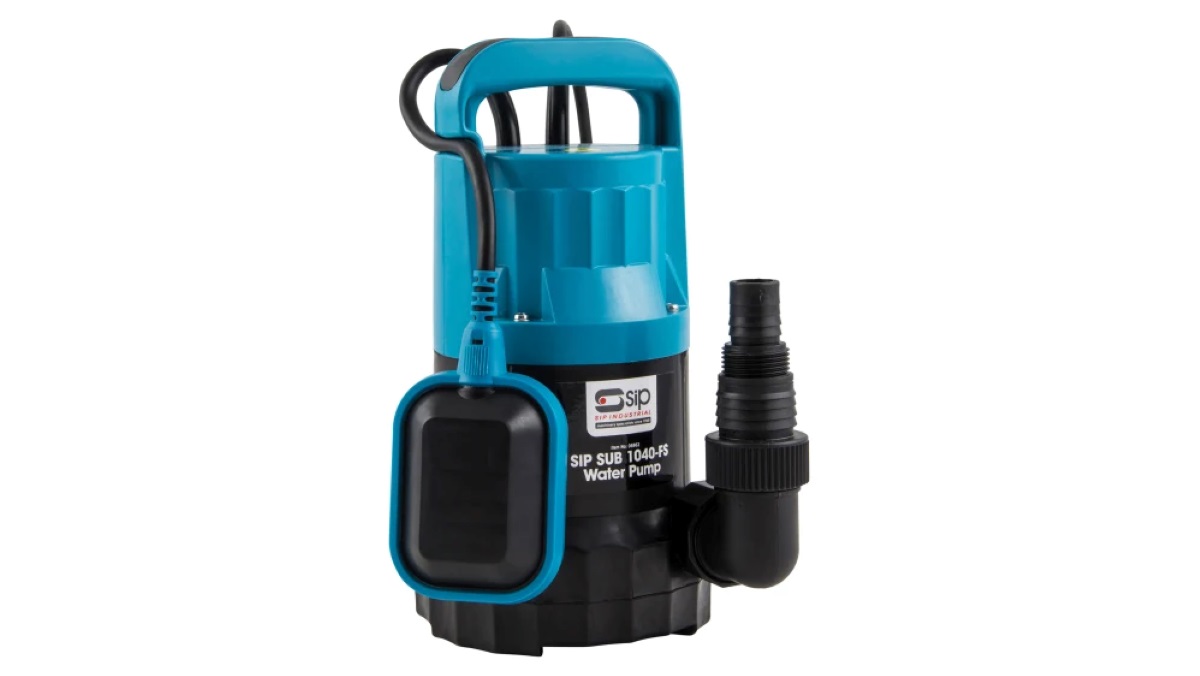
A submersible water pump is designed to be fully submerged in water, which allows it to draw water from a deeper depth and provide increased pressure and flow. These pumps are commonly used for various applications such as supplying water to residential and commercial buildings, draining flooded areas, and watering gardens or agricultural fields.
Before we dive into the installation process, let’s take a moment to go over some important safety precautions. Working with electrical components and water can be hazardous, so it’s crucial to ensure that the power supply is turned off and that you have proper protective gear, such as rubber gloves and safety glasses.
Now that we’ve covered the safety aspect, let’s get started with the step-by-step process of connecting a submersible water pump. Make sure to gather all the necessary tools and materials before you begin, as this will help streamline the installation process.
Key Takeaways:
- Proper preparation and inspection of the submersible water pump, along with careful electrical wiring and thorough testing, are crucial for a successful and safe installation process.
- Securing the pump in place, tidying up the installation area, and prioritizing safety and regular maintenance will ensure the longevity and efficient performance of your submersible water pump.
Step 1: Gather the Necessary Tools and Materials
Before you start installing your submersible water pump, it’s important to gather all the necessary tools and materials to ensure a smooth installation process. Here is a list of items you will need:
- Submersible water pump
- PVC pipe and fittings
- Teflon tape
- PVC primer and cement
- Electrical wire
- Waterproof wire connectors
- Pliers
- Adjustable wrench
- Screwdriver
- Level
- Trenching tools (if required)
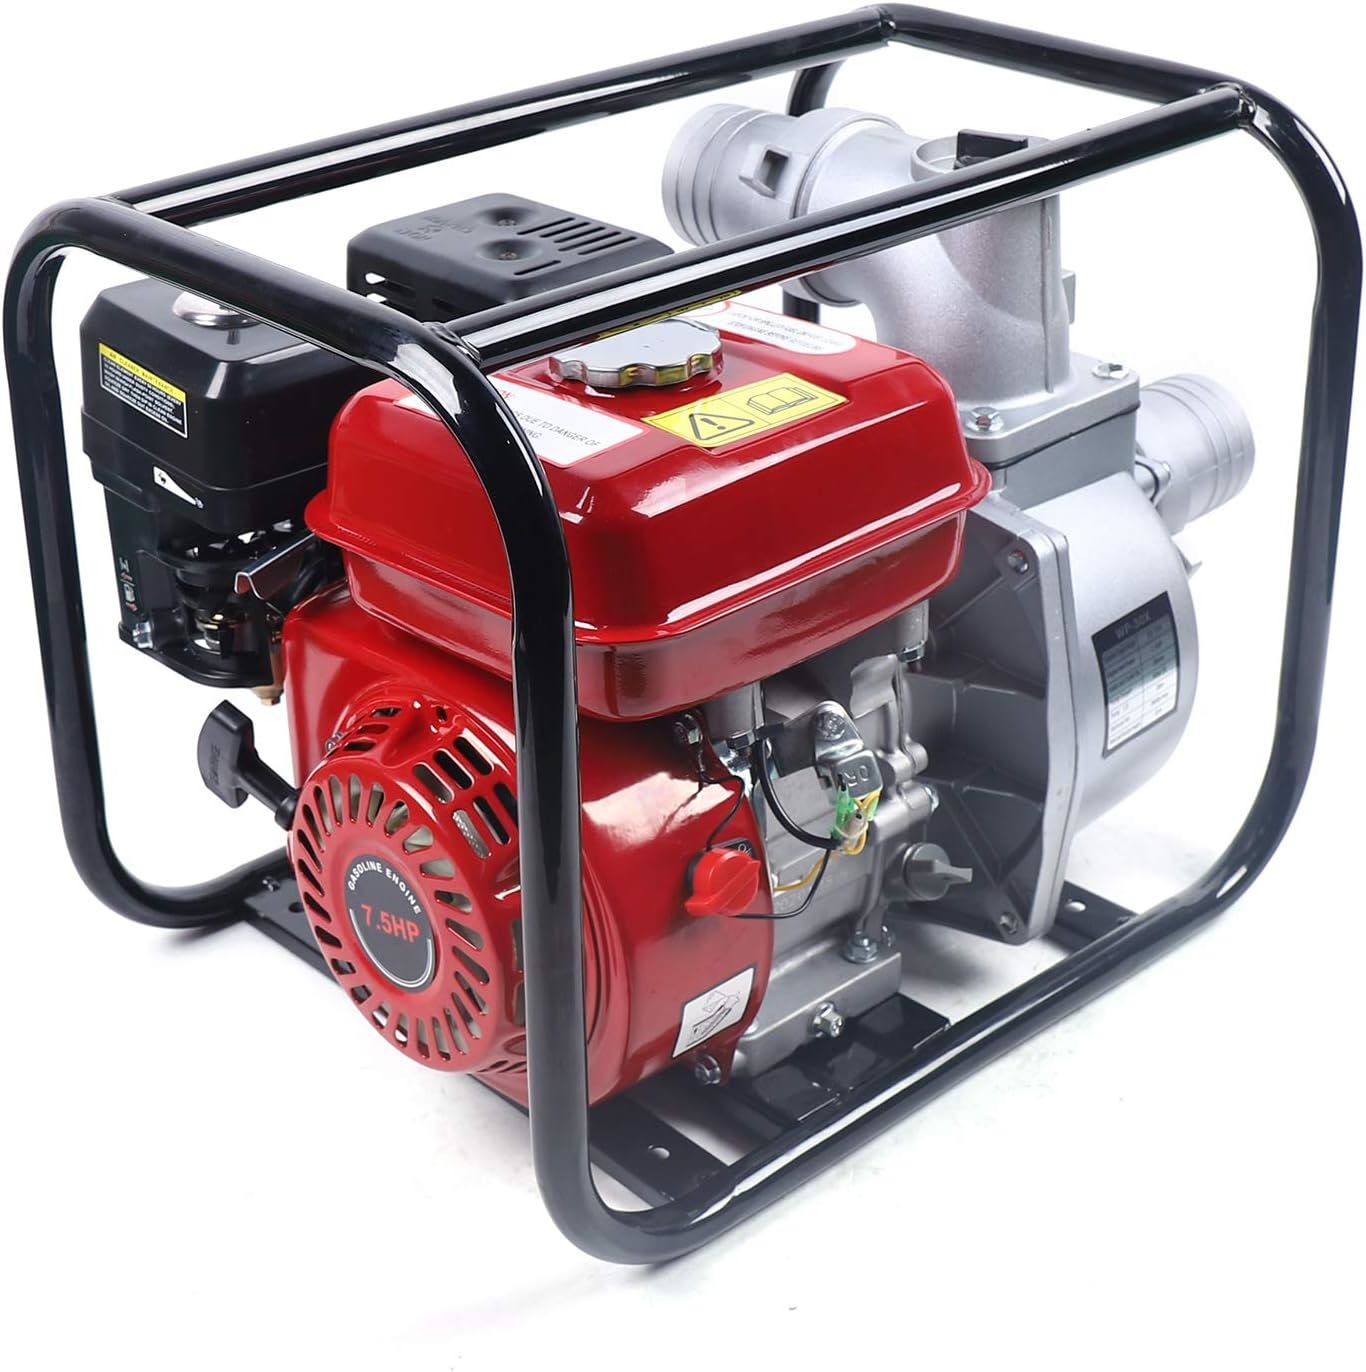
Make sure to select a submersible water pump that is suitable for your specific application. Consider factors such as the desired flow rate, pressure requirements, and the depth of your water source. It’s also important to check the manufacturer’s guidelines and specifications for the pump to ensure compatibility with your setup.
In addition to the tools and materials listed above, you may also need additional items depending on your specific installation requirements. This could include items such as a pump control box, pressure switch, check valve, and pressure tank. Consult the pump manufacturer’s instructions or seek guidance from a professional if you are unsure about any specific requirements.
Once you have gathered all the necessary tools and materials, you are ready to proceed to the next step of preparing the pump for installation. Stay tuned!
Step 2: Prepare the Pump for Installation
Now that you have all the necessary tools and materials, it’s time to prepare the submersible water pump for installation. Follow these steps to ensure the pump is ready:
- Inspect the pump: Carefully examine the submersible water pump for any visible damage or defects. Check the power cord, impeller, and any other components to ensure everything is in good condition.
- Clean the pump: If the pump has been previously used or stored, it’s important to clean it thoroughly before installation. Use a soft brush or cloth to remove any dirt, debris, or residue that may have accumulated on the pump.
- Attach the fittings: Depending on your specific setup, you may need to attach fittings to the pump. Use PVC primer and cement to securely connect the fittings to the pump, following the manufacturer’s instructions for proper application.
- Apply Teflon tape: Before connecting the pipes to the pump, wrap Teflon tape around the threaded ends of the fittings. This will help create a tight and leak-free connection when assembling the plumbing system.
- Check the seals: It’s important to ensure that all seals and O-rings are in good condition and properly seated. Inspect the seals for any damage or signs of wear. Replace any faulty or worn-out seals to prevent water leakage.
By properly preparing the submersible water pump, you are ensuring its optimal performance and longevity. Taking the time to inspect, clean, and securely attach the fittings and seals will help prevent any potential issues during the installation process.
Once you have completed the preparation steps, you are now ready to lower the pump into the water source. Stay tuned for the next step in our guide!
Step 3: Lower the Pump into the Water Source
With the submersible water pump prepared, it’s time to lower it into the water source. Follow these steps to ensure a proper installation:
- Select the installation location: Choose a suitable location for the pump in your water source, such as a well or sump pit. Ensure that the area is clear of any debris or obstructions that could interfere with the pump’s performance.
- Lower the pump: Gently lower the submersible water pump into the water source. Be cautious not to drop or damage the pump during the process. Depending on the depth of the water source, you may need assistance or a lifting mechanism to safely lower the pump.
- Position the pump correctly: Ensure that the pump is positioned in a way that allows for proper water intake. The intake ports or screens should be submerged in the water, allowing the pump to draw water efficiently. Make sure that the pump is securely in place and stable.
- Secure the pump: If necessary, use straps or brackets to secure the pump in place. This will help prevent any movement or shifting during operation. Follow the manufacturer’s instructions for proper securing techniques.
Properly lowering the submersible water pump into the water source is crucial for its effective operation. Ensuring that the pump is positioned correctly and securely will prevent any potential issues and maximize its efficiency.
Once the pump is in place, it’s time to move on to the next step: connecting the electrical wiring. Stay tuned for the instructions on how to safely and securely connect the wires for your submersible water pump.
When connecting a submersible water pump, make sure to use waterproof connectors and follow the manufacturer’s instructions for proper wiring and installation to ensure safe and efficient operation.
Step 4: Connect the Electrical Wiring
Connecting the electrical wiring for your submersible water pump is a crucial step in the installation process. It’s important to follow safety guidelines and ensure proper connections to prevent any electrical hazards. Here’s how you can connect the electrical wiring:
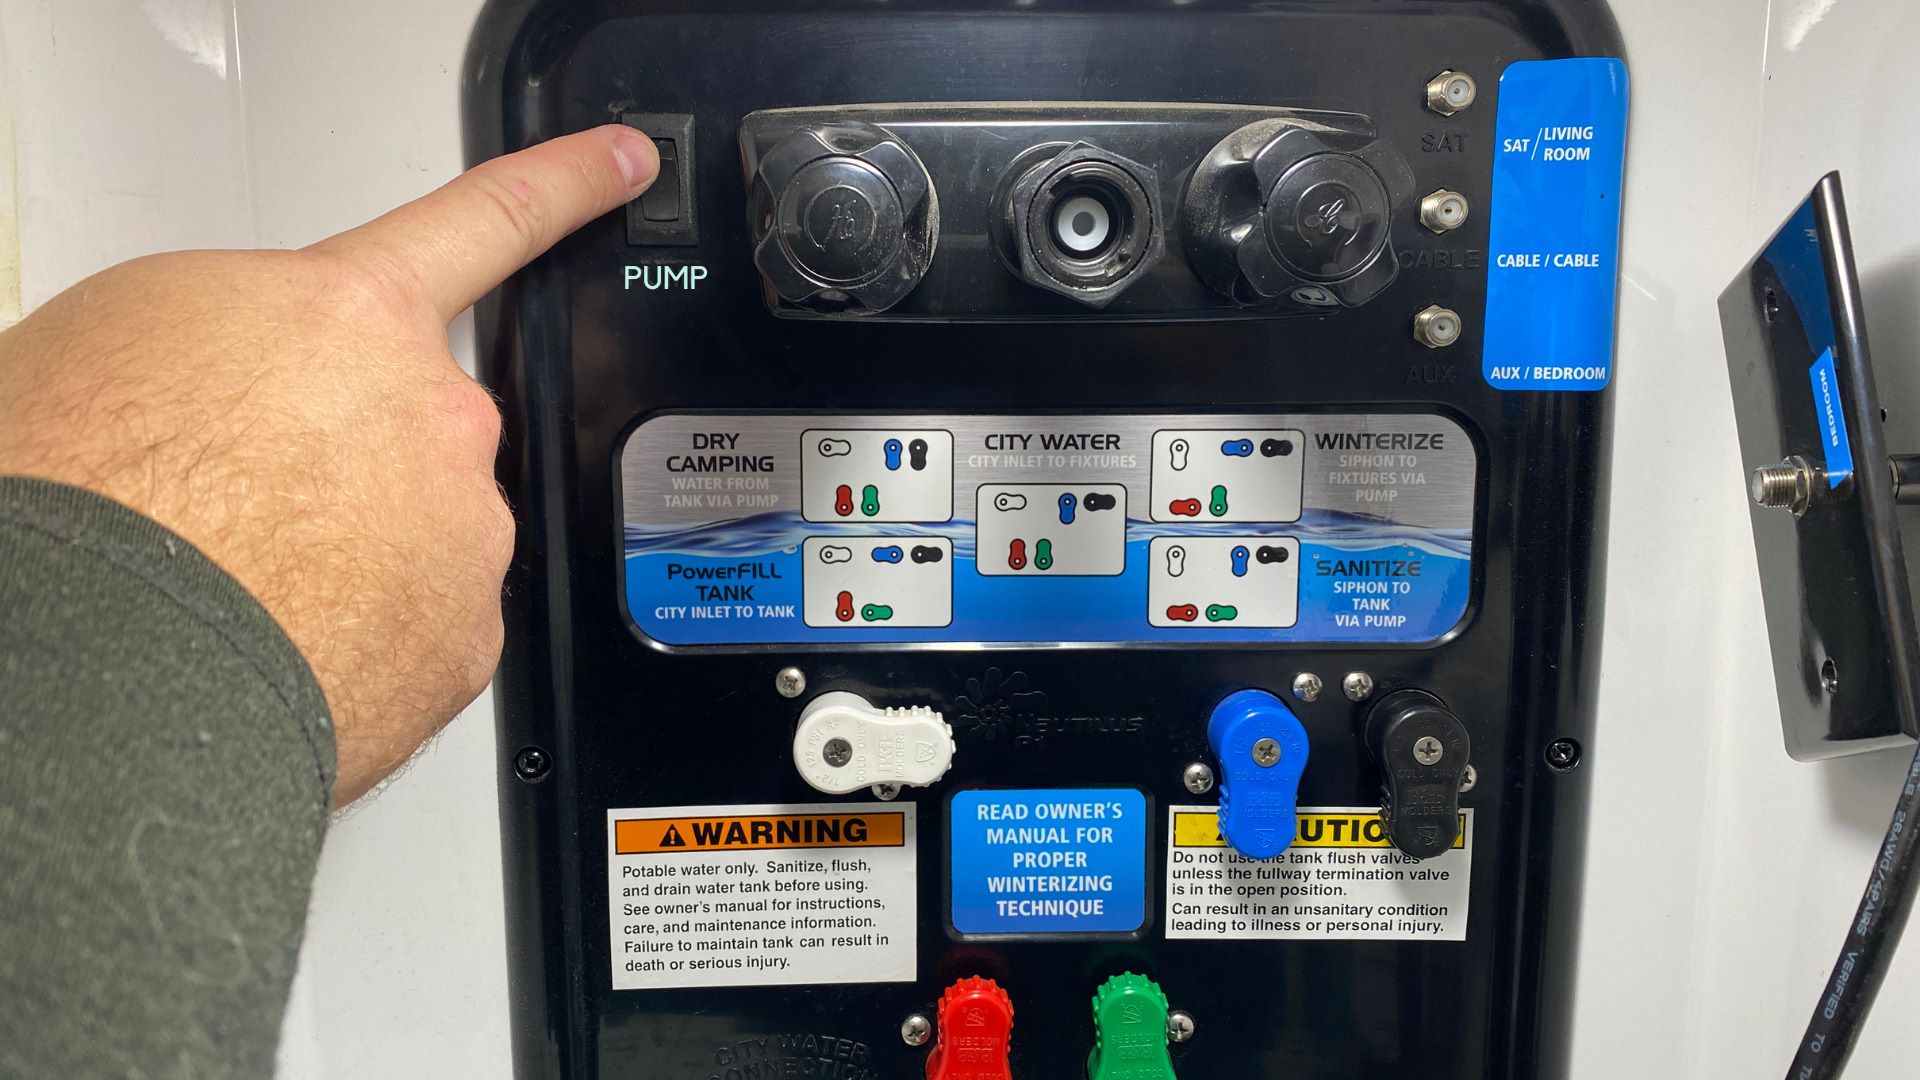
- Turn off the power: Before working with the electrical components, make sure to turn off the power supply to the pump. Locate the circuit breaker or switch that controls the pump and switch it off.
- Prepare the electrical wires: Measure and cut the electrical wires to the appropriate length, leaving some slack for connection. Strip about ½ inch of insulation off the ends of the wires.
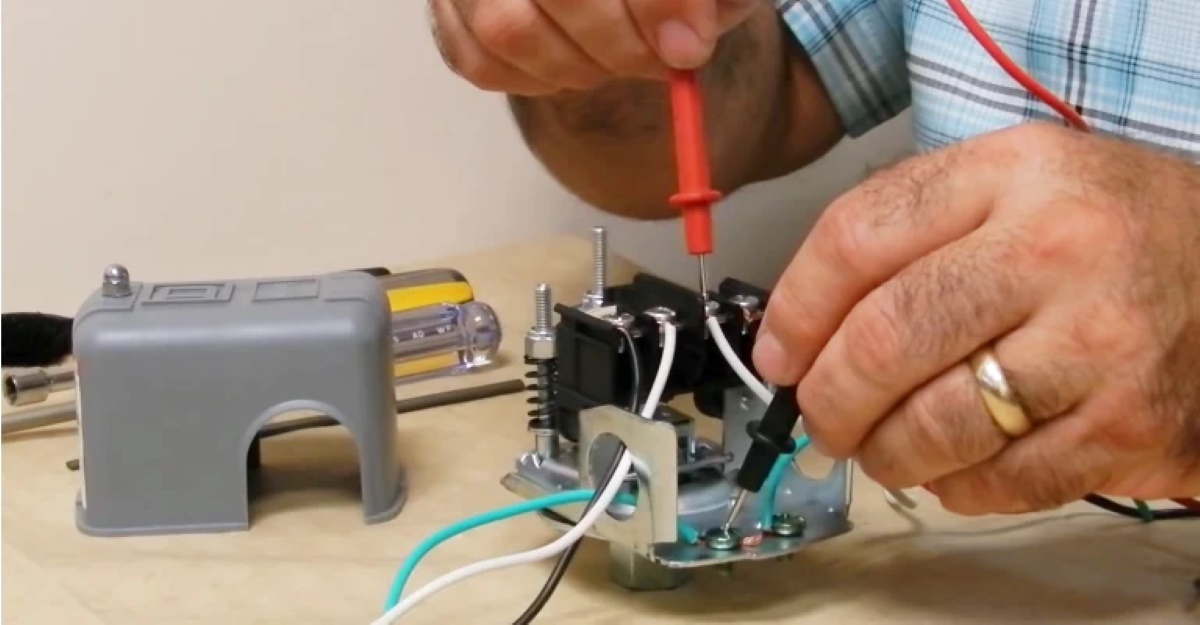
- Attach waterproof wire connectors: Using waterproof wire connectors, attach the wires from the pump to the corresponding wires from your power supply. Ensure that the connections are secure and tight.
- Waterproof the connectors: After making the connections, apply a waterproof sealant or use heat shrink tubing to protect and waterproof the wire connections. This will prevent any water from seeping into the connectors and causing damage.
- Check the wiring diagram: Refer to the pump’s wiring diagram, which is often provided by the manufacturer. Double-check that you have made the proper connections according to the diagram, and ensure that the wiring is correctly polarized.
- Test the connection: With the wiring completed, turn the power back on and test the pump’s operation. Listen for any unusual noises and check for proper water flow. If everything is working correctly, proceed to the next step.
Remember to always prioritize safety when working with electrical components. If you are unsure about any aspect of the wiring process, it’s best to consult a professional electrician for assistance.
Now that the electrical wiring is connected, it’s time to move on to testing the pump and adjusting the settings. Stay tuned for the next step in our installation guide!
Step 5: Test the Pump and Adjust the Settings
After connecting the electrical wiring, it’s essential to test the submersible water pump to ensure it is functioning properly. Here are the steps to test the pump and make any necessary adjustments:
- Prime the pump: If your submersible water pump requires priming, follow the manufacturer’s instructions on how to prime it. Priming helps remove any air from the pump and allows for optimal water flow.
- Turn on the power: Once the pump is primed, turn on the power supply to the pump. Listen for any unusual sounds and make sure that the pump is running smoothly.
- Check the water flow: Observe the water flow from the pump outlet. Ensure that it is consistent and at the desired rate. If the water flow seems inadequate or too strong, you may need to adjust the pump’s settings or make changes to the plumbing system.
- Adjust the settings: If your submersible water pump has adjustable settings, such as pressure controls or flow rate adjustments, make any necessary changes to suit your specific requirements. Consult the manufacturer’s instructions for guidance on adjusting the settings.
- Monitor the pump’s operation: Keep an eye on the pump for a period of time to ensure it is working consistently and without any issues. Check for any signs of leaks, unusual vibrations, or overheating. If you notice any problems, immediately turn off the power and investigate the cause.
Regularly monitoring and testing your submersible water pump is important to ensure its optimal performance and longevity. By making any necessary adjustments and addressing any issues early on, you can prevent potential damage and costly repairs in the future.
Once you have tested and adjusted the pump, it’s time to secure it in place and clean up the installation area. Continue reading to learn how to complete these final steps in our comprehensive guide.
Step 6: Secure the Pump and Clean Up
After testing and adjusting the submersible water pump, the final step is to secure it in place and tidy up the installation area. By properly securing the pump and cleaning up, you can ensure its stability and maintain a safe and organized environment. Follow these steps:
- Secure the pump: Use straps, brackets, or other secure mounting options to hold the pump in its designated location. This will prevent any movement or shifting during operation. Make sure the pump is firmly secured to ensure its stability.
- Cover the pit (if applicable): If you are installing the water pump in a sump pit, cover the pit with a suitable lid or cover to prevent debris, pests, and other contaminants from entering the pit and affecting the pump’s performance.
- Clean up the area: Remove any tools, debris, or excess materials from the installation area. Dispose of them properly to maintain a clean and safe environment. If you had to dig a trench for the plumbing, fill it back in and ensure the ground is level and compacted.
- Check for leaks: Take a final look around the pump and plumbing connections to ensure there are no signs of leaks or water seepage. If you notice any leaks, immediately address the issue by tightening connections or replacing faulty components.
- Inspect the electrical connections: Double-check the electrical connections to ensure they are secure and properly insulated. Verify that the waterproofing measures are in place and functioning effectively. Replace any damaged or worn-out insulation or connectors if necessary.
By securely fastening the pump and cleaning up the installation area, you are ensuring its longevity and preventing any potential hazards. Maintaining a clean and organized environment also makes future maintenance and inspections easier.
Congratulations! You have successfully connected and installed your submersible water pump. With proper maintenance and care, your pump will serve you reliably for years to come.
We hope this step-by-step guide has been helpful in guiding you through the installation process. If you have any further questions or need more assistance, don’t hesitate to reach out to a professional or the manufacturer for additional guidance tailored to your specific pump model and installation requirements.
Remember to always prioritize safety and follow the manufacturer’s instructions throughout the installation process. Happy pumping!
Conclusion
Installing a submersible water pump can be a rewarding and efficient solution for various water-moving needs. This comprehensive guide has provided you with step-by-step instructions on how to connect a submersible water pump, ensuring a successful installation.
We started by gathering the necessary tools and materials to streamline the installation process. Then, we prepared the pump by inspecting and cleaning it, attaching fittings, and checking seals. Next, we safely lowered the pump into the water source and secured it in place. After that, we carefully connected the electrical wiring, making sure to follow safety precautions and check the wiring diagram.
Once the wiring was complete, we moved on to testing the pump and adjusting the settings to ensure optimal performance. Finally, we secured the pump in place, cleaned up the installation area, and checked for leaks or any potential issues.
Throughout the installation process, it is essential to prioritize safety, follow manufacturer’s guidelines, and seek professional assistance if needed. Regular maintenance and monitoring of your submersible water pump will help maintain its efficiency and prevent any potential problems. Remember to consult the manufacturer’s instructions and guidelines for specific maintenance recommendations.
We hope this guide has equipped you with the knowledge and confidence to successfully install a submersible water pump. By following these steps, you can enjoy the benefits of an efficient and reliable water-moving system.
If you have any further questions or specific inquiries related to your pump installation, it is always recommended to consult a professional or refer to the manufacturer’s support for personalized assistance.
Thank you for joining us on this journey to connect a submersible water pump, and we wish you the best of luck with your installation!
Frequently Asked Questions about How To Connect A Submersible Water Pump
Was this page helpful?
At Storables.com, we guarantee accurate and reliable information. Our content, validated by Expert Board Contributors, is crafted following stringent Editorial Policies. We're committed to providing you with well-researched, expert-backed insights for all your informational needs.


0 thoughts on “How To Connect A Submersible Water Pump”