Home>Articles>How To Properly Connect A Water Pump To Your Cooler
Articles
How To Properly Connect A Water Pump To Your Cooler
Modified: January 6, 2024
Learn how to connect a water pump in a cooler with our informative articles. Get step-by-step instructions and expert tips for a successful setup.
(Many of the links in this article redirect to a specific reviewed product. Your purchase of these products through affiliate links helps to generate commission for Storables.com, at no extra cost. Learn more)
Introduction
Welcome to our guide on how to connect a water pump in a cooler! Keeping your cooler well-maintained and properly functioning is essential for ensuring that your food and beverages stay fresh and cool. The water pump plays a crucial role in the cooling process, as it is responsible for circulating the water and maintaining the desired temperature.
Whether you are setting up a new cooler or need to replace an existing water pump, this step-by-step guide will walk you through the process of connecting the water pump correctly. By following these instructions, you will be able to ensure that your cooler works efficiently and provides a refreshing experience for you and your guests.
Before we dive into the steps, let’s first take a look at the necessary tools and materials you will need for this project.
Key Takeaways:
- Ensure safety by turning off power, gathering necessary tools, and planning the wiring route before connecting the water pump in your cooler. Follow the user manual for specific instructions.
- Test the water pump for proper connection and troubleshoot common issues like leaks and inadequate cooling to ensure efficient and refreshing cooler experiences.
Read more: How To Connect A Submersible Water Pump
Tools and Materials
Before you get started with connecting the water pump in your cooler, make sure that you have the following tools and materials available:
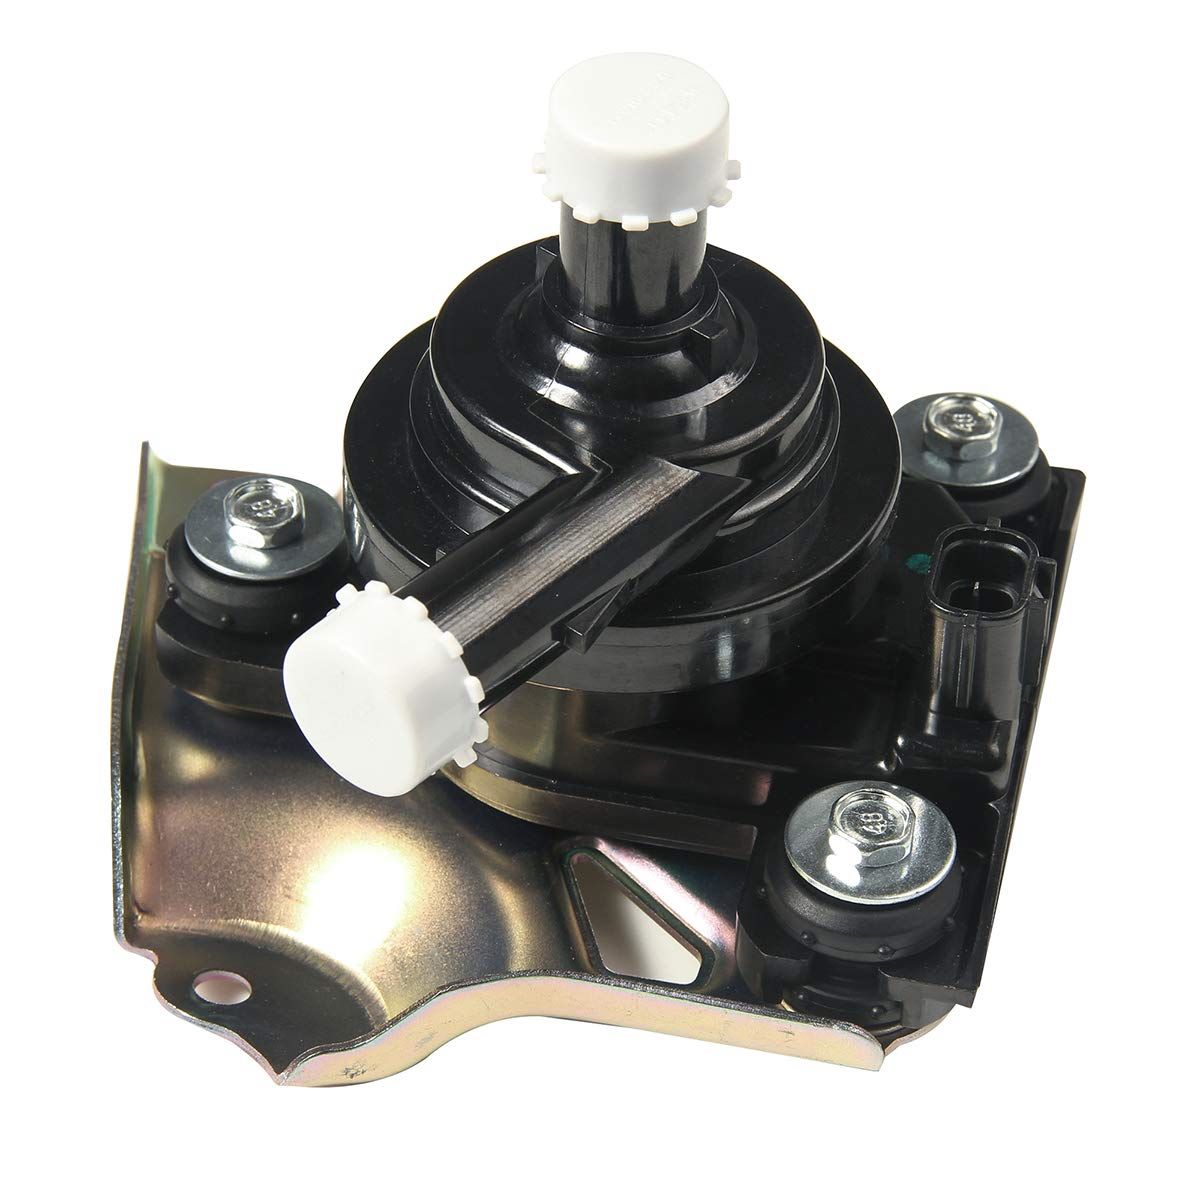
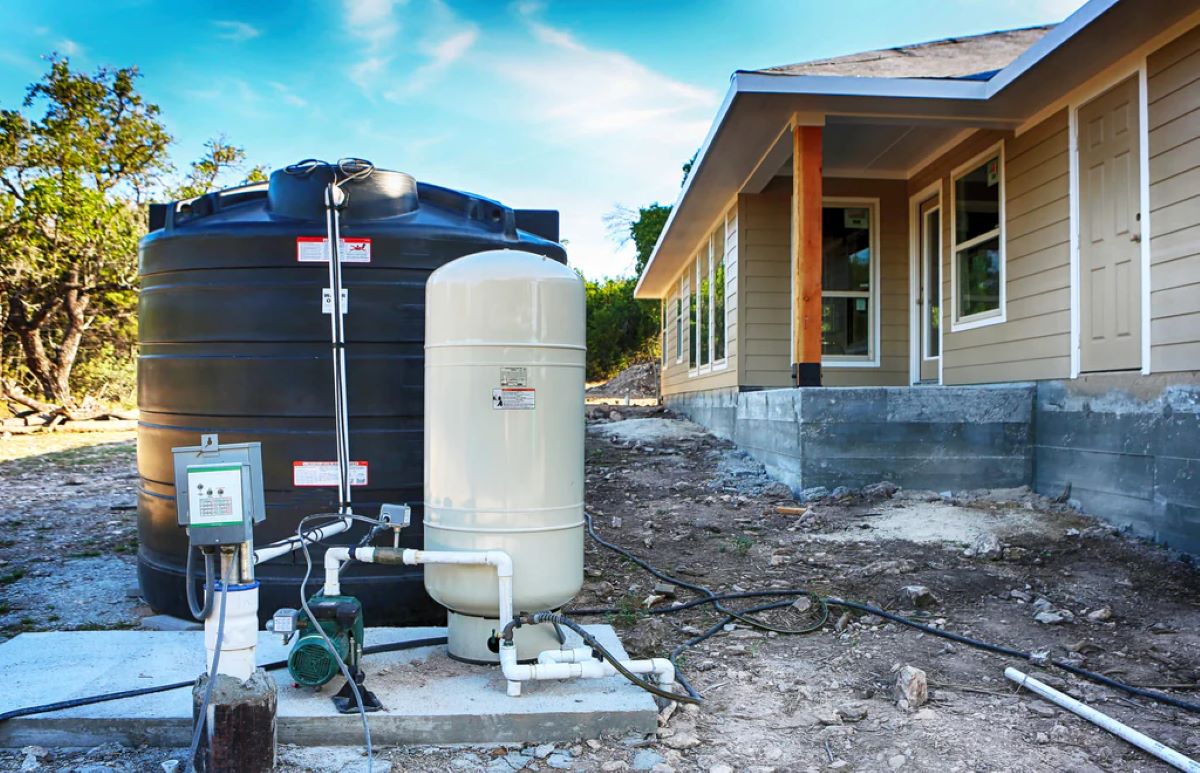
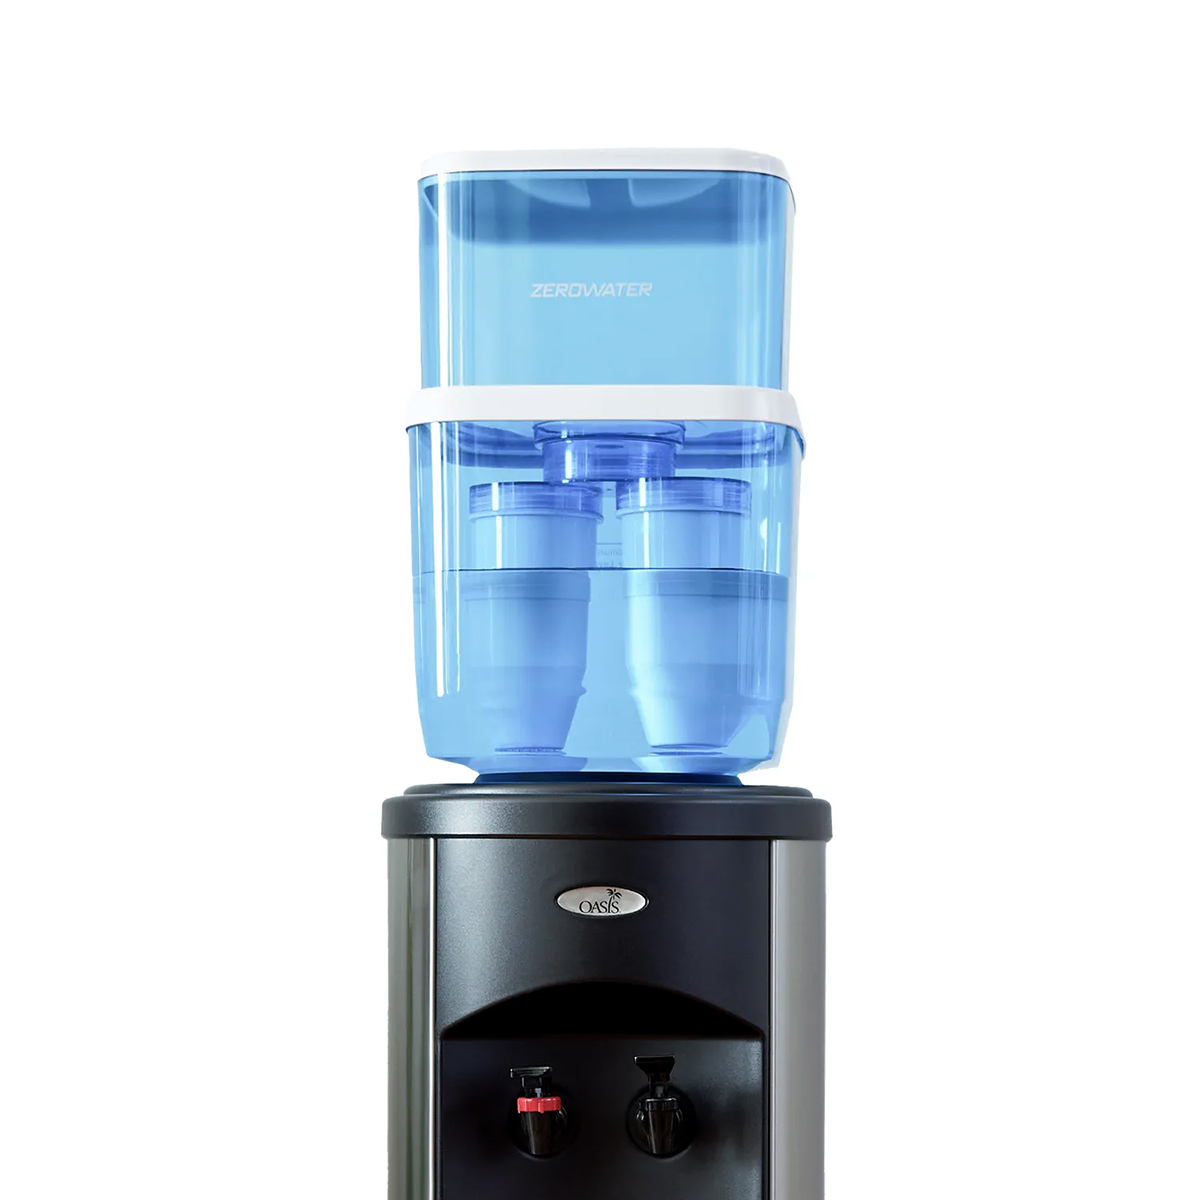
- Water pump – This is the main component responsible for circulating the water in your cooler. Ensure that you have a pump suitable for the size and capacity of your cooler.
- Power cable – You will need a power cable to connect the water pump to a power source.
- Wires – Depending on your cooler’s wiring system, you may need wires to connect the water pump to the power supply.
- Screwdriver – A screwdriver will be needed to open the panels and access the water pump connections.
- Electrical tape – Electrical tape will help secure the connection and prevent any loose wires.
- Wire strippers – If necessary, wire strippers will be needed to remove the insulation from the wire ends.
- Multi-meter – A multi-meter can be useful for checking the voltage and continuity of the connections.
- User manual – If your cooler came with a user manual, it can provide specific instructions and diagrams for connecting the water pump.
Having these tools and materials ready will ensure that you have everything you need to complete the installation process smoothly. Now that you have gathered the necessary items, let’s move on to the first step of preparing for the connection process.
Step 1: Preparation
Before you begin connecting the water pump in your cooler, it is crucial to take some preparatory steps to ensure a smooth installation process. Follow these guidelines to prepare for the connection:
- Read the user manual: Familiarize yourself with the user manual of your cooler. It will provide specific instructions and diagrams for connecting the water pump.
- Power off the cooler: Ensure that the power to the cooler is turned off before starting any work. This will prevent any potential electrical accidents and ensure your safety during the installation process.
- Gather necessary tools: Collect all the tools and materials mentioned earlier in the “Tools and Materials” section and keep them within reach for easy access throughout the installation.
- Clear the area: Clear the surrounding area of the cooler to provide ample space to work comfortably. Remove any objects or obstructions that may hinder your access to the water pump and its connections.
- Inspect the water pump: Before proceeding, inspect the water pump for any visible damage or defects. Ensure that it is in good working condition and compatible with your cooler.
- Plan the wiring route: Take a moment to plan the wiring route from the power source to the water pump. Make sure the wiring will be hidden and securely routed to avoid any accidents or damage to the wires.
By completing these preparation steps, you will ensure a smooth and safe installation process for connecting the water pump in your cooler. These precautions will help you avoid any potential issues and ensure that the installation is done correctly from the start.
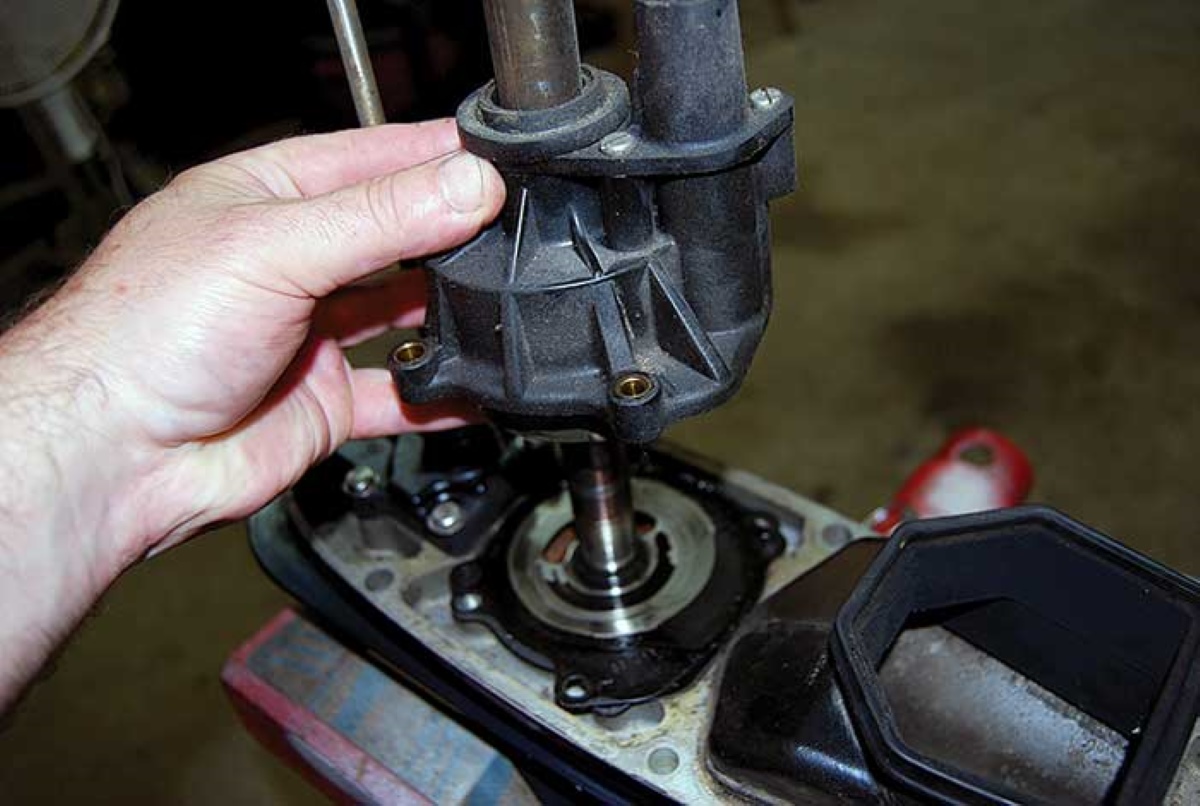
Step 2: Identify Water Pump Connections
Now that you have completed the preparation step, it’s time to identify the connections on the water pump and understand how they should be connected in your cooler. Follow these guidelines to identify the water pump connections:
- Locate the water pump: The water pump is usually located inside the cooler, near the cooling mechanism. It may be hidden behind a panel or cover, so refer to your user manual to find its exact placement.
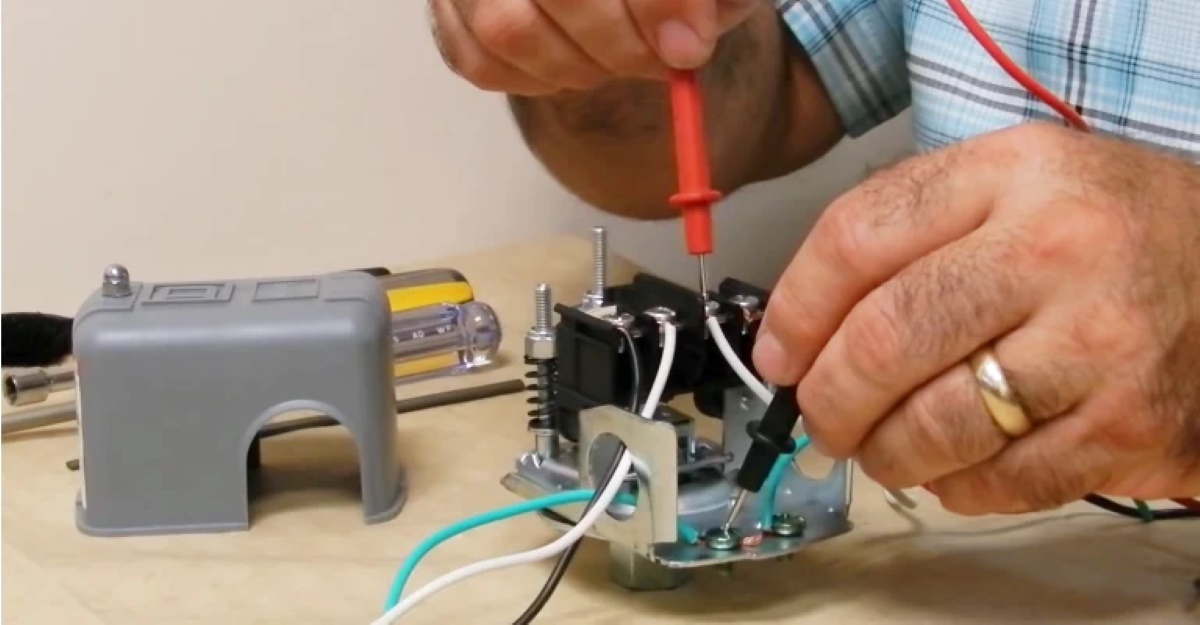
- Identify the power input: Look for the power input on the water pump. This is where the power cable will be connected to supply electricity to the pump. It is usually labeled “Power” or “Input” on the pump.
- Check for other connections: Besides the power input, the water pump may also have other connections such as water inlet and outlet ports. These connections are responsible for the circulation of water through the cooler. Take note of these connections as well.
- Refer to the user manual: Your user manual will have detailed diagrams and explanations of the various connections on the water pump. Consult the manual to familiarize yourself with the specific setup of your cooler’s water pump.
By identifying the water pump connections, you will have a clear understanding of where the power cable and other necessary wires should be connected. This step is crucial in ensuring that you make the correct connections and avoid any mistakes during the installation process.
Step 3: Gather Necessary Cables and Wires
With the water pump connections identified, it’s time to gather the necessary cables and wires to make the proper connections. Follow these steps to gather the required materials:
- Measure the distance: Measure the distance between the power source and the water pump to determine the length of the power cable needed. This will ensure that you have enough cable to reach the pump without any unnecessary slack.
- Select the appropriate power cable: Choose a power cable that is suitable for the voltage requirements of your cooler’s water pump. The cable should be of sufficient gauge to handle the power load without overheating or causing any safety issues.
- Inspect the cables: Before proceeding, inspect the power cable and other wires for any damage or fraying. Make sure they are in good condition and free from any defects. If you notice any issues, replace the cables with new ones.
- Strip the ends of the wires (if necessary): If the ends of the wires are not already stripped, use wire strippers to remove a small portion of the insulation from the ends of the cables. This will expose the metal wires and allow for proper connections.
- Label the cables: To make the installation process easier, consider labeling the cables with tags or markers. This will help you identify which cable is used for the power source and which ones are used for other connections.
By gathering the necessary cables and wires, you will be well-prepared to make the proper connections between the power source and the water pump. This step ensures that you have the appropriate materials and tools at hand to complete the installation seamlessly.
When connecting a water pump in a cooler, make sure to securely attach the inlet and outlet hoses to the pump. Double-check all connections to prevent any leaks.
Step 4: Connect the Water Pump to Power Source
Now that you have the necessary cables and wires ready, it’s time to connect the water pump to a power source. Follow these steps to make the correct connections:
- Ensure the power is turned off: Before making any connections, double-check that the power to the cooler is turned off. This is crucial for your safety during the installation process.
- Locate the power input on the water pump: Refer back to Step 2 to identify the power input on the water pump. It is usually labeled “Power” or “Input”.
- Connect the power cable: Take the power cable and connect one end to the power input on the water pump. Ensure that the connection is secure.
- Route the power cable: carefully route the power cable from the water pump to the power source. Conceal the cable as much as possible to maintain a neat and safe installation.
- Connect the power cable to the power source: Depending on the power source of your cooler, connect the other end of the power cable to the appropriate outlet or power supply. Ensure that the connection is secure and tight.
- Secure the connections: Use electrical tape or cable ties to secure the connections and prevent any loose wires. This will minimize the risk of accidental disconnections.
Once you have properly connected the water pump to the power source, you have completed a critical step in the installation process. However, it is important to check for proper connection before proceeding to the next step.
Step 5: Check for Proper Connection
After connecting the water pump to the power source, it is essential to check for a proper and secure connection. Follow these steps to ensure that all connections are correct:
- Inspect the connections: Carefully examine the connection between the power cable and the water pump, as well as the connection between the power cable and the power source. Ensure that the cables are firmly connected and there are no loose or exposed wires.
- Double-check the power source: Verify that the power source is functioning correctly. Check if the outlet or power supply is receiving power and if there are no tripped circuit breakers or blown fuses.
- Turn on the power: With caution, turn on the power to the cooler. If everything is properly connected, the water pump should start running, and you may hear the sound of water circulating.
- Monitor the water pump: Keep an eye on the water pump for a few minutes to ensure that it is operating smoothly. Look for any signs of malfunction, such as unusual noises, vibrations, or leaks. If any issues arise, turn off the power and proceed to the troubleshooting steps in Step 7.
By checking for a proper connection, you can confirm that the water pump is correctly linked to the power source. This step ensures that the water pump is receiving power and is ready to start circulating water throughout the cooler. If everything is working correctly, you can proceed to the next step of testing the water pump.
Step 6: Test the Water Pump
After ensuring a proper connection between the water pump and the power source, it’s time to test the functionality of the pump. Follow these steps to test the water pump in your cooler:
- Turn on the power: Make sure the power switch for the cooler is turned on. This will supply power to the water pump.
- Listen for the water pump: Listen carefully for the sound of the water pump running. It should produce a consistent hum or buzzing noise, indicating that it is actively circulating water.
- Check for water flow: Observe the water inlet and outlet ports on the water pump. Look for signs that water is flowing through the pump, such as small ripples or movement in the water. This indicates that the pump is effectively circulating water.
- Monitor the cooling performance: Allow the cooler some time to cool down and evaluate its performance. Check if the cooler is maintaining the desired temperature and if the cooling process is effective.
During the testing phase, it is important to pay attention to any abnormalities or issues that may arise. If you notice any leaks, strange noises, or inadequate cooling, it may indicate a problem with the water pump or its connection. If this happens, refer to the troubleshooting tips in Step 7 to address the issue.
If the water pump passes the test and operates as expected, congratulations! You have successfully connected and tested the water pump in your cooler. Now you can enjoy the efficient cooling system and keep your food and beverages refreshingly cool.
Step 7: Troubleshooting Tips
While connecting a water pump in your cooler is a relatively straightforward process, sometimes unexpected issues or complications may arise. Here are some troubleshooting tips to help you address common problems:
- No power or pump not running: Check if the power source is working correctly by testing the outlet with another device. If there is power, examine the connections between the power cable and the water pump, ensuring they are secure. If the pump still does not run, there may be an issue with the pump itself and it may require replacement.
- Water leakage: If you notice any leaks, inspect the water pump connections to ensure they are tightly secured. Check for any damaged or worn out seals or gaskets that may need replacement. Additionally, make sure the water inlet and outlet ports are properly aligned and connected.
- Strange noises or vibrations: Unusual noises or vibrations coming from the water pump may be indicative of a misaligned or faulty component. Inspect the pump for any loose parts or foreign objects that may be causing the issue. If necessary, consult the user manual or contact the manufacturer for further assistance.
- Inadequate cooling: If the cooler is not cooling effectively, ensure that the water pump is successfully circulating water. Check for any blockages or obstructions in the water inlet or outlet ports. Additionally, verify that the cooler’s temperature settings are correctly adjusted.
- Consult an expert: If you are unable to resolve the issue on your own or if you are unsure about any specific troubleshooting steps, it is advisable to reach out to a professional technician or consult the manufacturer’s customer support for guidance.
Remember, troubleshooting requires patience and careful observation. By following these troubleshooting tips and taking the necessary steps, you can identify and resolve common issues that may arise during the water pump connection process.
Once you have successfully troubleshooted and resolved any issues, you can enjoy the optimal performance of your cooler’s water pump and appreciate the refreshing cooling it provides.
Conclusion
Congratulations on successfully connecting the water pump in your cooler! By following the steps outlined in this guide, you have ensured that your cooler will function efficiently and keep your food and beverages cool and fresh.
Throughout the process, we have covered essential steps such as preparation, identifying water pump connections, gathering necessary cables and wires, connecting the water pump to the power source, checking for proper connection, testing the water pump, and troubleshooting common issues.
Remember, safety should always be a priority when working with electrical components. Ensure that the power is turned off before starting any work, and proceed with caution throughout the installation process.
If you encounter any difficulties or have uncertainties, consult the user manual that came with your cooler or consider seeking assistance from a professional technician or the manufacturer’s customer support.
Now that your cooler is equipped with a properly connected water pump, you can enjoy the benefits of efficient cooling and maintain the ideal temperature for your food and beverages.
Thank you for following this guide. We hope it has been informative and helpful in your water pump connection journey. Cheers to cool and refreshing cooler experiences!
Frequently Asked Questions about How To Properly Connect A Water Pump To Your Cooler
Was this page helpful?
At Storables.com, we guarantee accurate and reliable information. Our content, validated by Expert Board Contributors, is crafted following stringent Editorial Policies. We're committed to providing you with well-researched, expert-backed insights for all your informational needs.


0 thoughts on “How To Properly Connect A Water Pump To Your Cooler”