Home>Interior Design>How To Tile A Wall: For Professional-style Results
Interior Design
How To Tile A Wall: For Professional-style Results
Modified: October 20, 2024
Learn how to tile your interior walls like a professional with our step-by-step guide. Achieve impeccable results and elevate your interior design.
(Many of the links in this article redirect to a specific reviewed product. Your purchase of these products through affiliate links helps to generate commission for Storables.com, at no extra cost. Learn more)
Introduction
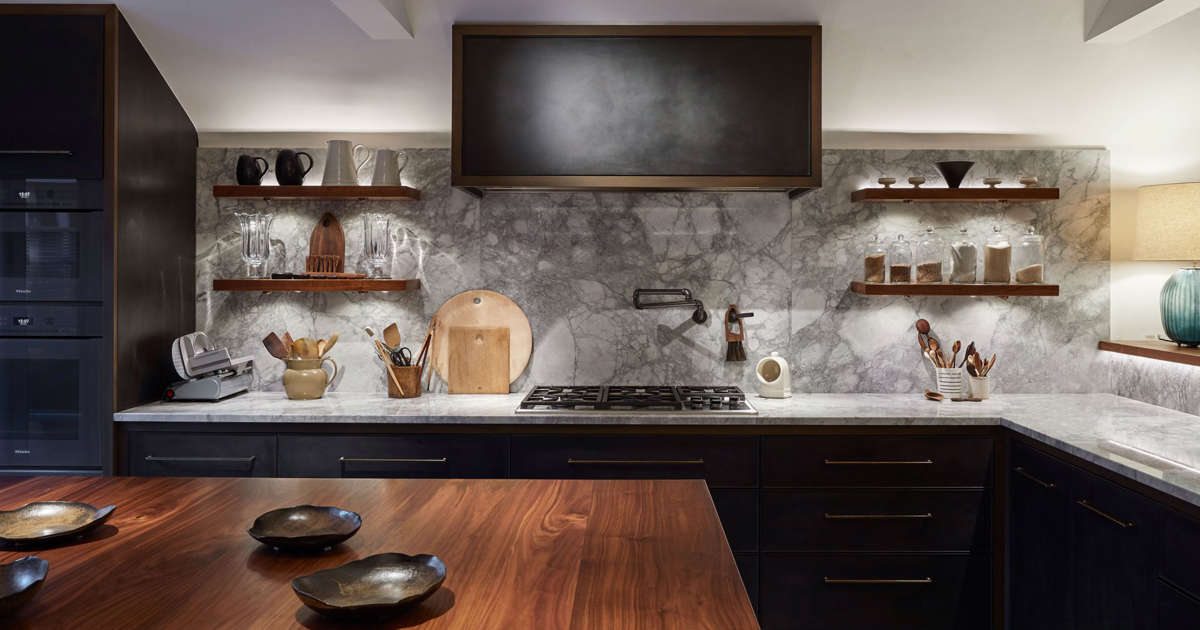
Welcome to our comprehensive guide on how to tile a wall for professional-style results. Whether you’re looking to update your kitchen backsplash, revamp your bathroom walls, or add a decorative touch to any room, tiling can transform the look and feel of your space. By following the right techniques and using the proper tools, you can achieve beautiful and long-lasting results.
Tiling a wall may seem like a daunting task, but with proper preparation and attention to detail, anyone can tackle this project. In this guide, we will walk you through each step of the tiling process, from preparing the wall surface to applying the grout and finishing touches. So, let’s dive in and bring your vision to life!
Key Takeaways:
- Transform your space with professional-style tiling using our comprehensive guide. From wall preparation to grout application, achieve stunning results with attention to detail and the right tools.
- Master the art of tiling and unleash your creativity with confidence. Whether it’s a kitchen backsplash or bathroom revamp, follow our guide for beautiful, long-lasting results.
Tools and Materials Needed
Before you start tiling a wall, it’s essential to gather all the necessary tools and materials to ensure a smooth and efficient process. Here is a list of what you’ll need:
- Measuring tape: To measure the wall and tiles accurately.
- Pencil or marker: To mark the layout and cutting lines on the tiles.
- Tile cutter or wet saw: For cutting tiles to size and shape, depending on the complexity of your project.
- Notched trowel: Used to spread adhesive evenly on the wall.
- Grout float: Used to apply grout between the tiles.
- Level: To ensure the tiles are installed straight and level.
- Tile spacers: For creating uniform grout lines between tiles.
- Sponge or cloth: To clean excess grout from the tiles.
- Bucket: For mixing the tile adhesive and grout.
- Mixing paddle: Attach it to a drill to mix the adhesive and grout thoroughly.
- Grout sealer: Optional but recommended to protect the grout from stains and moisture.
- Tile adhesive: Choose a suitable adhesive based on the type and size of the tiles and the wall surface.
- Grout: Select a grout color that complements your tiles and desired aesthetics.
- Tiles: Purchase enough tiles to cover the wall area, plus extra for cuts and spares.
- Tile spacers: Keep them handy to maintain consistent spacing between tiles.
- Primer: Apply a primer to the wall surface if recommended by the adhesive manufacturer.
- Protective gear: Wear safety glasses, gloves, and a dust mask to protect yourself during cutting and mixing.
Having these tools and materials readily available will help you stay organized and ensure a successful tiling project. Now that you’re equipped let’s move on to preparing the wall surface.
Preparing the Wall Surface
Before you can start tiling, it’s crucial to prepare the wall surface properly. This ensures that the tiles adhere securely and create a smooth and even finish. Follow these steps to prepare the wall surface:
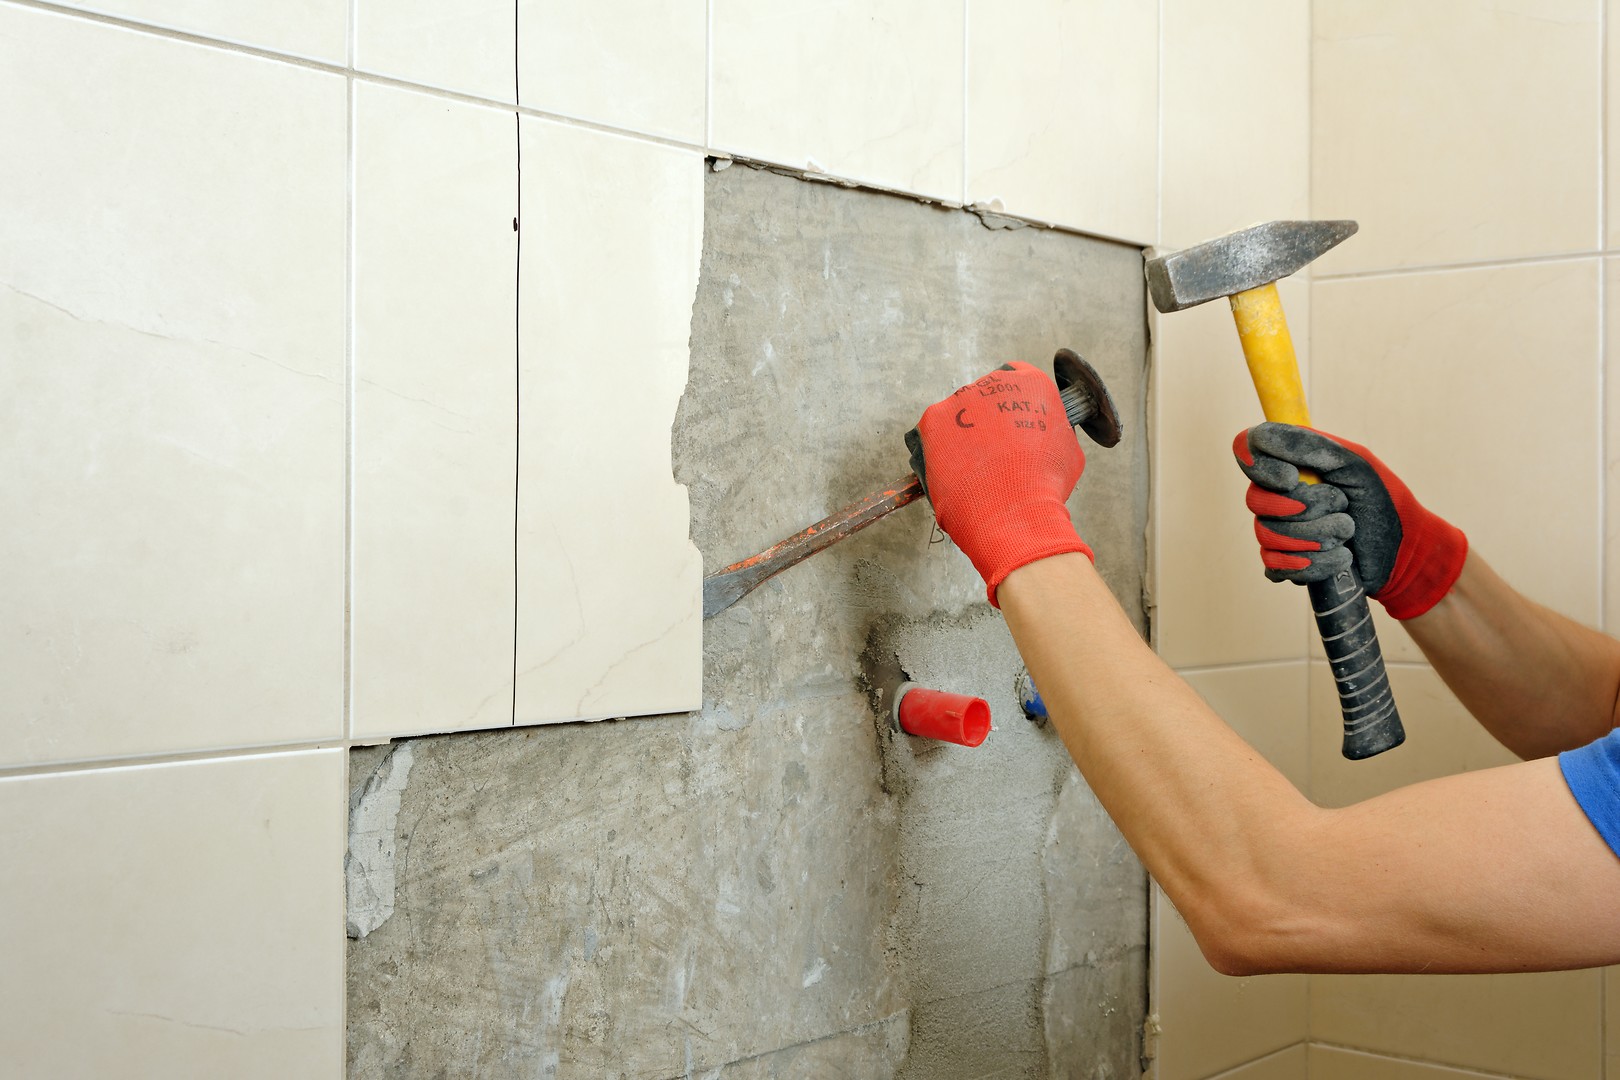
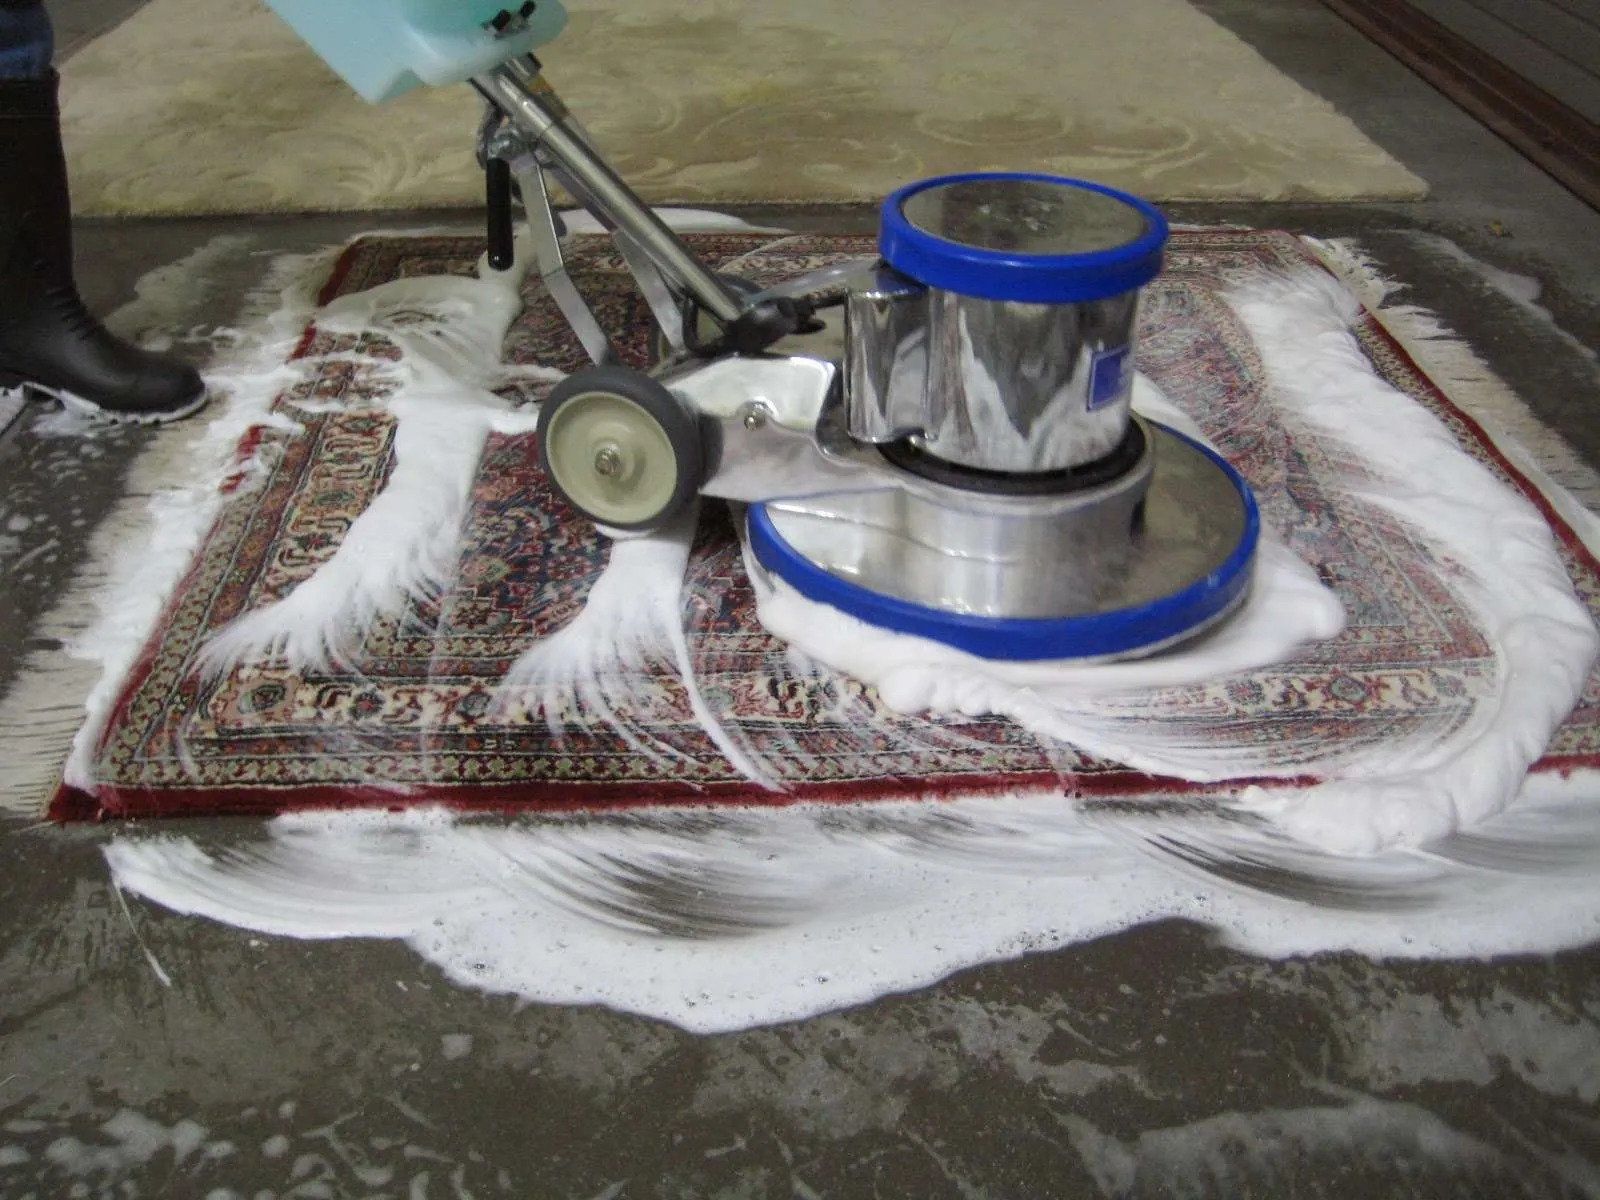
- Clean the wall: Remove any dirt, debris, or loose paint from the wall surface using a mild detergent or cleaner. Use a sponge or cloth to scrub the wall gently. Let it dry completely before moving on to the next step.
- Repair any damage: Inspect the wall for any cracks, holes, or uneven areas. Patch up these imperfections using spackling compound or wall filler. Allow the filler to dry thoroughly and then sand it smooth.
- Smooth the surface: Use sandpaper or a sanding block to smooth out any rough or uneven areas on the wall. This step ensures that the tiles have a level and even surface to adhere to.
- Apply a primer: Depending on the type of wall surface and the adhesive manufacturer’s recommendations, you may need to apply a primer. A primer improves the adhesion of the adhesive to the wall and enhances the durability of the tiles. Follow the instructions provided with the primer and allow it to dry completely.
- Plan the layout: Before applying adhesive, determine the layout of your tiles. Start by finding the center of the wall and mark it with a vertical and horizontal line. Dry-fit the tiles along these lines or create a mock-up on the floor to visualize the pattern and make any necessary adjustments.
By taking the time to properly prepare the wall surface, you ensure that your tiles will adhere effectively and create a professional finish. Once the wall is prepped, it’s time to mix the tile adhesive.
Mixing the Tile Adhesive
The next step in tiling your wall is mixing the tile adhesive. The adhesive is what holds the tiles in place and ensures their stability. Follow these steps to mix the adhesive correctly:
- Read the instructions: Firstly, carefully read and follow the instructions provided by the manufacturer of your tile adhesive. Different adhesives may have varying ratios and mixing times, so it’s essential to adhere to the specific guidelines.
- Prepare a clean bucket: Start by using a clean bucket to mix the adhesive. This helps prevent any contaminants from affecting the adhesive’s effectiveness.
- Add the adhesive powder: Gradually pour the adhesive powder into the bucket while continuously stirring to avoid clumps. It’s important to add the powder to the water and not the other way around, as this ensures a smoother consistency.
- Mix the adhesive: Use a mixing paddle attached to a drill to thoroughly mix the adhesive until it reaches a creamy and lump-free consistency. Follow the recommended mixing time provided by the manufacturer.
- Check the consistency: The adhesive should be thick enough to hold its shape when lifted with a trowel but still be easily spreadable. If the adhesive is too thick, add a small amount of water and remix. If it’s too runny, add more adhesive powder. Aim for a consistency similar to toothpaste.
Remember, it’s essential to mix only the amount of adhesive that you can use within the working time specified by the manufacturer. Once the adhesive begins to set, it will become less effective, and you may need to mix a new batch.
Now that you have your adhesive mixed and ready, it’s time to move on to applying it to the wall.
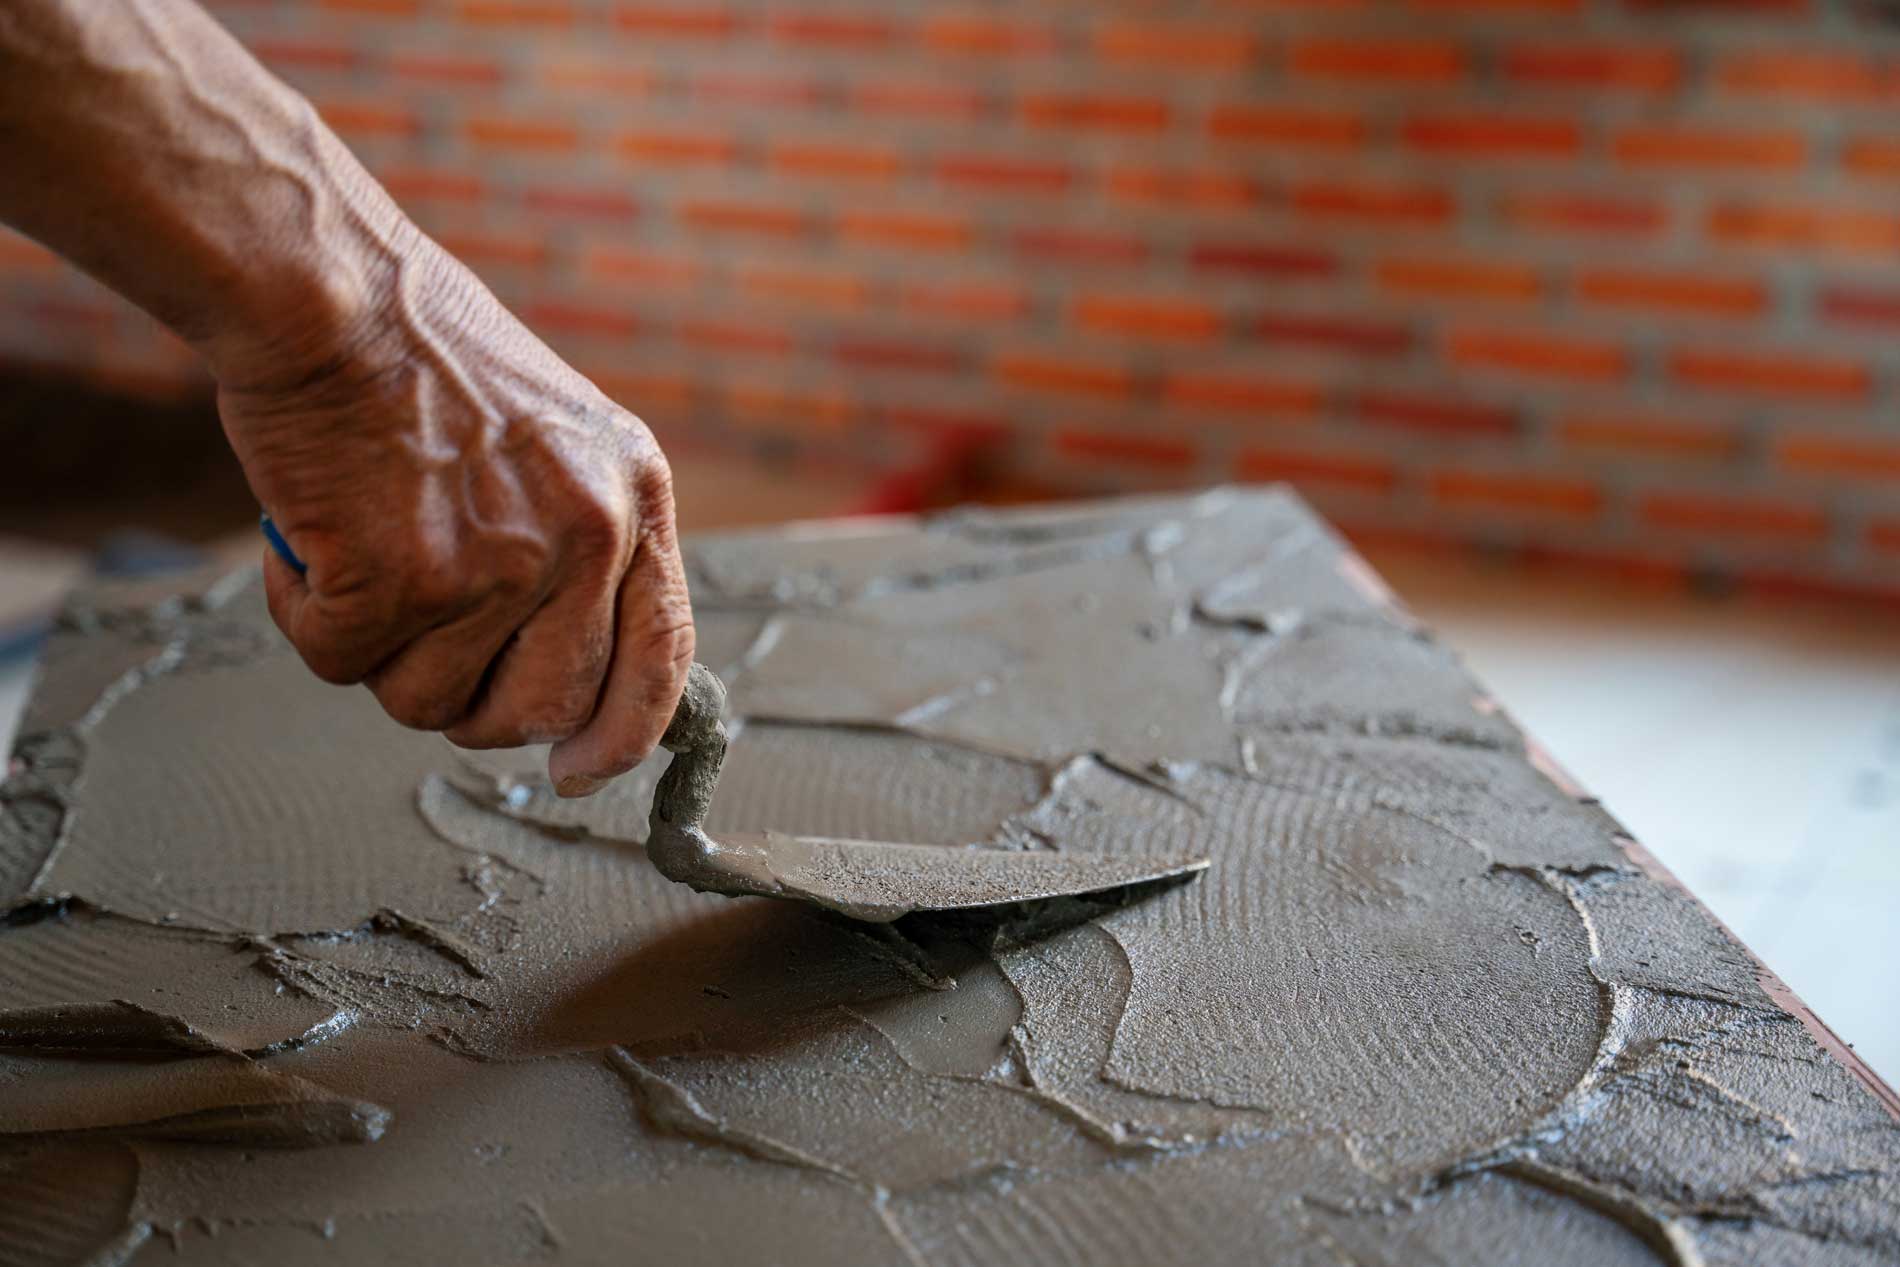
Applying the Adhesive to the Wall
Now that you have your tile adhesive mixed and ready, it’s time to apply it to the wall. Proper application of the adhesive ensures a strong bond between the tiles and the wall surface. Follow these steps to apply the adhesive correctly:
- Start in a corner: Begin by applying adhesive in a small section of the wall, starting from a corner. This allows you to work efficiently without the adhesive drying out before you can lay the tiles.
- Use a notched trowel: Take a notched trowel and hold it at a slight angle. With the flat side of the trowel, spread a layer of adhesive onto the wall, covering an area slightly larger than the size of one tile. Make sure the adhesive is evenly distributed and has consistent thickness.
- Create ridges: With the notched edge of the trowel, comb through the adhesive at a 45-degree angle. This creates ridges that help to enhance the bond between the adhesive and the tiles.
- Work in smaller sections: It’s best to work in smaller sections at a time, applying adhesive and combing through it before moving on to the next section. This ensures that the adhesive remains workable and doesn’t dry out before the tiles are installed.
- Check for proper coverage: As you apply the adhesive, periodically check the back of the tiles for full coverage. The ridges should be evenly pressed onto the back of the tile, ensuring a strong bond. Adjust the amount of adhesive or the combing technique if necessary.
- Continue in rows: Proceed to apply adhesive and comb through it in rows, working your way across the wall. Maintain consistent thickness and coverage throughout the entire surface.
- Leave expansion gaps: When applying the adhesive, leave small gaps at the edges and corners of the wall to allow for expansion or movement. These gaps will be filled with grout later on.
By following these steps and applying the adhesive correctly, you establish a solid foundation for your tiles. Now that the adhesive is in place, it’s time to start installing the first row of tiles.
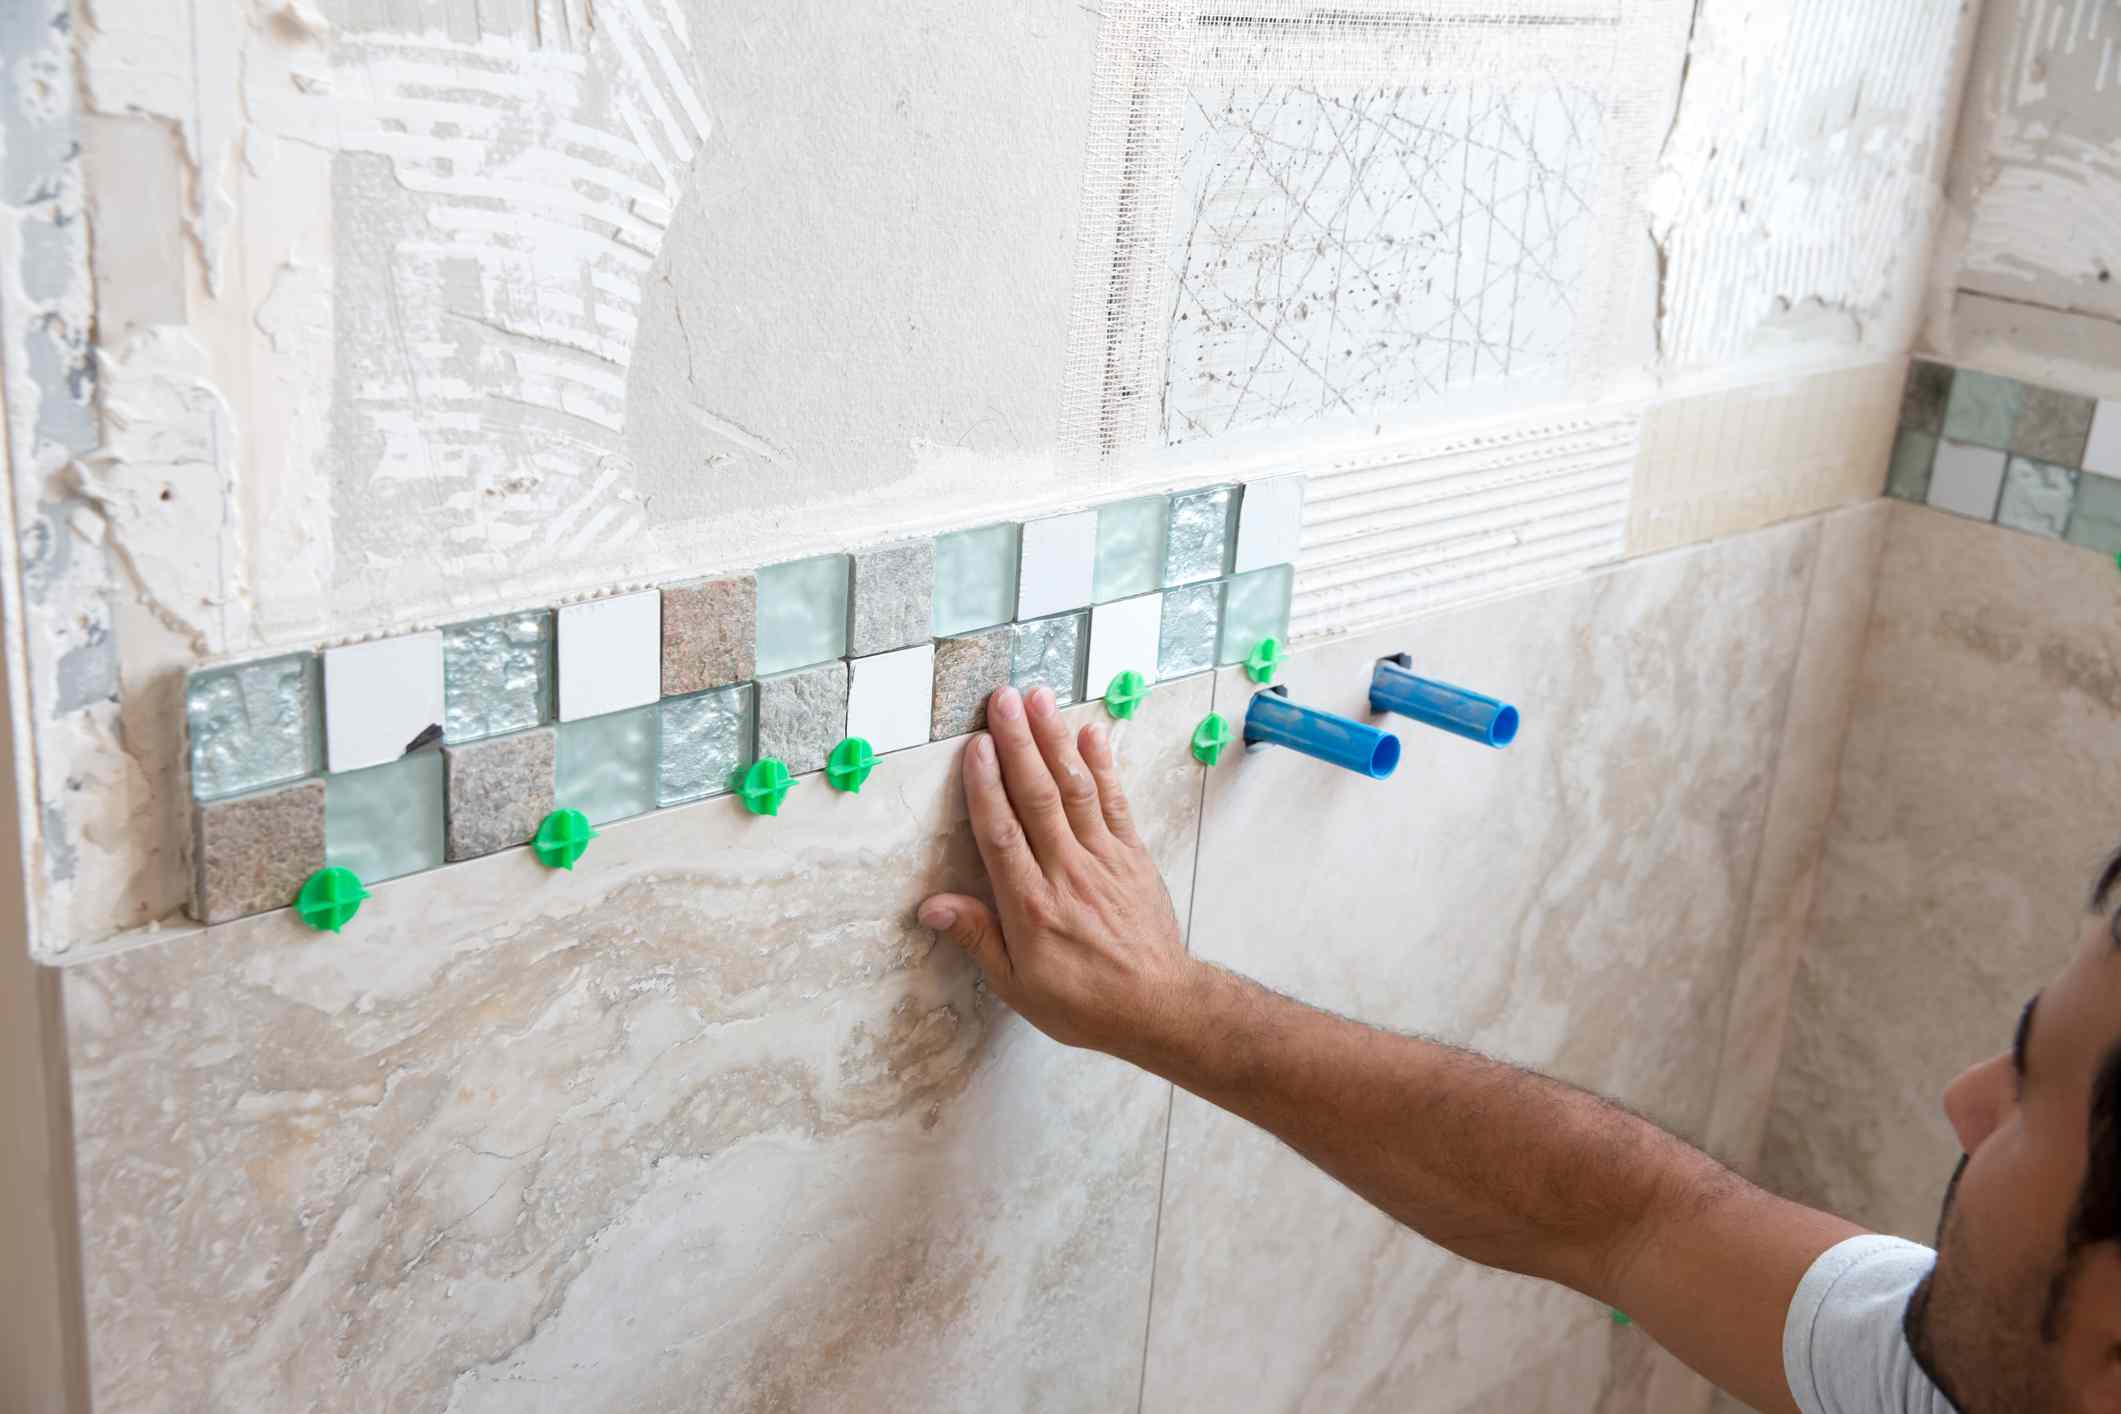
Use a notched trowel to apply adhesive to the wall, then press the tiles firmly into place. Use spacers to ensure even spacing between tiles for a professional finish.
Installing the First Row of Tiles
Now that the adhesive is applied to the wall, it’s time to start installing the first row of tiles. This step sets the foundation for the rest of the tiling process. Follow these steps to ensure a smooth and level installation:
- Start at a corner: Begin at one of the bottom corners of the wall. This allows for a more stable base and ensures that any cut tiles or uneven edges are less noticeable.
- Apply adhesive to the tile: Using the same adhesive you previously prepared, apply a layer of adhesive to the back of the tile using a trowel.
- Place the tile on the wall: Press the tile firmly onto the wall, aligning it with the corner or the edge. Give it a slight twist or wiggle to ensure it makes good contact with the adhesive and creates a strong bond.
- Insert tile spacers: Once the first tile is in place, insert tile spacers on all four sides of the tile. These spacers will create consistent grout lines and ensure proper spacing between the tiles.
- Continue with the next tiles: Repeat the process for the next tiles, adding adhesive to each tile and placing them adjacent to each other, separated by the tile spacers. Use a level to ensure that the tiles are straight and aligned correctly.
- Check for even spacing: As you install the tiles, periodically check for even spacing between them. Adjust the position or add/remove spacers as necessary to maintain uniformity.
- Trim tiles if needed: If you reach the end of a row and the remaining space is smaller than a full tile, you may need to cut the tile to fit. Use a tile cutter or wet saw to make accurate cuts. Remember to account for the width of the grout line.
- Measure and adjust for obstacles: If you encounter any obstacles such as outlets or switches, carefully measure and mark the tiles for precise cuts. Use tile nippers or a hole cutter to create openings for these obstacles.
- Check for levelness: Periodically use a level to ensure that the tiles are installed evenly and at the desired level along the row. Adjust as necessary to maintain a straight and flat installation.
By following these steps, you will successfully install the first row of tiles. This sets the stage for the remaining tiling process. Next, we’ll cover cutting tiles for corners and edges.
Cutting Tiles for Corners and Edges
As you continue tiling the wall, you will inevitably come across corners, edges, or obstacles that require customized tile cuts for a seamless and professional look. Cutting tiles accurately is crucial for achieving a polished end result. Here’s how to cut tiles for corners and edges:
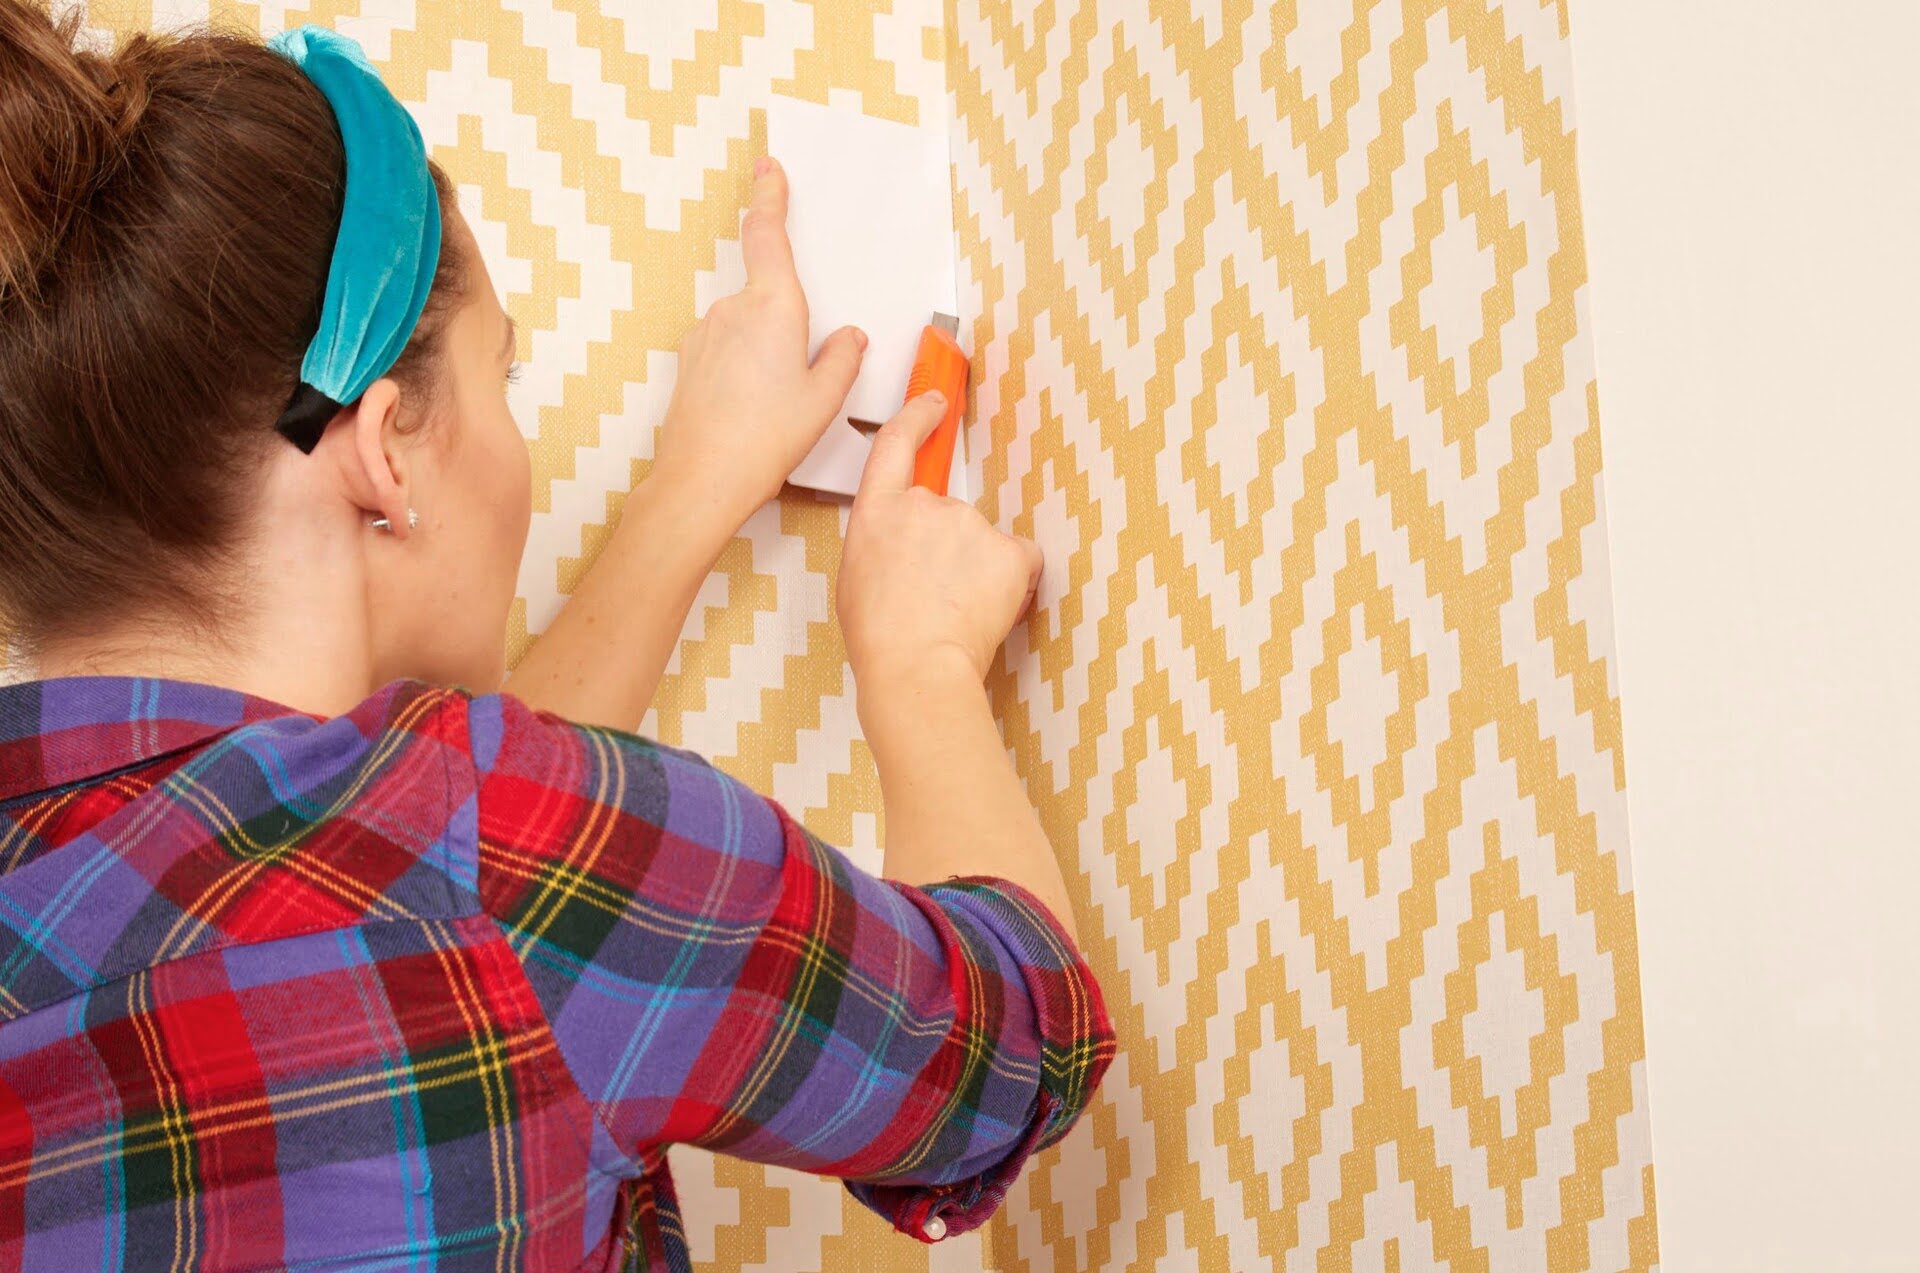
- Measure the space: Take precise measurements of the area where a tile needs to be cut. Use a measuring tape to determine the exact dimensions, including any required allowances for grout lines.
- Mark the tile: Transfer the measurements onto the tile that needs to be cut. Use a pencil or marker to create clear and accurate cutting guidelines.
- Tile cutting options: Depending on the material and thickness of the tile, you can use different tools for cutting:
- Tile cutter: Suitable for straight cuts on ceramic and porcelain tiles. Score the tile along the marking, then apply pressure to break it along the score line.
- Wet saw: Ideal for more intricate cuts and cutting through thicker or harder materials like natural stone. Follow the manufacturer’s instructions for operating the wet saw and use it with caution.
- Tile nippers: For making small cuts or trimming edges, use tile nippers to carefully chip away at the tile along the marked lines.
- Hole cutter: If you need to create holes in the tile for pipes or outlets, use a hole cutter attachment on a drill. Start with a small hole and gradually enlarge it to match the required size.
- Wear protective gear: Always prioritize safety by wearing safety goggles, gloves, and a dust mask when cutting tiles. This will protect you from sharp edges and airborne particles.
- Make the cut: Using the chosen cutting method, carefully cut along the marked lines. Take your time and apply consistent pressure for cleaner and more precise cuts.
- Test the fit: Once the tile is cut, dry-fit it into the corner or alongside the edge to ensure a proper fit. Make any necessary adjustments by refinishing or recutting the tile if needed.
- Continue tiling: After the tiles are cut and fitted, continue installing them as per your planned layout. Remember to maintain consistent spacing, use tile spacers, and periodically check for levelness.
By following these steps and using the appropriate cutting tools, you’ll be able to achieve precise tile cuts for corners and edges, resulting in a professional and seamless finish. Next, we’ll explore the process of applying grout to the tiles.
Applying Grout to the Tiles
Once the tiles are installed and the adhesive has cured, it’s time to apply grout. Grout not only fills the spaces between the tiles but also adds stability and enhances the overall appearance of your tiled wall. Follow these steps to apply grout effectively:
- Choose the right grout: Select a grout color that complements your tiles and desired aesthetic. Also, consider the type of grout suitable for your specific tile material and the recommendations provided by the manufacturer.
- Mix the grout: Follow the instructions on the grout packaging to mix the grout powder with water in a clean bucket. Stir until you achieve a smooth and uniform consistency.
- Prepare the grout lines: Remove any tile spacers and ensure that the gaps between the tiles are clean and debris-free. You can use a vacuum or a small brush to clear away any dust or loose particles.
- Apply the grout: With a rubber grout float, scoop a generous amount of grout onto the float’s edge. Hold the float at a 45-degree angle and spread the grout diagonally over the tiles, pressing it firmly into the gaps. Work in small sections.
- Remove excess grout: After each section, use the edge of the grout float held at a steeper angle to scrape off excess grout from the surface of the tiles. This helps achieve a smooth and clean finish.
- Clean the tiles: Once you’ve worked on a section, dampen a sponge or cloth and gently wipe the tiles at a diagonal angle. Rinse the sponge frequently to avoid smearing grout around. Be careful not to dig into the grout lines.
- Finish the grout lines: After cleaning the tiles, use a grout finishing tool or your finger to smooth and shape the grout lines. This helps create an even and appealing appearance.
- Allow the grout to dry: Follow the drying time indicated on the grout packaging. It’s crucial to avoid disturbing the grout during the drying process to prevent cracks or damage. Keep the area well-ventilated.
- Seal the grout (optional): Depending on the grout type and personal preference, you may choose to apply a grout sealer to protect the grout from staining and moisture. Follow the manufacturer’s instructions and allow it to dry completely.
By following these steps, you can effectively apply grout to your tiles, creating a strong bond and a beautiful finished look. Once the grout is fully dried and sealed (if applicable), you can proceed to the final steps of cleaning and adding the finishing touches.
Cleaning and Finishing Touches
After the grout has fully dried and any sealant has been applied, it’s time to clean the tiles and add the finishing touches to complete your tiled wall project. Follow these steps for a final, polished result:
- Clean off any grout haze: If you notice a hazy residue on the tiles after the grout has dried, use a soft damp cloth or sponge to gently wipe away the residue. Be careful not to disturb the grout lines.
- Buff the tiles: Once the grout haze is removed, take a dry cloth or sponge and buff the tiles to give them a clean and gleaming appearance. This step helps to eliminate any remaining traces of grout residue.
- Inspect for any touch-ups: Examine the tiled wall closely for any areas that may need touch-ups. Look for any missed spots or uneven grout lines. Use a grout pen or a small brush to carefully fill in any gaps or correct imperfections.
- Apply silicone caulk (if necessary): If you have any gaps or joints where the tiles meet other surfaces, such as countertops or tubs, use a silicone caulk specifically designed for bathrooms or kitchens. Apply a smooth and even bead of caulk to seal these areas and prevent water penetration.
- Final clean-up: Give the entire tiled wall a thorough cleaning by wiping it down with a gentle, non-abrasive cleaner suitable for your tile material. This will ensure a pristine and polished appearance.
- Admire your finished tiled wall: Step back and take in the beauty of your completed tiling project. Marvel at the transformation it has brought to your space and enjoy the satisfaction of a job well done!
Remember, proper maintenance and regular cleaning are important to keep your tiled wall looking its best. Follow the cleaning instructions specific to your tile material to ensure its longevity and retain its luster.
With these final cleaning and finishing touches, your tiled wall project is complete. The time and effort you’ve invested in tiling have resulted in a stunning and professional-style result. Sit back, relax, and enjoy the enhanced beauty of your space!
Read more: How To Tile A Fireplace Wall
Conclusion
Congratulations on completing your journey to tile a wall with professional-style results! By following the steps outlined in this comprehensive guide, you have learned the essential techniques and gained the knowledge necessary to tackle any tiling project with confidence.
From preparing the wall surface to applying the adhesive, installing the tiles, cutting for corners and edges, and grouting, you have demonstrated patience and attention to detail throughout the entire process. The result is a beautifully tiled wall that adds personality and charm to your space.
Remember, mastering the art of tiling takes practice and experience. Don’t be afraid to experiment with different tile patterns, materials, and colors to create your unique vision. Each tiling project presents new opportunities for creativity and personal expression.
As you enjoy your finished tiled wall, be sure to maintain regular cleaning and upkeep to preserve its beauty. By following the manufacturer’s recommendations for cleaning and sealing, you can extend the lifespan of your tiles and keep them looking vibrant for years to come.
Whether you’ve transformed your kitchen backsplash, revamped your bathroom walls, or added a decorative touch to any room, the impact of your tiling project will undoubtedly leave a lasting impression on both you and your guests.
We hope this guide has equipped you with the knowledge and confidence to tackle future tiling projects. So go ahead, unleash your creativity, and continue to beautify your surroundings with the art of tiling.
Happy tiling!
Frequently Asked Questions about How To Tile A Wall: For Professional-style Results
Was this page helpful?
At Storables.com, we guarantee accurate and reliable information. Our content, validated by Expert Board Contributors, is crafted following stringent Editorial Policies. We're committed to providing you with well-researched, expert-backed insights for all your informational needs.


0 thoughts on “How To Tile A Wall: For Professional-style Results”