Articles
How To Cut Range Hood Chimney
Modified: February 24, 2024
Learn how to cut a range hood chimney with these helpful articles. Step-by-step instructions and tips to successfully complete the task.
(Many of the links in this article redirect to a specific reviewed product. Your purchase of these products through affiliate links helps to generate commission for Storables.com, at no extra cost. Learn more)
Introduction
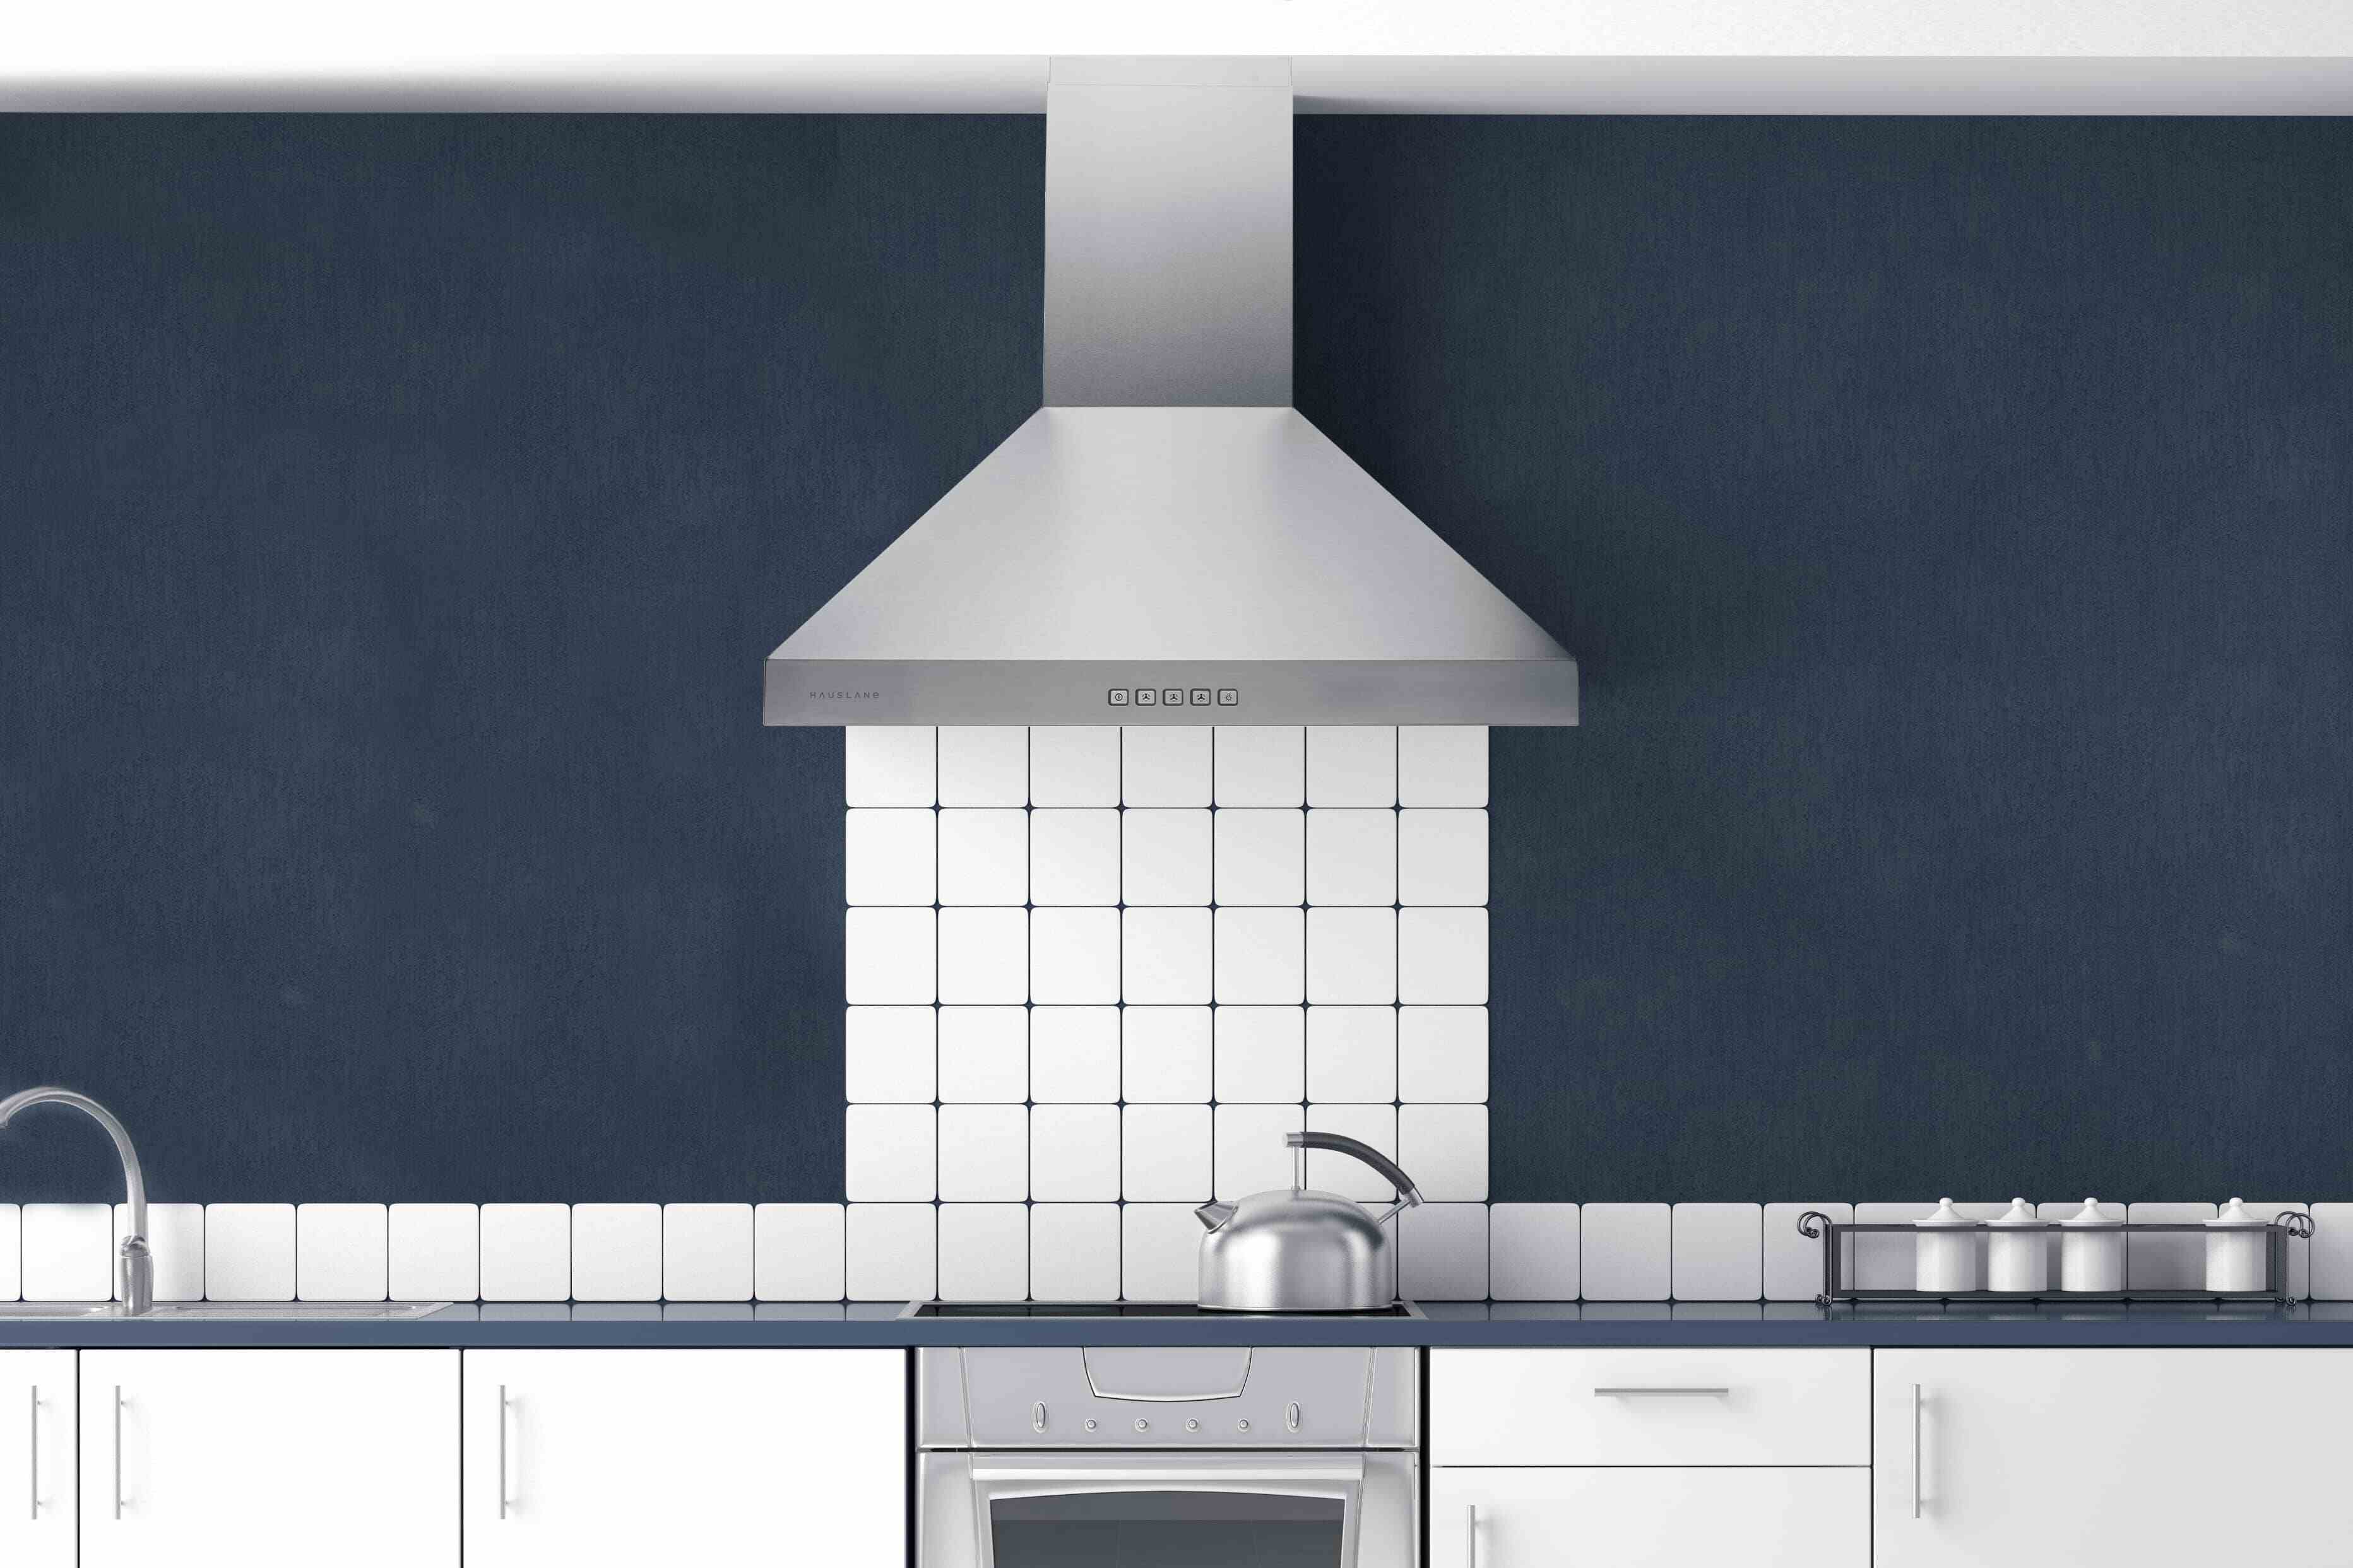
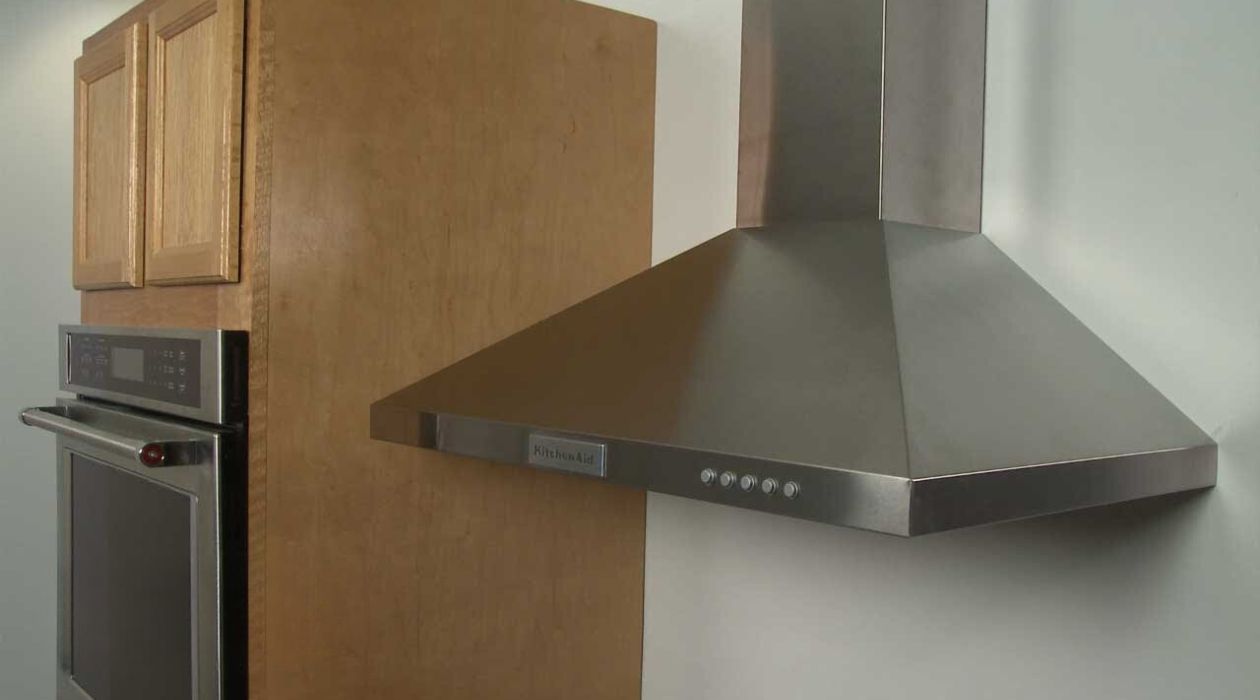
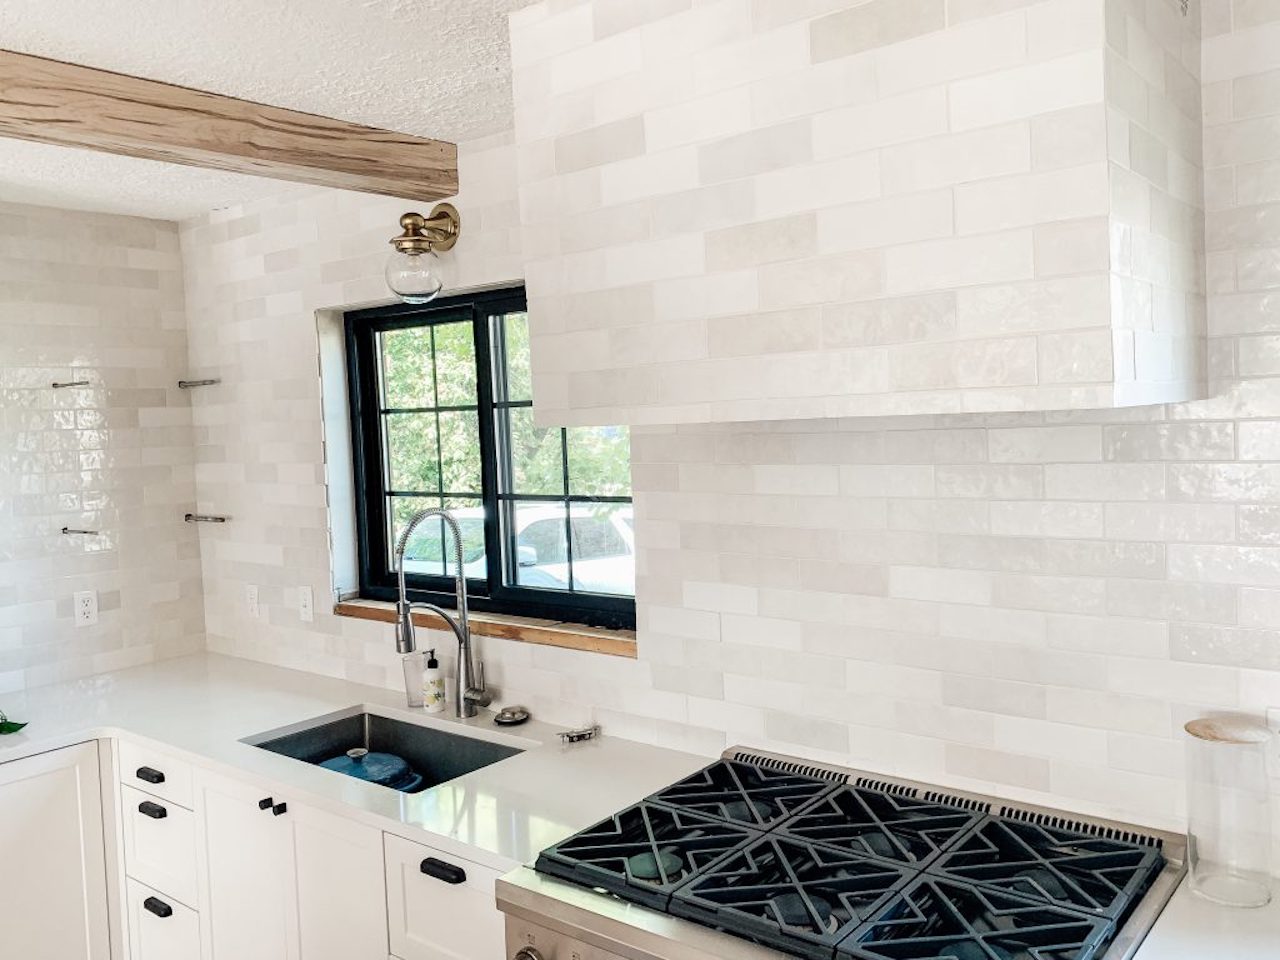
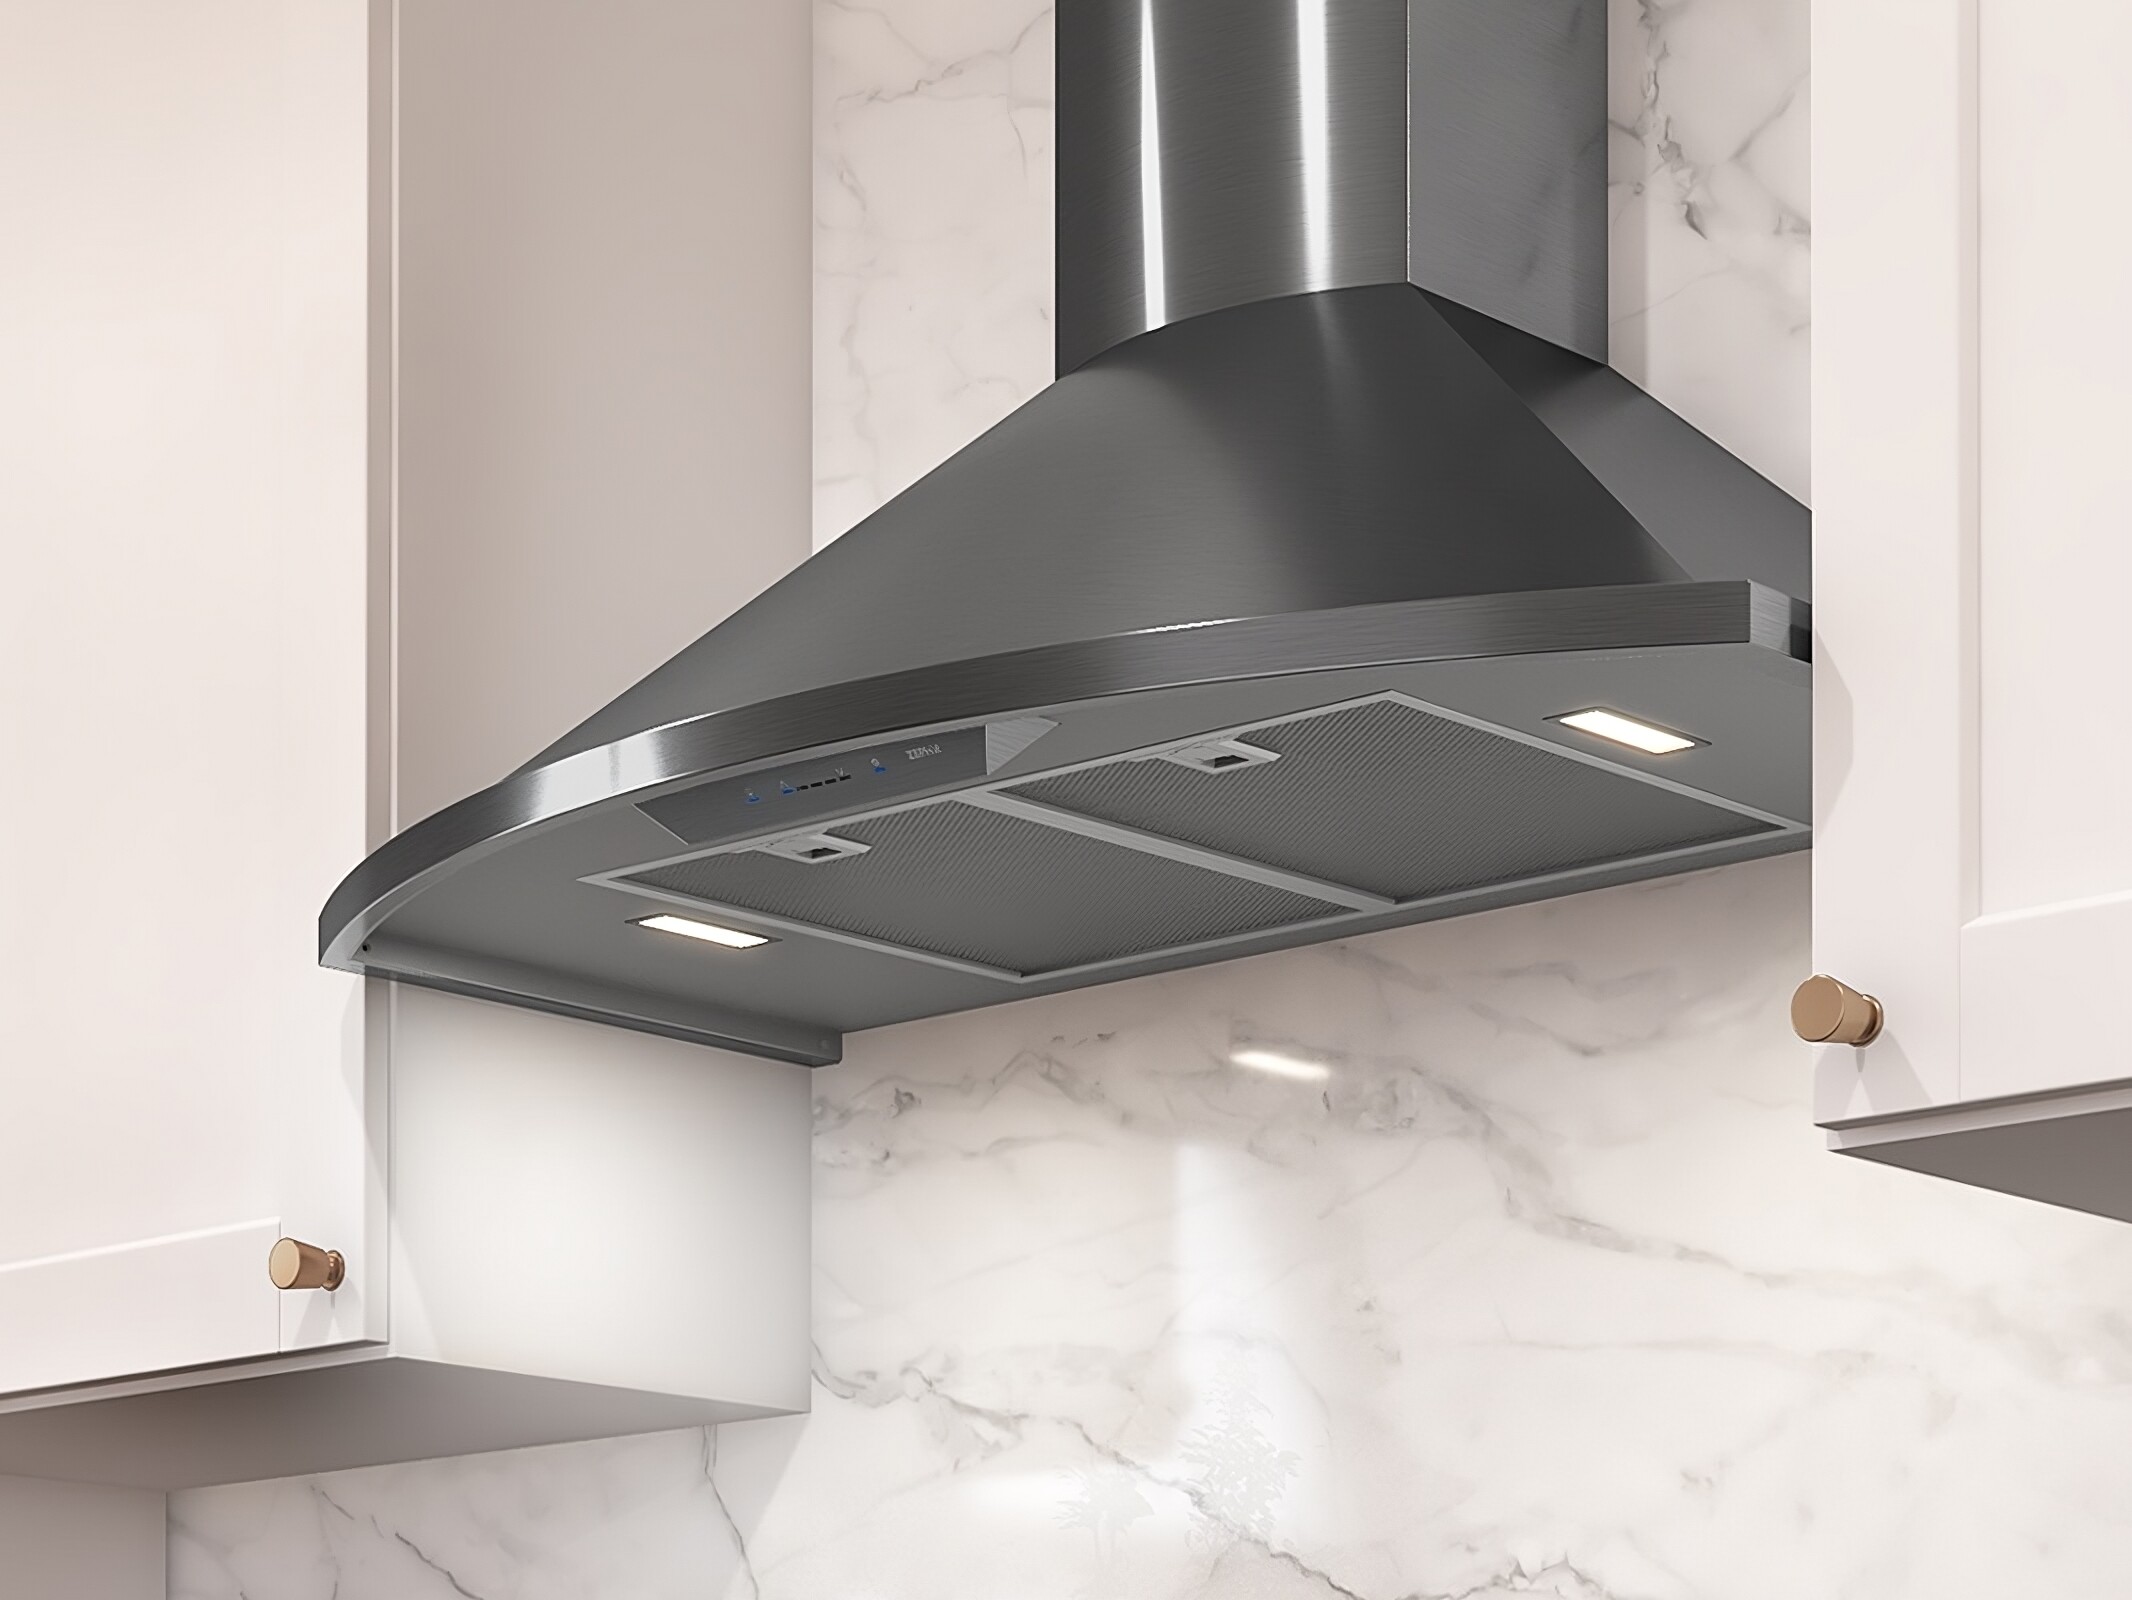
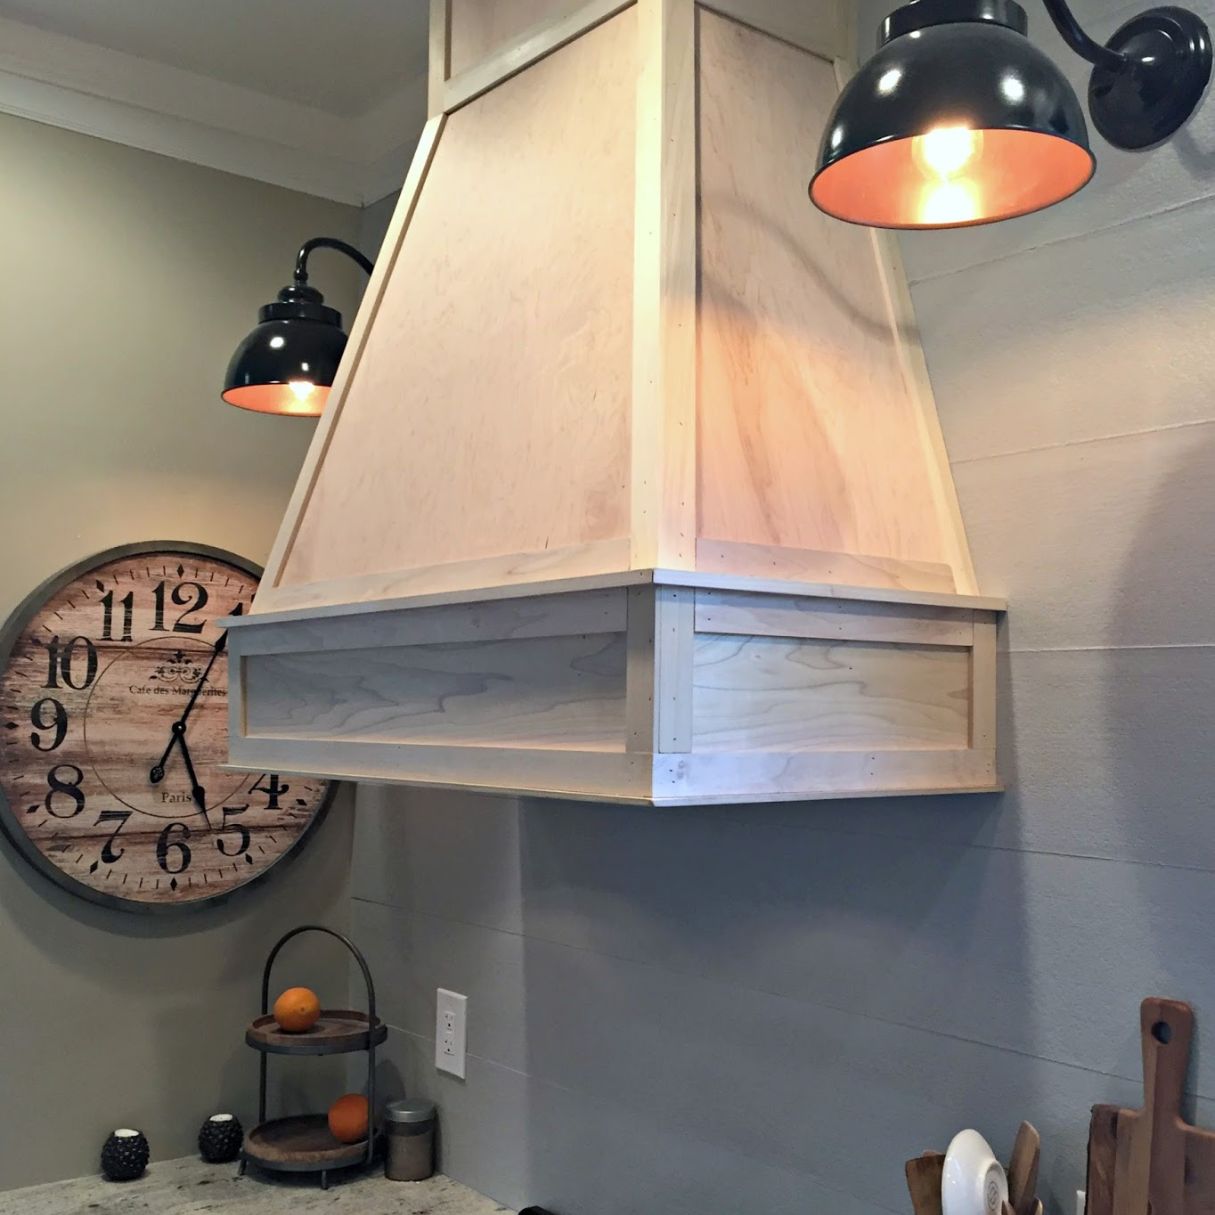
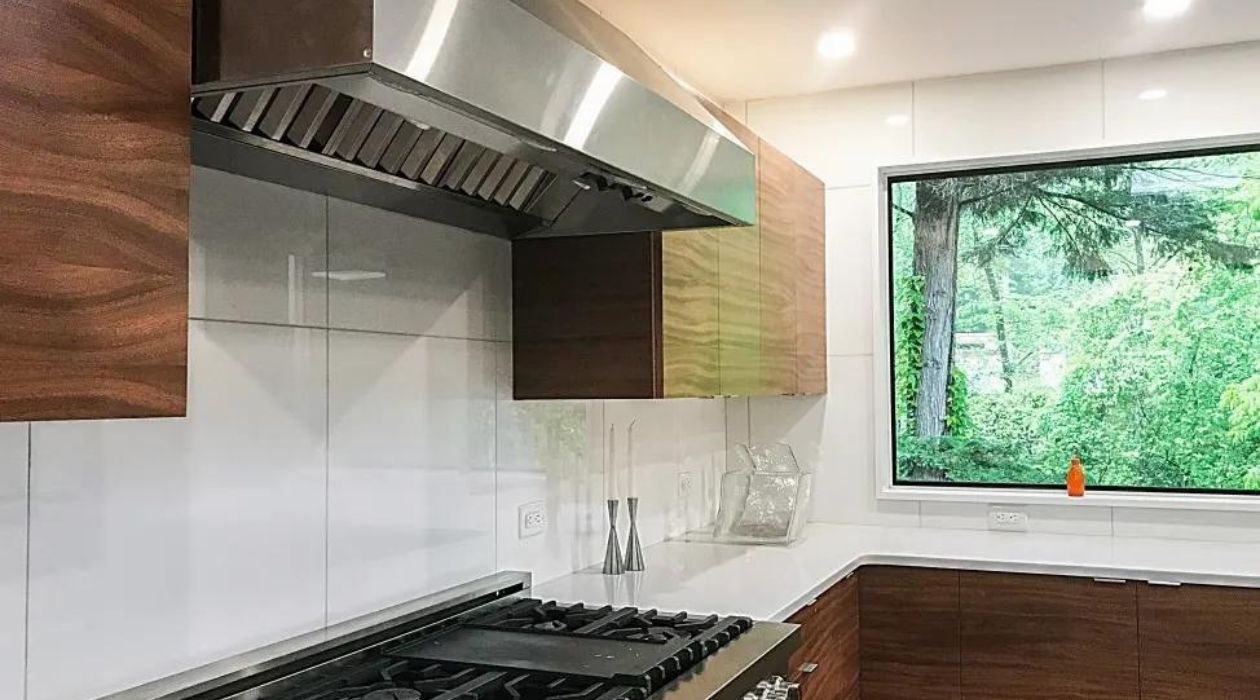
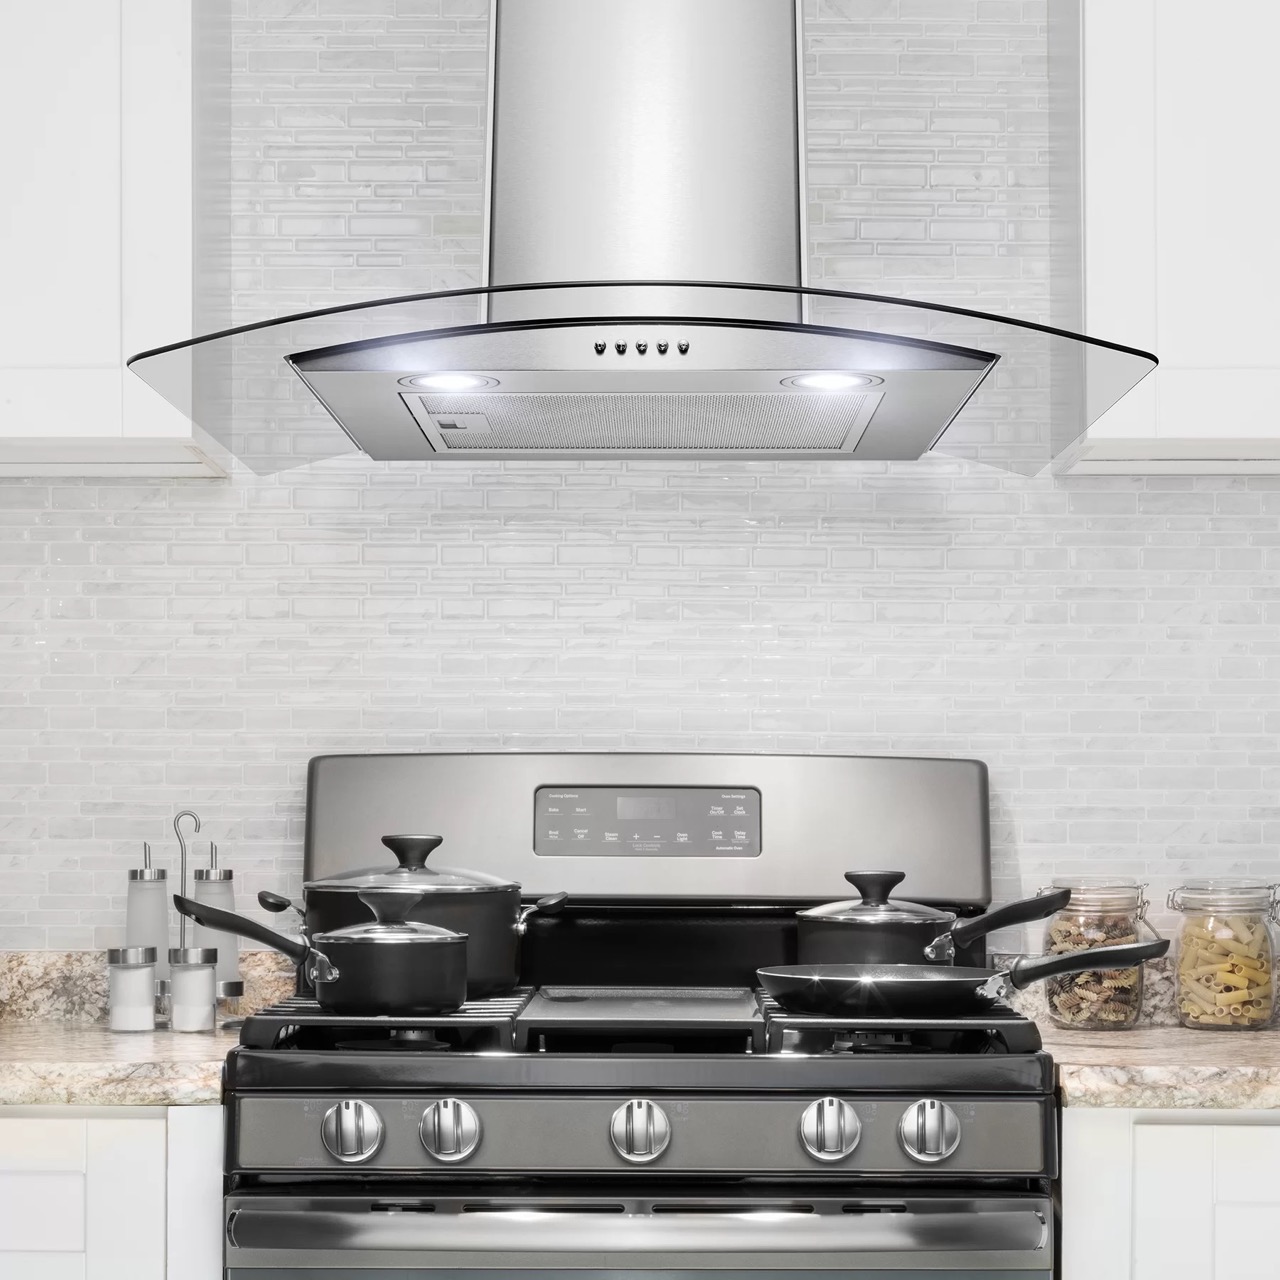
When it comes to kitchen ventilation, a range hood is an essential appliance. It helps remove smoke, odors, and airborne grease particles, keeping your kitchen clean and fresh. However, there are instances when the standard height of a range hood chimney is too tall for your kitchen space or ceiling height. In such cases, cutting the range hood chimney becomes necessary.
This article will guide you through the process of cutting a range hood chimney to fit your specific requirements. With the right tools and careful execution, you can achieve a customized fit and maintain the functionality of your range hood.
Before you begin, it’s important to note that this process may vary depending on the specific make and model of your range hood. Always refer to the manufacturer’s instructions and guidelines for your particular product. Additionally, ensure your safety by wearing appropriate personal protective equipment (PPE) and taking necessary precautions.
Key Takeaways:
- Customize Your Kitchen Ventilation
By following the step-by-step guide, you can safely and effectively cut and modify your range hood chimney to fit your specific kitchen space, enhancing both aesthetics and functionality. - Prioritize Safety and Precision
From measuring and marking to reassembling and testing, prioritize safety and precision throughout the process. Always refer to manufacturer’s instructions and seek professional guidance if needed.
Read also: 9 Amazing Wall-Chimney Range Hoods For 2025
Materials and Tools Needed
Before starting the process of cutting a range hood chimney, gather the following materials and tools:
- Measuring tape
- Marker or pencil
- Power drill
- Screwdriver
- Safety goggles
- Protective gloves
- Hacksaw or reciprocating saw
- Sandpaper or file
- Caulk or sealant
These materials and tools will ensure you have everything necessary to properly measure, mark, and cut the range hood chimney.
Step 1: Measure and Mark
The first step in cutting a range hood chimney is to measure and mark the desired length. Before you begin, ensure that the range hood is turned off and disconnected from the power source.
Using a measuring tape, determine the height at which you want the range hood chimney to be adjusted. Mark this measurement on the chimney, making sure to account for any additional space needed for the vent cover and filters.
It’s important to make precise and accurate measurements to ensure a proper fit. Double-check your measurements before proceeding to the next step.
Once you have marked the desired length on the chimney, it’s time to move on to the next step: disconnecting power and removing the range hood.
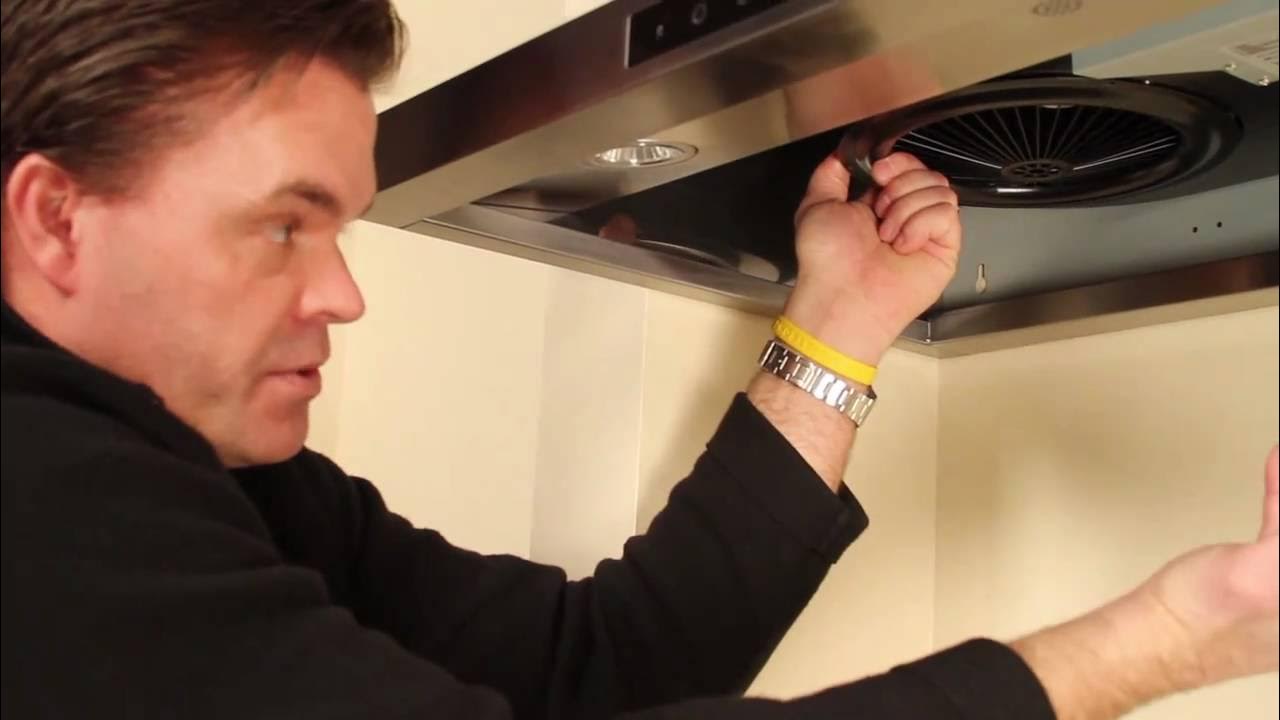
Step 2: Disconnect Power and Remove Range Hood
Before starting any work on the range hood chimney, it’s crucial to ensure your safety by disconnecting the power and removing the range hood.
Start by locating the power source for the range hood. This could be a plug or a direct electrical connection. It’s important to turn off the power supply and unplug the range hood or switch off the circuit breaker connected to it.
Next, remove any screws or fasteners that are holding the range hood in place. Carefully detach the range hood from the wall or cabinet, ensuring that you have a firm grip to prevent it from falling.
Once the range hood is removed, set it aside in a safe location. This will allow you to have clear access to the chimney for cutting and modification.
Now that the range hood is safely disconnected and removed, you can proceed to the next step: removing the vent cover and filters.
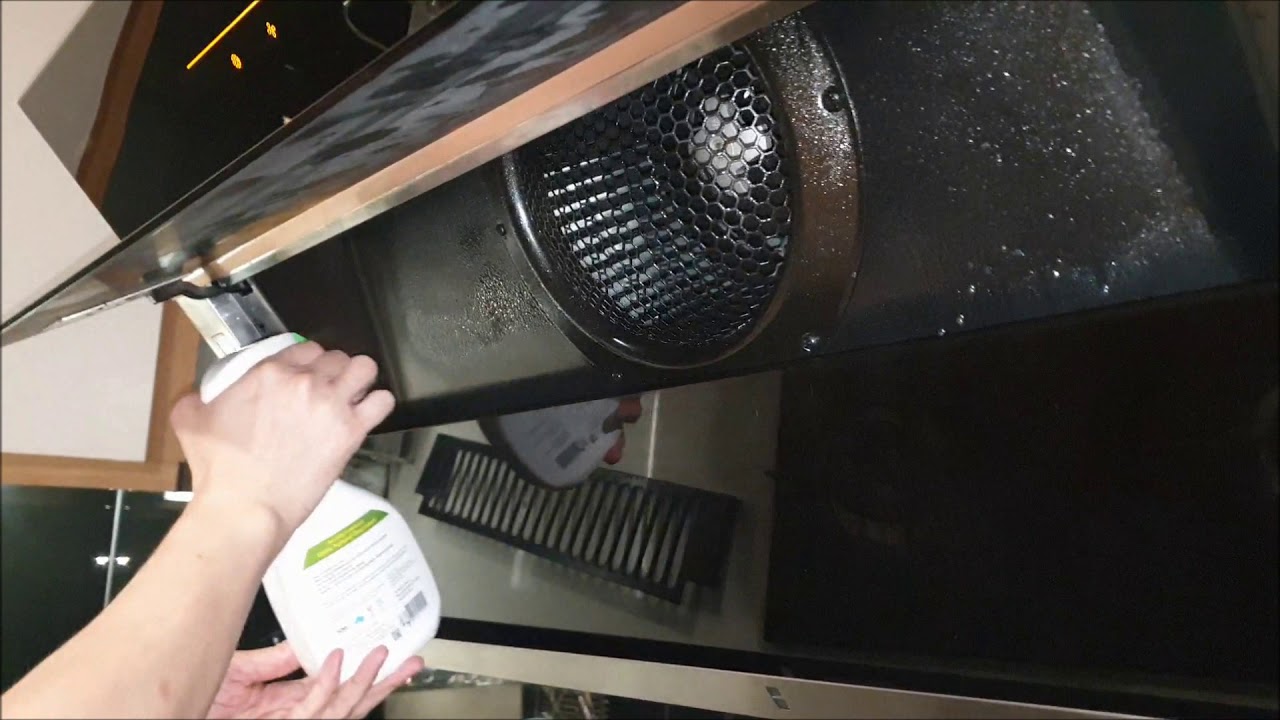
Step 3: Remove Vent Cover and Filters
With the range hood disconnected and removed, the next step is to remove the vent cover and filters. This will ensure easier access to the chimney for cutting and modification.
Start by inspecting the vent cover for any screws or clips holding it in place. Use a screwdriver or the appropriate tool to remove these fasteners and gently detach the vent cover from the chimney.
Once the vent cover is removed, you can proceed to removing the filters. Depending on the type of range hood, the filters may be located either inside the vent cover or on the underside of the range hood itself.
Carefully remove the filters from their designated positions. If they are reusable, clean them thoroughly according to the manufacturer’s instructions. If they are disposable, discard them and make a note to replace them with new filters once the chimney is cut and reassembled.
By removing the vent cover and filters, you create a clear workspace to proceed with the next steps of cutting and modification. With this step complete, you are ready to move on to the next step: loosening and separating the chimney sections.
Read more: What Is A Range Hood
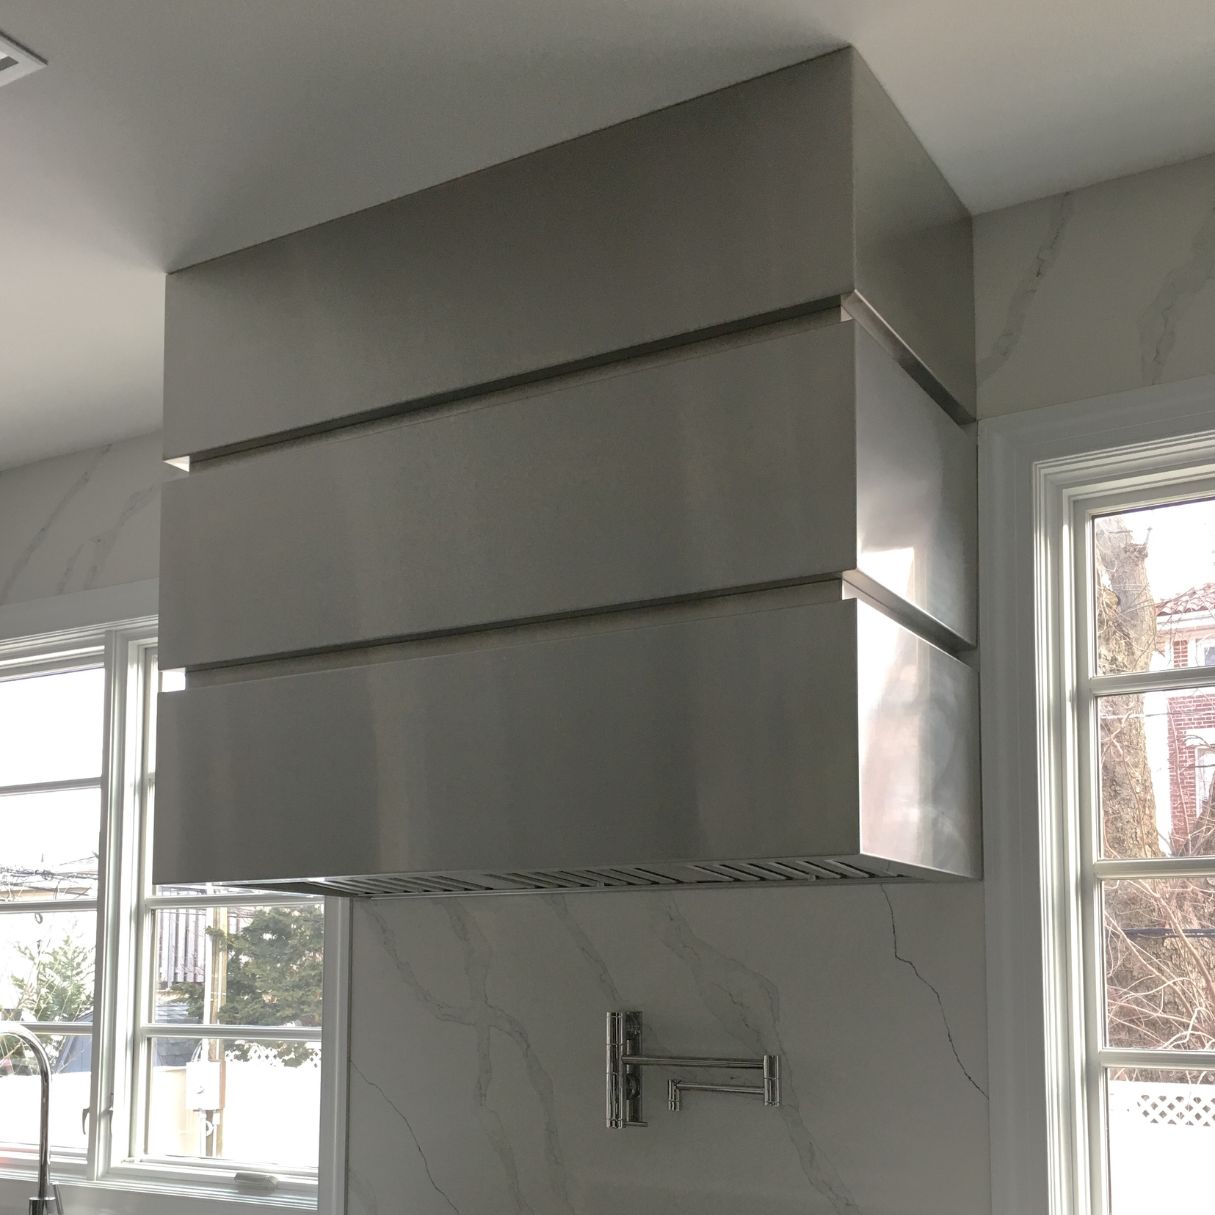
Step 4: Loosen and Separate Chimney Sections
Now that the vent cover and filters are removed, it’s time to loosen and separate the chimney sections. This will allow you to cut the chimney to the desired length.
Inspect the chimney to identify any screws, brackets, or fasteners that are holding the sections together. Use a screwdriver or power drill to loosen and remove these fasteners.
Slowly and carefully separate the chimney sections, starting from the top. Gently pull the sections apart, taking caution not to damage any wiring or components inside.
As you separate the sections, it’s important to keep them organized and in order. This will make it easier to reassemble the chimney once the necessary modifications are made.
Once the chimney sections are loosened and separated, you can proceed to the next step: trimming the chimney to the desired length.
Remember to handle the chimney sections with care to avoid any accidental damage. Take your time during this step to ensure a smooth and precise cut for a customized fit.
When cutting a range hood chimney, measure carefully and use a reciprocating saw with a metal-cutting blade for a clean and precise cut. Always wear safety goggles and gloves.
Step 5: Trim the Chimney to Desired Length
With the chimney sections separated, it’s time to trim the chimney to the desired length. Before proceeding, ensure that you have measured and marked the correct length in Step 1.
Using a hacksaw or reciprocating saw, carefully cut the chimney sections to the marked length. Take your time and use steady, even strokes to ensure a clean cut.
It is advisable to enlist the help of a second person, especially if the chimney is long and heavy. This will ensure stability and safety during the cutting process.
Keep in mind that some chimneys may have sharp edges after being cut. Use caution and wear protective gloves to avoid any injuries.
Once you have trimmed the chimney sections to the desired length, inspect the cut edges for any roughness or burrs. Use sandpaper or a file to smooth down any sharp edges and ensure a clean finish.
By trimming the chimney to the desired length, you are one step closer to achieving a customized fit for your range hood. With the chimney sections cut, you can move on to reassembling them in the next step.
Step 6: Reassemble the Chimney Sections
Now that the chimney sections have been trimmed to the desired length, it’s time to reassemble them to complete the modification process.
Start by carefully aligning the cut ends of the chimney sections. Ensure that they are properly lined up and fit snugly together.
Next, refer to the manufacturer’s instructions or guidelines to determine if any additional connectors or fasteners are required to secure the chimney sections. Use the appropriate screws or brackets to fasten the sections together securely.
Make sure to tighten the screws or fasteners evenly, ensuring a stable and secure connection between the chimney sections. This will prevent any movement or wobbling once the chimney is reinstalled.
Double-check the reassembled chimney to ensure that all sections are properly aligned and securely fastened. Inspect for any gaps or misalignments and make any necessary adjustments.
By reassembling the chimney sections, you are almost at the final stages of the modification process. The next step involves reinstalling the vent cover and filters.
Take your time during this step to ensure a proper fit and a seamless transition between the chimney sections. With the chimney reassembled, you can move on to the next step: reinstalling the vent cover and filters.
Step 7: Reinstall Vent Cover and Filters
With the chimney reassembled, it’s time to reinstall the vent cover and filters to complete the modification process.
Start by positioning the vent cover back onto the chimney. Align it properly and secure it with the screws or clips that were removed earlier.
Ensure that the vent cover is securely fastened and that there are no loose or wobbly parts. This will ensure proper airflow and functionality of the range hood.
Next, if you removed any filters during the process, it’s time to reinstall them. Carefully place the filters back into their designated positions, following the manufacturer’s instructions.
If the filters are reusable, ensure that they are clean and free from any debris before reinstalling them. If they are disposable, replace them with new filters for optimal performance.
Once the vent cover and filters are reinstalled, give them a final inspection to ensure everything is in place and secure.
With the vent cover and filters properly reinstalled, you are almost finished with the modification process. The next step involves reconnecting the power and testing the range hood.
Take your time during this step to ensure that everything is properly aligned and functioning. With the vent cover and filters back in place, you can move on to the final step: reconnecting the power and testing the range hood.
Read more: How To Build A Range Hood
Step 8: Reconnect Power and Test
With the modification process complete, it’s time to reconnect the power and test the range hood to ensure everything is functioning properly.
Start by locating the power source for the range hood. If you had turned off the circuit breaker or unplugged the range hood, now is the time to reverse those actions and restore power.
Once the power is restored, turn on the range hood and test its functionality. Make sure that the fan is running smoothly and that the lights are working as expected.
Check for any unusual noises or vibrations that may indicate a problem. If you notice any issues, refer to the manufacturer’s instructions or contact a professional for assistance.
While the range hood is running, inspect the chimney for any signs of air leakage or gaps. If necessary, apply caulk or sealant to seal any areas that may allow air to escape.
After ensuring that the range hood is operating correctly and that the chimney is properly sealed, take a moment to appreciate your customized and modified range hood chimney.
Congratulations! You have successfully cut and modified the range hood chimney to fit your specific requirements. Enjoy the improved look and functionality of your range hood in your kitchen!
Remember, it’s always important to follow the manufacturer’s instructions and guidelines throughout the entire process. Take all necessary safety precautions and consult a professional if you have any doubts or concerns.
Thank you for following this step-by-step guide. We hope this has been helpful in assisting you with cutting your range hood chimney and achieving a customized fit for your kitchen space.
Happy cooking and ventilation!
Conclusion
Modifying a range hood chimney to fit your specific kitchen space can make a significant difference in the overall aesthetics and functionality of your range hood. By following these steps and using the right tools, you can successfully cut and customize the length of your range hood chimney.
Throughout the process, it is crucial to prioritize safety by wearing appropriate protective gear and exercising caution while handling tools and materials. Always refer to the manufacturer’s instructions for your specific range hood model to ensure you are following the correct procedure.
By measuring and marking the desired length, disconnecting power and removing the range hood, and carefully trimming and reassembling the chimney sections, you can achieve a customized fit that aligns perfectly with your kitchen’s dimensions.
Don’t forget to reinstall the vent cover and filters, as they play an essential role in the proper functioning of your range hood. Lastly, reconnect the power and test the range hood to ensure everything is working as intended.
Remember, if you are uncertain about any step or lack experience, it’s always a good idea to consult a professional who can guide you through the process and ensure the modification is done correctly.
By taking the time to cut and customize your range hood chimney, you can enhance the overall look and performance of your kitchen ventilation system. Enjoy the benefits of a perfectly fitted range hood chimney as it keeps your kitchen clean, fresh, and free from unwanted odors and smoke.
Thank you for following this comprehensive guide. We hope it has provided you with the knowledge and confidence to successfully cut your range hood chimney and achieve your desired kitchen ventilation setup.
Happy cooking and happy modifying!
Frequently Asked Questions about How To Cut Range Hood Chimney
Was this page helpful?
At Storables.com, we guarantee accurate and reliable information. Our content, validated by Expert Board Contributors, is crafted following stringent Editorial Policies. We're committed to providing you with well-researched, expert-backed insights for all your informational needs.


0 thoughts on “How To Cut Range Hood Chimney”