Articles
How To Extend Faucet Supply Line
Modified: February 22, 2024
Discover helpful articles on how to extend faucet supply line. Get expert tips and step-by-step guides for a seamless installation process.
(Many of the links in this article redirect to a specific reviewed product. Your purchase of these products through affiliate links helps to generate commission for Storables.com, at no extra cost. Learn more)
Introduction
When it comes to plumbing, sometimes you may find yourself needing to extend the faucet supply line. Whether you’re replacing an old faucet with a new one or installing a new fixture altogether, having the right length supply line is crucial for proper functioning. However, don’t worry if the existing supply line is too short. With the right tools and a little know-how, you can easily extend the faucet supply line yourself.
In this article, we’ll guide you through the step-by-step process of extending your faucet supply line. We’ll cover everything from turning off the water supply to testing for leaks, ensuring that you have all the information you need to successfully tackle this plumbing project.
Before we jump into the steps, let’s take a look at the tools and materials you’ll need to get the job done:
Key Takeaways:
- Extending a faucet supply line is a manageable DIY project that requires turning off the water supply, measuring and cutting the extension pipe, and testing for leaks to ensure proper water flow.
- By following the step-by-step guide and prioritizing safety, you can confidently extend your faucet supply line, accommodate different plumbing configurations, and enjoy improved functionality in your plumbing system.
Read also: 9 Best Faucet Extender for 2024
Tools and Materials Needed
Before you begin extending your faucet supply line, make sure you have the following tools and materials on hand:
- Adjustable wrench
- Pipe cutter or hacksaw
- Teflon tape
- Extension pipe
- Faucet supply line connector
- Shut-off valve connector
- Gloves
- Safety goggles
- Towel or bucket to catch any water
Having these tools and materials readily available will help facilitate a smooth and efficient process. Make sure to wear gloves and safety goggles to protect yourself during the procedure.
Once you have gathered all the necessary tools and materials, you’re ready to begin.
Step 1: Turn Off the Water Supply
The first step in extending your faucet supply line is to turn off the water supply. Locate the shut-off valves for the specific faucet you’ll be working on. These valves are typically located under the sink or near the water main.
Once you’ve located the shut-off valve, turn it clockwise (or to the right) to shut off the water flow. This will prevent any water from flowing through the supply line while you work on extending it.
After shutting off the water, open the faucet to relieve any remaining pressure in the supply line. This will help minimize any potential mess or water leakage when you disconnect the old supply line.
It’s always a good idea to have a towel or bucket handy to catch any water that might still be trapped in the supply line. This will help keep your work area clean and dry.
With the water supply turned off and the faucet open to relieve pressure, it’s time to move on to the next step.
Step 2: Remove the Old Supply Line
With the water supply turned off, it’s time to remove the old supply line. Using an adjustable wrench, unscrew the connections at both ends of the supply line. Typically, one end will be connected to the faucet and the other end will be connected to the shut-off valve.
Start by placing the adjustable wrench on the hex nut of the supply line connector and turning it counterclockwise (or to the left) to loosen it. Once loose, you can usually unscrew it by hand.
Repeat this process for the other end of the supply line, disconnecting it from the shut-off valve.
Once both ends of the supply line are disconnected, carefully remove the old supply line from the faucet and the shut-off valve.
It’s important to inspect the old supply line for any signs of damage or wear. If you notice any cracks or leaks, it’s recommended to replace the entire supply line rather than extending it. This will ensure proper functionality and prevent any future problems.
With the old supply line removed, you’re now ready to move on to the next step: measuring and cutting the extension pipe.
Step 3: Measure and Cut the Extension Pipe
Once you have removed the old supply line, it’s time to measure and cut the extension pipe. The extension pipe will bridge the gap between the faucet and the shut-off valve, providing the necessary length to connect the two.
Using a pipe cutter or a hacksaw, measure the distance between the faucet and the shut-off valve. Keep in mind that you’ll need to account for the connectors at both ends of the extension pipe.
Mark the measured distance on the extension pipe using a marker or a piece of tape. Make sure to double-check your measurements before proceeding to the next step.
Position the pipe cutter or hacksaw around the marked point on the extension pipe. Apply steady pressure and rotate the cutter or saw around the pipe, making sure to maintain an even and straight cut. Take your time to ensure a clean and precise cut.
After cutting the extension pipe, use a file or sandpaper to smooth any rough edges. This will prevent any sharp edges or burrs that could potentially cause leaks or damage the supply line connectors.
Once you have measured and cut the extension pipe, it’s time to move on to the next step: attaching the extension pipe to the faucet.
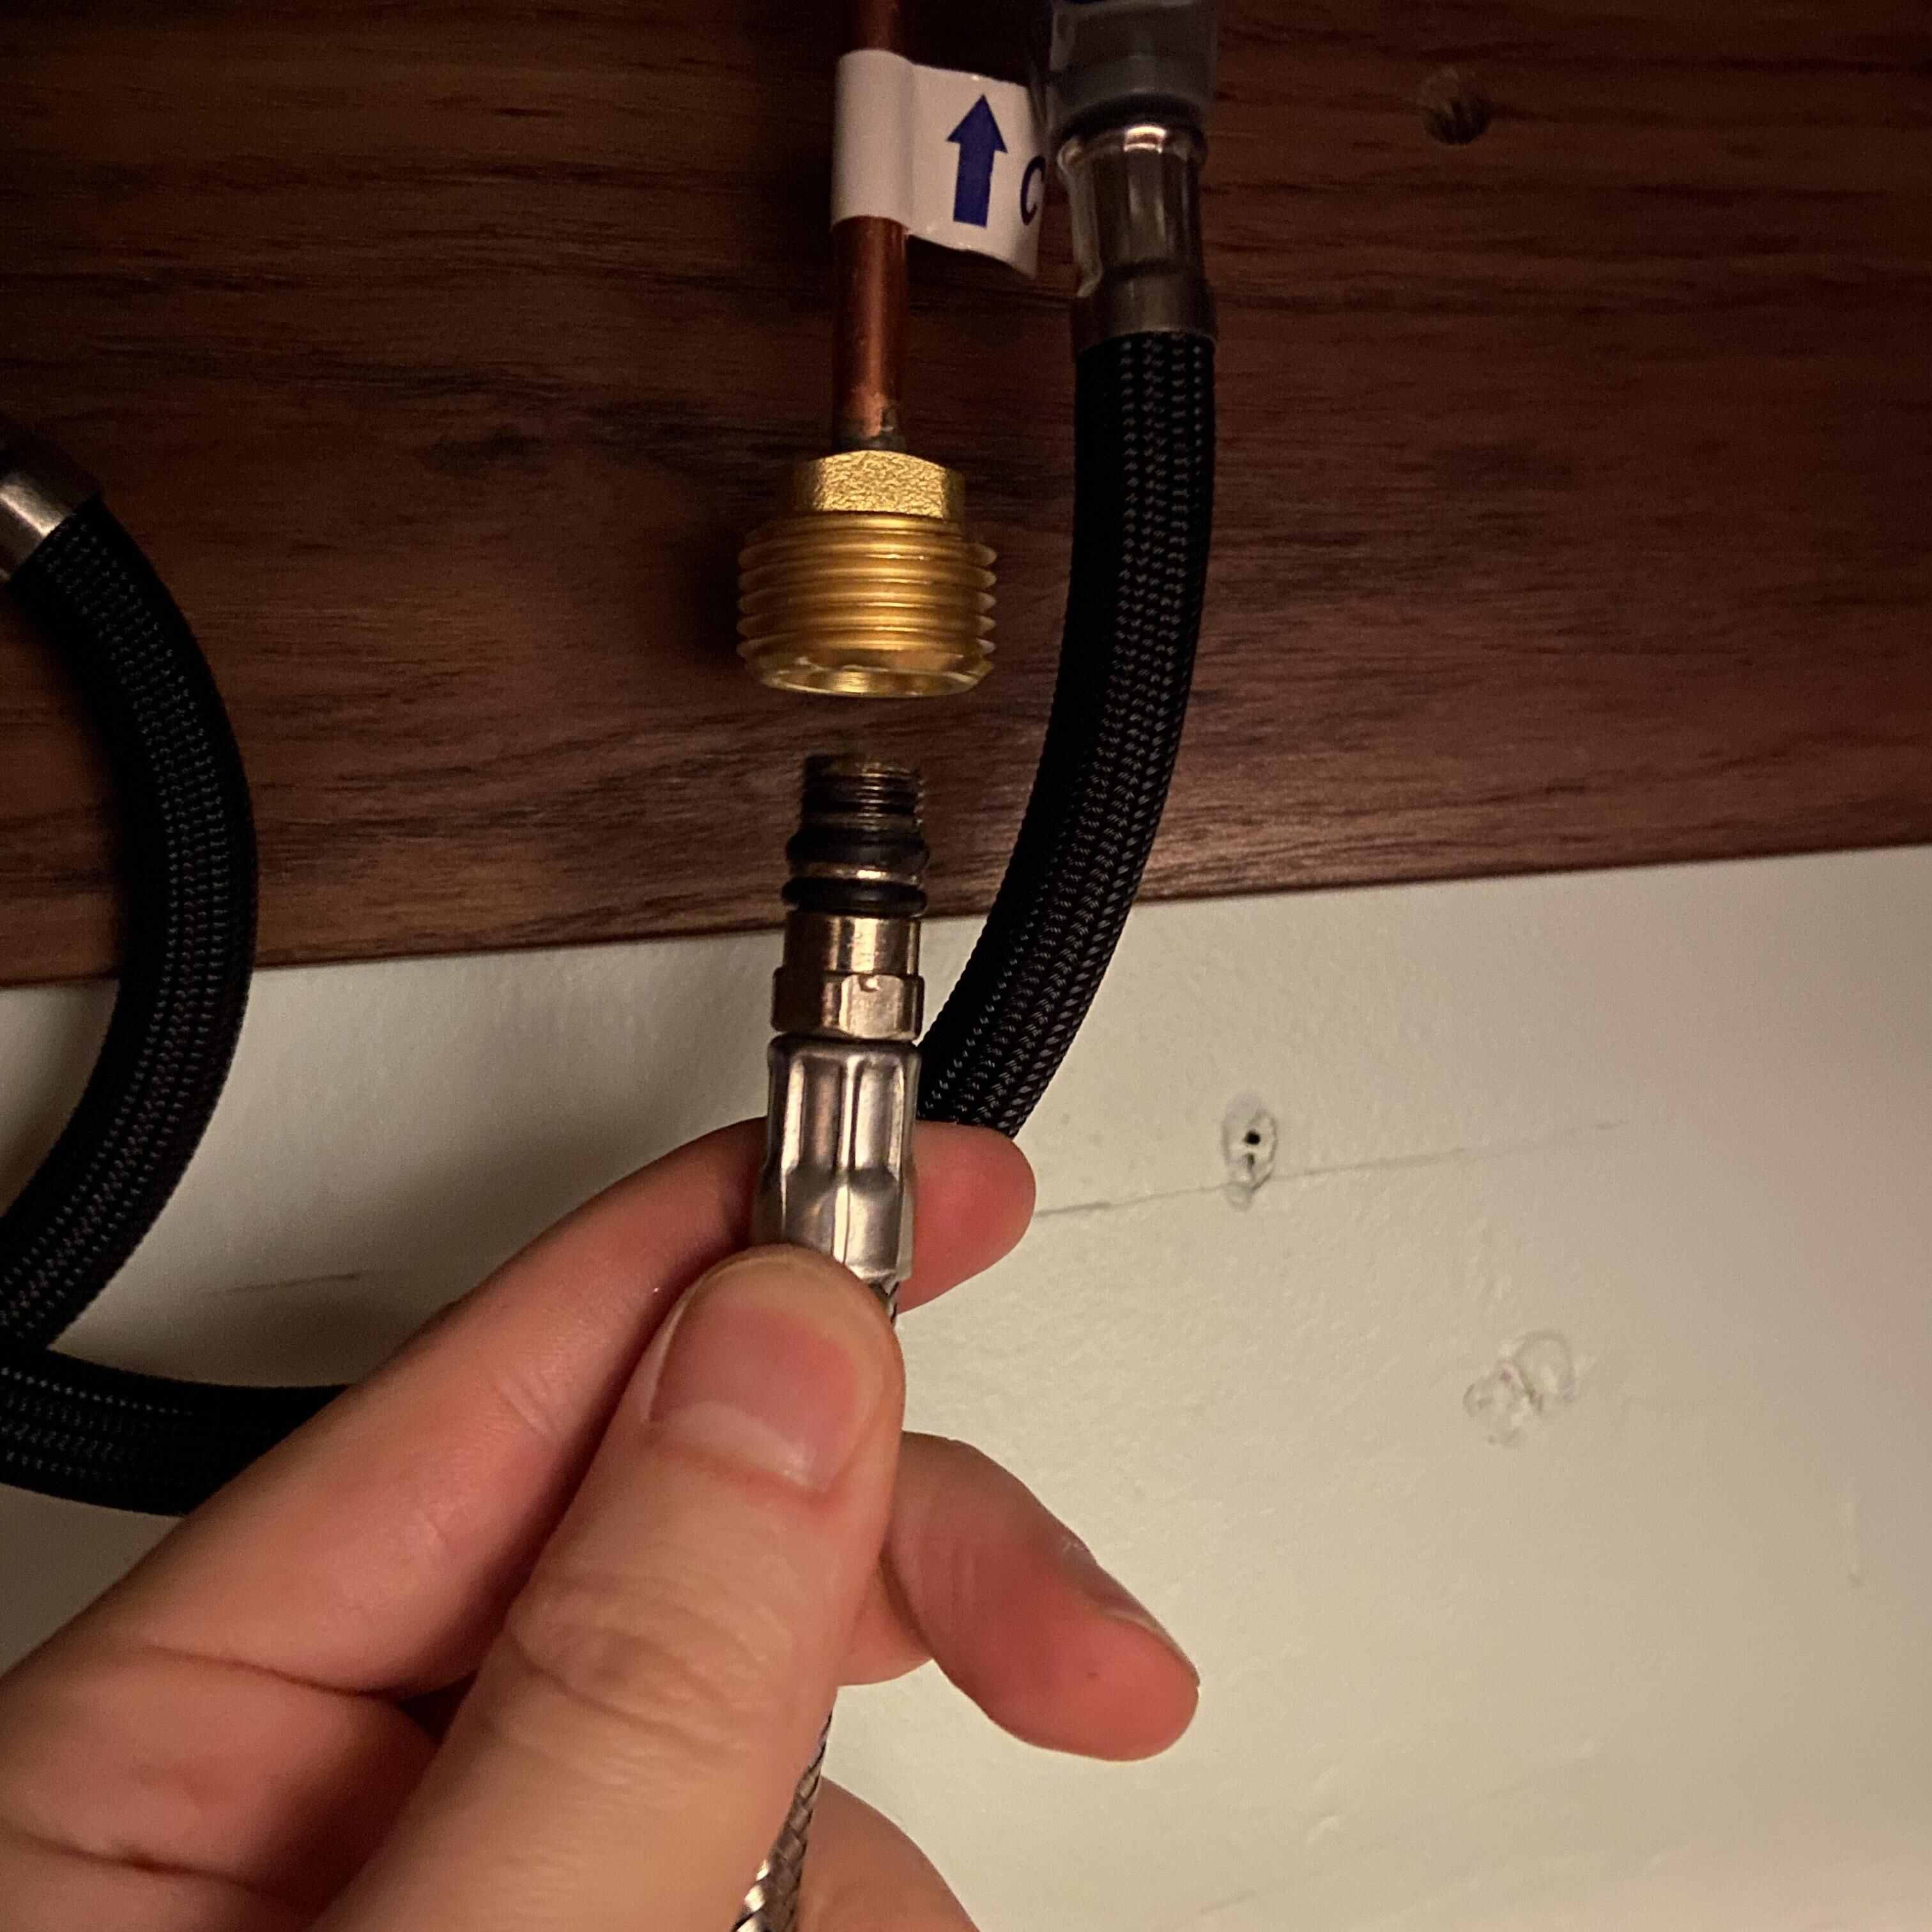
When extending a faucet supply line, make sure to use a proper length of tubing and ensure a secure connection using a compression fitting or a push-to-connect fitting for a reliable water-tight seal. Always turn off the water supply before making any adjustments.
Step 4: Attach the Extension Pipe to the Faucet
With the extension pipe measured and cut to the correct length, it’s time to attach it to the faucet. This step will ensure a secure connection between the extension pipe and the faucet, allowing for proper water flow.
Start by applying a layer of Teflon tape to the threads of the faucet supply line connector. The Teflon tape helps create a watertight seal between the connector and the extension pipe.
Once the Teflon tape is applied, screw the faucet supply line connector onto the threaded end of the extension pipe. Use an adjustable wrench to tighten the connection, ensuring that it is snug but not overly tightened.
Make sure to align the connector in the correct direction to ensure that the extension pipe will reach the shut-off valve without any kinks or bends. This will help maintain proper water flow and prevent any restrictions in the supply line.
Once the extension pipe is securely attached to the faucet, it’s time to move on to the next step: connecting the other end of the extension pipe to the shut-off valve.
Step 5: Connect the Other End of Extension Pipe to the Shut-Off Valve
With the extension pipe securely attached to the faucet, it’s time to connect the other end of the pipe to the shut-off valve. This step will complete the extension of the faucet supply line and ensure a proper connection to the water source.
Start by applying a layer of Teflon tape to the threads of the shut-off valve connector. The Teflon tape will help create a tight seal between the connector and the extension pipe.
Screw the shut-off valve connector onto the threaded end of the extension pipe. Use an adjustable wrench to tighten the connection, ensuring a secure and leak-free joint.
Make sure to align the shut-off valve connector in the correct direction, ensuring that the extension pipe is straight and without any kinks. This will allow for optimal water flow and prevent any restrictions in the supply line.
Once the connector is tightly secured, double-check all connections to ensure they are properly tightened and leak-free.
With the extension pipe connected to both the faucet and the shut-off valve, it’s time to move on to the next step: turning on the water supply.
Step 6: Turn On the Water Supply
Now that the extension pipe is securely connected to both the faucet and the shut-off valve, it’s time to turn on the water supply. This step will restore water flow to the faucet and allow you to test the newly extended supply line.
Locate the shut-off valve and turn it counterclockwise (or to the left) to open the valve and allow water to flow through the supply line. Slowly turn the valve to avoid sudden surges of water, which could potentially cause damage or leaks.
Keep an eye on the connections of the extension pipe to ensure there are no immediate signs of leaks. If you notice any water seeping from the connections, immediately turn off the water supply and check the connections for proper tightening.
Allow the water to flow through the supply line for a few minutes to ensure any air trapped in the line is flushed out. This will help avoid any sputtering or uneven water flow when you use the faucet.
Once you are confident that the water is flowing smoothly and there are no leaks, it’s time to move on to the final step: testing for leaks.
Step 7: Test for Leaks
After turning on the water supply, it’s essential to test the newly extended faucet supply line for any leaks. This step will ensure that all connections are properly sealed and that your plumbing system is functioning correctly.
Start by inspecting all the connection points, including the faucet supply line connector and the shut-off valve connector. Look for any signs of water leakage, such as dripping or pooling water.
If you notice any leaks, use an adjustable wrench to carefully tighten the connections. Be cautious not to overtighten, as this can cause damage or strip the threads. Double-check the connections and retest for leaks.
Next, run the faucet and check for any leaks around the faucet itself. Test both cold and hot water to ensure there are no issues with the water flow or temperature. Pay attention to any drips or water pooling around the base or handles of the faucet.
If you detect any leaks, try tightening the faucet connections. If the leaks persist, it might be necessary to disassemble and reassemble the faucet to identify and fix the underlying issue. Consider contacting a professional plumber for assistance if needed.
Lastly, it’s important to clean up any excess water and ensure that the area around the faucet and supply line is dry. This will help prevent any water damage and maintain a clean and functional plumbing system.
By thoroughly testing for leaks and addressing any issues promptly, you can ensure the long-term effectiveness and reliability of your newly extended faucet supply line.
Read also: 9 Amazing Faucet Supply Line for 2024
Conclusion
Extending a faucet supply line may seem like a daunting task, but with the right tools and a step-by-step approach, it can be a manageable DIY project. By following the steps outlined in this guide, you can successfully extend your faucet supply line and ensure proper water flow in your plumbing system.
Remember to start by turning off the water supply and removing the old supply line. Measure and cut the extension pipe to the appropriate length, ensuring a precise fit. Attach the extension pipe to the faucet and the shut-off valve, making sure to tighten the connections securely. After turning on the water supply, test for leaks to ensure all connections are properly sealed.
If you encounter any difficulties or are unsure of your plumbing skills, it’s always best to consult a professional plumber for assistance. They can provide expert advice and ensure that the extension is done correctly.
By extending your faucet supply line, you can accommodate different plumbing configurations, replace old fixtures, or enhance the functionality of your plumbing system. With a little effort and the right approach, you can confidently tackle this DIY plumbing project and enjoy the benefits of having a properly extended faucet supply line.
Remember to prioritize safety throughout the process by wearing gloves and safety goggles and being cautious when working with plumbing tools. Additionally, always follow local building codes and regulations when modifying your plumbing system.
With your newly extended faucet supply line, you can now enjoy improved functionality and reliability in your plumbing system. So, roll up your sleeves, gather the necessary tools, and get ready to tackle this plumbing project with confidence!
Now that you've mastered extending faucet supply lines, consider upgrading your kitchen with our guide on faucet installation, perfect for adding functionality and style. Planning a larger project? Our detailed overview on bathroom renovation provides valuable insights and realistic timelines, helping you effectively manage your next big transformation.
Frequently Asked Questions about How To Extend Faucet Supply Line
Was this page helpful?
At Storables.com, we guarantee accurate and reliable information. Our content, validated by Expert Board Contributors, is crafted following stringent Editorial Policies. We're committed to providing you with well-researched, expert-backed insights for all your informational needs.


0 thoughts on “How To Extend Faucet Supply Line”