Articles
How To Fill Gaps In A Driveway
Modified: December 7, 2023
Learn effective techniques and tips for filling gaps in your driveway with our informative articles. Enhance the durability and appearance of your driveway today!
(Many of the links in this article redirect to a specific reviewed product. Your purchase of these products through affiliate links helps to generate commission for Storables.com, at no extra cost. Learn more)
Introduction
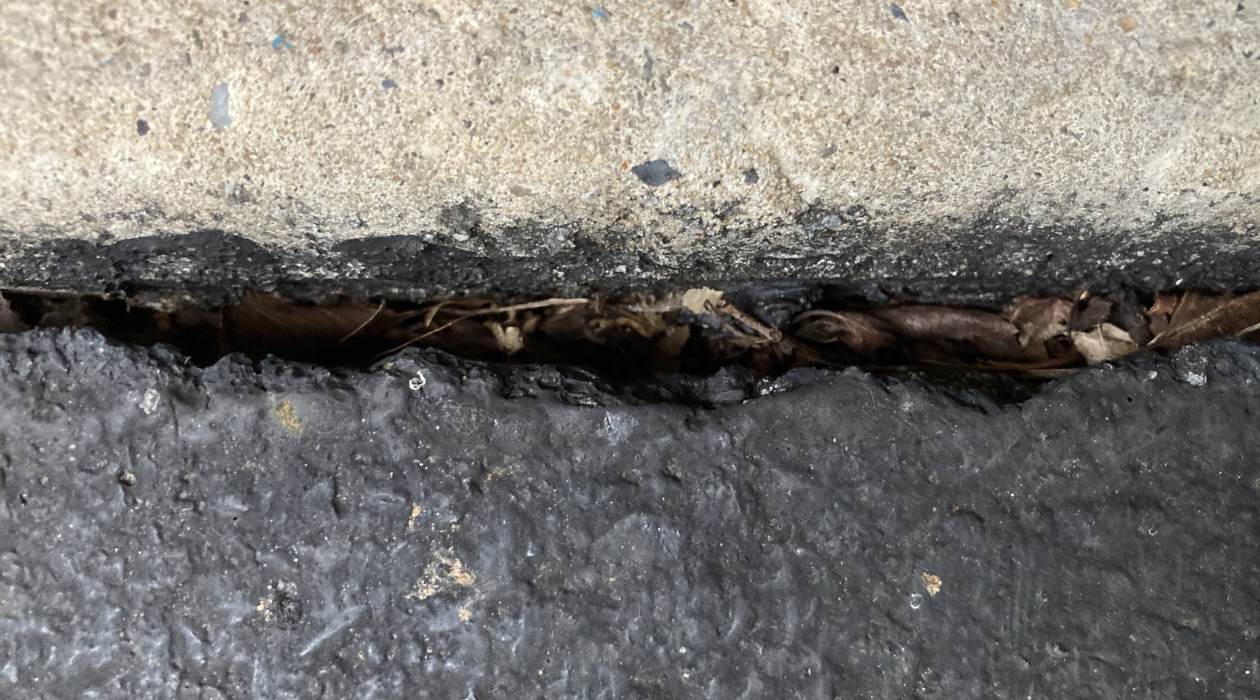
Having a well-maintained driveway not only enhances the curb appeal of your home but also ensures a safe and smooth surface for vehicles and pedestrians. Over time, weather conditions, heavy traffic, and natural wear and tear can cause gaps to form in your driveway. These gaps not only look unsightly but can also lead to further damage if left untreated. That is why filling these gaps is an essential part of maintaining your driveway’s longevity and functionality.
In this article, we will discuss why filling gaps in driveways is important, the materials needed for the task, and provide you with a step-by-step guide on how to effectively fill these gaps. We will also highlight common mistakes to avoid and provide tips and tricks for successful gap filling. By following these guidelines, you will be able to restore the appearance and integrity of your driveway, ensuring its durability for years to come.
Key Takeaways:
- Filling gaps in driveways is crucial for preventing further damage, preserving integrity, enhancing safety, and improving curb appeal. It’s a proactive measure that offers numerous benefits for the longevity and functionality of your driveway.
- Prioritize using high-quality materials, following proper techniques, and regular maintenance to achieve a successful and long-lasting gap filling outcome for your driveway. By being diligent and proactive, you can ensure a safe and functional surface for years to come.
Read more: How To Fill Hardwood Floor Gaps
Why Filling Gaps in Driveways is Important
While it might be tempting to overlook or postpone filling the gaps in your driveway, it is crucial to understand the importance of addressing this issue promptly. Here are a few reasons why filling gaps in driveways is essential:
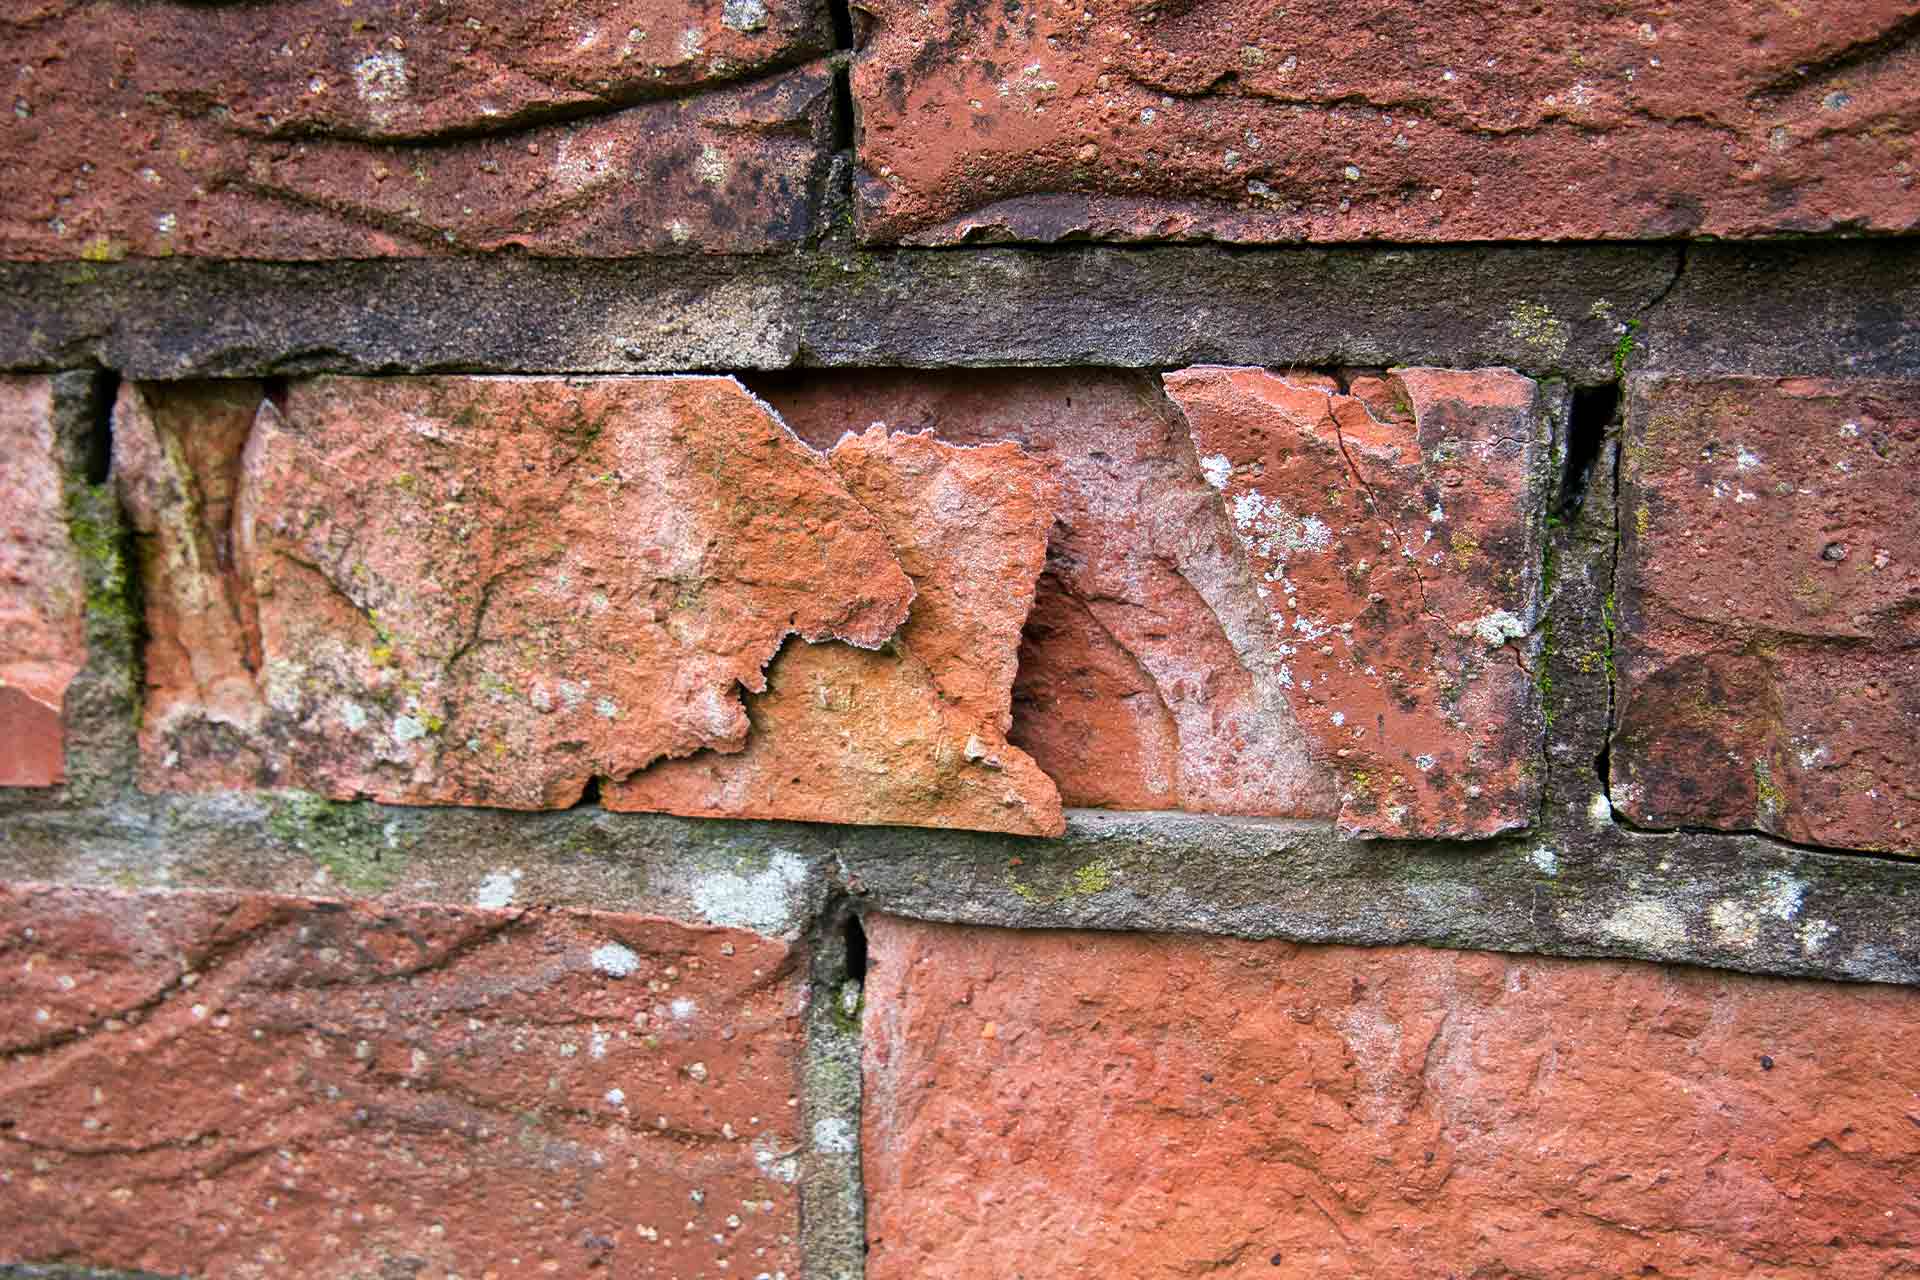
1. Preventing further damage: When gaps form in your driveway, water can seep into them and cause erosion. Over time, this can lead to the expansion of the gaps, resulting in even bigger cracks and potholes. By filling these gaps early on, you prevent water damage from exacerbating the problem. 2. Preserving your driveway’s integrity: Gaps in driveways can weaken the overall structure, making it more susceptible to damage from heavy vehicles and daily wear and tear. Filling these gaps helps maintain the integrity of the driveway, preventing further deterioration and increasing its lifespan. 3. Enhancing safety: Uneven surfaces caused by gaps in driveways can pose a safety hazard. Pedestrians and vehicles can trip or experience difficulty navigating these uneven areas. By filling the gaps, you create a smoother, safer surface for everyone. 4. Improving the aesthetic appeal of your property: Gaps in your driveway can be unattractive and can detract from your home’s overall curb appeal. By filling these gaps, you restore the clean and neat appearance of your driveway, enhancing the visual appeal of your property. 5. Preventing weed growth: When gaps are left unfilled, they can become breeding grounds for unwanted plants and weeds. These can further damage the driveway’s structure and make it even harder to repair. Filling the gaps helps eliminate spaces where weeds and plants can take root. Overall, filling gaps in driveways is a proactive measure that can save you time, money, and potential headaches in the long run. It ensures the longevity and functionality of your driveway while also enhancing the safety and appearance of your property. Now that we understand the importance of filling these gaps, let’s move on to the materials needed for the task.
Materials Needed for Filling Gaps in Driveways
Before you begin filling the gaps in your driveway, it’s important to gather all the necessary materials. Having these items on hand will ensure a smooth and efficient process. Here are the materials you will need:
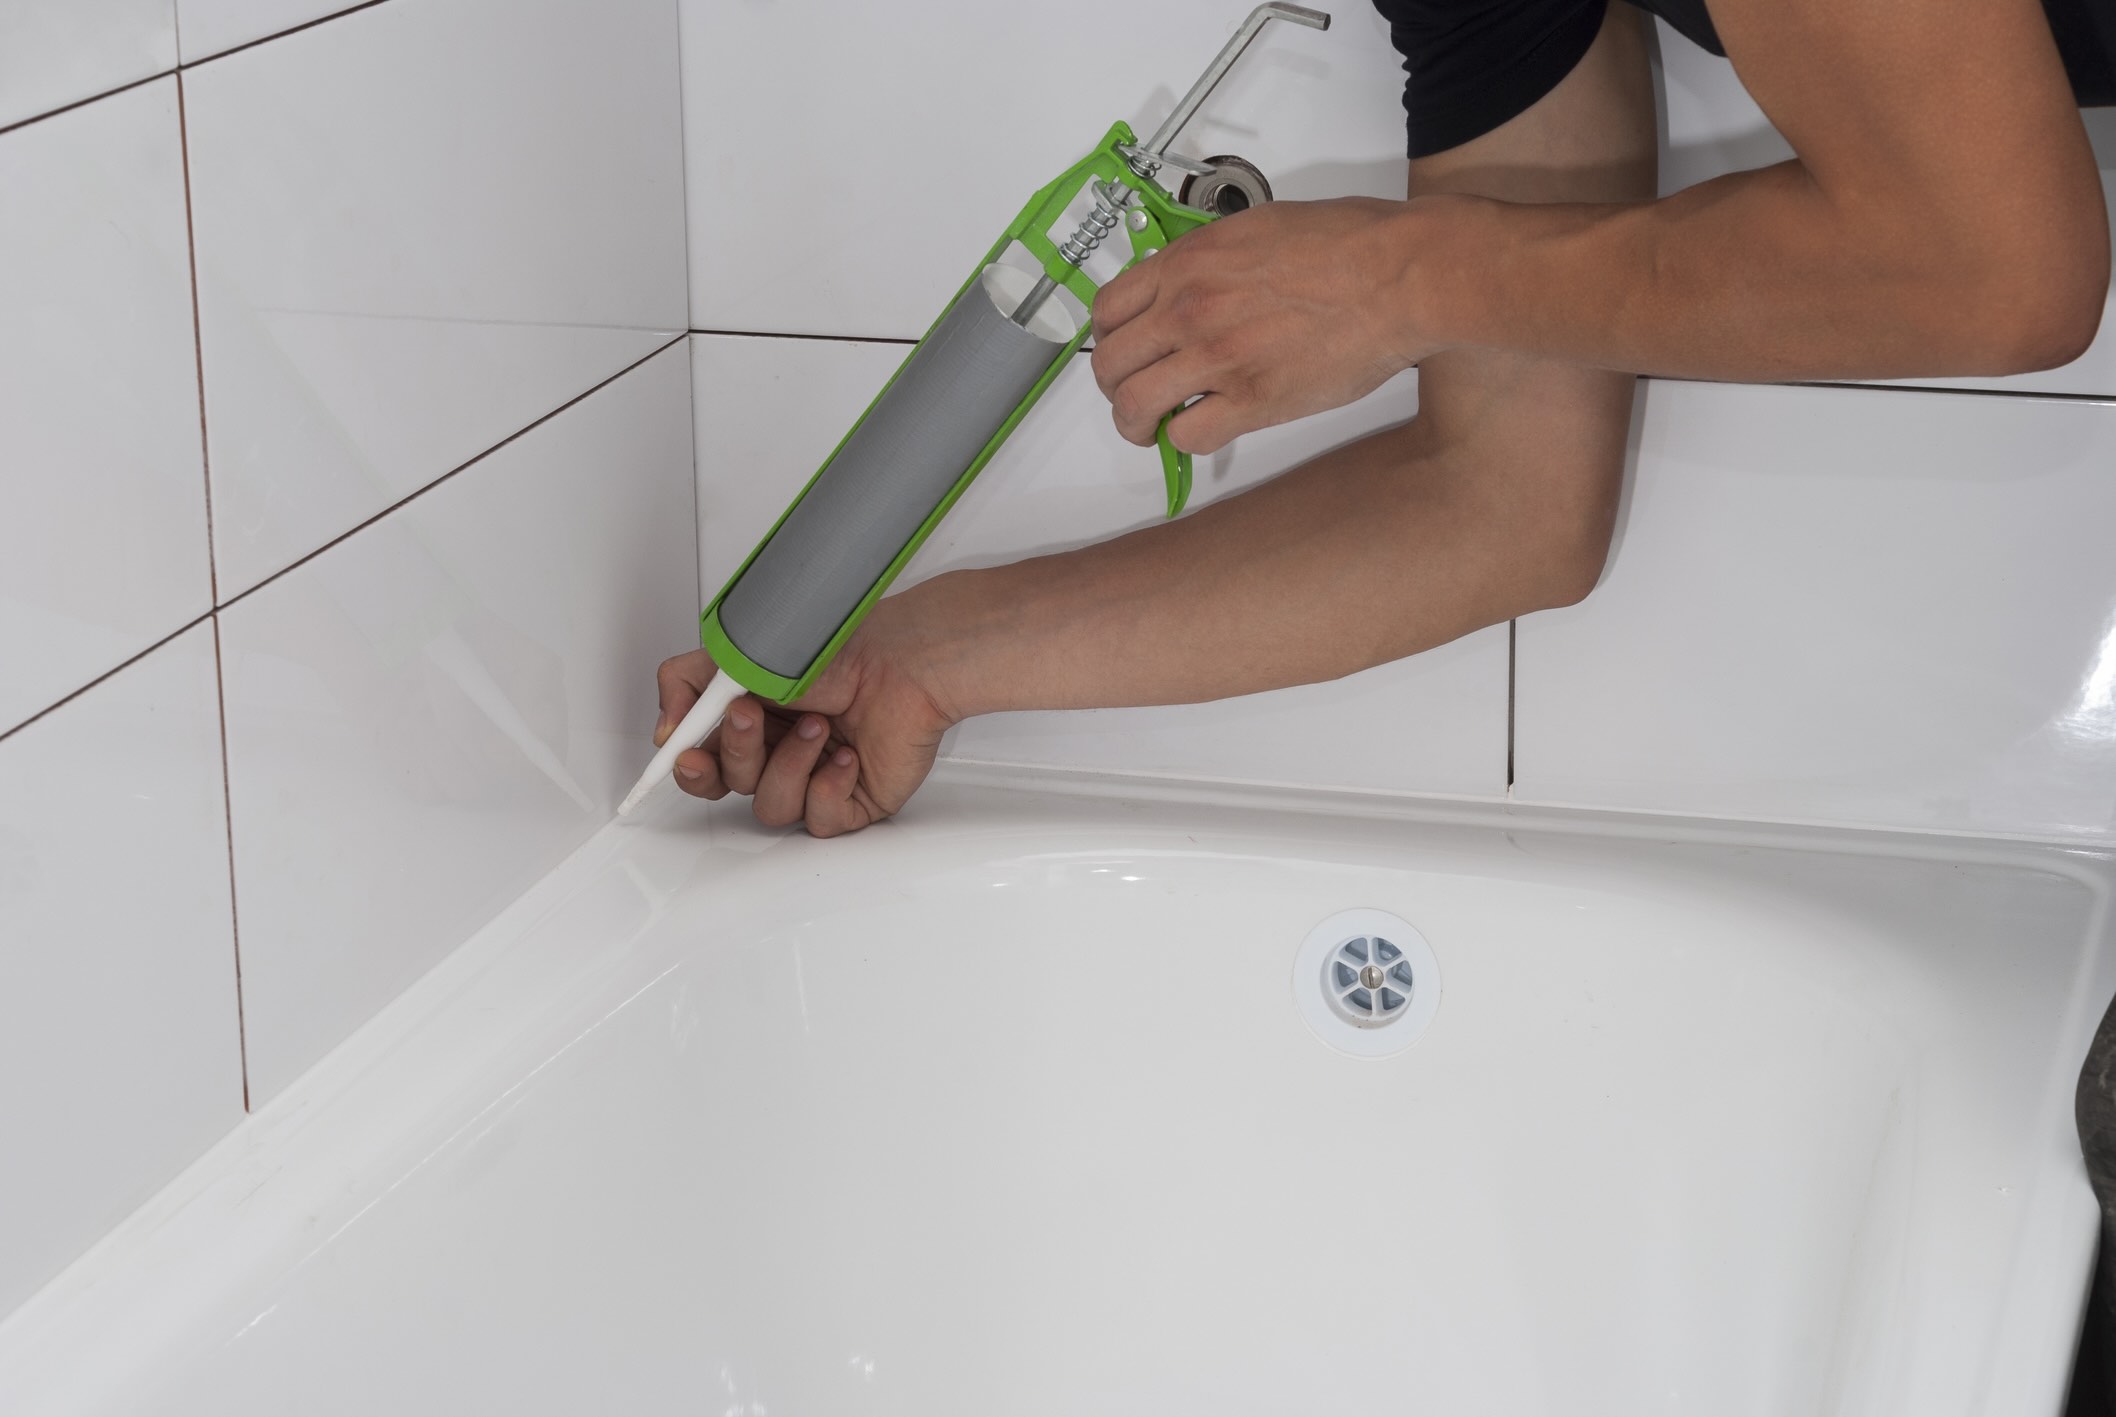
1. Cleaner: Start by thoroughly cleaning the gaps in your driveway. Use a high-pressure hose or a stiff brush to remove dirt, debris, and loose materials from the gaps. 2. Crack filler: Choose a high-quality crack filler that is specifically designed for driveways. There are various types available, such as asphalt-based fillers or caulk-style fillers. Select the one that is most suitable for your driveway’s material. 3. Caulking gun: If you opt for a caulk-style filler, you will need a caulking gun to apply it. Make sure the caulking gun is clean and in good working condition before starting the process. 4. Trowel or putty knife: Use a trowel or putty knife to apply the crack filler into the gaps. These tools will help you spread the filler evenly and ensure a smooth finish. 5. Protective gear: As you will be working with chemicals, it is important to protect yourself. Wear gloves, safety glasses, and a dust mask to keep yourself safe during the gap filling process. 6. Sealant: Once the gaps are filled, it is recommended to apply a sealant to protect the driveway and maintain its durability. Look for a high-quality driveway sealant that is suitable for your driveway’s material. 7. Paint or driveway marker: If desired, you can also consider using paint or driveway markers to mark any repaired areas. This will help ensure visibility and provide a finished look to your driveway. Make sure you have all these materials ready before you begin the gap filling process. It’s better to be prepared and have everything you need within reach to avoid any unnecessary interruptions during the task. With the materials gathered, let’s move on to the step-by-step guide on how to fill the gaps in your driveway.
Step-by-step Guide on Filling Gaps in Driveways
Now that you have gathered all the necessary materials, it’s time to fill the gaps in your driveway. Follow this step-by-step guide for a successful gap filling process:
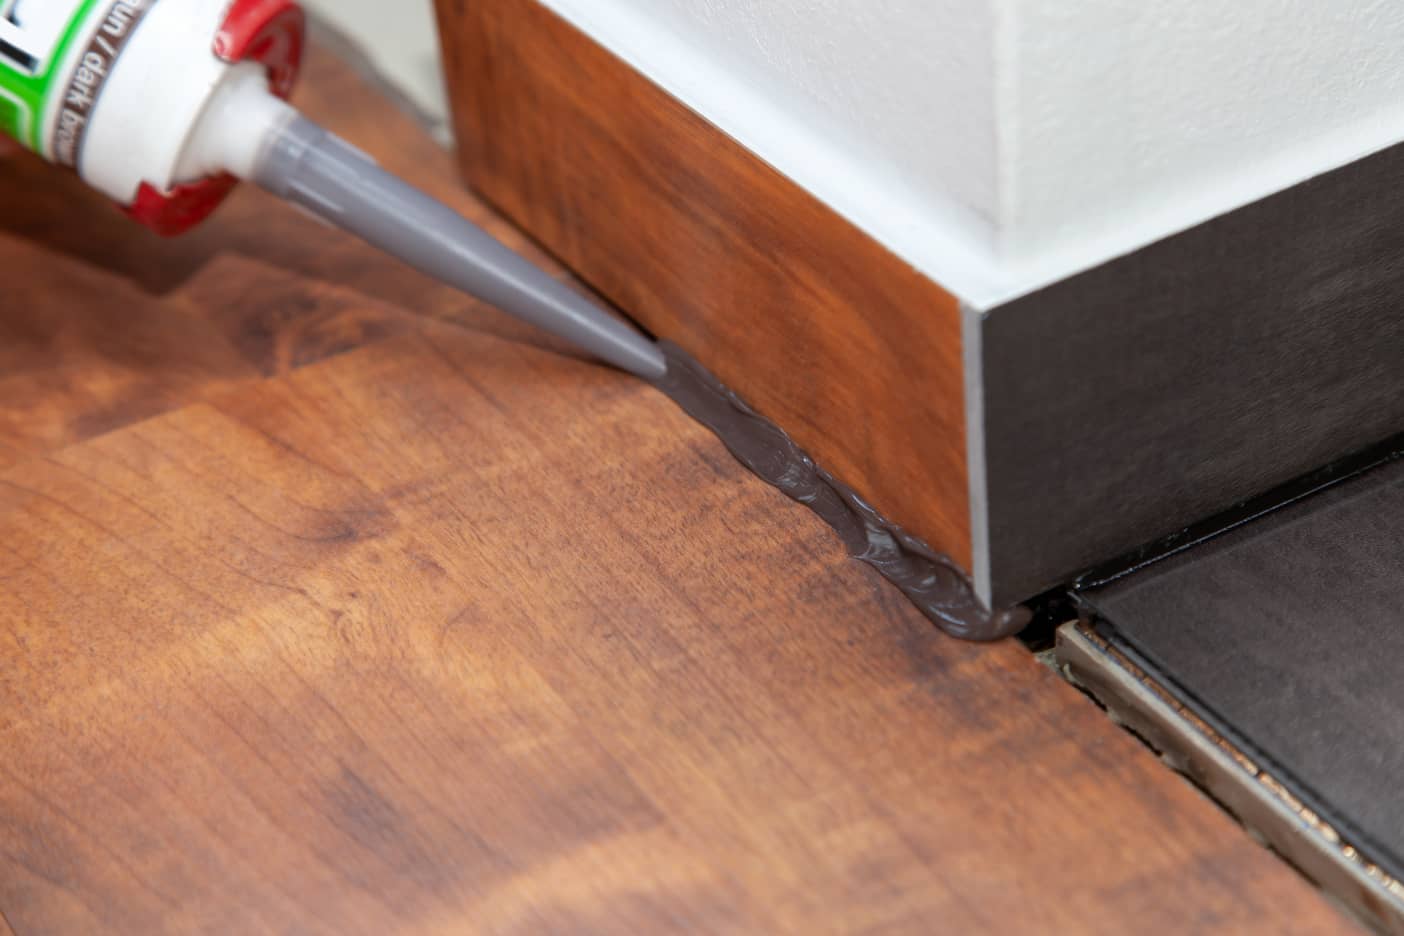
1. Clean the gaps: Start by cleaning the gaps in your driveway thoroughly. Remove any dirt, debris, and loose materials using a high-pressure hose or a stiff brush. This will ensure proper adhesion of the filler. 2. Prepare the crack filler: If you are using an asphalt-based crack filler, follow the manufacturer’s instructions to prepare the product. If you are using a caulk-style filler, load the filler cartridge into the caulking gun and cut off the tip to the desired size. 3. Apply the crack filler: Using a trowel or putty knife, apply the crack filler into the gaps. Start from one end and work your way to the other, filling the gaps evenly. Make sure to completely fill the gaps, leaving no empty spaces. 4. Smooth out the filler: After filling the gaps, use the trowel or putty knife to smooth out the filler and create a level surface. Press down on the filler firmly to ensure proper adhesion. 5. Remove excess filler: While the filler is still pliable, remove any excess material using a trowel or putty knife. This will help achieve a neat and seamless finish. 6. Allow the filler to dry: Depending on the type of crack filler used, the drying time may vary. Follow the manufacturer’s instructions to determine the drying time. Avoid walking or driving on the filled areas until the filler is completely dry. 7. Apply a sealant: Once the filler has dried, apply a driveway sealant over the repaired areas. This will help protect the filler and maintain the integrity of the driveway. Follow the instructions on the sealant packaging for proper application. 8. Paint or mark the repaired areas: If desired, use paint or driveway markers to mark the repaired areas. This will help provide a finished look to your driveway and ensure visibility. By following these step-by-step instructions, you can effectively fill the gaps in your driveway and restore its functionality and appearance. Remember to take necessary safety precautions and allow sufficient drying time before using the driveway again. With the gaps filled, let’s explore some common mistakes that you should avoid during the gap filling process.
Fill gaps in your driveway by cleaning out the gaps, applying a bonding adhesive, and filling with a concrete patching compound. Smooth the surface and allow it to cure before use.
Common Mistakes to Avoid When Filling Gaps in Driveways
While filling gaps in driveways may seem like a straightforward task, there are some common mistakes that people often make. By being aware of these pitfalls, you can ensure a successful gap filling process and prevent any further damage to your driveway. Here are some common mistakes to avoid:
1. Not cleaning the gaps properly: One of the most common mistakes is failing to clean the gaps thoroughly before applying the filler. Ensure that the gaps are free from dirt, debris, and loose materials to allow the filler to adhere properly. 2. Choosing the wrong type of filler: Different driveways require different types of crack fillers. Using the wrong type of filler can result in subpar adhesion and durability. Make sure to choose a filler that is suitable for your driveway’s material and follow the manufacturer’s instructions. 3. Overfilling the gaps: It may be tempting to overfill the gaps in an attempt to achieve a smooth finish. However, overfilling can lead to cracking and uneven surfaces. Fill the gaps appropriately, ensuring that the filler is level with the surrounding driveway. 4. Not allowing sufficient drying time: Rushing the drying process can compromise the effectiveness of the filler. Follow the manufacturer’s instructions for the recommended drying time and avoid walking or driving on the filled areas until it is fully dry. 5. Using inferior quality materials: Opting for low-quality materials may save you money initially, but they may not provide the durability and longevity your driveway needs. Invest in high-quality crack fillers and sealants that are designed for driveways to ensure long-lasting results. 6. Failure to apply a sealant: Applying a sealant over the filled gaps is an important step in protecting your driveway from future damage. It helps maintain the integrity of the filler and prevents water penetration. Don’t skip this crucial step. 7. Ignoring larger cracks and potholes: While smaller gaps are relatively easier to fill, larger cracks and potholes require additional attention. Neglecting these larger areas can result in further deterioration and costly repairs later on. Instead, consider seeking professional help for more extensive damage. By avoiding these common mistakes, you can achieve a successful and long-lasting gap filling result. Take the time to properly prepare and follow the steps outlined in the guide earlier. Now, let’s explore some tips and tricks to ensure a smooth and effective gap filling process.
Read more: How To Fill Hole In Driveway
Tips and Tricks for Successful Gap Filling in Driveways
As you embark on the task of filling gaps in your driveway, here are some helpful tips and tricks to ensure a successful outcome:
1. Choose the right weather: Ideally, choose a dry and mild day to fill the gaps in your driveway. Avoid extreme temperatures or rainy conditions, as they can affect the performance and drying time of the filler. 2. Read and follow instructions: Whether it’s the crack filler, sealant, or any other product you use, make sure to carefully read and follow the manufacturer’s instructions. Each product may have specific application techniques or drying times that are essential for optimal results. 3. Apply the filler in layers: If you have deeper or wider gaps, consider applying the filler in layers. Fill a portion of the gap, allow it to dry, and then apply another layer until the gap is completely filled. This will ensure better adhesion and a more stable repair. 4. Smooth out the filler using a wet sponge: For a smoother finish, lightly dampen a sponge and gently run it over the filled gaps. This will help achieve a more even surface and blend the filler with the surrounding driveway. 5. Use a hairdryer or heat gun: If you’re in a rush and need the filler to dry faster, you can gently apply heat using a hairdryer or heat gun. Be cautious not to overheat the filler, as it can cause cracks or damage. 6. Regularly inspect and maintain your driveway: Filling gaps is just one part of maintaining your driveway. Regularly inspect your driveway for any new gaps or cracks and address them promptly. Additionally, keep your driveway clean and free from debris to prevent further damage. 7. Consider professional help for extensive damage: If your driveway has significant damage, such as large cracks or deep potholes, it might be best to seek professional assistance. Professionals have the expertise and specialized equipment to address more extensive repairs effectively. 8. Keep safety in mind: While filling gaps in your driveway, prioritize your safety. Wear protective gear such as gloves, safety glasses, and a dust mask. Ensure proper ventilation if using any chemical-based products. 9. Maintain a regular maintenance routine: To prevent future gap formation, make sure to follow a regular maintenance routine for your driveway. This includes regular cleaning, sealing, and addressing any new gaps or cracks as soon as they appear. By following these tips and tricks, you can achieve a successful and long-lasting gap filling outcome for your driveway. Remember to take your time, be diligent in the process, and prioritize the use of high-quality materials. With proper care and maintenance, your driveway will continue to serve you well for years to come.
Conclusion
Filling gaps in driveways is a crucial step in maintaining the functionality, appearance, and longevity of your driveway. By understanding the importance of addressing these gaps and following the right techniques, you can achieve a successful gap filling outcome.
In this article, we discussed the reasons why filling gaps in driveways is important. From preventing further damage and preserving the driveway’s integrity to enhancing safety and improving the curb appeal of your property, filling gaps is a proactive measure that offers numerous benefits.
We also covered the materials needed for filling gaps in driveways, such as a cleaner, crack filler, caulking gun, trowel or putty knife, sealant, and protective gear. Having these materials on hand before starting the process ensures a smooth and efficient job.
Furthermore, we provided a step-by-step guide to help you through the gap filling process. From cleaning the gaps and applying the filler to allowing sufficient drying time and applying a sealant, following these steps ensures a proper and long-lasting repair.
To help you avoid common mistakes, we highlighted some pitfalls to watch out for, such as not cleaning the gaps properly, using the wrong type of filler, overfilling or underfilling the gaps, and not allowing sufficient drying time. By being aware of these mistakes, you can ensure a successful gap filling outcome.
Finally, we shared some tips and tricks to further assist you in achieving a smooth and effective gap filling process. These tips include choosing the right weather conditions, reading and following instructions, using a wet sponge for a smoother finish, and considering professional help for extensive damage.
Remember to prioritize regular maintenance and inspection of your driveway to prevent future gap formation and address any new gaps or cracks promptly.
By following these guidelines, you can fill the gaps in your driveway confidently, enhancing its appearance, preserving its integrity, and ensuring a safe and functional surface for years to come.
Frequently Asked Questions about How To Fill Gaps In A Driveway
Was this page helpful?
At Storables.com, we guarantee accurate and reliable information. Our content, validated by Expert Board Contributors, is crafted following stringent Editorial Policies. We're committed to providing you with well-researched, expert-backed insights for all your informational needs.


0 thoughts on “How To Fill Gaps In A Driveway”