Home>Furniture>Outdoor Furniture>How To Fill Patio Gaps
Outdoor Furniture
How To Fill Patio Gaps
Modified: March 7, 2024
Learn how to fill patio gaps and enhance your outdoor furniture with our step-by-step guide. Transform your patio into a beautiful and functional space.
(Many of the links in this article redirect to a specific reviewed product. Your purchase of these products through affiliate links helps to generate commission for Storables.com, at no extra cost. Learn more)
Introduction
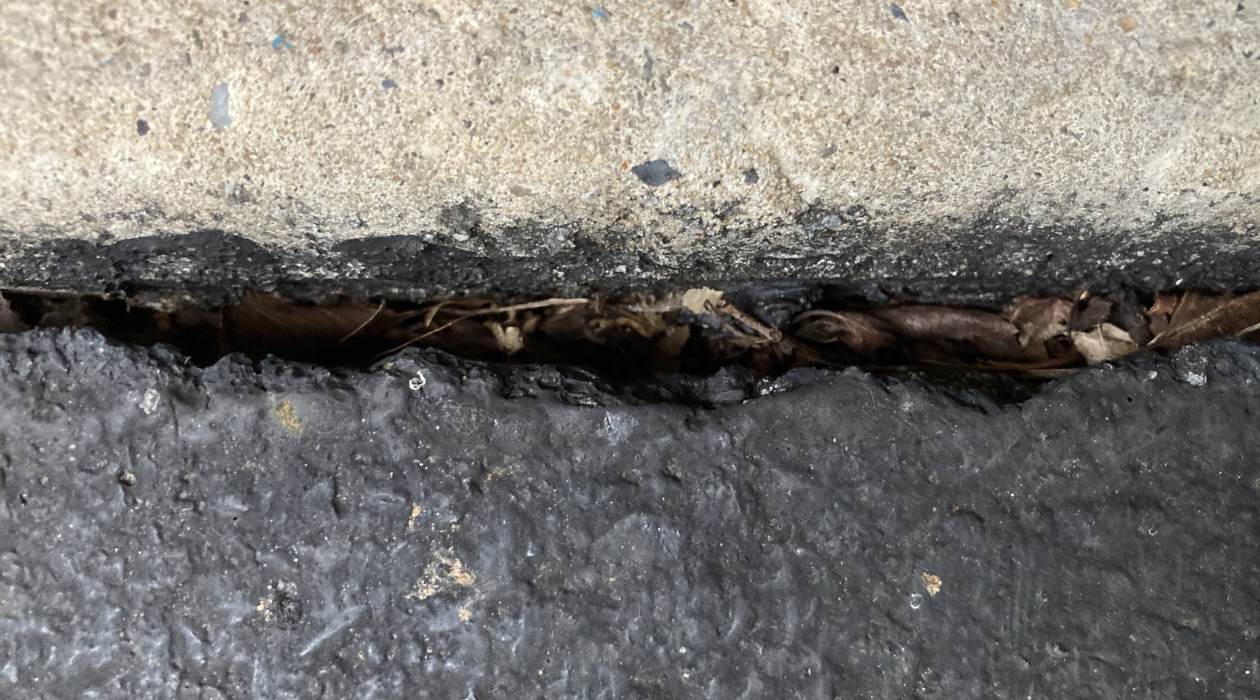
When it comes to creating an inviting and comfortable outdoor space, a patio is a fantastic addition to any home. It provides a versatile area for entertaining guests, enjoying meals al fresco, or simply relaxing with a book and a cup of coffee. However, over time, the gaps between the patio pavers can become unsightly and accumulate debris. This not only affects the overall aesthetic appeal but can also be a tripping hazard. Fortunately, there are effective solutions to fill those patio gaps and restore the beauty of your outdoor space.
In this article, we will guide you through the process of filling patio gaps, step by step. Whether you are a seasoned DIY enthusiast or a novice looking to tackle your first outdoor project, we’ve got you covered. With a bit of preparation and the right materials, you’ll be able to achieve a seamless and attractive result.
Before we dive into the steps, let’s take a moment to discuss why it’s crucial to address the gaps in your patio. Apart from the obvious aesthetic reasons, filling the gaps helps prevent weed growth, ensures a safer walking surface, and helps to maintain the integrity and longevity of your patio. Plus, with the right filling material, you can even minimize water infiltration and reduce the risk of erosion.
So, let’s roll up our sleeves and get started on transforming your patio into a pristine and functional outdoor space!
Key Takeaways:
- Transform your patio into a beautiful and safe outdoor space by filling gaps with the right material, cleaning thoroughly, and sealing for long-lasting results.
- Prioritize safety, follow instructions, and enjoy the process of revitalizing your patio for a visually appealing and functional outdoor oasis.
Read more: How To Fill Gaps Between Patio Stones
Step 1: Prepare the Patio
Before you begin filling the gaps in your patio, it is essential to prepare the area to ensure optimal results. Here’s what you need to do:
- Clear the Patio: Remove any furniture, plants, or decorative elements from the patio. This will give you a clear workspace and prevent any obstructions during the filling process.
- Clean the Surface: Sweep or use a leaf blower to remove any loose debris, such as dirt, leaves, or twigs, from the patio surface. You can also use a pressure washer to thoroughly clean the pavers and remove any stubborn dirt or stains. Allow the patio to dry completely before proceeding to the next step.
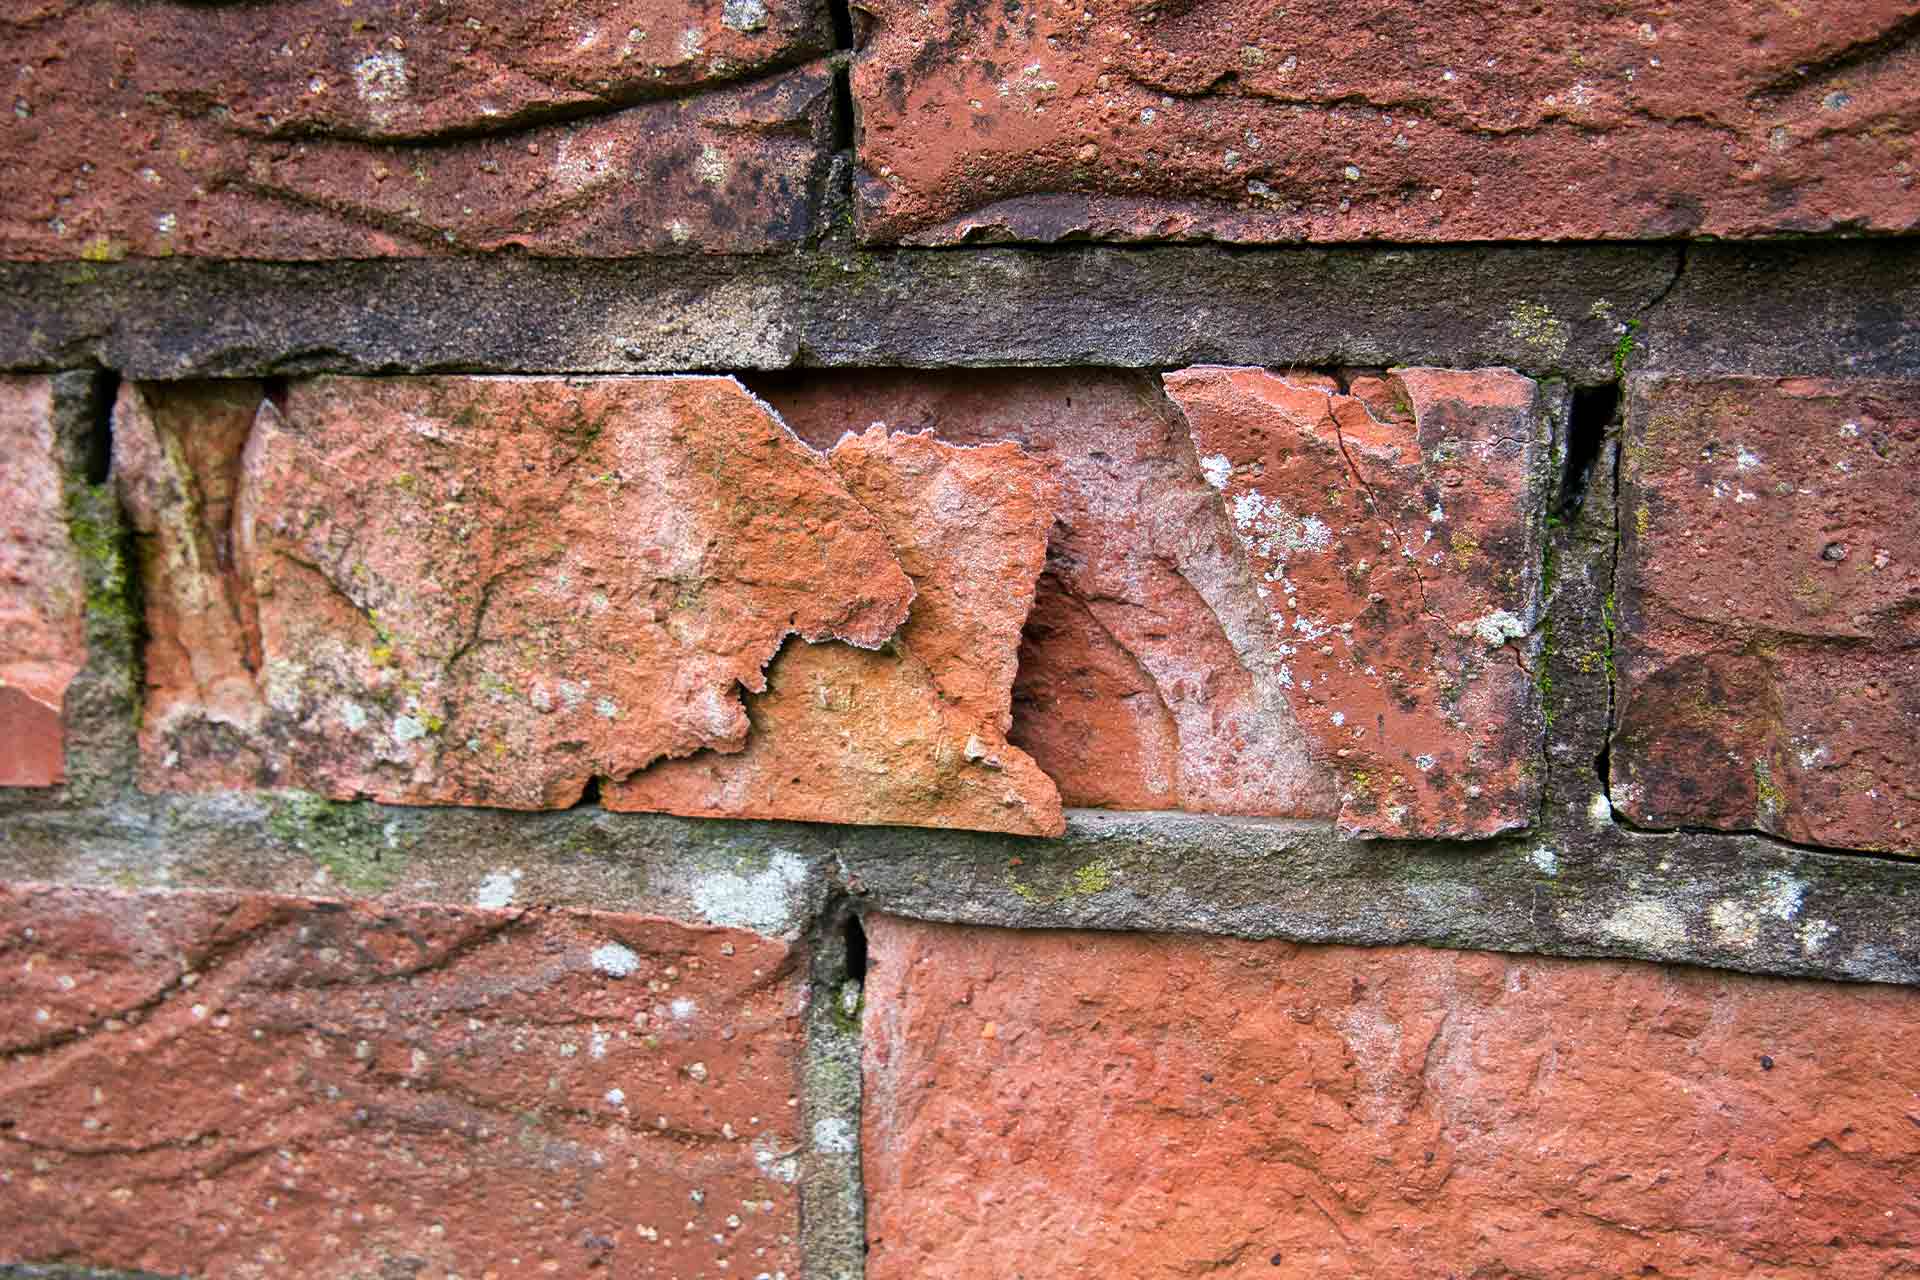
- Inspect and Repair: Take a close look at the existing pavers and make note of any damaged or loose ones. Replace or reposition them as necessary before proceeding with the gap filling process. This will ensure a sturdy and stable foundation for the filling material.
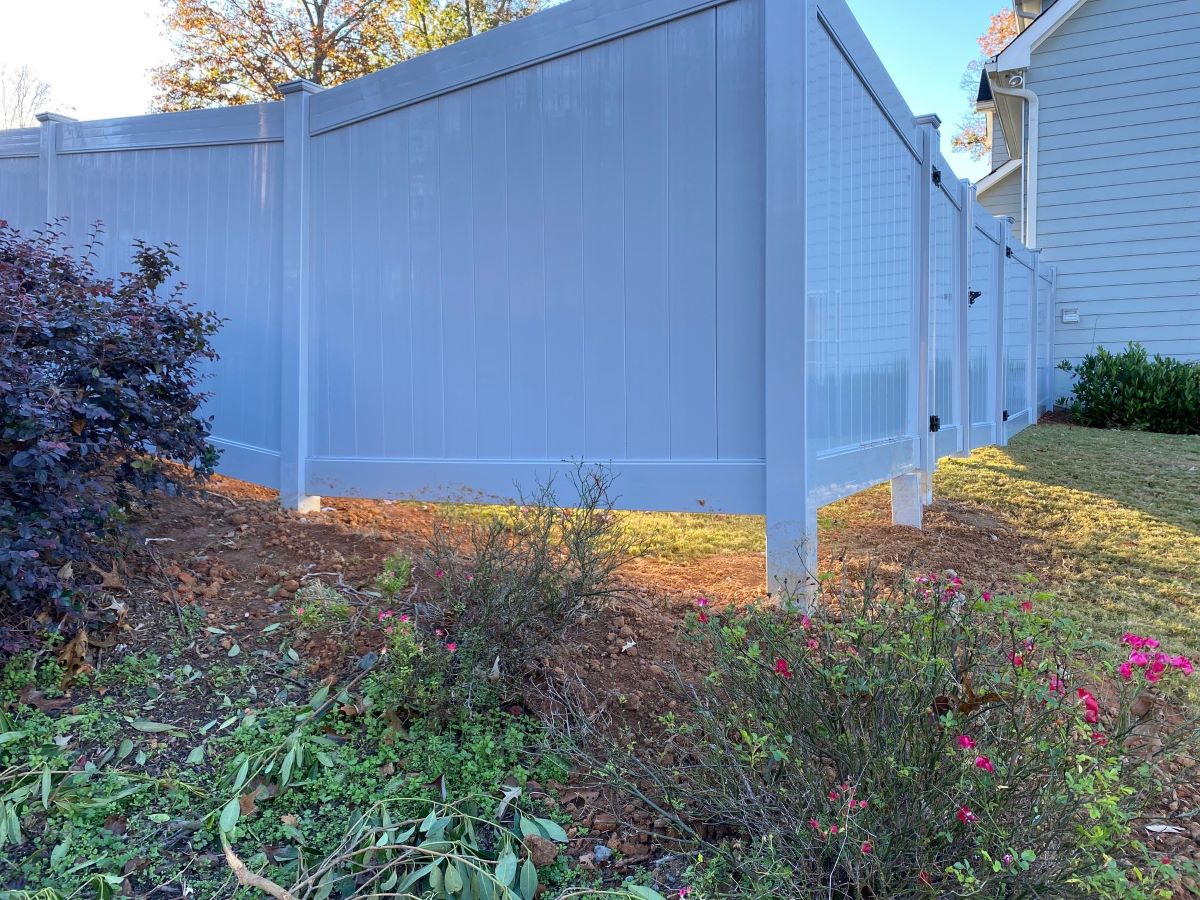
- Protect Adjacent Surfaces: If your patio borders any adjacent surfaces, such as walls or outdoor structures, it’s a good idea to protect them from any spillage or accidental contact with the filling material. Cover these surfaces with plastic sheeting or use painter’s tape to create a protective barrier.
By properly preparing the patio, you will create an optimal working environment and ensure that the filling material adheres well to the gaps, providing long-lasting results. Now that your patio is ready, let’s move on to selecting the right filling material in the next step!
Step 2: Select the Filling Material
Choosing the right filling material for your patio gaps is crucial for achieving a seamless and long-lasting result. Here are some popular options to consider:
- Polymeric Sand: Polymeric sand is a mixture of sand and a polymer binder that, when activated with water, forms a solid and flexible joint. It is highly recommended for filling narrow gaps in between pavers, as it effectively prevents weed growth and resists erosion. Polymeric sand comes in various colors to match your patio’s aesthetic.
- Crushed Stone or Gravel: If you have larger gaps between your patio pavers, crushed stone or gravel can be an excellent filling material. It provides stability, allows for drainage, and adds a rustic and natural look to your outdoor space. Make sure to choose a size that fits the gap width and use a tamper to compact the stone or gravel for a firm finish.
- Jointing Compound: Jointing compounds, such as mortar or concrete mix, are suitable for filling wider gaps between pavers. They offer a durable and solid solution, but keep in mind that they may require more time and skill to apply. Jointing compounds can be colored to match your patio or left in their natural gray finish.
- Resin-Based Fillers: Resin-based fillers are ideal for filling small cracks or gaps in your patio. They are easy to apply and provide a strong and flexible seal. These fillers come in a range of colors, allowing you to customize the look of your patio surface.
Consider the size of the gaps, the desired aesthetic, and the maintenance level you are comfortable with when choosing your filling material. It’s also a good idea to consult with a professional or knowledgeable salesperson to ensure you select the best option for your specific patio needs.
Once you have chosen the filling material, it’s time to move on to the next step: cleaning the gaps to prepare them for the filling process.
Step 3: Clean the Gaps
Before you can properly fill the gaps in your patio, it is essential to clean them thoroughly. Here’s how to get those gaps ready for filling:
- Remove Debris: Use a stiff bristle brush or a narrow putty knife to remove any debris, such as dirt, leaves, or weeds, from the gaps. Make sure to clear out as much as possible to create a clean surface for the filling material.
- Use a Weed Killer: If you notice any persistent weeds or grass growing in the gaps, it’s advisable to use a weed killer before filling them. Follow the instructions on the weed killer product and give it some time to work before proceeding to the next step. This step will help prevent any weed growth in the future.
- Wash the Gaps: Depending on the material of your patio, you can use a pressure washer or a garden hose with a high-pressure attachment to thoroughly clean the gaps. This will remove any remaining dirt, dust, and weed remnants. Make sure to rinse thoroughly and allow the gaps to dry completely before moving on to the filling process.
By cleaning the gaps effectively, you will ensure a strong and durable bond between the filling material and the patio surface. Additionally, removing debris and treating any weeds will help maintain the cleanliness and appearance of your patio in the long run.
Now that the gaps are clean and dry, it’s time to fill them with the chosen material. In the next step, we will guide you through the process of applying the filling material to achieve a seamless finish.
Use polymeric sand to fill in the gaps between patio pavers. This special sand hardens when water is added, creating a solid, weed-resistant surface.
Step 4: Apply the Filling Material
Now that you’ve prepared the patio and cleaned the gaps, it’s time to apply the chosen filling material to fill in the gaps. Follow these steps to achieve optimal results:
- Read the Instructions: Before you begin applying the filling material, carefully read and follow the manufacturer’s instructions. Each type of material may have specific application guidelines, curing times, and mixing ratios.
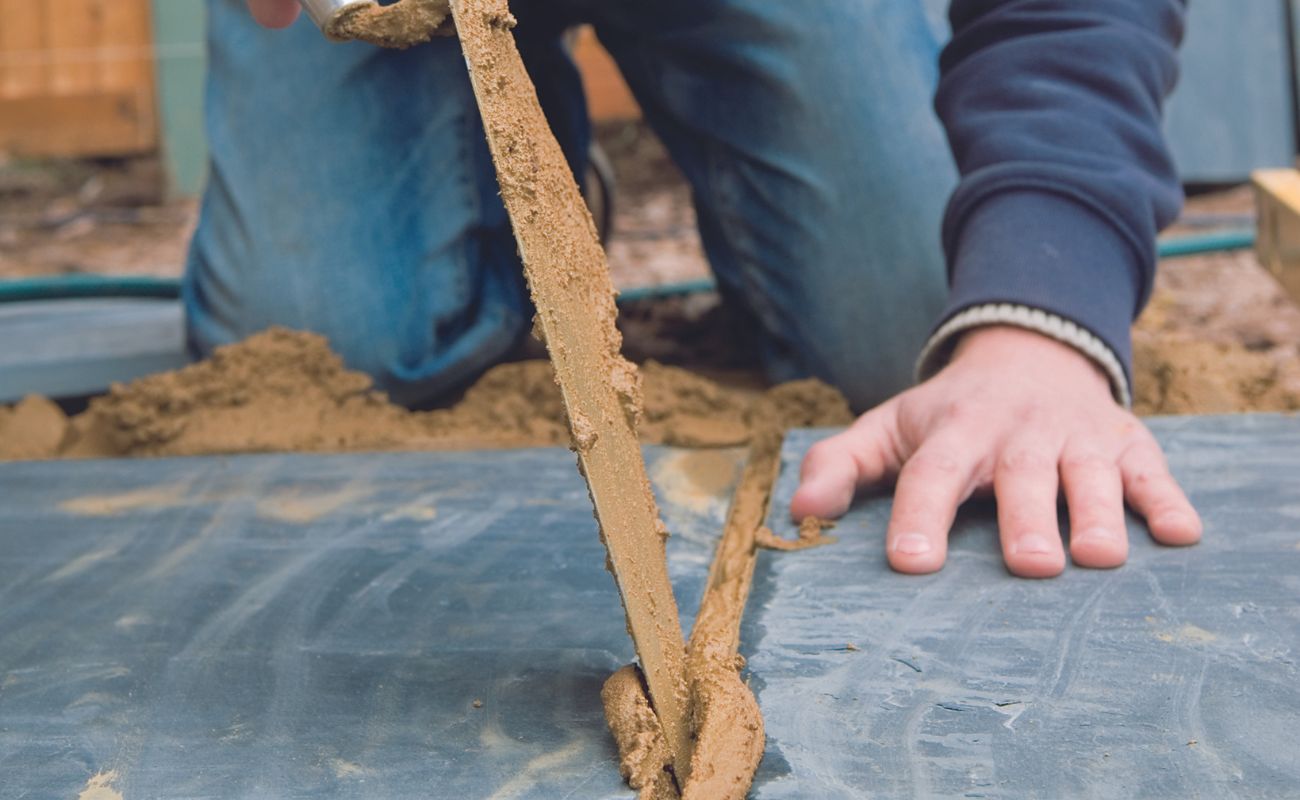
- Pour the Material: Start by pouring the filling material into the gaps, ensuring it goes all the way to the bottom. Use a trowel or a jointing tool to press the material down firmly and pack it tightly into the gaps. Make sure the gaps are completely filled, leaving no voids or gaps in the process. For polymeric sand or crushed stone, it’s recommended to slightly overfill the gaps to allow for settling during the next step.
- Compact the Material: Using a compactor or a hand tamper, carefully compact the filling material to create a solid and stable surface. This step is crucial to ensure proper bonding and prevent any shifting or movement in the future. For polymeric sand, be careful not to overcompact, as it may affect its ability to set and inhibit its flexibility.
- Repeat the Process: Continue pouring and compacting the filling material until all the gaps in your patio are filled. Work in small sections at a time to ensure that you achieve a consistently filled surface throughout.
Remember to take your time and work methodically, paying attention to detail. Properly filling the gaps will not only enhance the appearance of your patio but also provide structural stability and prevent future issues.
With the gaps filled, it’s time to move on to the next step: smoothing and leveling the surface for a seamless finish.
Read more: How To Fill Hardwood Floor Gaps
Step 5: Smooth and Level the Surface
After applying the filling material to the gaps in your patio, the next step is to smooth and level the surface for a seamless finish. Here’s how to achieve it:
- Scrape off Excess Material: Use a flat-edged trowel or a putty knife to scrape off any excess filling material from the surface of the patio. This will help create a smooth and even surface and prevent any raised areas or inconsistencies.
- Brush and Sweep: Use a stiff bristle brush or a broom to brush the surface of the patio, removing any loose or excess filling material. This will help further level the surface and ensure a clean and tidy finish.
- Mist with Water: For polymeric sand or other materials that require activation with water, lightly mist the filled gaps with a fine spray of water. Follow the manufacturer’s instructions regarding the amount of water needed and the curing time. This step will help the material set and solidify properly.
- Inspect and Adjust: Take a step back and inspect the filled gaps and the overall surface of your patio. If you notice any uneven areas or gaps that need further filling, go back and add more filling material as needed. Use a trowel or a jointing tool to smooth and level these areas.
- Allow for Curing: Depending on the type of filling material used, allow for the recommended curing or drying time before subjecting your patio to heavy traffic or applying any sealant on the filled gaps. This will ensure that the filling material sets properly and provides long-lasting results.
By taking the time to smooth and level the filled gaps, you will achieve a visually appealing and functional patio surface. A well-maintained patio not only enhances the overall aesthetic of your outdoor space but also provides a safe and enjoyable area for relaxation and entertainment.
With the surface smoothed and leveled, it’s time to move on to the final step: curing and sealing the filled gaps to ensure their longevity and durability.
Step 6: Cure and Seal the Filled Gaps
Once you have filled the gaps in your patio and achieved a smooth and level surface, the final step is to cure and seal the filled gaps. This step is essential for ensuring the longevity and durability of your patio. Here’s how to do it:
- Allow for Curing: Depending on the type of filling material used, it’s crucial to allow sufficient time for curing before applying any sealant. Refer to the manufacturer’s instructions to determine the recommended curing time. This step ensures that the filling material fully sets and hardens.
- Clean the Surface: Before sealing the filled gaps, make sure the surface of the patio is free from any debris or loose particles. Sweep or use a leaf blower to remove any dirt or dust that may have accumulated during the filling process. A clean surface ensures proper adhesion of the sealant.
- Select the Sealant: Choose a high-quality sealant specifically designed for outdoor use and suitable for your filling material. There are various options available, such as solvent-based sealers, water-based sealers, or penetrating sealers. Consider factors such as the desired finish, level of protection, and ease of application when selecting the sealant.
- Apply the Sealant: Follow the instructions provided by the sealant manufacturer for application. Typically, you will use a brush or a roller to evenly apply the sealant over the filled gaps and the surrounding patio surface. Pay attention to ensure thorough coverage and avoid over-application, as it may lead to an unnatural appearance.
- Allow for Drying and Curing: Once the sealant is applied, allow it to dry and cure as per the manufacturer’s instructions. This may involve keeping the patio area free from foot traffic or any other disturbances for a specific period. It’s important to follow the recommended drying and curing time to ensure optimal results.
By properly curing and sealing the filled gaps, you enhance their durability, protect them from water penetration, and prevent potential weed growth. Regularly inspect and reseal the gaps as necessary to maintain the integrity of your patio surface.
Congratulations! You have successfully filled the gaps in your patio and achieved a beautiful and functional outdoor space. With the proper maintenance and care, your patio will continue to enhance the aesthetics and enjoyment of your home for years to come.
Note: Remember to follow all safety precautions and use protective equipment, such as gloves and safety goggles, when applying filling materials and sealants.
Enjoy your revitalized patio!
Conclusion
Transforming your patio into a visually appealing and functional outdoor space is now within reach. By following the steps outlined in this guide, you can effectively fill the gaps in your patio and restore its beauty. Not only does this improve the overall aesthetic appeal, but it also helps maintain a safe and enjoyable area for relaxation and entertainment.
Starting with the preparation of the patio and selecting the appropriate filling material, each step plays a vital role in achieving a seamless finish. By cleaning the gaps thoroughly and applying the filling material meticulously, you ensure a strong and durable bond. Smoothing and leveling the surface further enhance the overall appearance and longevity of your patio.
Completing the process with proper curing and sealing ensures the durability of the filled gaps and protects them from water penetration and weed growth. Regular maintenance and resealing when needed will help maintain the integrity of the patio surface and prolong its lifespan.
Remember, while filling the gaps in your patio can be a DIY project, it’s important to prioritize safety and follow the manufacturer’s instructions for the filling material and sealant. Additionally, seek professional advice if necessary to ensure optimal results.
So, what are you waiting for? Embrace the opportunity to revive your patio and create an inviting outdoor space where you can relax, entertain, and make lasting memories. Enjoy your enhanced patio and the endless possibilities it offers for outdoor enjoyment!
Frequently Asked Questions about How To Fill Patio Gaps
Was this page helpful?
At Storables.com, we guarantee accurate and reliable information. Our content, validated by Expert Board Contributors, is crafted following stringent Editorial Policies. We're committed to providing you with well-researched, expert-backed insights for all your informational needs.


0 thoughts on “How To Fill Patio Gaps”