Home>Gardening & Outdoor>Outdoor Structures>How To Build A Stud Wall For A Shed
Outdoor Structures
How To Build A Stud Wall For A Shed
Modified: August 27, 2024
Learn how to build a sturdy stud wall for your outdoor shed with our step-by-step guide. Create a durable structure for your outdoor-structures with our expert tips.
(Many of the links in this article redirect to a specific reviewed product. Your purchase of these products through affiliate links helps to generate commission for Storables.com, at no extra cost. Learn more)
**
Introduction
**
Building a stud wall for a shed is a fundamental aspect of shed construction. A well-constructed stud wall not only provides structural support but also serves as a barrier against the elements, ensuring that your shed remains sturdy and protected from the outdoor elements. Whether you are a seasoned DIY enthusiast or a novice builder, constructing a stud wall for your shed is an achievable and rewarding project.
In this comprehensive guide, we will walk you through the step-by-step process of building a stud wall for your shed. From gathering the necessary materials and tools to the final installation, we will cover everything you need to know to successfully complete this project. By following these instructions, you will be able to create a durable and reliable stud wall that will enhance the functionality and longevity of your shed.
Throughout this guide, we will emphasize the importance of careful planning, precise measurements, and accurate assembly to ensure that your stud wall is structurally sound and complements the overall design of your shed. Whether you are using your shed for storage, as a workshop, or any other purpose, a well-constructed stud wall is essential for creating a functional and secure space.
So, roll up your sleeves, gather your tools, and let's dive into the process of building a stud wall for your shed. By the end of this guide, you will have the knowledge and confidence to tackle this project and elevate the quality of your shed construction. Let's get started!
**
Key Takeaways:
- Building a stud wall for a shed requires careful planning, precise measurements, and accurate assembly. It provides structural support and protection from the elements, enhancing the shed’s functionality and longevity.
- Constructing a stud wall is a significant DIY accomplishment that showcases skills as a capable builder. It contributes to the improvement and personalization of the shed, empowering future construction projects.
Read more: How To Build Shed Walls
Materials and Tools Needed
**
Before embarking on the construction of a stud wall for your shed, it is essential to gather all the necessary materials and tools. Ensuring that you have everything at your disposal will streamline the building process and minimize interruptions. Here’s a comprehensive list of the materials and tools you will need:
Materials:
- Pressure-treated lumber for the wall plates
- Studs (2×4 or 2×6 lumber, depending on the shed’s structural requirements)
- Plywood or oriented strand board (OSB) for sheathing
- Nails or screws
- Anchor bolts or concrete screws (if attaching the wall to a concrete foundation)
- Insulation (optional, but recommended for improved energy efficiency)
- Vapor barrier (if insulating the wall)
- Exterior siding or cladding
- Primer and paint (if finishing the interior or exterior of the wall)
Tools:
- Measuring tape
- Pencil or lumber crayon
- Level
- Circular saw or miter saw
- Hammer or nail gun (if using nails)
- Drill/driver with screwdriver bits
- Speed square
- Utility knife
- Safety glasses and ear protection
- Work gloves
It’s crucial to select high-quality materials to ensure the durability and longevity of your stud wall. Pressure-treated lumber is recommended for the wall plates to protect against moisture and rot, especially if your shed is built directly on the ground. Additionally, choosing the appropriate fasteners and insulation will contribute to the overall strength and energy efficiency of the wall.
Having the right tools at your disposal will make the construction process more efficient and precise. A well-calibrated circular saw, a reliable level, and a sturdy drill/driver are indispensable for achieving accurate cuts and secure assembly. Safety equipment, such as protective eyewear and gloves, should always be worn to prevent injuries during construction.
By ensuring that you have all the required materials and tools, you can proceed with confidence, knowing that you are fully equipped to construct a robust and functional stud wall for your shed.
**
Planning and Preparation
**
Before diving into the physical construction of the stud wall, thorough planning and preparation are essential for a successful outcome. Taking the time to strategize and visualize the project will help you avoid potential pitfalls and ensure that the construction process proceeds smoothly. Here are the key steps for planning and preparing to build a stud wall for your shed:
1. Assess the Shed’s Structural Requirements:
Begin by evaluating the specific structural needs of your shed. Consider factors such as the shed’s size, its intended use, and the local building codes and regulations. Understanding these requirements will guide the dimensions and materials needed for the stud wall, ensuring that it provides adequate support and meets all relevant standards.
2. Determine the Wall Placement:
Decide where the stud wall will be located within the shed. Consider the layout of the interior space and the functionality you wish to achieve. Additionally, if the wall will have windows or doors, carefully plan their placement to optimize natural light and accessibility.
3. Obtain Necessary Permits:
Depending on your location and the size of the shed, you may need to acquire permits for the construction of the stud wall. Check with your local building authority to ensure compliance with regulations and obtain the required permits before proceeding with the project.
4. Clear and Prepare the Work Area:
Prior to construction, clear the area where the stud wall will be installed. Remove any debris, obstructions, or unnecessary items to create a clean and spacious work environment. This will facilitate unhindered movement and ensure safety during the construction process.
5. Gather and Organize Materials and Tools:
Verify that you have all the required materials and tools as outlined in the previous section. Organize them in a convenient and accessible manner near the construction site. This will save time and prevent unnecessary disruptions during the building process.
6. Develop a Construction Timeline:
Establish a realistic timeline for the construction of the stud wall. Consider factors such as weather conditions, availability of assistance, and any potential interruptions. Setting a timeline will help you manage the project efficiently and stay on track towards completion.
By meticulously planning and preparing for the construction of the stud wall, you will lay a solid foundation for a successful building process. Careful consideration of the shed’s requirements, wall placement, permits, work area, materials, tools, and construction timeline will contribute to a smooth and efficient construction phase.
**
Measuring and Marking
**
Precision is paramount when it comes to measuring and marking for the construction of a stud wall. Accurate measurements and clear markings will ensure that the wall components fit together seamlessly, resulting in a structurally sound and visually appealing outcome. Here’s a step-by-step guide to the measuring and marking process:
1. Measure the Wall Dimensions:
Begin by measuring the length and height of the area where the stud wall will be installed. Use a reliable measuring tape to obtain precise dimensions. It’s essential to measure both the width and height accurately, accounting for any irregularities in the shed’s structure.
2. Transfer Measurements to Lumber:
Transfer the measured dimensions to the lumber that will form the wall plates and studs. Use a pencil or lumber crayon to mark the lumber according to the measurements. Clearly labeling the components will prevent confusion during the cutting and assembly stages.
3. Mark Stud Spacing:
Determine the spacing for the studs within the wall frame. Standard stud spacing is 16 inches on center, meaning that the center of each stud is positioned 16 inches apart. Mark these intervals along the wall plates to indicate the placement of the studs.
4. Identify Door and Window Openings:
If the stud wall will accommodate doors or windows, mark the locations of these openings on the wall plates and studs. Clearly outline the dimensions of the openings, accounting for the framing and trim that will surround the doors or windows.
5. Double-Check Measurements:
Prior to cutting the lumber and assembling the wall frame, double-check all measurements to ensure accuracy. Confirm that the dimensions and markings align with the shed’s requirements and the intended design of the stud wall. Precision at this stage will prevent errors during the construction process.
Measuring and marking with precision is a foundational step in the construction of a stud wall for a shed. Taking the time to obtain accurate measurements, transfer them to the lumber, mark stud spacing, identify openings, and double-check all dimensions will set the stage for a successful and well-fitted wall assembly.
**
When building a stud wall for a shed, make sure to use pressure-treated lumber for the bottom plate to prevent rot. Also, use a level to ensure the wall is straight and plumb.
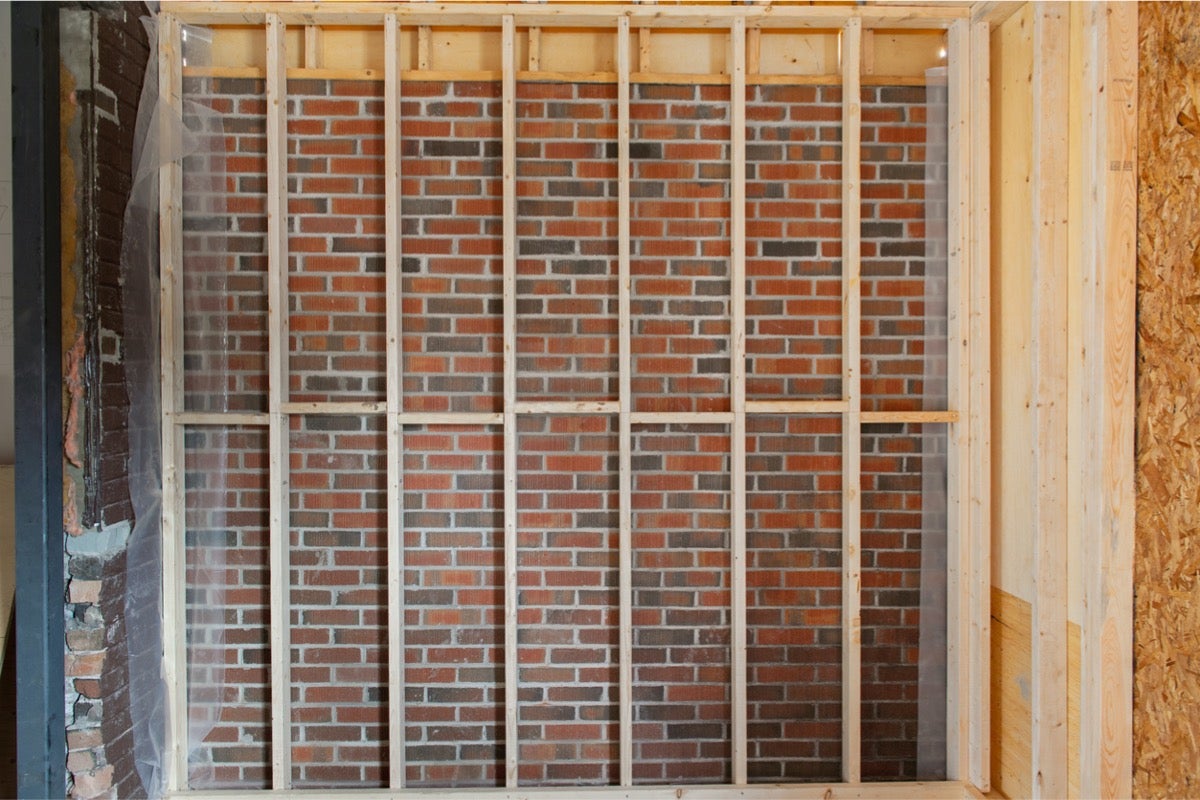
Cutting and Assembling the Frame
**
With precise measurements and markings in place, it’s time to proceed to the cutting and assembling of the stud wall frame. This phase involves cutting the lumber to the specified dimensions and assembling the frame components to form the structure of the wall. Here’s a detailed guide to cutting and assembling the frame:
1. Cut the Lumber to Size:
Using a circular saw or miter saw, carefully cut the wall plates and studs to the specified dimensions. Take care to follow the marked measurements accurately, ensuring clean and straight cuts. Properly cut lumber is essential for a well-fitted and stable frame.
2. Assemble the Wall Plates:
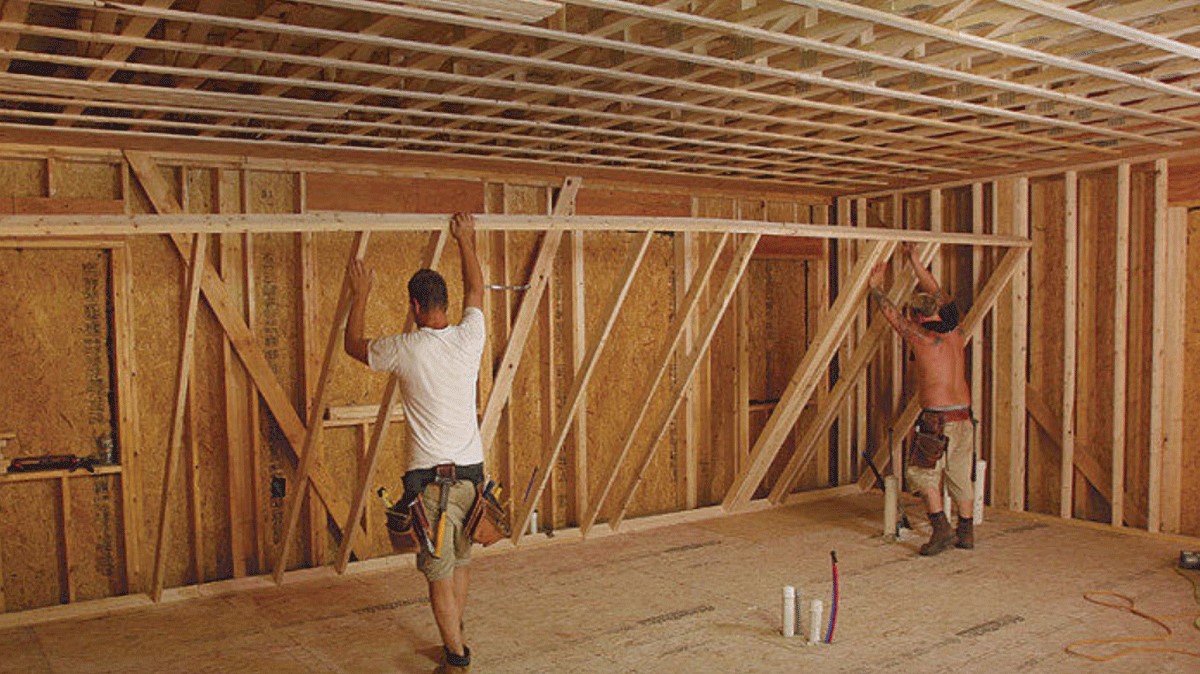
Place the cut wall plates (top and bottom horizontal pieces) on a flat surface, ensuring that they are parallel and appropriately spaced according to the shed’s dimensions. Secure them together by attaching the studs perpendicularly between the plates. Use a level to ensure that the wall plates are perfectly aligned and plumb.
3. Install the Studs:
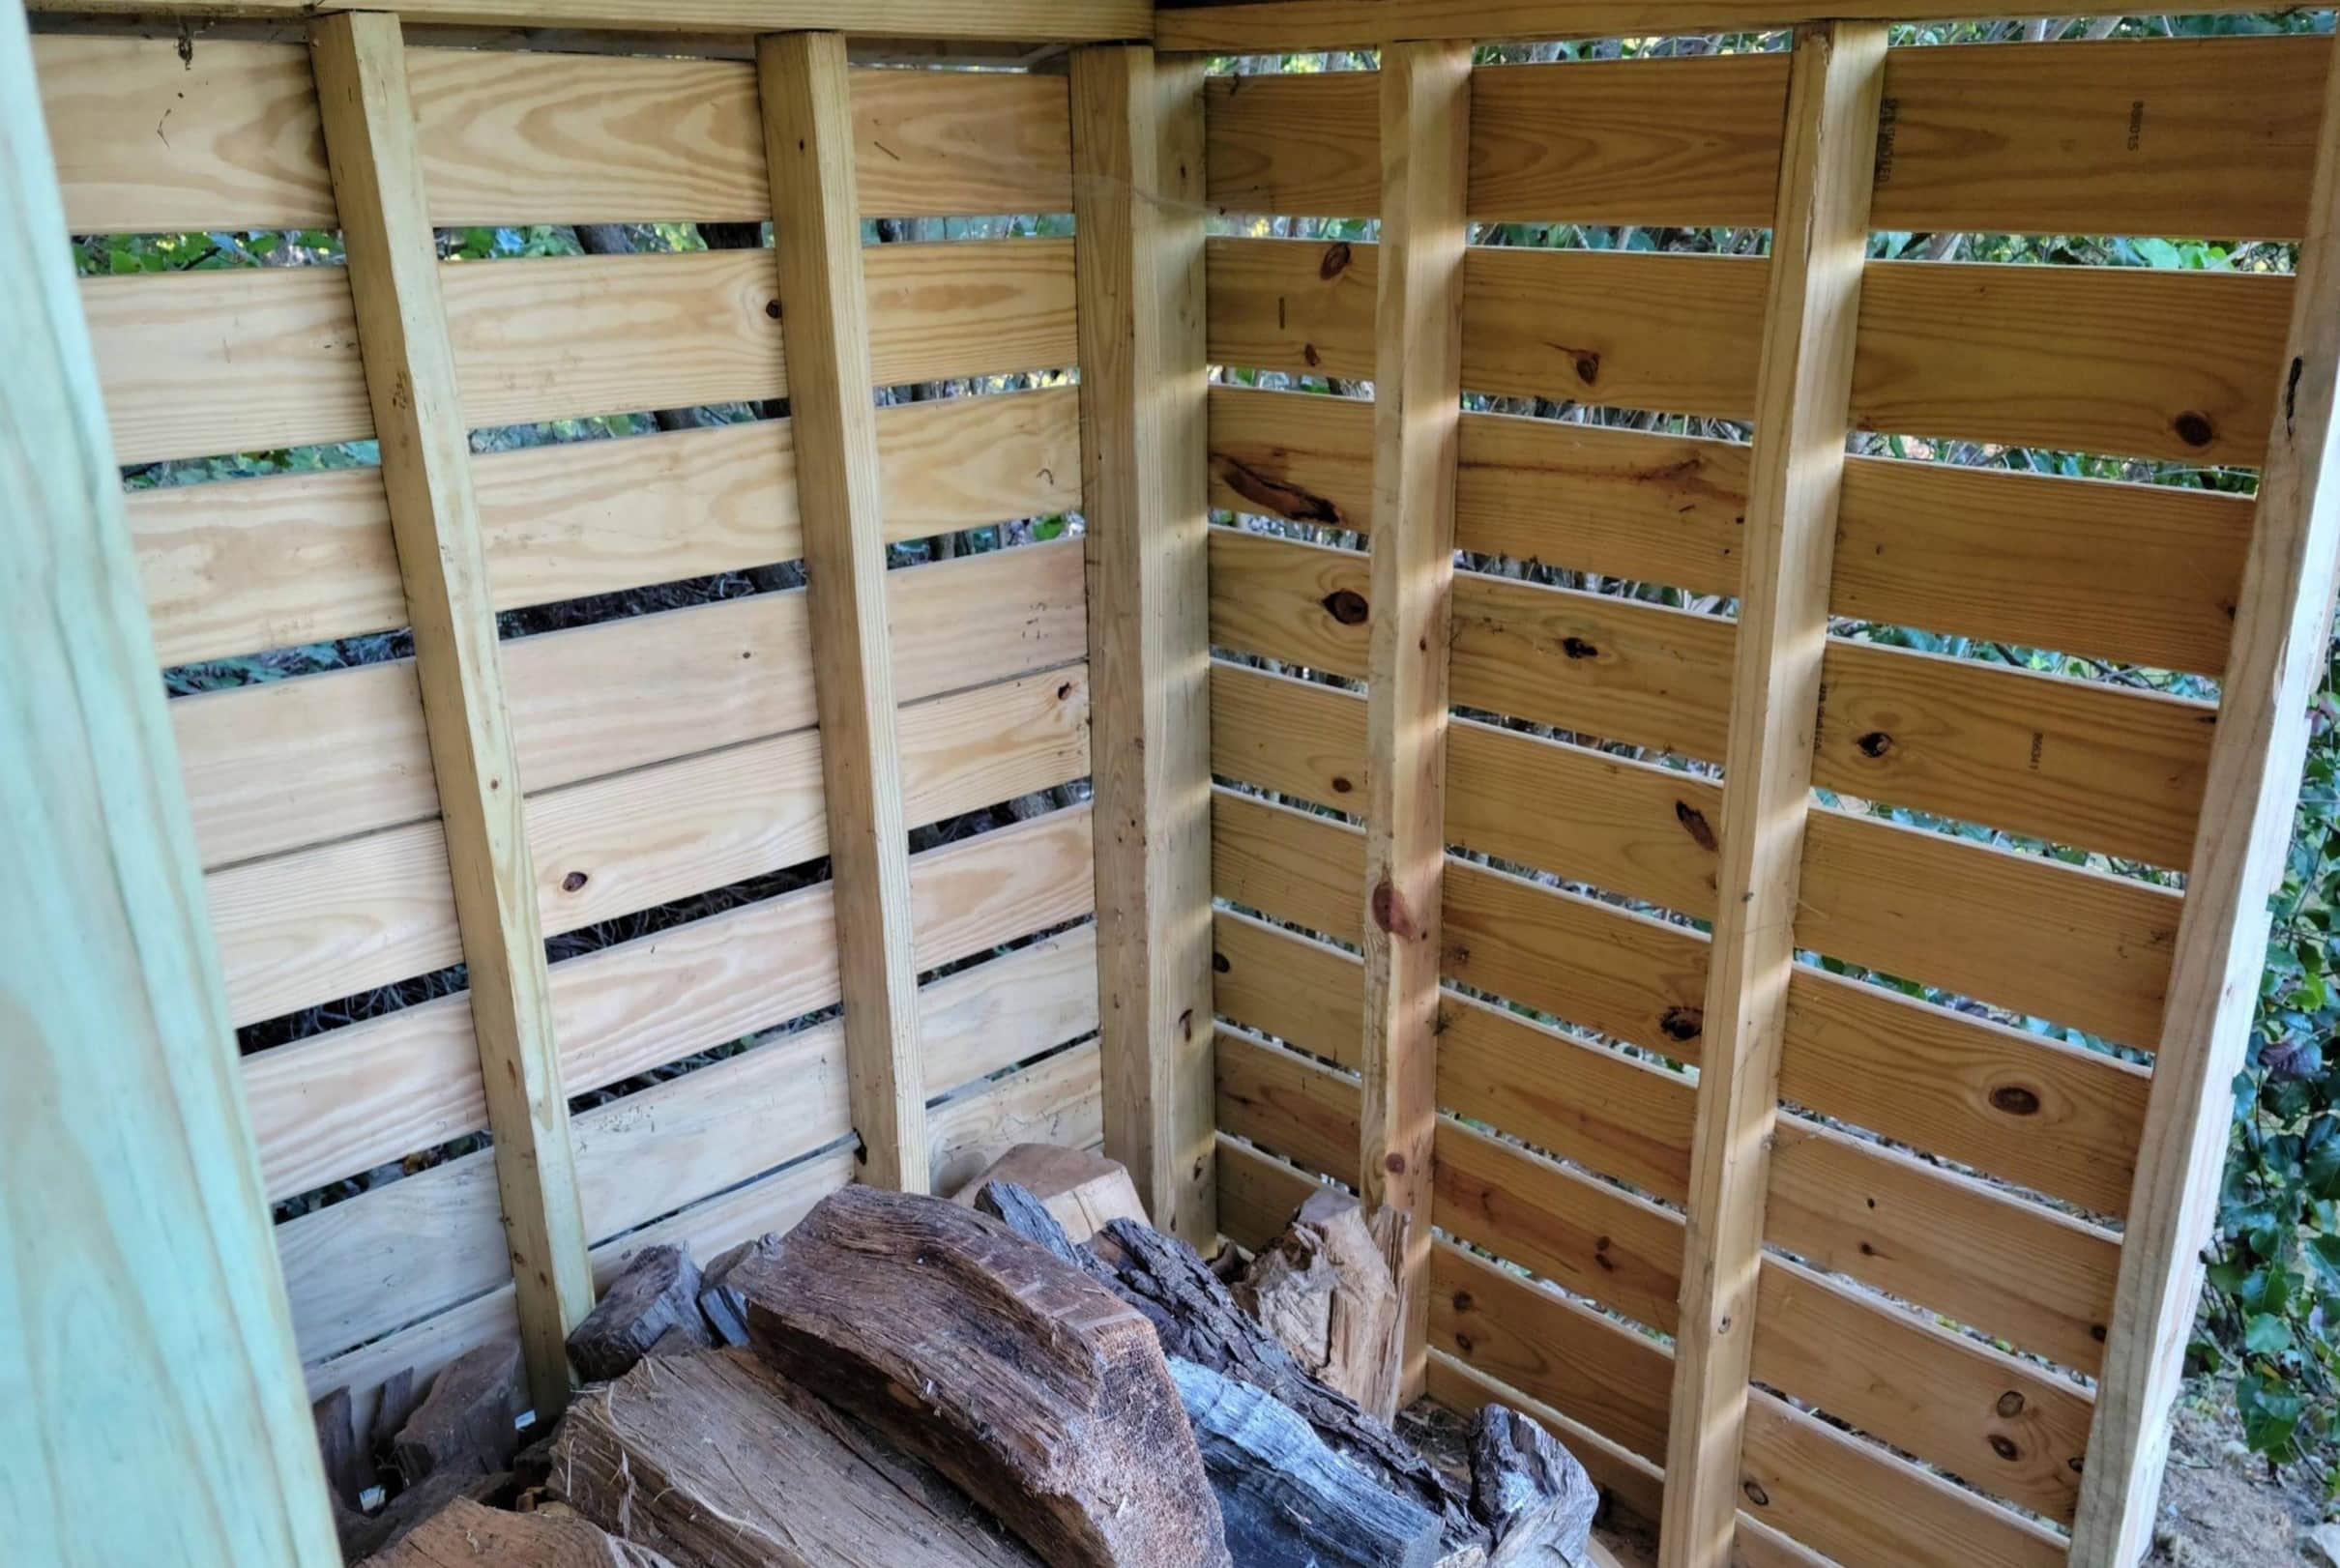
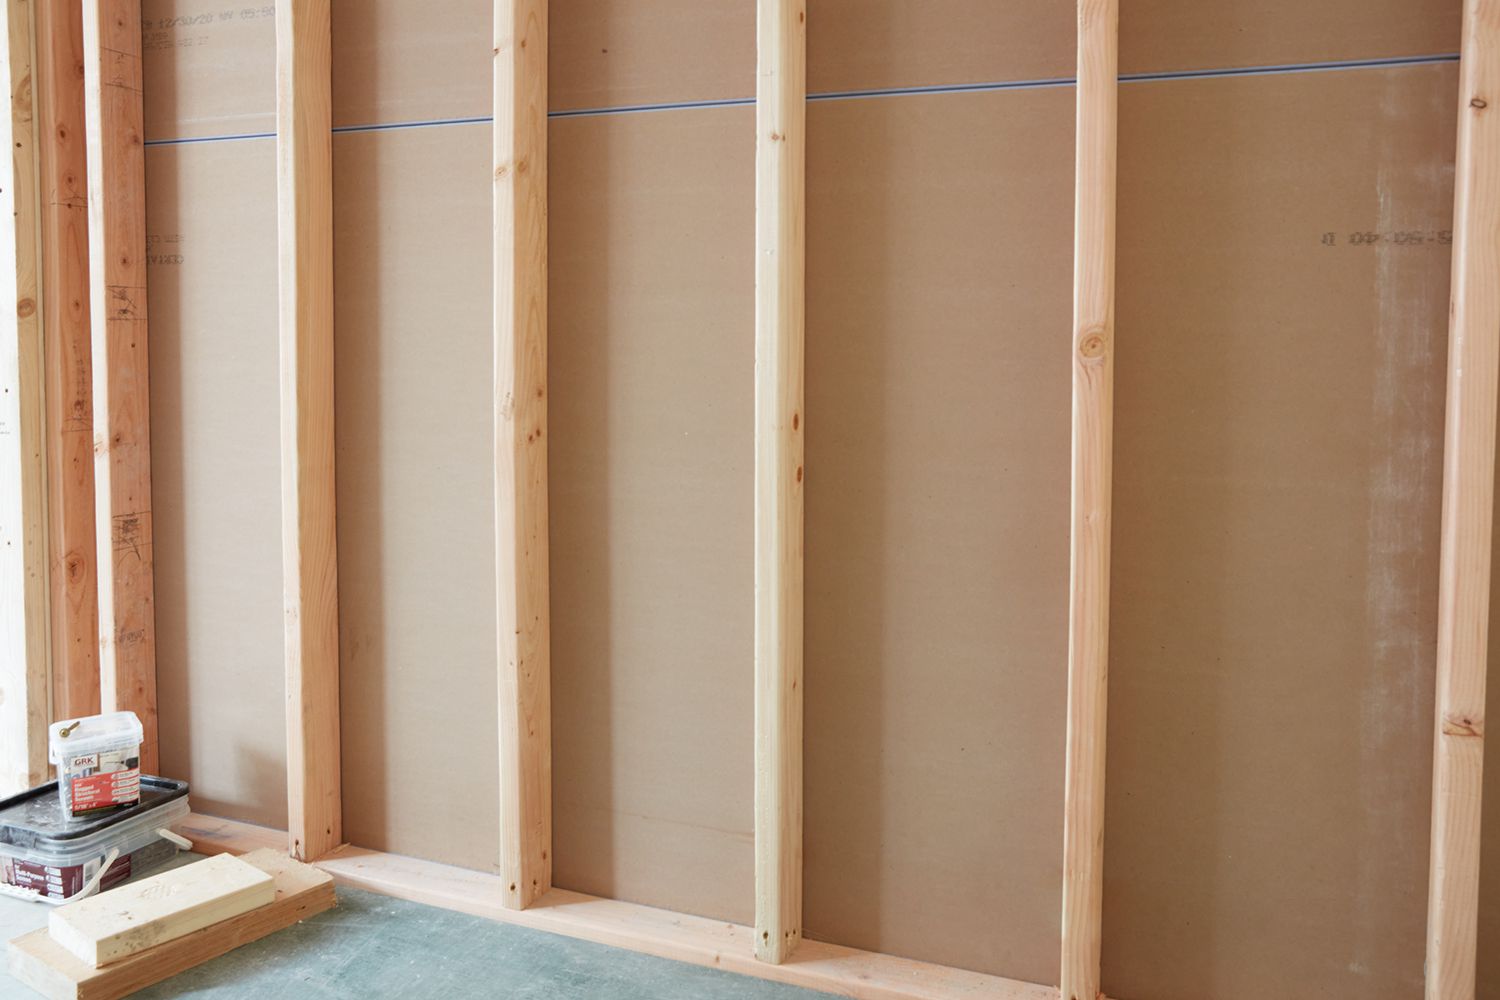
Position the cut studs vertically between the wall plates, following the marked stud spacing. Secure the studs to the wall plates using nails or screws, ensuring that they are tightly fastened and properly aligned. This creates the framework for the wall, providing structural support and stability.
4. Incorporate Door and Window Framing:
If the stud wall includes openings for doors and windows, incorporate the framing for these elements within the assembled frame. Ensure that the openings are accurately framed to accommodate the installation of doors and windows at a later stage in the construction process.
5. Check for Squareness and Alignment:
Before proceeding further, verify that the assembled frame is square and aligned. Use a tape measure to check the diagonals of the frame for equal measurements, confirming that it is perfectly square. Additionally, ensure that the frame aligns with the markings and dimensions specified for the shed’s layout.
By meticulously cutting the lumber to size and methodically assembling the frame components, you will create a sturdy and precisely fitted structure for the stud wall. Attention to detail during this phase is crucial for ensuring that the wall frame aligns with the shed’s dimensions and provides the necessary support for the overall structure.
**
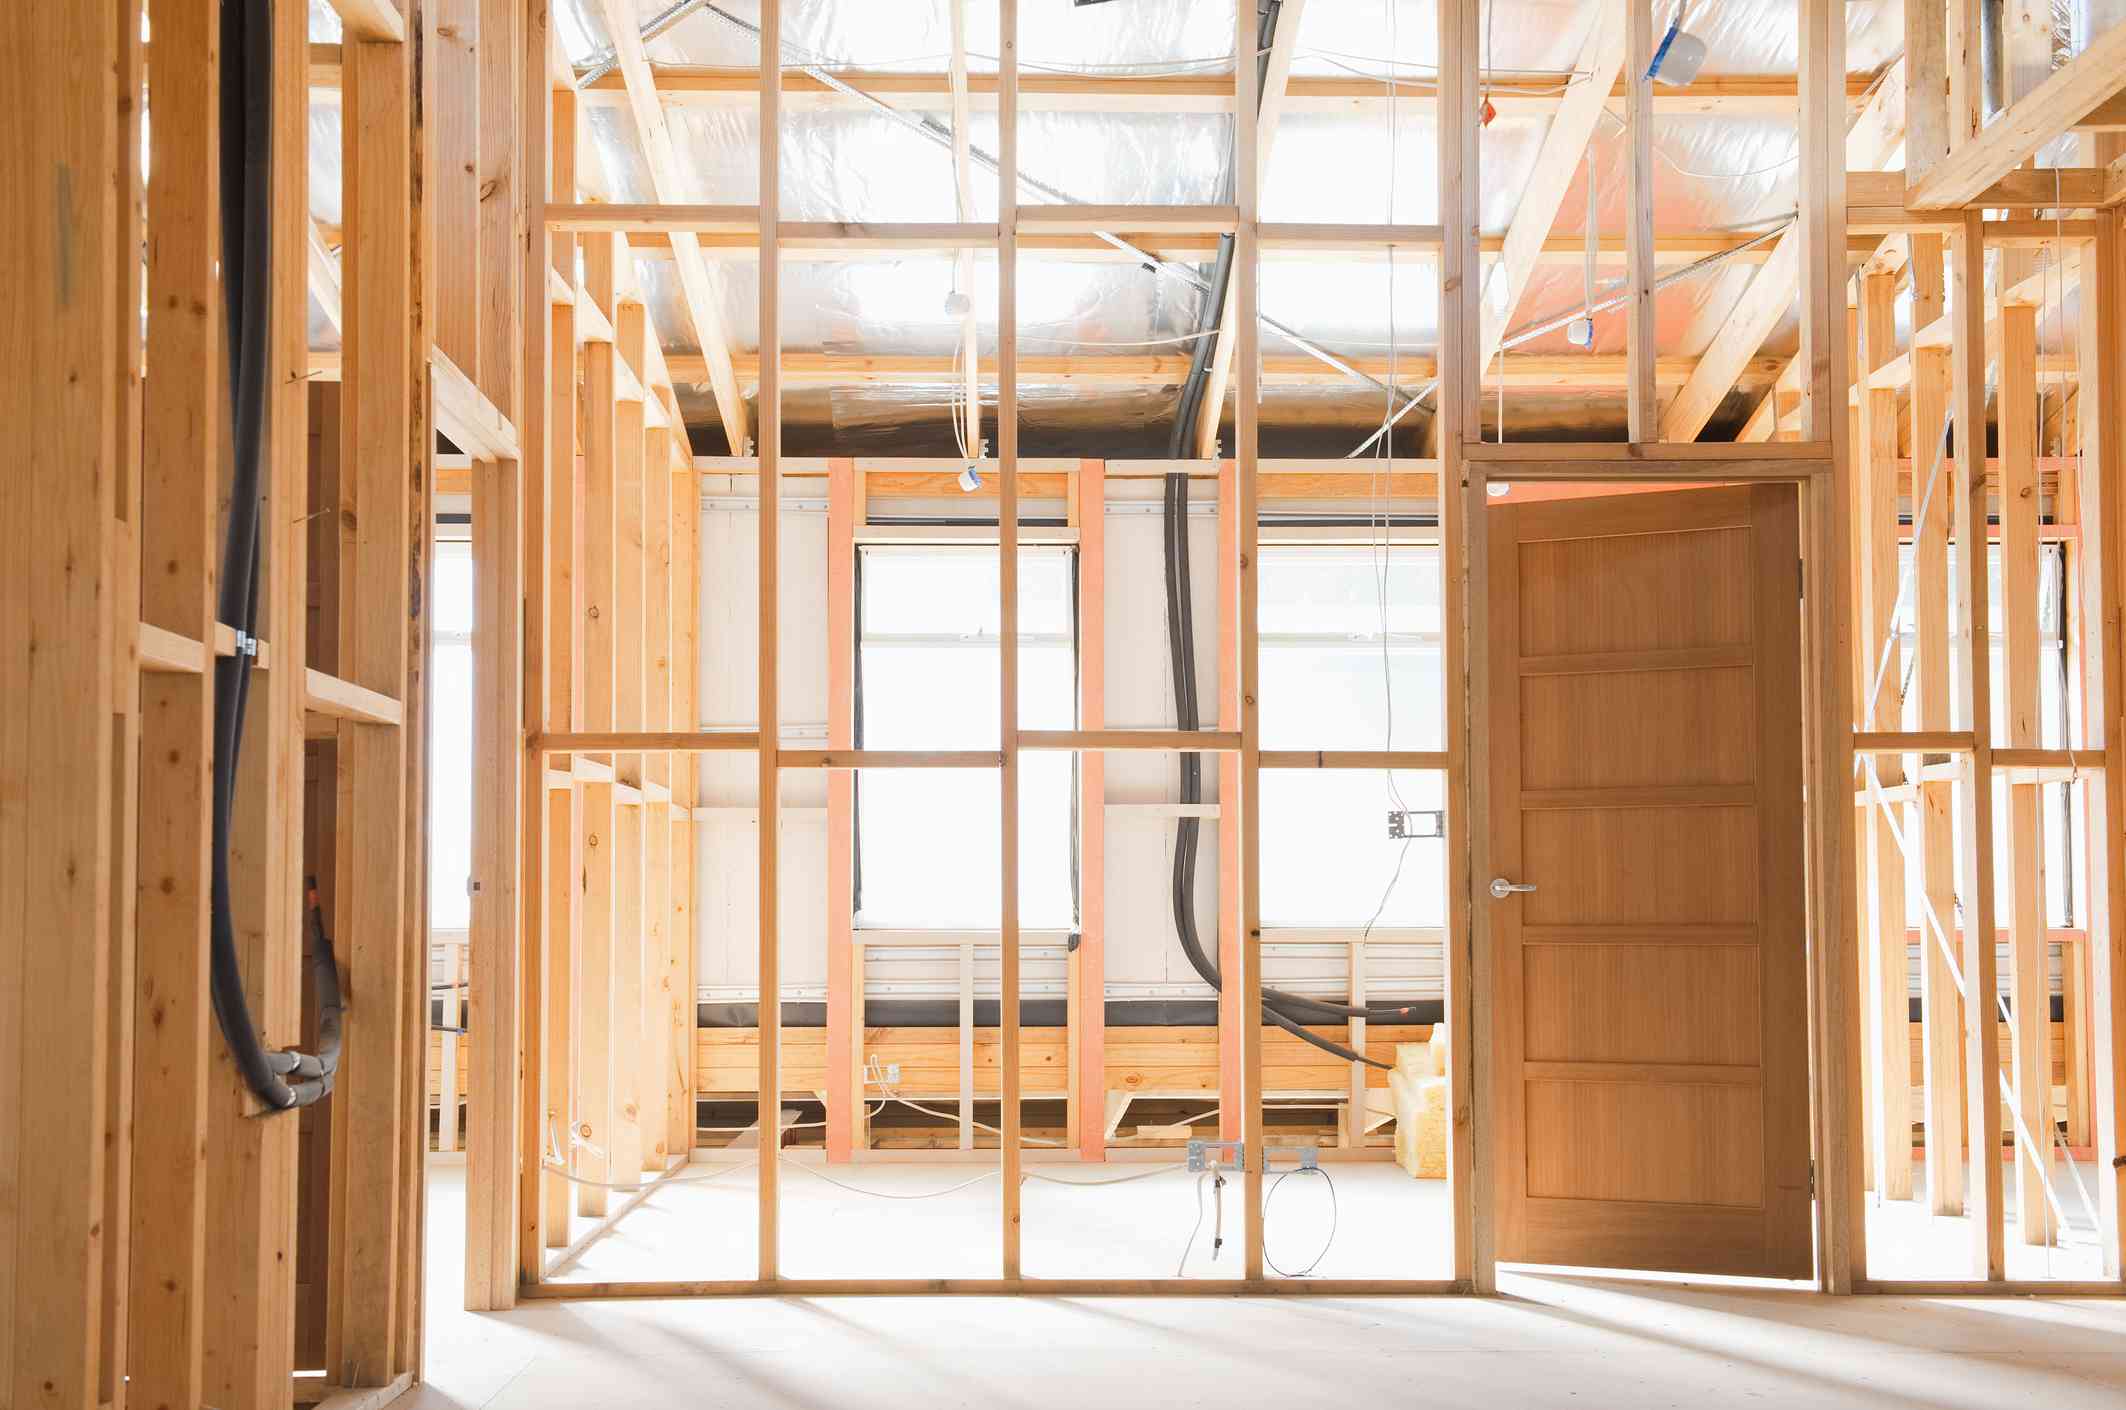
Installing the Stud Wall
**
With the stud wall frame meticulously constructed, it’s time to proceed with the installation process. This phase involves securing the assembled wall frame in its designated location within the shed, ensuring that it is properly anchored and aligned. Here’s a comprehensive guide to installing the stud wall:
1. Position the Wall Frame:
Carefully maneuver the assembled stud wall frame into its designated position within the shed. Ensure that it aligns precisely with the markings and dimensions outlined during the planning phase. Enlist the assistance of others if necessary to handle the wall frame safely and accurately position it in place.
2. Secure the Wall to the Shed’s Structure:
If the shed has a concrete foundation, use anchor bolts or concrete screws to securely fasten the bottom wall plate to the foundation. For sheds with a wooden floor, ensure that the wall is anchored to the floor joists using appropriate fasteners. This step is crucial for stabilizing the wall and integrating it with the shed’s existing structure.
3. Check for Plumb and Alignment:
Use a level to verify that the installed stud wall is perfectly plumb and aligned. Adjust the positioning if necessary to ensure that the wall is vertically straight and parallel to the shed’s existing walls. Proper alignment is essential for the overall stability and visual appeal of the shed.
4. Secure the Wall to Adjacent Structures:
If the stud wall abuts existing walls or structures within the shed, secure it to these adjacent elements using appropriate fasteners. This will further reinforce the stability of the wall and ensure a seamless integration with the surrounding structures.
5. Insulate and Sheath the Wall:
If insulation is part of your shed’s design, now is the time to install it within the stud wall. Ensure that the insulation is placed snugly between the studs to maximize energy efficiency. Subsequently, sheath the exterior of the wall with plywood or oriented strand board (OSB) to provide rigidity and a surface for cladding or siding installation.
By diligently following these installation steps, you will successfully integrate the stud wall into the shed’s structure, ensuring that it is securely anchored and aligned. Paying close attention to plumb, alignment, and structural integration will result in a well-installed stud wall that enhances the functionality and durability of your shed.
**
Conclusion
**
Congratulations on successfully completing the construction of a stud wall for your shed! By following the step-by-step process outlined in this guide, you have acquired the knowledge and skills to create a sturdy and functional wall that enhances the integrity of your shed. The careful planning, precise measurements, and meticulous assembly and installation have culminated in a well-constructed stud wall that will serve you well for years to come.
As you stand back and admire your handiwork, it’s important to reflect on the significance of the stud wall within the context of your shed. Not only does it provide structural support, but it also serves as a barrier against the elements, contributing to the overall durability and resilience of the shed. Whether you use your shed for storage, as a workshop, or any other purpose, the addition of a well-built stud wall enhances its functionality and versatility.
Furthermore, the construction of the stud wall represents a significant accomplishment in your DIY journey. It showcases your ability to tackle a project of considerable importance and complexity, demonstrating your skills as a capable builder and craftsman. The knowledge and experience gained from this undertaking will undoubtedly empower you to pursue future construction projects with confidence and proficiency.
It’s important to note that the completion of the stud wall is just one aspect of shed construction. As you continue to enhance and customize your shed, consider additional elements such as interior finishes, exterior cladding, and utility installations to further optimize its utility and aesthetic appeal.
Lastly, as you enjoy the fruits of your labor, take pride in the fact that you have contributed to the improvement and personalization of your living space. The stud wall you have built is not merely a structure; it is a testament to your dedication, creativity, and craftsmanship.
With the stud wall in place, your shed is now better equipped to meet your needs and adapt to your evolving requirements. As you embark on future projects and endeavors, may the skills and satisfaction derived from this accomplishment continue to inspire and guide you.
Well done, and best wishes for all your future construction endeavors!
Frequently Asked Questions about How To Build A Stud Wall For A Shed
Was this page helpful?
At Storables.com, we guarantee accurate and reliable information. Our content, validated by Expert Board Contributors, is crafted following stringent Editorial Policies. We're committed to providing you with well-researched, expert-backed insights for all your informational needs.


0 thoughts on “How To Build A Stud Wall For A Shed”