
Articles
How To Make A Flying Geese Quilt Block
Modified: December 7, 2023
Learn how to make a stunning flying geese quilt block with our informative articles. Discover expert tips and techniques for perfecting this classic quilting pattern.
(Many of the links in this article redirect to a specific reviewed product. Your purchase of these products through affiliate links helps to generate commission for Storables.com, at no extra cost. Learn more)
Introduction
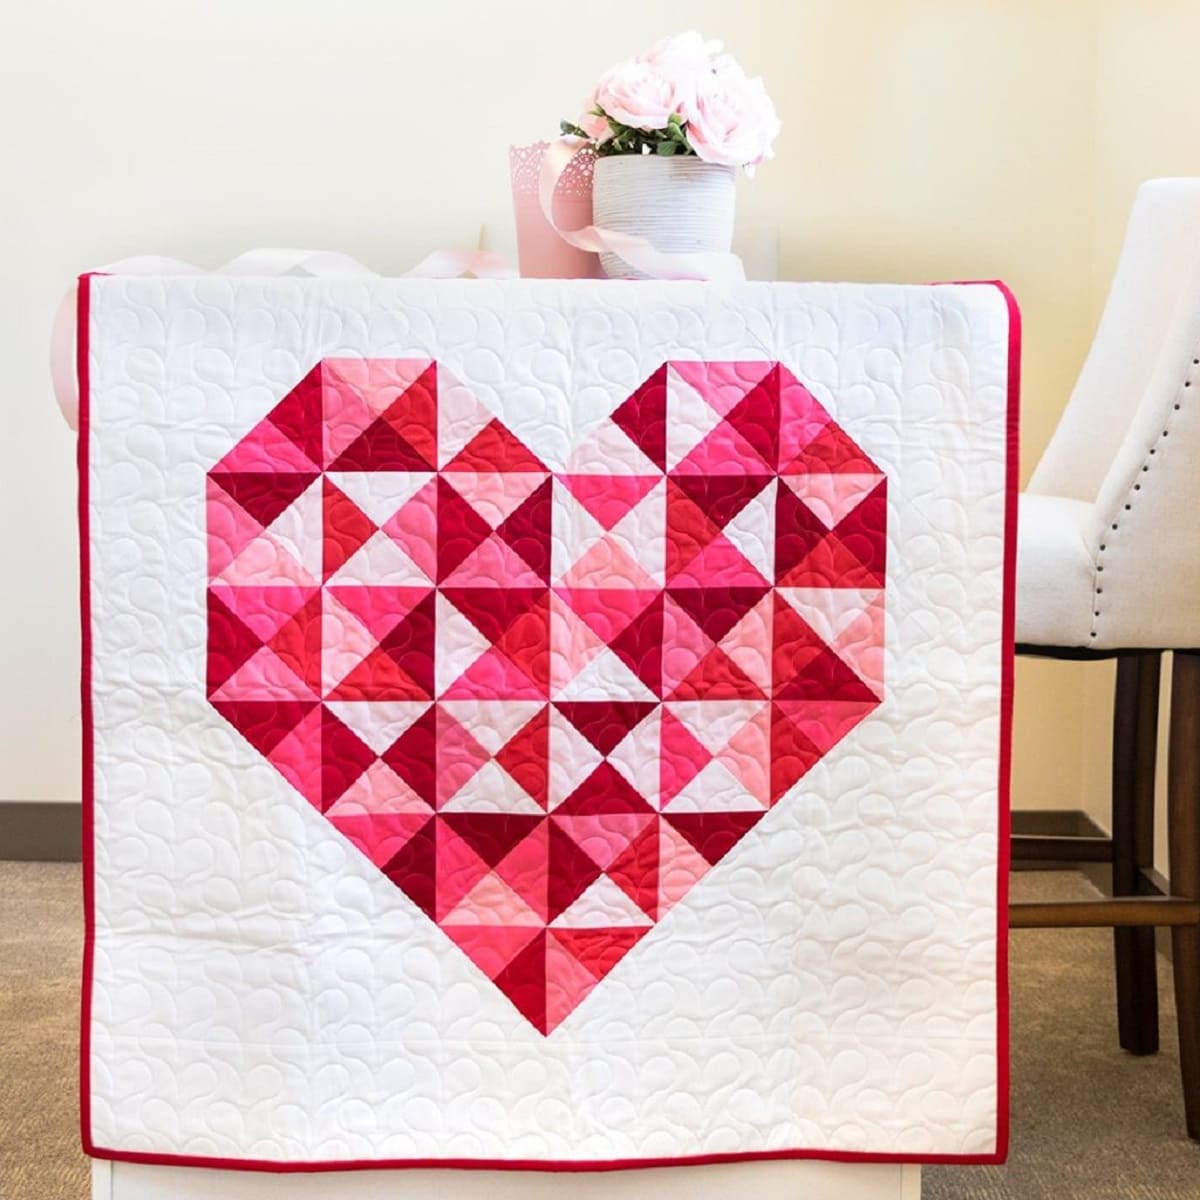
Quilting is a timeless art form that allows us to unleash our creativity while creating beautiful and functional pieces. One popular quilt block pattern that adds dynamic movement to a quilt is the Flying Geese block. The Flying Geese block consists of triangles arranged in a way that resembles a flock of geese in flight.
In this article, we will guide you through the process of making a Flying Geese quilt block. Whether you are a seasoned quilter or just starting out, this tutorial will provide you with step-by-step instructions to create stunning Flying Geese blocks for your quilt. So, gather your materials and let’s get started!
Key Takeaways:
- Unleash your creativity and sewing skills by following step-by-step instructions to create stunning Flying Geese quilt blocks. Enjoy the process and embrace the joy of quilting as you bring your unique designs to life.
- The Flying Geese block offers endless possibilities for creating captivating quilts. Whether you’re a seasoned quilter or just starting out, this timeless pattern will elevate your quilting projects and showcase your passion for this art form.
Read more: How To Make A Block Quilt
Materials Needed
Before diving into the tutorial, it’s essential to gather all the necessary materials. Here’s a list of items you’ll need:
- Fabric – Choose fabric in different colors and patterns to create contrast in your Flying Geese block. You will need one large square for the background, as well as smaller squares for the geese.
- Ruler and rotary cutter – These tools will help you accurately cut the fabric into the desired shapes and sizes.
- Pins – Use pins to hold the fabric pieces together during sewing.
- Iron and ironing board – Pressing your fabric before and after sewing helps create crisp and neat seams.
- Sewing machine – A sewing machine makes the process faster and more efficient, but you can also sew the quilt block by hand if you prefer.
- Thread – Choose a thread color that complements your fabric.
- Scissors – Use scissors to trim excess threads and fabric.
Once you have gathered these materials, you’re ready to start creating your Flying Geese quilt block!
Step 1: Cutting the Fabric
Before you can begin sewing your Flying Geese quilt block, you need to start by cutting the fabric into the necessary shapes and sizes. Follow these steps:
- Start by determining the finished size of your Flying Geese block. This will depend on the specific design of your quilt. For this tutorial, let’s use a common size of 3 inches by 6 inches for the finished block.
- To create one Flying Geese unit, you will need one large rectangle for the background and two smaller rectangles for the geese. Cut the large rectangle to measure 3.5 inches by 6.5 inches. These extra half inches will allow for seam allowances and make the final block the desired size.
- For the two smaller rectangles, cut them to measure 3.5 inches by 3.5 inches each. These will be the “wings” of your Flying Geese block.
- Repeat the cutting process to create as many Flying Geese units as desired for your quilt block.
Once you have cut all the necessary fabric pieces, double-check their sizes to ensure they match the measurements mentioned above. This precision will help ensure accurate piecing and a well-constructed Flying Geese block.
Now that you have your fabric pieces ready, it’s time to move on to the next step: making half square triangles.
Step 2: Making Half Square Triangles
Half square triangles are an essential component of the Flying Geese quilt block. They add visual interest and allow you to play with different fabric combinations. Follow these steps to create the half square triangles:
- Take one of the smaller 3.5-inch square rectangles and place it right sides together with the large 3.5-inch by 6.5-inch rectangle. Align the edges.
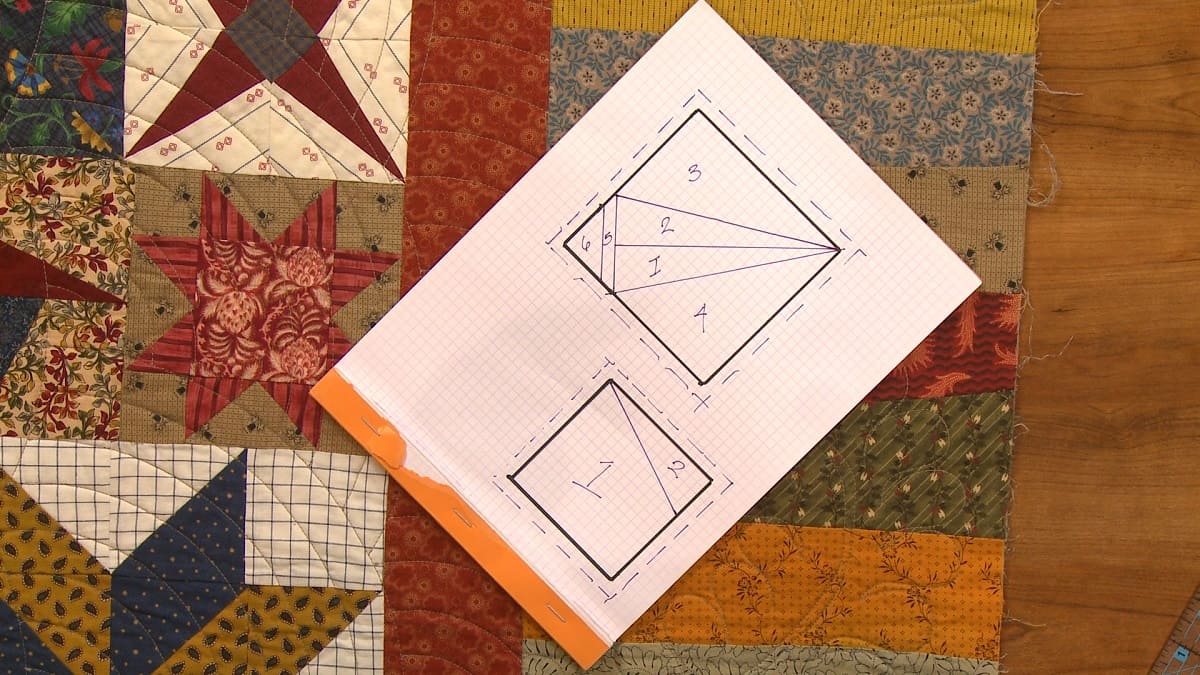
- Mark a diagonal line from one corner to the opposite corner on the top smaller rectangle. You can use a fabric pencil or a disappearing fabric pen for this.
- Now, sew a scant 1/4-inch seam on both sides of the marked line. This will create two seams that are slightly less than 1/4 inch from the center line.
- Once you have sewn the seams, carefully cut along the marked diagonal line. You will have two half square triangle units.
- Press the seams open to reduce bulk and create a flat surface.
- Repeat the above steps for each Flying Geese unit you are creating.
Remember to trim any excess fabric and neaten the edges of the half square triangle units. This will result in more accurate piecing and make the final quilt block look polished.
With the half square triangles ready, it’s time to move on to assembling the Flying Geese units in the next step.
When making a flying geese quilt block, be sure to accurately measure and cut your fabric pieces to ensure precise and uniform blocks. This will help your quilt top come together smoothly and look professional.
Step 3: Assembling the Flying Geese Units
Now that you have created the half square triangles, it’s time to assemble them into Flying Geese units. Follow these steps to piece together the Flying Geese units:
- Take one half square triangle unit and place it on top of the larger rectangle. Position it so that the triangle’s long edge aligns with one of the short edges of the rectangle.
- Pin the pieces together to secure them in place.
- Now, sew a 1/4-inch seam along the edge where the triangle and rectangle meet.
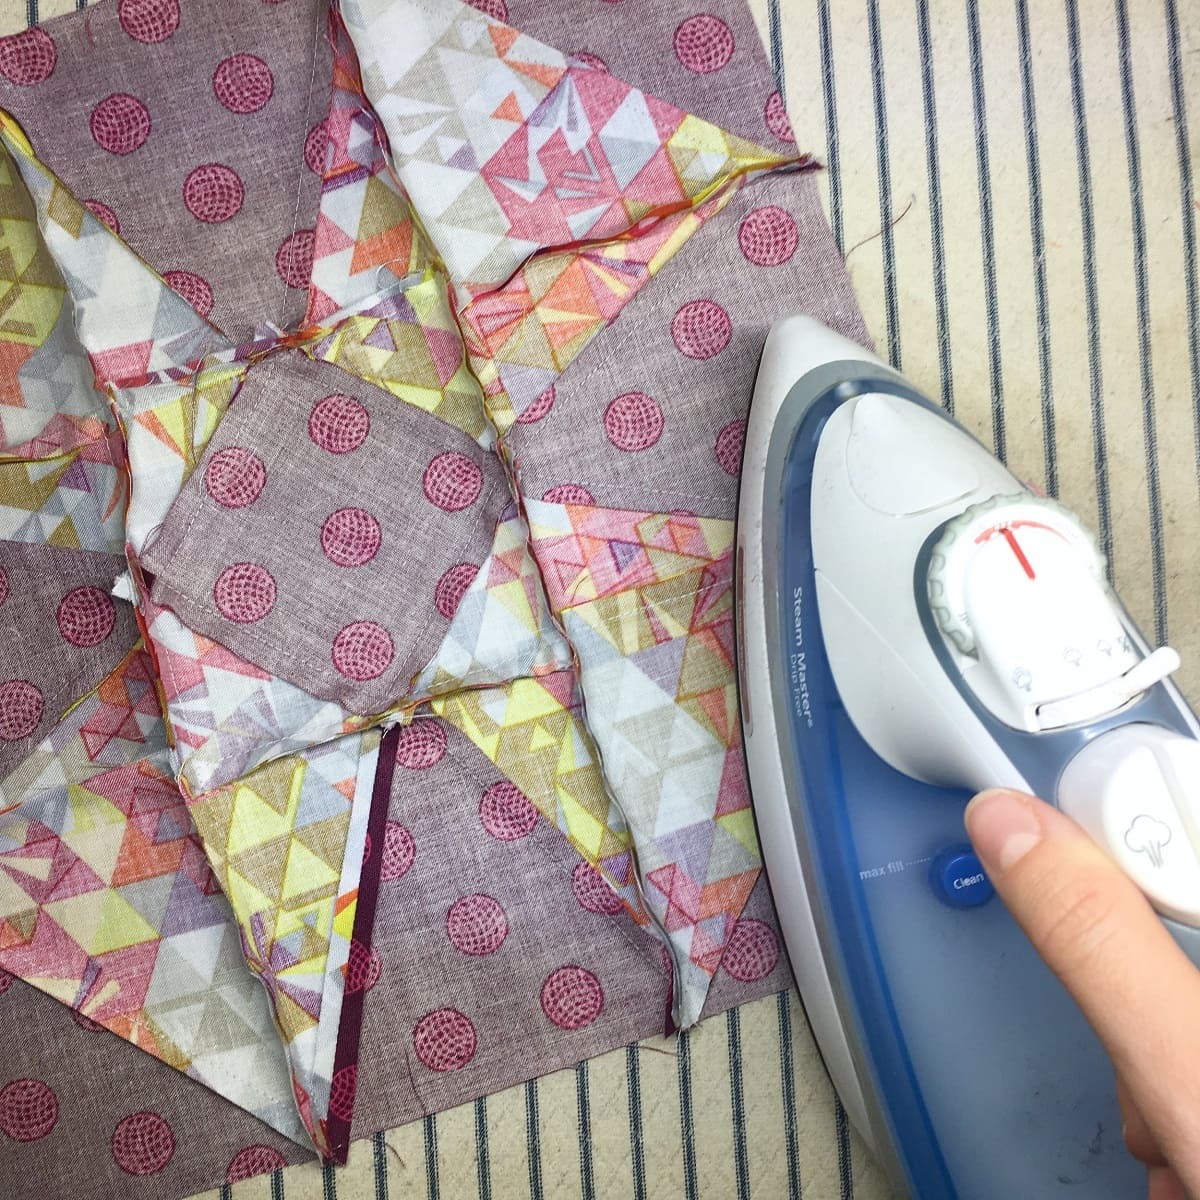
- Press the seam towards the triangle to create a crisp and flat surface.
- Repeat the above steps to attach the second half square triangle to the other side of the rectangle.
- Once both half square triangles are sewn to the rectangle, press the seams towards the triangles.
- Trim any excess fabric or threads to create clean edges.
- Repeat these steps to create as many Flying Geese units as needed for your quilt block.
Assembling the Flying Geese units requires precision and attention to detail. Take your time and ensure that the seams align properly and the triangles are sewn securely to the rectangles.
With the Flying Geese units assembled, it’s time to arrange and sew them together to create the final quilt block.
Read more: How To Make Snowball Quilt Block
Step 4: Arranging and Sewing the Block
Now that you have all your Flying Geese units ready, it’s time to arrange them and sew them together to create the final Flying Geese quilt block. Follow these steps:
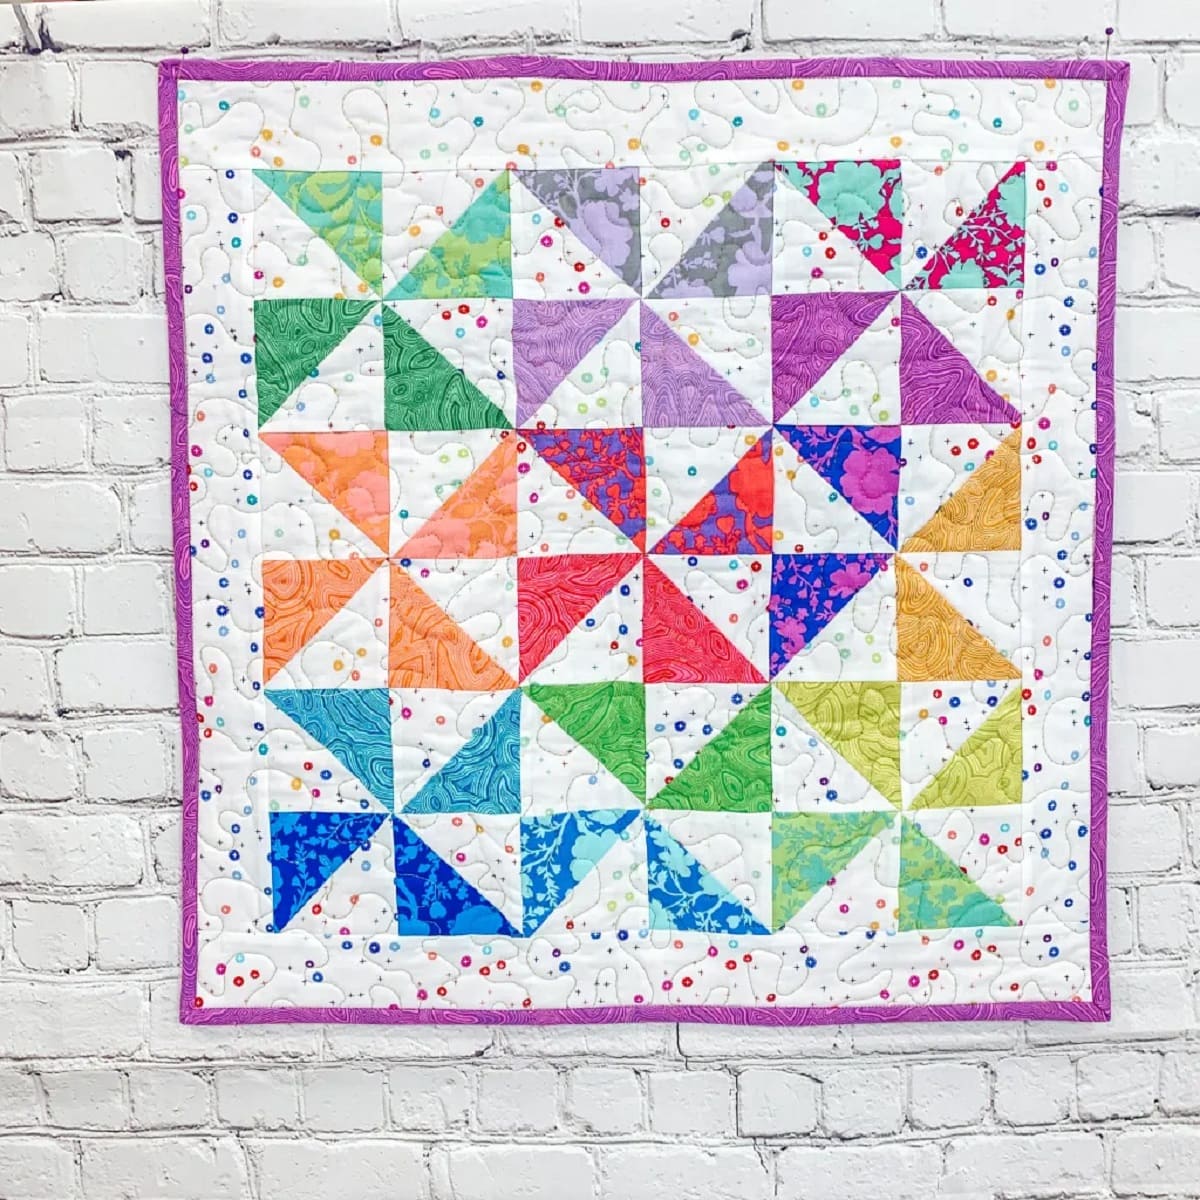
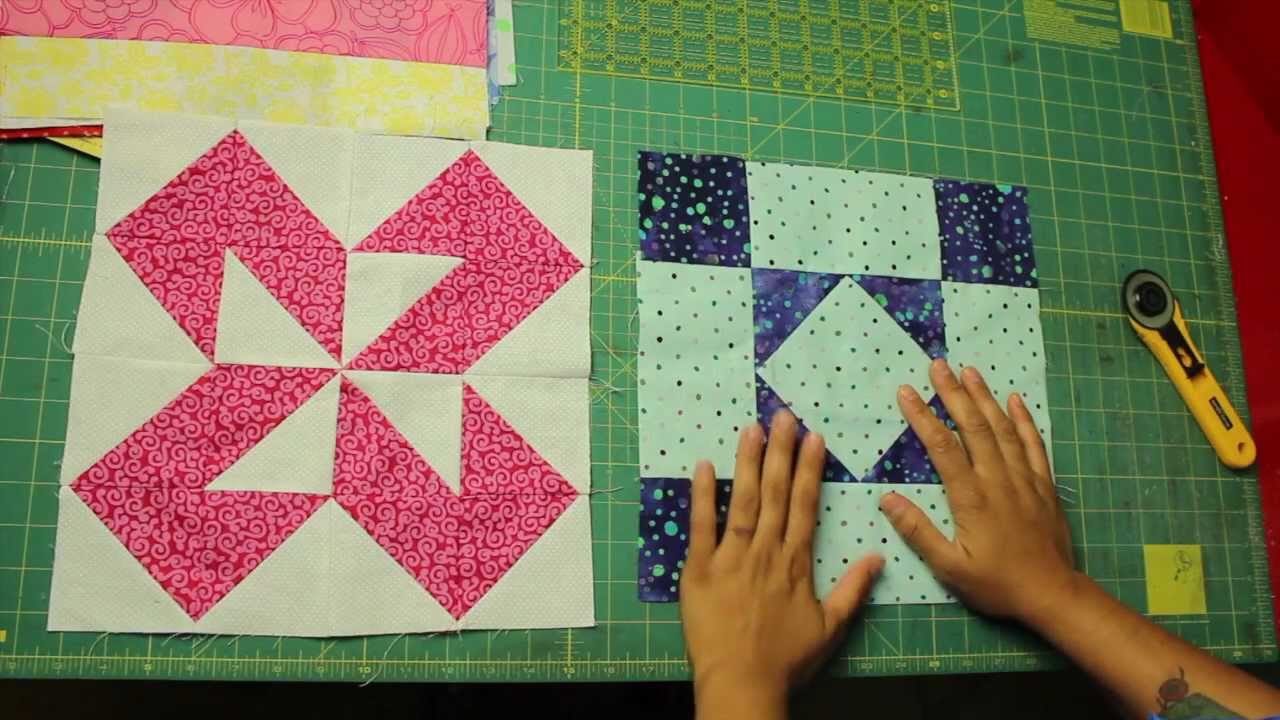
- Lay out your Flying Geese units in a configuration that you find visually pleasing. You can experiment with different arrangements to find the one that you like best.
- Once you are satisfied with the layout, carefully stack the units on top of each other, making sure to keep them in the correct order.
- Start sewing the units together by taking the first two units and placing them right sides together.
- Pin the units at the intersection points where the seams meet to ensure precise alignment.
- Sew a 1/4-inch seam along the pinned edge, backstitching at the beginning and end to secure the seam.
- Continue sewing the units together in the order you arranged them until you have sewn all the seams.
- Press the seams open or towards one side, depending on your preference or the quilt pattern you are following.
- Check the block for any unevenness or misalignment, and make any necessary adjustments.
Once you have sewn all the Flying Geese units together, you will have a completed Flying Geese quilt block. Take a moment to admire your work so far!
In the next step, we will discuss how to finish the quilt block and prepare it for use in your quilting project.
Step 5: Finishing the Quilt Block
You’re almost done with your Flying Geese quilt block! In this final step, we will discuss how to finish the block and prepare it for use in your quilting project. Follow these steps:
- Trim the excess fabric from the edges of the block to ensure a clean and straight finish. Use a ruler and rotary cutter to make precise cuts.
- Press the block to set the seams and create a smooth surface. Use an iron on the appropriate heat setting for your fabric.
- At this point, you can choose to add borders or sashing to your block, depending on your quilt design. This is optional, but it can enhance the overall look of your quilt.
- If you have multiple Flying Geese blocks, you can now sew them together to create a larger quilt top. Remember to align the blocks accurately and secure them with pins before sewing the seams.
- Once the quilt top is complete, layer it with batting and a backing fabric. Baste the layers together to hold them in place during the quilting process.
- Quilt the layers together using your preferred quilting method, such as free-motion quilting or straight-line quilting.
- Once the quilting is done, trim any excess batting and backing fabric.
- Add binding to the edges of the quilt to finish it off. You can either hand sew the binding or use a machine to attach it.
Congratulations! You have successfully finished your Flying Geese quilt block and are now ready to incorporate it into your quilting project. Whether you decide to make a single block or create an entire quilt with Flying Geese blocks, your finished piece will showcase your creativity and sewing skills.
Remember to take your time and enjoy the process of quilting. Each block you create is a unique piece of art that tells a story. Happy quilting!
Conclusion
Creating a Flying Geese quilt block is a rewarding and enjoyable quilting project that adds movement and visual appeal to your quilt designs. By following the steps outlined in this tutorial, you have learned how to cut the fabric, make half square triangles, assemble the Flying Geese units, arrange and sew the block, and finish your quilt block.
Throughout the process, you have honed your quilting skills and unleashed your creativity by selecting fabric combinations, arranging the units, and adding your personal touch to the finished block. The Flying Geese block offers endless possibilities for creating stunning quilts, whether you choose to make a single block or incorporate multiple blocks into a larger quilt design.
Remember to have fun and embrace the journey of quilting. Each quilt block you create is a testament to your skill and passion for this timeless art form. Whether you are a seasoned quilter or just starting out, the Flying Geese quilt block is a versatile and captivating pattern that will elevate your quilting projects.
So, gather your materials, follow the steps outlined in this tutorial, and let your creativity soar as you bring your Flying Geese quilt block to life. Enjoy the process, celebrate your accomplishments, and embrace the joy of quilting as you create beautiful and meaningful quilts for yourself and your loved ones.
Frequently Asked Questions about How To Make A Flying Geese Quilt Block
Was this page helpful?
At Storables.com, we guarantee accurate and reliable information. Our content, validated by Expert Board Contributors, is crafted following stringent Editorial Policies. We're committed to providing you with well-researched, expert-backed insights for all your informational needs.


0 thoughts on “How To Make A Flying Geese Quilt Block”