Articles
How To Troubleshoot An Electric Motor Problem
Modified: March 1, 2024
Learn how to troubleshoot common electric motor problems with our informative articles. Gain insights and find solutions to motor issues.
(Many of the links in this article redirect to a specific reviewed product. Your purchase of these products through affiliate links helps to generate commission for Storables.com, at no extra cost. Learn more)
Introduction
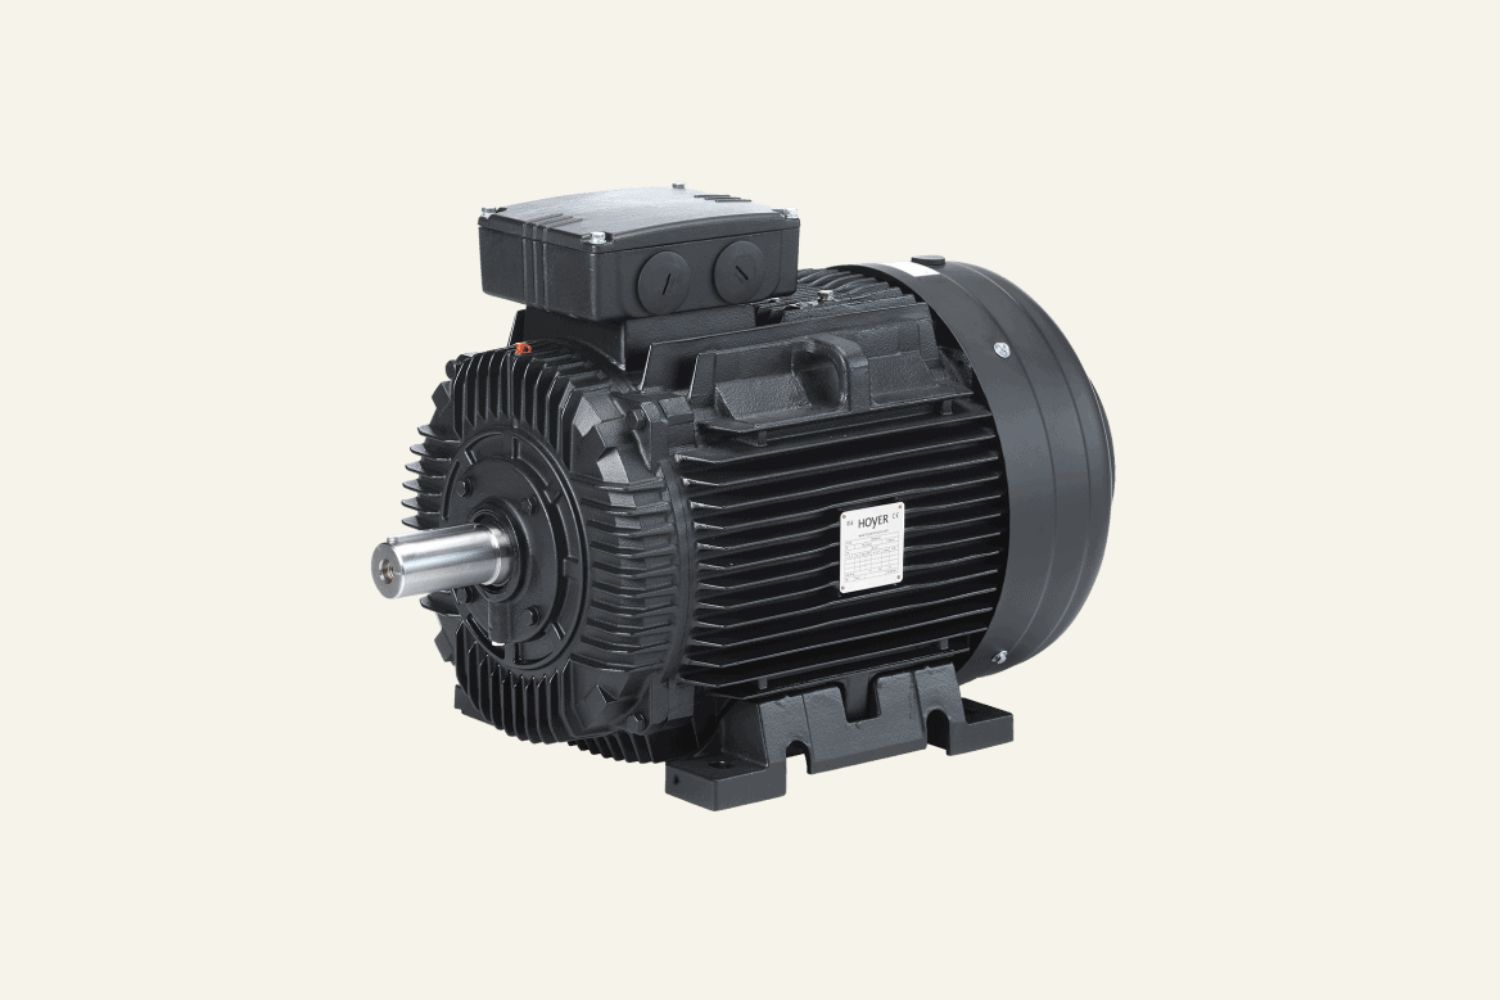
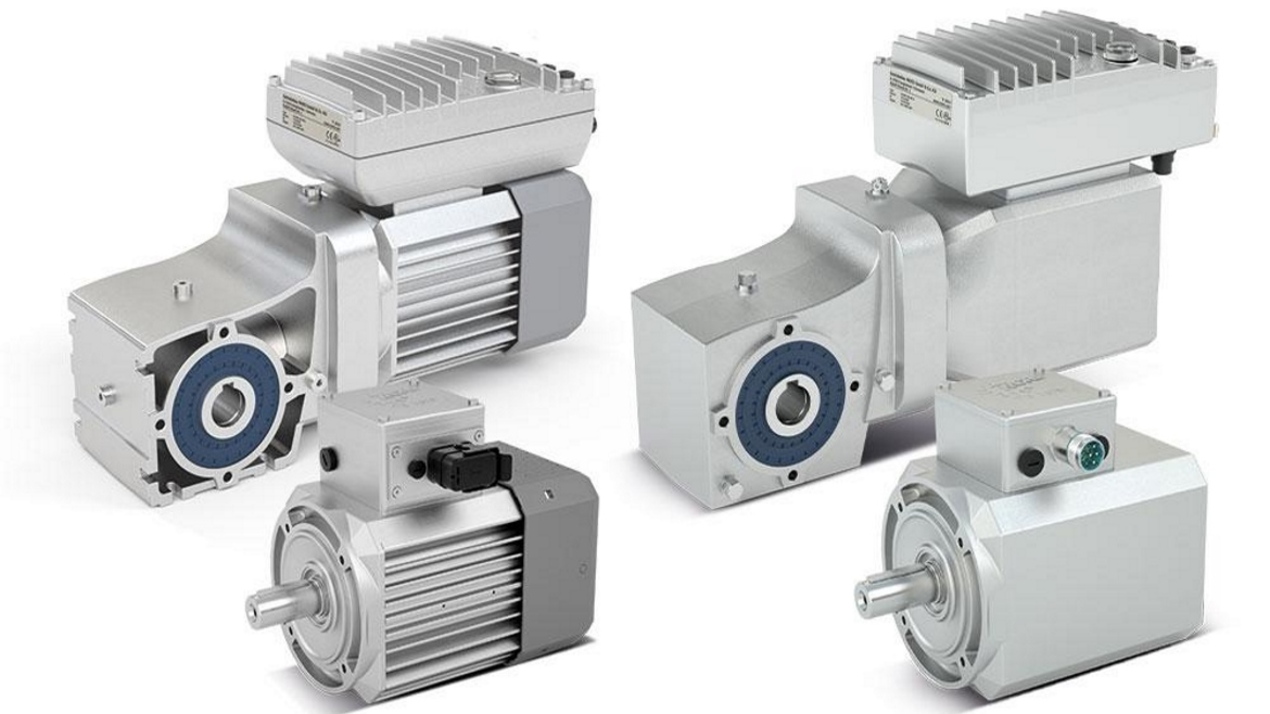
Welcome to the world of electric motors, where power and performance come together to drive various machines and equipment. These powerful devices are the heart and soul of many industries, from manufacturing plants to household appliances. However, like any mechanical component, electric motors can experience problems and malfunctions from time to time.
In this article, we will guide you through the process of troubleshooting common electric motor problems. Whether you’re a DIY enthusiast or a professional technician, this information will help you diagnose and resolve issues efficiently.
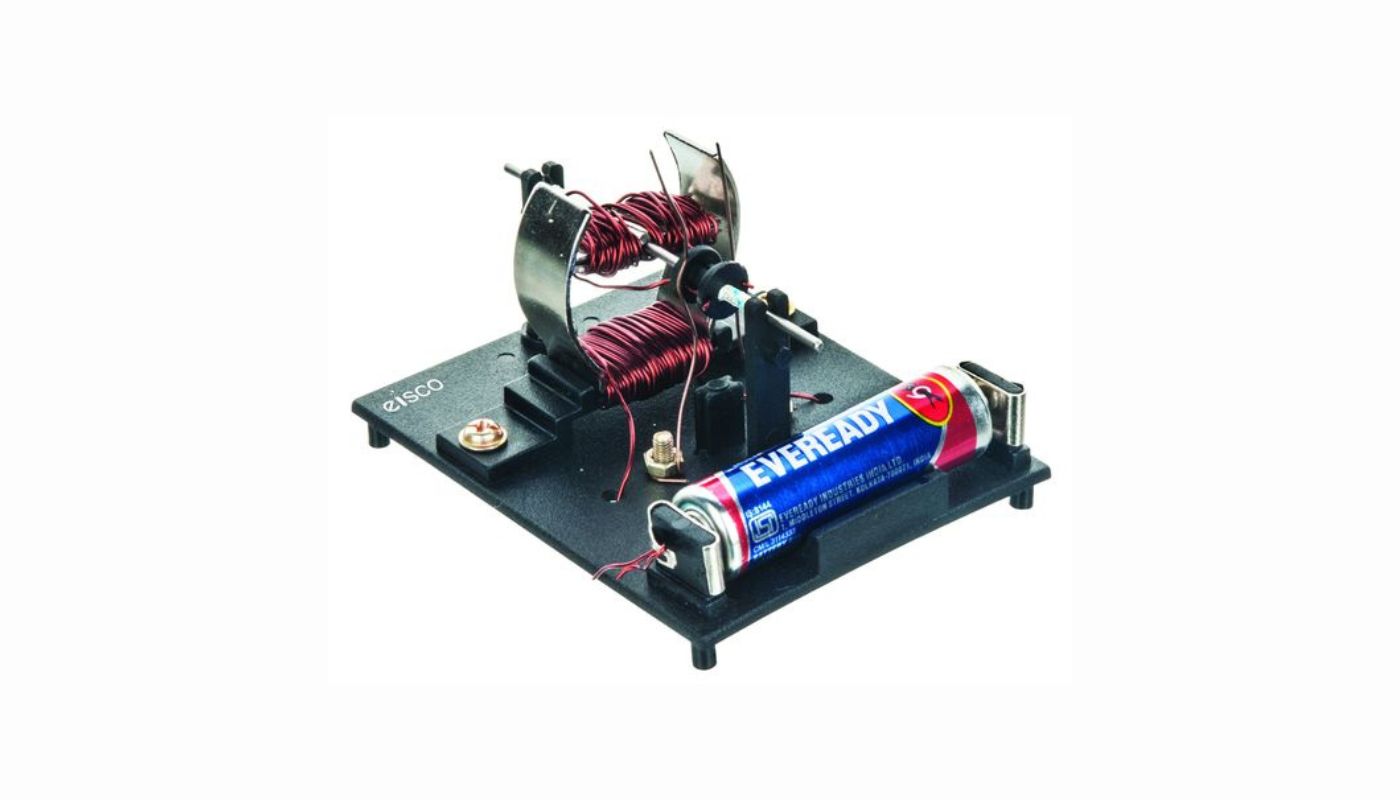
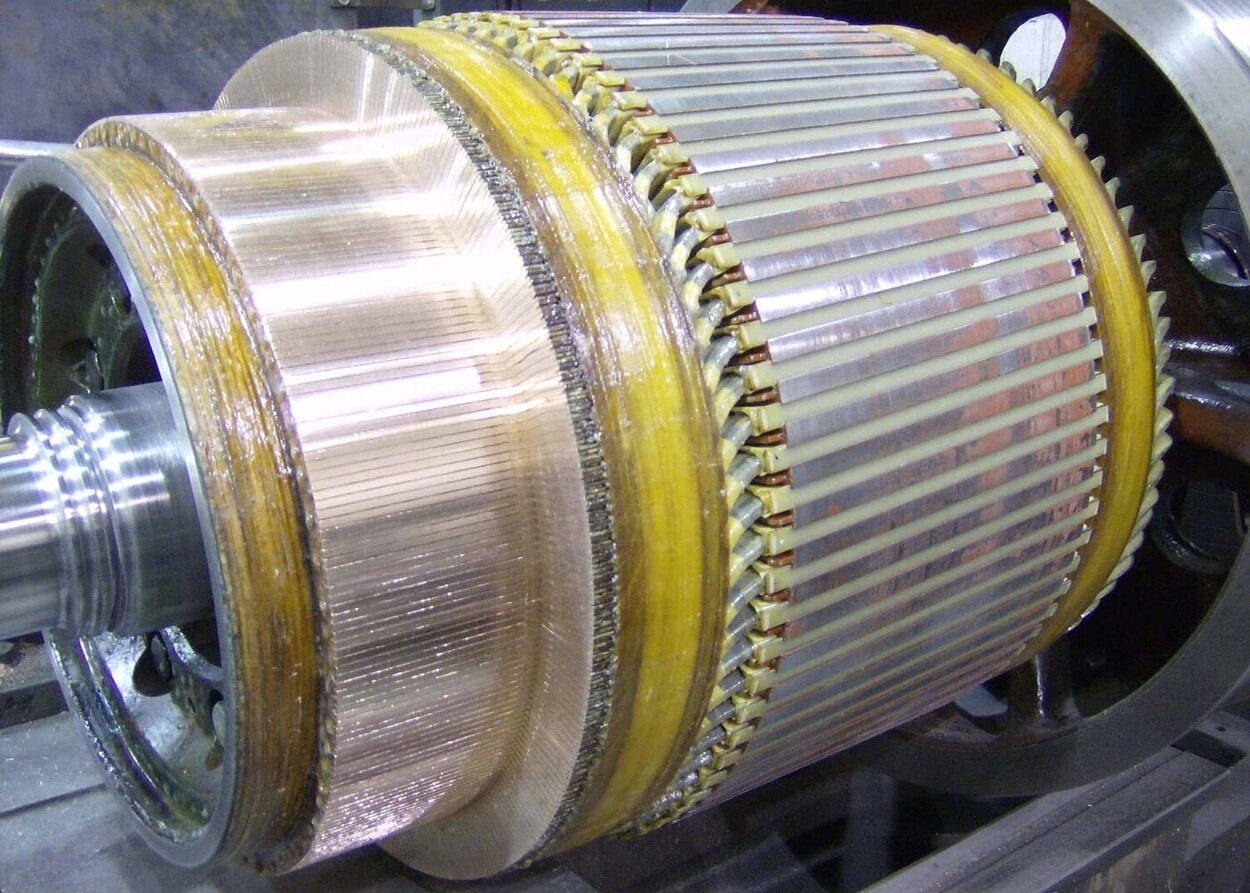
Before we dive into the troubleshooting process, it’s important to understand the basic functioning of an electric motor. At its core, an electric motor converts electrical energy into mechanical energy to power the rotation of a shaft. This rotation is achieved through a combination of magnetic fields, coils, and bearings.
Now, let’s get started with our step-by-step guide on how to troubleshoot an electric motor problem. By following these steps, you’ll be able to identify the root cause of the issue and take appropriate actions to fix it.
Key Takeaways:
- Ensure proper power supply, inspect connections, test windings, and check components like capacitors, bearings, and belts to troubleshoot electric motor problems effectively and maintain efficient operation.
- Regular maintenance, safety prioritization, and professional consultation are key to resolving motor issues, ensuring optimal performance, and extending the lifespan of electric motors.
Read more: How To Repair An Electric Motor
Step 1: Check the Power Supply
The first step in troubleshooting an electric motor problem is to ensure that it is receiving proper power supply. A malfunctioning or inadequate power supply can lead to motor issues. Here’s what you need to do:
- Check the power source: Ensure that the motor is connected to a reliable power source. Check if the circuit breaker or fuse that supplies power to the motor is not tripped or blown. If it is, reset the breaker or replace the fuse.
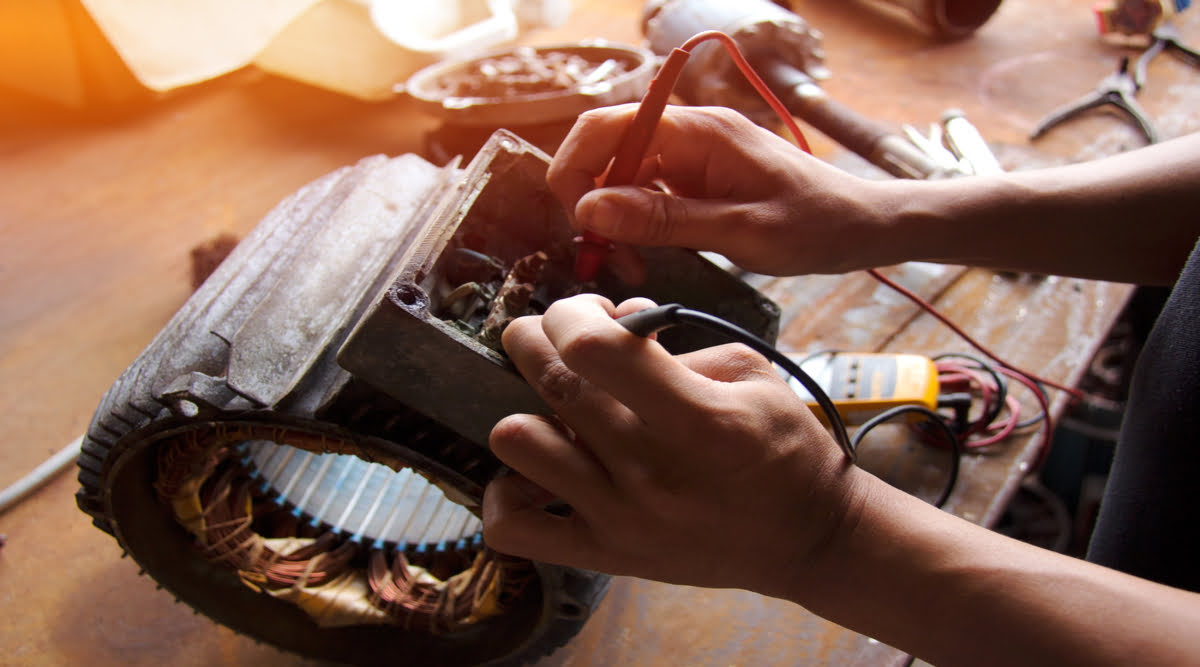
- Verify voltage and frequency: Electric motors are designed to operate at specific voltage and frequency levels. Check if the power supply matches the motor’s requirements. Use a multimeter to measure the voltage and frequency at the motor terminals.
- Inspect wiring connections: Examine the electrical wiring connections going into the motor. Look for loose or damaged wires that may be causing a poor or intermittent connection. Tighten any loose connections and repair or replace damaged wires.
Once you’ve checked the power supply, retest the motor to see if it’s functioning properly. If the issue persists, move on to the next step in the troubleshooting process.
Step 2: Inspect the Motor Connections
After checking the power supply, the next step in troubleshooting an electric motor problem is to inspect the motor connections. Faulty or loose connections can disrupt the flow of electrical current and lead to motor issues. Here’s what you need to do:
- Turn off the power: Before inspecting the motor connections, make sure to turn off the power supply to avoid any electrical accidents.
- Examine terminal connections: Carefully inspect the terminal connections within the motor. Look for any loose or corroded connections that may be causing electrical resistance. Tighten any loose terminals and clean off any corrosion using a wire brush or electrical contact cleaner.
- Check for damaged wires: Inspect the motor wiring for any signs of damage, such as frayed insulation or exposed wires. Damaged wires can lead to short circuits or erratic behavior of the motor. In such cases, the damaged wires should be repaired or replaced.
- Inspect motor leads: If your motor has leads instead of terminal connections, check for any loose or damaged leads. Ensure that they are securely connected to the proper terminals. Replace any damaged leads if necessary.
After inspecting the motor connections, turn on the power and test the motor again. If the problem persists, proceed to the next troubleshooting step.
Step 3: Test the Motor Windings
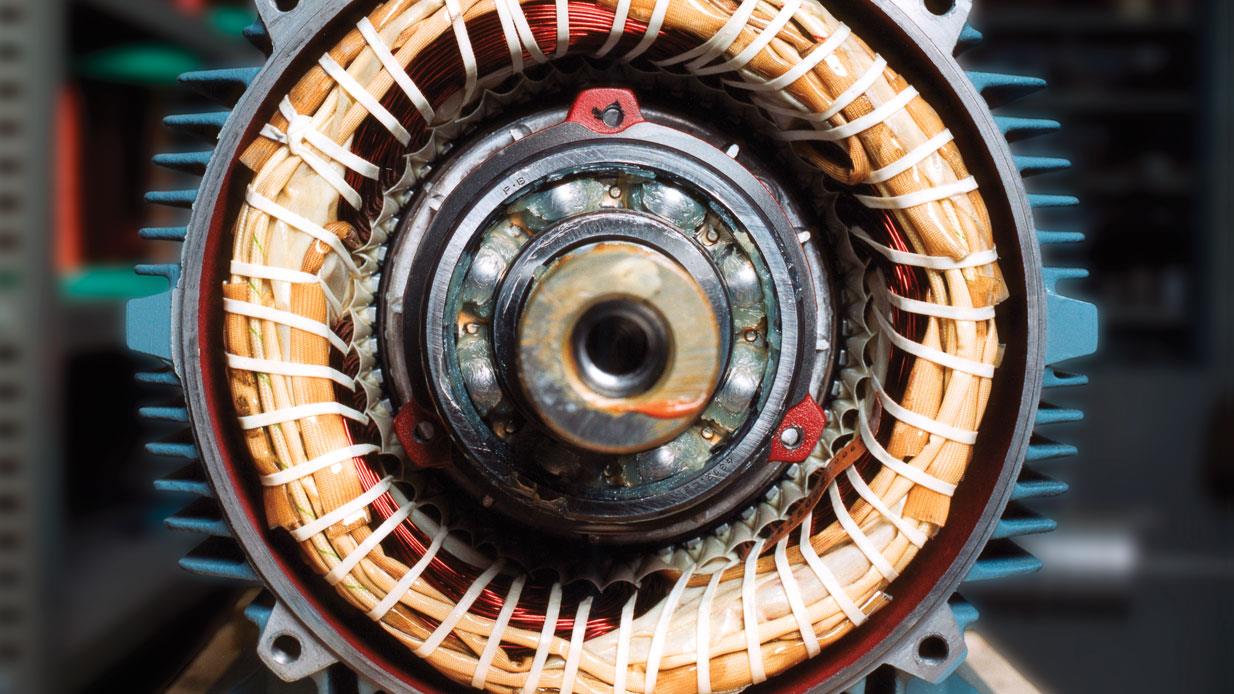
When troubleshooting an electric motor problem, it’s important to test the motor windings. The motor windings are the coils of wire responsible for generating the magnetic fields that enable the motor to rotate. Testing the windings can help identify any faults or abnormalities. Here’s how to do it:
- Disconnect Power: Before testing the motor windings, ensure that the power supply is turned off to prevent any electrical accidents.
- Access the Motor Windings: Remove the motor’s cover or housing to access the motor windings. Consult the motor’s manual or schematic if you’re unsure about the location of the windings.
- Check for Continuity: Use a multimeter to test the continuity of each winding. Set the multimeter to the resistance or ohms setting. Touch one probe to one end of the winding and the other probe to the other end. A reading of near-zero resistance indicates that the winding is intact. If you get a reading of infinite resistance or no reading at all, it indicates an open winding and it needs to be repaired or replaced.
- Test for Ground Faults: After checking the continuity, test each winding for ground faults. Set the multimeter to the resistance setting. Touch one probe to one end of the winding and the other probe to the motor casing or ground. If you get a reading of zero resistance, it indicates a ground fault in the winding. In such cases, the winding may need rewinding or the motor may need to be replaced.
After testing the motor windings, reassemble the motor and turn on the power supply. If the motor is still experiencing issues, move on to the next troubleshooting step.
Step 4: Check the Motor Capacitor
In the troubleshooting process of an electric motor problem, checking the motor capacitor is an important step. The capacitor plays a crucial role in providing the necessary phase shift and starting torque for the motor. A faulty or damaged capacitor can lead to motor performance issues. Here’s how to check the motor capacitor:
- Turn Off the Power: Before working on the motor capacitor, make sure to turn off the power supply to avoid any electrical hazards.
- Locate the Capacitor: Inspect the motor and locate the capacitor. It is usually a cylindrical or oval-shaped component, often with a label indicating its capacitance value.
- Inspect for Physical Damage: Carefully examine the capacitor for any signs of physical damage such as bulging, leaking, or cracked casing. If you notice any damage, it is likely that the capacitor needs to be replaced.
- Discharge the Capacitor: Since capacitors store electrical charge even when the power is off, it is essential to discharge it before performing any further tests. Use a resistor or an insulated screwdriver to safely discharge the capacitor.
- Test the Capacitance: Use a digital multimeter set to capacitance mode to test the capacitance of the motor capacitor. Disconnect the capacitor from the motor and discharge it. Place the multimeter probes on the capacitor terminals and note the reading. Compare it with the rated capacitance mentioned on the label. If the reading is significantly lower or higher, it indicates a faulty capacitor that needs replacement.
If the motor capacitor checks out fine, you can move on to the next step in the troubleshooting process. However, if you find any issues with the capacitor, it is recommended to replace it with a new one to ensure proper motor operation.
Read more: How To Disassemble An Electric Motor
Step 5: Examine the Motor Bearings
Motor bearings play a crucial role in the smooth operation of an electric motor. They provide support and reduce friction between the rotating shaft and stationary parts. Over time, bearings can wear out or become damaged, leading to motor problems. Here’s how to examine the motor bearings:
- Turn Off the Power: Before inspecting the motor bearings, make sure to turn off the power supply to avoid any potential accidents.
- Access the Motor Bearings: Depending on the motor design, you may need to remove the motor cover or housing to access the bearings. Consult the motor manual or schematic for guidance.
- Inspect for Signs of Wear: Carefully examine the bearings for any signs of wear or damage. Look for excessive play, rust, discoloration, or roughness. If you notice any of these signs, it indicates that the bearings need to be replaced.
- Lubrication: Check the lubrication of the bearings. Insufficient or degraded lubrication can cause increased friction and damage to the bearings. If necessary, apply the recommended lubricant as per the manufacturer’s guidelines.
- Check for Noise or Vibration: Rotate the motor shaft manually and listen for any unusual noise or feel for excessive vibration. Excessive noise or vibration can indicate bearing issues.
If you find any signs of wear, damage, or inadequate lubrication, it is recommended to replace the motor bearings. Faulty bearings can lead to motor overheating, decreased efficiency, and eventual failure if left unattended.
After examining the motor bearings, reassemble the motor, and turn on the power supply. If the motor is still experiencing issues, proceed to the next step of the troubleshooting process.
Check the power supply to the motor to ensure it is receiving the correct voltage and that the connections are secure. Also, inspect the motor for any signs of overheating or damage.
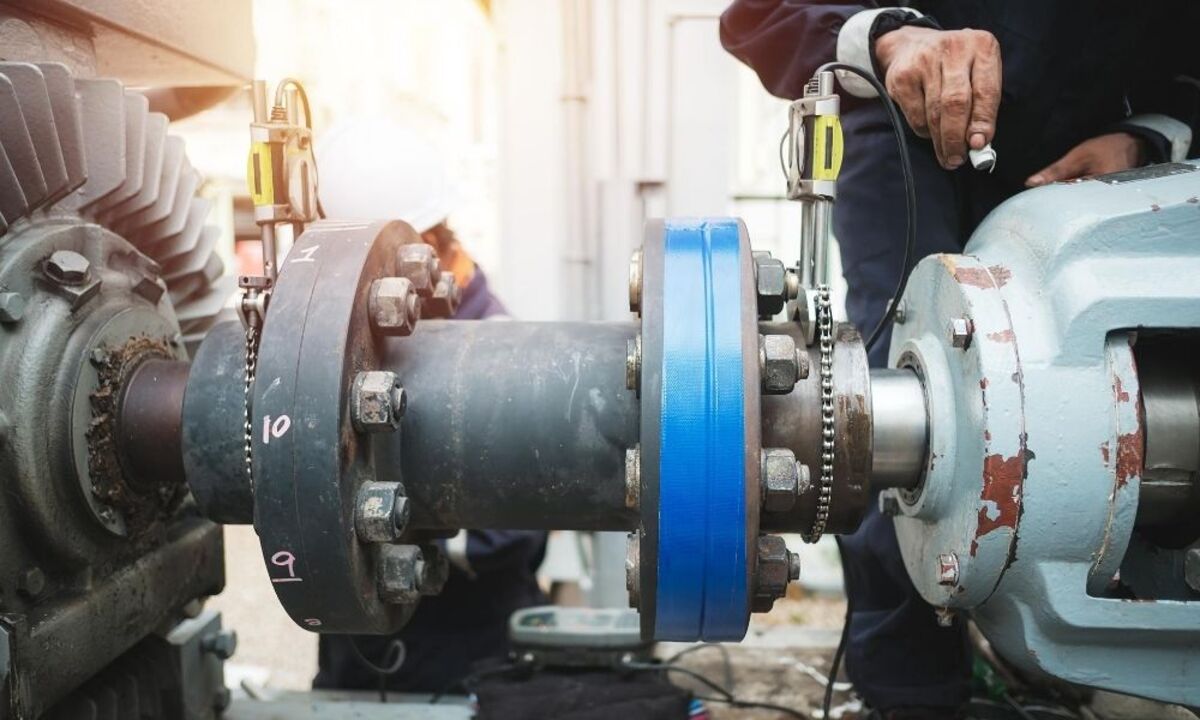
Step 6: Inspect the Motor Belt or Pulley
When troubleshooting an electric motor problem, it’s important to inspect the motor belt or pulley. The belt or pulley system is responsible for transferring power from the motor to the driven load. Any issues with the belt or pulley can affect motor performance. Here’s how to inspect them:
- Turn Off the Power: Before inspecting the motor belt or pulley, ensure that the power supply is turned off to prevent any potential accidents.
- Visually Inspect the Belt: Check the condition of the motor belt. Look for signs of wear, cracks, fraying, or slipping. A worn-out or damaged belt can cause motor inefficiency and lead to performance problems.
- Check Belt Tension: Ensure that the motor belt has the correct tension. If the belt is too loose, it may slip or fail to transfer power effectively. If it is too tight, it can strain the motor and decrease its efficiency. Adjust the tension as per the manufacturer’s recommendations.
- Inspect Pulley Alignment: Examine the alignment of the motor pulley with the driven load pulley. Misalignment can cause excessive wear on the belt, increase vibration, and affect motor performance. Use a straight edge or alignment tool to check the alignment and adjust it if necessary.
- Ensure Proper Pulley Size: Verify that the motor pulley and driven load pulley are of the correct size. A mismatched pulley size can lead to inadequate power transfer and affect motor performance. Consult the manufacturer’s specifications to ensure proper sizing.
If you find any issues with the motor belt or pulley, such as wear, misalignment, or incorrect sizing, it is recommended to replace or adjust them accordingly. Proper maintenance of the belt and pulley system contributes to the efficient operation of the electric motor.
After inspecting the motor belt or pulley, reassemble the motor and turn on the power supply. If the motor is still experiencing issues, proceed to the next step of the troubleshooting process.
Step 7: Check the Motor Control Circuit
When troubleshooting an electric motor problem, it’s essential to check the motor control circuit. The control circuit is responsible for starting, stopping, and controlling the motor’s operation. Issues in the control circuit can lead to motor malfunctions. Here’s how to check the motor control circuit:
- Turn Off the Power: Before working on the motor control circuit, ensure that the power supply is turned off to prevent any potential electrical accidents.
- Inspect Control Components: Examine the control components such as relays, contactors, switches, and motor starters. Look for loose connections, burnt-out contacts, or blown fuses. Replace any faulty components as needed.
- Test Control Voltage: Use a multimeter to measure the voltage output of the control circuit. Verify that the voltage matches the rated values specified in the motor’s manual or schematic. If the voltage is significantly lower or higher, it may indicate an issue with the control circuit power supply or voltage regulator.
- Check Control Wiring: Inspect the wiring connections within the control circuit. Look for loose or damaged wires that may be causing poor or intermittent connections. Tighten any loose connections and repair or replace any damaged wires.
- Evaluate Control Logic: Understand the control logic and sequence of the motor operation. Check if the control signals are being sent correctly and if the motor is receiving the appropriate commands. If necessary, consult the motor’s manual or schematic for guidance on the control logic.
If you find any issues with the motor control circuit, such as faulty components, incorrect voltage, or wiring problems, it is recommended to repair or replace the affected parts. A functional control circuit ensures proper motor operation and can resolve many motor-related issues.
After checking the motor control circuit, reassemble the motor and turn on the power supply. If the motor is still experiencing issues, proceed to the next step of the troubleshooting process.
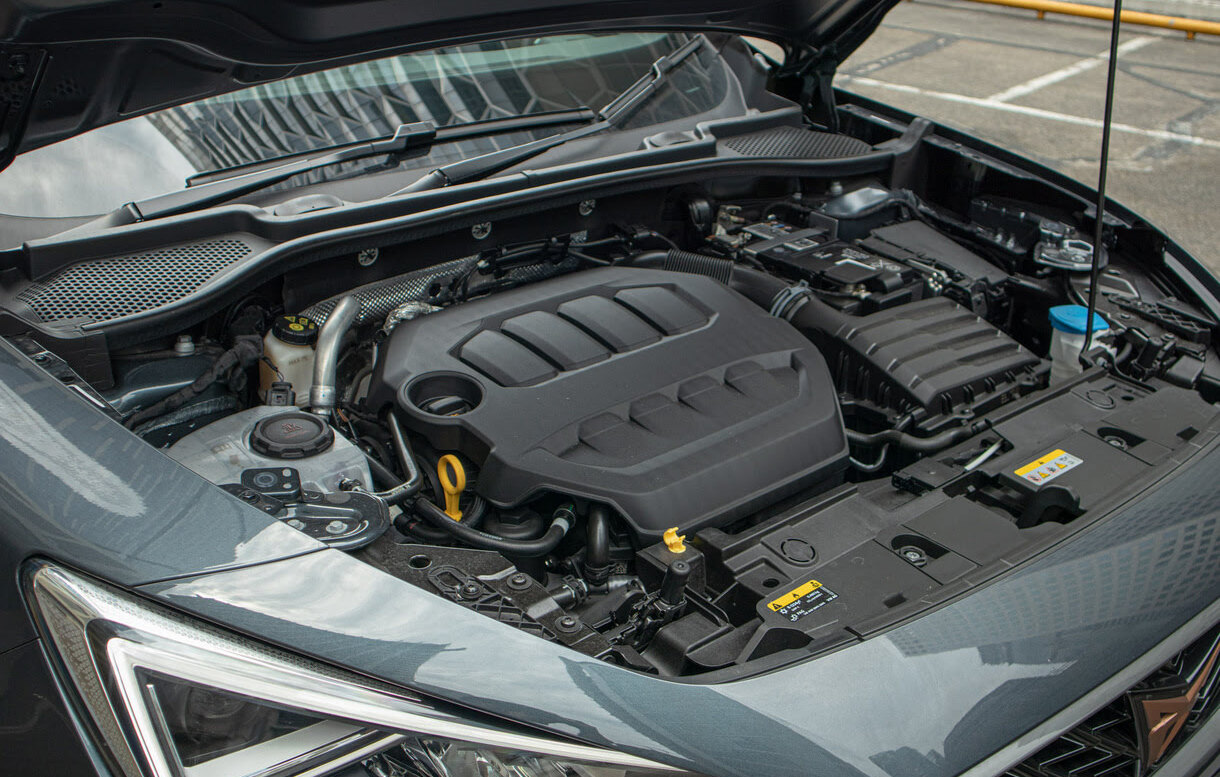
Step 8: Look for Overheating Issues
Overheating is a common problem that can occur in electric motors and can lead to performance issues and even motor failure. Heat build-up can be caused by various factors, such as excessive load, inadequate ventilation, or faulty components. Here’s how to look for overheating issues:
- Turn Off the Power: Before inspecting for overheating issues, make sure to turn off the power supply to ensure your safety.
- Feel the Motor Surface: Carefully touch the motor’s surface. It should be warm to touch but not excessively hot. If the motor feels too hot to touch, it indicates overheating.
- Check Ventilation: Proper ventilation is crucial in dissipating heat from the motor. Ensure that the motor is not obstructed by dust, debris, or any other objects that may impede airflow. Clean or remove any obstructions that may be blocking the motor’s ventilation openings.
- Examine Motor Load: Evaluate the load on the motor. If the motor is constantly operating under a heavy load, it can generate excessive heat. Check if the motor is being overloaded and take appropriate measures to reduce the load if necessary.
- Inspect Cooling Fans: If your motor has cooling fans, check if they are operating effectively. Ensure that the fans are clean, free from debris, and rotating properly. Replace any malfunctioning fans or repair them as needed.
- Inspect Motor Windings: Overheating can be caused by faulty motor windings. Refer back to Step 3 and recheck the motor windings for any shorts, opens, or damaged insulation. Faulty windings can increase resistance and generate excess heat.
If you discover any overheating issues during the inspection, it is crucial to address them promptly. Overheating can cause irreversible damage to the motor, affecting its performance and lifespan. Consider consulting a professional technician if you are unsure how to proceed or if the issue persists.
After addressing the overheating issues, reassemble the motor and turn on the power supply. Continue to monitor the motor’s temperature during operation to ensure it remains within a safe range.
Step 9: Troubleshoot Motor Noise Problems
Noise is another common issue that can occur in electric motors, and it can not only be annoying but also indicate underlying problems. Motor noise can be caused by various factors such as loose parts, misalignment, mechanical issues, or worn-out components. Here’s how to troubleshoot motor noise problems:
- Turn Off the Power: Before troubleshooting motor noise problems, ensure that the power supply is turned off to prevent any potential accidents.
- Identify the Type of Noise: Listen carefully to the motor and try to identify the type of noise it is producing. Is it a humming, grinding, rattling, or screeching sound? Different types of noise can indicate different issues.
- Inspect for Loose or Misaligned Parts: Check for any loose or misaligned parts within the motor. Vibrations caused by loose bolts, screws, or mounting brackets can generate noise. Tighten any loose components and ensure proper alignment.
- Examine Bearings and Bushings: Noisy bearings or bushings can be a common cause of motor noise. If the noise is continuous and comes from the motor’s vicinity, inspect the bearings and bushings. Replace any worn-out or damaged bearings or bushings.
- Check for Worn-out Components: Over time, certain components in the motor, such as gears or belts, can wear out and cause noise. Inspect these components for signs of wear or damage. Replace any worn-out components as necessary.
- Inspect Fan Blades: If your motor has cooling fans, noisy fan blades could be the source of the problem. Check if the fan blades are bent, cracked, or hitting against any obstructions. Straighten or replace damaged fan blades to eliminate the noise.
- Consider Lubrication: In cases where the noise is coming from moving parts, such as gears or bearings, insufficient lubrication can be the cause. Apply the appropriate lubricant as per the manufacturer’s recommendations to reduce friction and noise.
If you are unable to identify or resolve the motor noise problem on your own, it may be best to consult a professional technician. They can use specialized tools and expertise to diagnose and remedy the issue.
After troubleshooting the motor noise problem, reassemble the motor and turn on the power supply. Monitor the motor’s operation to ensure that the noise has been eliminated or significantly reduced.
Conclusion
Troubleshooting electric motor problems can be a challenging task, but by following these step-by-step guidelines, you can effectively diagnose and resolve common issues. From checking the power supply to troubleshooting motor noise problems, each step helps you identify the root cause of the problem and take appropriate actions for a resolution.
Remember to prioritize safety throughout the troubleshooting process. Always turn off the power supply before inspecting or repairing the motor components to avoid any electrical accidents.
Regular maintenance and proper care of electric motors can help prevent many issues in the first place. Routine inspections, lubrication, and attention to warning signs can go a long way in ensuring the smooth and efficient operation of your motors.
If you encounter complex issues or are unsure about any particular step, it is always recommended to consult a professional technician or an electric motor specialist who can provide expert guidance and support.
By becoming familiar with the troubleshooting process and following these steps, you can keep your electric motors running optimally, minimize downtime, and extend their lifespan, saving both time and money in the long run.
In conclusion, with a systematic approach and attention to detail, you can overcome electric motor problems and keep your machinery and equipment operating at their best.
Frequently Asked Questions about How To Troubleshoot An Electric Motor Problem
Was this page helpful?
At Storables.com, we guarantee accurate and reliable information. Our content, validated by Expert Board Contributors, is crafted following stringent Editorial Policies. We're committed to providing you with well-researched, expert-backed insights for all your informational needs.
0 thoughts on “How To Troubleshoot An Electric Motor Problem”