Articles
How To Pleat IKEA Curtains
Modified: October 20, 2024
Learn how to pleat IKEA curtains with our informative articles. Discover easy tips and techniques to achieve stylish and well-designed window treatments.
(Many of the links in this article redirect to a specific reviewed product. Your purchase of these products through affiliate links helps to generate commission for Storables.com, at no extra cost. Learn more)
Introduction
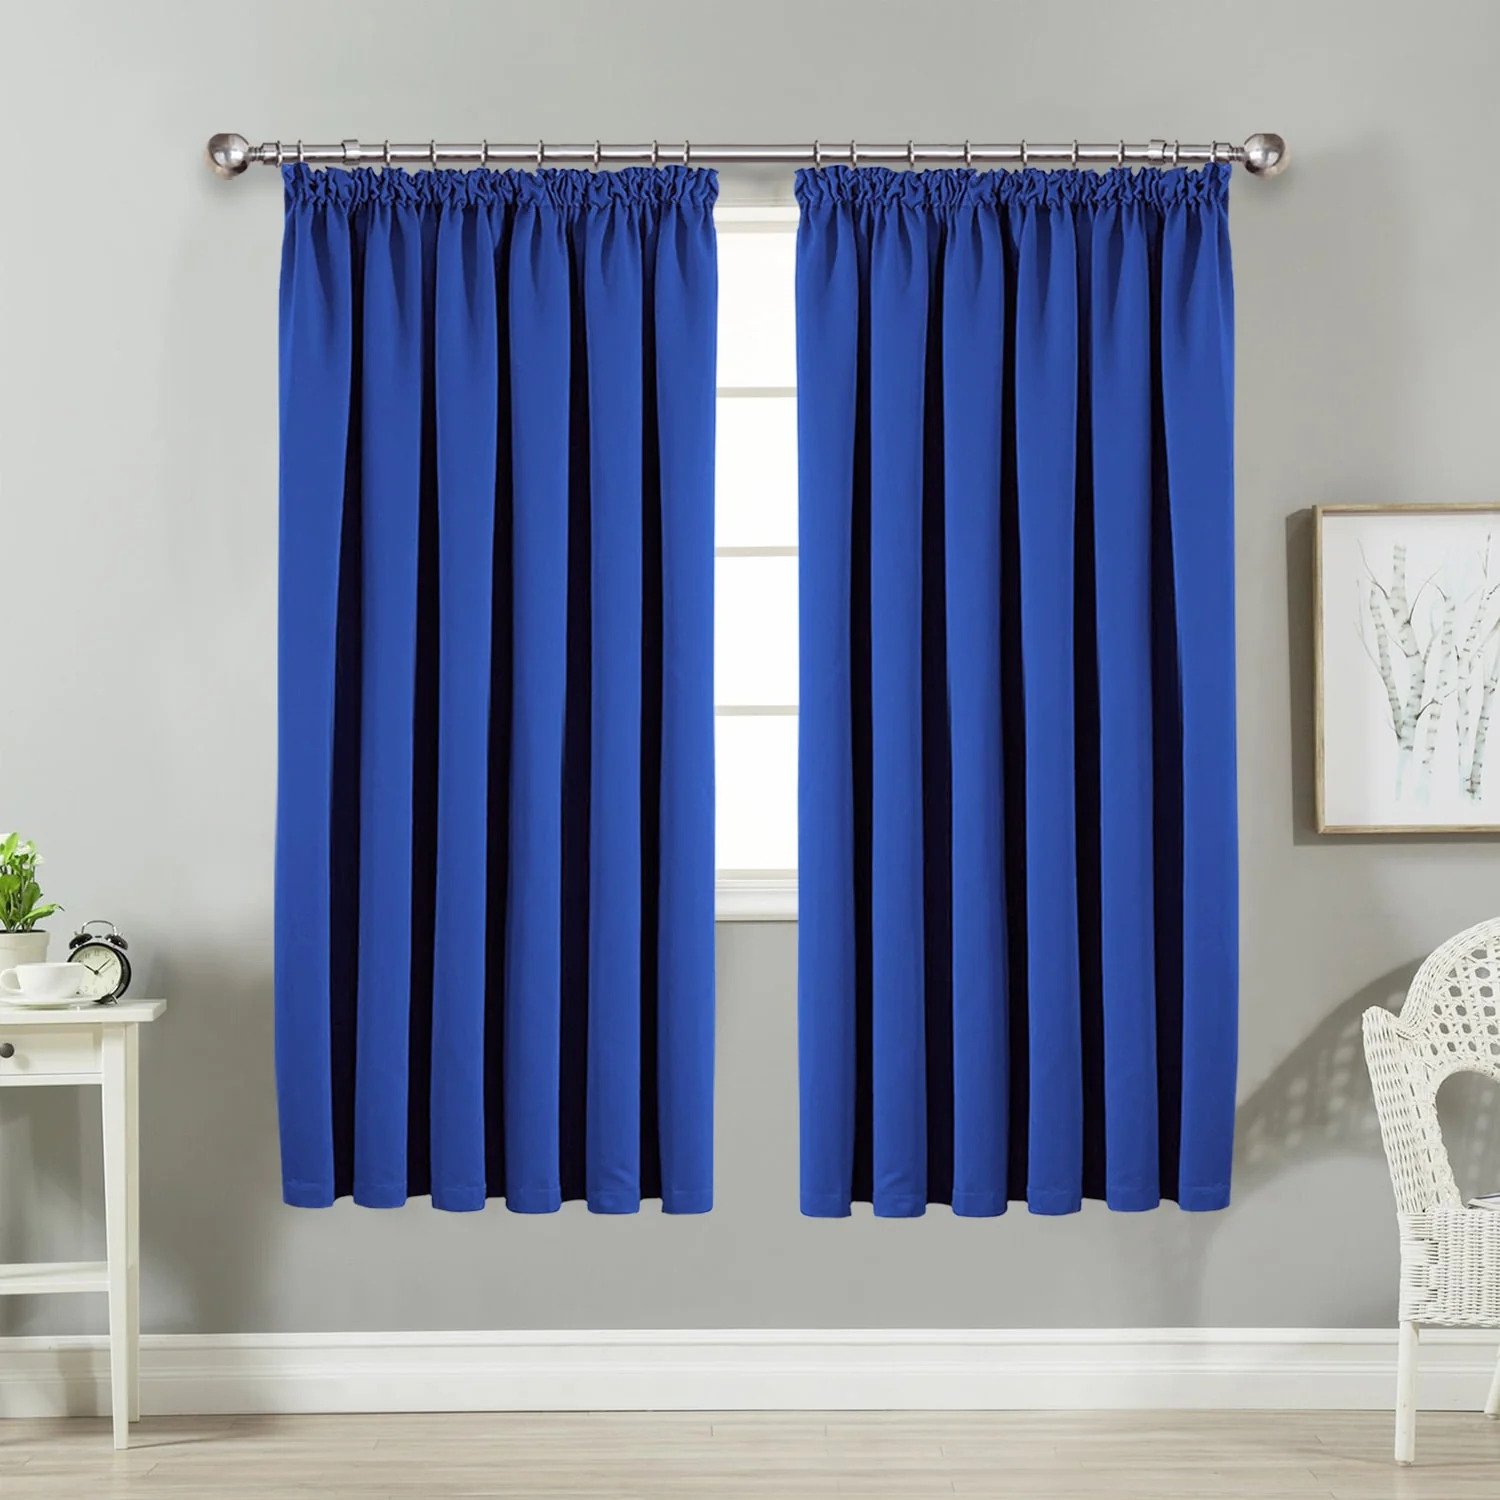
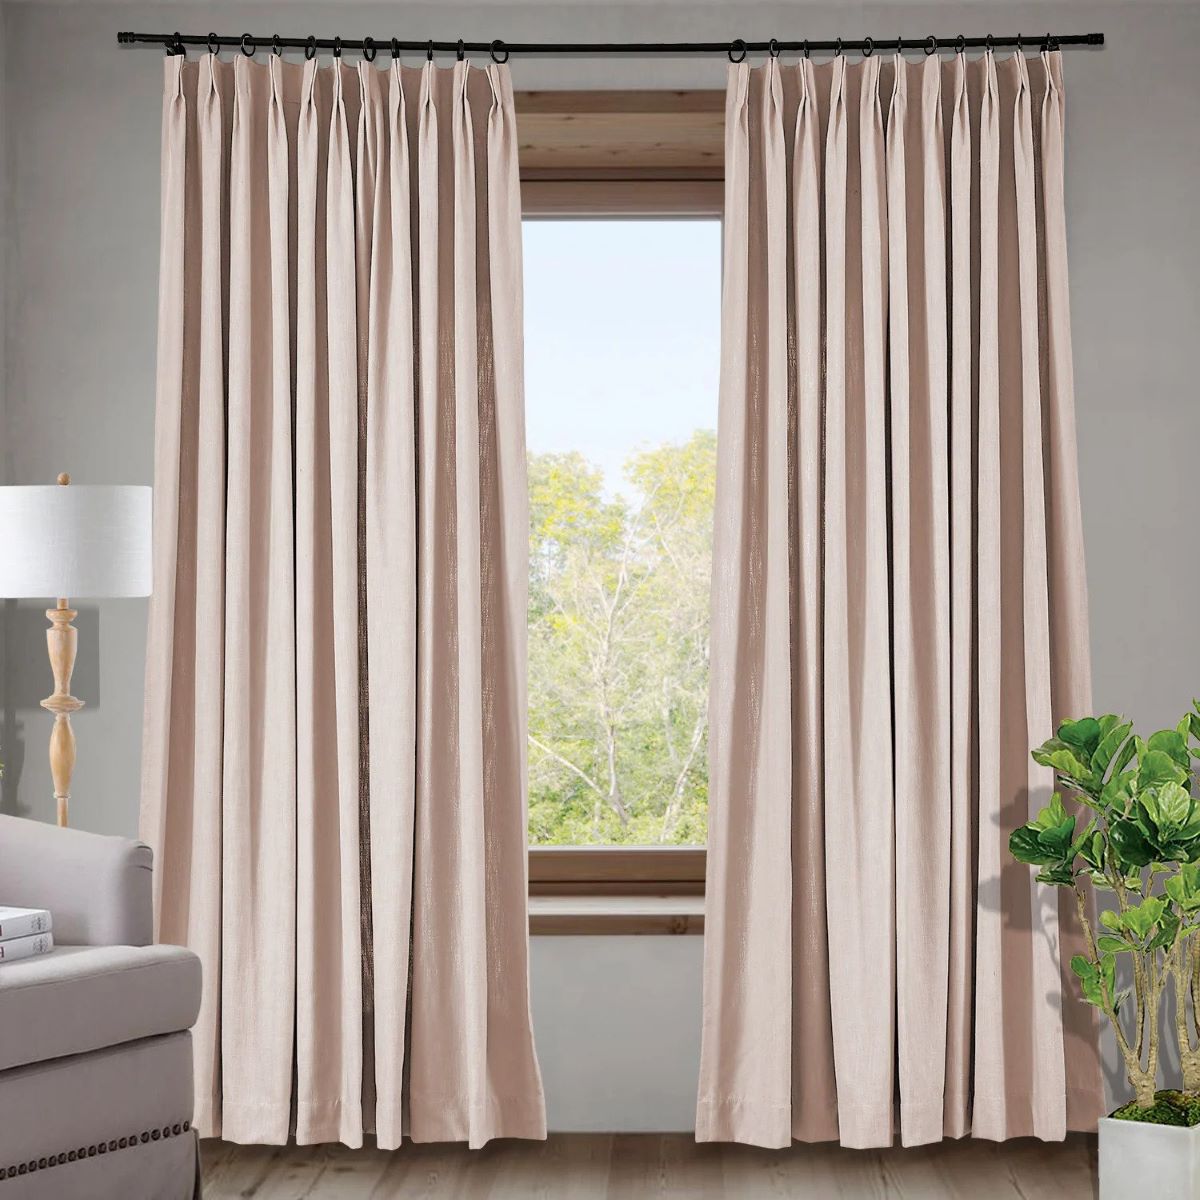
When it comes to decorating our homes, curtains play a crucial role in adding style, privacy, and functionality to our living spaces. If you’ve recently purchased curtains from IKEA and want to give them a more polished and tailored look, pleating them can be a great option.
Pleating curtains not only adds a touch of sophistication but also creates a sleek and elegant appearance when the curtains are open or closed. While it may seem intimidating, pleating curtains is a DIY project that can be easily accomplished with the right tools and a bit of patience.
In this article, we will guide you through the step-by-step process of pleating IKEA curtains. By following these instructions, you’ll be able to achieve professional-looking pleats and transform your curtains into stunning statement pieces.
Key Takeaways:
- Elevate your IKEA curtains with professional-looking pleats using simple tools and meticulous steps. Transform your living space with elegance and sophistication, showcasing your attention to detail and personal style.
- Unleash your creativity and experiment with different pleat styles to create unique and customized window treatments. Enjoy the process of transforming your IKEA curtains into elegant statement pieces that reflect your taste and personality.
Read more: What Is Pencil Pleat Curtains
Tools and Materials Needed
Before you start pleating your IKEA curtains, gather the following tools and materials:
- Iron and ironing board
- Sewing machine or needle and thread
- Pins
- Measuring tape
- Fabric marker or chalk
- Scissors
- Optional: fabric stiffener or spray starch
Make sure you have these essentials ready before you begin the pleating process. Having all the tools and materials at hand will help streamline the project and ensure you achieve the desired results.
Step 1: Measure and Prepare the Curtains
The first step in pleating IKEA curtains is to measure and prepare them:
- Measure the Width: Begin by measuring the width of your curtains. This will help determine how many pleats you’ll need and the spacing between them. Take accurate measurements and note them down.
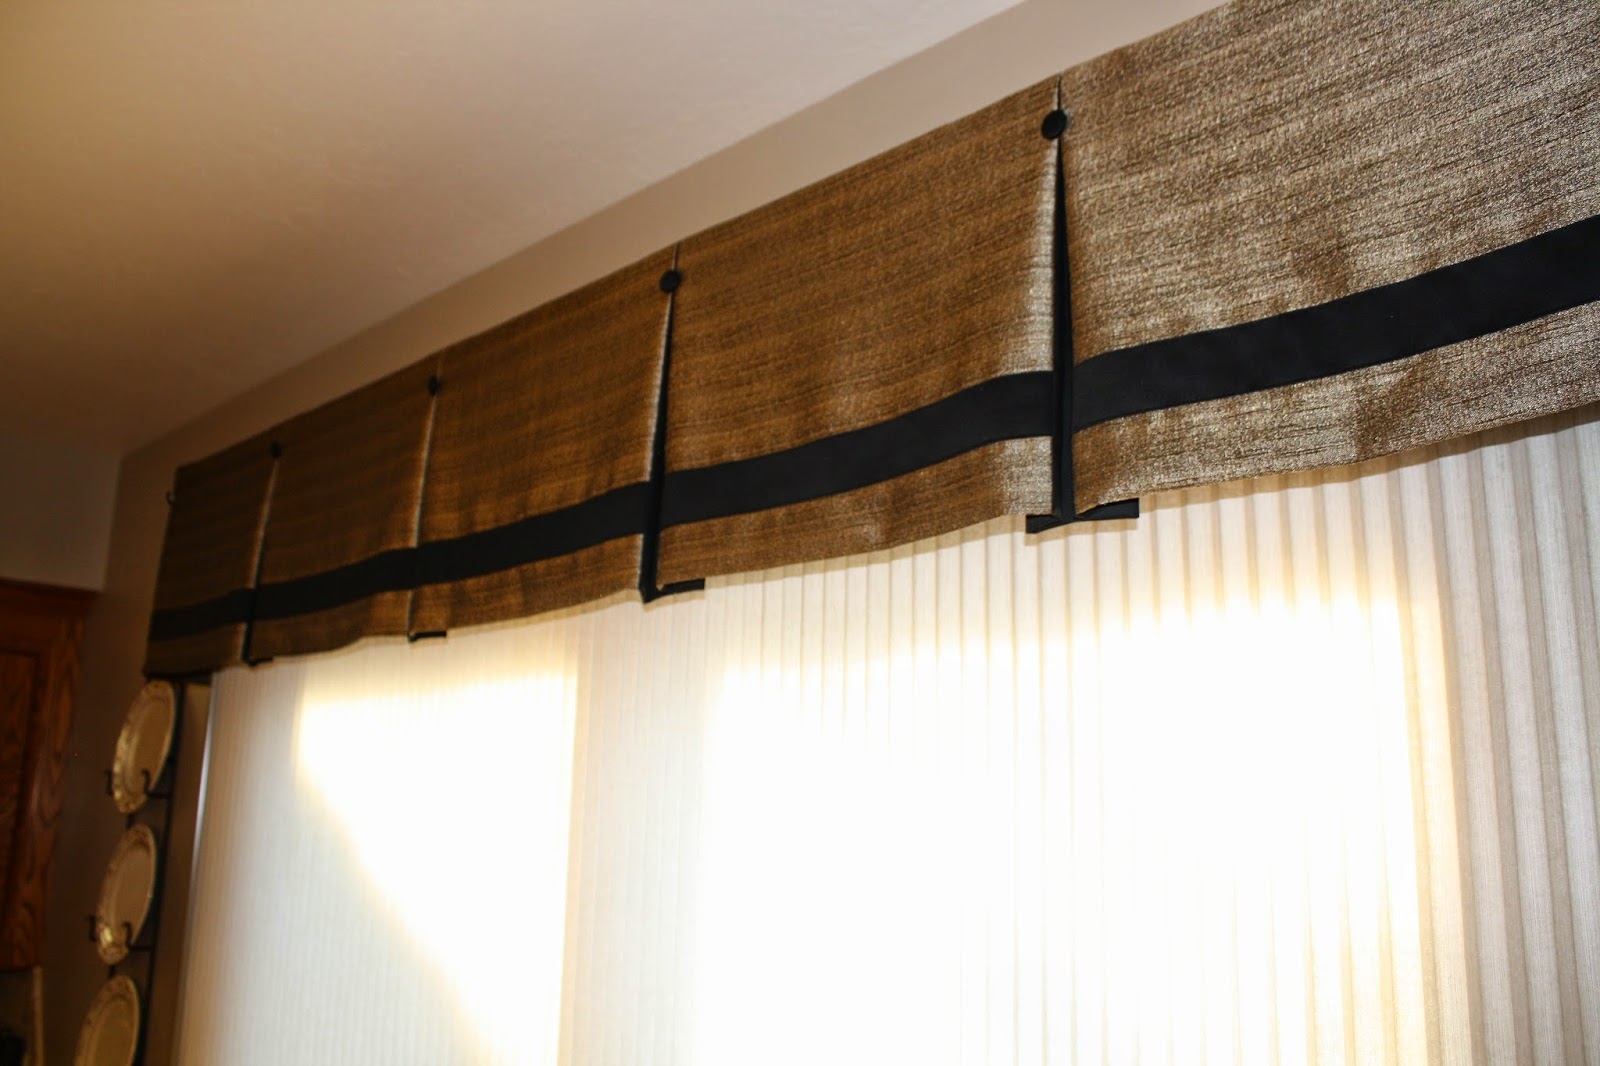
- Decide on the Pleat Style: Next, decide on the type of pleat you want to create. Common pleat styles include pinch pleats, goblet pleats, and pencil pleats. Research different styles and choose the one that best complements your décor.
- Calculate the Pleat Placement: Once you’ve chosen the pleat style, calculate the placement of the pleats along the width of the curtains. Divide the total width by the number of pleats you want and mark the spots where the pleats will be positioned.
- Prewash the Curtains: If your curtains are machine-washable, it is recommended to prewash them before starting the pleating process. This will help remove any excess dye or shrinkage. Follow the manufacturer’s instructions for washing and drying.
- Iron the Curtains: Iron the curtains to ensure they are wrinkle-free and smooth. If you prefer a stiffer look, you can use fabric stiffener or spray starch to stiffen the fabric before pleating. This step will give the curtains a more structured appearance.
By measuring and preparing the curtains properly, you’ll have a solid foundation for creating beautiful pleats that will enhance the overall aesthetic of your space. Take your time with these steps to ensure accurate measurements and smooth fabric preparation.
Step 2: Fold and Pin the Pleats
Once you have prepared your curtains, it’s time to fold and pin the pleats. Follow these steps:
- Start at the Top: Begin at the top of one curtain panel. This will serve as your reference point for folding and pinning the pleats.
- Fold the Fabric: Take the fabric at the top and fold it toward the backside of the curtain. The width of the fold will depend on the type of pleat you have chosen. For example, if you’re creating pinch pleats, fold the fabric about 3-4 inches deep.
- Pinning the Pleats: Once folded, use pins to secure the pleat in place. Insert the pins vertically through the pleat, making sure they are parallel to the top edge of the curtain. This will hold the pleats in position while you sew them.
- Repeat the Process: Continue folding and pinning the pleats along the width of the curtain panel, following the calculated pleat placement you determined in Step 1. Ensure that each pleat is evenly spaced and aligned.
- Check and Adjust: Once all the pleats are pinned, step back and assess the overall look of the curtain. Make any necessary adjustments to ensure the pleats are uniform and evenly distributed.
Folding and pinning the pleats may require some trial and error, especially if you’re new to this process. Take your time to achieve the desired look before moving on to the next step. Remember, practice makes perfect!
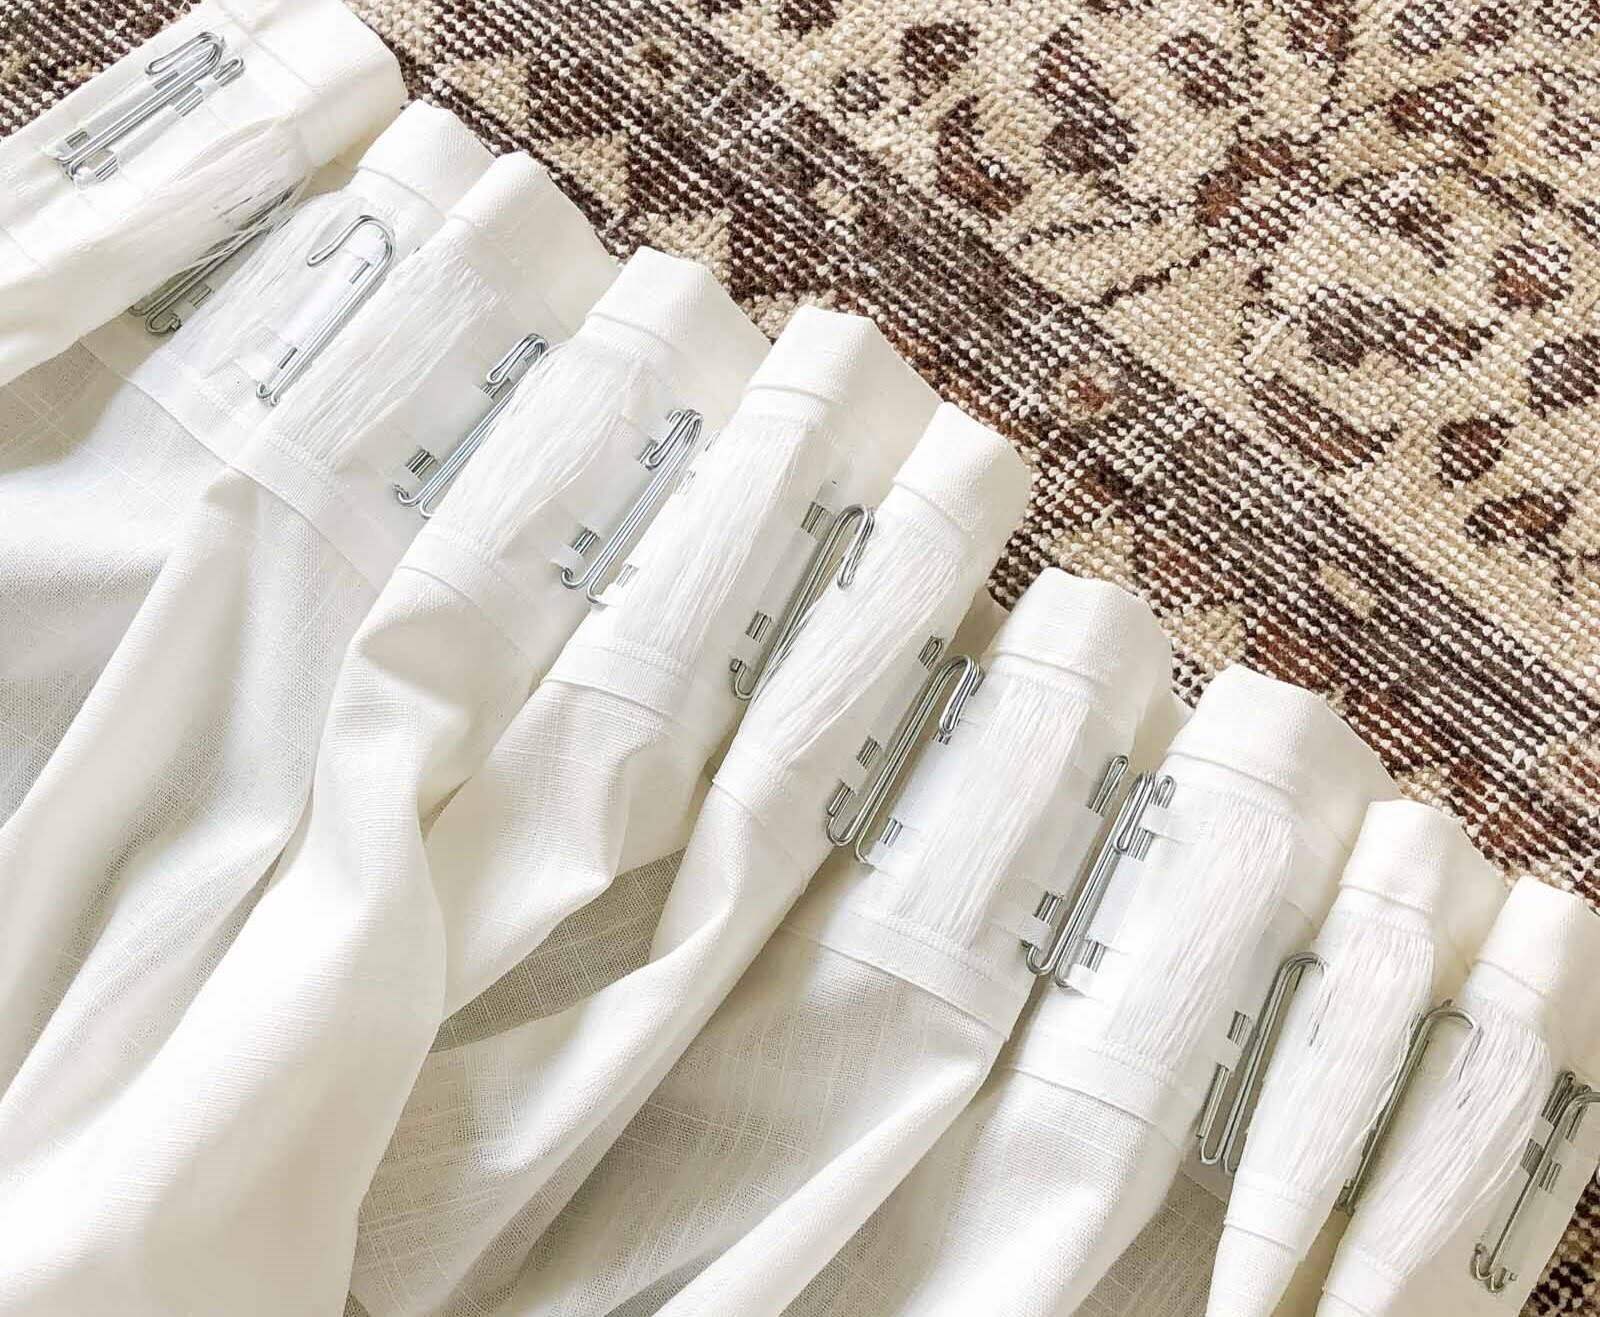
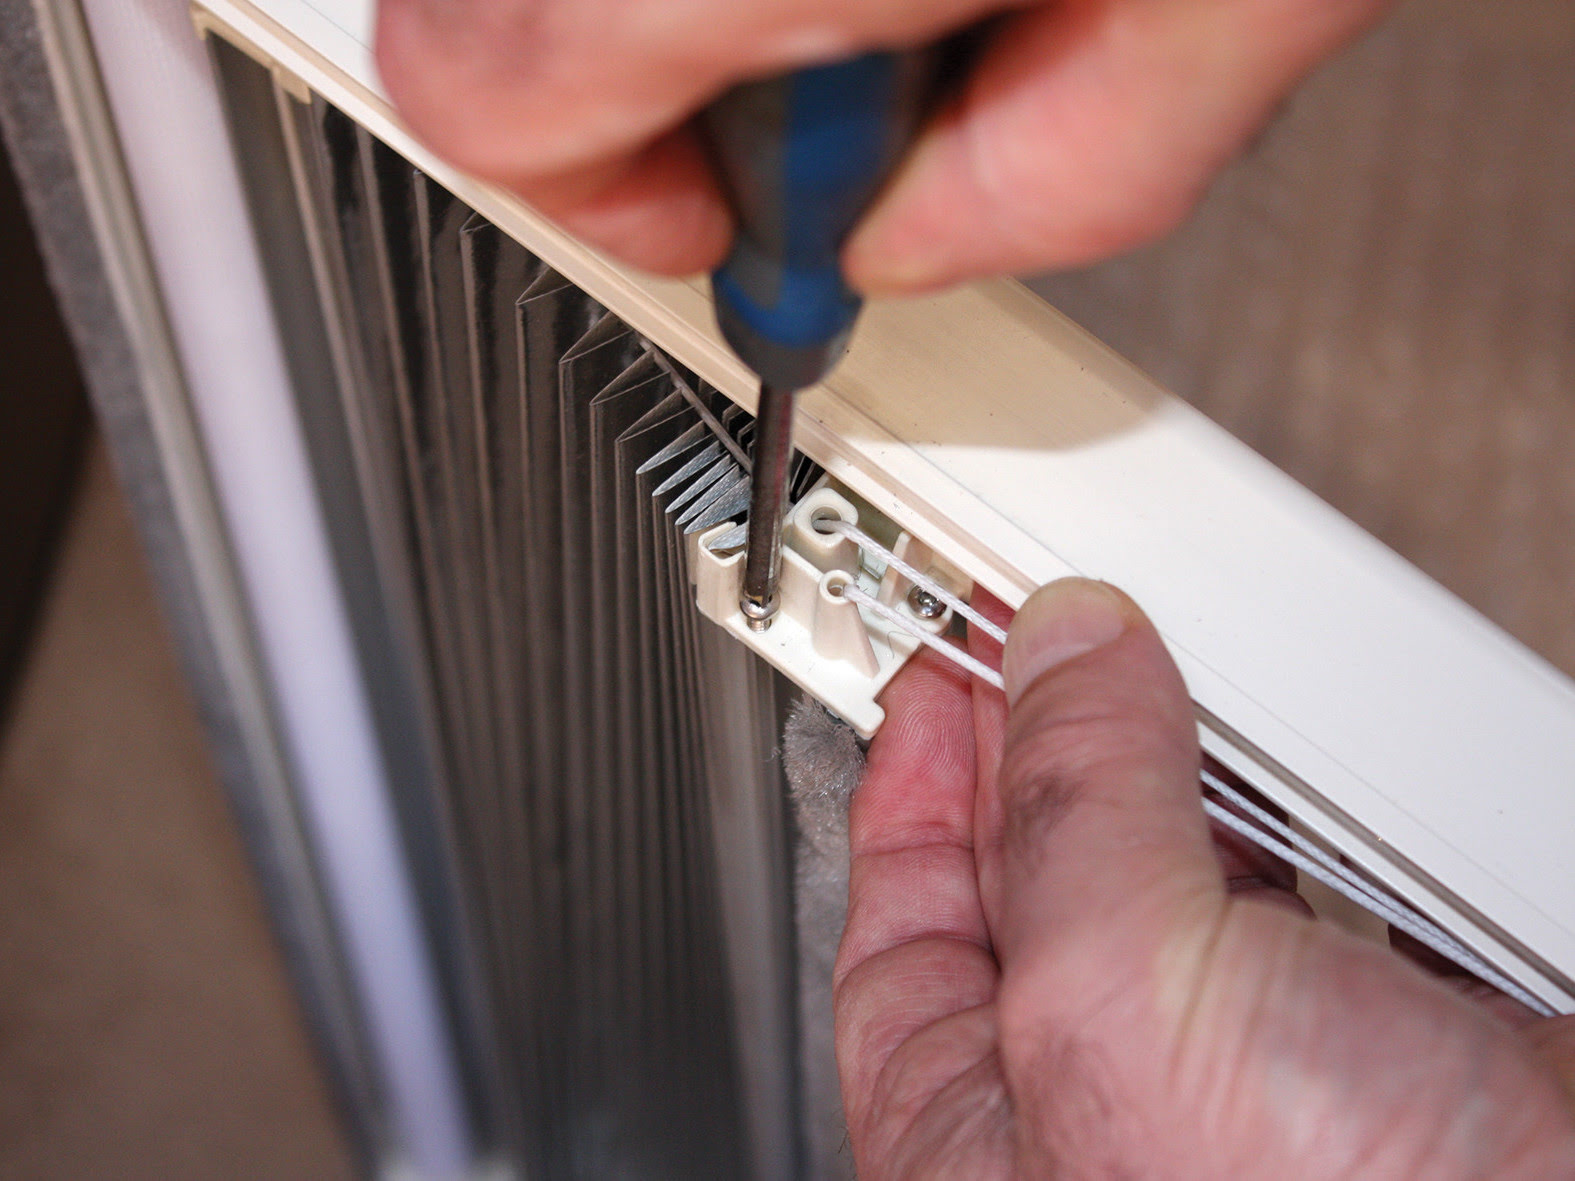
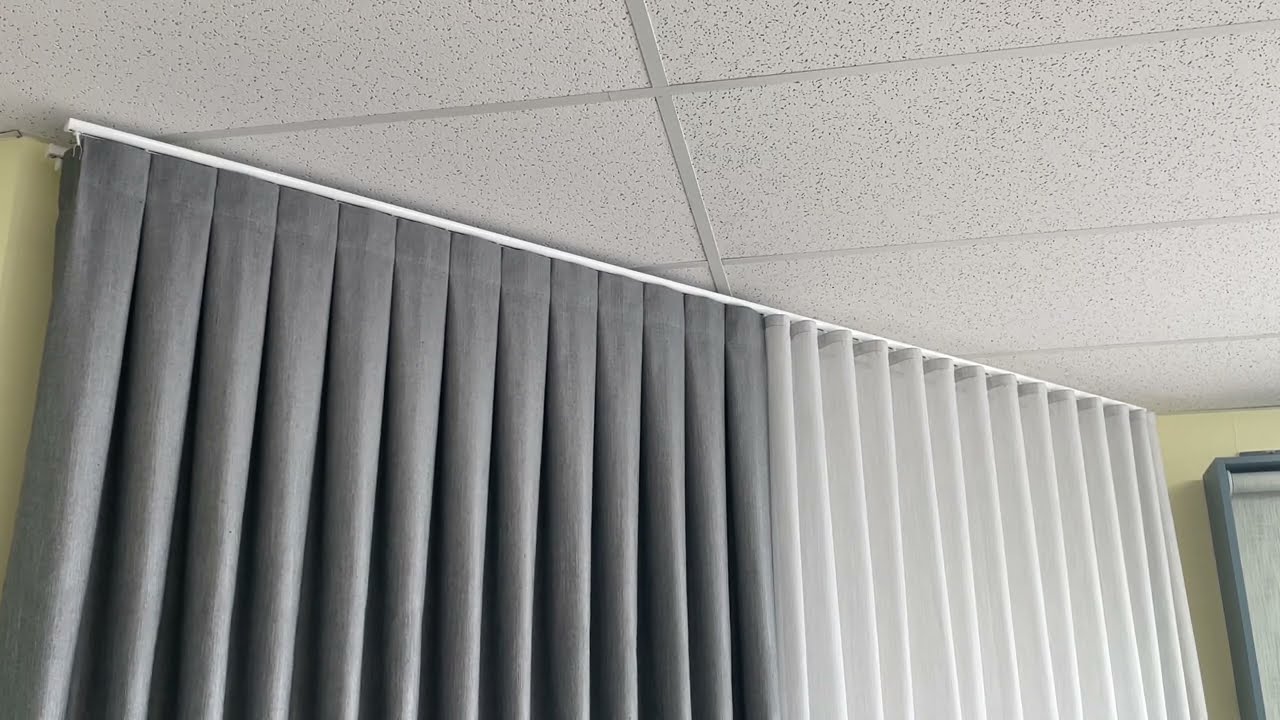
To pleat IKEA curtains, use curtain pleat hooks to create evenly spaced and neat pleats. Simply attach the hooks to the back of the curtain panel and then hang the curtains on a curtain rod for a professional and polished look.
Step 3: Sew the Pleats in Place
Once you have folded and pinned the pleats in your IKEA curtains, it’s time to sew them in place. Follow these steps:
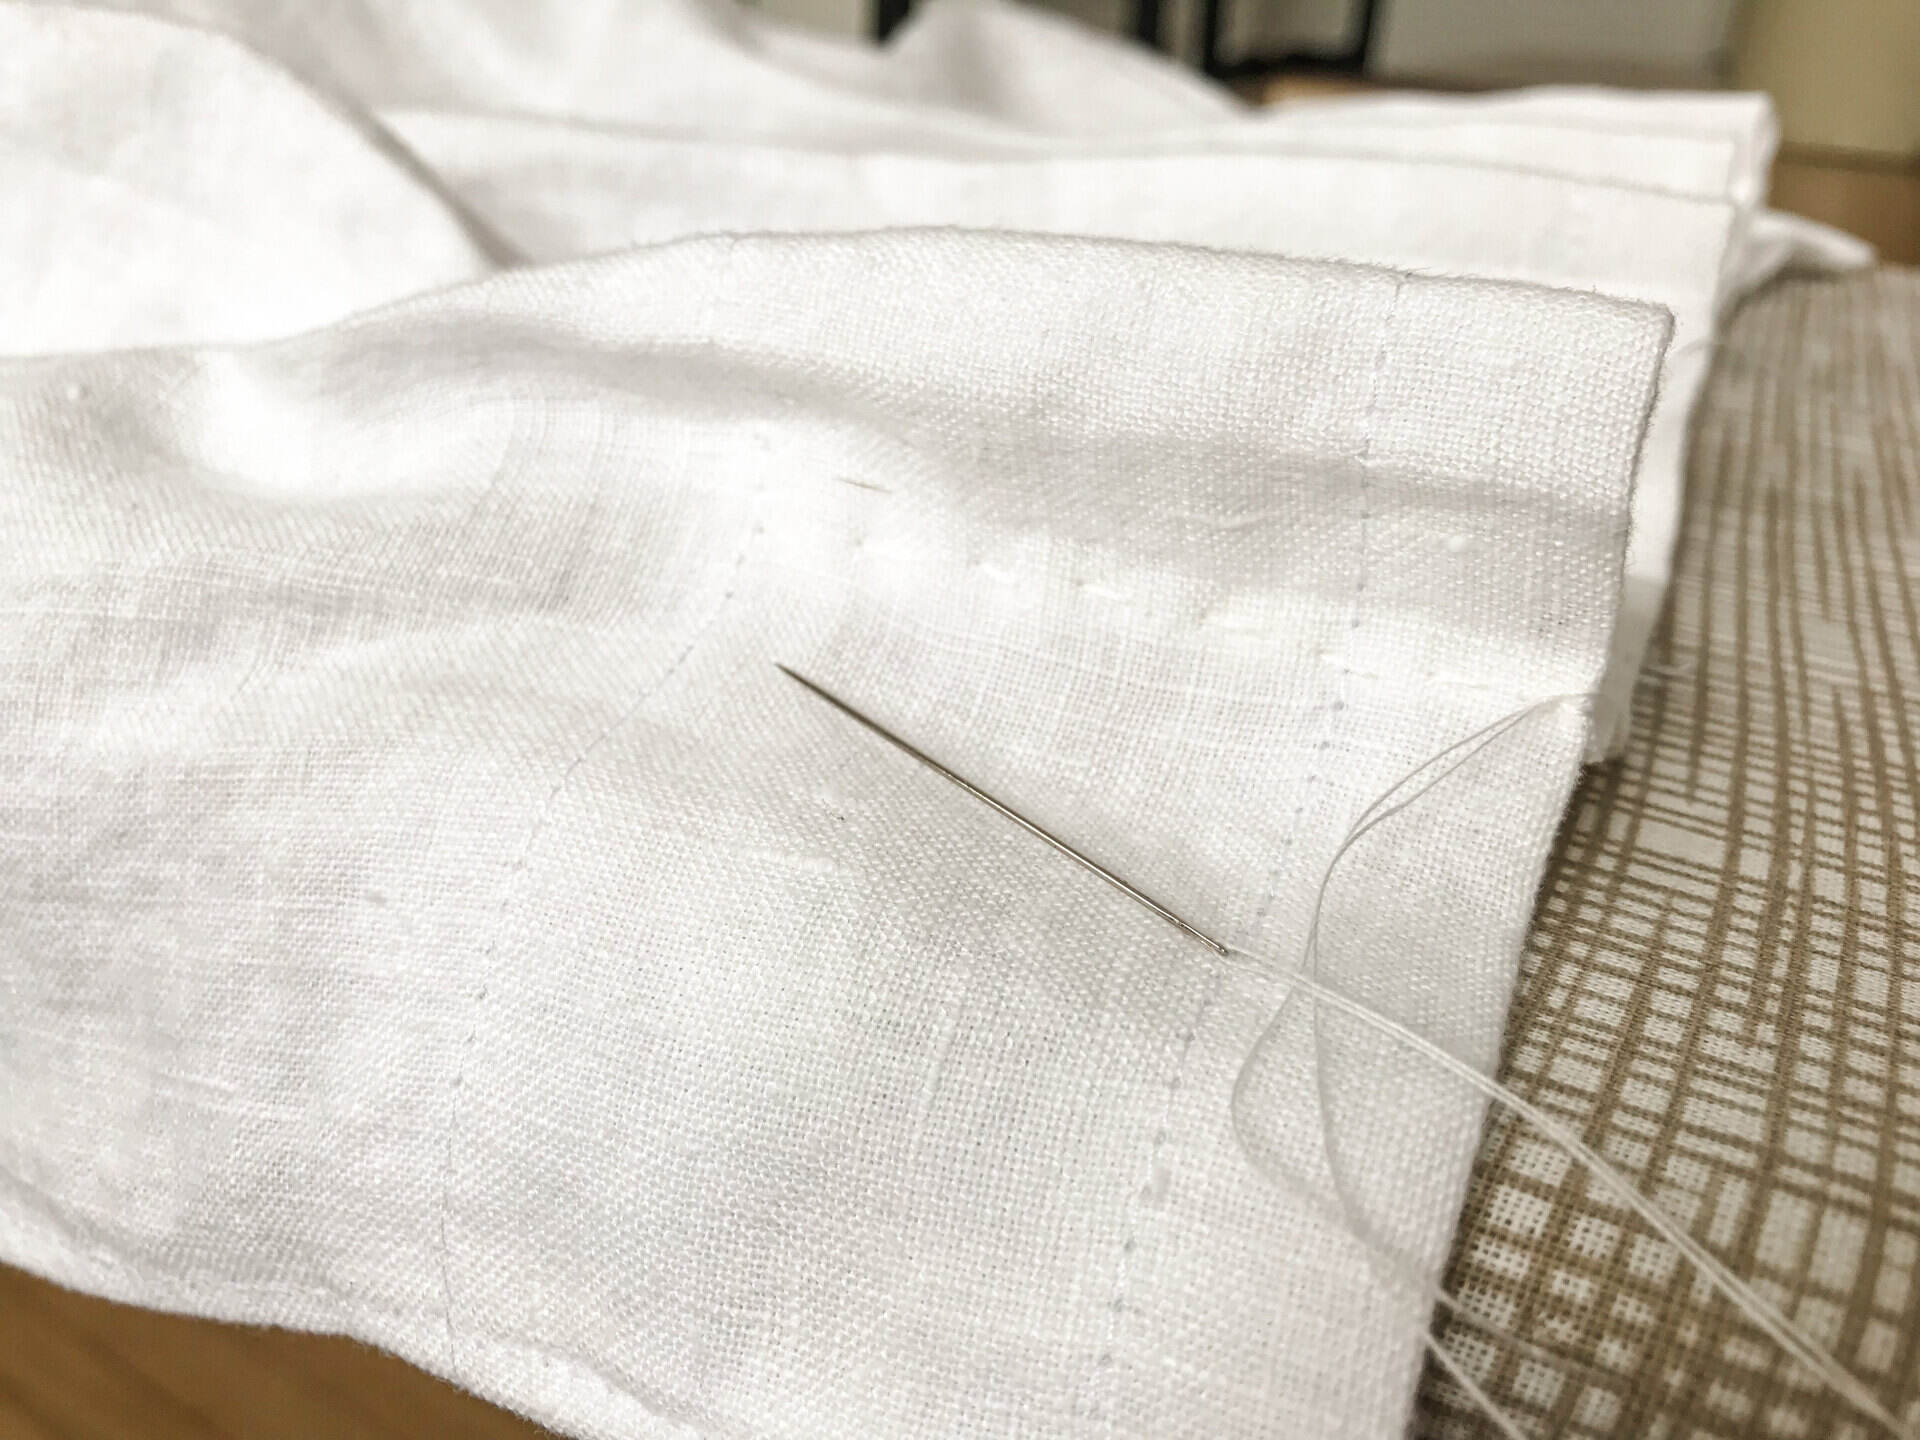
- Prepare your sewing machine: If you’re using a sewing machine, set it up with the appropriate thread color and needle. Alternatively, if you’re hand-sewing, thread your needle with a double thread for added strength.
- Stitch the Pleats: Starting at the top of the curtain panel, stitch along the edge of each pleat to secure it in place. Use a straight stitch or a zigzag stitch, depending on your preference and the type of fabric. Sew through all layers of the pleat, removing the pins as you go.
- Backstitch at the End: When you reach the end of a pleat, backstitch a few times to reinforce the stitches and prevent them from unraveling. Repeat this process for each pleat along the width of the curtain.
- Trim any Excess Threads: After sewing the pleats, trim any excess threads to give your curtains a clean and polished look.
When sewing the pleats, it’s important to maintain consistency in your stitches and ensure they are secure. Take your time and sew slowly to achieve neat and professional results.
Once you have completed sewing all the pleats, step back and admire your handiwork. The pleats will add an elegant and tailored touch to your IKEA curtains, elevating their overall appearance.
Read more: How To Pleat Curtains With Clips
Step 4: Hang and Adjust the Curtains
With the pleats sewn in place, it’s time to hang your newly pleated IKEA curtains and make any necessary adjustments. Follow these final steps:
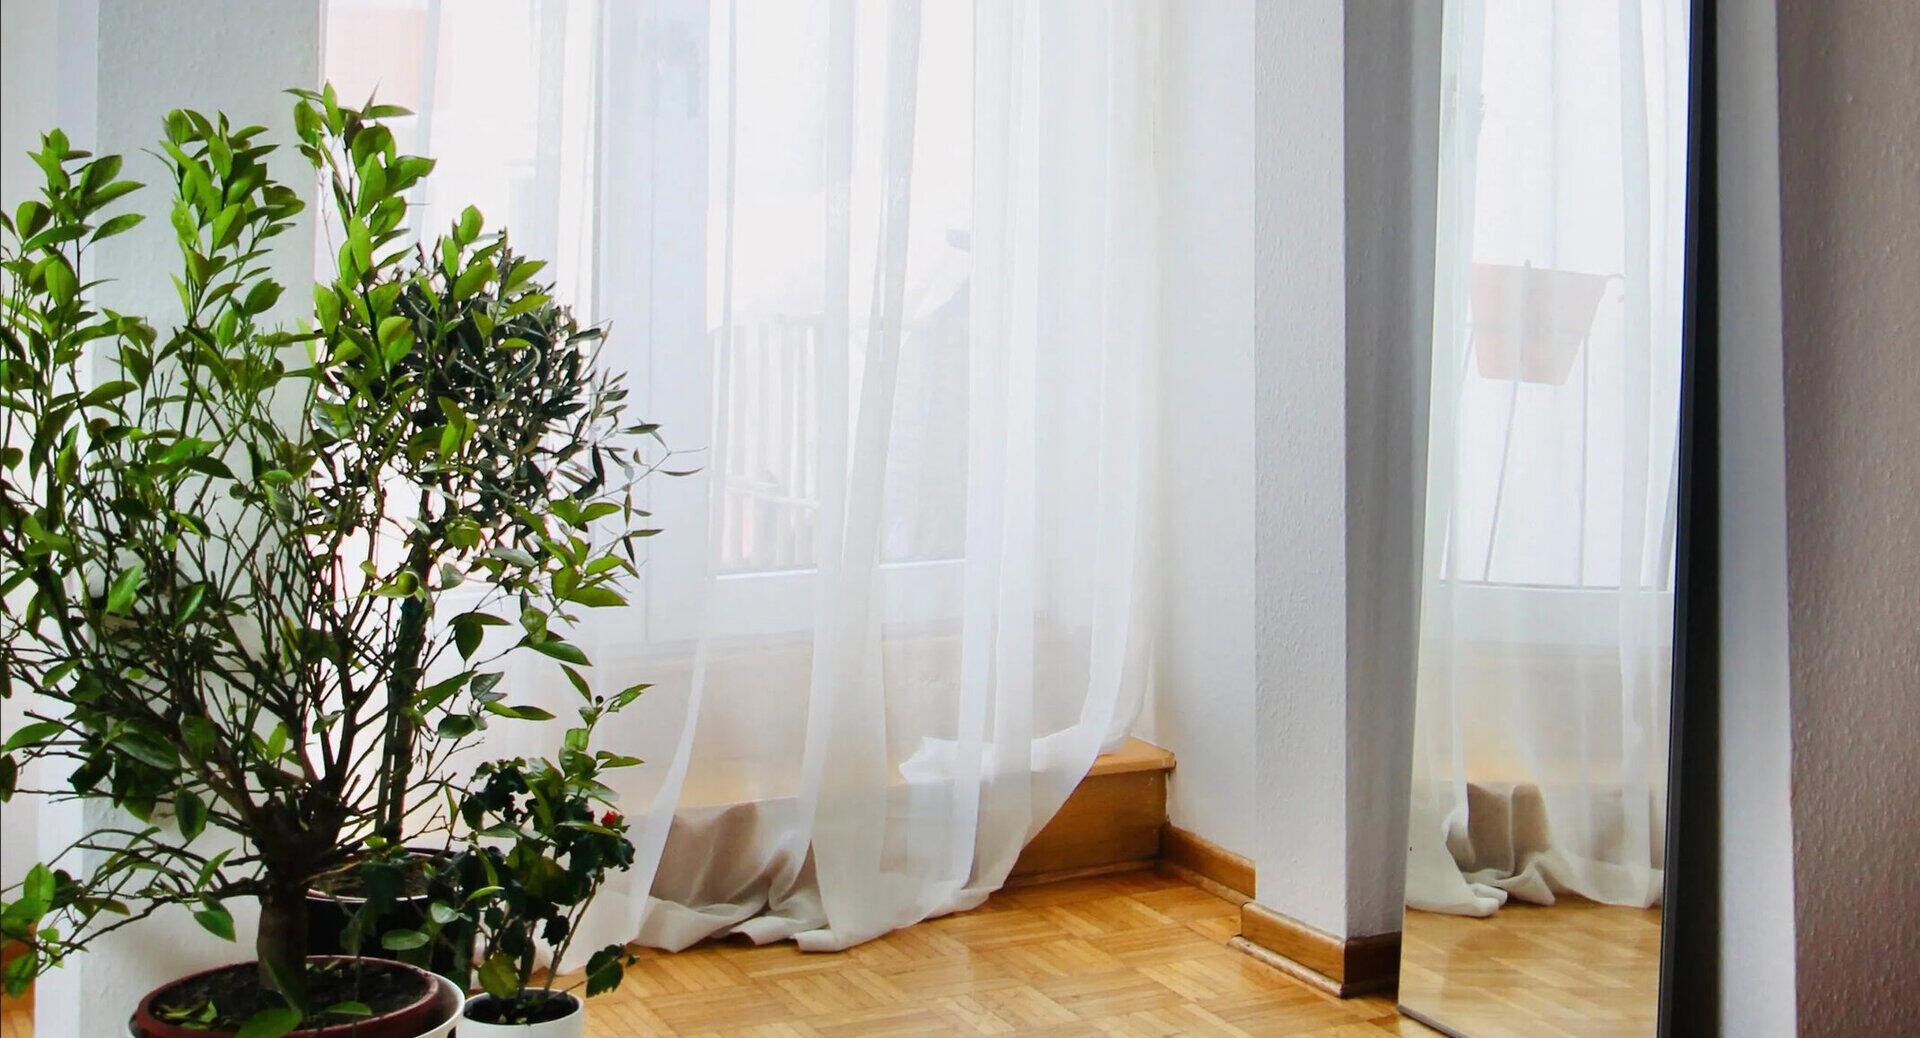
- Hang the Curtains: Install the curtain rod or track according to the manufacturer’s instructions. Slide the curtain rings onto the rod and carefully hang the curtains, making sure they are evenly spaced and aligned.
- Adjust the Length: Take a step back and assess the length of the curtains. If they are too long, you may need to hem them to the desired height. Alternatively, if they are too short, you may need to add a fabric panel or trim to the bottom to achieve the desired length.
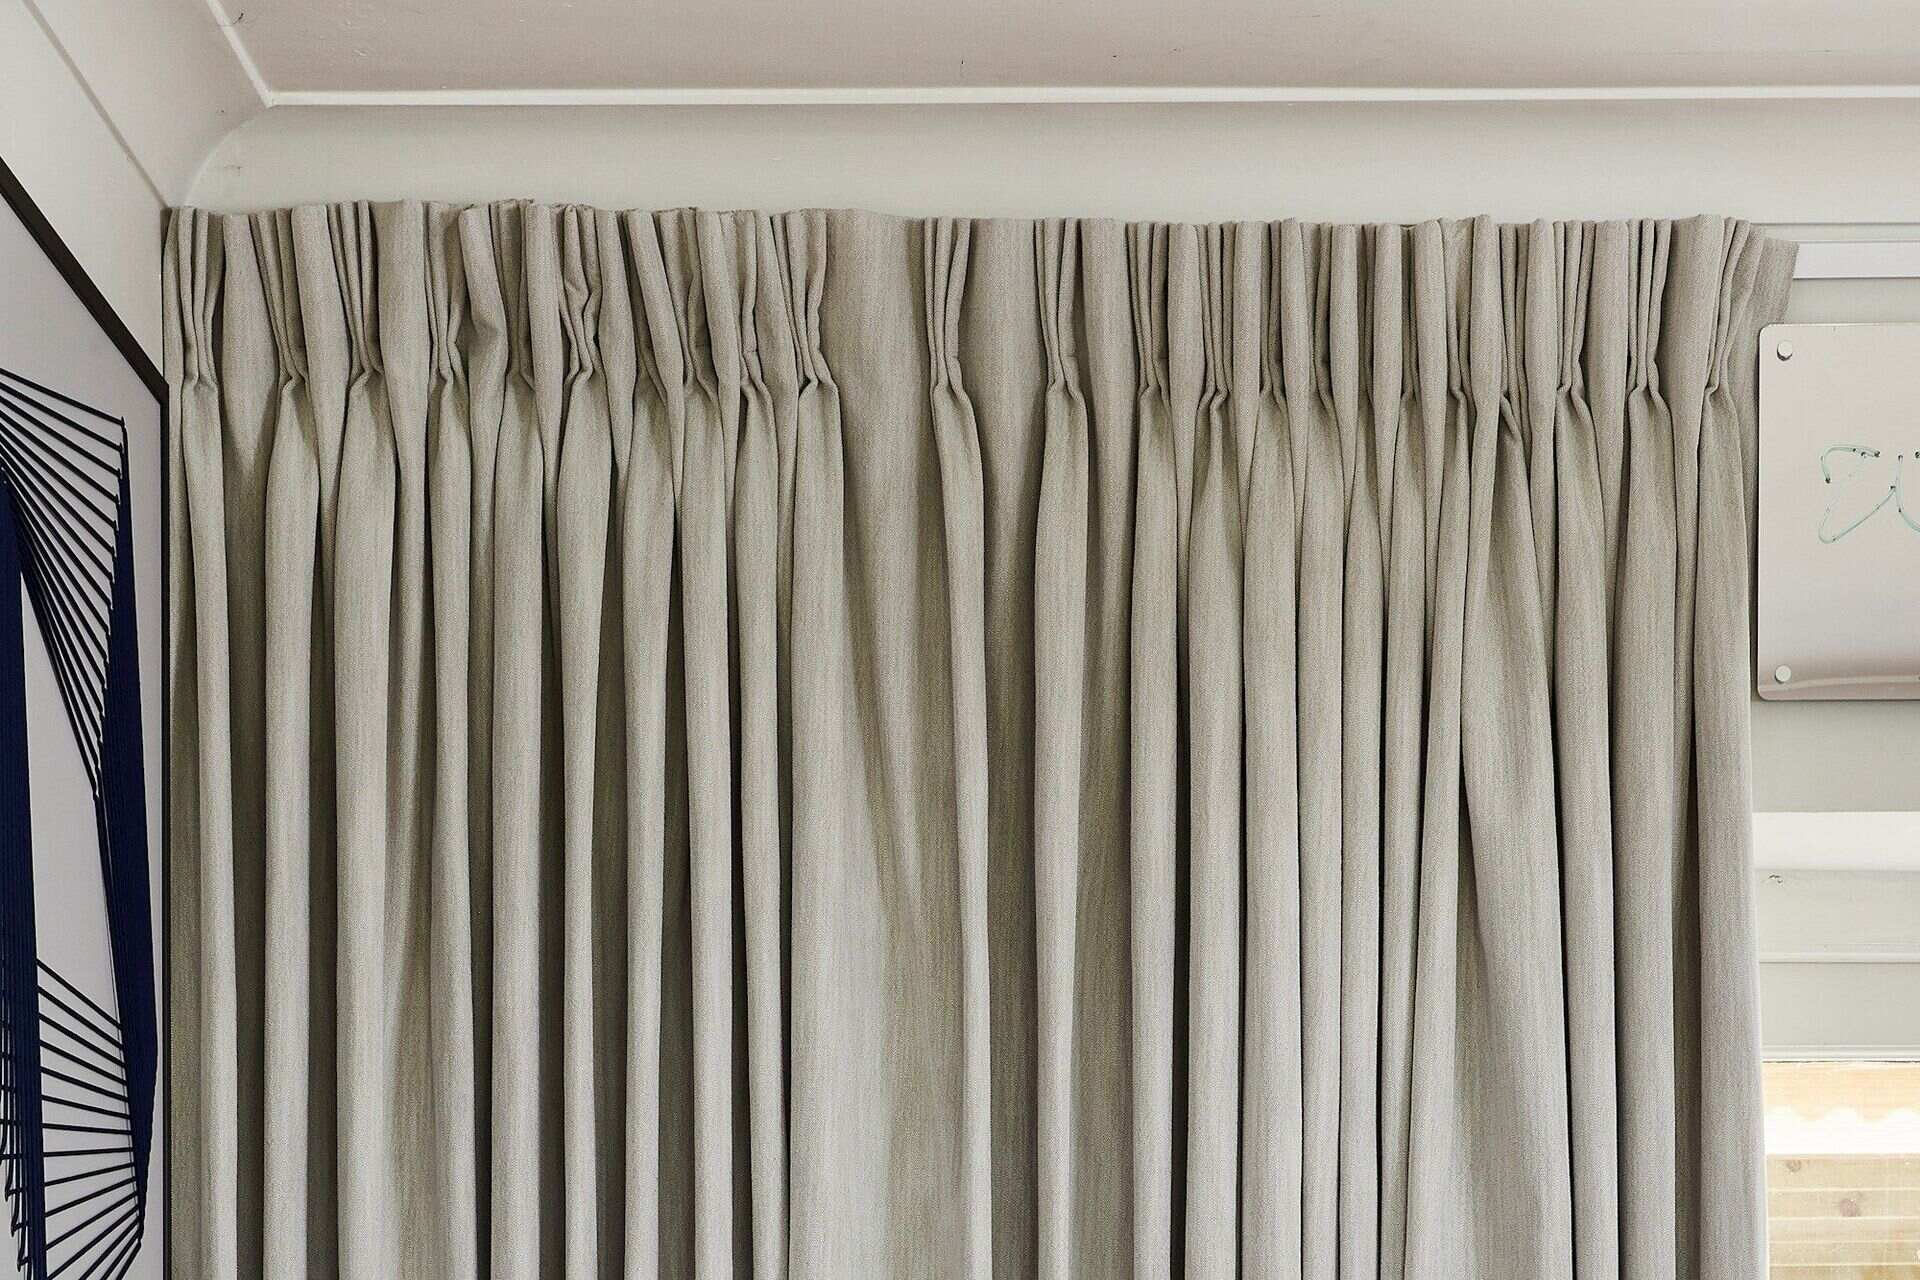
- Arrange the Pleats: Once the curtains are hung, step back and arrange the pleats to ensure they cascade smoothly and evenly across the width of the curtains. Fluff the pleats gently with your hands to achieve the desired fullness and symmetry.
- Final Touches: Take the time to adjust and finesse the curtains until they hang perfectly. It may be helpful to stand back and view them from different angles to make sure they look cohesive and well-balanced.
By hanging and adjusting the curtains properly, they will become the focal point of the room and enhance the overall decor. With their newly created pleats, your IKEA curtains will exude elegance and timeless style.
Conclusion
Transforming your IKEA curtains with pleats is a rewarding DIY project that can elevate the look of your home decor. By following the steps outlined in this article and using the right tools and materials, you can achieve professional-looking pleats that add a touch of sophistication to your curtains.
Remember to take accurate measurements, choose the right pleat style, fold and pin the pleats meticulously, and sew them securely in place. Taking your time with each step will ensure that your pleats are even, symmetrical, and perfectly tailored.
Once the pleating process is complete, hang your curtains and make any necessary adjustments to ensure they are the perfect length and the pleats cascade beautifully. The result will be stunning curtains that enhance the ambiance of your living space while showcasing your attention to detail and personal style.
Don’t be afraid to get creative and experiment with different pleat styles and fabric choices. With practice, you can master the art of pleating curtains and create unique and customized window treatments that truly reflect your taste and personality.
So, unleash your creativity, pick up your tools, and transform your IKEA curtains into elegant statement pieces with tailored pleats. Enjoy the process and the beautiful results that will bring a renewed sense of style and sophistication to your home.
Frequently Asked Questions about How To Pleat IKEA Curtains
Was this page helpful?
At Storables.com, we guarantee accurate and reliable information. Our content, validated by Expert Board Contributors, is crafted following stringent Editorial Policies. We're committed to providing you with well-researched, expert-backed insights for all your informational needs.

0 thoughts on “How To Pleat IKEA Curtains”