
Articles
How To Reinforce 2×6 Ceiling Joists
Modified: December 7, 2023
Learn how to strengthen and reinforce your 2x6 ceiling joists with our informative articles. Enhance the structural integrity of your ceiling for added safety and durability.
(Many of the links in this article redirect to a specific reviewed product. Your purchase of these products through affiliate links helps to generate commission for Storables.com, at no extra cost. Learn more)
Introduction
When it comes to construction and home improvement projects, ensuring structural integrity and safety is of utmost importance. One area that often requires reinforcement is the ceiling joists. Ceiling joists, especially those made of 2×6 lumber, may not always provide sufficient support for heavy loads or changing dynamics within a building.
Fortunately, with the right tools, materials, and know-how, reinforcing 2×6 ceiling joists can be a relatively straightforward process. By reinforcing these joists, you can increase their load-bearing capacity, reduce sagging, and improve the overall stability of your ceiling.
In this article, we will walk you through the step-by-step process of reinforcing 2×6 ceiling joists. By following these guidelines, you can ensure a structurally sound and sturdy ceiling that will stand the test of time.
Key Takeaways:
- Ensure structural integrity and safety by reinforcing 2×6 ceiling joists to increase load-bearing capacity, reduce sagging, and improve stability, providing a sturdy and reliable ceiling for your space.
- Thoroughly assess the need for reinforcement, gather essential materials and tools, and follow a step-by-step process to install cross-bracing, solid blocking, and additional support beams, ensuring a structurally sound and stable ceiling for long-term reliability.
Read more: What Is A Ceiling Joist
Assessing the Need for Reinforcement
Before diving into the process of reinforcing 2×6 ceiling joists, it’s essential to assess whether reinforcement is actually necessary. Here are a few signs that indicate your joists may require reinforcement:
- Sagging or noticeable deflection: If you notice your ceiling sagging or observe visible deflection when weight is applied, it’s a clear indication that your ceiling joists are not adequately supported.
- Inconsistent or uneven floors: If your floors are uneven or show signs of sloping, this could be an indication of an issue with the ceiling joists. Reinforcement may be necessary to ensure the floor’s stability and prevent further damage.
- Noise or vibrations: Excessive noise or vibrations when walking on the floor above may suggest that the joists are not providing adequate support.
- Plans for additional weight: If you are planning to add heavy fixtures, such as a ceiling fan or a storage area, to your ceiling, it is crucial to reinforce the joists to bear the extra load.
If you notice any of these signs or have concerns about the structural integrity of your ceiling joists, it is strongly recommended to consult a professional structural engineer or contractor. They can assess the situation and provide expert advice on the best course of action.
Once you have determined that reinforcement is necessary, you can proceed with gathering the materials and tools required for the project.
Gathering Materials and Tools
Before you begin reinforcing your 2×6 ceiling joists, it’s crucial to gather all the necessary materials and tools. Here is a list of what you will need:
- Lumber: You will need additional lumber to strengthen the joists. The size and quantity of lumber required will depend on the specific needs of your project and the recommendations of a structural engineer.
- Screws or nails: You will need screws or nails to secure the additional lumber and other components in place.
- Clamps: Clamps will come in handy during the installation process to hold the lumber securely in place as you work.
- Saw: A saw will be necessary for cutting the additional lumber to the required lengths.
- Drill: A drill, along with appropriate drill bits, will be needed to create pilot holes and secure the screws or nails.
- Tape measure: A tape measure will be essential for taking accurate measurements and ensuring precise cuts.
- Safety gear: Don’t forget to gather safety gear, such as gloves, safety glasses, and a dust mask, to protect yourself during the construction process.
It is important to note that the specific materials and tools required may vary based on the unique needs of your project. Consult with a professional or structural engineer to ensure that you have all the necessary supplies before starting the reinforcement process.
Once you have gathered all the required materials and tools, you can proceed to prepare for the reinforcement process.
Preparing for Reinforcement
Before you begin the actual reinforcement of your 2×6 ceiling joists, it’s important to properly prepare the work area and make necessary adjustments. Here are the steps to follow when preparing for reinforcement:
- Clean the area: Clear out any furniture, decorations, or other objects from the room to create a spacious and safe work area.
- Locate the joists: Use a stud finder or other appropriate tools to locate the position of the existing ceiling joists. Mark their locations on the ceiling surface for reference.
- Calculate additional load: Determine the amount of additional load your ceiling will bear, such as storage items or fixtures you plan to install. This will help you determine the level of reinforcement needed.
- Consult a professional: If you haven’t done so already, consult with a professional, such as a structural engineer or contractor, to get their expert opinion on the reinforcement plan based on the unique requirements of your project.
- Design the reinforcement plan: Based on the professional guidance and calculations, design a reinforcement plan that includes specifications for the additional lumber and other components you will be installing.
By taking the time to thoroughly prepare the work area and consult with professionals, you can ensure that the reinforcement process is effective and meets the safety standards required for your specific project. Once you have completed the preparation steps, you are ready to move on to the next phase of reinforcement, which involves installing cross-bracing.
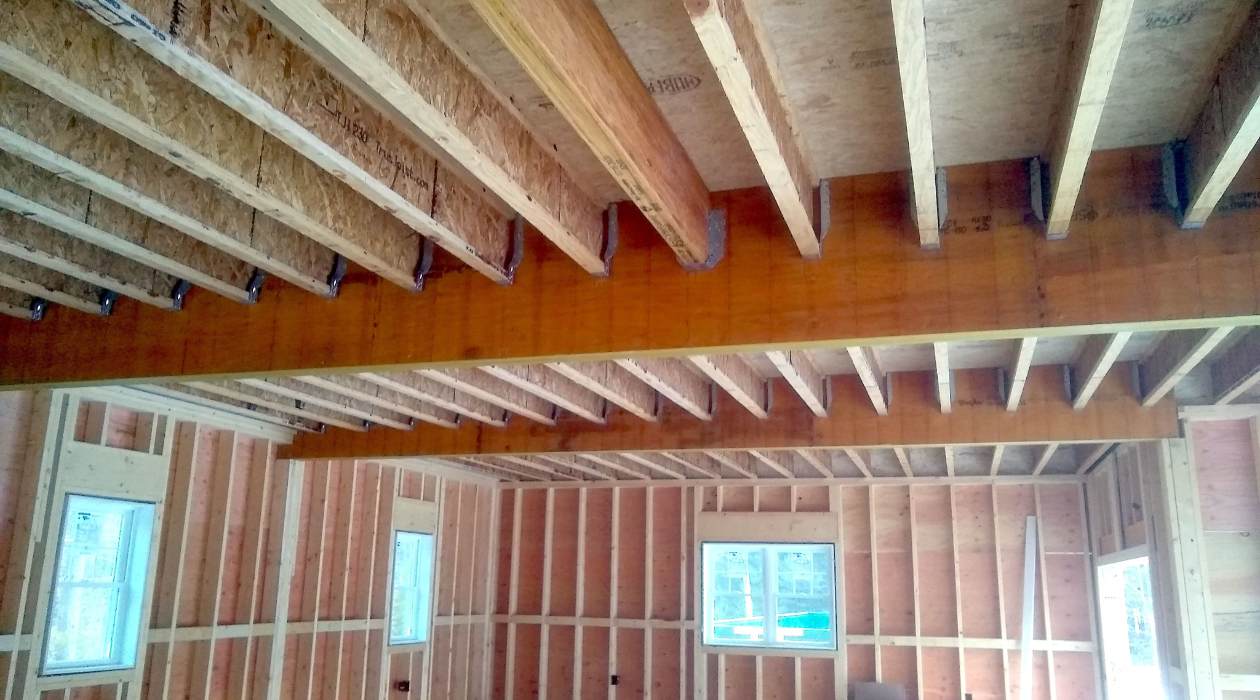
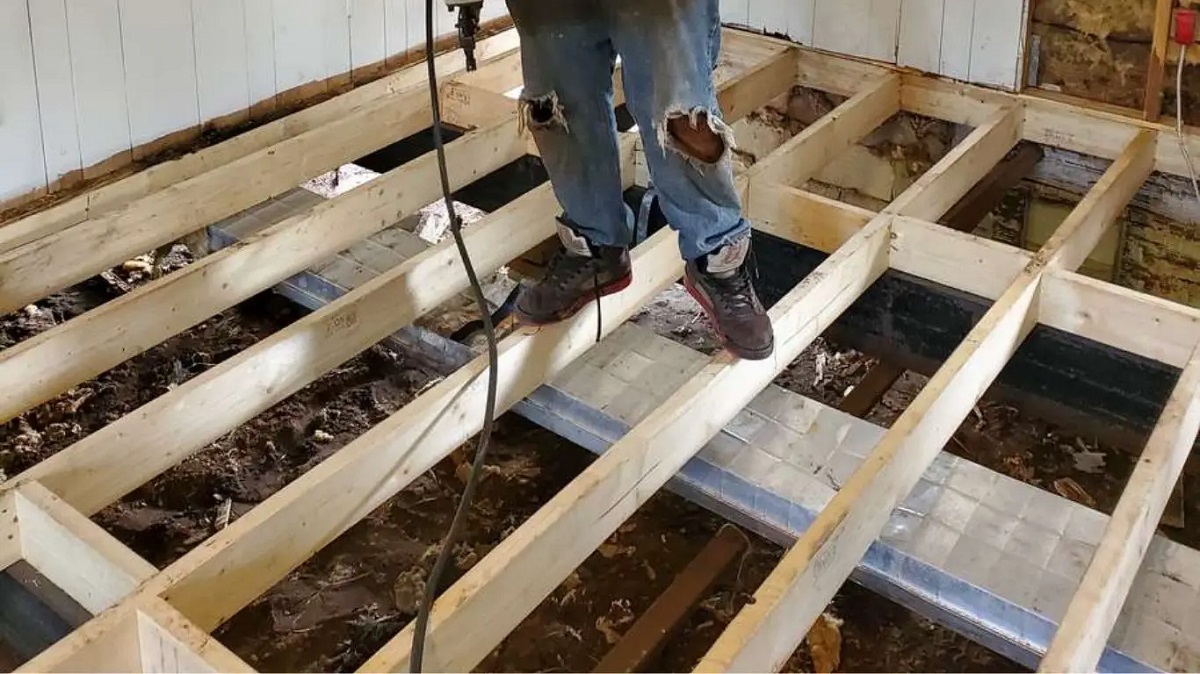
Installing Cross-Bracing
Installing cross-bracing is an important step in reinforcing your 2×6 ceiling joists. Cross-bracing provides additional support and stability to prevent the joists from twisting or sagging under heavy loads. Here’s a step-by-step guide on how to install cross-bracing:
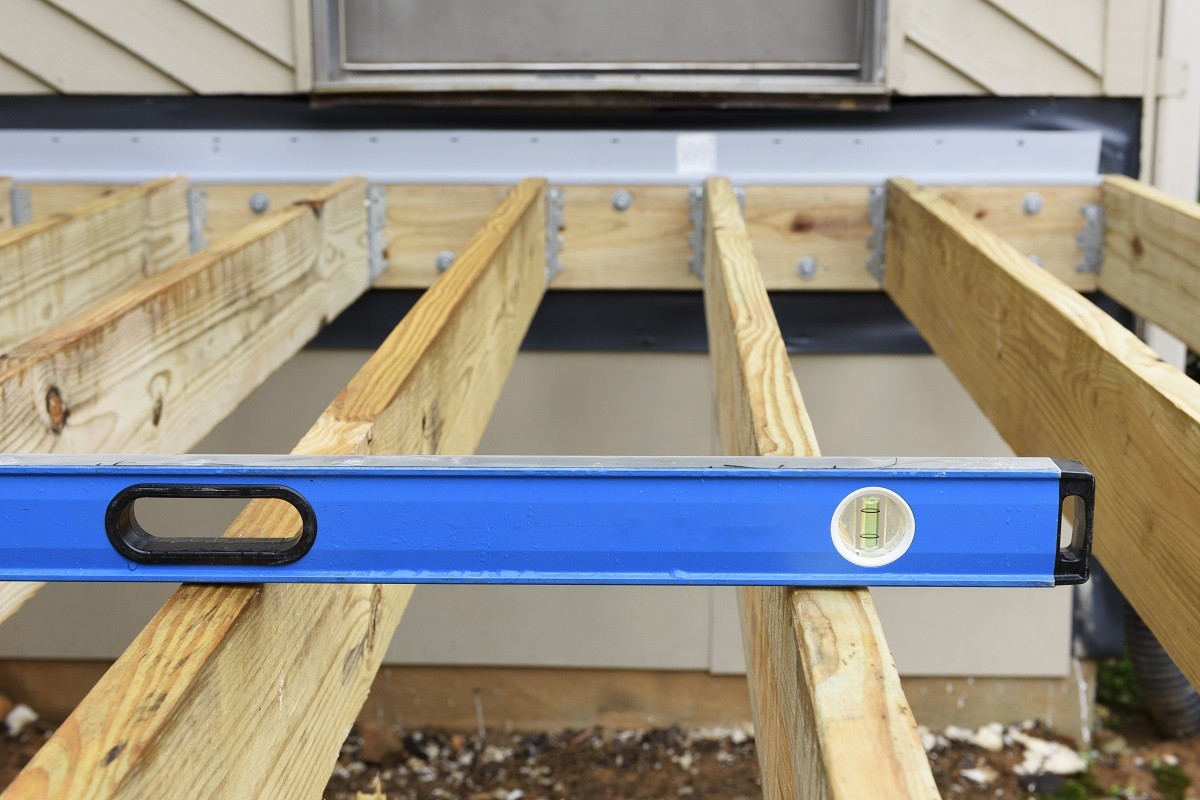
- Measure and cut the bracing: Use a tape measure to determine the length of each piece of bracing required. Cut the pieces of lumber to the appropriate length using a saw.
- Position the bracing: Position each piece of bracing diagonally between the ceiling joists. The cross-bracing should intersect at a 45-degree angle.
- Mark the placement: Use a pencil or marker to mark the placement of the cross-bracing on each joist.
- Secure the bracing: Use screws or nails to secure the cross-bracing in place. Make sure to drive the fasteners through the bracing and into the joists securely.
- Repeat for additional bracing: Install additional cross-bracing as needed, ensuring that each piece is positioned properly and securely fastened.
When installing cross-bracing, it’s important to maintain a consistent spacing between each piece. This will ensure even distribution of load and optimal reinforcement of the ceiling joists. Additionally, make sure to follow any specific guidelines or recommendations provided by professionals or structural engineers.
Once you have installed the cross-bracing, move on to the next step, which involves adding solid blocking to provide further support and stability.
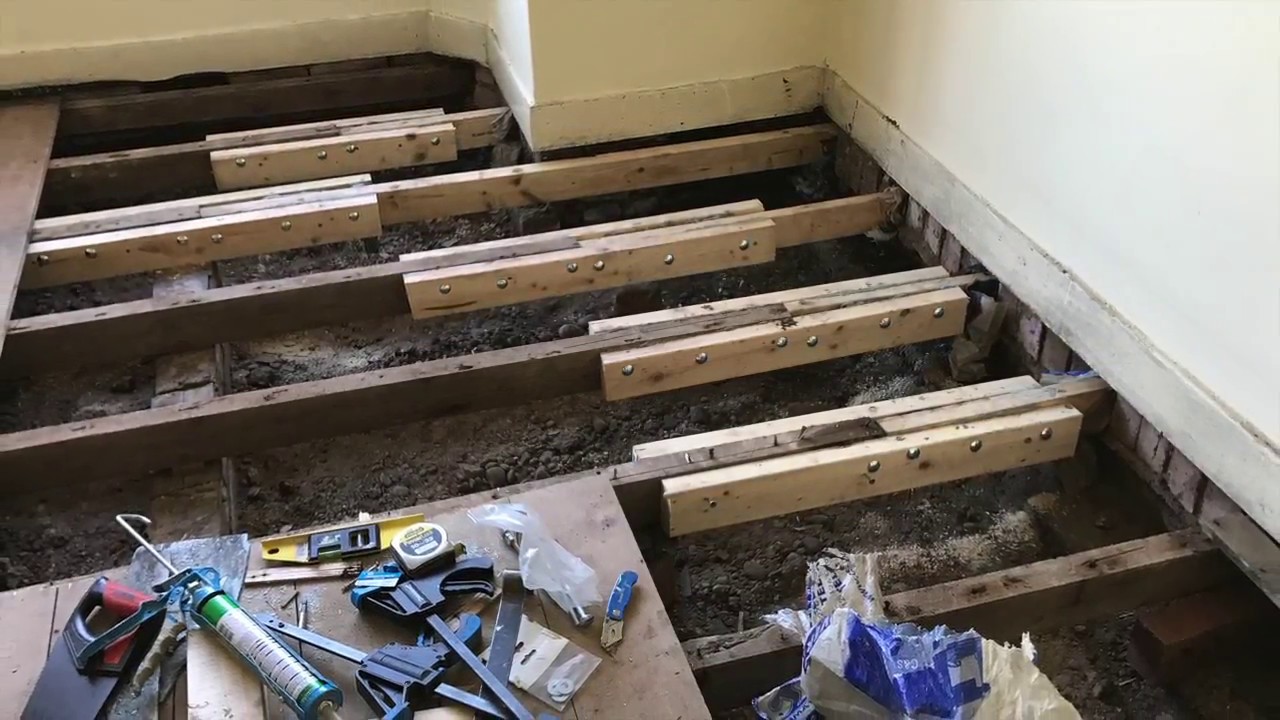
Consider sistering the existing 2×6 ceiling joists with additional 2×6 or larger lumber to increase their load-bearing capacity. Use construction adhesive and nails or screws to firmly attach the new joists to the existing ones.
Read more: How To Level Ceiling Joist With Laser Level
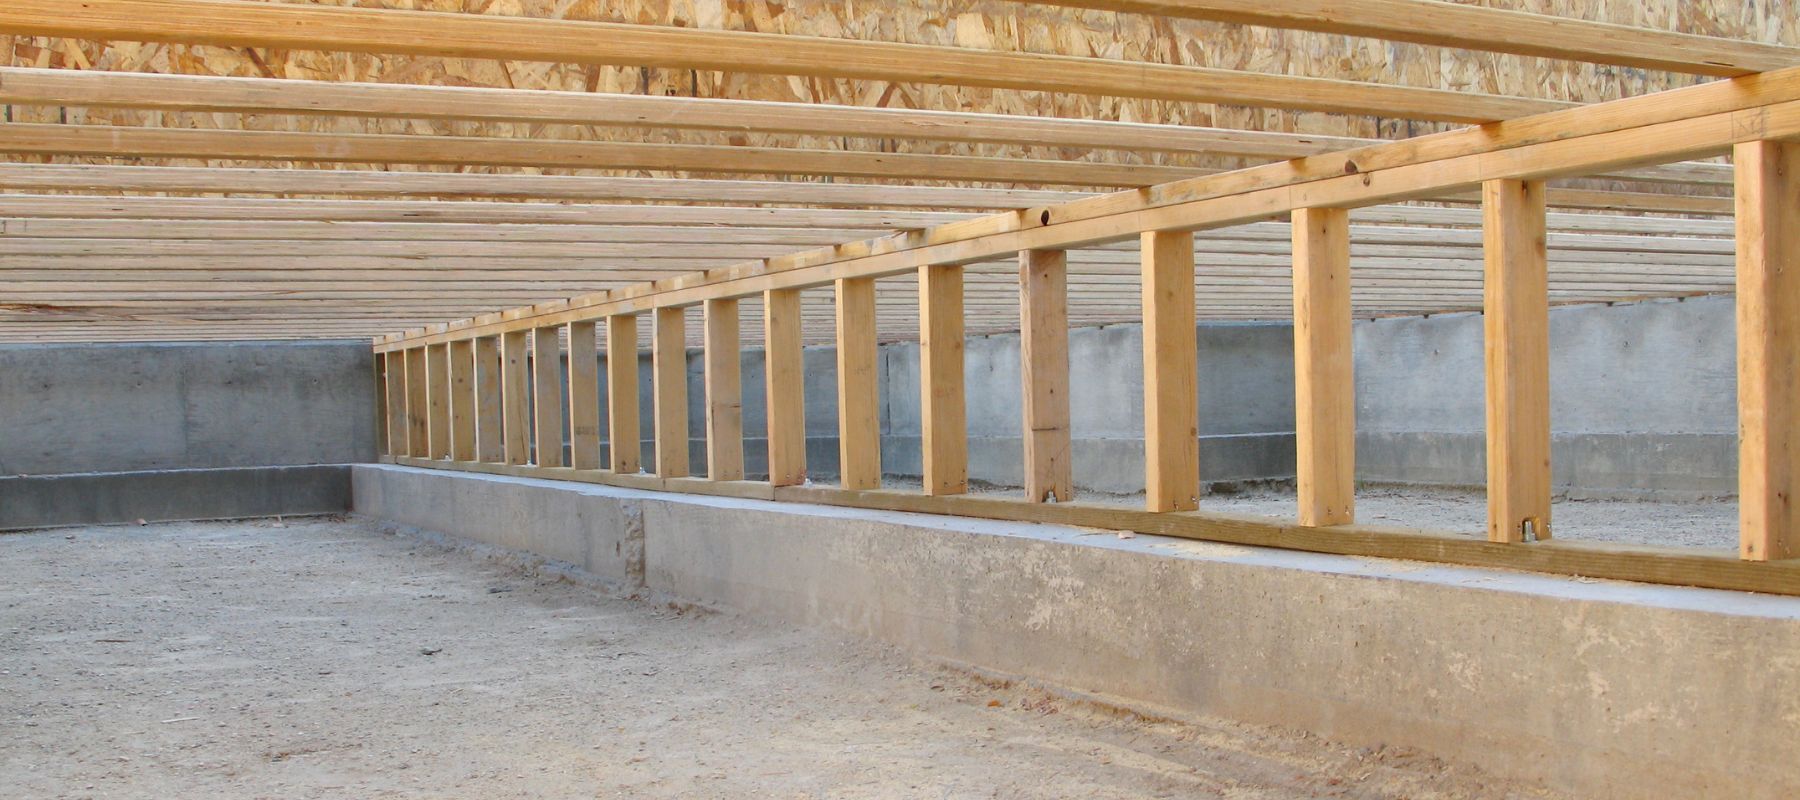
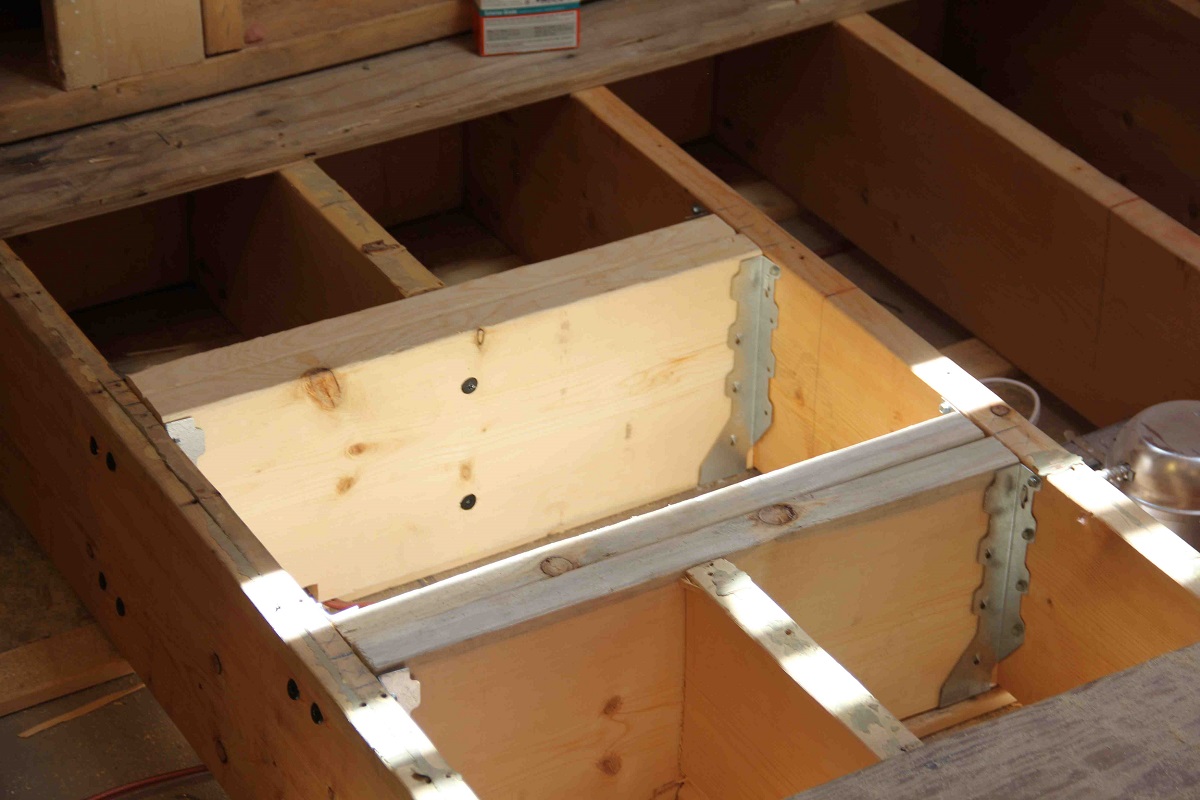
Adding Solid Blocking
In the process of reinforcing your 2×6 ceiling joists, adding solid blocking is another crucial step. Solid blocking helps to prevent twisting, shifting, and lateral movement of the joists, ensuring their stability and overall structural integrity. Here’s a step-by-step guide on how to add solid blocking:
- Measure and cut the blocking: Measure the distance between the ceiling joists where you plan to add the solid blocking. Cut pieces of lumber to match these measurements using a saw.
- Position the blocking: Place the cut pieces of blocking, perpendicular to the ceiling joists, at the designated locations. Ensure that the blocking is flush with the top surface of the joists.
- Secure the blocking: Use screws or nails to secure the blocking in place. Drive the fasteners through the blocking and into the adjacent ceiling joists, ensuring a secure connection.
- Repeat for additional blocking: Add solid blocking at regular intervals, typically every four to six feet along the length of the ceiling joists, to provide optimal support and stability.
Remember to stagger the blocking placement on alternating sides of the ceiling joists. This will help distribute the load evenly and provide robust reinforcement throughout the entire ceiling structure.
It’s important to note that the exact placement and spacing of the solid blocking may vary depending on the specific requirements of your project. Consult with professionals or follow any recommendations provided by structural engineers to ensure you are adding the blocking at the appropriate intervals.
With the solid blocking in place, you are now ready to move on to the next step, which involves attaching additional support beams to further strengthen the 2×6 ceiling joists.
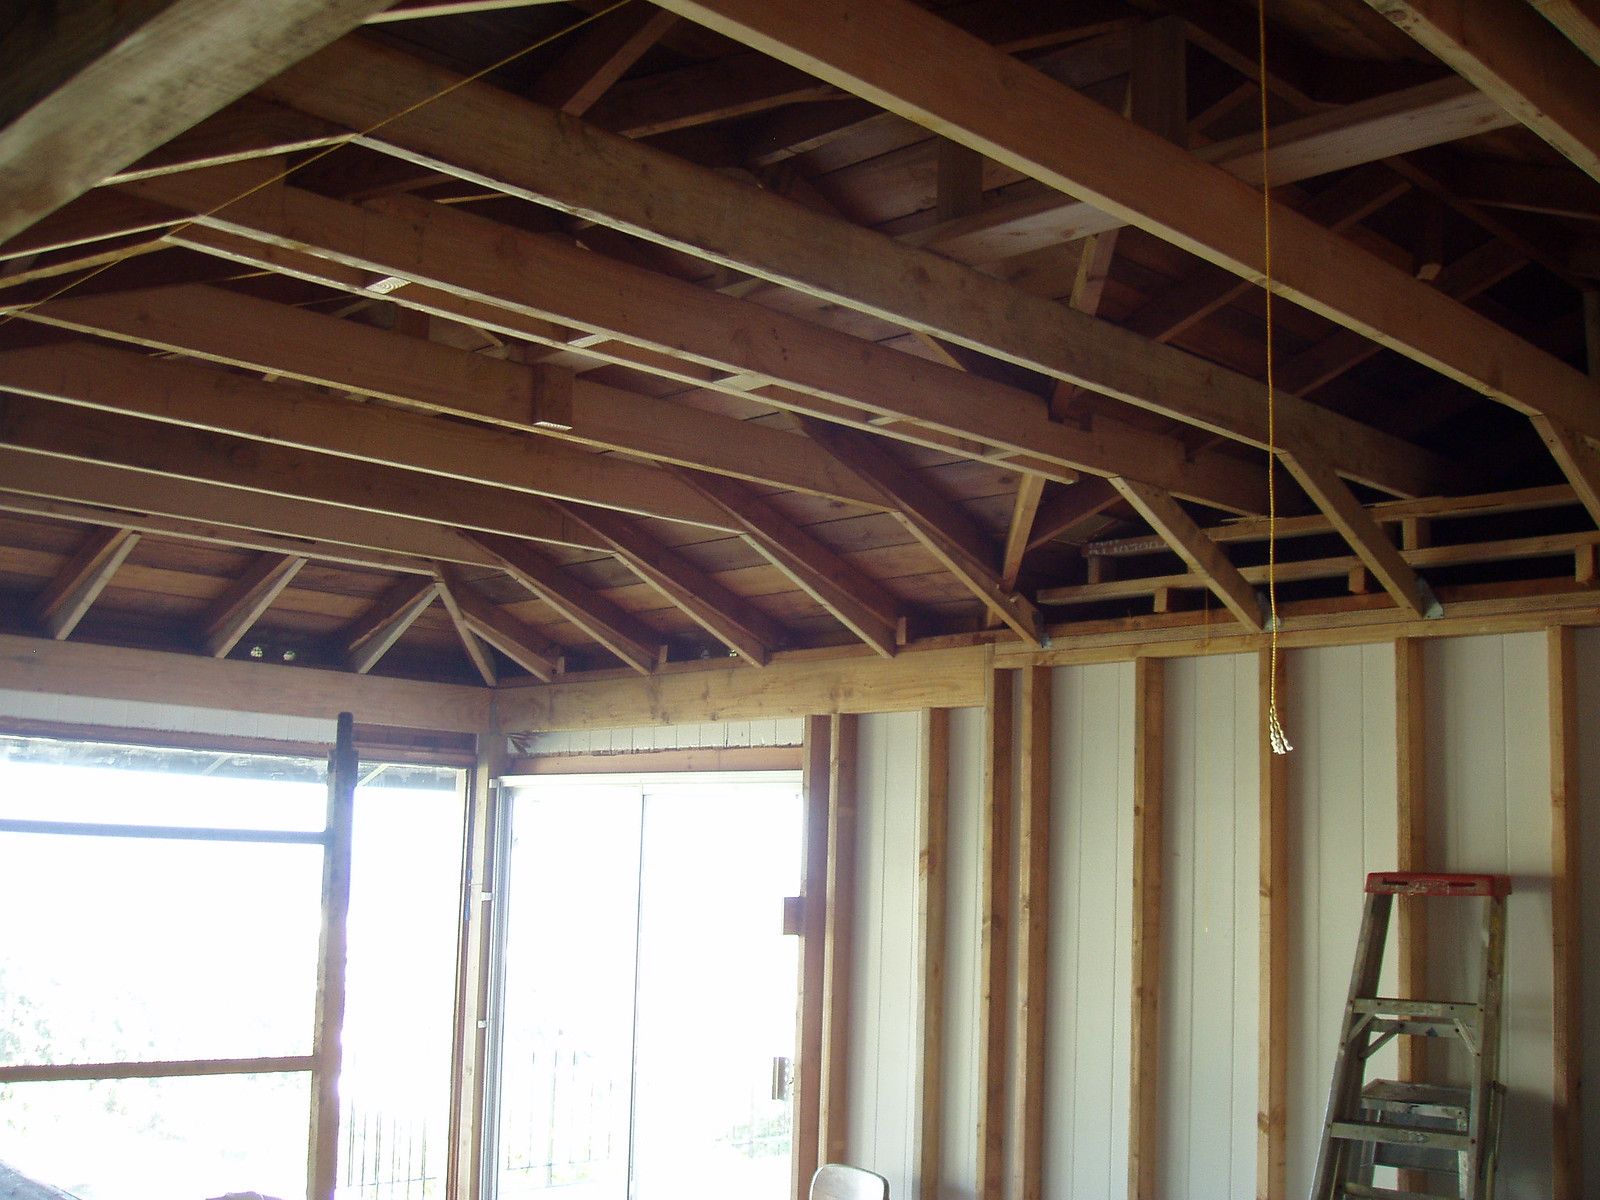
Attaching Additional Support Beams
Attaching additional support beams is a crucial step in reinforcing 2×6 ceiling joists. These beams provide extra strength and stability to the joists, especially when dealing with heavy loads or spans that require additional support. Here’s a step-by-step guide on how to attach additional support beams:
- Measure and cut the support beams: Measure the length needed for the additional support beams. Cut the beams to the appropriate length using a saw, ensuring they match the distance between the walls or supports.
- Position the support beams: Place the cut support beams perpendicular to the existing joists, aligning them with the marked locations. Make sure they are centered and level with the existing joists.
- Secure the support beams: Use screws or nails to attach the support beams to the existing joists. Drive the fasteners through the support beams and into the joists securely.
- Add blocking between the support beams: Install solid blocking between the newly attached support beams for additional reinforcement and stability. Follow the same steps mentioned earlier for adding solid blocking.
When attaching the additional support beams, it’s important to ensure a tight and secure connection between the beams and the existing joists. This will help distribute the load evenly across the entire structure and provide maximum reinforcement.
Keep in mind that the specific spacing and number of support beams required may vary based on the size and weight load of the ceiling, as well as any recommendations from professionals or structural engineers. Consult with experts to determine the optimal placement and quantity of support beams for your specific project.
With the additional support beams attached, your 2×6 ceiling joists are now significantly reinforced. The final step involves some finishing touches and testing the stability of the reinforced ceiling construction.
Finishing Touches and Testing Stability
After reinforcing your 2×6 ceiling joists, it’s important to attend to some finishing touches and thoroughly test the stability of the newly reinforced structure. Here are the final steps to complete the project:
- Secure all connections: Double-check all the screws, nails, and fasteners used in the reinforcement process. Ensure that they are securely tightened and any loose ends are properly secured.
- Inspect for any signs of damage: Take a close look at the entire ceiling structure, including the joists, cross-bracing, solid blocking, and support beams. Look for any signs of damage or structural weaknesses.
- Perform a stability test: Apply pressure to various areas of the ceiling, such as gently pushing or applying weight, to test the stability and integrity of the reinforced joists. Look for any signs of sagging, movement, or unusual sounds.
- Address any issues: If you notice any issues during the stability test or inspection, such as excessive sagging or movement, consult with professionals or structural engineers for further evaluation and necessary adjustments.
- Consider cosmetic enhancements: If desired, you can consider enhancing the aesthetic appeal of the reinforced ceiling by applying a fresh coat of paint or adding decorative finishes.
By thoroughly testing the stability and ensuring that all components are in good condition, you can have peace of mind knowing that your reinforced 2×6 ceiling joists will provide reliable support for years to come.
Remember, if you are unsure about any aspect of the reinforcement process or encounter any challenges, it is always recommended to consult with professionals or seek the assistance of a licensed contractor or structural engineer. They can provide expert guidance, address any concerns, and ensure the safety and stability of your ceiling structure.
With the finishing touches complete, you can now enjoy the peace of mind that comes with a reinforced and sturdy ceiling, ready to support the demands of your space.
Conclusion
Reinforcing 2×6 ceiling joists is an essential step to ensure the structural integrity and stability of your ceiling. By following the step-by-step process outlined in this article, you can effectively reinforce your ceiling and provide it with the necessary support to bear heavy loads and resist sagging.
Assessing the need for reinforcement is the first crucial step. Look out for signs of sagging, uneven floors, or plans for additional weight that may require the reinforcement of your 2×6 ceiling joists.
Gathering the appropriate materials and tools is essential to ensure a smooth and successful reinforcement process. Lumber, screws or nails, clamps, and a tape measure are some of the necessary items you will need.
Preparing the work area and designing a reinforcement plan are crucial before beginning the reinforcement process. Consulting with professionals, such as structural engineers, can provide valuable insights and guidance.
The actual reinforcement involves installing cross-bracing, adding solid blocking, and attaching additional support beams. These steps work together to provide additional support and stability to your ceiling joists.
Finally, after completing the reinforcement process, perform a thorough inspection and stability test. Address any issues that arise to ensure the integrity of the reinforced structure.
Remember, if at any point you feel unsure or encounter difficulties, it is recommended to seek the assistance of professionals or licensed contractors who can provide expert guidance.
Reinforcing your 2×6 ceiling joists not only enhances the strength and stability of your ceiling but also provides you with peace of mind and a solid foundation for future renovations. A properly reinforced ceiling will not only stand the test of time but also ensure the safety and longevity of your home or building.
By following the steps outlined in this article and consulting with professionals when needed, you can successfully reinforce your 2×6 ceiling joists and enjoy a structurally sound and stable ceiling for years to come.
Frequently Asked Questions about How To Reinforce 2x6 Ceiling Joists
Was this page helpful?
At Storables.com, we guarantee accurate and reliable information. Our content, validated by Expert Board Contributors, is crafted following stringent Editorial Policies. We're committed to providing you with well-researched, expert-backed insights for all your informational needs.


0 thoughts on “How To Reinforce 2×6 Ceiling Joists”