
Articles
How To Tell If Electrical Box Is Grounded
Modified: August 27, 2024
Learn how to determine if an electrical box is properly grounded with this informative article. Ensure your electrical system is safe and compliant.
(Many of the links in this article redirect to a specific reviewed product. Your purchase of these products through affiliate links helps to generate commission for Storables.com, at no extra cost. Learn more)
Introduction
Welcome to our comprehensive guide on how to tell if an electrical box is grounded. Electrical grounding plays a vital role in maintaining safety and preventing electrical hazards in our homes and buildings. Understanding the importance of grounding and being able to identify if an electrical box is properly grounded is essential for homeowners, electricians, and anyone working with electrical systems.
Electrical grounding refers to the process of connecting electrical systems and appliances to the earth. It provides a path of least resistance for electrical current, redirecting it safely into the ground in the event of a fault or surge. This helps prevent electrical shocks, fires, and damage to electrical equipment.
So why is grounding so important? Without proper grounding, electricity can pose significant risks. An ungrounded electrical system may cause electrocution, damage sensitive electronic devices, or create potential fire hazards. By ensuring that electrical boxes are grounded, we can protect ourselves and our homes from these potential dangers.
There are several signs and methods to determine if an electrical box is grounded. In this article, we will explore various visual and diagnostic techniques that can help you identify whether an electrical box has been properly grounded.
Keep in mind that while this article provides guidance on determining grounding status, it’s always essential to exercise proper caution when working with electricity. If you’re uncertain or uncomfortable with the process, it’s highly recommended to seek professional assistance from a licensed electrician.
Now, let’s dive into the details and learn how to tell if an electrical box is grounded.
Key Takeaways:
- Proper electrical grounding is essential for safety, equipment protection, and compliance with regulations. Visual inspections and multimeter tests can provide initial indications, but consulting a licensed electrician is crucial for a thorough evaluation.
- Professional assistance is recommended for addressing grounding issues, inadequate grounding, safety concerns, and electrical system upgrades. Prioritize safety and seek expert help to ensure the reliability of your electrical system.
Read more: How To Ground Plastic Electrical Box
Understanding Electrical Grounding
Before we delve into identifying if an electrical box is grounded, it’s crucial to have a clear understanding of what electrical grounding entails. In simple terms, grounding refers to establishing a connection between an electrical system or appliance and the earth. This is achieved by creating a dedicated pathway for electrical current to flow into the ground.
Grounding serves two primary purposes: safety and equipment protection. Firstly, it ensures that any unintentional electrical current has a safe path to follow, preventing it from flowing through human bodies or causing electrical shocks. Additionally, grounding helps safeguard electrical appliances and equipment by providing a means to dissipate excess electricity and stabilize voltage levels.
The grounding system consists of several components, including grounding electrodes, grounding conductors, and the grounding electrode conductor (GEC). Grounding electrodes, such as metal rods or plates, are buried in the ground and act as the connection point between the electrical system and the earth. Grounding conductors, usually made of copper or aluminum, carry the electrical current to the grounding electrodes. The grounding electrode conductor forms the main pathway between the electrical system and the grounding electrodes.
In residential settings, electrical grounding is typically achieved by grounding the electrical service panel or main electrical distribution panel. From there, each individual circuit is grounded through the metal junction boxes that house the switches and outlets.
Proper electrical grounding is essential for the safe and reliable operation of electrical systems. It helps mitigate the risk of electric shock, protect against electrical fires, and prevent damage to electrical appliances from voltage surges and lightning strikes.
Next, we’ll explore the importance of having grounded electrical boxes and the potential risks associated with ungrounded systems.
Importance of Grounding
Grounding is of utmost importance when it comes to electrical systems. Whether you’re a homeowner or a professional electrician, understanding the significance of proper grounding is crucial for maintaining safety and preventing electrical hazards.
Here are some key reasons why grounding is essential:
- Protection from electrical shocks: Grounding provides a safe path for electrical current to flow into the ground in case of a fault or surge. This helps prevent electric shocks to individuals who may come into contact with electrical appliances or systems.
- Fire prevention: Proper grounding helps prevent electrical fires. By redirecting excess electrical current into the ground, grounding reduces the risk of overheating and potential ignition of flammable materials.
- Equipment protection: Grounding helps protect electrical appliances and equipment from damage caused by voltage spikes or lightning strikes. By providing a pathway for excess electricity to escape, grounding helps stabilize voltage levels and prevent potential damage to sensitive electronic devices.
- Electromagnetic compatibility (EMC): Grounding is essential for ensuring proper EMC. It helps to reduce interference from electromagnetic fields and prevents disturbances that can affect the performance of electronic equipment.
- Compliance with electrical codes and regulations: Many electrical codes and regulations require grounding for residential and commercial electrical systems. Adhering to these standards not only ensures safety but also helps avoid penalties and legal issues.
By ensuring that your electrical boxes are properly grounded, you can have peace of mind knowing that you’ve taken the necessary precautions to protect yourself, your property, and your electrical devices.
Next, we will explore the telltale signs that indicate whether an electrical box is grounded or not.
Signs That an Electrical Box Is Grounded
Knowing how to identify if an electrical box is grounded is essential for maintaining the safety and functionality of your electrical system. While it’s always recommended to consult a licensed electrician for a thorough inspection, there are several signs that can indicate whether an electrical box is grounded or not:
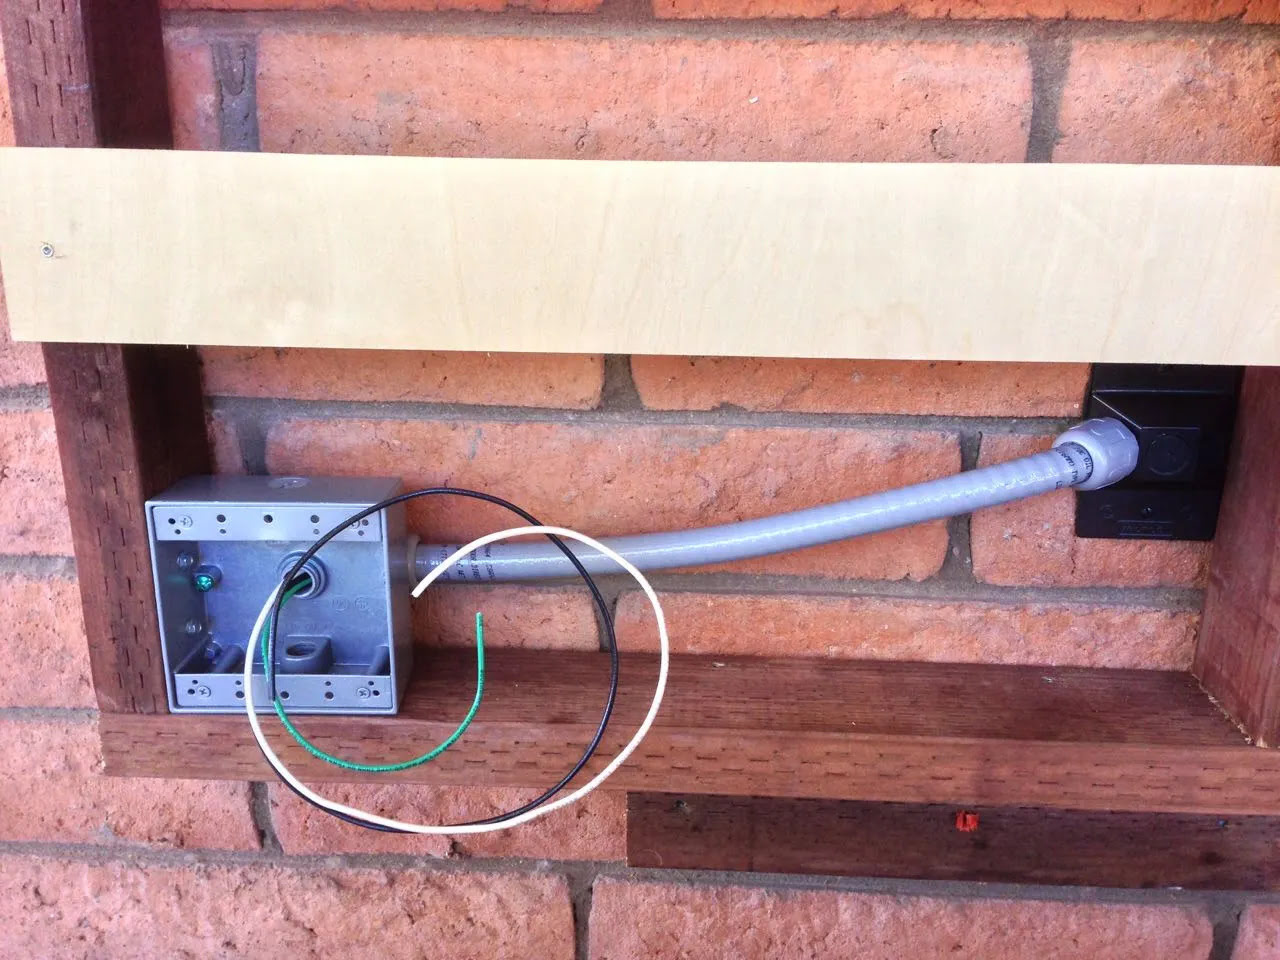
- Grounding conductor: One of the most obvious signs of a grounded electrical box is the presence of a grounding conductor. A grounding conductor is a wire typically colored green or bare copper that connects to the ground terminal within the box.
- Grounding screw: Some electrical boxes may have a grounding screw located inside. This screw is often green and is designed for connecting the grounding conductor to the box.
- Grounding wire: In grounded electrical boxes, you may notice a grounding wire attached to the metal box. This wire plays a crucial role in providing a direct connection between the electrical circuit and the ground.
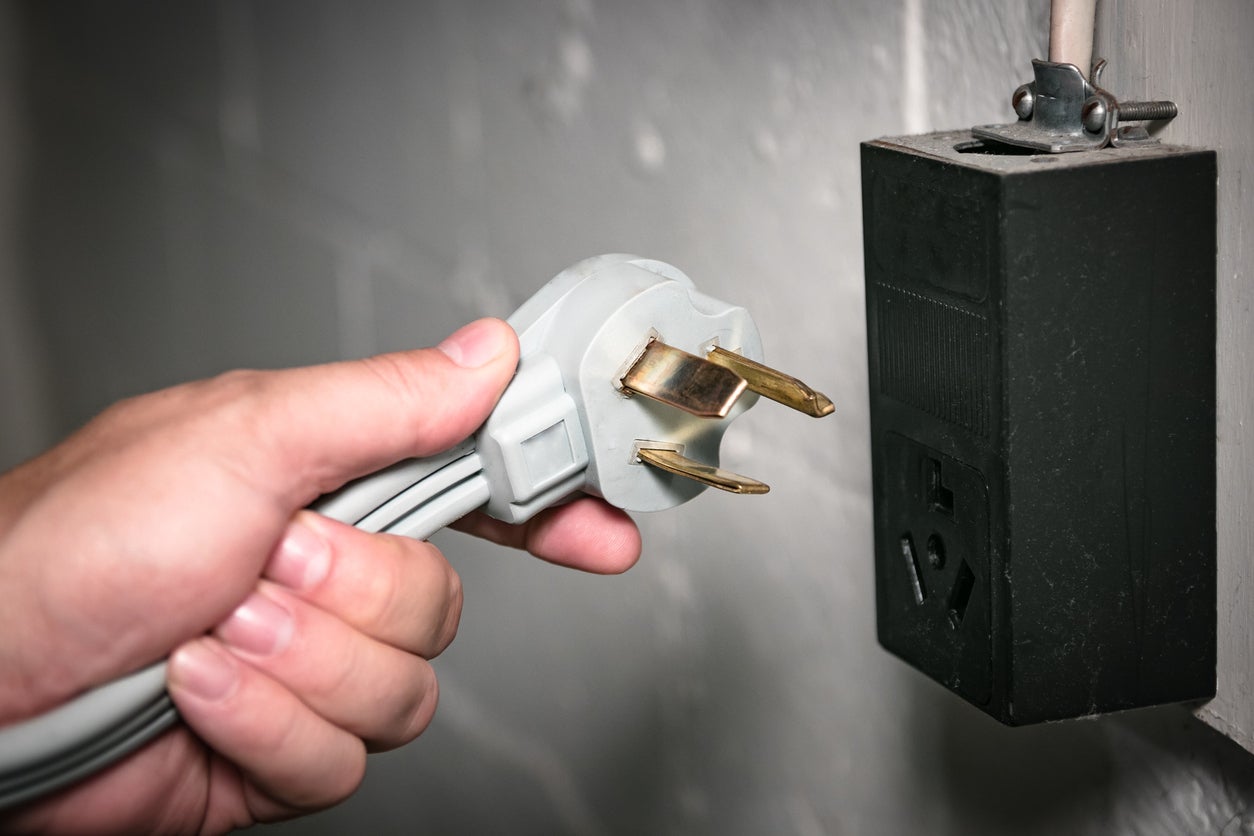
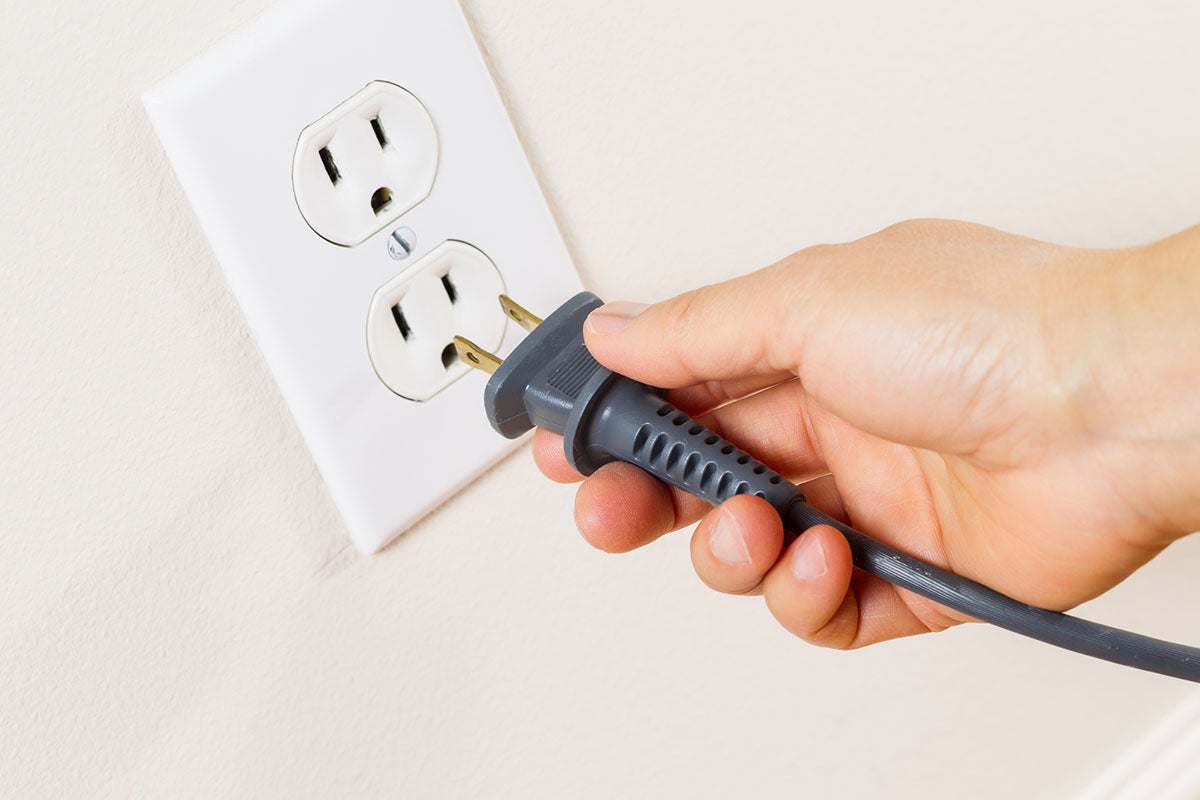
- Grounded outlets: Grounded electrical boxes are typically equipped with outlets that have three prongs. The third prong, known as the ground pin, connects to the grounding system and helps protect against electrical shocks.
- Location of the electrical box: In some cases, the location of the electrical box can indicate whether it is grounded. Electrical boxes located in basements, garages, or near water sources often require grounding due to increased potential for electrical hazards.
- Age of the electrical system: Older electrical systems may not have had grounding requirements when they were initially installed. If your property has an outdated electrical system, there’s a higher likelihood that some electrical boxes may not be properly grounded.
While these signs can provide initial clues, it’s important to note that they may not be foolproof indicators of grounding. To ensure accurate results and complete peace of mind, it’s always recommended to consult a professional electrician or use proper diagnostic tools to test the grounding of your electrical system.
Next, let’s explore how to visually inspect an electrical box to determine its grounding status.
Use a digital multimeter to test for continuity between the ground terminal and a known ground source. If there is continuity, the electrical box is grounded.
Visual Inspection of Grounding
Performing a visual inspection is one of the initial steps you can take to assess the grounding status of an electrical box. By carefully examining the box and its components, you can gather valuable information that indicates whether the box is grounded or not.
Here are the steps to visually inspect the grounding of an electrical box:
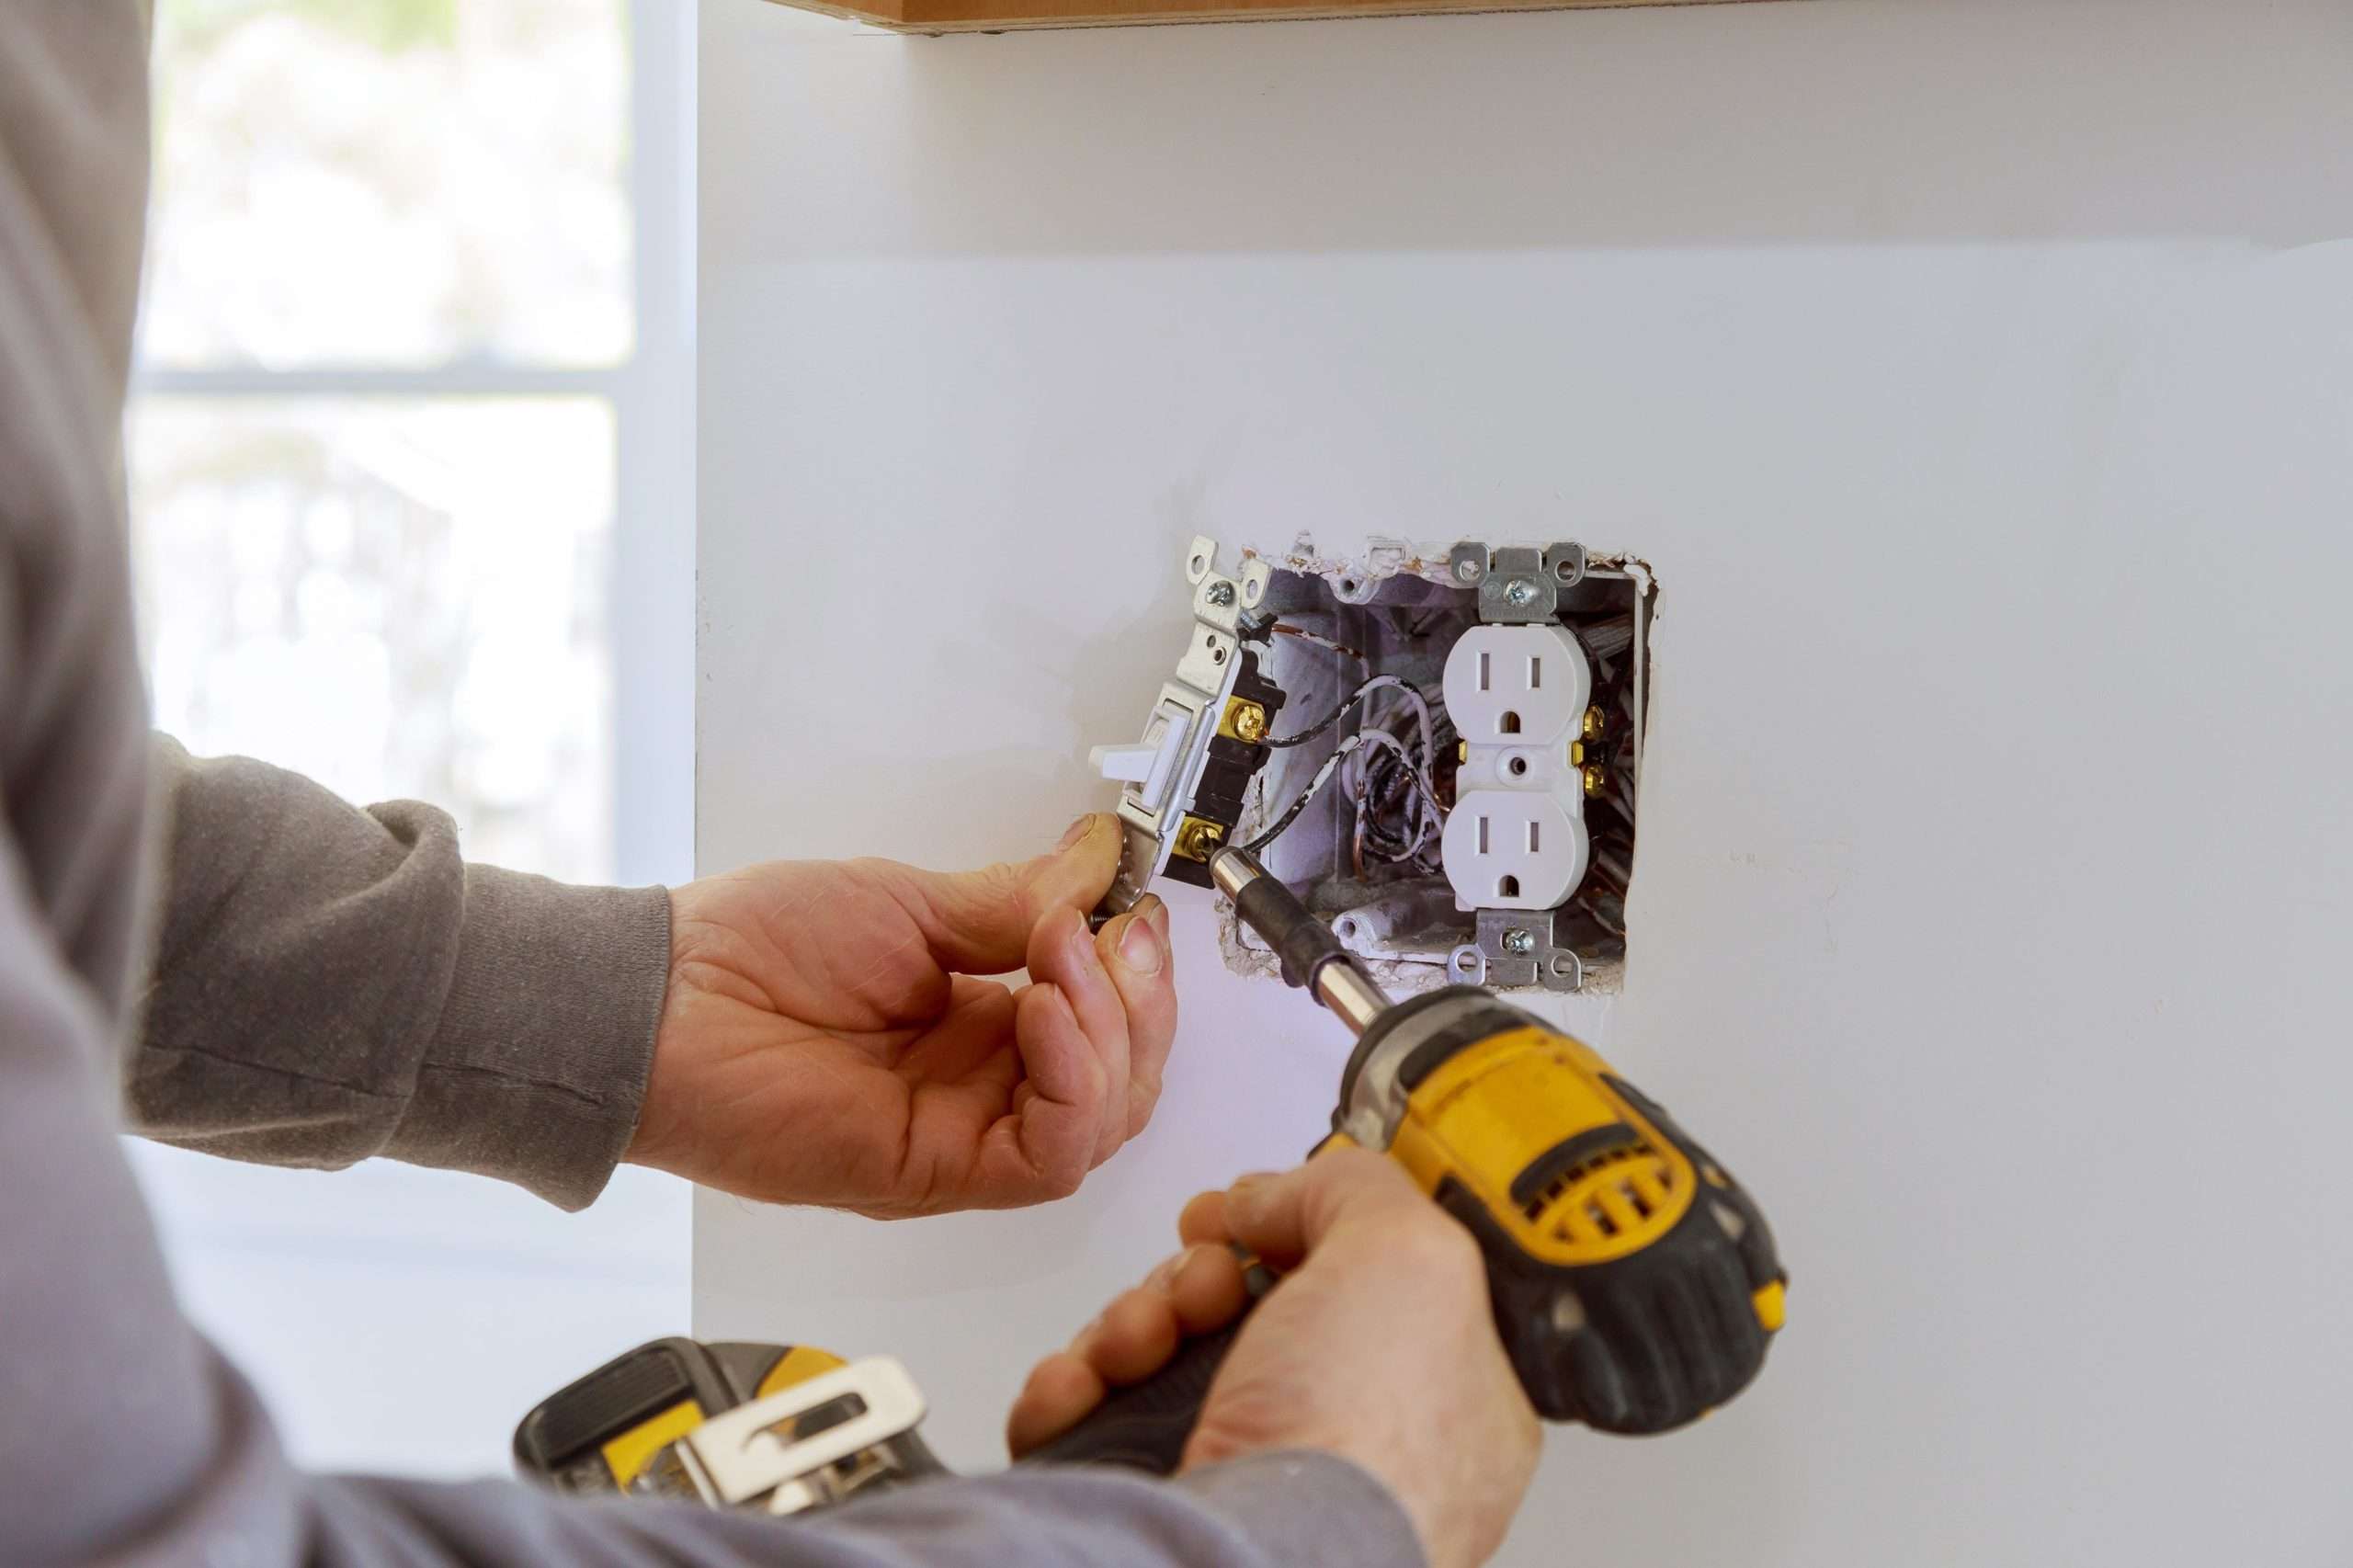
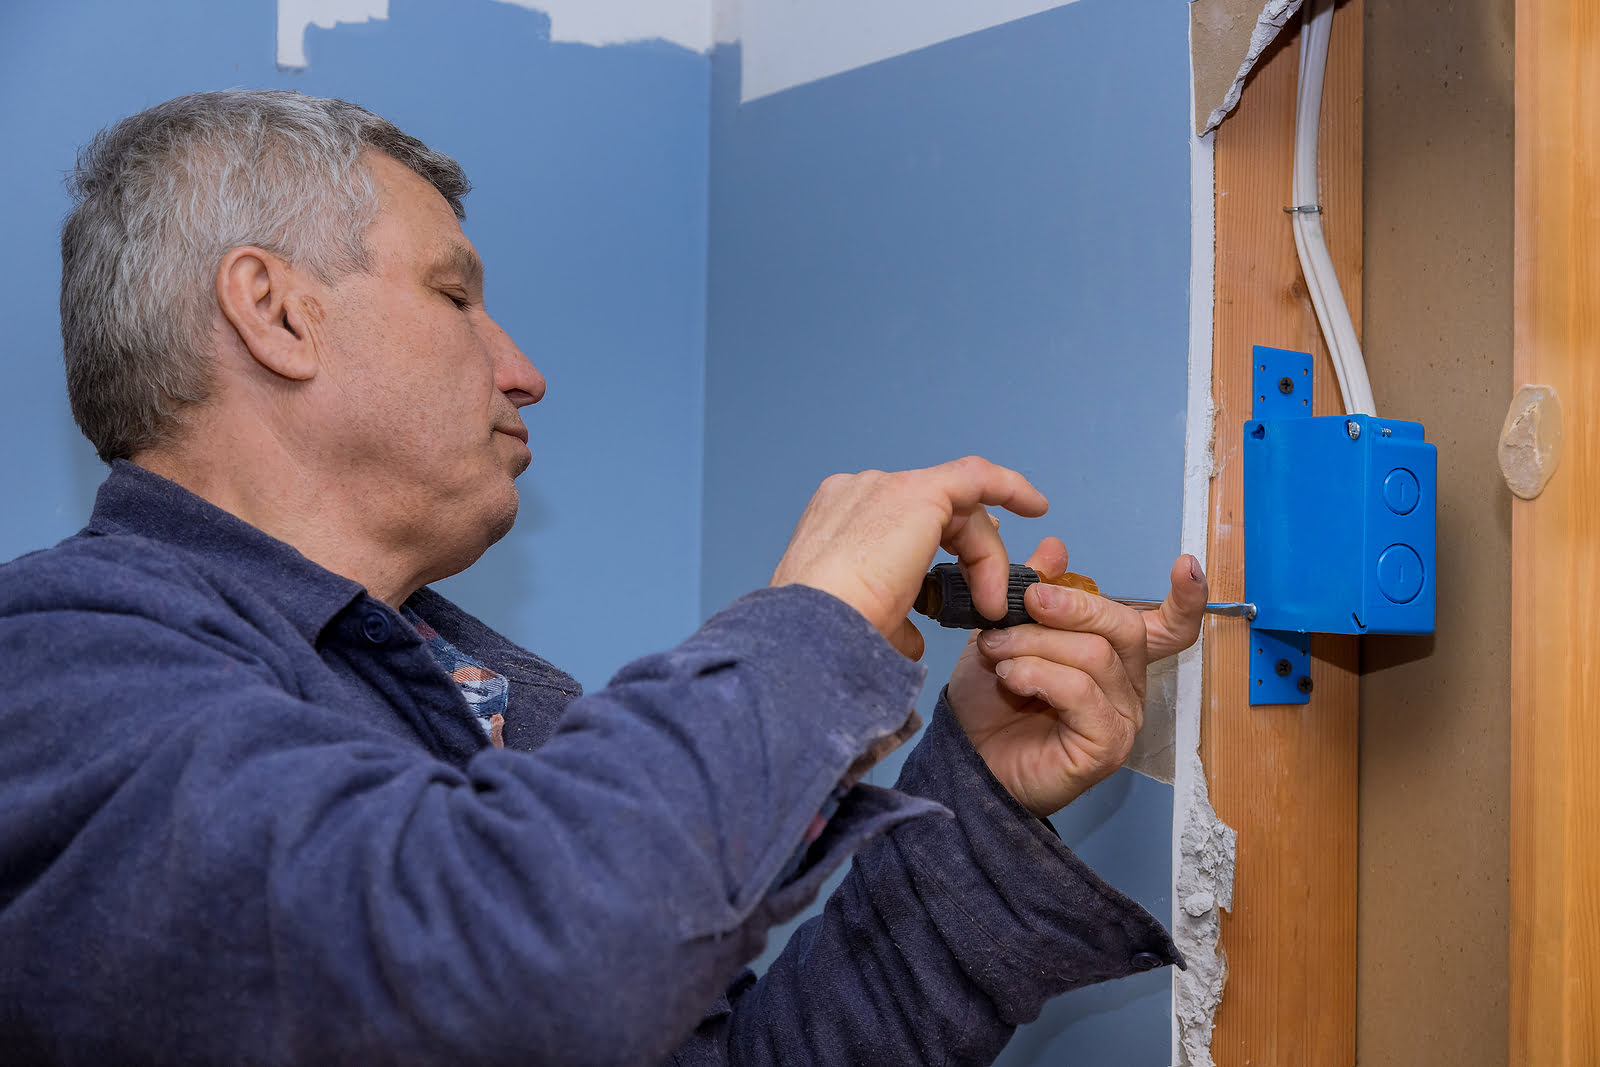
- Turn off the power: Before conducting any inspection, ensure that the power to the electrical box is turned off to avoid any potential risks of electrical shock.
- Open the electrical box: Remove the cover plate of the box to access the inner components. Use proper safety precautions such as wearing rubber gloves and using insulated tools.
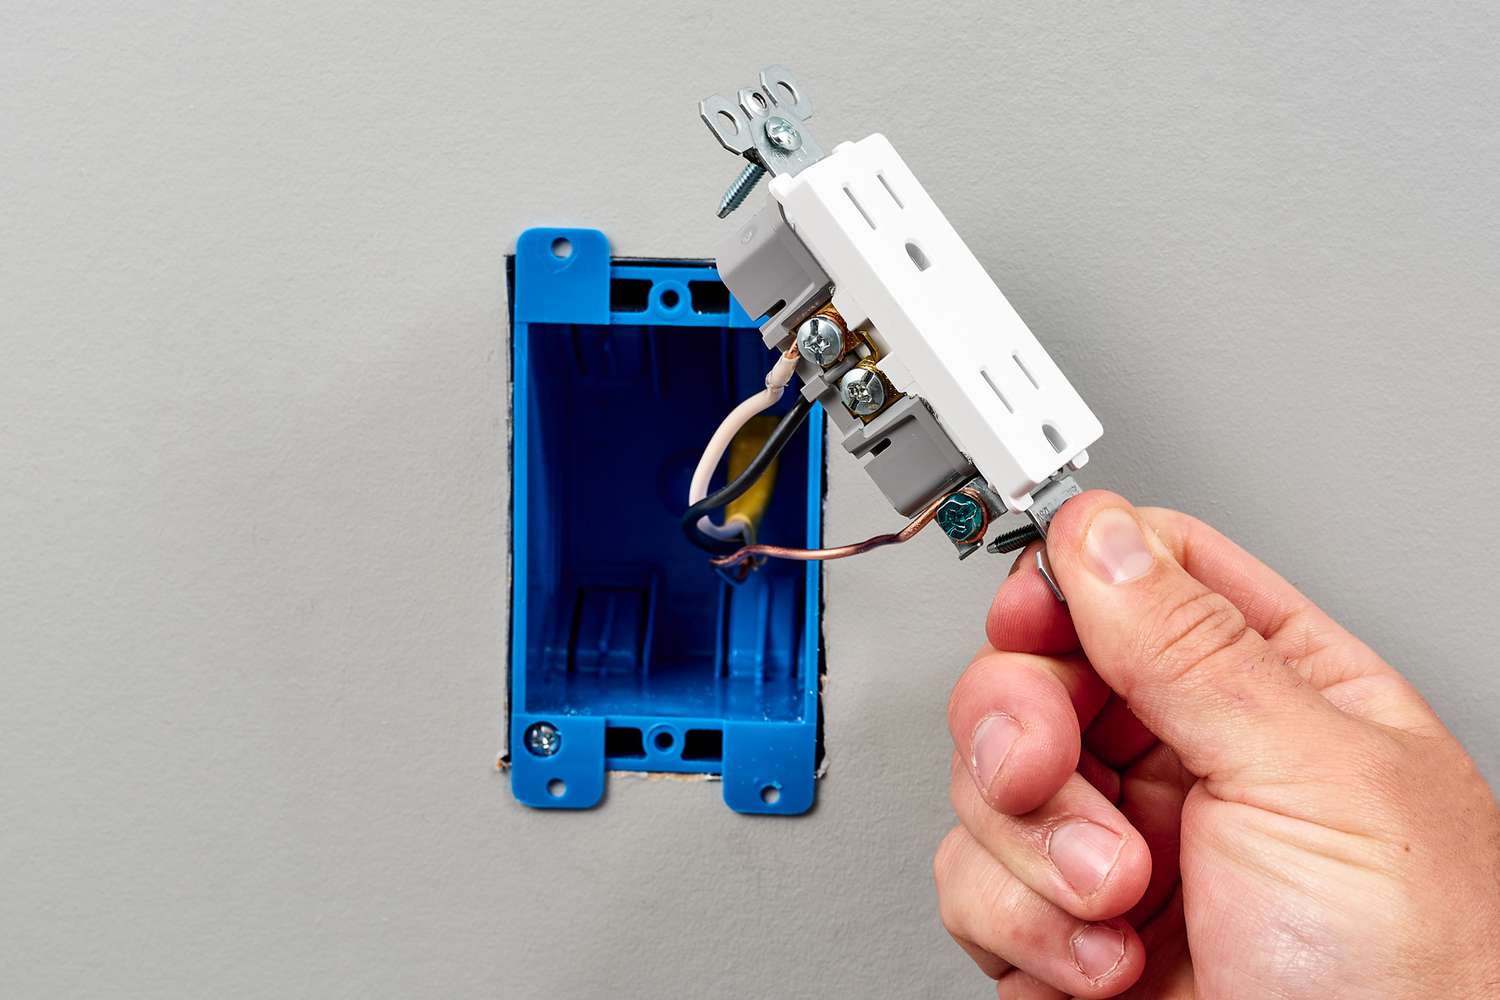
- Look for grounding conductor: Check if there is a grounding conductor present inside the box. The grounding conductor is typically a wire that connects to the green-colored ground screw or a grounding strip within the box.
- Inspect for grounding screw: Look for a green-colored screw inside the box. This screw is specifically designed for attaching the grounding wire. If present, it indicates that the box is likely to be grounded.
- Observe grounding wires: Examine the box to see if there are any grounding wires connected to it. These wires are typically bare copper or green in color and are intended to establish a connection between the box and the grounding system.
- Check outlet configuration: If the electrical box contains outlets, examine their configuration. Grounded outlets have three prongs, including a third prong for the ground connection.
- Consider additional indicators: Take into account other factors such as the location of the box and the age of the electrical system, which can provide valuable insight into the grounding status.
While a visual inspection can provide helpful indications, it is not a definitive method to confirm proper grounding. To obtain accurate results, it’s recommended to use a multimeter or consult a licensed electrician for a more comprehensive assessment.
Next, we will explore how to use a multimeter to test the grounding of an electrical box.
Read more: How To Ground Electrical Wires
Using a Multimeter to Test Grounding
When it comes to determining the grounding status of an electrical box, using a multimeter can provide more accurate results. A multimeter is a handy electrical testing device that measures various electrical parameters, including voltage, resistance, and continuity.
Here are the steps to use a multimeter to test the grounding of an electrical box:
- Ensure safety: Before beginning the test, ensure that the power to the electrical box is turned off and take necessary safety precautions.
- Select the appropriate setting: Set your multimeter to the “resistance” or “continuity” setting. The exact setting may differ based on the model of your multimeter.
- Set the multimeter leads: Insert one lead of the multimeter into the “COM” or common port and the other lead into the port labeled for resistance or continuity measurement.
- Connect the leads: Touch one lead to a known ground point, such as a grounded outlet or the grounding terminal of another electrical appliance. Then, touch the other lead to the metal components inside the electrical box.
- Read the multimeter: If there is a proper ground connection, the multimeter should display a reading close to zero or indicate continuity. This confirms that the electrical box is grounded.
- Repeat the process: Perform the same steps for each electrical box you want to test within your system. Be sure to recheck the connections and settings on your multimeter for each test.
Using a multimeter provides a more precise and reliable method to confirm the grounding of electrical boxes. However, it’s important to exercise caution and follow the manufacturer’s instructions when using a multimeter or, if unsure, consult a professional electrician for assistance.
If at any point you encounter any irregular readings or uncertainty during the multimeter test, it is best to seek assistance from a licensed electrician to ensure a thorough evaluation of the grounding status.
Next, we will discuss when it is necessary to seek professional help for grounding issues.
Professional Help for Grounding Issues
While visual inspections and multimeter tests can provide valuable information about the grounding status of an electrical box, there may be instances where professional help is required to address grounding issues effectively and safely.
Here are some situations in which it is recommended to seek the assistance of a licensed electrician:
- No grounding present: If you have performed visual inspections, multimeter tests, and cannot find any evidence of proper grounding in multiple electrical boxes, it is best to consult an electrician. They can assess the entire electrical system and determine the most appropriate solution to establish proper grounding.
- Inadequate grounding: If the existing grounding does not meet the required standards or is insufficient for the electrical load of your home or building, an electrician can evaluate the system and make necessary upgrades or modifications to ensure adequate grounding.
- Grounding system damage: If you notice any physical damage or deterioration to the grounding system components, such as grounding wires or electrodes, it is crucial to have them inspected and repaired by a professional. They can assess the extent of the damage and make the necessary repairs to restore proper grounding.
- Electrical system upgrades: If you are planning to make significant changes or upgrades to your electrical system, such as adding new circuits or installing additional outlets, it is advisable to consult an electrician. They can ensure that the new additions are properly grounded and meet the necessary electrical code requirements.
- Safety concerns: If you have any concerns about the safety or reliability of your grounding system or if you have experienced electrical shocks or other unusual electrical issues, it is essential to contact a professional electrician. They can thoroughly evaluate the system, identify potential hazards, and implement appropriate solutions to mitigate any risks.
Professional electricians have the knowledge, skills, and tools necessary to properly assess, troubleshoot, and address grounding issues. They can ensure that your electrical system is safe, compliant with regulations, and functioning optimally.
Remember, electrical work can be complex and potentially hazardous. It is always recommended to prioritize your safety and consult a licensed professional for any electrical concerns or repairs.
Finally, let’s recap the key points discussed in this article.
Conclusion
Ensuring that an electrical box is properly grounded is crucial in maintaining the safety and functionality of your electrical system. Grounding provides a path of least resistance for electrical current, protecting against electrical shocks, preventing fires, and safeguarding electrical appliances.
In this comprehensive guide, we have explored various methods to determine if an electrical box is grounded. We’ve discussed visual inspections, looking for grounding conductors and screws, and examining the configuration of outlets. Additionally, we’ve highlighted the importance of using a multimeter to conduct more accurate grounding tests.
While visual inspections and multimeter tests can provide initial indications, it is always recommended to consult a licensed electrician for a thorough evaluation, especially if you have concerns about the grounding status or safety of your electrical system.
Remember, electrical work can be complex and potentially dangerous. It’s essential to prioritize safety and seek professional assistance if you have any doubts or if you encounter issues with grounding.
By understanding the importance of grounding and being able to identify and address grounding issues, you can ensure the well-being of your home, protect against electrical hazards, and maintain the reliability of your electrical system.
Stay informed, stay safe, and always prioritize proper grounding in your electrical installations.
Frequently Asked Questions about How To Tell If Electrical Box Is Grounded
Was this page helpful?
At Storables.com, we guarantee accurate and reliable information. Our content, validated by Expert Board Contributors, is crafted following stringent Editorial Policies. We're committed to providing you with well-researched, expert-backed insights for all your informational needs.


0 thoughts on “How To Tell If Electrical Box Is Grounded”