Articles
How To Put LED Lights On Ceiling
Modified: August 26, 2024
Learn how to easily install LED lights on your ceiling with our informative articles. Transform your space with this energy-efficient lighting solution.
(Many of the links in this article redirect to a specific reviewed product. Your purchase of these products through affiliate links helps to generate commission for Storables.com, at no extra cost. Learn more)
Introduction
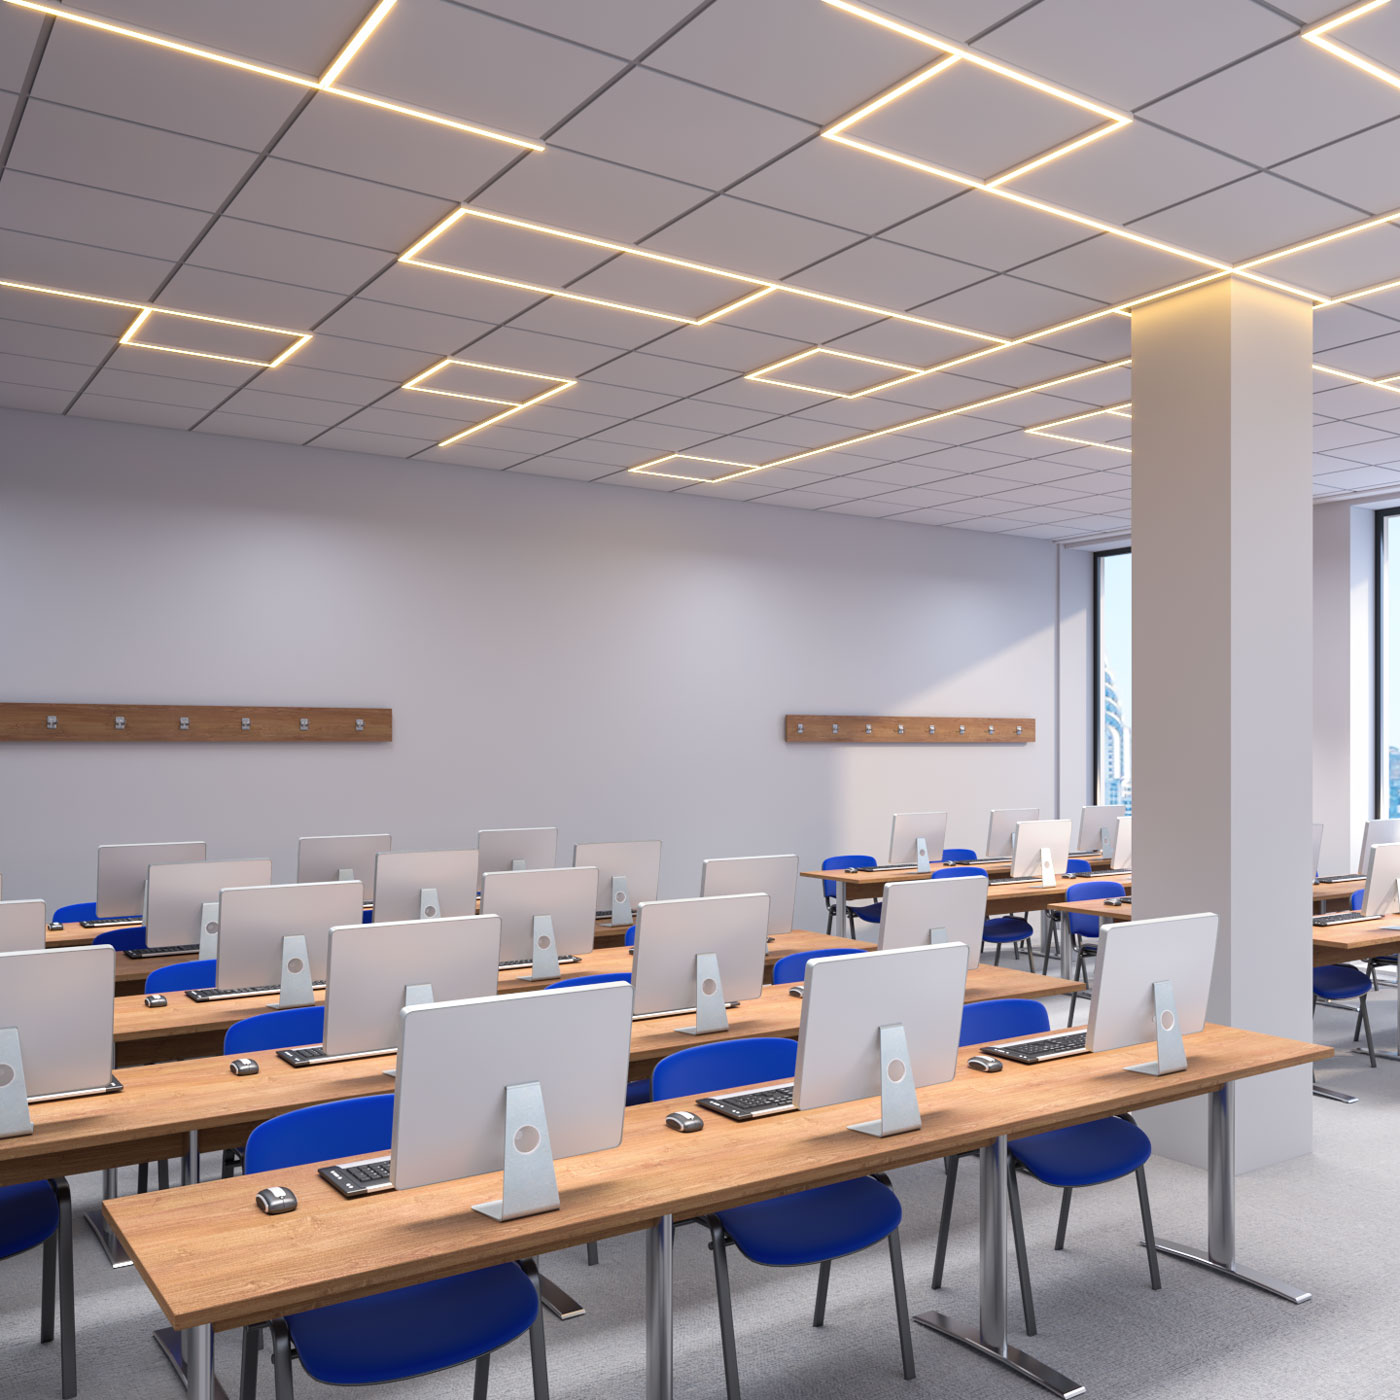
Welcome to the world of LED lights on ceilings! If you’re looking to add a touch of ambiance and style to your living space, installing LED lights on your ceiling is a fantastic way to achieve that. Whether you want to create a cozy atmosphere in your bedroom or add a modern and sleek look to your living room, LED lights can transform any space with their vibrant colors and versatility.
In this article, we will guide you through the step-by-step process of installing LED lights on your ceiling. From gathering the required materials to testing and enjoying the final result, we’ll cover everything you need to know to turn your ceiling into a mesmerizing light display.
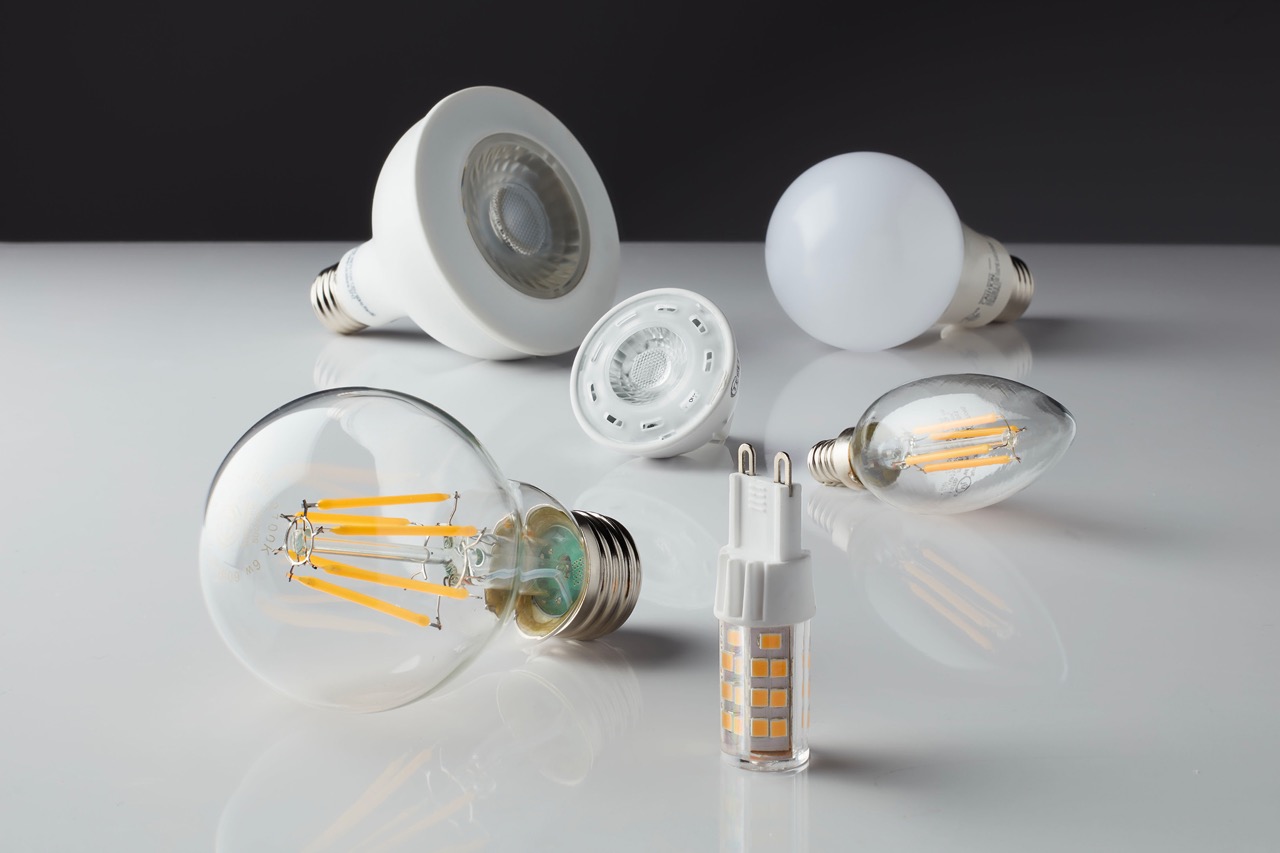
But before we dive into the installation process, let’s take a moment to understand why LED lights are a popular choice for ceiling lighting. LED lights, or Light Emitting Diodes, have gained popularity over the years due to their energy efficiency, longevity, and flexibility. Unlike traditional incandescent or fluorescent bulbs, LED lights consume less energy, produce less heat, and have a much longer lifespan. Additionally, LED lights come in a wide range of colors and can be easily controlled to create various lighting effects.
So, if you’re ready to transform your ceiling into an illuminated work of art, let’s get started on the journey of installing LED lights on your ceiling!
Key Takeaways:
- Transform your living space with mesmerizing LED ceiling lights, creating ambiance and style. Enjoy energy efficiency, longevity, and versatile lighting effects for a modern touch.
- Follow step-by-step installation for LED ceiling lights, from planning to testing. Achieve a captivating and illuminated haven with energy-efficient, long-lasting illumination.
Read more: How To Change Light Bulb In The Ceiling
Step 1: Gather the Required Materials
Before you start installing LED lights on your ceiling, it’s crucial to gather all the necessary materials. Having everything on hand will make the installation process smooth and efficient. Here are the essential materials you’ll need:
- LED light strips: Choose LED light strips that are suitable for ceiling installation. Opt for strips that come with adhesive backing for easy mounting.
- Power supply: You’ll need a power supply to provide the electricity needed for the LED lights to operate. Ensure that the power supply is compatible with your LED light strips.
- Mounting clips or adhesive tape: Depending on the type of LED light strips you have, you’ll need either mounting clips or adhesive tape to secure the strips to the ceiling.
- Wire connectors: These connectors will be used to connect the LED light strips together and to the power supply. Make sure to choose connectors that are compatible with the wire size of your LED light strips.
- Wire stripper and cutter: A wire stripper and cutter will be handy for preparing the wires before making the electrical connections.
- Screws and anchors (if necessary): If you’re planning to mount the power supply or any other components to the ceiling, you may need screws and anchors to secure them in place.
- Ladder or step stool: Since you’ll be working with your ceiling, you’ll need a ladder or step stool to safely reach and install the LED lights.
Once you have gathered all the materials, you’ll be well-prepared to move on to the next step of planning the layout for your LED lights on the ceiling.
Step 2: Plan the Layout
Now that you have all your materials ready, it’s time to plan the layout for your LED lights on the ceiling. Proper planning will ensure that the installation process goes smoothly and that the lights are evenly distributed for an aesthetically pleasing result. Here are the key steps to follow:
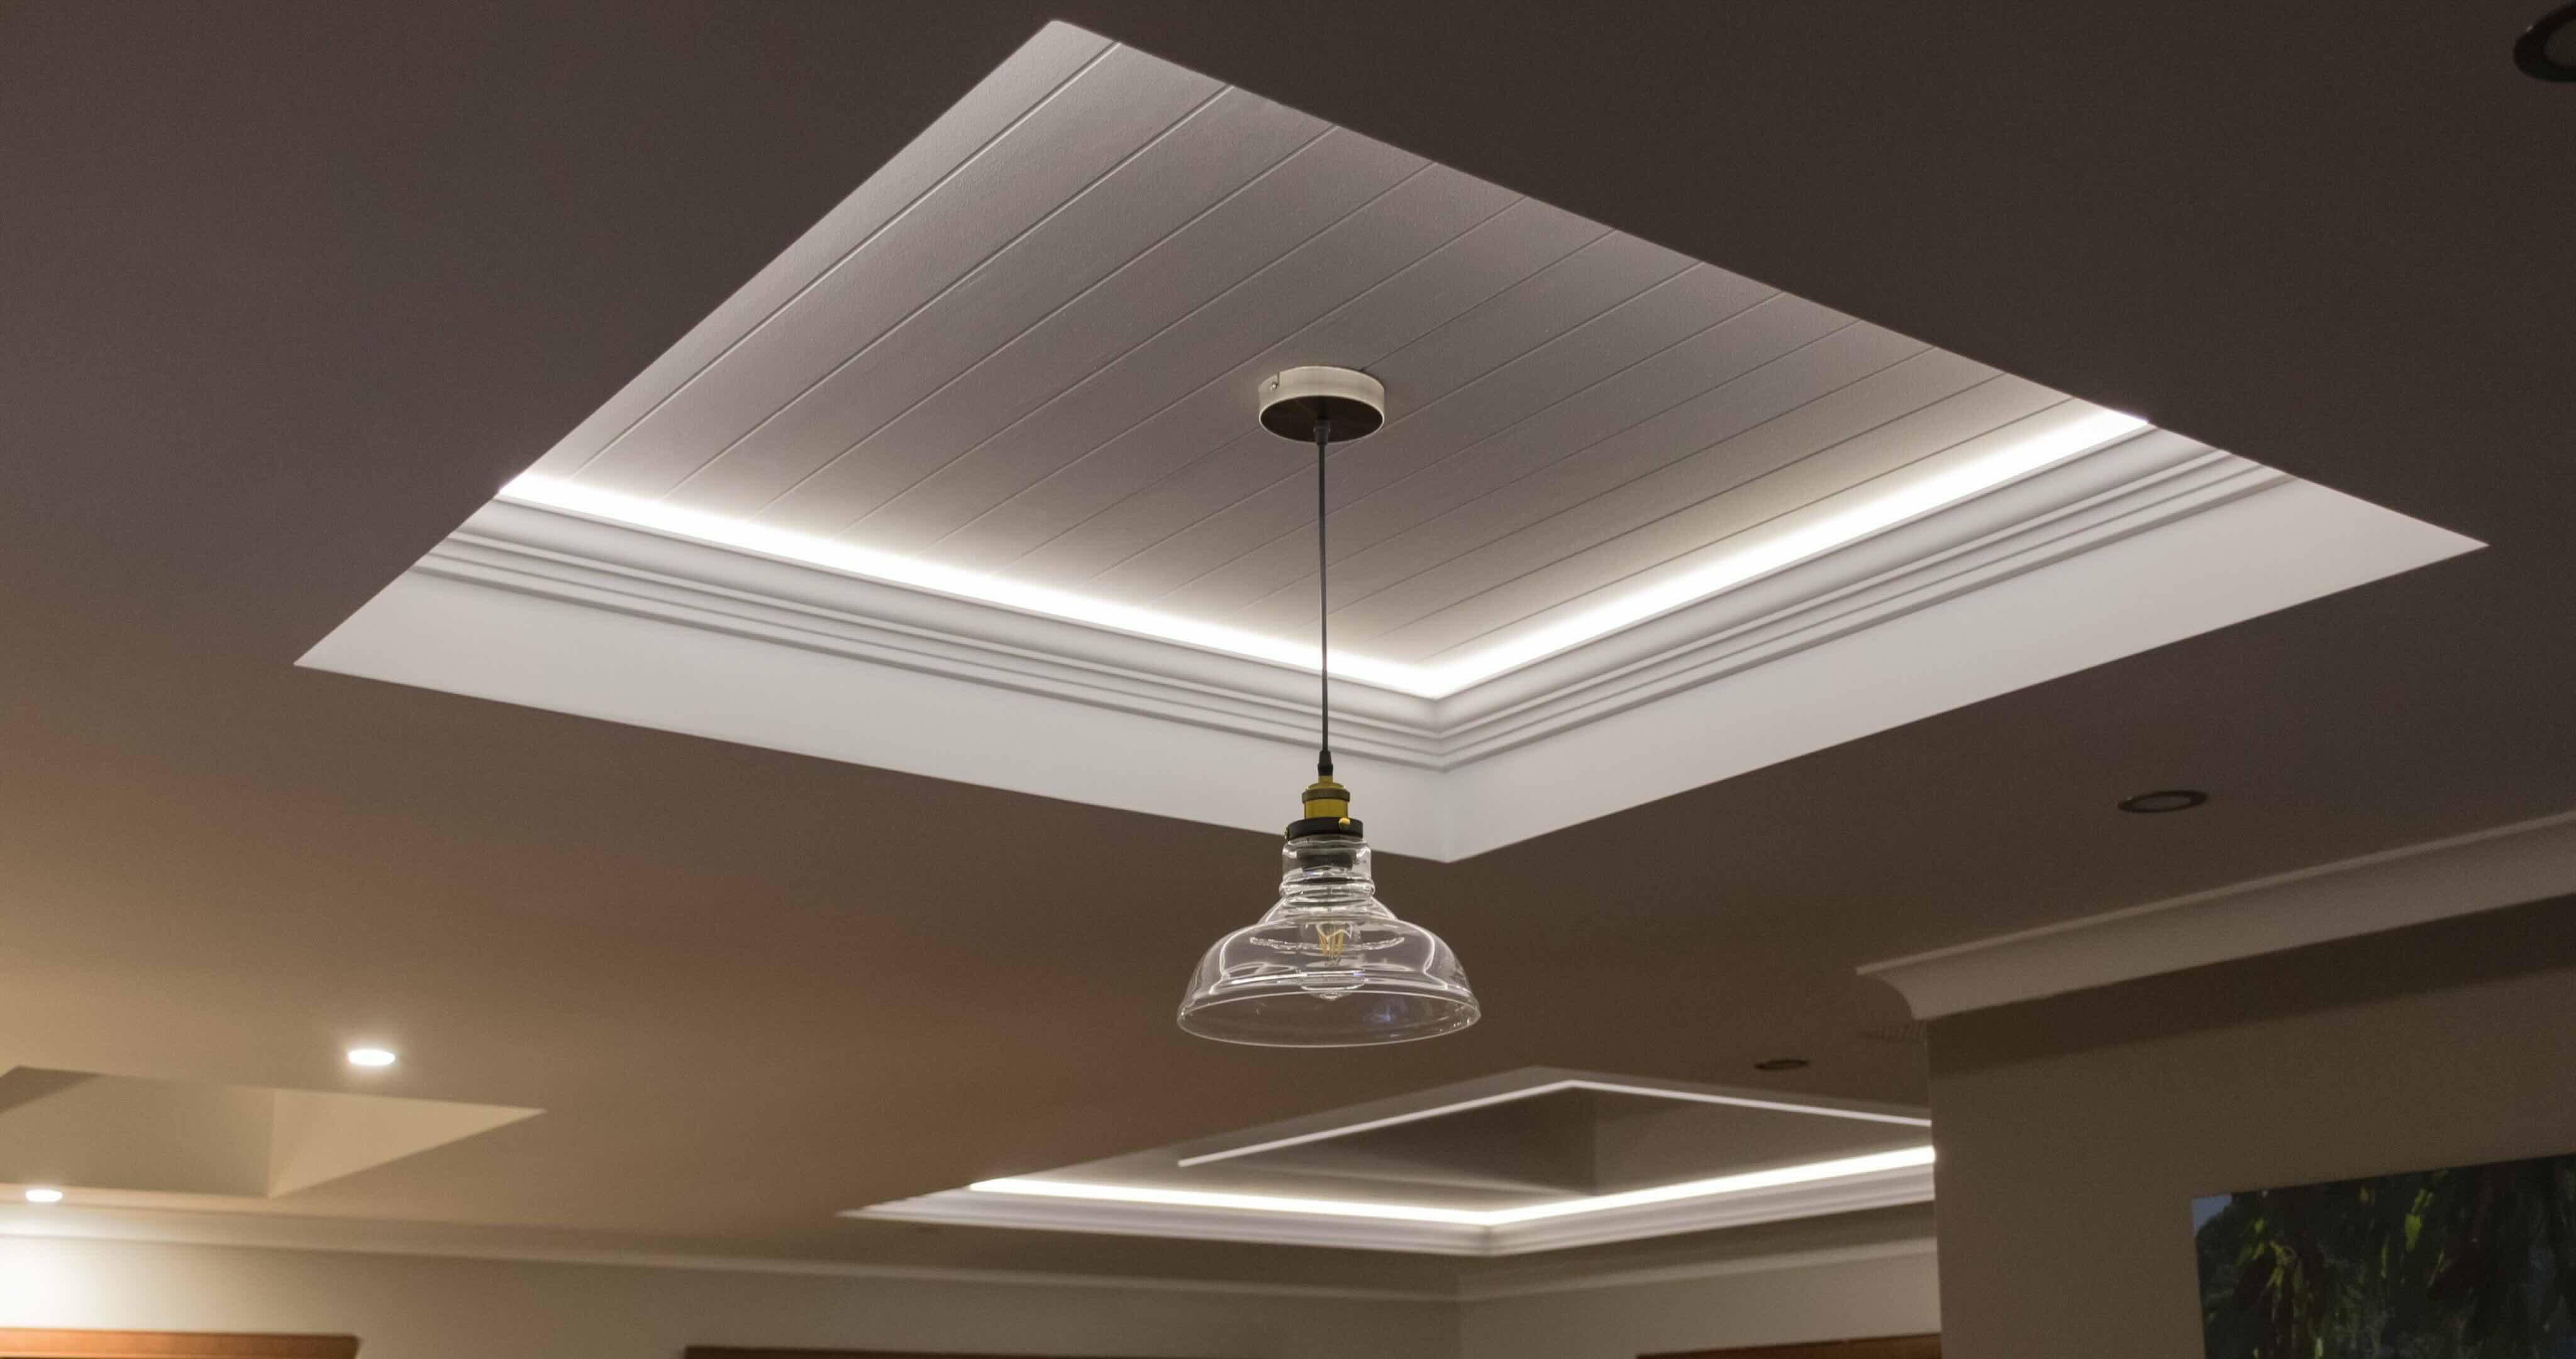
- Determine where you want to place the LED lights on your ceiling: Think about the overall design and ambiance you want to create. Consider focal points, such as accentuating architectural features or creating a soothing glow above your bed or dining area.
- Measure the length of the area to be covered: Use a measuring tape to determine the length of the ceiling area where you want to install the LED lights. This will help you determine how many light strips you need and how to cut them to the appropriate length.
- Decide on the spacing between the light strips: Consider the desired spacing between your LED light strips. This will depend on personal preference and the effect you want to achieve. Closer spacing will result in more concentrated light, while wider spacing will create a more diffused and ambient glow.
It’s also important to take into account any obstacles or features on the ceiling, such as beams, vents, or light fixtures. Adjust your layout accordingly to ensure the LED lights can be installed smoothly without obstruction.
Planning the layout ahead of time will provide you with a clear vision of how your LED lights will be positioned on the ceiling. Once you have finalized the layout, you’re ready to move on to preparing the surface for installation.
Step 3: Prepare the Surface
Before you start installing the LED lights on your ceiling, it’s important to prepare the surface to ensure optimal adhesion and a clean installation. Follow these steps to prepare the surface:
- Clean the ceiling surface thoroughly: Use a mild detergent or cleaning solution to remove any dirt, dust, or grime from the ceiling. Wipe the surface gently with a clean cloth or sponge. This will ensure proper adhesion of the adhesive backing on the LED light strips.
- Remove any existing fixtures or debris: If there are any fixtures, such as old light fixtures or ceiling hooks, remove them carefully from the ceiling. Clear away any debris or obstructions that may impede the installation process.
- Ensure the area is dry and free from moisture: It’s important to work with a dry surface to ensure a secure installation. Make sure the ceiling is free from any moisture or condensation. If necessary, use a dry cloth or fan to dry the surface thoroughly before proceeding.
By cleaning the ceiling surface and ensuring it is free from moisture, you will create an ideal environment for the LED light strips to adhere properly. This will help to prevent any issues with the installation and ensure a long-lasting result.
Next, we’ll move on to the installation of the power supply, which is an essential component for powering your LED lights. So let’s get started on Step 4!
Step 4: Install the Power Supply
The power supply is a crucial component for your LED lights, as it provides the necessary electricity for them to operate. Follow these steps to install the power supply:
- Choose a suitable location near a power source: Before mounting the power supply, identify a suitable location near an electrical outlet. This will ensure easy access to power without the need for lengthy wire connections.
- Mount the power supply securely: Use screws or mounting brackets to secure the power supply to the wall or ceiling. Ensure that the power supply is firmly attached and will not move or become loose over time.
- Connect the power supply to an electrical outlet: Carefully connect the power supply to an electrical outlet using a suitable power cable. Make sure the cable is properly inserted and securely connected at both ends.
When choosing the location for your power supply, consider accessibility and aesthetics. You may want to keep it hidden or concealed behind furniture or decorative elements. However, ensure that it is easily accessible for maintenance or troubleshooting purposes, if needed.
Mounting the power supply securely is important to ensure the safety and stability of your LED lighting system. A well-mounted power supply will minimize the risk of accidents or damage to the lights and improve the overall longevity of your installation.
Now that you have successfully installed the power supply, it’s time to move on to the exciting part: mounting the LED light strips onto your ceiling. Let’s proceed to Step 5!
Read more: How To Install An LED Ceiling Light
Step 5: Mount the LED Light Strips
Mounting the LED light strips onto your ceiling is where the magic really starts to happen. Here’s how you can do it:
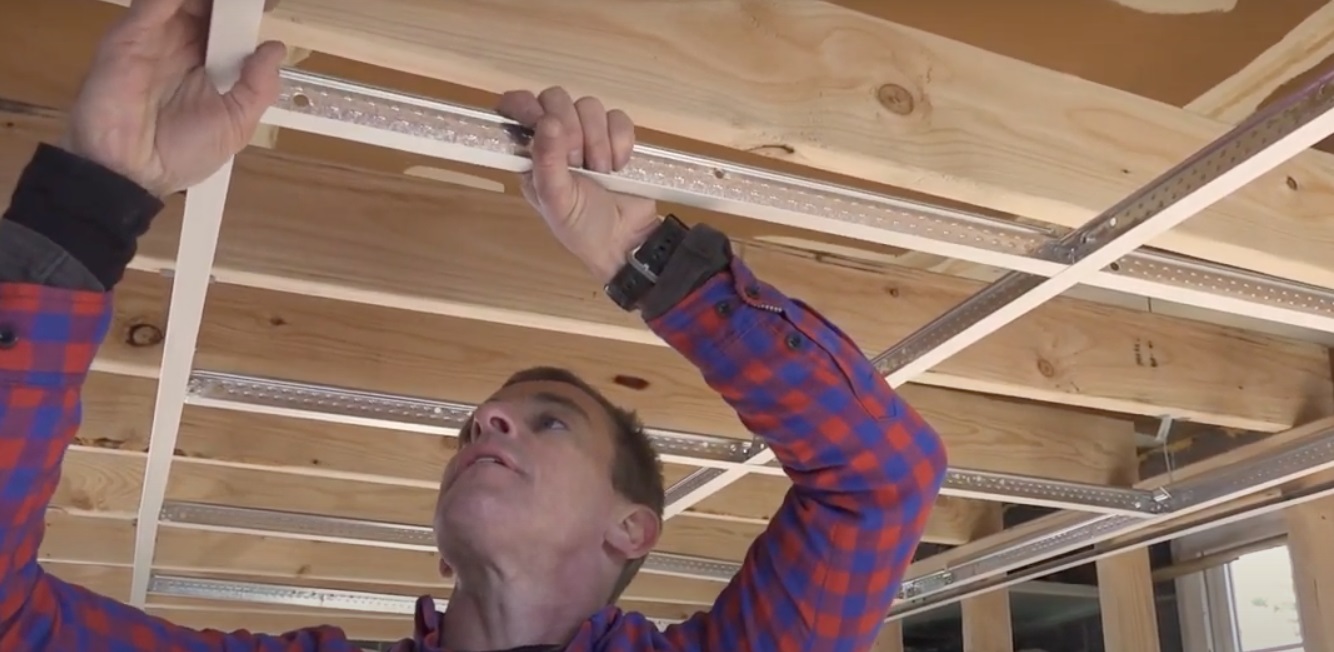
- Attach the mounting clips or use adhesive tape to secure the light strips: Depending on the type of LED light strips you have, you can either use mounting clips or adhesive tape to securely attach the strips to the ceiling. If your light strips come with adhesive backing, carefully peel off the protective layer and press the strips firmly onto the ceiling.
- Start from one end and carefully lay the strips along the desired path: Begin by placing one end of the light strip at the starting point you have determined. Gently unroll the strip, following the path you have planned. Take your time to ensure that the strip is positioned accurately and aligned with the desired trajectory.
- Ensure the strips are straight and evenly spaced: As you lay the LED light strips, ensure that they are straight and evenly spaced to create a symmetrical and cohesive look. Pay attention to any bends or corners, and adjust the strips accordingly to maintain a clean and consistent installation.
Take extra care to avoid bending or damaging the LED light strips during the installation process, as this can affect their functionality. Gentle handling and careful placement will prevent any mishaps and ensure a flawless result.
If your LED light strips require cutting to fit the desired length, refer to the manufacturer’s instructions for cutting and reconnecting the strips. Properly cutting and reconnecting the strips will allow for a seamless installation and eliminate any excess or unnecessary lengths.
Now that you have beautifully mounted the LED light strips on your ceiling, it’s time to move on to Step 6: making the electrical connections. Let’s bring the lights to life!
When putting LED lights on the ceiling, make sure to measure and plan the layout beforehand to ensure even spacing and coverage. Use adhesive clips or mounting tracks for easy installation and a clean look.
Step 6: Make Electrical Connections
Now that your LED light strips are securely mounted on the ceiling, it’s time to make the necessary electrical connections to bring them to life. Follow these steps to ensure a proper and safe connection:
- Strip and cut the wires as needed: If your LED light strips require customization, such as cutting them to fit the desired length, carefully strip the insulation from the wire ends using a wire stripper. Be sure to measure and cut the wires to the appropriate length for a clean and tidy installation.
- Use wire connectors to join the LED light strips together: Use wire connectors to connect the wires from the LED light strips to each other. Strip a small section of the insulation from each wire end, insert the exposed ends into the appropriate wire connectors, and secure them according to the connector’s instructions. Ensure that the connections are tight and secure to prevent any loose or exposed wires.
- Connect the wires from the light strips to the power supply: Once the LED light strips are connected to each other, it’s time to connect them to the power supply. Strip a small section of the insulation from the wire ends of the light strips and the power supply, and use wire connectors to join them together. Follow the manufacturer’s instructions and make sure the connections are secure and properly insulated.
Double-check all the connections to ensure proper alignment and tightness. Loose or poor connections can lead to flickering lights or even a complete failure of the LED strips.
During this step, make sure to handle the wires with care to prevent any damage or accidental disconnections. Take your time and be meticulous in your work to achieve a clean and reliable electrical setup.
Now that the electrical connections are made, it’s time to put your LED lights to the test! Proceed to Step 7 to see the glowing results.
Step 7: Test the Lights
Now that you have completed the electrical connections, it’s time to test your LED lights and ensure they are functioning properly. Here’s what you need to do:
- Plug in the power supply and switch on the lights: Connect the power supply to an electrical outlet and flip the switch to turn on the lights. You should see the LED light strips illuminate.
- Check if all the LED lights are working properly: Take a close look at each section of the light strips to make sure that all LEDs are functioning correctly. Pay attention to any dim, flickering, or non-working LEDs, as these may indicate a faulty connection or damaged strip.
- Adjust the placement or wiring if necessary: If you notice any issues during the testing phase, such as uneven lighting or non-functioning LEDs, you may need to adjust the placement of the light strips or revisit the wiring connections. Double-check that all the wires are securely connected and that the light strips are situated correctly on the ceiling.
During the testing process, it’s a good idea to dim the room lights or turn off other light sources to better appreciate the effect and ambiance created by your LED lights. Take the time to admire the beautiful glow and color of your newly installed ceiling lights.
If you encounter any persistent issues or difficulties, consult the manufacturer’s instructions or seek assistance from a professional electrician. They will be able to troubleshoot and resolve any technical problems that may arise.
Once you are satisfied that the LED lights are functioning as expected, it’s time to move on to Step 8: securing and concealing the wires.
Step 8: Secure and Conceal the Wires
After testing the functionality of your LED lights, it’s important to secure and conceal the wires for a clean and professional-looking installation. Follow these steps to achieve a neat and organized appearance:
- Use clips or adhesive tape to secure any loose wires: Ensure that all wires are properly secured and not dangling or hanging loosely. Use clips or adhesive tape to hold the wires in place along the length of the LED light strips and around any corners or edges. This will prevent the wires from becoming tangled or accidentally pulled out.
- Route the wires along the ceiling or walls for a neat appearance: Plan the path for the wires, keeping in mind a clean and unobtrusive layout. Route the wires along the ceiling or walls, following the natural contours and architectural features of the room. Minimize any visible wiring by placing it in discreet areas or behind furniture.
- Consider using wire channels or covers for better wire management: For a more polished and professional look, consider using wire channels or covers to hide the wires completely. These accessories can be mounted along the ceiling or walls to seamlessly conceal the wiring while providing extra protection.
By securing and concealing the wires, you not only enhance the visual appeal of your LED lights but also ensure safety and prevent any accidental damage to the wiring. It’s essential to take the time to properly manage the wires for a clean and organized installation.
Additionally, be mindful of any regulations or guidelines related to electrical wiring in your area. If you’re not familiar with electrical work, it’s advisable to consult a licensed electrician to ensure compliance with safety standards and local regulations.
With your wires now secured and concealed, you can move on to the final step: enjoying the beautiful illumination of your LED ceiling lights!
Step 9: Enjoy Your LED Ceiling Lights
Congratulations! You have successfully installed and set up your LED ceiling lights. Now it’s time to sit back, relax, and enjoy the beautiful ambiance and illumination they provide. Here’s how you can fully experience the magic of your LED lights:
- Sit back and enjoy the ambiance and illumination created by your LED lights: Take a moment to appreciate the transformation of your space with the mesmerizing glow of your LED ceiling lights. Whether you’re using them for task lighting, mood lighting, or simply to enhance the overall atmosphere, bask in the cozy or vibrant ambiance they create.
- Experiment with different colors or lighting effects, if applicable: If your LED light strips offer color-changing or lighting effects options, have fun experimenting with different hues and effects. Explore the possibilities and choose the settings that best suit your mood or the occasion. Create a romantic, tranquil atmosphere with soft pastels, or energize your space with dynamic, vibrant colors.
Remember to regularly clean and maintain your LED lights to keep them in optimal condition. Dust or debris buildup can affect the brightness and performance of the LEDs, so gently wipe them with a soft cloth or use a gentle cleaning solution when needed. This will help ensure that your LED lights continue to shine brightly for years to come.
Now that you have completed the installation and can bask in the warm glow of your LED ceiling lights, take a moment to appreciate the transformation you have achieved. Not only do LED lights provide energy-efficient and long-lasting illumination, but they also add a stylish and modern touch to your living space.
Thank you for following this installation guide, and we hope you enjoy the enchanting experience of your LED ceiling lights!
Conclusion
Congratulations on successfully installing LED lights on your ceiling! By following the steps outlined in this guide, you have transformed your living space into a captivating and illuminated haven. LED lights offer numerous advantages, including energy efficiency, longevity, and versatility in creating various lighting effects.
It’s crucial to note that the steps provided in this guide serve as a general overview. It’s always important to refer to the specific installation instructions and guidelines provided with your LED light kit. Different LED light systems may have unique requirements or additional steps, so be sure to follow the manufacturer’s instructions for a seamless installation.
Additionally, if you’re unsure about any aspect of the installation or encounter any difficulties along the way, it’s wise to seek assistance from a professional electrician. They can provide expert advice and ensure that the installation is safe, secure, and meets all necessary electrical regulations.
Now that you have installed your LED ceiling lights, take a moment to appreciate the ambiance and illumination they bring to your space. Experiment with different colors and lighting effects to create the perfect atmosphere for any occasion. Remember to regularly maintain and clean your LED lights to keep them shining brightly for years to come.
Thank you for following this guide, and we hope that your LED ceiling lights bring you joy, comfort, and a touch of elegance to your everyday life.
Frequently Asked Questions about How To Put LED Lights On Ceiling
Was this page helpful?
At Storables.com, we guarantee accurate and reliable information. Our content, validated by Expert Board Contributors, is crafted following stringent Editorial Policies. We're committed to providing you with well-researched, expert-backed insights for all your informational needs.


0 thoughts on “How To Put LED Lights On Ceiling”