Home>Articles>How To Install 96-Inch Pantry Cabinet With 96-Inch Ceiling Height
Articles
How To Install 96-Inch Pantry Cabinet With 96-Inch Ceiling Height
Modified: May 6, 2024
Learn how to properly install a 96 pantry cabinet with a ceiling height of 96 inches. Follow our step-by-step guide for expert tips and advice.
(Many of the links in this article redirect to a specific reviewed product. Your purchase of these products through affiliate links helps to generate commission for Storables.com, at no extra cost. Learn more)
Introduction
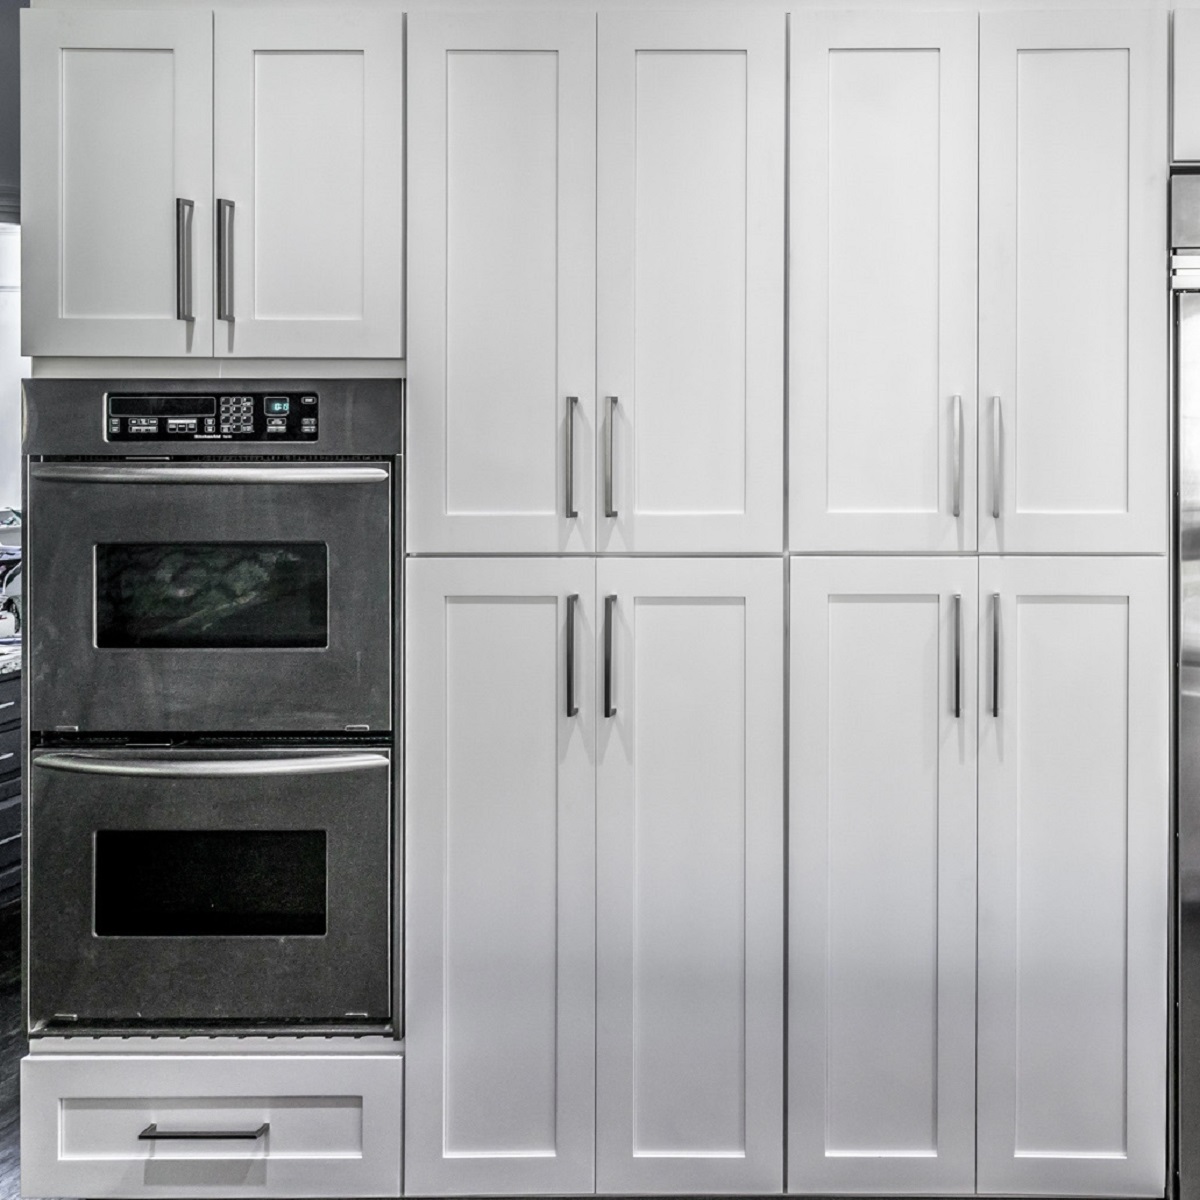
Installing a 96 pantry cabinet with a 96 ceiling height can be a challenging task when it comes to optimizing your kitchen space. However, with the right tools, materials, and a systematic approach, you can successfully complete this project and gain valuable storage space.
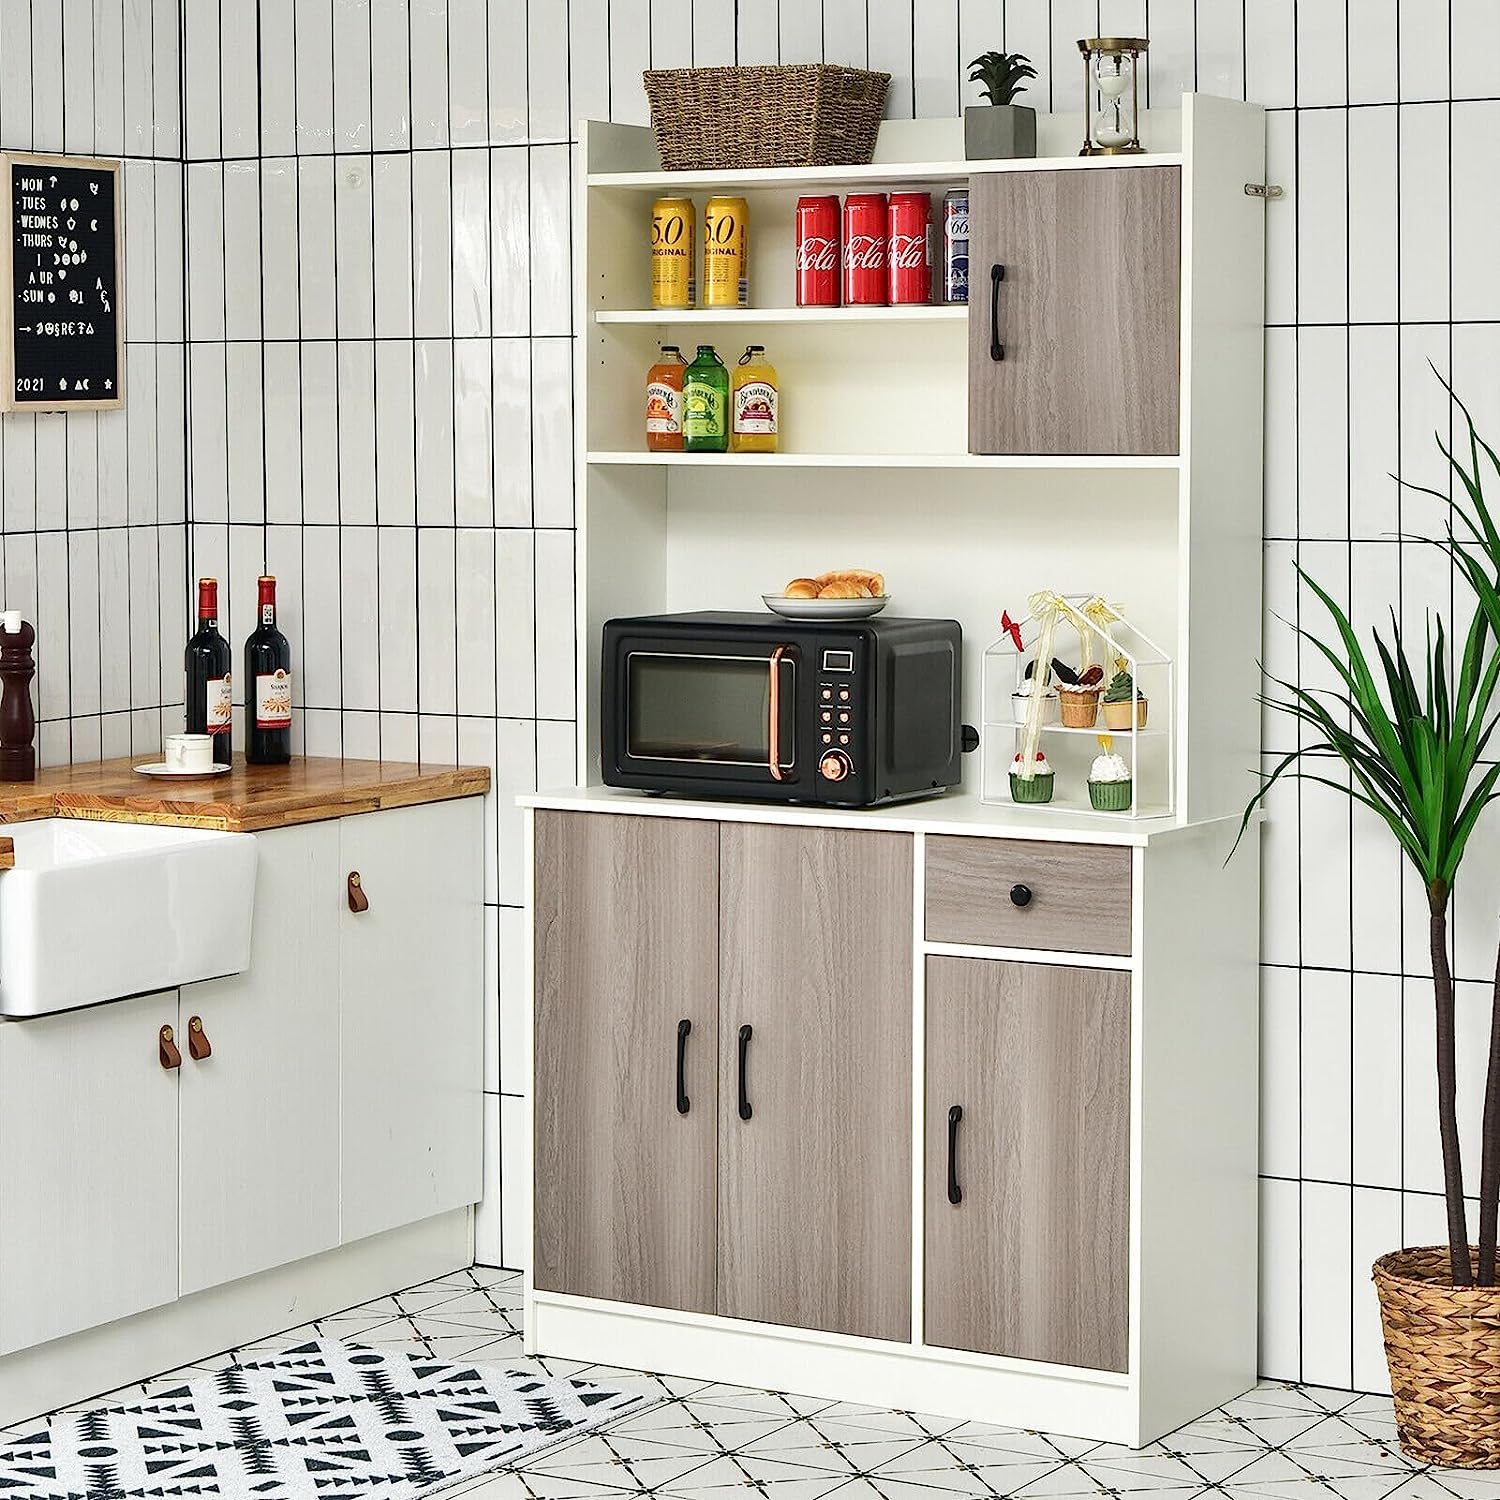
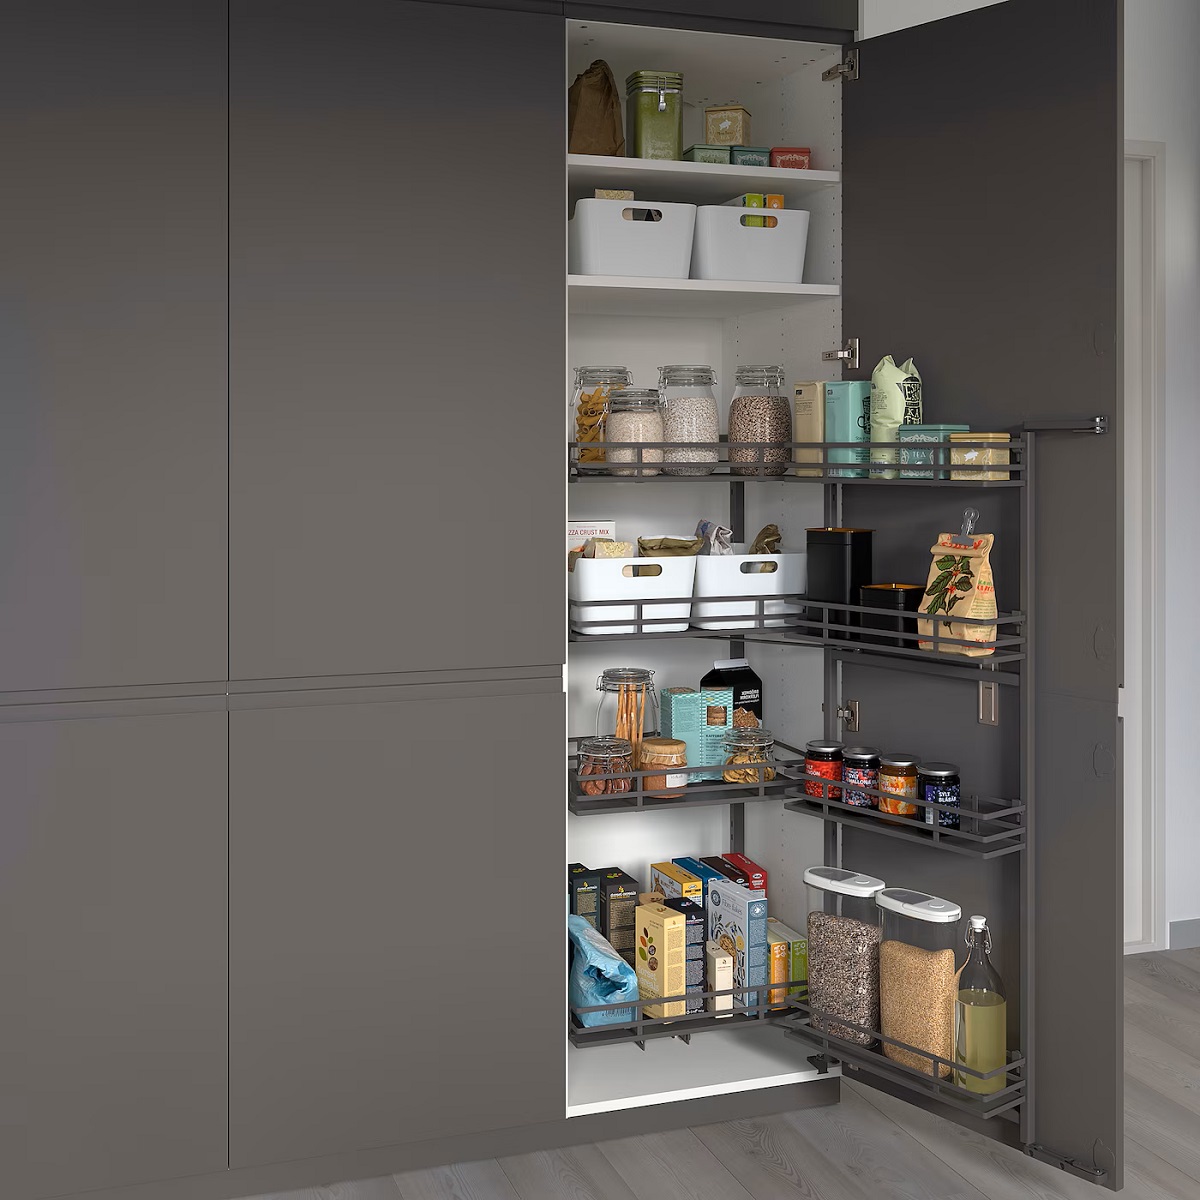
A pantry cabinet is a versatile storage solution that can help you keep your kitchen organized and clutter-free. With its extra height, a 96 pantry cabinet provides even more space for storing food items, cookware, small appliances, and other kitchen essentials. By following the step-by-step guide outlined in this article, you will be able to install your 96 pantry cabinet with ease.
Before diving into the installation process, it’s important to gather all the necessary tools and materials to ensure a smooth workflow. The following section will outline everything you need to have on hand before starting the project.
Key Takeaways:
- Installing a 96 pantry cabinet with a 96 ceiling height requires careful preparation, precise measurements, and attention to detail. By following the step-by-step guide, you can achieve a beautifully installed cabinet that enhances your kitchen’s organization and functionality.
- Prioritize safety and enlist the help of a partner when lifting and positioning the cabinet. With the right tools, materials, and systematic approach, you can successfully install your pantry cabinet and enjoy the additional storage space it provides.
Read more: How To Install A Cabinet Pantry Toe Kick
Step 1: Gather necessary tools and materials
Before you begin the installation process, it’s essential to gather all the tools and materials you will need. Having everything prepared beforehand will save you time and prevent any delays during the installation. Here is a list of the necessary tools and materials:
- Measuring tape: This will help you accurately measure the space where the cabinet will be installed.
- Screwdriver or power drill: Depending on the type of screws provided with your cabinet, you will need either a screwdriver or a power drill with the appropriate bits.
- Level: A level will ensure that your cabinet is installed straight and aligned with the ceiling.
- Stud finder: This tool will help you locate the wall studs, which are important for securely mounting the cabinet.
- Shims: Shims are necessary for leveling the cabinet if the floor is uneven.
- Screws: You will need screws to attach the cabinet to the wall studs securely.
- Mounting brackets: These brackets will provide additional support for the cabinet.
- Hammer: A hammer may come in handy for any adjustments or minor modifications during the installation process.
- Pencil: Keep a pencil nearby to mark measurements and make notes.
- Safety goggles and gloves: It’s always important to prioritize safety when working with tools and materials.
- Cabinet hardware (handles or knobs): If your cabinet doesn’t come with hardware, you may need to purchase handles or knobs separately.
Make sure you have all these tools and materials ready before you begin the installation. This will save you time and ensure a smoother workflow throughout the process. Once you have everything prepared, it’s time to move on to the next step: measuring the space where the cabinet will be installed.
Step 2: Measure the space
Accurate measurements are crucial when installing a 96 pantry cabinet with a 96 ceiling height. Before proceeding with the installation, take the time to carefully measure the space to ensure the cabinet fits correctly. Here’s a step-by-step guide to measuring the space:
- Start by measuring the width of the wall where the cabinet will be installed. Use a measuring tape to get an exact measurement from one end of the wall to the other.
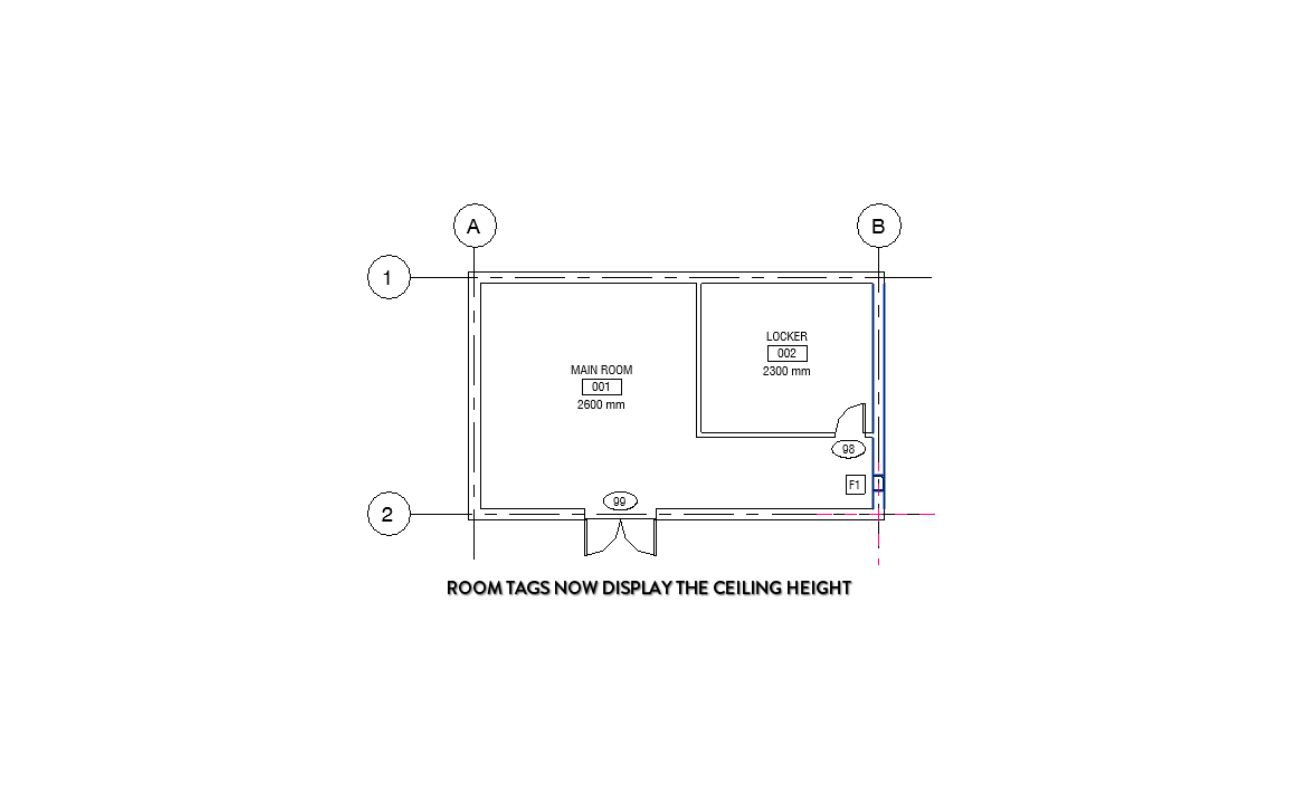
- Next, measure the height of the wall from the floor to the ceiling. This will help you determine if your 96 pantry cabinet will fit properly.
- If your ceiling height is exactly 96 inches, double-check to ensure that your cabinet also has a height of 96 inches. If it’s slightly taller, you may need to make adjustments during the installation process.
- Measure the depth of the wall where the cabinet will be placed. This will determine how far the cabinet will protrude into the room.
- Take note of any obstructions such as electrical outlets, switches, or plumbing lines that may interfere with the installation. Make sure to measure the distance from these obstructions to ensure there is enough clearance for the cabinet.
Once you have taken these measurements, it’s a good idea to transfer them onto a piece of paper or use a digital device to record them. This will serve as a reference throughout the installation process and help you make accurate decisions when positioning and aligning the cabinet.
Remember, precise measurements are essential for a successful installation. Take your time and measure multiple times to ensure accuracy. With the measurements in hand, you’re ready to move on to the next step: preparing the area for installation.
Step 3: Preparing the area
Before installing the 96 pantry cabinet, it’s important to prepare the area to ensure a smooth and efficient installation process. By taking the time to properly prepare the space, you can prevent any potential issues that may arise during the installation. Here’s a step-by-step guide to prepare the area:
- Clear the area: Remove any furniture, appliances, or objects that may obstruct the installation process. This will create a clear workspace and allow you to maneuver comfortably while installing the cabinet.
- Locate wall studs: Use a stud finder to locate the wall studs where the cabinet will be mounted. Wall studs provide the necessary support to secure the cabinet in place. Mark the positions of the studs with a pencil for reference during the installation process.
- Inspect the wall: Check the wall for any damages or irregularities. If there are any cracks, holes, or uneven surfaces, consider repairing and smoothening them before proceeding with the installation.
- Level the floor: If the floor is uneven, use shims to level it. This will ensure that the cabinet sits evenly on the floor and prevents any wobbling or instability.
- Clean the area: Remove any dust, debris, or dirt from the installation area. A clean workspace will make it easier to work and prevent any unwanted particles from interfering with the installation.
By following these preparatory steps, you’ll create an ideal environment for installing your 96 pantry cabinet. Taking the time to prepare the area will save you potential headaches in the future and contribute to a successful installation. Once the area is prepared, you can move on to the next step: assembling the cabinet.
Step 4: Assemble the cabinet
With the area prepared and ready, it’s time to start assembling your 96 pantry cabinet. Most pantry cabinets come with detailed instructions and all the necessary hardware for assembly. Follow these steps to ensure a smooth and successful assembly process:
- Read the instructions: Carefully read through the instructions provided by the manufacturer. Familiarize yourself with the steps and ensure you have all the required components and hardware.
- Layout the pieces: Lay out all the cabinet pieces in an organized manner. This will give you a clear visual of what needs to be assembled and make the process more efficient.
- Follow the steps: Start assembling the cabinet following the instructions provided. Pay close attention to any specific guidelines or warnings mentioned by the manufacturer.
- Use the appropriate tools: Use the recommended tools for assembly as stated in the instructions. This may include screwdrivers, Allen wrenches, or power tools, depending on the cabinet’s requirements.
- Check for proper alignment: As you assemble each piece, ensure they align correctly and fit together securely. Double-check all connections and fastenings to ensure a sturdy structure.
- Don’t overtighten: When tightening screws or bolts, be careful not to overtighten them, as this can strip the threads or damage the cabinet materials. Follow the recommended torque or tightening specifications.
- Work methodically: Take your time and work in a systematic manner. Avoid rushing through the assembly, as this can lead to mistakes or misalignments.
By following these steps, you will be able to assemble your 96 pantry cabinet correctly. If you encounter any difficulties or have questions during the process, consult the manufacturer’s instructions or seek assistance from a professional. Once the cabinet is assembled, you’re ready to move on to the next step: lifting the cabinet into place.
Step 5: Lift the cabinet into place
Now that you have successfully assembled the 96 pantry cabinet, it’s time to lift it into place. This step requires caution and careful handling to ensure the cabinet is positioned correctly and securely. Follow these steps to lift the cabinet into place:
- Enlist the help of a partner: Lifting a pantry cabinet can be a two-person job, especially if it’s a larger or heavier unit. Enlist the help of a partner to assist you in lifting and maneuvering the cabinet.
- Position the cabinet near the installation area: Move the assembled cabinet near the designated installation area. Be mindful of any obstacles or tight spaces that may affect the maneuverability of the cabinet.
- Lift the cabinet: With your partner, carefully lift the cabinet off the ground. Use your legs and maintain a straight back to prevent strain or injury during the lifting process.
- Position the cabinet against the wall: Slowly and steadily maneuver the cabinet into position against the wall. Ensure that it aligns with the marked stud locations made during the preparation process.
- Check for level: Use a level to ensure that the cabinet is straight and level. Adjust as necessary by adding shims or making small adjustments to the positioning.
Keep in mind that the size and weight of the cabinet may require additional precautions during the lifting process. It’s important to prioritize safety and take breaks if needed to prevent any strains or injuries. Once the cabinet is in position, you can proceed to the next step: securing the cabinet to the wall.
When installing a 96″ pantry cabinet with a 96″ ceiling height, make sure to measure the space accurately and use a level to ensure the cabinet is installed straight and secure. Consider using shims to adjust for any unevenness in the floor or ceiling.
Step 6: Secure the cabinet to the wall
After lifting the 96 pantry cabinet into place, it’s crucial to secure it to the wall to ensure stability and safety. Securing the cabinet properly will prevent any accidents or movements that could potentially damage the cabinet or pose a risk to anyone in the kitchen. Follow these steps to securely fasten the cabinet to the wall:
- Locate the wall studs: Using a stud finder, locate the wall studs that align with the back of the cabinet. Mark their positions on the wall to serve as reference points.
- Drill pilot holes: With the stud positions marked, use a power drill and an appropriate bit to drill pilot holes through the back of the cabinet and into the wall studs. Ensure the pilot holes are slightly smaller than the screws you will be using.
- Position the cabinet against the wall: With the pilot holes drilled, carefully push the cabinet back against the wall, aligning it with the marked stud positions.
- Insert screws through the pilot holes: Insert screws through the pilot holes in the back of the cabinet and into the wall studs. Use a screwdriver or power drill with a screwdriver bit to tighten the screws securely. Be careful not to overtighten, as it may damage the cabinet or strip the threads.
- Check for stability and alignment: Once the cabinet is securely fastened to the wall, check for stability and alignment. Shake the cabinet gently to ensure it doesn’t wobble or move. Use a level to confirm that the cabinet is still straight and level.
By properly securing the cabinet to the wall, you can have peace of mind knowing that it is stable and safe for use. If you encounter any difficulties or have concerns during the process, consult a professional for guidance. With the cabinet securely fastened, you can proceed to the next step: installing the shelves.
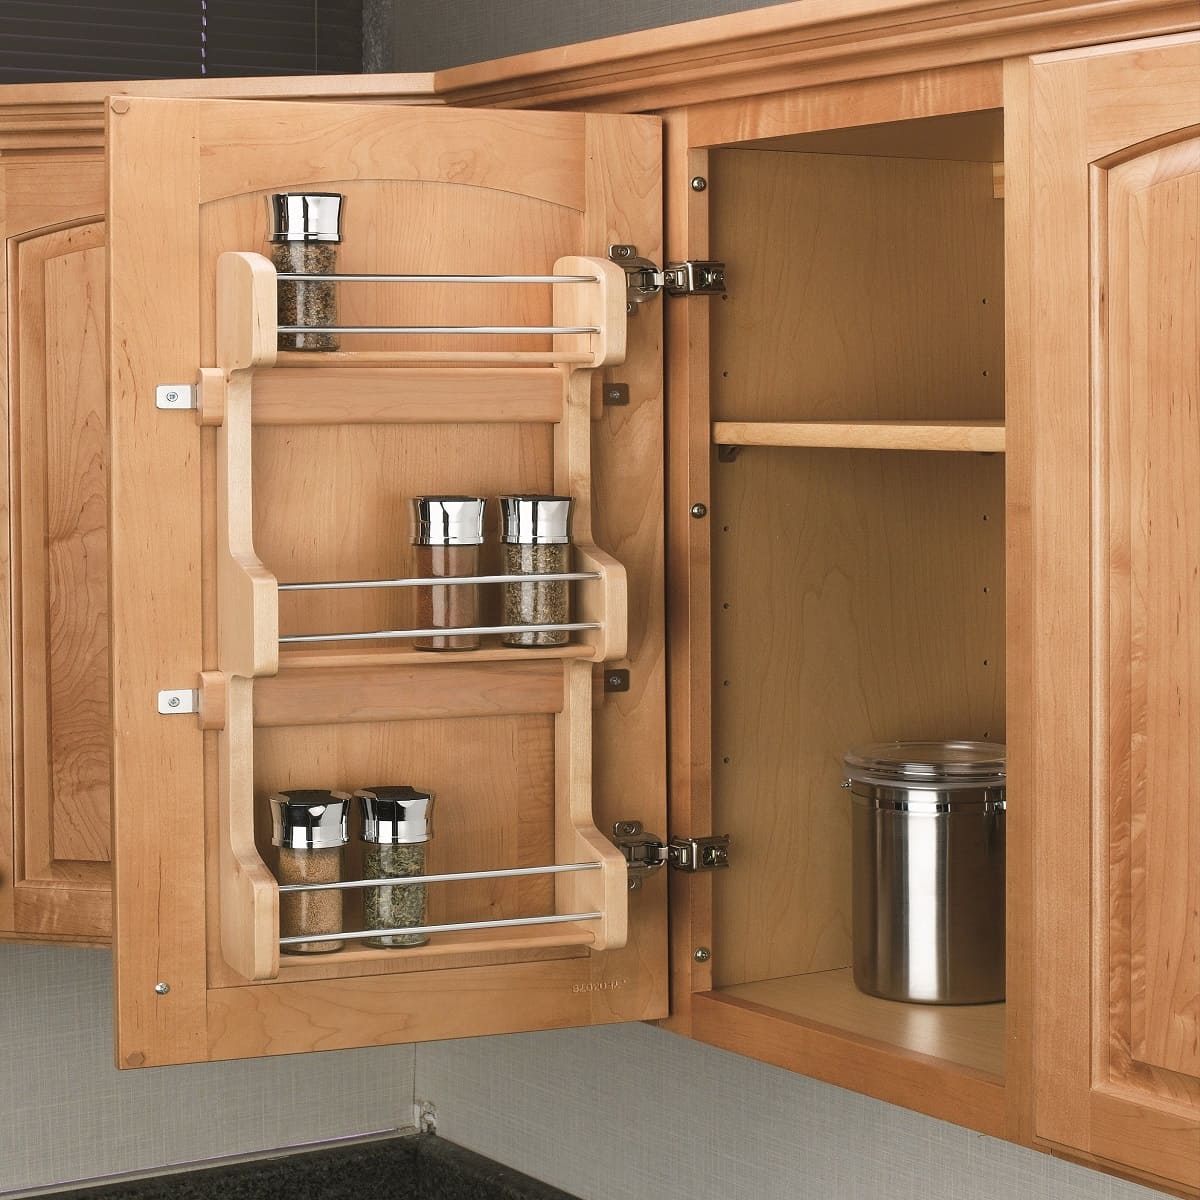
Step 7: Install the shelves
Now that the 96 pantry cabinet is securely fastened to the wall, it’s time to install the shelves. The shelves will provide essential storage space and help you efficiently organize your pantry items. Follow these steps for a successful installation of the shelves:
- Measure and mark shelf locations: Determine the desired height for each shelf based on your storage needs. Use a measuring tape and a pencil to mark the desired locations on the cabinet’s interior walls.
- Install shelf brackets: Depending on the design of your pantry cabinet, you may have pre-drilled holes or brackets for the shelves. If not, measure and mark the desired positions for the shelf brackets. Use a power drill and the appropriate screws to attach the brackets securely to the interior walls of the cabinet.
- Insert the shelves: Once the brackets are in place, carefully insert the shelves onto the brackets. Make sure the shelves are level and properly aligned. Adjust the position of the brackets if necessary.
- Secure the shelves: To secure the shelves in place, use screws or shelf support pegs provided with the cabinet. Insert them into the pre-drilled holes or slots on the sides of the cabinet and shelves. Tighten them gently to avoid damaging the cabinet or shelves.
- Test the stability: After installing the shelves, lightly test their stability. Gently place items on the shelves to ensure they can hold the weight without sagging or wobbling. Make any necessary adjustments if the shelves are unstable.
By following these steps, you can effectively install the shelves in your 96 pantry cabinet. Remember to consider your storage needs and adjust the shelf heights accordingly. With the shelves installed, you are one step closer to completing your pantry cabinet installation.
Step 8: Adjust and align the doors
After installing the shelves in your 96 pantry cabinet, the next step is to adjust and align the doors. Properly aligned doors not only enhance the aesthetic appeal of the cabinet but also ensure smooth functionality. Follow these steps to adjust and align the doors:
- Close the doors: Start by closing all the cabinet doors. Take note of any gaps or misalignments between the doors and the cabinet frame.
- Check for adjustable hinges: Examine the hinges of the cabinet doors. Some hinges have built-in adjustment capabilities, such as screws or tabs that can be loosened or tightened to move the doors horizontally or vertically.
- Loosen the hinge screws: If your cabinet hinges are adjustable, use a screwdriver to slightly loosen the screws that hold the hinges in place. This will allow you to make precise adjustments to the door positioning.
- Align the doors: With the hinge screws loosened, make slight adjustments to align the doors properly. You can move the doors horizontally, vertically, or even tilt them slightly to eliminate any gaps or misalignments.
- Tighten the hinge screws: Once the doors are aligned to your satisfaction, tighten the hinge screws carefully. Be cautious not to overtighten, as it might cause the doors to bind or stick when opening and closing.
- Test the doors: After adjusting and tightening the hinge screws, test the doors by opening and closing them multiple times. Ensure that they open and close smoothly without any obstructions or sticking.
By following these steps, you can achieve properly aligned and smoothly functioning doors for your 96 pantry cabinet. Adjusting the doors might require some trial and error, so take your time to make precise adjustments. With the doors aligned, you can move on to the final steps of your pantry cabinet installation.
Read more: How To Raise Ceiling Height
Step 9: Final touches and cleanup
You’re almost done with the installation of your 96 pantry cabinet! The final step involves adding the finishing touches and doing a thorough cleanup to ensure your kitchen looks neat and tidy. Follow these steps to complete the installation:
- Attach cabinet hardware: If your pantry cabinet came without handles or knobs, now is the time to attach them. Measure and mark the desired positions for the hardware, then use a screwdriver or a power drill to secure them in place. This step will not only add a decorative element but also provide a functional way to open and close the doors.
- Inspect for any damage: Take a moment to carefully inspect the cabinet and the surrounding area for any damage that may have occurred during the installation process. Look for dents, scratches, or any other issues. Address and repair them as needed.
- Clean up the workspace: Dispose of any packaging materials, tools, or debris that accumulated during the installation process. Wipe down the cabinet and surrounding area, removing any dust or dirt, to give it a clean and polished look.
- Organize your pantry items: Once everything is clean and in place, start organizing your pantry items on the shelves. Group similar items together and arrange them in a way that makes it easy to locate and access what you need.
- Final check: Step back and take a final look at your newly installed 96 pantry cabinet. Ensure that everything is aligned, secure, and visually appealing. Make any adjustments or final touches needed to achieve your desired outcome.
With these final touches and cleanup complete, you have successfully installed your 96 pantry cabinet with a 96 ceiling height. Take a moment to appreciate your hard work and enjoy the additional storage and functionality it brings to your kitchen. Congratulations!
Conclusion
Installing a 96 pantry cabinet with a 96 ceiling height may initially seem like a daunting task, but with the right tools, materials, and steps, it can be accomplished successfully. By following this comprehensive guide, you have learned how to install your pantry cabinet in a systematic and efficient manner while ensuring stability and functionality.
Remember, the key to a successful installation is careful preparation, precise measurements, and attention to detail. By gathering the necessary tools and materials, measuring the space accurately, preparing the area, assembling the cabinet, lifting it into place, securing it to the wall, installing the shelves, adjusting the doors, and completing the final touches and cleanup, you have taken the necessary steps to achieve a beautifully installed 96 pantry cabinet.
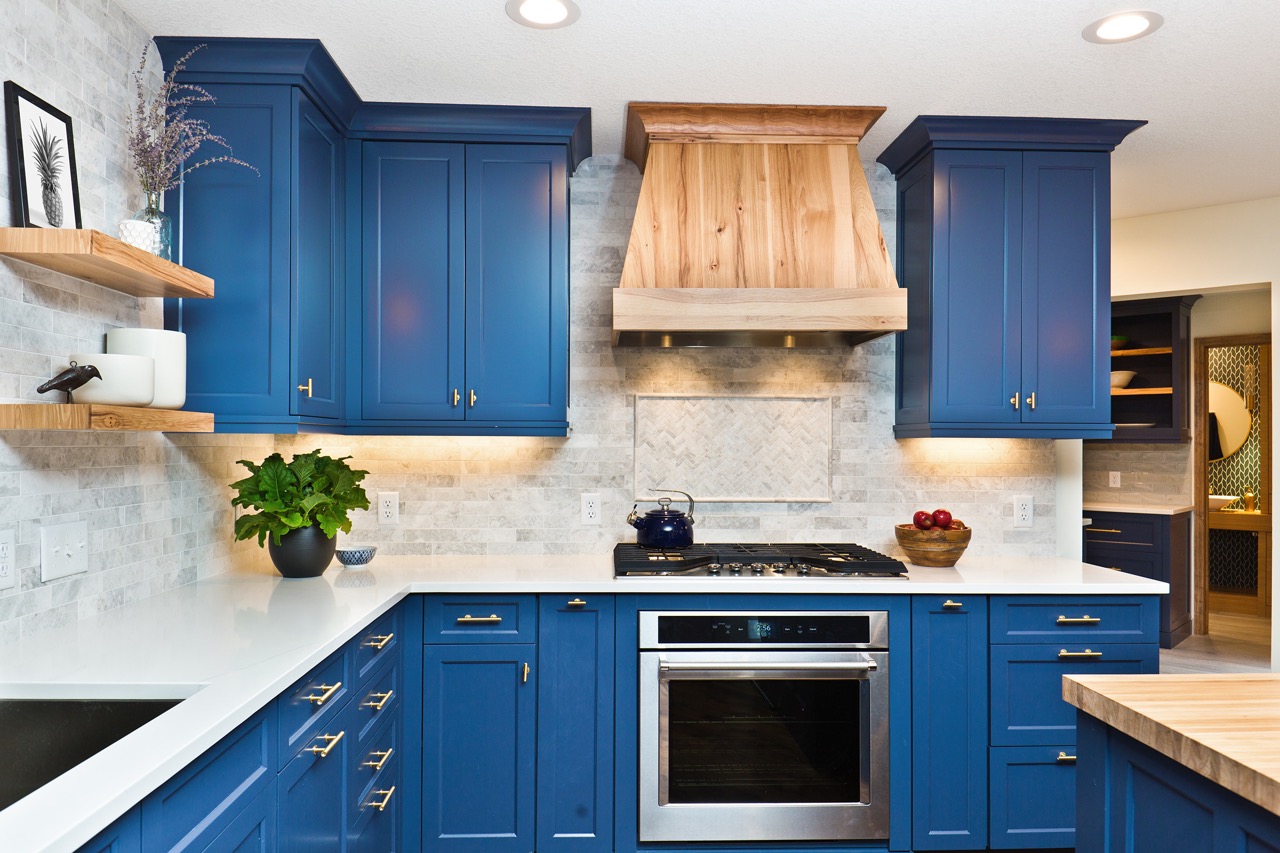
Not only does a pantry cabinet provide you with valuable storage space, but it also enhances the overall organization and efficiency of your kitchen. With a properly installed pantry cabinet, you can easily access and neatly store your pantry items, creating a clutter-free and functional culinary space.
Remember to exercise caution and prioritize safety throughout the installation process. Enlist the help of a partner when lifting and positioning the cabinet, and always follow the manufacturer’s instructions for assembly and adjustment.
With your 96 pantry cabinet installed, take a moment to admire your work and enjoy the benefits it brings to your kitchen. Now, you can confidently organize your pantry items and create a more organized and enjoyable cooking experience.
Ready to elevate your home with more savvy tips? If maximizing kitchen space is on your agenda, our guide on kitchen design offers nine invaluable insights from a leading expert. Find out how to keep everything tidy and accessible. For those tackling renovations, understanding the costs involved with cabinet installation is crucial. Our detailed breakdown helps demystify expenses and planning, ensuring your projects stay on track without breaking the bank.
Frequently Asked Questions about How To Install 96-Inch Pantry Cabinet With 96-Inch Ceiling Height
Was this page helpful?
At Storables.com, we guarantee accurate and reliable information. Our content, validated by Expert Board Contributors, is crafted following stringent Editorial Policies. We're committed to providing you with well-researched, expert-backed insights for all your informational needs.


0 thoughts on “How To Install 96-Inch Pantry Cabinet With 96-Inch Ceiling Height”